Forum sponsored by:

The Workshop Progress Thread 2019
| john carruthers | 28/11/2019 09:09:57 |
 617 forum posts 180 photos | After a year or so of renovating the new house I have finally found time to play in my shed. |
| JasonB | 01/12/2019 17:04:10 |
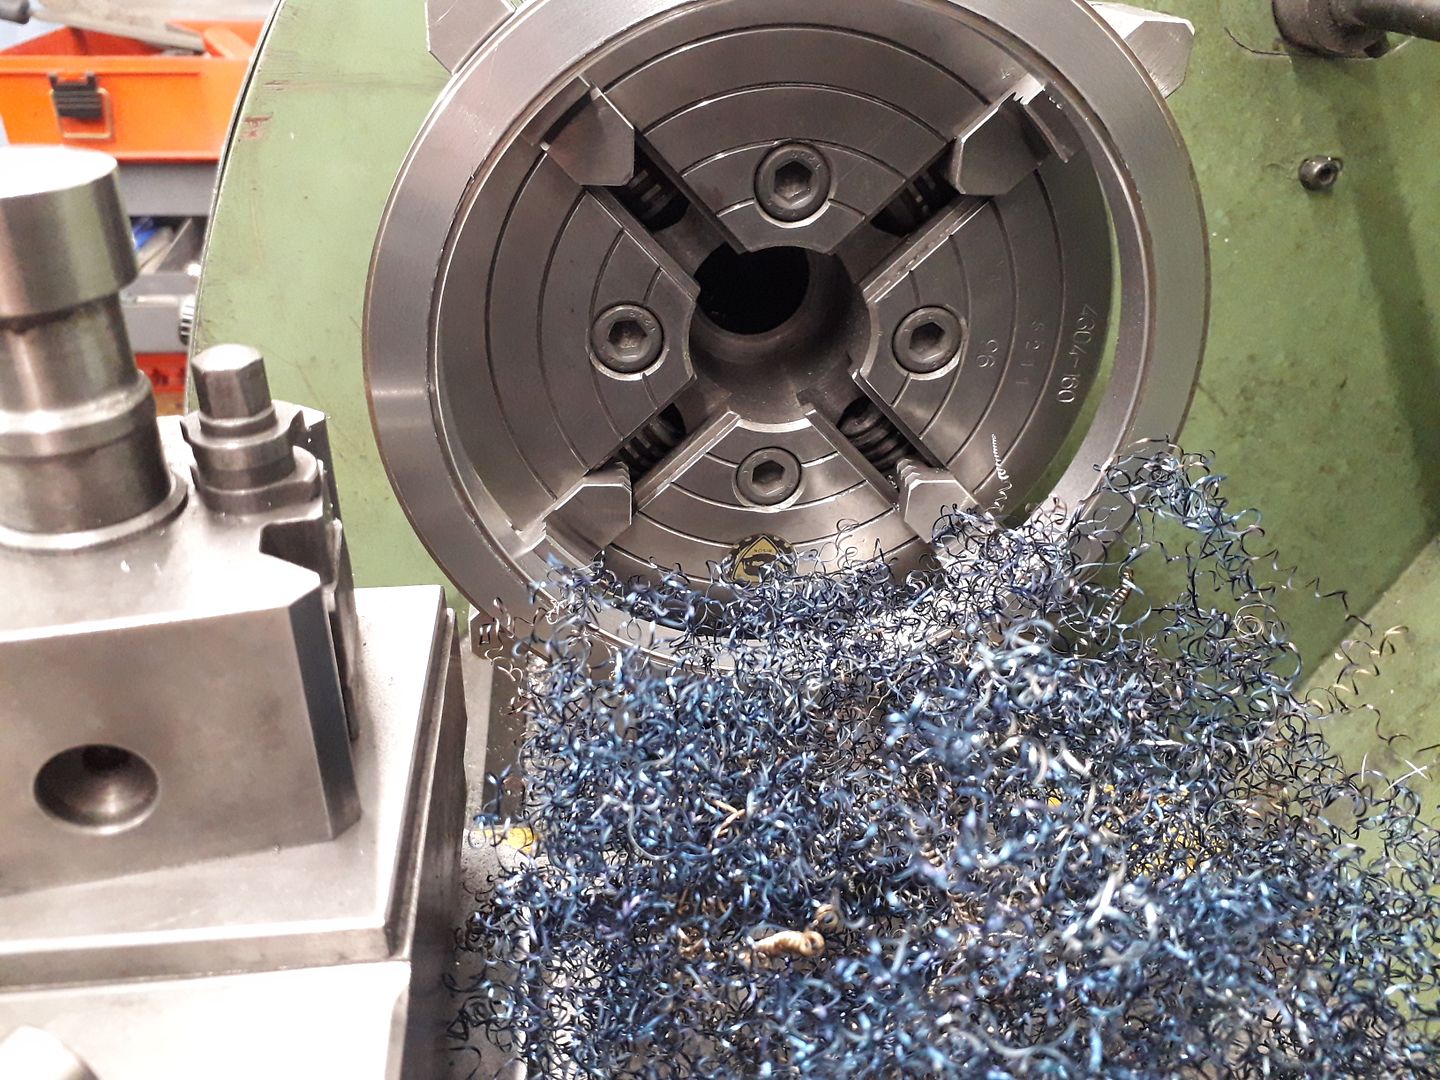
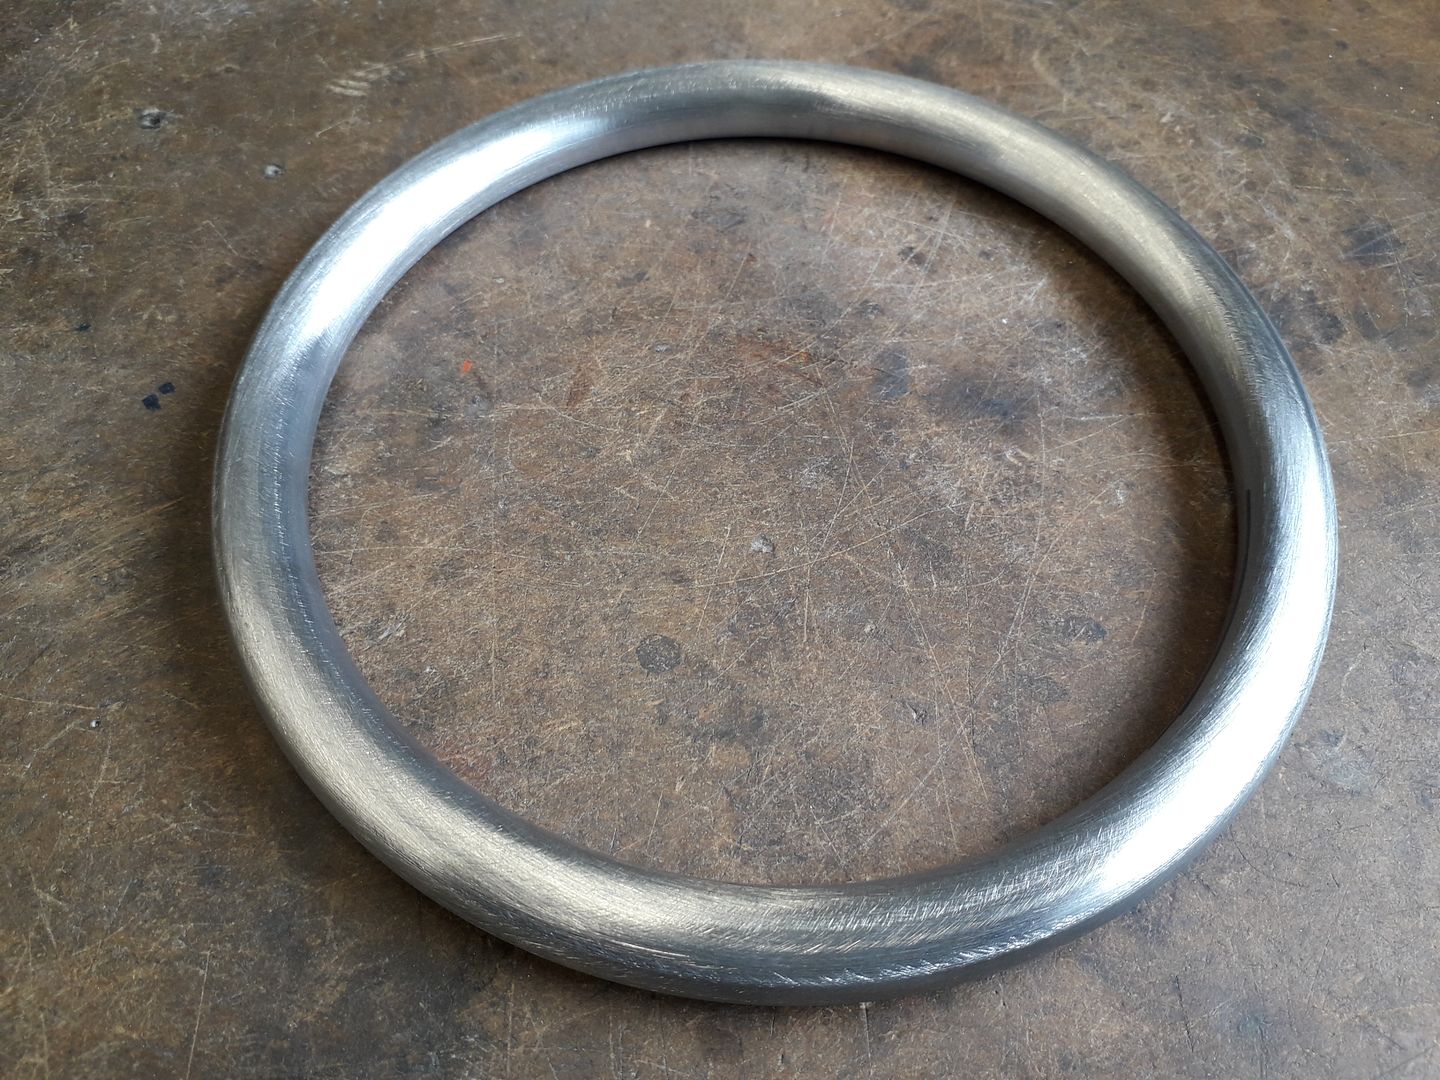
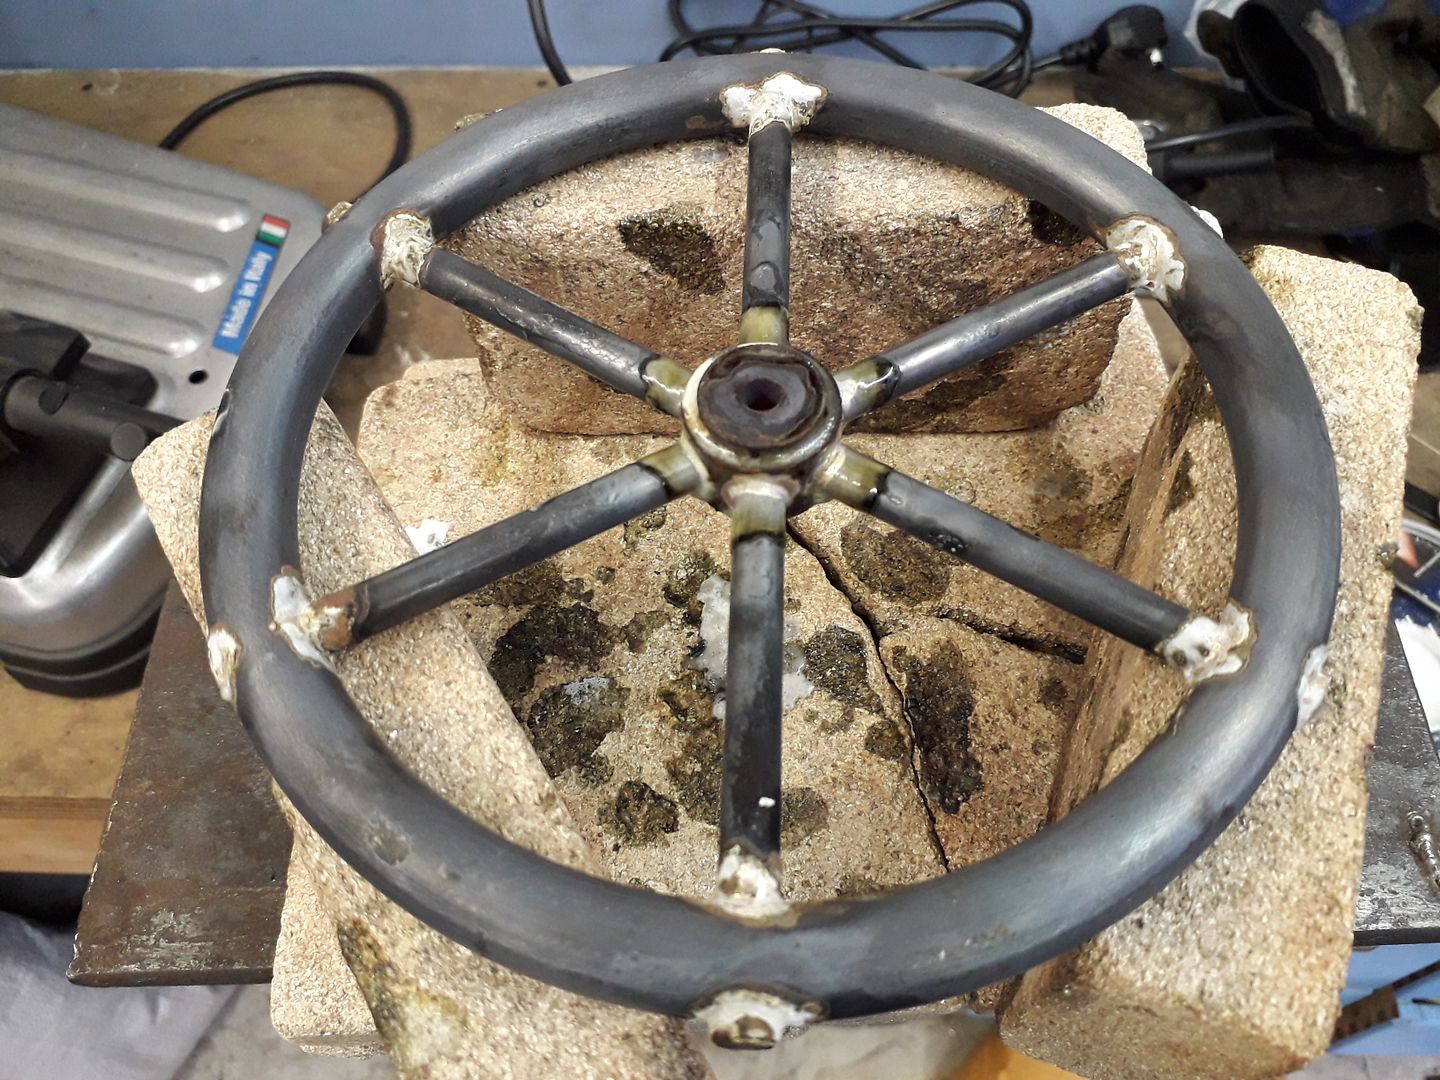
 25215 forum posts 3105 photos 1 articles | I decided to have a go at the flywheel for the Oscillator I posted the other day. First thing was to clean up the slice of thick wall tube to 14mm wide x 14mm thick, hope Andrew approves of te swarf colour.
Then the ring was shaped with a series of cuts at 10thou intervals, first outside then the inside.
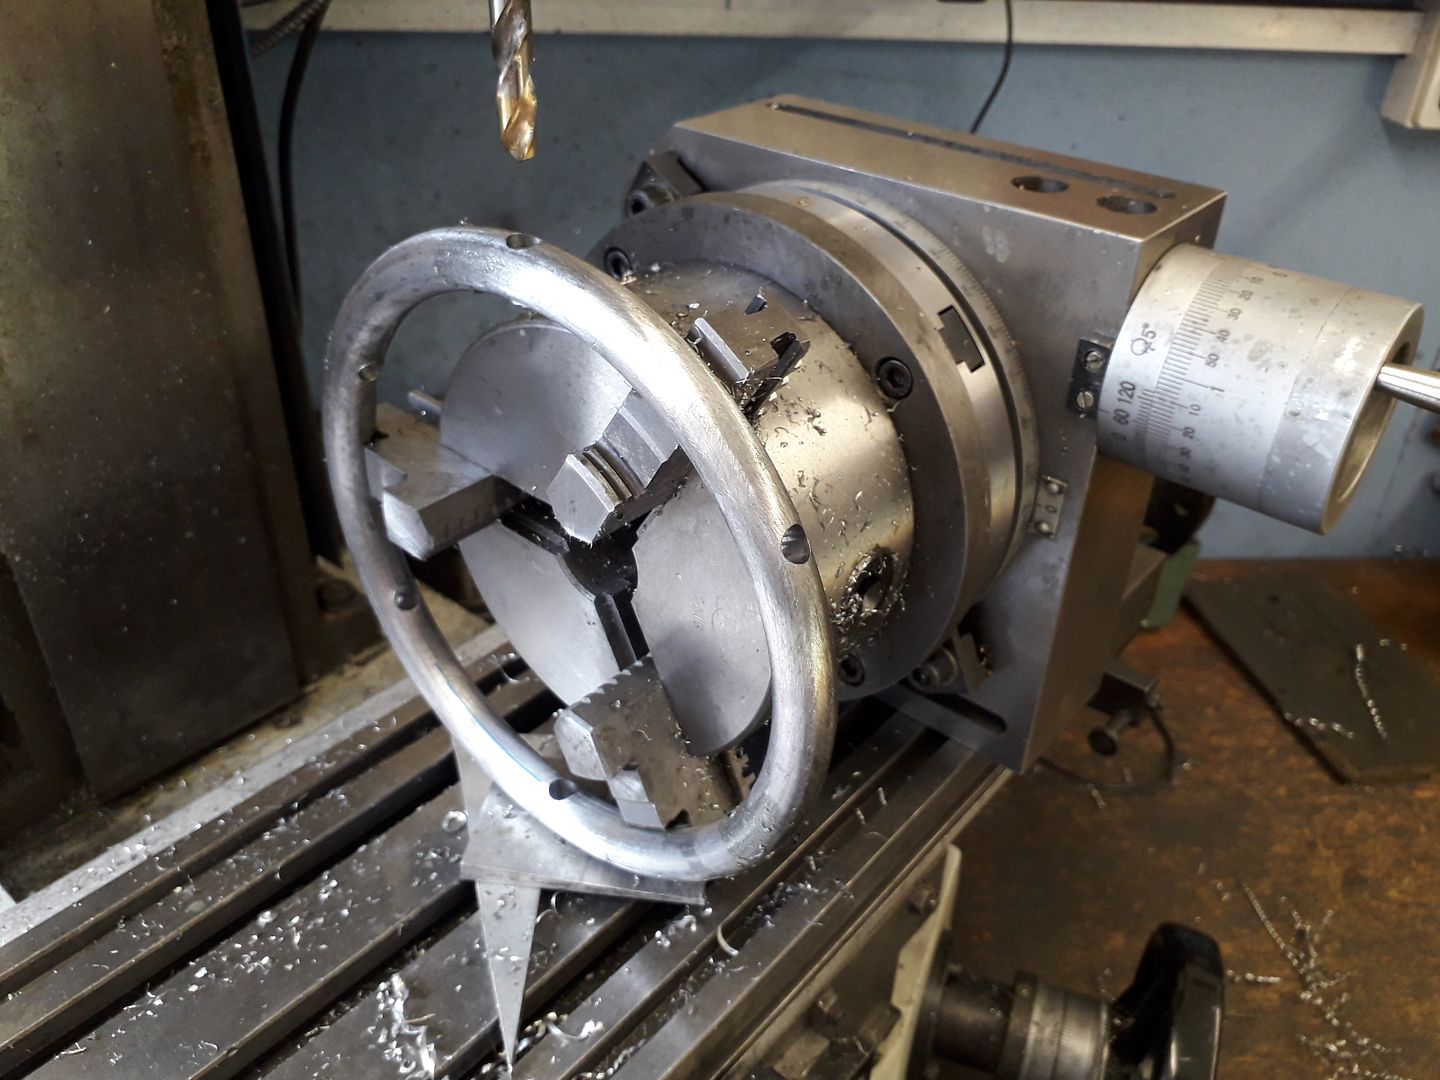
That was followed by blending the cuts with one of the Tome lathe files from ARC and 50mm abrasive discs in the cordless as the ring was turning in the lathe
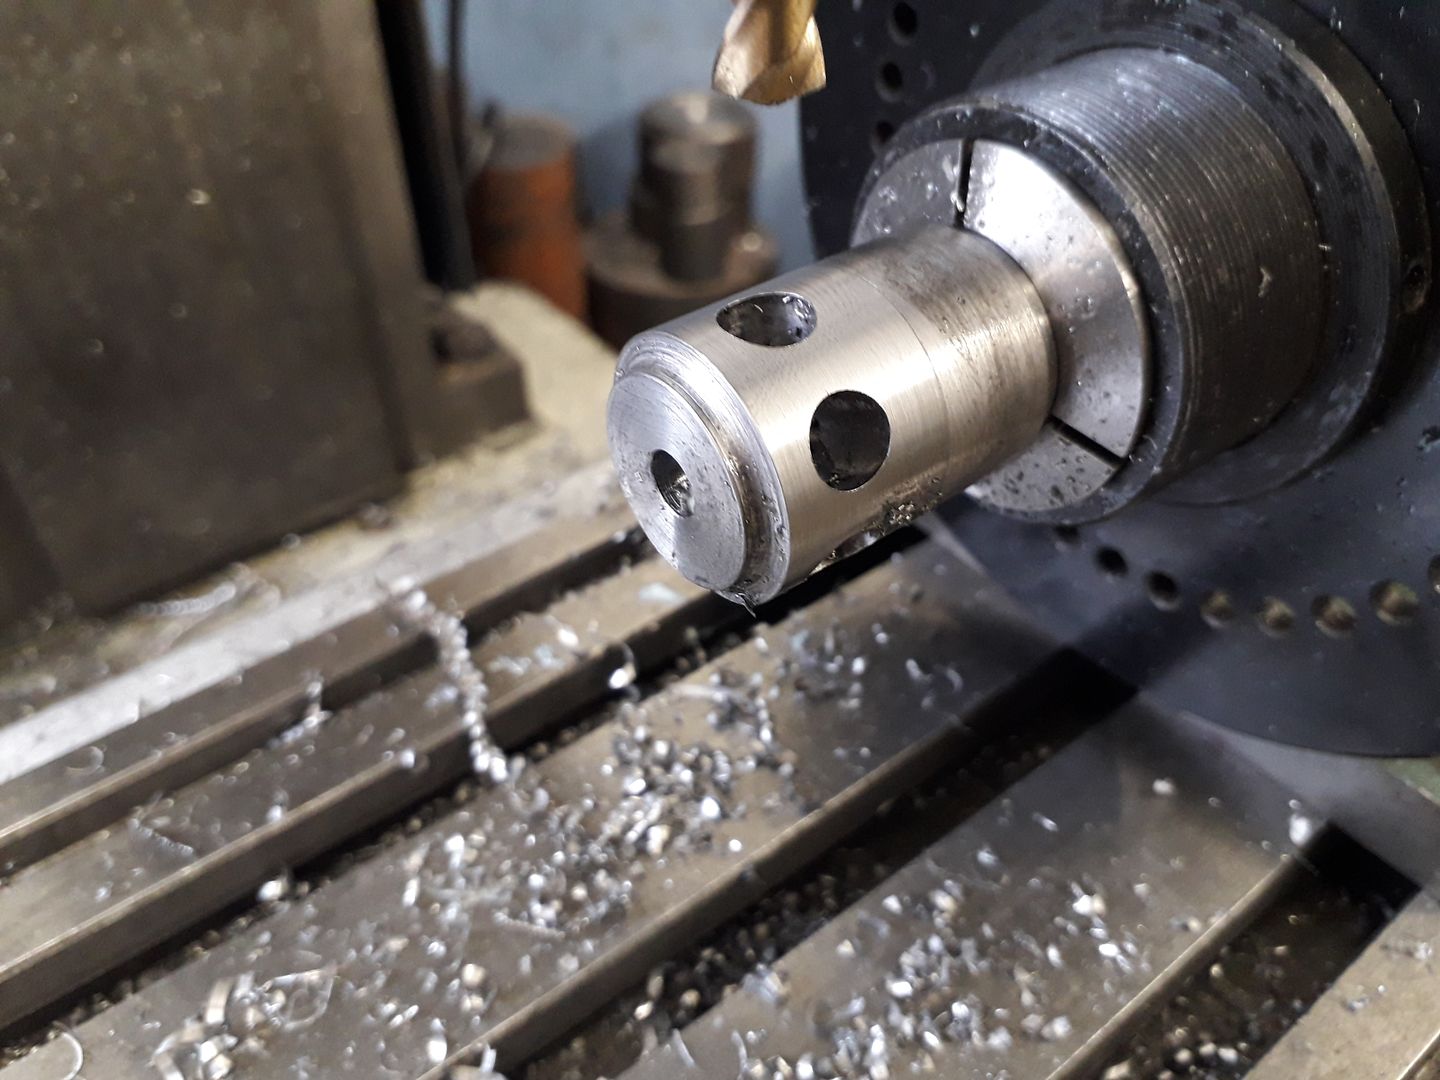
Then pop a few holes in for the spokes and do the same with a hub
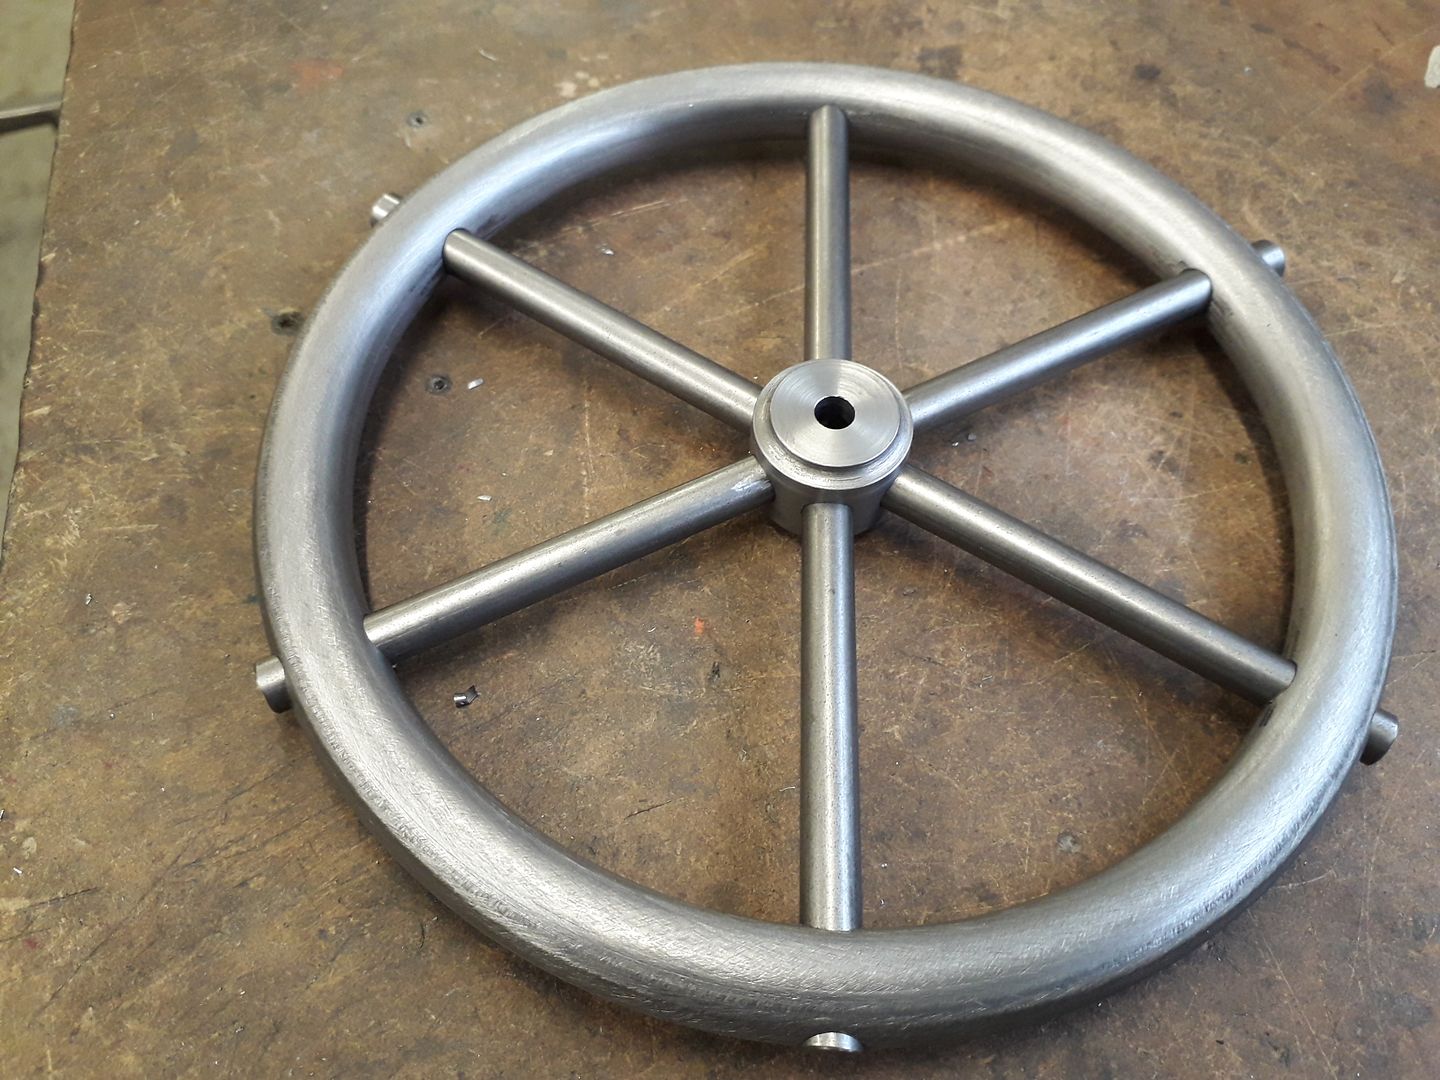
Trial fit and take a photo while it all looks nice
Then make a mess of it with heat, flux and solder. I did it in two stages first working around the rim to do teh outer spoke ends. I then let it cool so the rim could contract back to normal size and then soldered the spokes into the hubs.
It's in the pickle now and once out will go back into the lathe to open the bore out to finished size which should hopefully five a fairly true running flywheel. |
| john brown 17 | 01/12/2019 17:37:32 |
| 135 forum posts 3 photos | That is fine work you are doing jason,well done am following along . john |
| Iain Downs | 01/12/2019 17:39:36 |
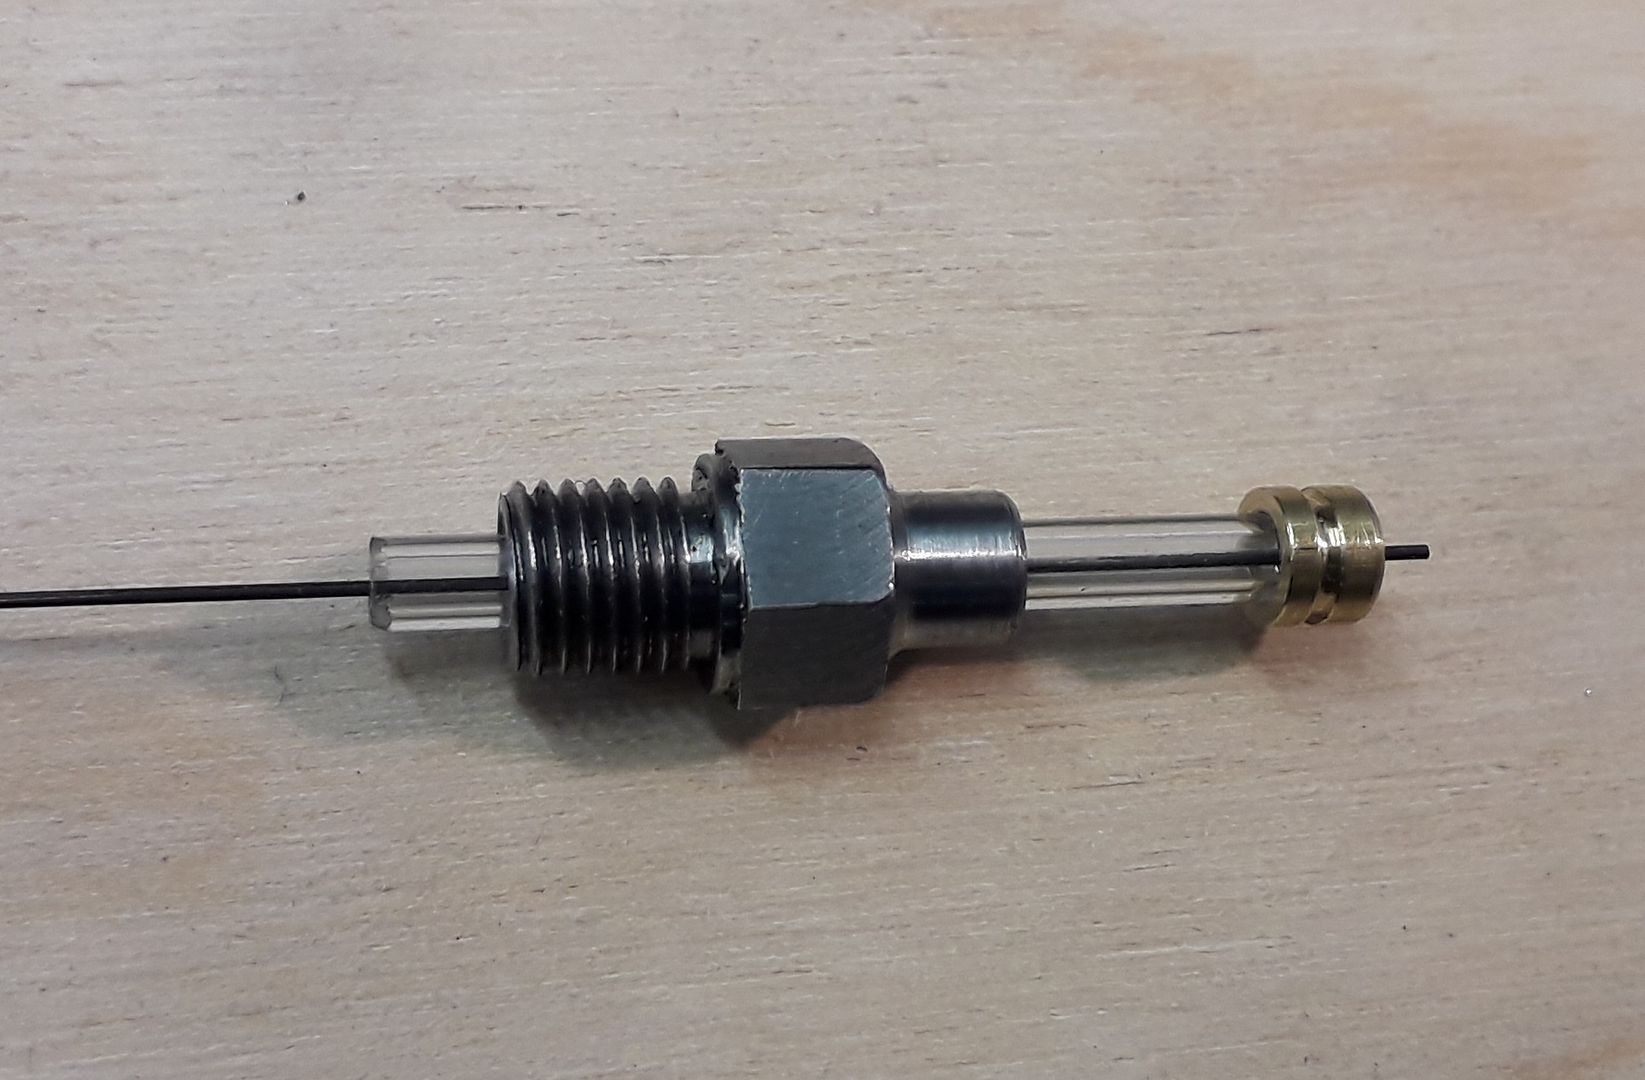
| 976 forum posts 805 photos | Over the last couple of weekends I've made a spindle handle, much like the one in MEW (though not the same). It's somewhat based on Neil's design from his book, but i decided to have a go at a nice brass handle.
below being the individual parts
The main problem I had with this is that the conical bit on the shaft was attached by super glue. However, this shifted when trying to tighten it up. I had a couple of a goes which failed. So my next attempt was with some Locktite green retainer which has worked ok. The other thing I've not quite got is finish. Part is knowledge, most is patience. However one thing that lets it down is that I can't get all the layout blue out where there are fine grooves. I accept that the correct way to sort this out is to lathe a better finish and perhaps one day I'll get there! In the meantime, I've tried meths and Isopropyl alcohol neither have got the blue out of the cracks. Any ideas? Iain |
| mechman48 | 03/12/2019 10:39:56 |
 2947 forum posts 468 photos | Have you tried a wire wheel bench grinder ? George. |
| Mark Rand | 03/12/2019 21:28:47 |
| 1505 forum posts 56 photos | Had one of those days™ in the shed today. Cleaning up a bit of thick walled tube on a job for herself, I had to remove the tailstock on the ML7 and support the bar with the chuck and a fixed steady (First time I've used the ML7 in two years but it's a bit longer than the Hardinge). Having got it all mounted I started it turning and prepared to skim the crud/paint/rust off the tube prior to painting it. It turns out that the tube is bent by about 1/4". Ordered some nice new tube and put her job into 'pending' status. Decided that I would finally make a start on sharpening quite a number of drills that have wear or chips on the sharp ends. Fitted a new, longer, bit of square bar to the tail end of the Picador sharpening jig so that it can cope with Morse taper drills in the larger sizes. Decided that the jig needed a riser block instead of the previous method of clamping it into a universal vice on the grinder to get it high enough. Found a decent lump of rusty scrap and started milling it flat/square/oblong to make the riser block out of. I'd almost finished cleaning up the third of the six sides when the mill started making an odd banging noise from the head. Since such noises tend to indicate something is falling apart, I stood on the step-stool and looked into the top end to see if I could spot anything. Spindle turned freely by hand, nothing looked out of place, so I slackened off the belt and turned on the motor as the first stage of checking. it was stuttering and looking as if it was dragging/not developing any real torque. Odd! Then I noticed a bit of a burnt smell coming from the switch box on the head, followed by a wisp of smoke. There was a gush of smoke when I unplugged the electric and removed the switch box. The switch was still trailing a bit when I removed it and put it on the bench... Barrel/cam switches are a lousy way to turn motors on and off. But they've been used for many years. This one was rated at 7.5kW for motor duty, so should have been ok on the 2hp motor of the mill:-
Ordered a replacement and am thinking about building a box with some decent contactors for an upgrade in motor control.
Came in and had a little cry. Tomorrow I'll finish making the scrap iron square with the shaper. |
| Ian McVickers | 08/12/2019 16:40:45 |
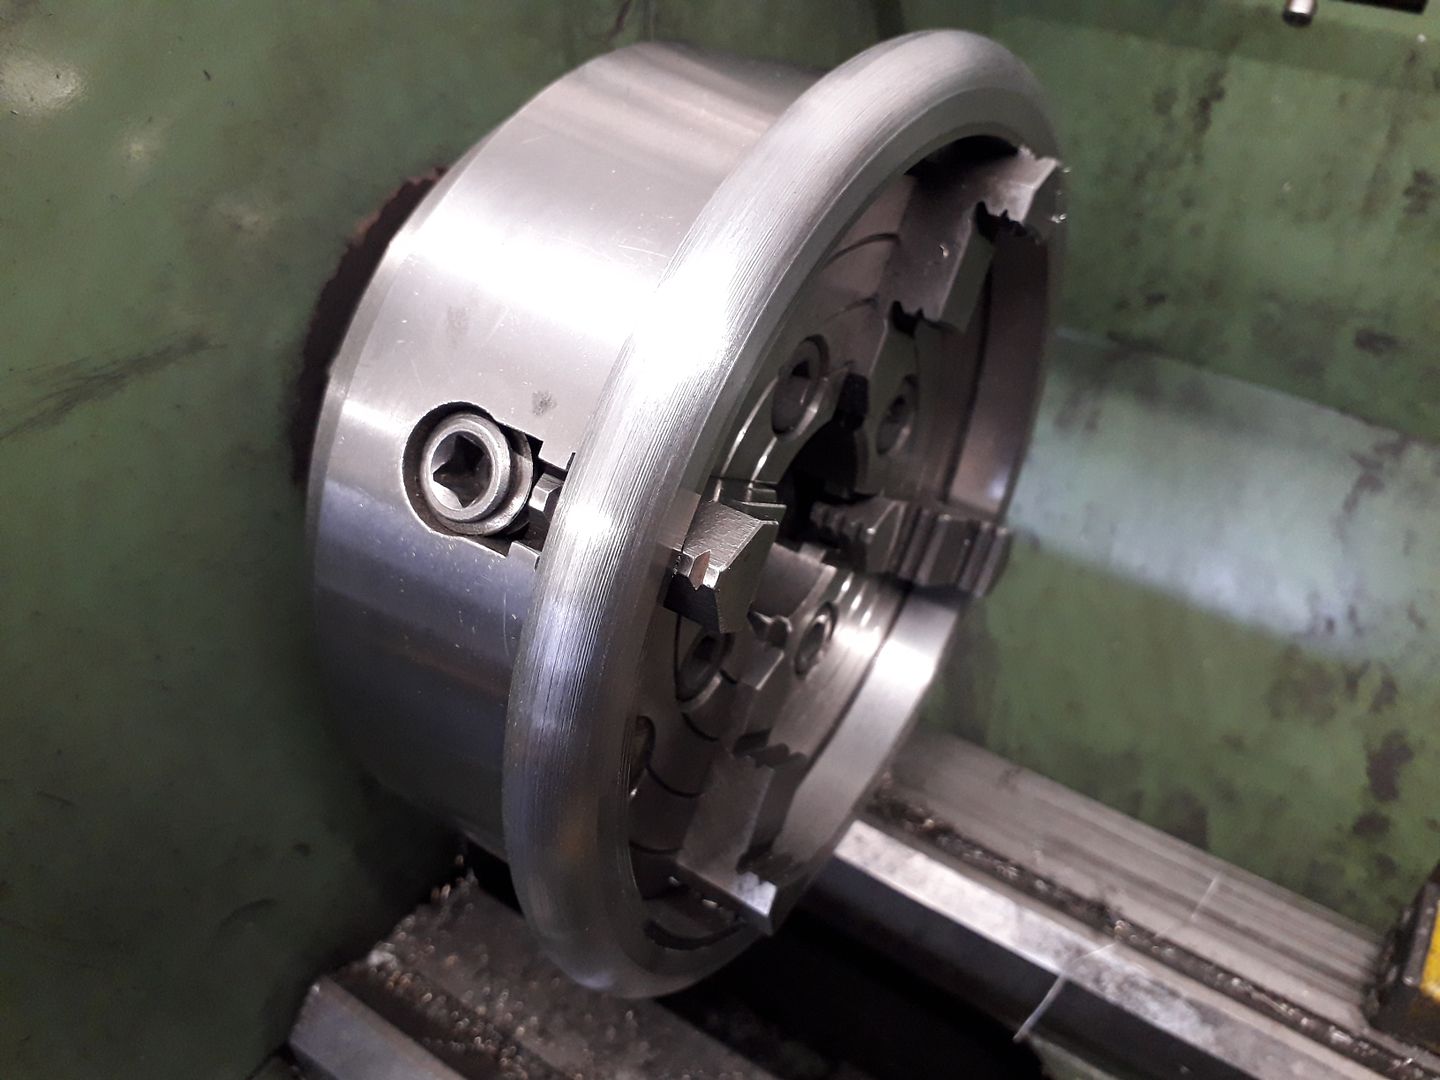
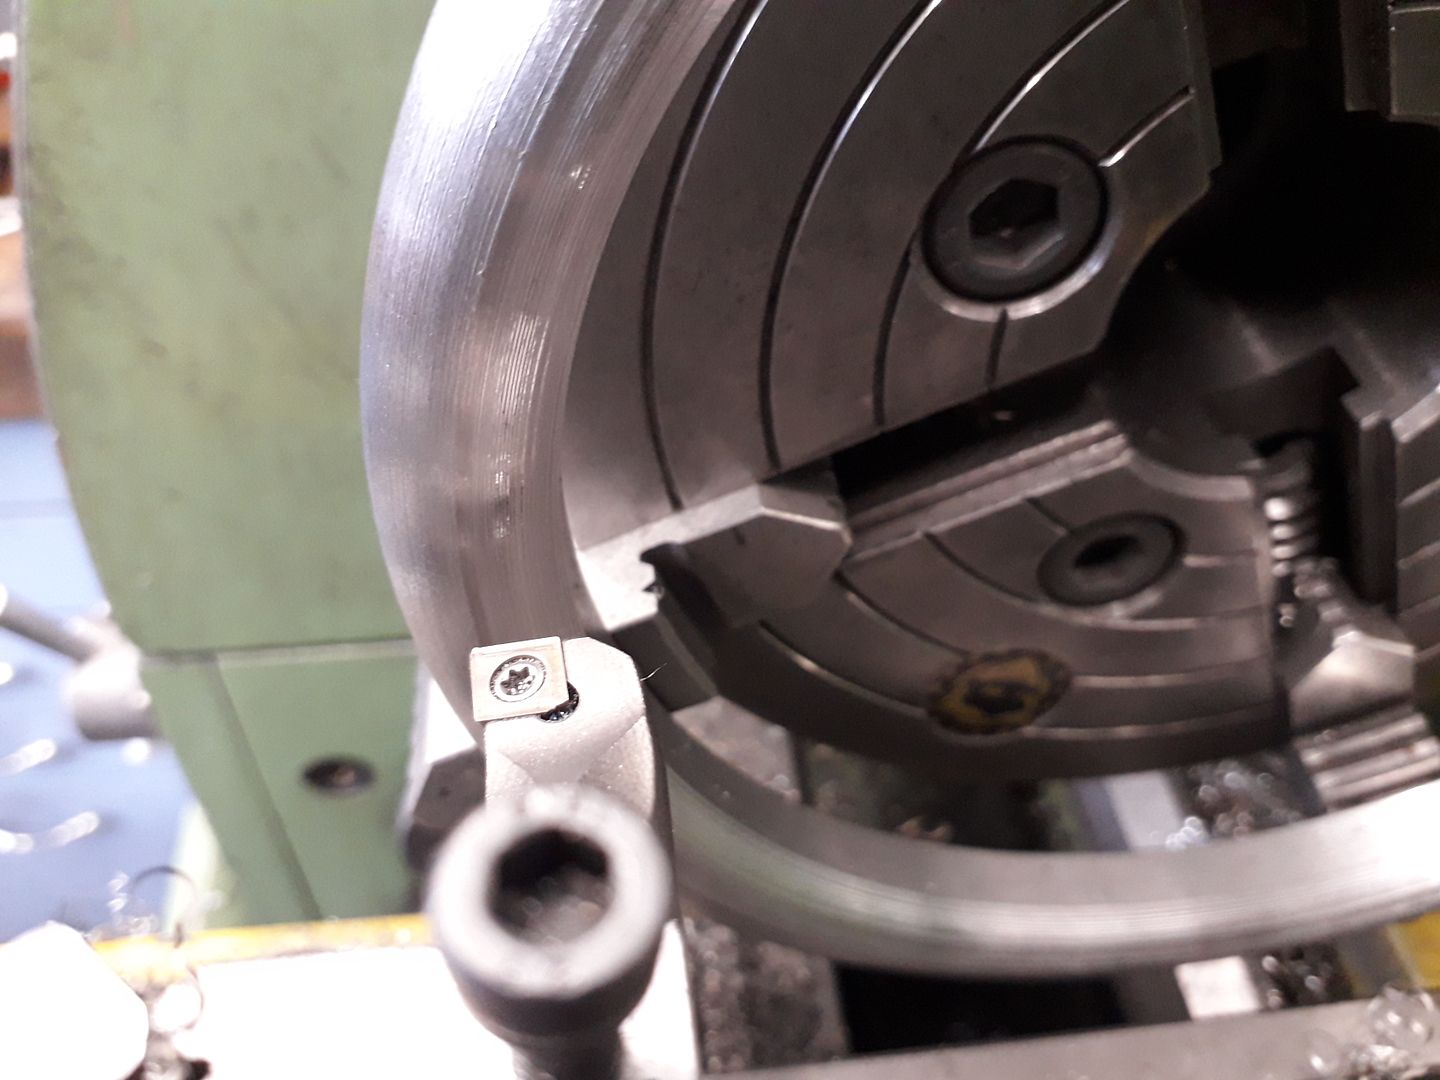
| 261 forum posts 117 photos | Decided I needed a few more clamps so went along the lines of the Float Lock vice idea.
|
| Ian P | 08/12/2019 16:55:20 |
 2747 forum posts 123 photos | Forgive my ignorance, but what is a float lock vice? Ian P |
| Ian McVickers | 08/12/2019 17:05:33 |
| 261 forum posts 117 photos | The float lock is an adjustable position vise used on drill tables. It normally has a clamp which fits to the edge of the drill table and the round sliding bar of the vise goes through it. The vise can then be positioned anywhere on the table and locked in place. A search on google will bring up a full picture which will give idea than my description. Tubal Cain has an excellent video on them. |
| Ron Laden | 09/12/2019 13:52:38 |
 2320 forum posts 452 photos | Posted by Ron Laden on 27/11/2019 07:51:29:
Posted by JasonB on 24/11/2019 17:26:02:
I've remembered one of the reasons I'm not keen on casting kits - they don't take long to do
Excellent, I really like the look of it, look forward to seeing it run dont forget the video Jason. Jason, are we quite near to having the engine up and running, I say we as its just that I have been looking forward to seeing it. |
| JasonB | 09/12/2019 15:31:57 |
25215 forum posts 3105 photos 1 articles | It was popping yesterday but not long enough to get a video, stay tuned. |
| JasonB | 09/12/2019 19:09:02 |
25215 forum posts 3105 photos 1 articles | Here you go Ron, I went out in the shed before dinner and gave it a few flicks of the flywheel. The running notes say the vapour carb works well on stale fuel and it ran better today having left the fuel open overnight to gas off a bit. I expect it would run for longer if that bloke in the video would stop fiddling about with the mixture and ignition timing |
| Mark Rand | 09/12/2019 21:58:28 |
| 1505 forum posts 56 photos | Sharpened a few MT2 drills with the Picador drill sharpening jig. Took a while, since they were either chipped ones or hand-ground to interesting proportions by previous owners. Still faster and more consistent than the Drill Doctor was. Lashed up the replacement forwards/off/backwards switch on the Mill. This one's bigger than the one I fitted when I rebuilt the mill, which was bigger than the original. So the extension housing I made for the original switch mounting is too small. It's held up with insulting tape at the moment and I'll cast a custom housing for it when I get the foundry going next year. Used the now-functional mill to make a bit of oblong stock into a DIN/Tophat rail to fix a delay relay into the Chinee multiprocess welding set. It has a tendency to burn out its switch contacts with the inrush current charging its capacitors. A 15Ω resistor in series with the on-switch for half a second will stop the contacts welding together. The resistor has mounting holes, so that was easy.
It's nice to get things done! |
| Ron Laden | 10/12/2019 06:54:26 |
2320 forum posts 452 photos | Posted by JasonB on 09/12/2019 19:09:02:
Here you go Ron, I went out in the shed before dinner and gave it a few flicks of the flywheel. The running notes say the vapour carb works well on stale fuel and it ran better today having left the fuel open overnight to gas off a bit. I expect it would run for longer if that bloke in the video would stop fiddling about with the mixture and ignition timing Very nice Jason I like the sound of it and it looks different. It seems to be sensitive to mixture and timing but it had a sweet spot towards the end of the video.
Edited By Ron Laden on 10/12/2019 06:55:37 Edited By Ron Laden on 10/12/2019 06:56:16 Edited By Ron Laden on 10/12/2019 07:15:58 |
| Mark Rand | 10/12/2019 23:28:00 |
| 1505 forum posts 56 photos | Got the delay relay and big resistor mounted in the case of the welder and wired them all up. I now have a welder that doesn't try to weld its switch contacts shut every time it's turned on. |
| Johnboy25 | 11/12/2019 08:20:26 |
 260 forum posts 3 photos | Really having problems with high humidity in the workshop. Didn’t get time to rebuild the workshop with a pitch roof this year. Next years project all being well. I had to resort to running two dehumidifiers intermittently so they don’t ice up. It upsets me to see my machinery dripping in condensation. 😢 Edited By Johnboy25 on 11/12/2019 08:21:35 |
| Jim Nic | 11/12/2019 12:16:05 |
 406 forum posts 235 photos | Over the last couple of months, while Jason has completed a couple of engines, I have made some snail paced progress on Muncaster's Double Oscillator. A picture of the parts to date:
A very loose assembly:
Still plenty to do but I can now see an engine in there. Jim
|
| IanT | 11/12/2019 12:49:57 |
| 2147 forum posts 222 photos | I was busy using a piercing saw last night to rough out some swing latches in 1/16th brass - and it was all going very well. I haven't broken a blade for a quite while.... I must be getting better at this [I thought] or just plain lucky - Plang!! - at which point the blade broke. OK - it was luck then... IanT |
| mechman48 | 11/12/2019 18:40:12 |
2947 forum posts 468 photos | Gone through a few piercing saw blades lately doing the frames for my beam engine; pushing that bit too fast or twisting out of square, ah well ! all sent to try us. George. |
| JasonB | 14/12/2019 17:06:27 |
25215 forum posts 3105 photos 1 articles | Jim, you engine is coming along nicely. Good things come to those who between making swarf I have had a bit more of a play with the RMC and it is starting to run for longer and stop when I want it too. Sorry for holding the camera in portrait mode though it does suit the upright shape of the engine. 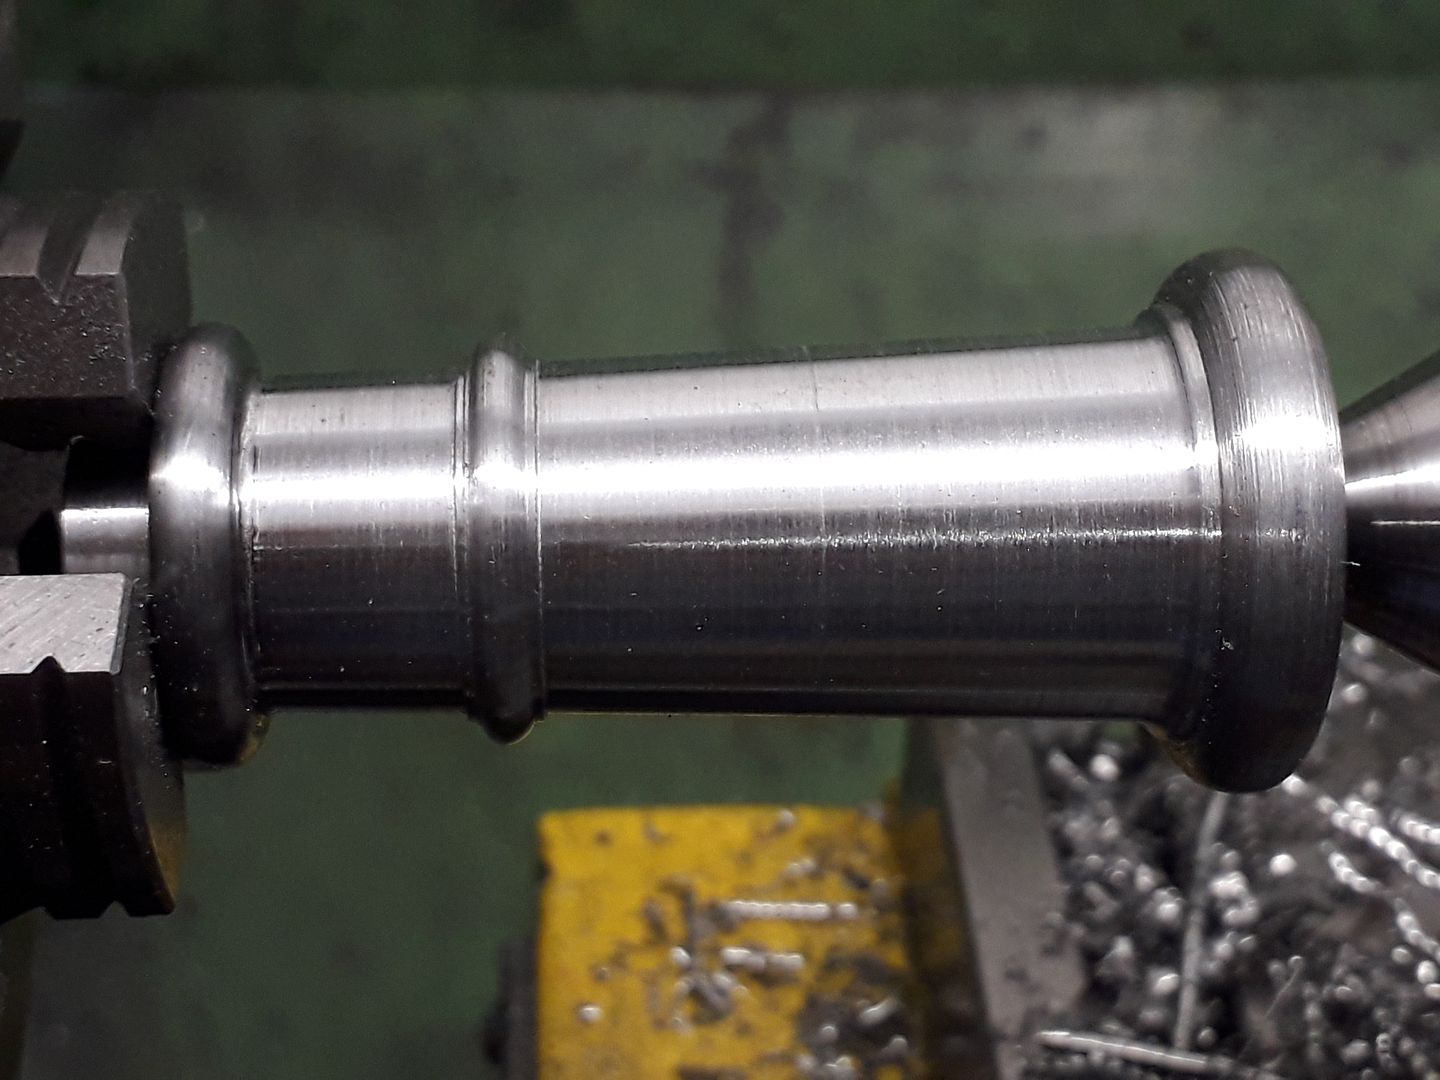 |


This thread is closed.
Magazine Locator
Want the latest issue of Model Engineer or Model Engineers' Workshop? Use our magazine locator links to find your nearest stockist!
Sign up to our Newsletter
Sign up to our newsletter and get a free digital issue.
You can unsubscribe at anytime. View our privacy policy at www.mortons.co.uk/privacy
Latest Forum Posts
- hemingway ball turner
04/07/2025 14:40:26 - *Oct 2023: FORUM MIGRATION TIMELINE*
05/10/2023 07:57:11 - Making ER11 collet chuck
05/10/2023 07:56:24 - What did you do today? 2023
05/10/2023 07:25:01 - Orrery
05/10/2023 06:00:41 - Wera hand-tools
05/10/2023 05:47:07 - New member
05/10/2023 04:40:11 - Problems with external pot on at1 vfd
05/10/2023 00:06:32 - Drain plug
04/10/2023 23:36:17 - digi phase converter for 10 machines.....
04/10/2023 23:13:48 - More Latest Posts...
- View All Topics
Support Our Partners


Shopping Partners
Subscription Offer

Latest "For Sale" Ads
- Reeves** - Rebuilt Royal Scot by Martin Evans
by John Broughton
£300.00 - BRITANNIA 5" GAUGE James Perrier
by Jon Seabright 1
£2,500.00 - Drill Grinder - for restoration
by Nigel Graham 2
£0.00 - WARCO WM18 MILLING MACHINE
by Alex Chudley
£1,200.00 - MYFORD SUPER 7 LATHE
by Alex Chudley
£2,000.00 - More "For Sale" Ads...
Latest "Wanted" Ads
- D1-3 backplate
by Michael Horley
Price Not Specified - fixed steady for a Colchester bantam mark1 800
by George Jervis
Price Not Specified - lbsc pansy
by JACK SIDEBOTHAM
Price Not Specified - Pratt Burnerd multifit chuck key.
by Tim Riome
Price Not Specified - BANDSAW BLADE WELDER
by HUGH
Price Not Specified - More "Wanted" Ads...
Get In Touch!
Do you want to contact the Model Engineer and Model Engineers' Workshop team?
You can contact us by phone, mail or email about the magazines including becoming a contributor, submitting reader's letters or making queries about articles. You can also get in touch about this website, advertising or other general issues.
Click THIS LINK for full contact details.
For subscription issues please see THIS LINK.
Digital Back Issues


Donate

 Register
 Log-in
Model Engineer Magazine
- Percival Marshall
- M.E. History
- LittleLEC
- M.E. Clock

ME Workshop
- An Adcock
- & Shipley
- Horizontal
- Mill

Subscribe Now
- Great savings
- Delivered to your door

Pre-order your copy!
- Delivered to your doorstep!
- Free UK delivery!
All Forum Topics > Work In Progress and completed items > The Workshop Progress Thread 2019