The Workshop Progress Thread 2021
| JasonB | 01/01/2021 06:57:50 |
25215 forum posts 3105 photos 1 articles | The previous year's posts can be found here |
| Roderick Jenkins | 12/01/2021 15:52:03 |
2376 forum posts 800 photos | Well, here we are, the first entry of 2021: I've brought my musical instrument making bang up to date (well, middle of the 20th Century anyway). Steel strung guitar, Alpine spruce front, Indian rosewood back and sides and Pau abalone inlay. This is the first time I've installed metal frets on an instrument. I've had 2 goes and still not really happy but I'll see how it settles down, still some action tweaking to do. Sounds quite loud and bassy. No more woody stuff in the pipeline, its back to engine building. Promise. Stay well, Rod
|
| Pete. | 13/02/2021 23:06:31 |
910 forum posts 303 photos | I bought and started restoring a huge ratcheting arbor press about a week before the world went into meltdown, unfortunately it has sat there untouched since, I decided to make a start on finishing it earlier, just finished welding up a subframe with wheels that sits inside the base, with adjustable feet under the original bolt holes, it weighs I'd guess in the region of 250kg, hopefully should have it finished within the next week. |
| Stuart Bridger | 14/02/2021 09:13:31 |
| 566 forum posts 31 photos | UPT nominally completed. |
| GoCreate | 21/02/2021 19:37:02 |
387 forum posts 119 photos | Just finished my 2" Baby Bench Vice build, Finally a nice little quality bench vice. I based it loosely upon the 'WILTON' design popular in the USA. An interesting and worthwhile project. Nigel |
| Pete. | 21/02/2021 19:40:03 |
910 forum posts 303 photos | That's very nice Nigel, is your surname Walton? |
| Dalboy | 21/02/2021 19:53:58 |
1009 forum posts 305 photos | Posted by tractionengine42 on 21/02/2021 19:37:02:
Just finished my 2" Baby Bench Vice build, Finally a nice little quality bench vice. I based it loosely upon the 'WILTON' design popular in the USA. An interesting and worthwhile project. Nigel Have been watching the build on this looks a great little vice. Now waiting for the next part |
| Jim Nic | 21/02/2021 21:02:48 |
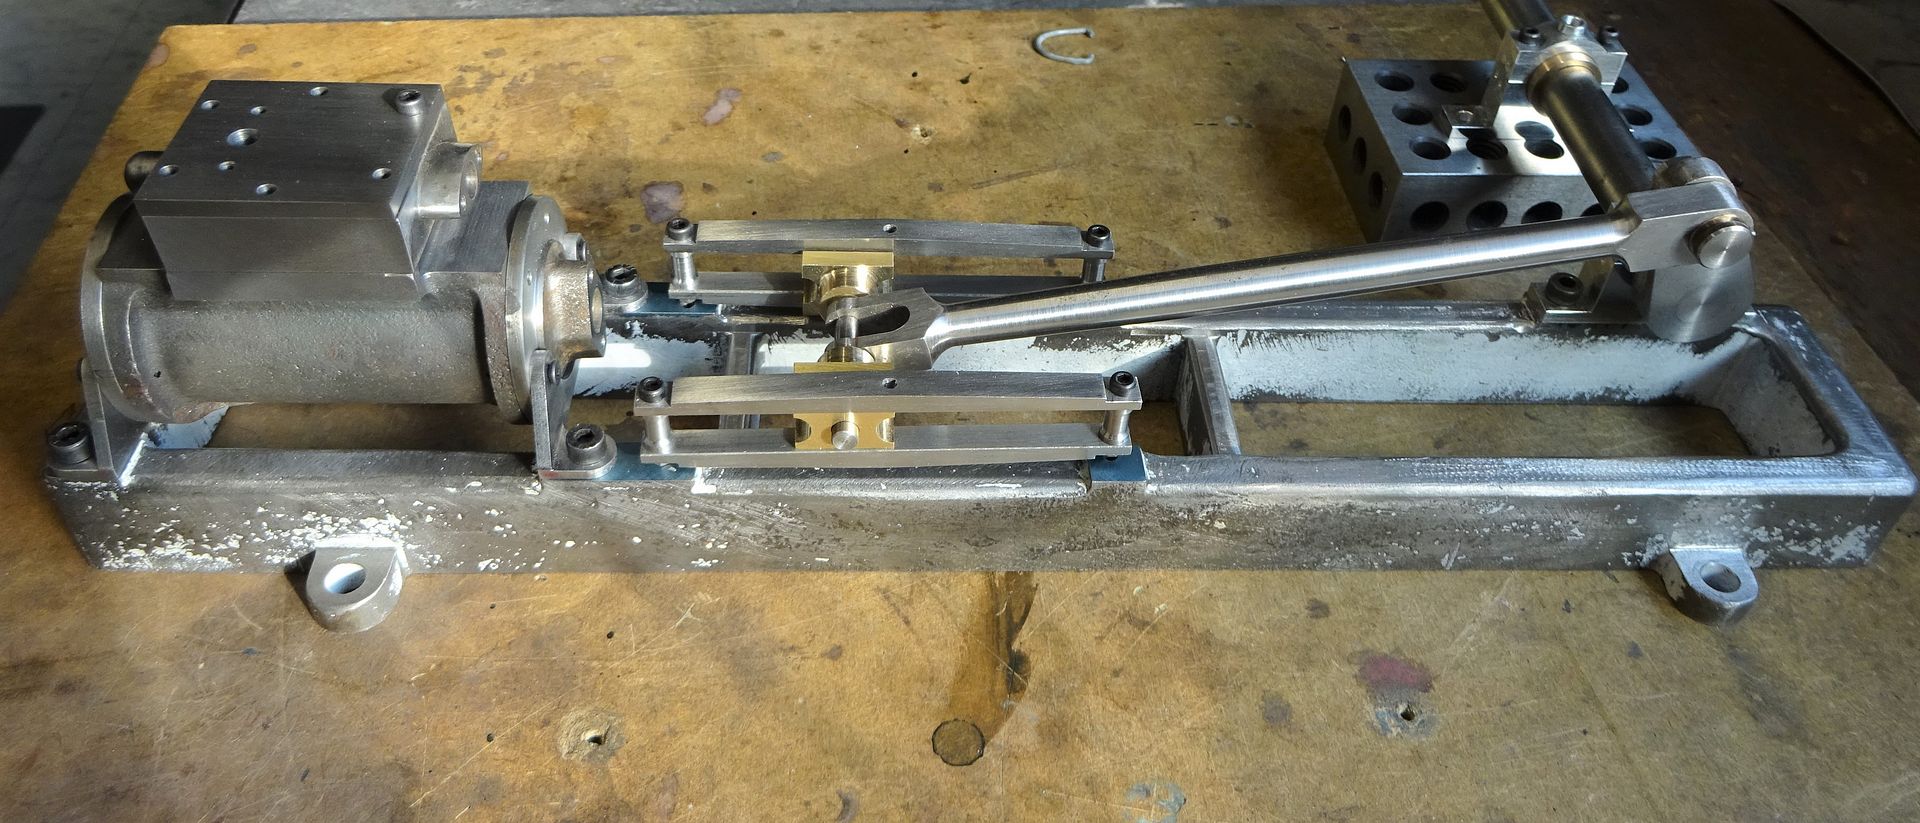
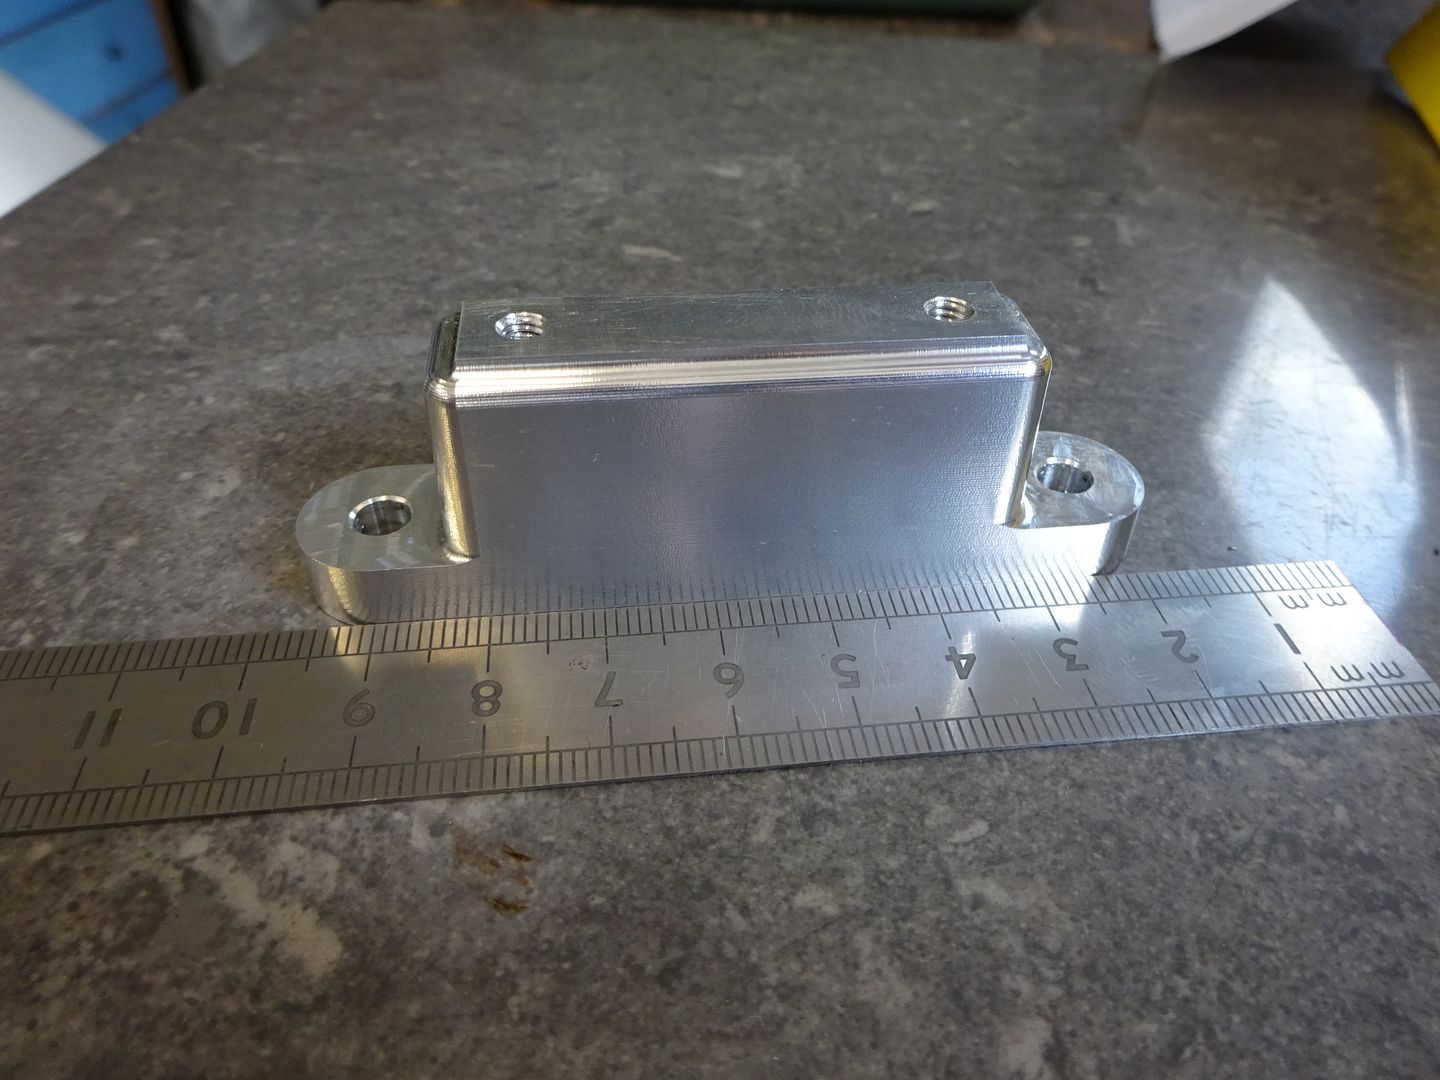
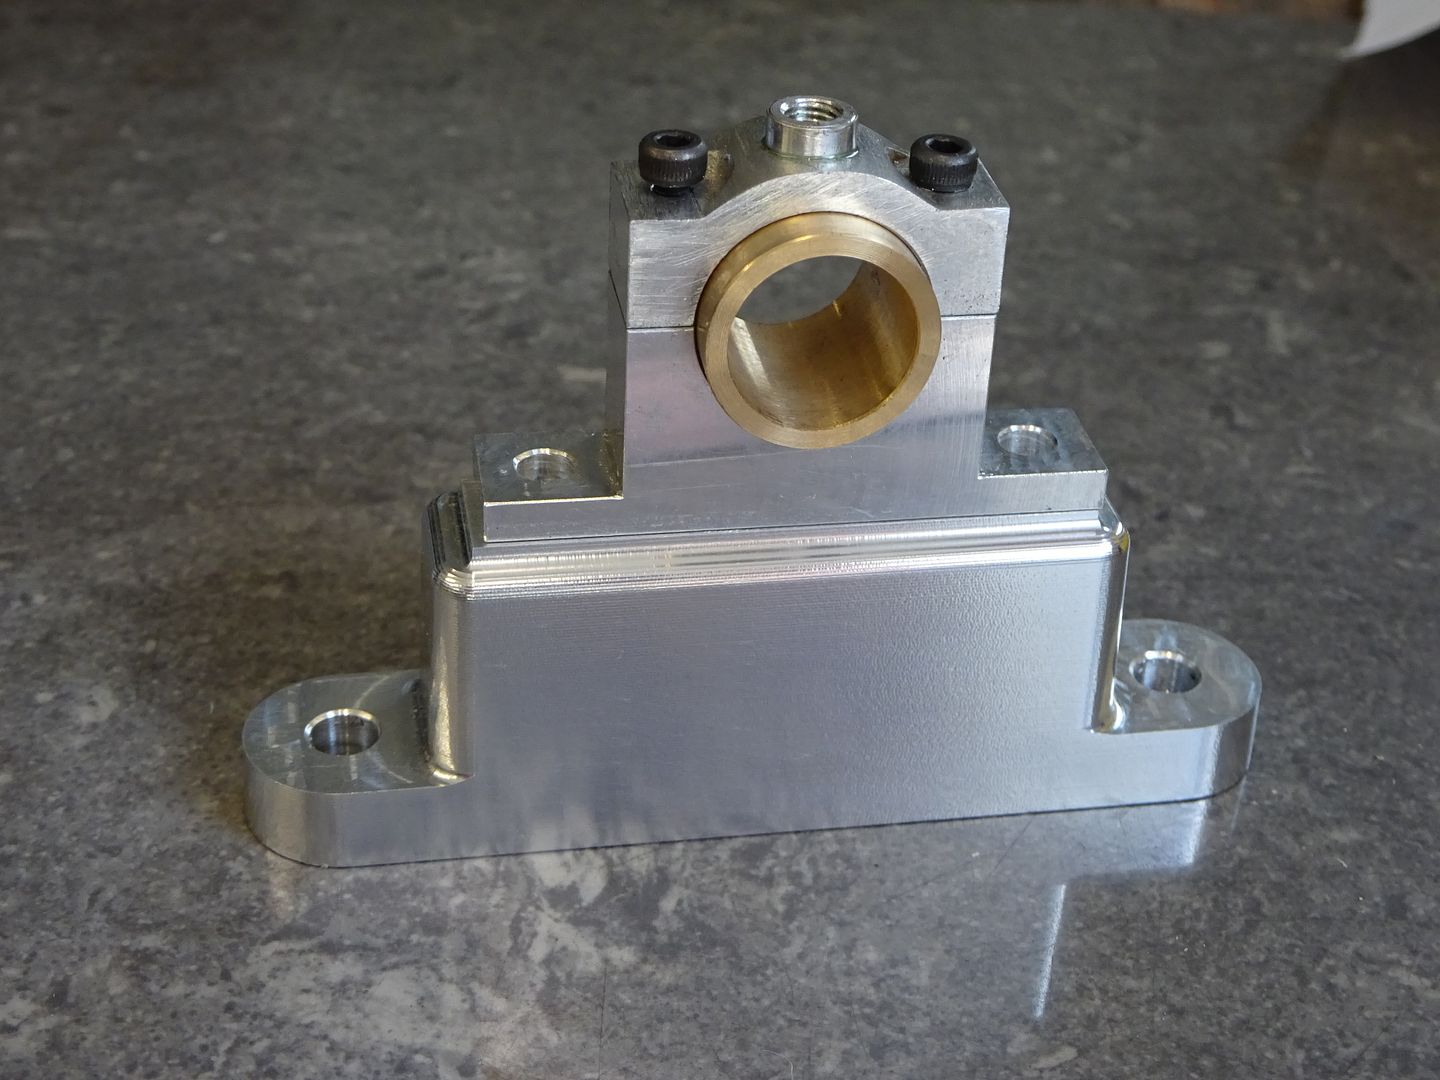
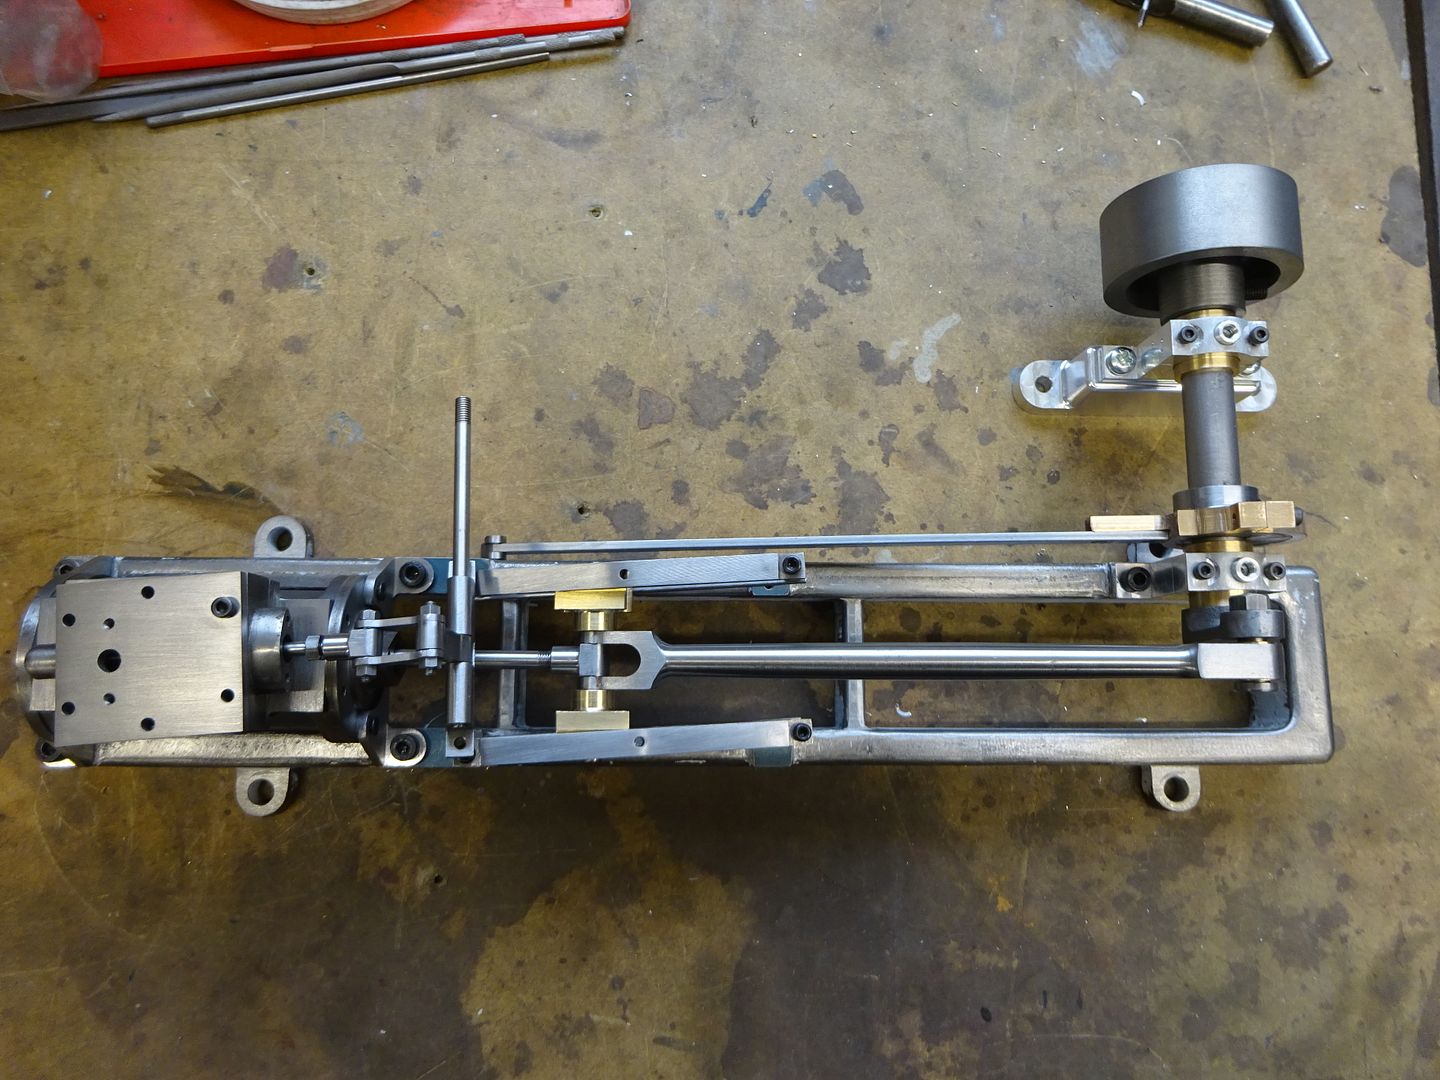
406 forum posts 235 photos | For the last couple of months I've used my workshop time to set about my version of Neil Wyatt's Norden engine design. I say my version because firstly the castings that Neil used seem to be no longer available and secondly I like to work in metric measurements and the drawings I have are in imperial units. Following advice from Jason B some time ago converting from imperial to metric was straightforward by taking 1/32" as 1mm. The original: My engine will thus be slightly larger than the original and made mainly from barstock; the exception being a cast flywheel. First off was the base, a simple aluminium sheet with mounting pads Araldited in place: Then the frame. The trickiest bit for me, silver soldering the angled legs to the table was always going to be a challenge but it turned out OK. Still to add the trim strip around the inner faces of the legs: Then the crankshaft bearings: Finally for now a family shot of progresss to date: Next job will be the cylinder. Jim |
| JasonB | 22/02/2021 06:57:52 |
25215 forum posts 3105 photos 1 articles | Off to a good start Jim. |
| Anthony Knights | 05/03/2021 17:22:19 |
| 681 forum posts 260 photos | I have now finished making enough components of the Stewart Hart beam engine to be able to fix them together to see what it looks like. (Impatient person that I am). Made a rough looking flywheel from MDF just to get some idea of dimensions when it came to making the plinth. There is still quite a bit to do, but I've already got a little guy to operate it when it's finished. |
| Jim Nic | 05/03/2021 19:31:55 |
406 forum posts 235 photos | A good looking model Anthony. How are you going to make the flywheel? Jim |
| Anthony Knights | 06/03/2021 09:05:46 |
| 681 forum posts 260 photos | Hi there Jim. For the flywheel, I can either buy a suitable slice of cast iron or steel and machine from scratch, or buy a laser cut blank. I have not decided which to do yet. |
| mechman48 | 06/03/2021 12:47:30 |
2947 forum posts 468 photos | Hi Jim What scale is your figure? George. |
| duncan webster | 06/03/2021 14:32:46 |
| 5307 forum posts 83 photos | This was supposed to be made from a slice of thick wall pipe, but the chap who had offered to get a couple of rashers couldn't find any, so he machined it from solid bar. Easy when you have big industrial type machines. All held together with loctite. The idea was to grip the boss in the 4 jaw, set the rim running true, bore and sleeve, but it's come out really well. Held on rotary table to set up for loctite. I've made other changes to Stuart's design, not because I think there's anything wrong with it, I just like to do my own thing. It has a slide valve for starters, couldn't bring myself to have a piston valve beam engine. And where did you get the little man from, adds a bit of charm I think Edited By duncan webster on 06/03/2021 14:33:35 |
| Jim Nic | 06/03/2021 15:39:51 |
406 forum posts 235 photos | I make flywheels in a similar way to Duncan's it appears. Start with the bits: Initial machine and assemble: Loctite it all together and finish machine: Add some car body filler fillets, paint and display: I have made several like this varying from 70 to 170mm diameter. The rims are steel from M Machine, the spokes silver steel and the hubs mild steel. The ones shown here are 95mm dia, 15mm wide and the spokes are 6mm dia. Jim Edited By Jim Nic on 06/03/2021 15:41:01 |
| Anthony Knights | 07/03/2021 10:01:57 |
| 681 forum posts 260 photos | I have also made several changes. The cylinder and steam chest are made from cast iron rather than aluminium, purely because that is the material I had to hand. The vertical beam was machined from solid because I didn't fancy all the fiddlely soldering. The figure was obtained from a British company called "Farol" which I got to via Amazon (although it was made in Germany). Searched the internet with " 1/16th scale workmen figures" and this was one of the hits. He is a garage mechanic and came with a toolbox, a trolley jack and a pair of axle stands. I think it looks about right scale wise. I have still got quite a bit to do. Bushes for main axle, steam chest valve and the regulator assembly. I also need to make some studs for the steam chest as the 2mm screws I am using are barely long enough and have pozi heads. At least, its now warm enough to get some more workshop time, so I'll report back when I've made further progress. Regards Anthony |
| JasonB | 07/03/2021 18:44:45 |
25215 forum posts 3105 photos 1 articles | I've been making good progress with the Stuart Victoria and decided I had enough parts to see what it looks like with them put together |
| mechman48 | 07/03/2021 18:55:48 |
2947 forum posts 468 photos | Made a start on my next project; Scotch yoke engine designed by Bob Middleton.. George. |
| Martyn Edwards 1 | 07/03/2021 19:16:13 |
| 24 forum posts 59 photos | Spent a few hours machining and putting together one one of the Cringle vertical boilers today. |
| JasonB | 14/03/2021 18:15:12 |
25215 forum posts 3105 photos 1 articles | Work continues on the Stuart Victoria. I decided I did not want to raise the engine up on a plinth which means the supplied outrigger bearing base is too tall so drew up a new one in Alibre and got the KX-3 to spit it out, quite pleased with the finish which will be good enough to paint straight onto. All the vertical faces have a 2degree draft angle to make it look more like a casting which meant the cutter went round the contour lines moving outwards slightly with each 0.25mm step down. Running at 5000rpm and a feed of 600mm/min it took about 25mins to do the finish contour cut. I was not keen on the supplied bearings which had already been made to drawing as the hex heads overhung the sides so make up a couple of new bearing blocks and separate bearings. Most time this week has been spent on the valve gear, eccentric, etc which is now all but done
Edited By JasonB on 14/03/2021 18:15:49 |
This thread is closed.
Want the latest issue of Model Engineer or Model Engineers' Workshop? Use our magazine locator links to find your nearest stockist!
Sign up to our newsletter and get a free digital issue.
You can unsubscribe at anytime. View our privacy policy at www.mortons.co.uk/privacy
- hemingway ball turner
04/07/2025 14:40:26 - *Oct 2023: FORUM MIGRATION TIMELINE*
05/10/2023 07:57:11 - Making ER11 collet chuck
05/10/2023 07:56:24 - What did you do today? 2023
05/10/2023 07:25:01 - Orrery
05/10/2023 06:00:41 - Wera hand-tools
05/10/2023 05:47:07 - New member
05/10/2023 04:40:11 - Problems with external pot on at1 vfd
05/10/2023 00:06:32 - Drain plug
04/10/2023 23:36:17 - digi phase converter for 10 machines.....
04/10/2023 23:13:48 - More Latest Posts...
- View All Topics
- Reeves** - Rebuilt Royal Scot by Martin Evans
by John Broughton
£300.00 - BRITANNIA 5" GAUGE James Perrier
by Jon Seabright 1
£2,500.00 - Drill Grinder - for restoration
by Nigel Graham 2
£0.00 - WARCO WM18 MILLING MACHINE
by Alex Chudley
£1,200.00 - MYFORD SUPER 7 LATHE
by Alex Chudley
£2,000.00 - More "For Sale" Ads...
- D1-3 backplate
by Michael Horley
Price Not Specified - fixed steady for a Colchester bantam mark1 800
by George Jervis
Price Not Specified - lbsc pansy
by JACK SIDEBOTHAM
Price Not Specified - Pratt Burnerd multifit chuck key.
by Tim Riome
Price Not Specified - BANDSAW BLADE WELDER
by HUGH
Price Not Specified - More "Wanted" Ads...
Do you want to contact the Model Engineer and Model Engineers' Workshop team?
You can contact us by phone, mail or email about the magazines including becoming a contributor, submitting reader's letters or making queries about articles. You can also get in touch about this website, advertising or other general issues.
Click THIS LINK for full contact details.
For subscription issues please see THIS LINK.
Model Engineer Magazine
- Percival Marshall
- M.E. History
- LittleLEC
- M.E. Clock
ME Workshop
- An Adcock
- & Shipley
- Horizontal
- Mill
Subscribe Now
- Great savings
- Delivered to your door
Pre-order your copy!
- Delivered to your doorstep!
- Free UK delivery!


 Register
 Log-in


