Levelling a lathe..yes that old chestnut again
| Chris Rose | 15/02/2018 22:09:56 |
| 7 forum posts 7 photos |
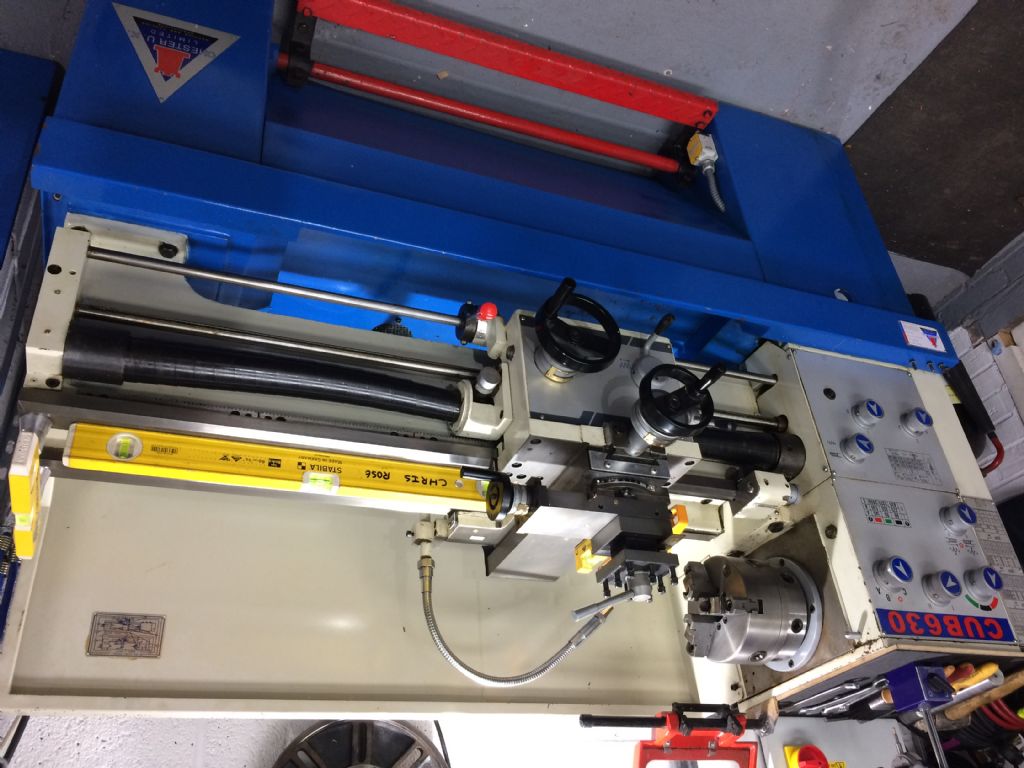
Right then .... I need a bit of help please. as per my previous post i have bought myself a Chester cub 630 (see pics).... I thought all was well with my set up until i did a test turn of about nine inches to see if i was turning parallel......alas i was not, at least a millimetre difference from the chuck dia to the tailstock centre, (solid bar about 36mm dia held in the three jaw chuck with the tailstock centre in place.. And so to my levelling attempts... I fully understand that i need to eliminate any twist from the bed ways and this is what i have got set up.. (see pics), at the moment i don't own a precision level, so i'm just asking is this the correct places to put the levels??. I know i need to take more trial cuts to see if there is any improvement in the setting up.... btw the small aluminium posts that the levels are sitting on have all been checked with a digital calliper for same heights At the moment the machine feet are M16 bolts that are screwed through existing holes in the bottom of the frame, so they allow me to make fine adjustments one at a time..... the floor of my garage is concrete and has a slight incline thoughts please file:///var/folders/hk/y9c8yltn27l233lklxv2mwj00000gn/T/IMG_1076.jpg file:///var/folders/hk/y9c8yltn27l233lklxv2mwj00000gn/T/IMG_1075.jpg
|
| David Standing 1 | 15/02/2018 22:19:32 |
| 1297 forum posts 50 photos | Linky no worky |
| Chris Rose | 15/02/2018 22:20:39 |
| 7 forum posts 7 photos | Thanks how do i upload photos from my mac on to this box thing then? |
| Michael Gilligan | 15/02/2018 22:26:38 |
23121 forum posts 1360 photos | Posted by Chris Rose on 15/02/2018 22:09:56:
.... I thought all was well with my set up until i did a test turn of about nine inches to see if i was turning parallel......alas i was not, at least a millimetre difference from the chuck dia to the tailstock centre, (solid bar about 36mm dia held in the three jaw chuck with the tailstock centre in place.. [ ... ] thoughts please . My thought: You have too big a problem there to cure it by 'levelling' ... Look elsewhere. [headstock alignment perhaps] MichaelG. |
| Michael Gilligan | 15/02/2018 22:30:48 |
23121 forum posts 1360 photos | Posted by Chris Rose on 15/02/2018 22:20:39:
Thanks how do i upload photos from my mac on to this box thing then? . Start here: **LINK** http://www.model-engineer.co.uk/forums/postings.asp?th=103028&p=1 MichaelG. |
| Emgee | 15/02/2018 22:38:22 |
| 2610 forum posts 312 photos | Hi Chris, From your description I understand you are using the tailstock centre to support the workpiece, to check for parallel turning you do NOT want to use any tailsock support. You may need to use a shorter length of material chuck mounted only for initial tests. It is neccessary to confirm the lathe turns parallel before using tailstock support, if it turns out of parallel with tailsock centre support the tailsock should be adjusted to correct the misaligned centre axis. Emgee |
| Chris Rose | 15/02/2018 22:45:55 |
| 7 forum posts 7 photos | |
| Clive Foster | 15/02/2018 23:05:41 |
| 3630 forum posts 128 photos | Chris If you are using the tailstock centre odds are its a combination of chuck runout and the tailstock being offset a touch. Nine inches is far too long a cut for a simple 36 mm (call it 1.5 inches) diameter bar held in the chuck. Normal rule of thumb is no more than 3 x diameter from start of cut to chuck jaws. Translates to 4 1/2 inches of cut. Half of what you are doing. Quick reference for that sort of thing **LINK** . For a quick'n dirty check I put nylon or, better, delrin collars on the bar. Cutting forces are much much lower so you can get away with far more stick out. Should be OK with your 9 inches. Better to use thick wall tube rather than solid bar as lower weight means less tendency to sag. If the collars are pretty much same diameter you need to verify that the tailstock is in reasonable alignment. Quick way is to fit the headstock and tailstock centres and slide the tailstock up the bed until the points pretty much touch. Ideally they should be exactly point to point. If not trap an old 6" steel rule or similarly thin bar between the points and adjust the tailstock so that the bar lies straight across the bed. If the centres are good and sharp this is a very sensitive test. Really you should be making your alignment tests by working between centres. You need to get an accurate centre in each end of your test bar so its size is limited by the spindle bore. Hold it in the chuck with minimal protrusion, face the ends and put the centre hole in. Then set up with delrin collars at each end and make your test cuts adjusting the tailstock as required to get them the same. Ideally no adjustment will be needed if you et the centres point to point first but in practice small, affordable machines are rarely dead nuts. If need be you can work your way back along the bed to verify consistent behaviour using bars of different lengths. Three should be fine. Personally I'm very skeptical of all this levelling and twisting the bed to make things accurate bit. Careful shimming of the feet so it sits evenly and a good clinometer on the bed during the bolting down process to verify that no stresses are being applied always worked fine for me when I had smaller machines. Clive. PS You got your picture up whilst I was writing. Thats a pretty hefty machine. No way are you going to twist that into line.
Edited By Clive Foster on 15/02/2018 23:13:04 |
| David Colwill | 15/02/2018 23:07:03 |
| 782 forum posts 40 photos | Ahhh I think I see the problem.It's upside down |
| Neil Wyatt | 16/02/2018 00:11:19 |
19226 forum posts 749 photos 86 articles |
"I found that by suspending the inverted machine from the ceiling, I was able to centre all strain along the bed's neutral axis and achieve excellent alignment, although I found a minor issue with swarf dropping on my head". |
| Neil Wyatt | 16/02/2018 00:17:44 |
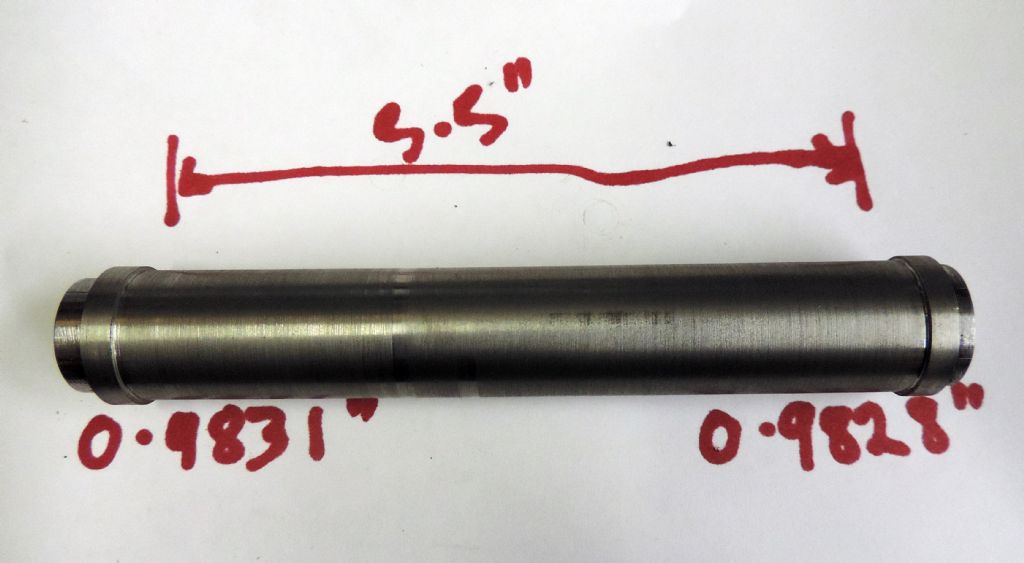
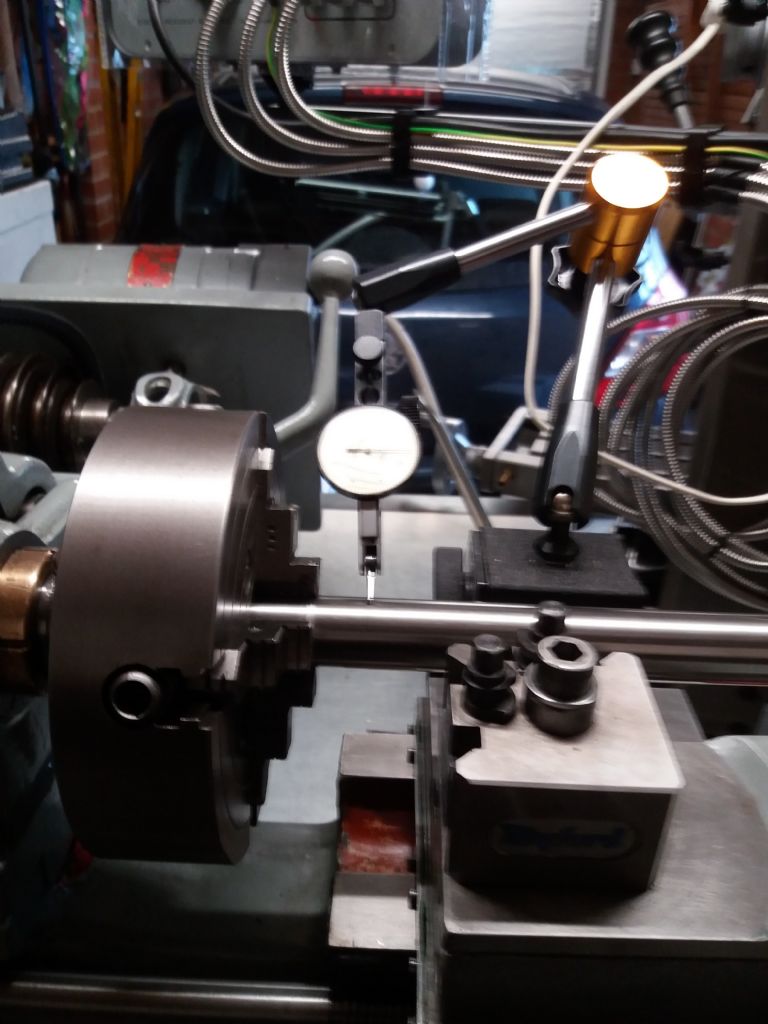
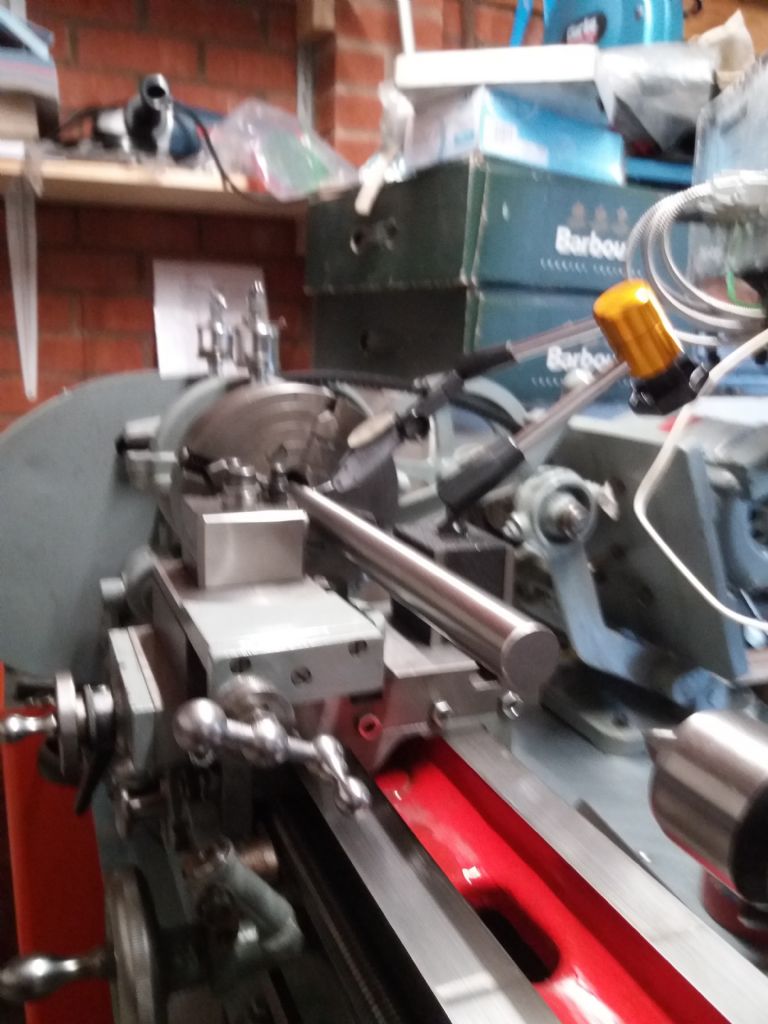
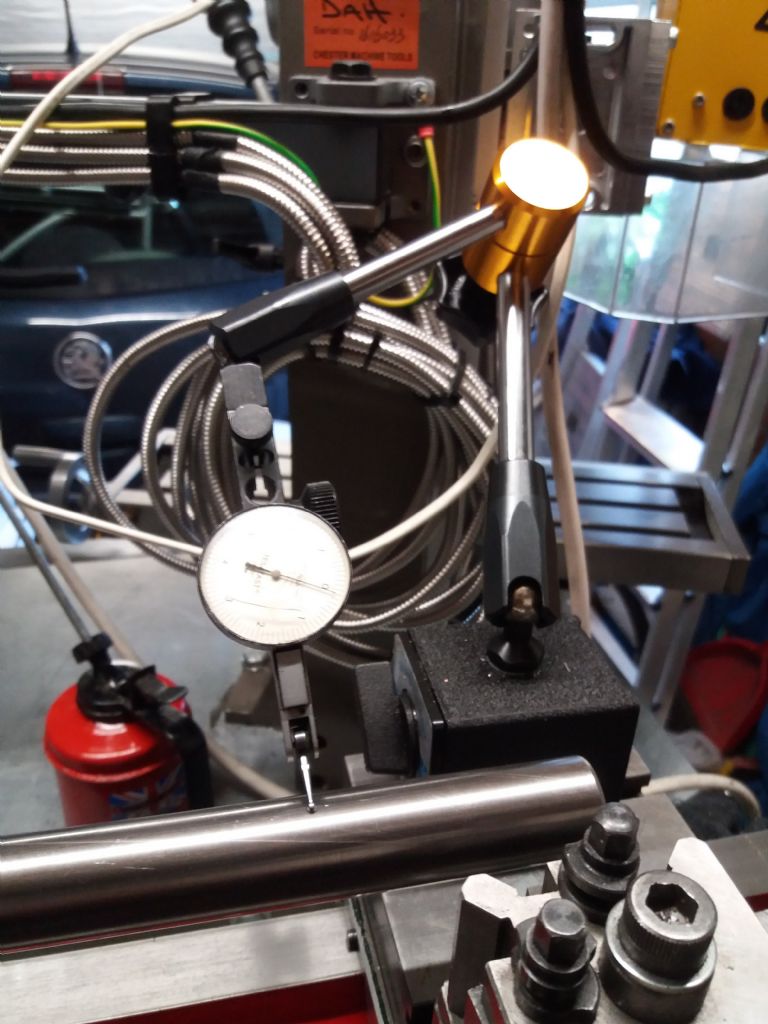
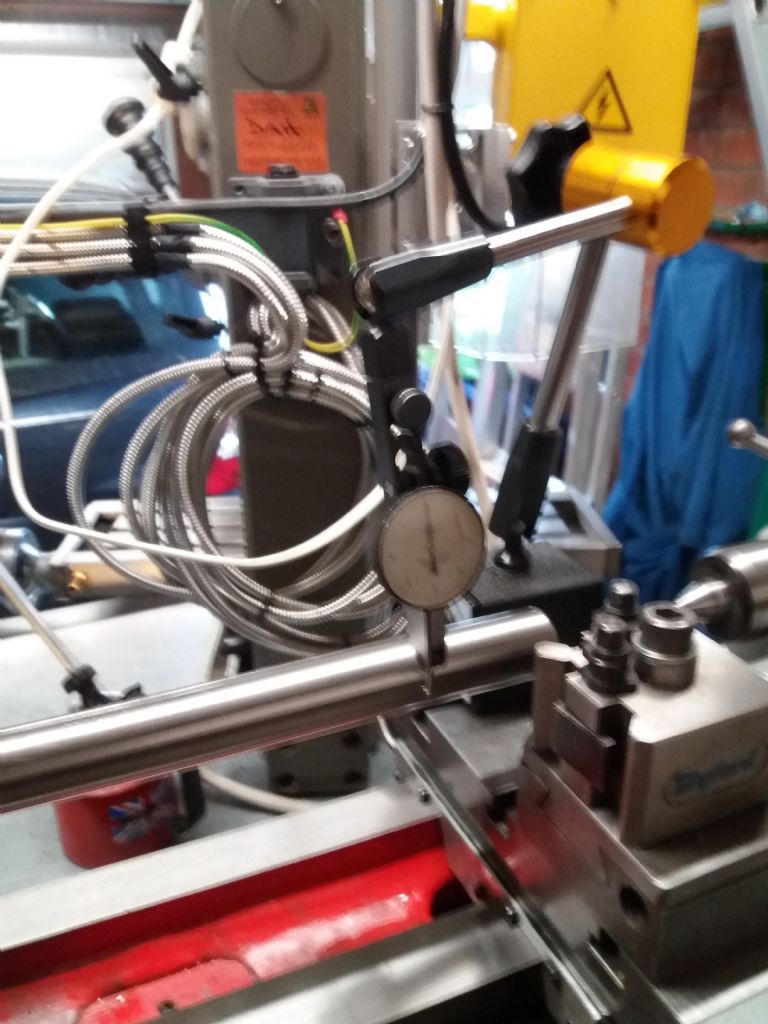
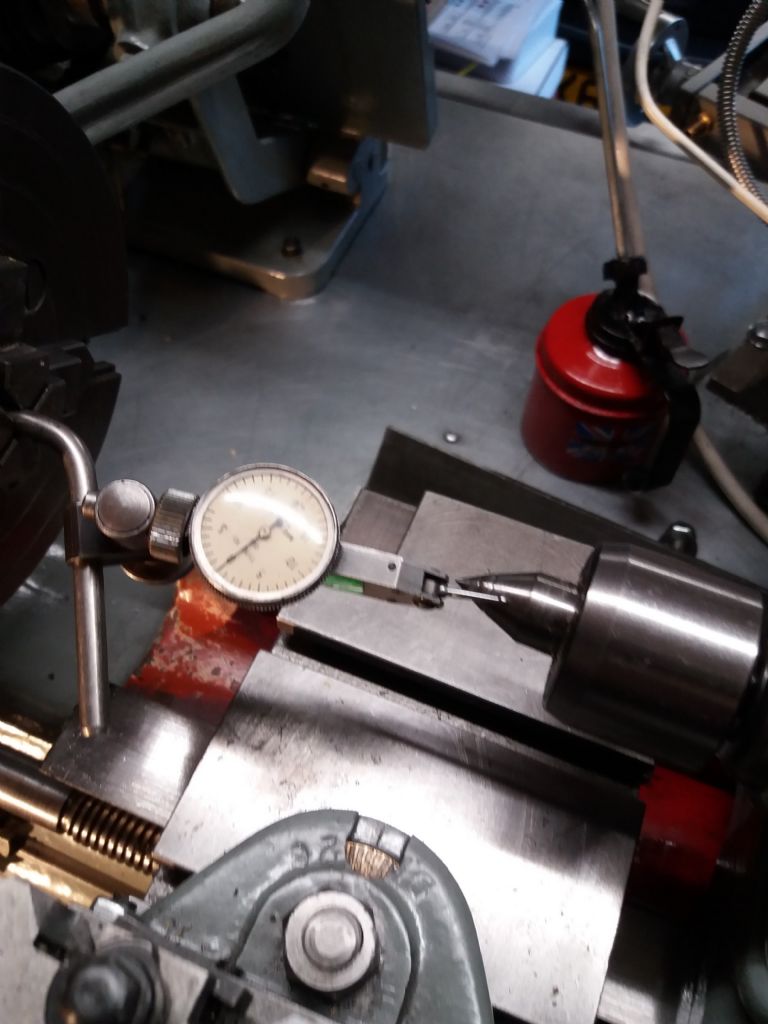
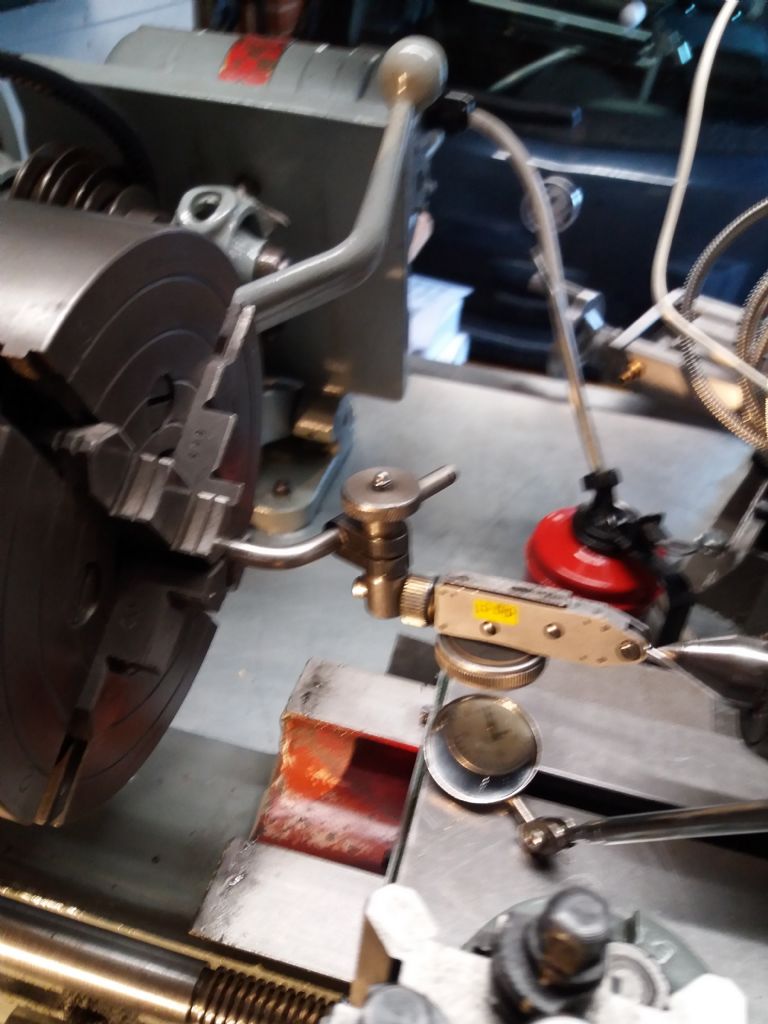
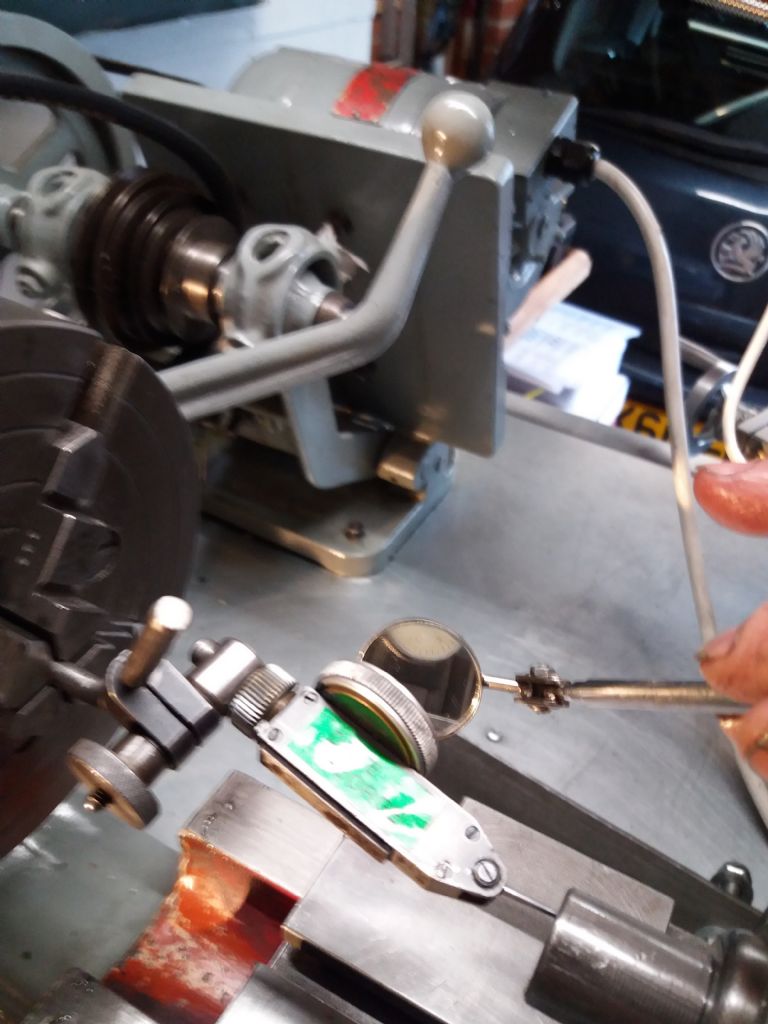
19226 forum posts 749 photos 86 articles | More seriously, as suggested perform the tests without a tailstock centre - if the tailstock is not perfectly aligned it can easily pull a thick but long bar 0.5mm out of true (enough to cause a 1mm taper). Check alignment with a shorter bar, unsupported at the far end. Once that's sorted, use something like this to align the Tailstock. I did a reasonable alignment by eye and turned the collars by turning the bar end for end but using the same tool setting, so they are very close in size. Placed between centres in head and tailstock, I can now align by using a DTI on the collars in place of a tool. (Just because I give micrometer readings to 1/10 of a thou that doesn't mean the measurements are that accurate, but I am happy the two collars are the same to well under a thou). Neil
|
| Speedy Builder5 | 16/02/2018 07:13:29 |
| 2878 forum posts 248 photos | If the machine is new, and you still get poor results after the above suggestions, contact the supplier BEFORE you start thinking about headstock alignment. If the bed was twisted enough for those errors, then the machine must be rejected and returned to supplier. |
| Hopper | 16/02/2018 07:55:00 |
7881 forum posts 397 photos | Posted by Chris Rose on 15/02/2018 22:09:56:
... i did a test turn of about nine inches to see if i was turning parallel......alas i was not, at least a millimetre difference from the chuck dia to the tailstock centre, (solid bar about 36mm dia held in the three jaw chuck with the tailstock centre in place.. And so to my levelling attempts... I fully understand that i need to eliminate any twist from the bed ways and this is what i have got set up.. (see pics), Stop, stop, stop. Sit down and read up a bit on setting up your lathe. The test you describe above with tailstock centre in place is a (rough) test for the tailstock alignment, not for headstock alignment and bed levelness. To fix the taper you are experiencing with tailstock in place, you need to adjust the offset of the tailstock, not the bed level and not the headstock alignment. Not familiar with your lathe model but usually the tailstock is in two pieces, the main body and the base that slides on the bed ways. There are usually adjusting screws that allow you to move the main body side-to-side and clamping screws that then hold the body in that position. If your test piece is tapered larger at the tailstock end by one millimeter, the tailstock needs moving towards the front by half a millimetre. If it is 1mm small at the tailstock end, the tailstock needs moving towards the back of the lathe by half a mm. Its best to do this test with a bar between centres as the chuck clamping one end can skew the result, unless the bar is gripped lightly with only a short bit in contact with the jaws so it can move ever so slightly. Neil has received a nice article and pics on a beginner's guide to tailstock alignment so keep an eye on future MEW issues for full details of the process. It seems to be something that catches out a lot of beginners. If you do want to check your headstock alignment and adjust the bed twist to correct any error, use a piece of bar sticking out of the chuck six inches (150mm) long and 1" diamter with no tailstock used to support it. Take a light cut along it and measure for taper. The Myford ML7 manual readily available online gives a good description of which way to twist your bed if turning tapered like this. It applies to all lathes, not just the Myford. Do your levelling with the cabinet or bench bolted to the floor and make your adjustments at the bolts where the lathe attaches to the bench. Your level positioning in the photo looks OK but you don't need the long longitudinal level, just the two short ones across the ways. They need to be set to the same reading to ensure no twist, It matters not if the whole shebang is at an angle lenghways, you are using the levels to measure twist in the bed, not really levelness. In fact some prefer a bit of a slope lengthways so coolant flows to the drain hole in the tray. You will still have to do the bar turning test to get the final setting anyway so you might as well do it first and see if the lathe is in fact OK as is. Edited By Hopper on 16/02/2018 08:00:46 Edited By Hopper on 16/02/2018 08:02:42 |
| Michael Gilligan | 16/02/2018 08:02:57 |
23121 forum posts 1360 photos | Posted by Speedy Builder5 on 16/02/2018 07:13:29:
If the machine is new, and you still get poor results after the above suggestions, contact the supplier BEFORE you start thinking about headstock alignment. If the bed was twisted enough for those errors, then the machine must be rejected and returned to supplier. . I agree that a new lathe should not need headstock adjustment by the buyer, Bob. For the sake of clarity: My comment [made before we had sight of the picture, of what appears to be a shiny new lathe] was "... Look elsewhere. [headstock alignment perhaps]" and I think this is still applicable. Looking is done with the eyes and, in this context, with test equipment. Correction is a separate matter. MichaelG.
|
| Journeyman | 16/02/2018 09:59:33 |
1257 forum posts 264 photos | Looks to be in reasonable condition for an ex-school lathe. I can see from the photo that it is generally level in the simplest mechanical terms. Before checking twist etc make sure it is bolted to the floor with suitable packing to avoid any wobble/twist in the cabinet stand when tightening up the bolts. These lathes are very top heavy and need bolting down. Once safely secured you can then follow the advice above to take out any twist in the bed. Someone will mention "Rollie's Dad's Method" of lathe alignment so it might as well be me John |
| Andrew Tinsley | 16/02/2018 11:54:09 |
| 1817 forum posts 2 photos | Hello, With the type of Chinese lathe that you have. It isn't just bed twisting that causes non parallel turning. I have now set up 3 slightly larger Chinese lathes and each on has had significant headstock misalignment. One of them had a tailstock that was skewed as well. You need to be aware of all the possible faults that can occur before jumping on one as a possible cause. Ask me how I know! Andrew. |
| Howard Lewis | 17/02/2018 16:08:39 |
| 7227 forum posts 21 photos | Don't think that because a lathe is heavy that it won't twist. My BL12 -24 weights 300Kg, but will still twist if not bolted down correctly. Lacking a precision level, turn test bars, without Tailstock support, and adjust/shim the feet until twist has been eliminated from the bed. The Myford Manual gives clear instructions on how to do this. If you can borrow an Alignment bar; using a DTI, this can be used to check Headstock alignment. Ideally, a Morse taper one will be best, since you eliminate any errors in the chuck. Assuming that the Headstock is correctly aligned, you can then turn your attention to the centres. True up both. Once confident of the Headstock alignment, with the Alignment bar between the cleaned up centres,, you can adjust the Tailstock until the DTI reads the same at both ends of the test bar. If all goes well, you should then have a lathe with minimal or no twist in the bed, with a properly aligned Headstock and Tailstock. Then go to work! Howard |
| David George 1 | 18/02/2018 15:59:28 |
2110 forum posts 565 photos | As a service engineer I would always set a lathe with a standard bar as I have a few, 1 1inch diameter by 12 inch long, 1 1 and 1/2 inch diameter by 18 inch long and 1 2 inch diameter by 24 inch long. as I have only my M4 Drummond lathe I only use the small one but it never fails to find and help correct run out, taper, and spindle bearings at fault. You can use a piece of ground silver steel bar as long as it isn't damaged but big enough not to bend 25mm diameter is what I would recommend for a small lathe like mine. I put the bar into the 4 jaw chuck and roughly clock it centre then I traverse the clock to the end of the bar and repeat clocking taping with small hide face mallet and repeat clocking both ends till there is no movement of the clock and the 4 jaw chuck is tight but not strained. move the clock to the far end of the bar and zero on top. pull the chuck up and down and record any play. Repeat this with the clock on the front of the test bar on centre height record any movement. If you traverse the clock along the bar there should be no movement if all ok but record any movement if there is. Repeat this with the clock on the top the same should be zero but record.
Then I have a piece of silver steel bent and a knuckle for a clock and put it in to the chuck set it rotating by hand till it scribes a small circle and push the tailstock with a centre in which is clean and not damaged up the clock till it reads. Lock the base and barrel and rotate the chuck and record any movement. Remove the centre and repeat the check but with nothing in the clean morse taper and record any movement. The lathe can now be adjusted to remove any inaccuracies i.e. spindle out of line, bearing play and tailstock misalignment.
Always check by cutting a piece of bar and measuring parallelism. David Edited By David George 1 on 18/02/2018 16:01:14 Edited By David George 1 on 18/02/2018 16:05:50 Edited By David George 1 on 18/02/2018 16:15:02 |
| Chris Rose | 03/03/2018 16:56:21 |
| 7 forum posts 7 photos |
Thanks very much for this info, most useful, at the moment i don't have a "test bar" and im somewhat confused by all of the different replies as to what to do: So far i have as follows: Removed the tailstock from the equation and discovered the alignment screws, serviced this and checked it all moves as required. I have retried the test with a small piece of thick wall tube approx 35mm o/d with a 4mm wall. ive put this in the three jaw chuck so there is about 50mm inside the chuck and it sticks out 100mm, i have done one test with this and so far there is still a taper... i plan to repeat this again tonight, and record my findings, i had a thought also as to how the compound slide should be set for this test?, should it be parallel to the work or 45 degrees?. ive now got the lathe set up level on the floor, and just need to bolt it down...
|
| Journeyman | 03/03/2018 17:06:58 |
1257 forum posts 264 photos | Chris, you need to bolt it down before doing any tests otherwise it will move when you do finally bolt it down. John |
Please login to post a reply.
Want the latest issue of Model Engineer or Model Engineers' Workshop? Use our magazine locator links to find your nearest stockist!
Sign up to our newsletter and get a free digital issue.
You can unsubscribe at anytime. View our privacy policy at www.mortons.co.uk/privacy
- *Oct 2023: FORUM MIGRATION TIMELINE*
05/10/2023 07:57:11 - Making ER11 collet chuck
05/10/2023 07:56:24 - What did you do today? 2023
05/10/2023 07:25:01 - Orrery
05/10/2023 06:00:41 - Wera hand-tools
05/10/2023 05:47:07 - New member
05/10/2023 04:40:11 - Problems with external pot on at1 vfd
05/10/2023 00:06:32 - Drain plug
04/10/2023 23:36:17 - digi phase converter for 10 machines.....
04/10/2023 23:13:48 - Winter Storage Of Locomotives
04/10/2023 21:02:11 - More Latest Posts...
- View All Topics
- Reeves** - Rebuilt Royal Scot by Martin Evans
by John Broughton
£300.00 - BRITANNIA 5" GAUGE James Perrier
by Jon Seabright 1
£2,500.00 - Drill Grinder - for restoration
by Nigel Graham 2
£0.00 - WARCO WM18 MILLING MACHINE
by Alex Chudley
£1,200.00 - MYFORD SUPER 7 LATHE
by Alex Chudley
£2,000.00 - More "For Sale" Ads...
- D1-3 backplate
by Michael Horley
Price Not Specified - fixed steady for a Colchester bantam mark1 800
by George Jervis
Price Not Specified - lbsc pansy
by JACK SIDEBOTHAM
Price Not Specified - Pratt Burnerd multifit chuck key.
by Tim Riome
Price Not Specified - BANDSAW BLADE WELDER
by HUGH
Price Not Specified - More "Wanted" Ads...
Do you want to contact the Model Engineer and Model Engineers' Workshop team?
You can contact us by phone, mail or email about the magazines including becoming a contributor, submitting reader's letters or making queries about articles. You can also get in touch about this website, advertising or other general issues.
Click THIS LINK for full contact details.
For subscription issues please see THIS LINK.
Model Engineer Magazine
- Percival Marshall
- M.E. History
- LittleLEC
- M.E. Clock
ME Workshop
- An Adcock
- & Shipley
- Horizontal
- Mill
Subscribe Now
- Great savings
- Delivered to your door
Pre-order your copy!
- Delivered to your doorstep!
- Free UK delivery!



 Register
 Log-in


