Forum sponsored by:

The Workshop Progress thread 2018
| JasonB | 01/01/2018 07:19:34 |
 25215 forum posts 3105 photos 1 articles | Report your modelling and workshop milestones in this thread. Anything else should go into the What did you do thread 2017 posts can be found in this thread
Edited By JasonB on 01/01/2018 07:22:50 |
| I.M. OUTAHERE | 01/01/2018 08:13:56 |
| 1468 forum posts 3 photos | Continued rebuilding my lathe , got the leadscrew gearbox back together after modifying the bushings in it so i can oil them . The original set up has two button oilers to oil one of the tree shafts in the box but the bushings have no holes for the oil to get into inside of the bush - i was wondering why it was impossible to pump oil in those two oilers ! After some drilling , tapping and fiddling around all 6 bushings are now pinned in place with grubscrews and have holes in them to let the oil through and 4 new oiling points have been added so all of the bushings can be lubricated . Then i blew a coat of paint over it and the belt/ backgear cover . |
| JasonB | 01/01/2018 17:13:20 |
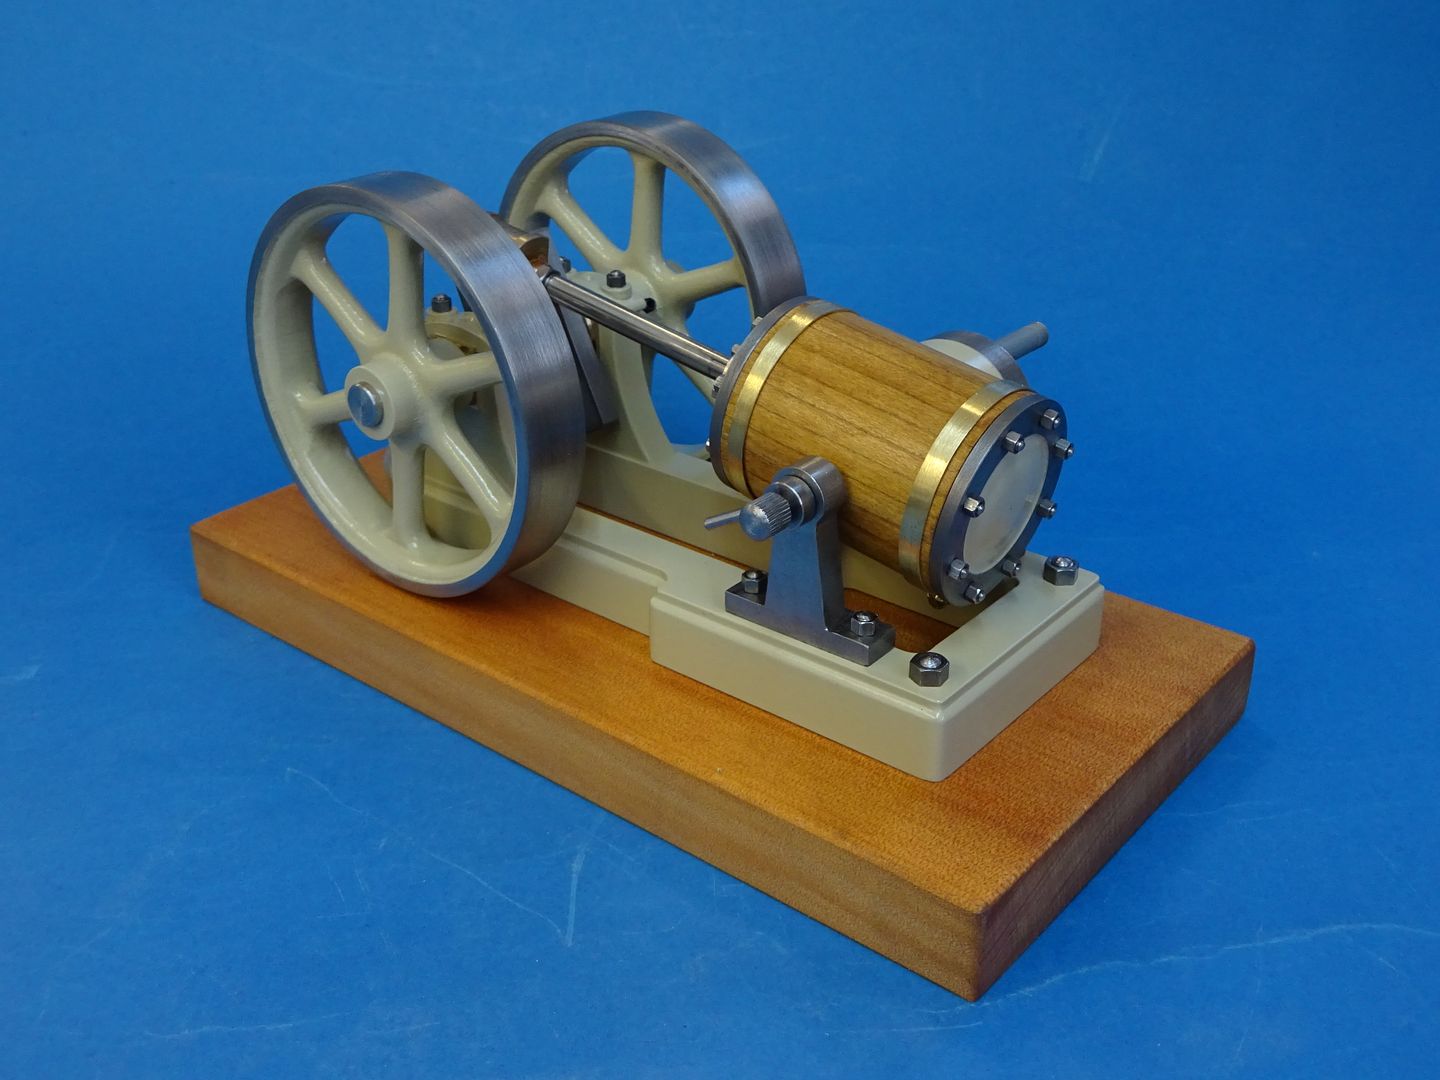
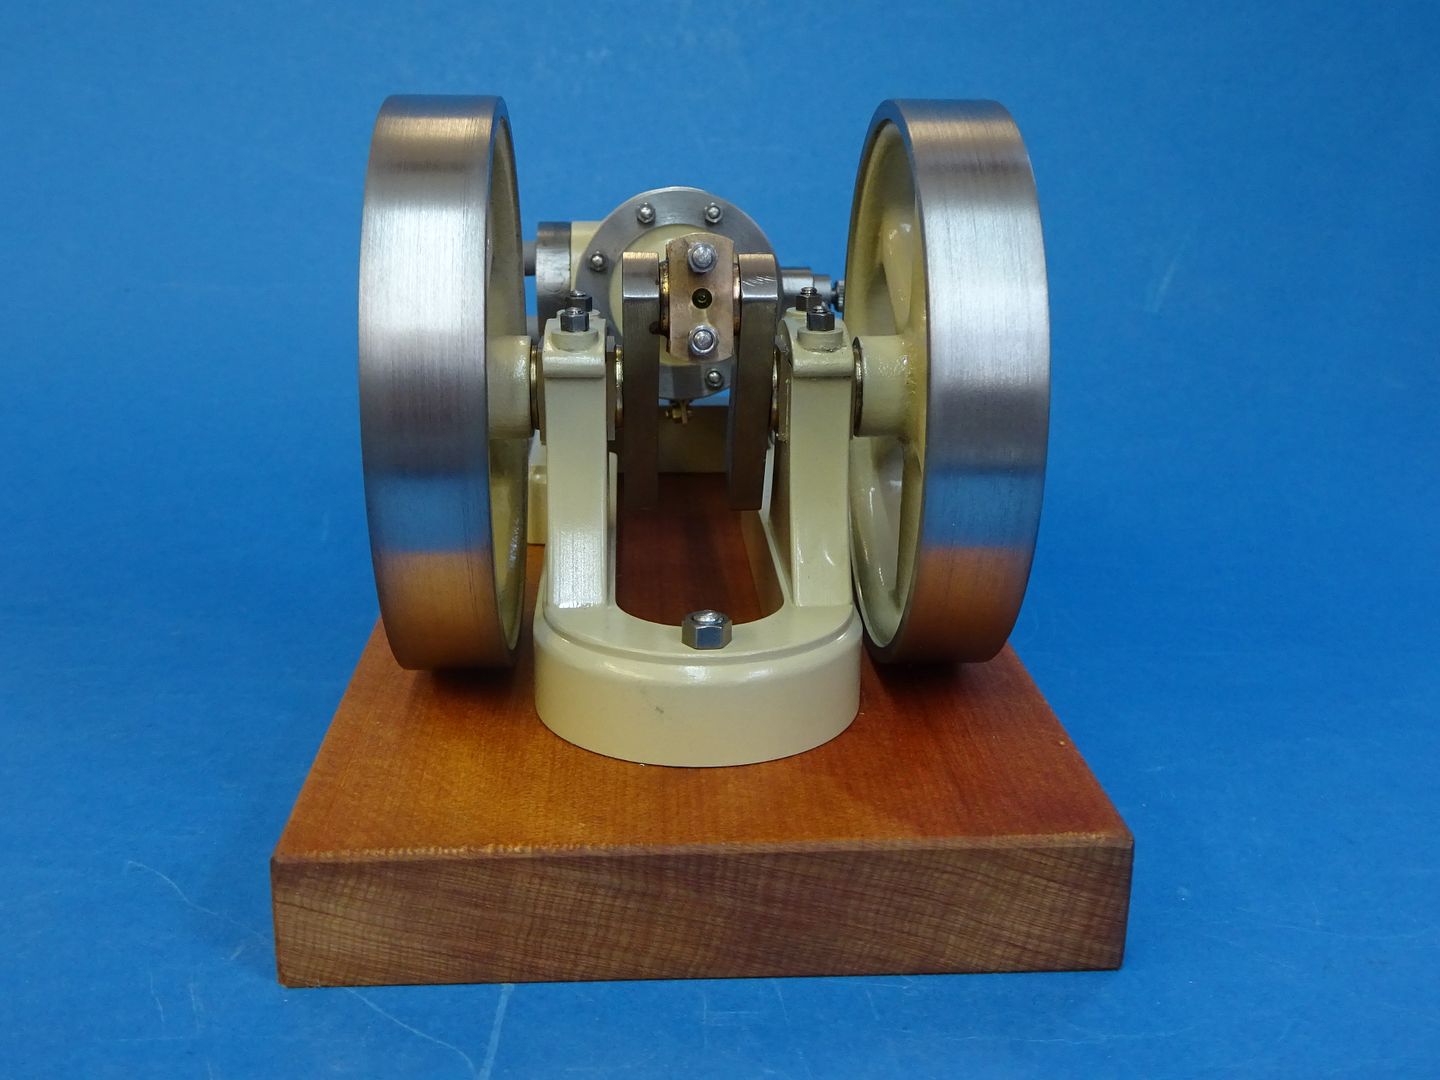
25215 forum posts 3105 photos 1 articles | New Year + New engine running = Happy I started this little oscillator on the Saturday before Xmas, got it to the stage where it could be test run today. Quite pleased with how it has turned out, should be finished and painted by the end of the week. J |
| JasonB | 05/01/2018 18:43:39 |
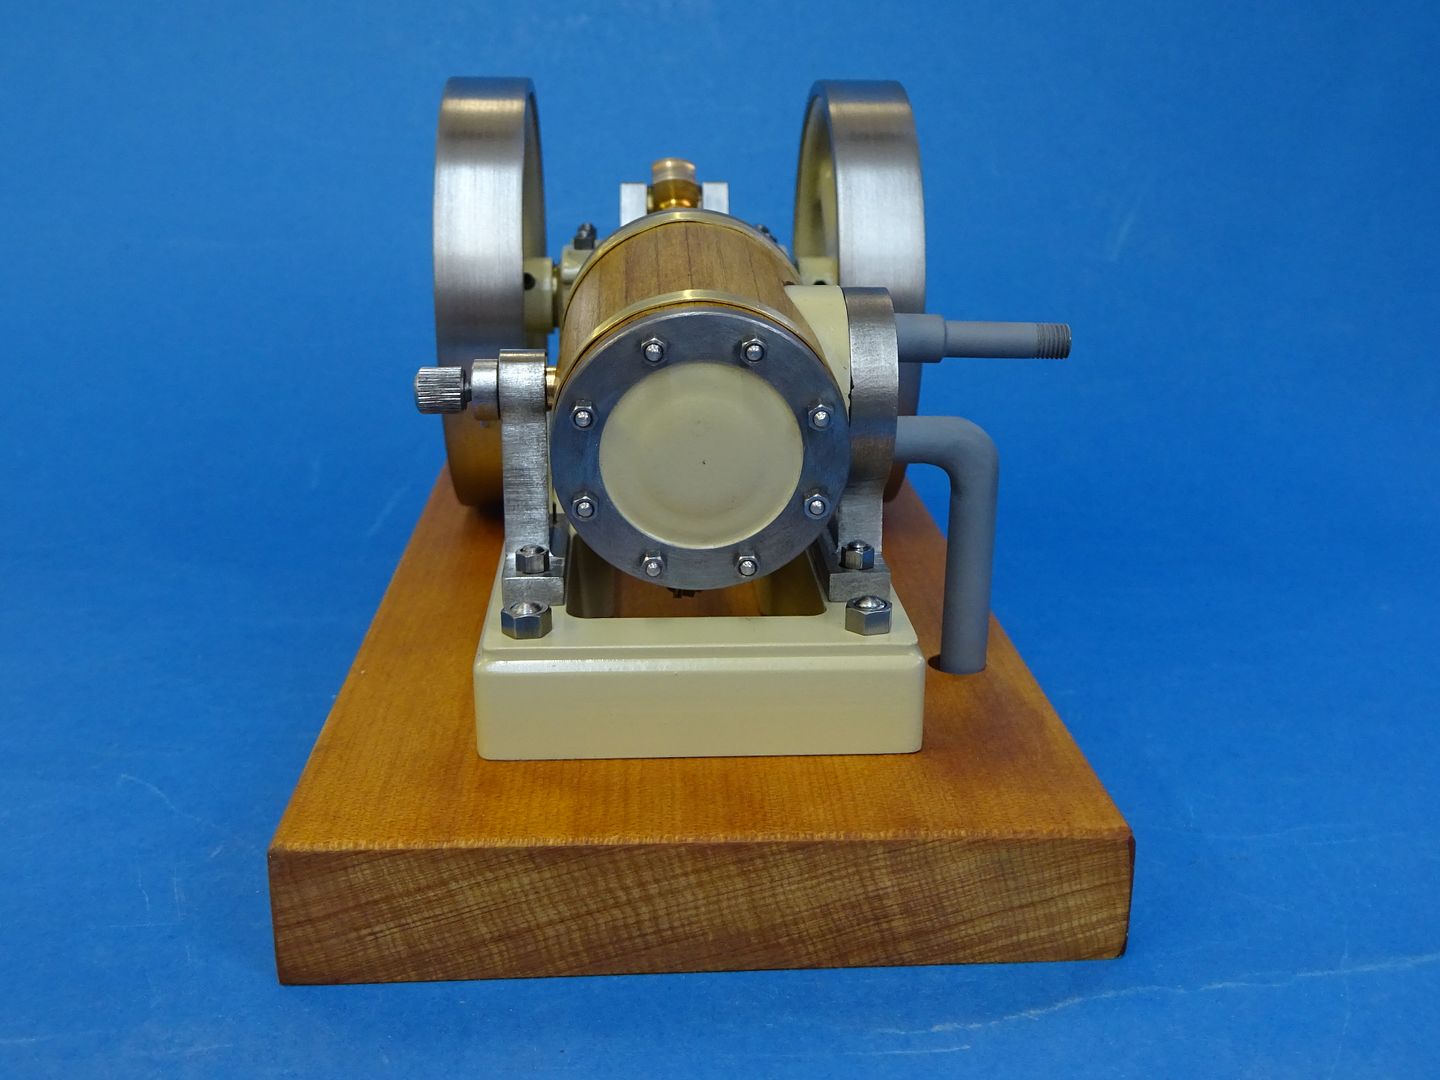
25215 forum posts 3105 photos 1 articles | Well a couple of days doing the last few little bits to make it look nice plus a lick of paint and that is this one done and dusted.
As you can see I went with the creamy yellow which is in fact U-POL HIGH5 high build primer filler topped off with a clear gloss lacquer. I also kept the wood cleading fairly light too. A bit of a vid of it running. These 24mm bore engines are quite a nice size - not too small that they become fiddly and not too large that you need to spend a lot on materials or need a big compressor to run them. At a steady speed it will run for about 3mins before the compressor trips in or if I switch it off I can get about 7mins before the tank is too low.
|
| Mick Henshall | 05/01/2018 19:13:06 |
 562 forum posts 34 photos | Jason- I do like these engines,I am making Rob Roy which has been under way for some years and its a long time to see the final results, these engines would give quicker satisfaction, do you generally fabricate or use castings and which would you recommend for a simple starter engine Mick |
| Neil Wyatt | 05/01/2018 19:27:59 |
 19226 forum posts 749 photos 86 articles | How do you do it....? |
| Jim Nic | 05/01/2018 19:42:54 |
 406 forum posts 235 photos | That turned out well Jason. As always an impressive result in double quick time. Jim |
| Baz | 05/01/2018 20:06:12 |
| 1033 forum posts 2 photos | Very nice Jason. Do you intend to serialise it here? |
| JasonB | 05/01/2018 20:35:30 |
25215 forum posts 3105 photos 1 articles | Mick, they do indeed make a pleasant break from a more complex build which is one of the reasons I enjoy making them. Any of them would make a good starter engine. The Jowitt or Muncaster would suit someone who did not want to silver solder as would the CHUKY though that does need to be built with some closer fits. This one and the Thompstone are fairly straightforwards but do use a silver soldered cylinder though they could be cut from solid with a bit of thought. yes all fabricated or cut from solid except the flywheels which I tend to buy castings for though these could be made if the builder wanted. Neil, I don't waste my time looking up at the sky at night Thanks Jim Baz, I'll definately write it up on MEM as I have already been posting each days progress there and as there seems to be a bit of interest here it is not a lot more effort to copy and past the posts here. The Muncaster will most likely go into ME as I have said to Diane that I will do it, someone is building one to prove my drawings at the moment.
J |
| Mick Henshall | 05/01/2018 22:12:49 |
562 forum posts 34 photos | Thanks Jason, I'll have a look at the ones you suggest and have a go, I admire your work you are a very talented engineer and I look forward to reading your posts Mick  |
| Jim Nic | 12/01/2018 17:37:51 |
406 forum posts 235 photos | At long last the Stew Hart's Popcorn engine is complete. I ran into a couple of difficulties when reassembling it after stripping and painting; I discovered that somehow I had managed to bend the piston rod, which is a short piece of 4mm dia steel, and when I remade it the M4 thread I put on the end using a brand new thread die was seriously horrible and barely engaged with the crosshead. The bronze ball whistle valve which previously held air very well now leaks and will need to be sorted, hopefully with the simple replacement with a nitrile ball. Anyway, here's the evidence:
And for those of you not too bored yet, a video: Jim
|
| JasonB | 12/01/2018 17:42:38 |
25215 forum posts 3105 photos 1 articles | That has turned out very nicely and an engine where a bit of bling is perfectly acceptable.
J |
| mechman48 | 13/01/2018 18:02:47 |
 2947 forum posts 468 photos | A nice little popper Jim, award yourself a gold star... |
| mechman48 | 13/01/2018 18:21:19 |
2947 forum posts 468 photos | A little more done on the vertical cross... trial assembly of valve chest |
| Neil Wyatt | 13/01/2018 19:46:23 |
19226 forum posts 749 photos 86 articles | Nice on Jim, I like the engine turning. Nice brasswork on your cylinder too George. |
| JasonB | 13/01/2018 20:23:50 |
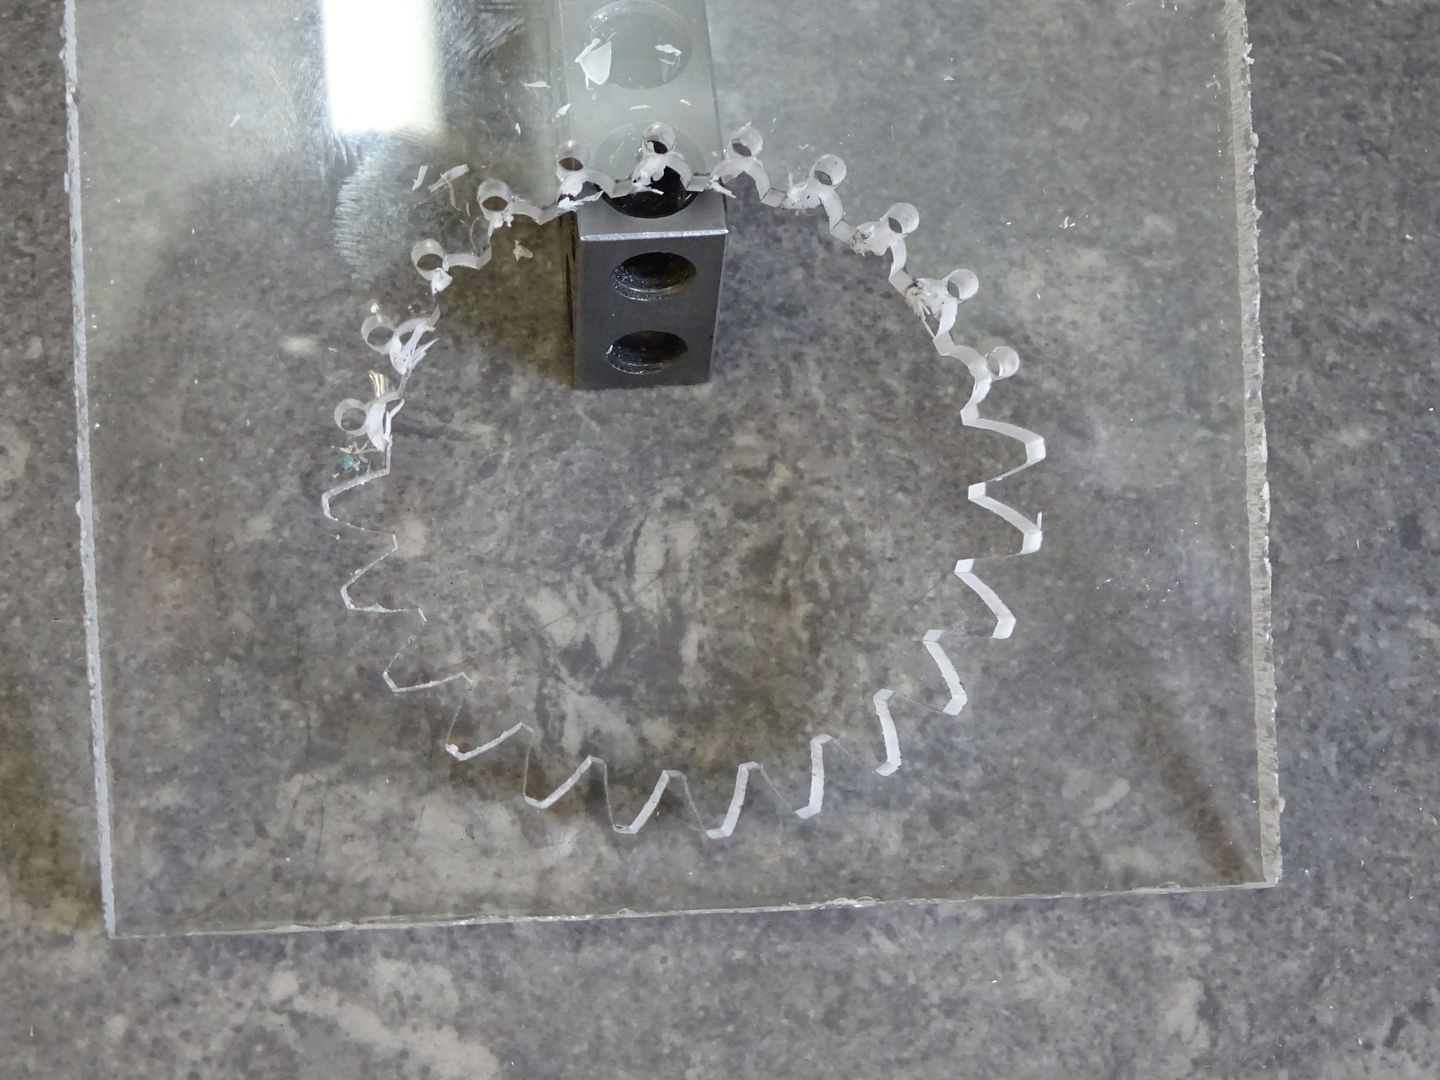
25215 forum posts 3105 photos 1 articles | The Robinson Chippie engine that I'm working on uses a 2:1 epicyclic gear to work the exhaust valve by way of an eccentric so today I modified the HPC 1.75MOD 12T gear and then had a go at cutting a 24T internal gear to go with it. I did a test in some 6mm acrylic sheet which seemed to go Ok
So decided to commit to a slice of bronze, quite pleased with how it turned out and it even goes round and round at half the rate of the pinion and at the correct PCD. |
| Mark Rand | 13/01/2018 22:01:17 |
| 1505 forum posts 56 photos | Having discovered that my two second-hand Chinee milling vices were 100 thou different in height, I spent a day correcting them. While I was at it, I replaced the grooved, non-round,soft-cheese pull-down hemisphere (only one, the other was missing) with 5/8" bearing balls that had a flat turned on them in the lathe. Then I milled the angled face that said hemisphere slides on so it was flat, rather than corrugated. After putting them back together I finished milling the edges of the 500x210x10mm plates that are going to be the collet draws in my HLV cabinet.
I wouldn't have noticed or even thought about the vices being different heights if I hadn't been holding the aluminium plates vertically, supported by both vices. Bit easy to spot when you have the three plates on the bench on top of each other to measure them for the final cut and notice that the edges don't line up Edited By Mark Rand on 13/01/2018 22:02:25 |
| mechman48 | 14/01/2018 19:16:58 |
2947 forum posts 468 photos | Completed inlet valve with flange Loctited on... |
| JasonB | 14/01/2018 19:21:01 |
25215 forum posts 3105 photos 1 articles | valve looks good George
I made the rest of the 2:1 epicyclic gearbox and it seems to work OK |
| mechman48 | 14/01/2018 19:44:18 |
2947 forum posts 468 photos | Looks good Jason... |


.jpg")
.jpg")
.jpg")
This thread is closed.
Magazine Locator
Want the latest issue of Model Engineer or Model Engineers' Workshop? Use our magazine locator links to find your nearest stockist!
Sign up to our Newsletter
Sign up to our newsletter and get a free digital issue.
You can unsubscribe at anytime. View our privacy policy at www.mortons.co.uk/privacy
Latest Forum Posts
- *Oct 2023: FORUM MIGRATION TIMELINE*
05/10/2023 07:57:11 - Making ER11 collet chuck
05/10/2023 07:56:24 - What did you do today? 2023
05/10/2023 07:25:01 - Orrery
05/10/2023 06:00:41 - Wera hand-tools
05/10/2023 05:47:07 - New member
05/10/2023 04:40:11 - Problems with external pot on at1 vfd
05/10/2023 00:06:32 - Drain plug
04/10/2023 23:36:17 - digi phase converter for 10 machines.....
04/10/2023 23:13:48 - Winter Storage Of Locomotives
04/10/2023 21:02:11 - More Latest Posts...
- View All Topics
Support Our Partners


Shopping Partners
Subscription Offer

Latest "For Sale" Ads
- Reeves** - Rebuilt Royal Scot by Martin Evans
by John Broughton
£300.00 - BRITANNIA 5" GAUGE James Perrier
by Jon Seabright 1
£2,500.00 - Drill Grinder - for restoration
by Nigel Graham 2
£0.00 - WARCO WM18 MILLING MACHINE
by Alex Chudley
£1,200.00 - MYFORD SUPER 7 LATHE
by Alex Chudley
£2,000.00 - More "For Sale" Ads...
Latest "Wanted" Ads
- D1-3 backplate
by Michael Horley
Price Not Specified - fixed steady for a Colchester bantam mark1 800
by George Jervis
Price Not Specified - lbsc pansy
by JACK SIDEBOTHAM
Price Not Specified - Pratt Burnerd multifit chuck key.
by Tim Riome
Price Not Specified - BANDSAW BLADE WELDER
by HUGH
Price Not Specified - More "Wanted" Ads...
Get In Touch!
Do you want to contact the Model Engineer and Model Engineers' Workshop team?
You can contact us by phone, mail or email about the magazines including becoming a contributor, submitting reader's letters or making queries about articles. You can also get in touch about this website, advertising or other general issues.
Click THIS LINK for full contact details.
For subscription issues please see THIS LINK.
Digital Back Issues


Donate

 Register
 Log-in
Model Engineer Magazine
- Percival Marshall
- M.E. History
- LittleLEC
- M.E. Clock

ME Workshop
- An Adcock
- & Shipley
- Horizontal
- Mill

Subscribe Now
- Great savings
- Delivered to your door

Pre-order your copy!
- Delivered to your doorstep!
- Free UK delivery!
All Forum Topics > Work In Progress and completed items > The Workshop Progress thread 2018