Forum sponsored by:

Stirling Engine : Laura
A premilled kit by Bengs
| michael m | 14/10/2015 16:11:58 |
| 61 forum posts 3 photos | Generally, the drill press vices sold now do seem a bit dismal and more oriented towards less demanding work. Sadly no longer manufactured, but if you could find a s/h "Nippy" vice in good condition, maybe on ebay, they're very good for the job. The toolmaker's vices, though very good in their own right, are not always the easiest thing to fit to many drill press tables due to the lack of lugs. Maybe you could consider a machine vice, usually better made and more solid than drill vices and it would be ideal if you acquire a milling machine. This one, available in Australia, may be worth checking. The prismatic jaws are very useful for less common set-ups. http://www.ausee.com.au/shop/category.aspx?catid=5116 Michael |
| Brian John | 15/10/2015 08:35:50 |
| 1487 forum posts 582 photos | I bought the drill press today but I have not set it up yet. One of the cylinders is to be accurately reamed out to 10mm using a 10H7 reamer (now on order from china). Should I order a 9.8mm or 9.9mm drill bit for use prior to reaming ? I already have 6, 7, 8 and 9mm drill bits so I will drill up in steps. |
| Jeff Dayman | 15/10/2015 20:02:23 |
| 2356 forum posts 47 photos | The old rule of thumb I was taught is never take out more than .005" (0.12mm) from a hole with a reamer. Has worked for me for many years. So a 9.9 mm drill would be in the ballpark for a finished 10 mm hole - IF the drill does not cut oversize- they often do. It is worthwhile doing a test hole with the 9.9 drill to make sure your drill does not overcut 10mm or more in dia. You could also turn up a 9.88 dia plug gauge on the lathe on the end of a bit of scrap bar which should just enter a 9.9 hole with no slop. You could use the 9.8 drill, check the diameter, and if it is truly 9.8, run the 9.9 drill thru, then ream. Good luck, JD |
| Brian John | 16/10/2015 07:55:59 |
| 1487 forum posts 582 photos | Which raises the point I have been considering for a while : how do you accurately measure the diameter of a hole ? I have digital vernier calipers to take an inside measurement but unless you are exactly on the diameter then your reading is going to be slightly out. |
| Michael Gilligan | 16/10/2015 11:23:28 |
 23121 forum posts 1360 photos | Posted by Brian John on 16/10/2015 07:55:59:
Which raises the point I have been considering for a while : how do you accurately measure the diameter of a hole ? . Brian, There are Bore Micrometers, and various types of 'Plug' Go/NoGo gauge available, but; for what you are doing, the [undamaged] shank of a drill should suffice. MichaelG. |
| Hopper | 16/10/2015 12:22:36 |
 7881 forum posts 397 photos | Yes, drill bits are a good way to measure hole size. If you want to get fancier than that, buy a set of ball gauges. You put the ball inside the hole, expand it until it just fits the hole nicely, pull it out and measure it with your vernier. (Although I prefer an old-fashioned micrometer for more accuracy.) I got a reasonable drill vice from Allied Bearings on Aumuller Street for not too much money. About 100mm wide jaws I think. They may have smaller ones, not sure. Cheap and cheerful but has been doing the job for a couple years now. |
| Brian John | 16/10/2015 14:20:35 |
| 1487 forum posts 582 photos | Okay, I will use the drill bits for now. I suppose the important thing is that the piston closely fits the cylinder (or axle in the hole) regardless of what measurement is being shown on any type of gauge. So as you get closer to size, keep testing for fit. Hopper : I will drop in to Allied bearings next week and see what they have. Bunnings and Masters are useless for this sort of thing ! Edited By Brian John on 16/10/2015 14:22:03 |
| Brian John | 17/10/2015 06:57:46 |
| 1487 forum posts 582 photos | Allied bearings do not have any machine vices with the horizontal and vertical notches. I thought these would be essential for a machine vice ? I set up the drill press today and tested it. I will have to return it as there is excessive vibration in the motor and the chuck moves slightly to one side at the bottom of the throw. What is the part just below the pulley housing ; it has a wing nut on a spring loaded bolt which pushes against a plate ? What is an acceptable speed for drilling metal ? It is currently set on the middle speed 1220 RPM.
Edited By Brian John on 17/10/2015 06:59:22 Edited By Brian John on 17/10/2015 07:29:43 |
| Speedy Builder5 | 17/10/2015 07:23:16 |
| 2878 forum posts 248 photos | BJ, that bolt / spring is there to reduce vibration. When you change belt position, First slacken off the wing nut to allow some slack in the belt, change the belt position and then push the motor in a direction which tightens the belt, then do up the wing nut. On new machines, often the belt is a bit "stiff" and the spring / plunger AKA bolt are not strong enough to correctly tighten the belt. |
| Brian John | 17/10/2015 07:35:39 |
| 1487 forum posts 582 photos | I must be missing something here : the other side of the motor plate is bolted to the green housing with two large bolts. The plate cannot move so I do not see how that bolt / spring does anything ? Are the two bolts on this side supposed to be loosened when changing the speeds ? YES THEY ARE ! The label with the gradings on the front has fallen off already ! I am most concerned about the slight 2mm of movement in the chuck at the bottom of the throw. Is this going to cause problems ?
Edited By Brian John on 17/10/2015 07:50:21 |
| Nick Hughes | 17/10/2015 10:48:10 |
 307 forum posts 150 photos | Reaming, i was taught that as a general rule/good starting point for steel is 3% of the Reamer diameter, for the Stock allowance (e.g. for a 3/8" reamer the hole should be 0.364" [0.375 x 3 / 100 ]). If the hole is only drilled and the 3% calculation results in an odd size then for softer materials use the nearest Smaller drill and for tougher materials, then use the nearest Larger. As for using drill shanks to check hole sizes, be careful, HSS drill bits are tapered over their length, but Solid Carbide are generally parallel. Nick.
Edited By Nick Hughes on 17/10/2015 10:49:55 |
| Ian S C | 17/10/2015 11:01:10 |
 7468 forum posts 230 photos | Brian, the motor pivots on the two bolts on the left side, if you loosen the plastic headed bolt on the right, the motor can be swung toward you to loosen the belt for changing speeds, after the pulleys have been selected push the motor away quite firmly and retighten the plastic headed bolt again. My drill vice is one handed down from dad, it's an old Black and Decker one that he used when he had his B&D drill mounted on a drill stand, I'v also got a cheap tilting one that came with my milling machine. Ian S C |
| Gordon W | 17/10/2015 11:03:02 |
| 2011 forum posts | Brian- that drill machine looks the same as mine, but different brand. The motor mounting is a hinge, the screw under the belt cover is for adjustment, there may be extra screws in slots as well. They are not robust machines but ok for light stuff, if drilling a hole in steel you may be able to bend the table with heavy pressure. If so put a small block under to take the force. Mine has more sideways play than yours but works ok for drilling. If I need accurate drilled holes I use the lathe. |
| Brian John | 17/10/2015 11:45:44 |
| 1487 forum posts 582 photos | Thank you Ian and Gordon. It makes sense to me now. I did drill the holes in the edges of my rubbish cranks (the ones I stuffed up) and it worked well. Now I need a good machine vice to go with it. |
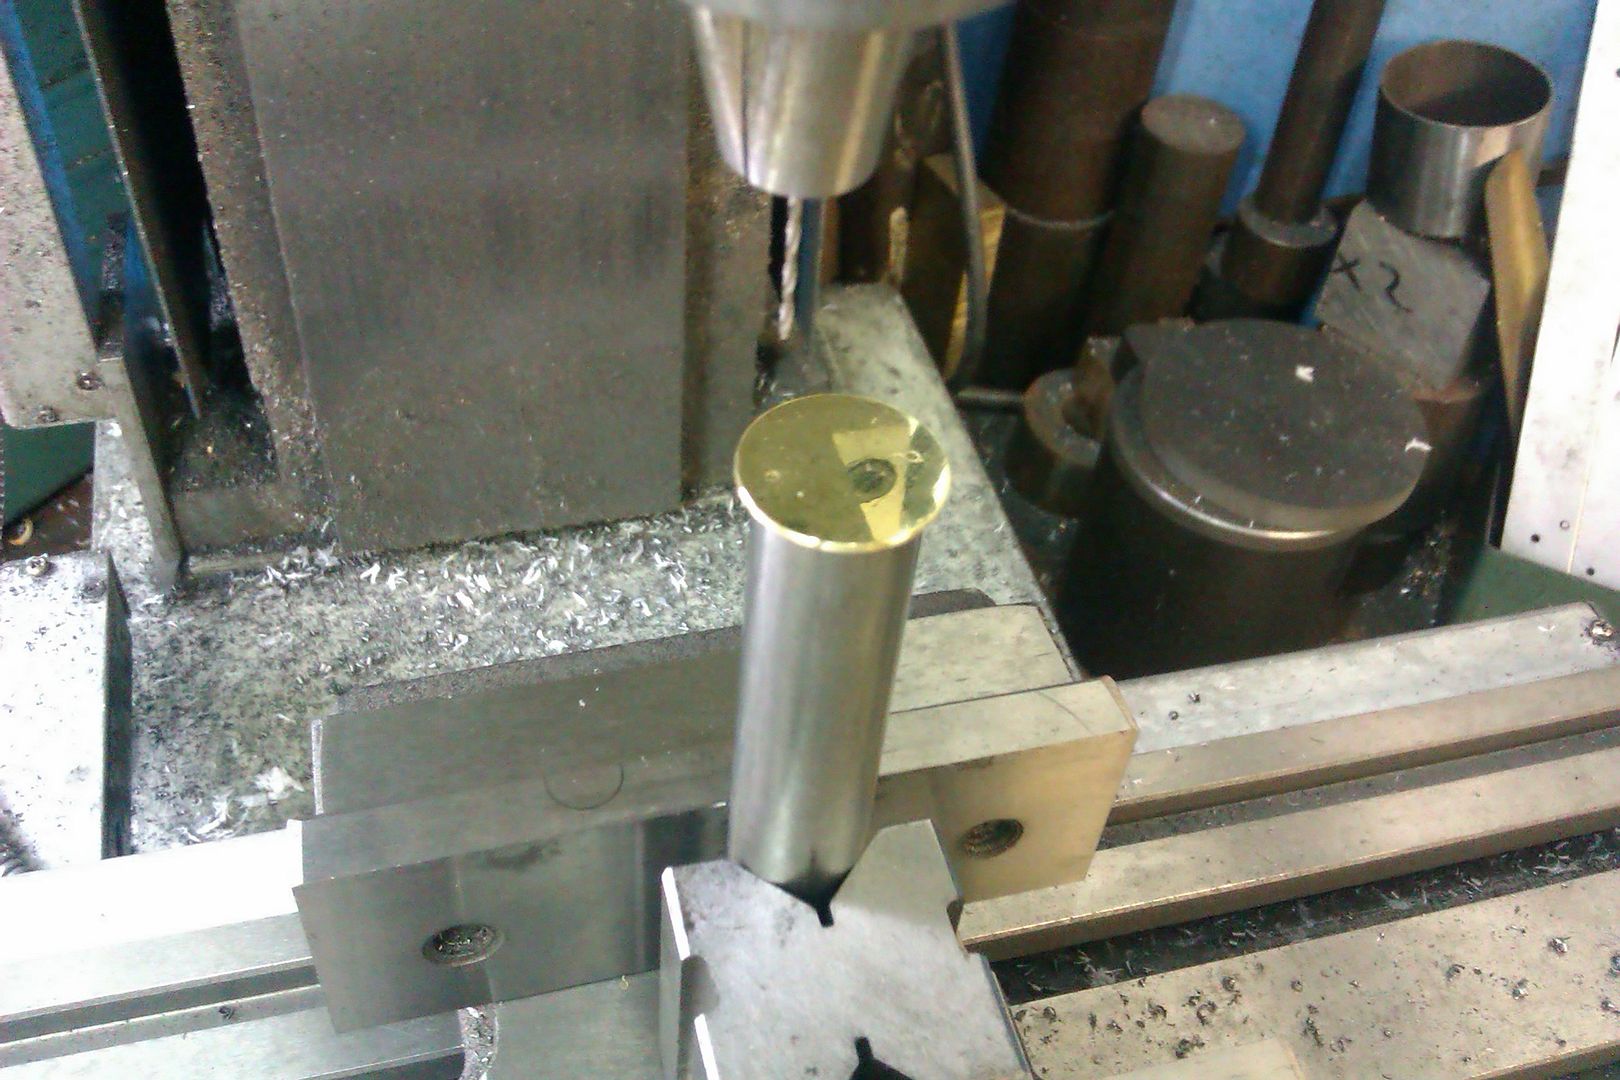
| Brian John | 19/10/2015 09:05:27 |
| 1487 forum posts 582 photos | My first wax chuck made from a 12 X 30mm brass hex head bolt. 12mm was the largest brass bolt anybody had in Cairns. I also want to make more wax chucks from 16mm and 18mm brass bolts but I will have to buy them from Hong Kong. They cost about $7 each. The wax chuck was polished on a sheet of glass using 1500 and then 2000 grit sandpaper. I have not had a chance to use it yet.
|
| pgk pgk | 19/10/2015 09:19:56 |
| 2661 forum posts 294 photos | Does it have to be brass? |
| Michael Gilligan | 19/10/2015 09:42:59 |
23121 forum posts 1360 photos | Posted by pgk pgk on 19/10/2015 09:19:56:
Does it have to be brass? . Not if you are using modern adhesives such as SuperGlue However: Traditional Watcmaking technique uses Shellac; which is melted with heat, and permits the job to be centered whilst the Shellac is still soft. The thermal characteristics of brass seem better suited to this. Note also that the Watchmaker's stubs are typically fitted into a collet and trued-up or modified for a particular job [Brass is more easily worked] MichaelG. . Edit: useful illustration, here P.S. That page also has some helpful comments regarding M14 threaded chucks.
Edited By Michael Gilligan on 19/10/2015 09:49:04 |
| JasonB | 19/10/2015 10:26:19 |
 25215 forum posts 3105 photos 1 articles | Brian, you don't have to use a bolt, just get an offcut of suitable bar and turn down one end to fit the chuck. Come to think of it you don't even need to reduce the dia just face off the bar as is and stick your work to that. Here is a bit of bar being used, turned the roughly cut plate round on the lathe and then over to the mill to drill, no metal wasted makeing special chucks, just faced off a bit of bar.
Edited By JasonB on 19/10/2015 10:30:49 |
| Brian John | 19/10/2015 10:38:54 |
| 1487 forum posts 582 photos | Jason : but doesn't the face have to be highly polished to get a good glue joint ? I was following instructions on one of the above links on wax chucks.The shape of the bolt is also good for polishing by hand on a sheet of glass. I could make this shape out of any brass bar but why waste brass when the bolt is almost the required shape ? I did not use a steel bolt because I get a much better finish on my small lathe using brass. Edited By Brian John on 19/10/2015 10:39:52 |
| JasonB | 19/10/2015 12:15:59 |
25215 forum posts 3105 photos 1 articles | I can't see any point in facing the bolt head, taking it out of the lathe to rub on a bit of abrasive and then putting it back into the chuck, its unlikely to go back true. I would not pay too much attension to that link you posted earlier, the chap looks to be getting a very poor turned finish on both the wax chuck and the finished work, there really should be no need to take a file to a finish turned face As you are not using wax then a turned finish should be quite adequate. There is also no need to make it that shape just face off a short offcut of bar, its not as though you are trying to fit it into a watchmakers lathe collet. Edited By JasonB on 19/10/2015 12:29:59 |


Please login to post a reply.
Magazine Locator
Want the latest issue of Model Engineer or Model Engineers' Workshop? Use our magazine locator links to find your nearest stockist!
Sign up to our Newsletter
Sign up to our newsletter and get a free digital issue.
You can unsubscribe at anytime. View our privacy policy at www.mortons.co.uk/privacy
Latest Forum Posts
- *Oct 2023: FORUM MIGRATION TIMELINE*
05/10/2023 07:57:11 - Making ER11 collet chuck
05/10/2023 07:56:24 - What did you do today? 2023
05/10/2023 07:25:01 - Orrery
05/10/2023 06:00:41 - Wera hand-tools
05/10/2023 05:47:07 - New member
05/10/2023 04:40:11 - Problems with external pot on at1 vfd
05/10/2023 00:06:32 - Drain plug
04/10/2023 23:36:17 - digi phase converter for 10 machines.....
04/10/2023 23:13:48 - Winter Storage Of Locomotives
04/10/2023 21:02:11 - More Latest Posts...
- View All Topics
Support Our Partners


Shopping Partners
Subscription Offer

Latest "For Sale" Ads
- Reeves** - Rebuilt Royal Scot by Martin Evans
by John Broughton
£300.00 - BRITANNIA 5" GAUGE James Perrier
by Jon Seabright 1
£2,500.00 - Drill Grinder - for restoration
by Nigel Graham 2
£0.00 - WARCO WM18 MILLING MACHINE
by Alex Chudley
£1,200.00 - MYFORD SUPER 7 LATHE
by Alex Chudley
£2,000.00 - More "For Sale" Ads...
Latest "Wanted" Ads
- D1-3 backplate
by Michael Horley
Price Not Specified - fixed steady for a Colchester bantam mark1 800
by George Jervis
Price Not Specified - lbsc pansy
by JACK SIDEBOTHAM
Price Not Specified - Pratt Burnerd multifit chuck key.
by Tim Riome
Price Not Specified - BANDSAW BLADE WELDER
by HUGH
Price Not Specified - More "Wanted" Ads...
Get In Touch!
Do you want to contact the Model Engineer and Model Engineers' Workshop team?
You can contact us by phone, mail or email about the magazines including becoming a contributor, submitting reader's letters or making queries about articles. You can also get in touch about this website, advertising or other general issues.
Click THIS LINK for full contact details.
For subscription issues please see THIS LINK.
Digital Back Issues


Donate

 Register
 Log-in
Model Engineer Magazine
- Percival Marshall
- M.E. History
- LittleLEC
- M.E. Clock

ME Workshop
- An Adcock
- & Shipley
- Horizontal
- Mill

Subscribe Now
- Great savings
- Delivered to your door

Pre-order your copy!
- Delivered to your doorstep!
- Free UK delivery!
All Forum Topics > Stationary engines > Stirling Engine : Laura