Forum sponsored by:

The Workshop Progress thread 2018
| Michael Gilligan | 23/09/2018 10:12:37 |
 23121 forum posts 1360 photos | Posted by Brian O'Connor on 18/09/2018 15:38:52:
Just finished the Cam Gear Bracket for my Star hit&miss engine. It started out as a 3in x 3in x 1.5in block of cast iron. It now weighs less than 10% of its original weight. Bucket of swarf, anyone? . I've only just seen this, Brian You have my great admiration. MichaelG. |
| Ron Laden | 23/09/2018 10:51:30 |
 2320 forum posts 452 photos | Posted by Brian O'Connor on 18/09/2018 15:38:52:
Just finished the Cam Gear Bracket for my Star hit&miss engine. It started out as a 3in x 3in x 1.5in block of cast iron. It now weighs less than 10% of its original weight. Bucket of swarf, anyone? B Superb Brian, I can imagine how nerve racking that must have been, completing a number of stages and realising that the slightest mistake on the next stage would undo all that went before. Excellent. |
| JasonB | 23/09/2018 18:48:24 |
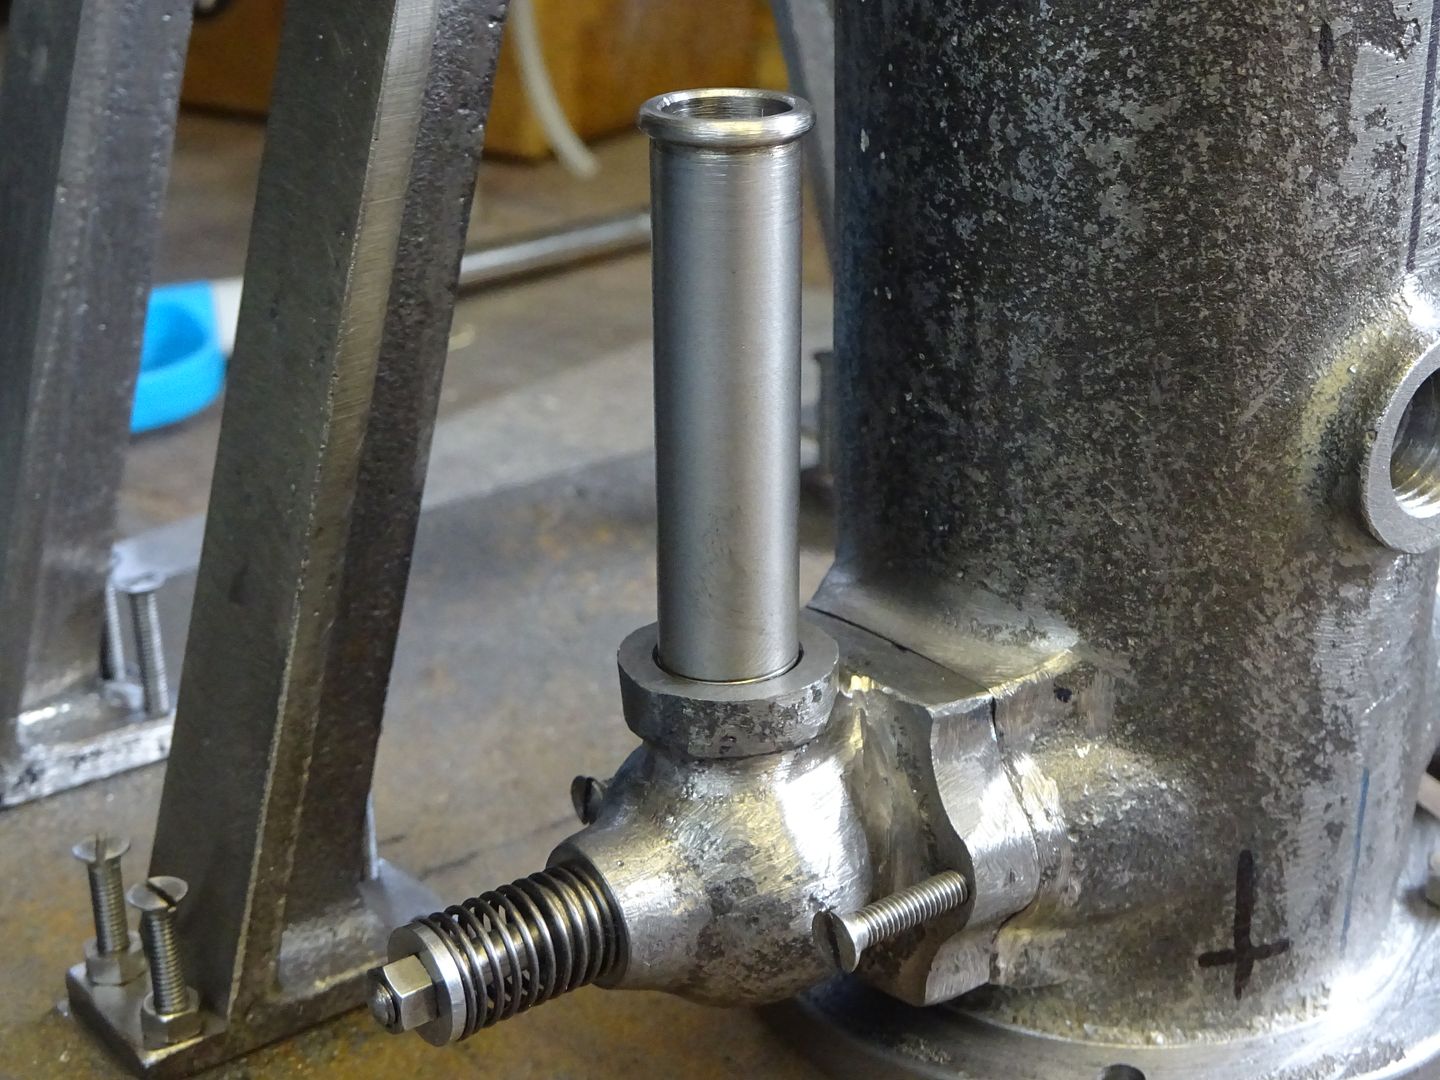
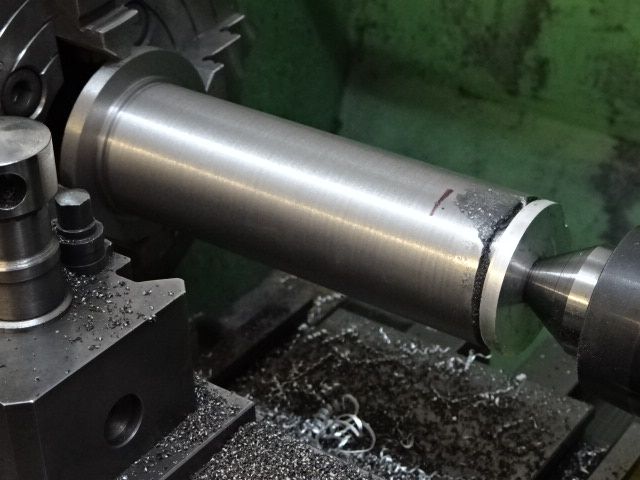
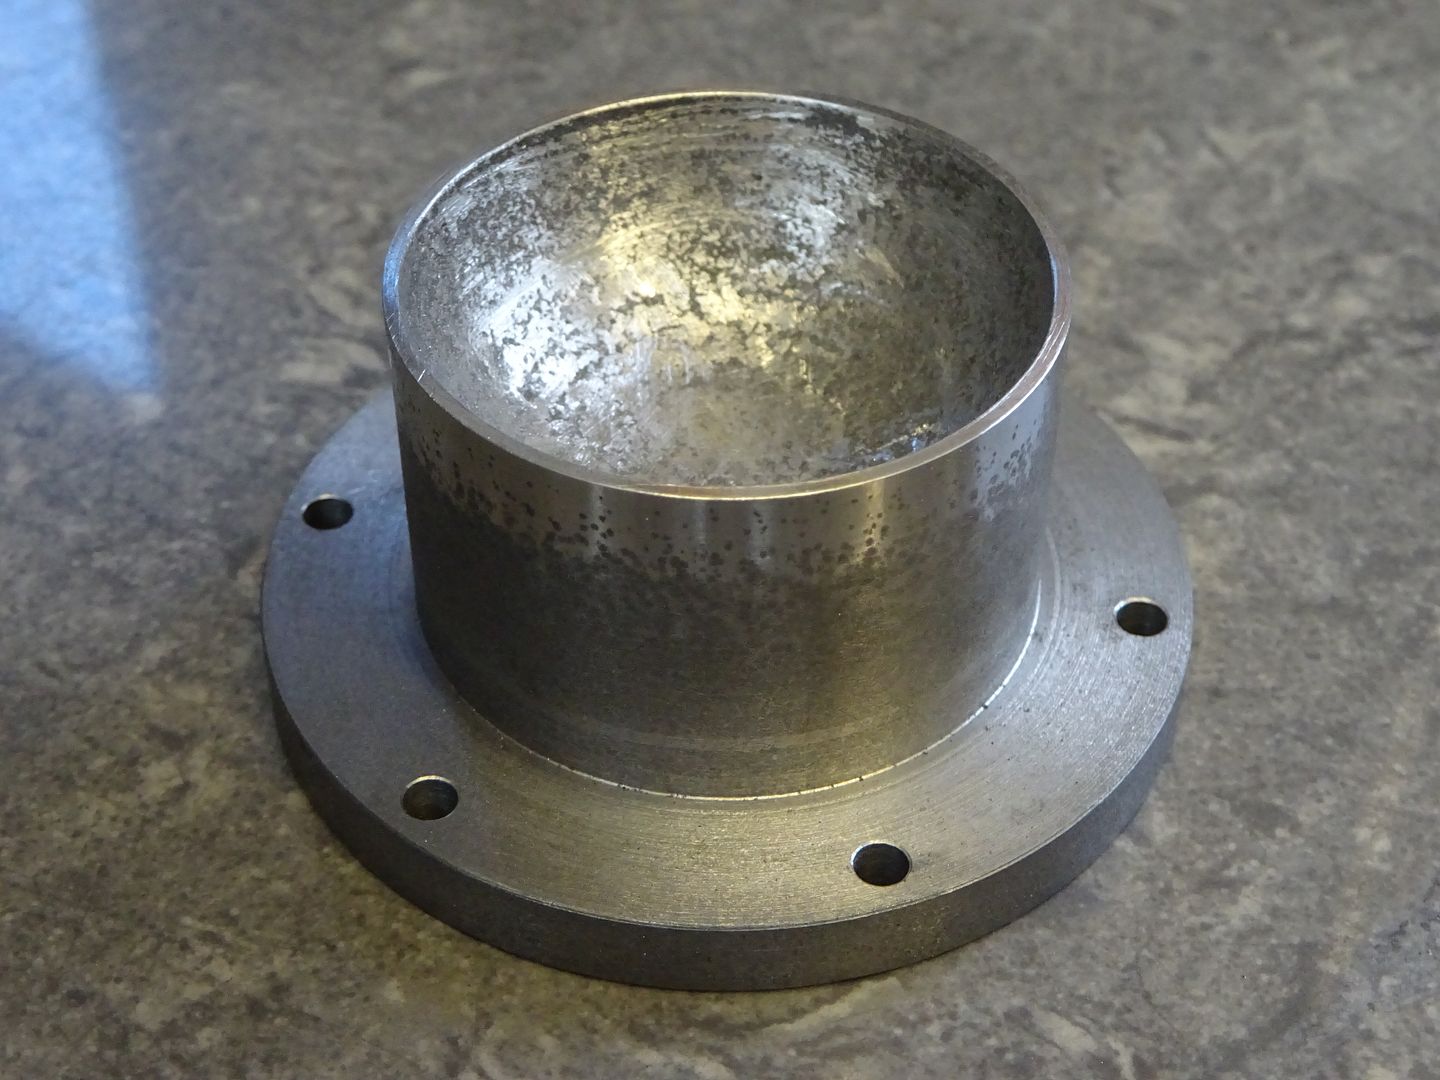
 25215 forum posts 3105 photos 1 articles | I've done a few more bit sfor teh IF Allman engine this week. The exhaust valve casting was machines plus a valve and spring collet to go with it as well as a stubby exhaust pipe
I was a bit worried that the cylinder liner casting would not be usable as the mould halves had moved at least 1/16" plus the core was off ctr but it just cleaned up OK. Luckily the casting was over long and I only need it upto the pen mark.
The fixed steady stopped it flailing about while it was bored, the last few finish cuts were done with a CCMT tip as I find there don't get pushed off the surface as much so you get a straighter bore which is 1.5" dia x 4.375" long.
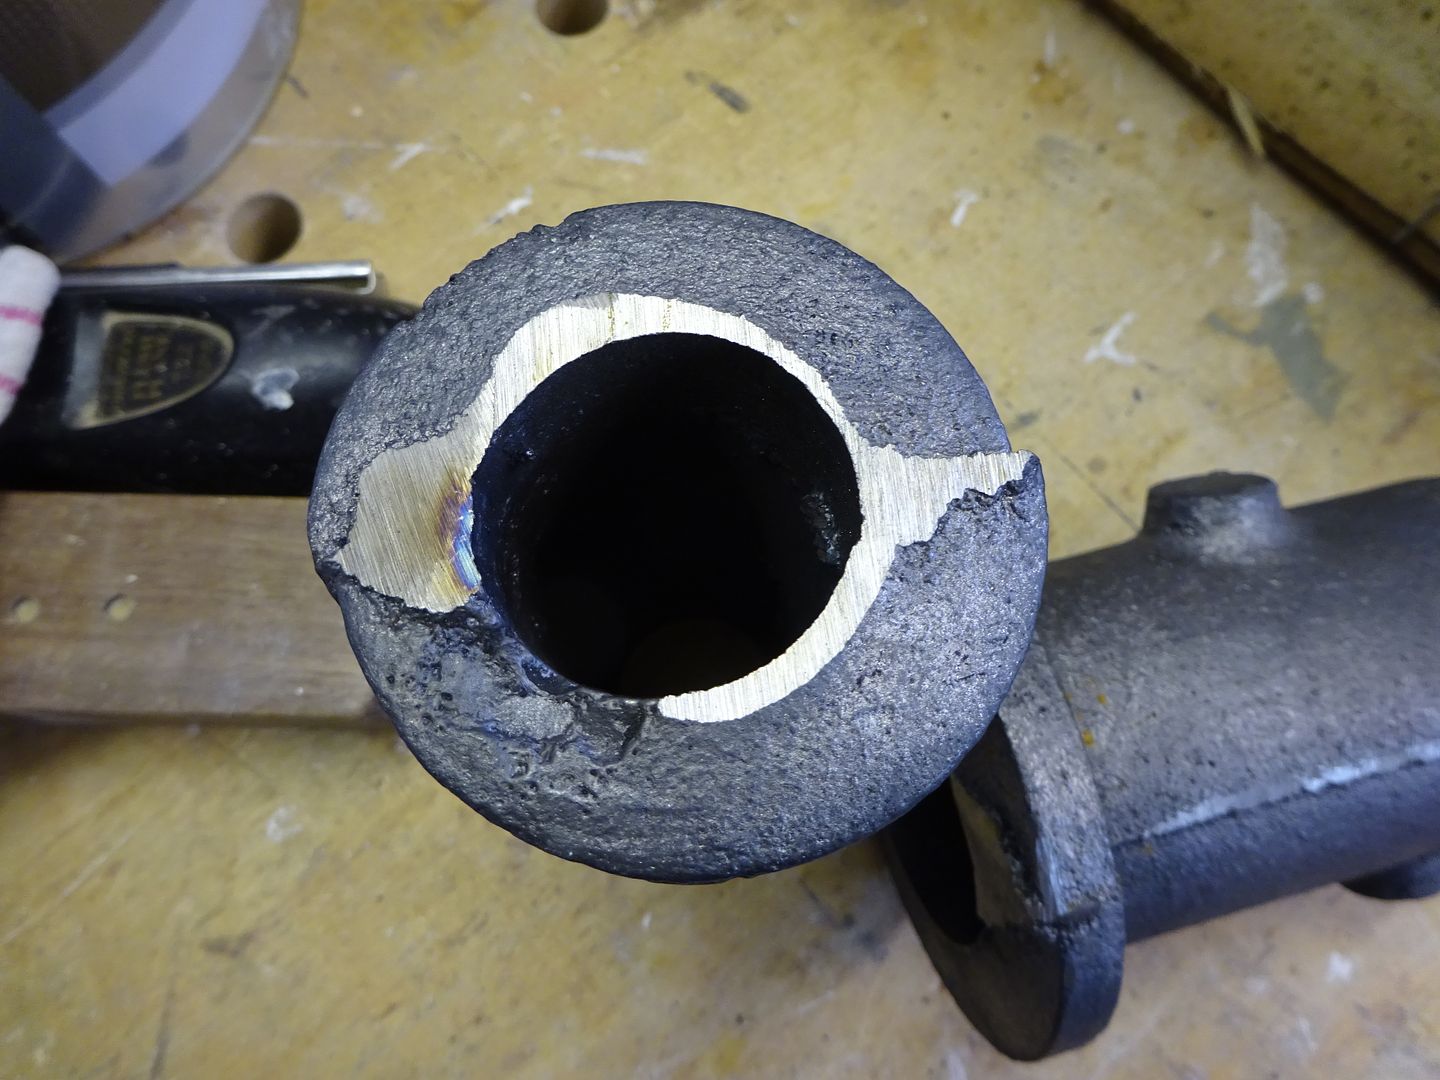
The cast iron "Hemi" cylinder head was rather chilled around the edge but the good old CCMT tips cut that off in short ribbons.
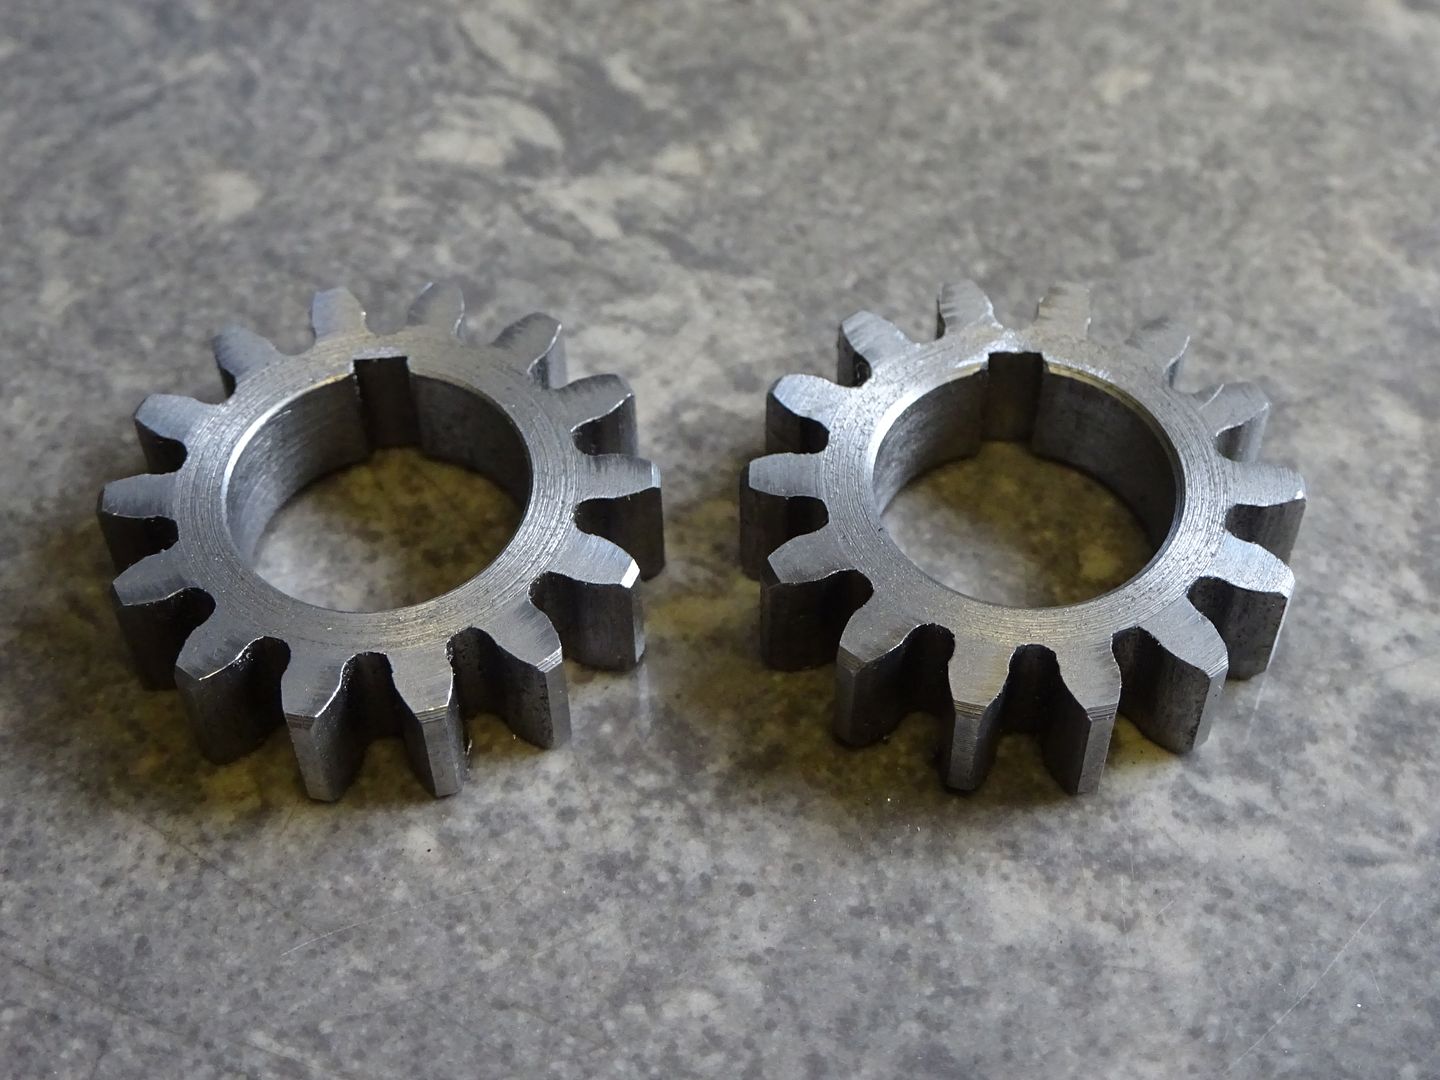
I decided it was not worth making the timing gears for which I would have had to buy a couple of cutters, these two 1.5MOD gears cost less than £20 delivered from Beltingonline and there is enough for two engines even allowing for a wonky saw cut.
Edited By JasonB on 23/09/2018 18:49:41 |
| mechman48 | 27/09/2018 16:29:40 |
 2947 forum posts 468 photos | Another small step … soldered cylinders to blocks, the polished one was soldered using solder paste as a look see set up, it worked. the second was silver soldered, then pickled to see how the pickling process worked to clean up the soldered area. I mixed up a small amount of citric acid granules, about a dessert poon into approx' a glass tumbler size plastic box full of water until dissolved. The cylinder assembly was left in the solution for about 1/2 an hour & showed a pretty rapid action, I left it for an hour & it came up really cleaned. I obviously had made up a concentrated amount of citric acid as I didn't really measure out any sort of ratio - granule grams to liquid mils, a suck it & see scenario. If any one has small amount measurement table rather than a full litre mix that they have used & noted I would appreciate a copy / ref. …I could work back over - 40grm packet granules to 1 litre water - 20 gram to 1/2 ltr etc. but asking just on the off chance... Edited By mechman48 on 27/09/2018 16:30:38 |
| Jim Nic | 27/09/2018 17:13:27 |
 406 forum posts 235 photos | For my pickle, George, I just start with the amount of water I need and then keep adding citric acid crystals until the solution is saturated. The initial excess crystals fall to the bottom of the container and dissolve over a couple of days. It seems to work OK, as did yours. When you say you used solder paste, was that soft solder paste or a form of silver solder? Jim |
| mechman48 | 28/09/2018 11:40:56 |
2947 forum posts 468 photos | Hi Jim Edited By mechman48 on 28/09/2018 11:43:56 |
| geoff walker 1 | 28/09/2018 12:38:35 |
| 521 forum posts 217 photos | Hi George, I notice the pistons are bevelled. Never seen that before. Presumably so that the piston will travel further and not cover the port hole. ....and you have that vee cut to aid compression. Nice work Geoff |
| Jim Nic | 28/09/2018 14:45:28 |
406 forum posts 235 photos | Hi George Thanks for the reply. I have seen low temperature solder paste before but I was hoping you had found silver solder paste. For similar applications I have used silver solder foil supplied by CuP Alloys which is placed, with some flux, between larger surface to be joined before heating. It works well but is expensive. Jim |
| mechman48 | 28/09/2018 15:07:19 |
2947 forum posts 468 photos | Hi Geoff |
| JasonB | 28/09/2018 15:08:43 |
25215 forum posts 3105 photos 1 articles | Jim, CuP do SS paste if you are looking for it |
| Jim Nic | 28/09/2018 16:12:23 |
406 forum posts 235 photos | Thanks Jason, I hadn't spotted that. Pricey but probably good for a couple of small eccentric sheaves I have to solder up so I'll get some at the Midlands Show and give it a go. Jim |
| mechman48 | 01/10/2018 18:18:33 |
2947 forum posts 468 photos | A little more along the path towards the Boxer oscillator... |
| Ian McVickers | 03/10/2018 20:56:11 |
| 261 forum posts 117 photos | Not sure if this should be in this thread but anyway here goes. I was fed up trying to get enough space to put things on when working on either the mill or the lathe so decide that a table on wheels was the way to go. This way I can move between machines with the bits in working with.
Now I can carry on with the new tool rests for my grinders. |
| David Taylor | 04/10/2018 00:22:25 |
 144 forum posts 39 photos | Got the rear brakes on. The pullrods were done on the CNC mill and I also used it to do one particular cut on the brakeshoes. Now onto make the handbrake parts and dummy airbrake components. Regards, David.
|
| David Taylor | 06/10/2018 10:49:17 |
144 forum posts 39 photos | Made a dummy brake cylinder. Nothing here you all haven't done a 1000 times before but an enjoyable, non-precise, non-working, decorative shiny thing. David.
|
| Jim Nic | 06/10/2018 13:48:12 |
406 forum posts 235 photos | Not a lot to show on the Overcrank since my last post on 12 Sep but here is a "family shot" of the components of the largely completed cylinder block.
And the assembled bits.
I'm not quite sure how best to proceed so to give me some thinking time I will make the aluminium sheet base and then probably the 3 main bearing supports. Jim
|
| JasonB | 06/10/2018 16:03:27 |
25215 forum posts 3105 photos 1 articles | Looking good Jim. |
| mechman48 | 06/10/2018 16:54:29 |
2947 forum posts 468 photos |
|
| Neil Wyatt | 06/10/2018 17:01:23 |
 19226 forum posts 749 photos 86 articles | Lot's of nice work, folks. Neil |
| MW | 09/10/2018 14:22:17 |
 2052 forum posts 56 photos | Hi again, Loving Octobers issue with the mike cox tailstock conversion, great work and the funny prize winner for the AAA battery conversion on a digi-caliper, nice. I'm restoring an enormous 6" bench vise that i picked up and took home from the market for a bargain, using it to replace my tidly 2-3" vise thereabouts. I will post some progress pictures along with a before and after shot. It's got a bit of everything to do, stripping old paint, wonky jaw to fix up on the mill etc.. I might make a brass or nylon faced set of jaws as well. The jaw had been machined before me, but was at a wonky angle so i needed to set it straight with an endmill, none of my cheapo HSS would touch it, not even carbide, i needed to use my ultra speciale NACO coated carbide tool which finished the job. Creeped up on the cut for a nice finish and took the opportunity to square off the ends, shame the jaw recess on casting itself isn't flat either, but not alot i can do about that. So i'd definitely recommend those blue coated carbide choppers. It has a very big 6 x 6" anvil on the back and i want to take the dents off and polish the surface, was slogging it with rough ali-oxide paper, getting nowhere, then i remembered i bought a corded milwaukee angle grinder, and remembered you could skim the face with the edge of a metal cutting disc. Boy those things can cut metal. The journey continues!
Michael W
|


This thread is closed.
Magazine Locator
Want the latest issue of Model Engineer or Model Engineers' Workshop? Use our magazine locator links to find your nearest stockist!
Sign up to our Newsletter
Sign up to our newsletter and get a free digital issue.
You can unsubscribe at anytime. View our privacy policy at www.mortons.co.uk/privacy
Latest Forum Posts
- hemingway ball turner
04/07/2025 14:40:26 - *Oct 2023: FORUM MIGRATION TIMELINE*
05/10/2023 07:57:11 - Making ER11 collet chuck
05/10/2023 07:56:24 - What did you do today? 2023
05/10/2023 07:25:01 - Orrery
05/10/2023 06:00:41 - Wera hand-tools
05/10/2023 05:47:07 - New member
05/10/2023 04:40:11 - Problems with external pot on at1 vfd
05/10/2023 00:06:32 - Drain plug
04/10/2023 23:36:17 - digi phase converter for 10 machines.....
04/10/2023 23:13:48 - More Latest Posts...
- View All Topics
Support Our Partners


Shopping Partners
Subscription Offer

Latest "For Sale" Ads
- Reeves** - Rebuilt Royal Scot by Martin Evans
by John Broughton
£300.00 - BRITANNIA 5" GAUGE James Perrier
by Jon Seabright 1
£2,500.00 - Drill Grinder - for restoration
by Nigel Graham 2
£0.00 - WARCO WM18 MILLING MACHINE
by Alex Chudley
£1,200.00 - MYFORD SUPER 7 LATHE
by Alex Chudley
£2,000.00 - More "For Sale" Ads...
Latest "Wanted" Ads
- D1-3 backplate
by Michael Horley
Price Not Specified - fixed steady for a Colchester bantam mark1 800
by George Jervis
Price Not Specified - lbsc pansy
by JACK SIDEBOTHAM
Price Not Specified - Pratt Burnerd multifit chuck key.
by Tim Riome
Price Not Specified - BANDSAW BLADE WELDER
by HUGH
Price Not Specified - More "Wanted" Ads...
Get In Touch!
Do you want to contact the Model Engineer and Model Engineers' Workshop team?
You can contact us by phone, mail or email about the magazines including becoming a contributor, submitting reader's letters or making queries about articles. You can also get in touch about this website, advertising or other general issues.
Click THIS LINK for full contact details.
For subscription issues please see THIS LINK.
Digital Back Issues


Donate

 Register
 Log-in
Model Engineer Magazine
- Percival Marshall
- M.E. History
- LittleLEC
- M.E. Clock

ME Workshop
- An Adcock
- & Shipley
- Horizontal
- Mill

Subscribe Now
- Great savings
- Delivered to your door

Pre-order your copy!
- Delivered to your doorstep!
- Free UK delivery!
All Forum Topics > Work In Progress and completed items > The Workshop Progress thread 2018