Member postings for John P
Here is a list of all the postings John P has made in our forums. Click on a thread name to jump to the thread.
| Thread: Stop ended Tee slot in Meehanite |
| 18/04/2021 10:11:44 |
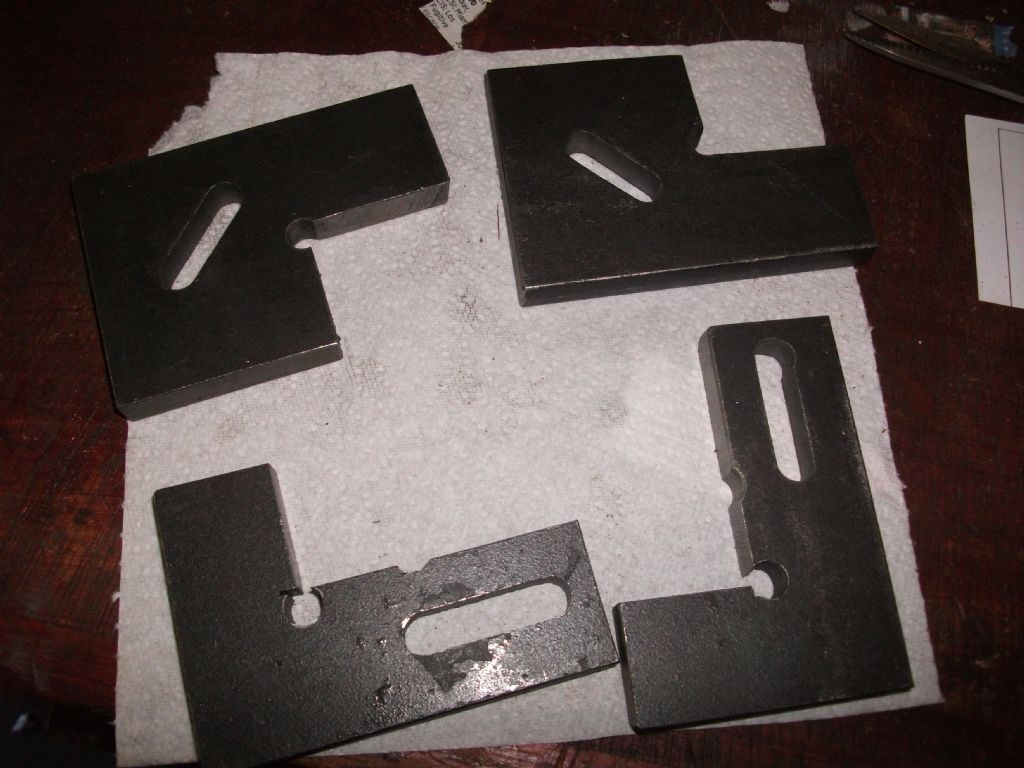
Posted by Chris V 17/04/2021 18:21:50 Chris. You can do this if you wish ,i use these plate pieces to surround a job John Edited By John Pace on 18/04/2021 10:13:54 |
| 17/04/2021 18:11:14 |
|
| Thread: Can any of you guess what this is from? |
| 12/04/2021 20:23:13 |
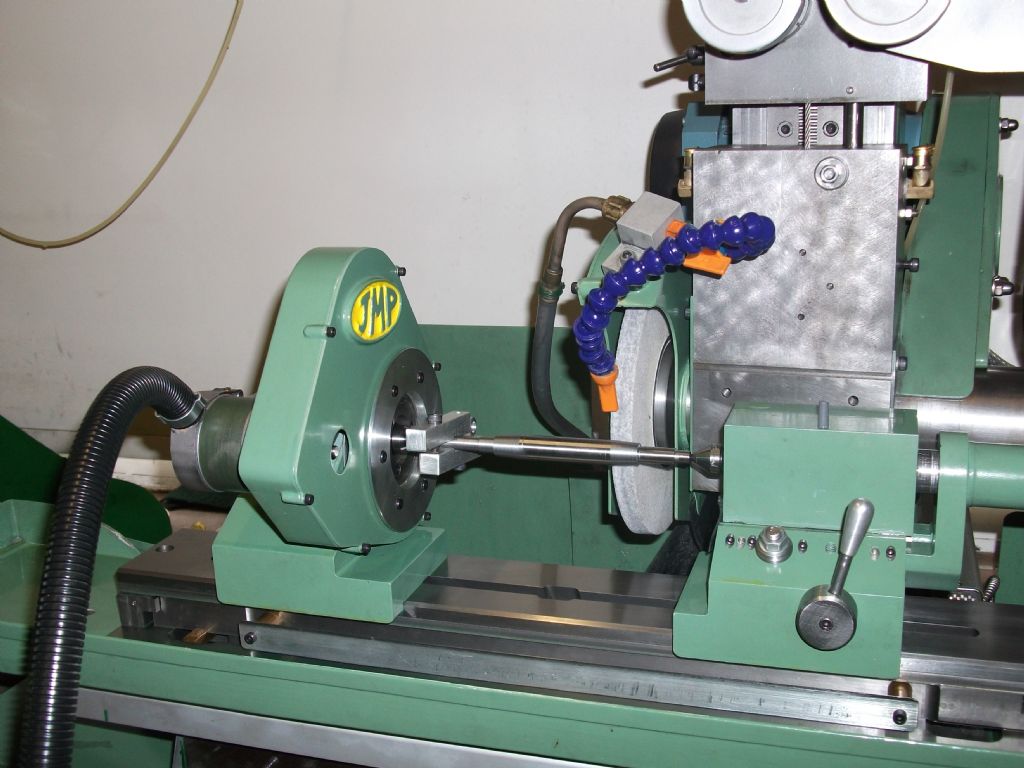
Hi William Nice find that grinder ,they seem to be quite rare .it is almost made as a mirror image of the J&S 520 grinder ,i saw the photos in your album some time ago in the photo No4 the lettering on the casting looked as if it was JS0 by the drain hole at the rear of the machine but the machine did not look like the 520 grinder ,looks as if it is mostly there the end covers are missing from the table , certainly looks to be a Crystal lake grinder.I think that they are still in business . Write some more when you get it going. John |
| 11/04/2021 21:03:42 |
It was the similar type machine ,look on Lathes uk Jones and Shipman 520 cylindrical grinder. Is the machine that you have in your album a J&S 520 grinder. John |
| 11/04/2021 20:31:53 |
Crystal lake cylindrical grinder drive unit or similar type machine. John |
| Thread: Rocketronics Electronic Lead Screw |
| 11/04/2021 11:28:57 |
Hi Martin Seeing what you have written it would seem that you may be grinding a full size For the model engine enthusiast these two videos from Sherline may be of https://youtu.be/RrpdJHTPXFI Perhaps you will write again about your cam grinding as it progresses most John
|
| 10/04/2021 11:42:49 |
Posted by Oily Rag 09/04/2021 14:39:35 I am considering building a CNC cam grinder. This would involve either a stepper driven leadscrew for positioning the saddle longitudinally along the My concern is would the reaction time of the cross slide be sufficient to accurately grind the cam form given that the peak acceleration/deceleration I realise that 'professional' systems are capable of these sort of speeds but are the 'hobby' systems capable likewise? Any comments and As an additional note the reason for building the cam grinder is that I have a 'spare' bed and headstock and saddle that can be modified - It's too Martin Hi Martin https://youtu.be/7vz-Z6x5ZLw the cam is rotating at between 30 to 40 rpm that alone As part of a project that i have still on going i have looked in to The other thing to think about is at some point during the grinding if you The rocking action of the cam being ground in the video almost
|
| 05/04/2021 10:03:40 |
https://www.model-engineer.co.uk/forums/postings.asp?th=88623 mostly by people who had not bothered to read the article properly ,one even It would be worth looking at the mechanical connections needed before John |
| Thread: The Interesting Video Thread |
| 31/03/2021 10:12:07 |
Hi Don't know if these videos from "Find Hansen" have https://www.youtube.com/watch?v=xh0Vzq6_C2s
|
| Thread: Myford Fine Feed Tumbler Gear |
| 20/03/2021 09:51:14 |
Hi Michael Have a look at this gear calculator from Ondrives it only works in module inputs so for 20 DP you would have to input 1.27 mod the interesting thing is when the checkboxes are filled in and calculated the diagram at the bottom of the page changes and shows the the tooth profile. https://www.mesys.ch/calc/ondrives.fcgi
John |
| 19/03/2021 17:56:52 |
The list in my previous post was slightly corrupted when copying over to
20 dp 12 tooth .36/20 =.018" 12 tooth / 20 dp= pitch dia = .600 inch + .018 + addendum .100 inch Teeth Correction 17 = .26 The same basic rule applies ,for module gear the correction is the tooth number x the There are 3 examples here 1 mod gears . 1 cut at nominal pcd 6mm ,2 at 6.48 mm pcd Howard's suggestion that the caliper was not zeroed properly is not well thought Getting back to the OP's original question he could use any size from the from the .723 inch measured by Thanks Pete for posting that copy of table 8 .I never had any information on these corrections
John Edited By John Pace on 19/03/2021 17:58:39 Edited By John Pace on 19/03/2021 17:59:17 Edited By John Pace on 19/03/2021 17:59:55 |
| 18/03/2021 11:21:00 |
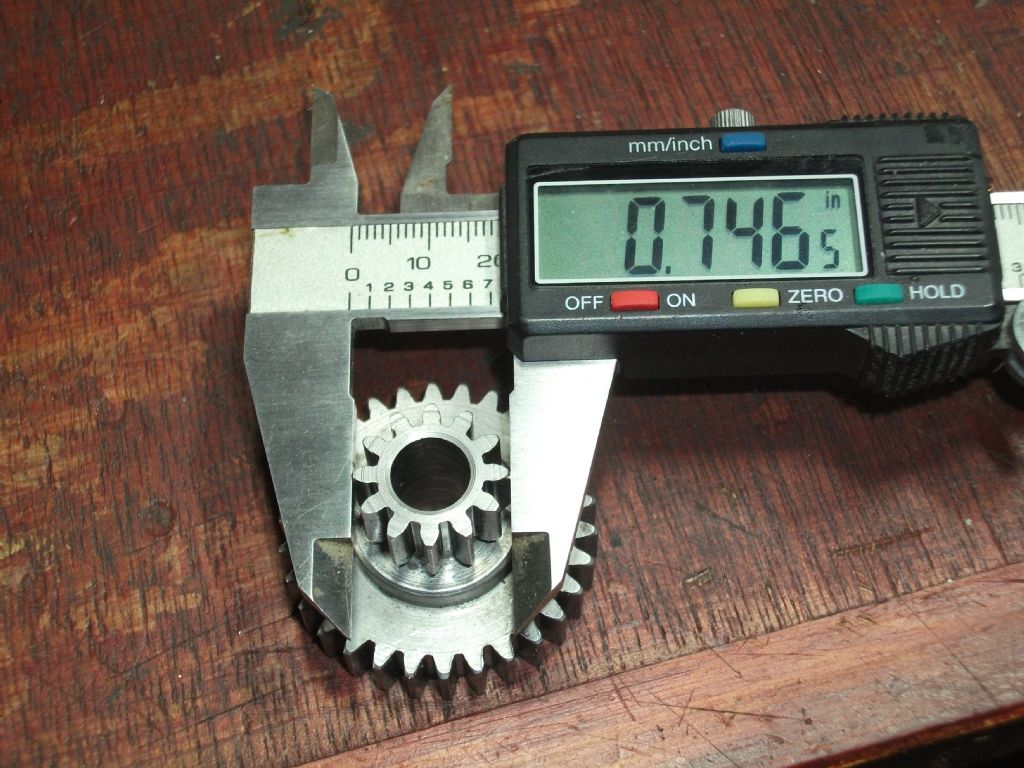
Difficult to know why the difference in measured size of this 12 tooth gear,
In practical terms 5 teeth would be about the minimum and that would generally be A little more freedom with this is if helical gears are cut as the divide by cos helix angle Dimensions for 1 DP for other pitches divide by the dp
TEETH 17 .26 John |
| 18/03/2021 08:05:05 |
Hi The blank od for the 12 tooth gear that you have asked about is .746 inch in diameter. John |
| Thread: Running MS DOS programs on Windows 10 |
| 12/03/2021 17:00:17 |
Hi You could try Dos box ,it seems as if it may be available for windows 10 it works on win7. John |
| Thread: What tool to measure small bores? |
| 01/03/2021 11:56:23 |
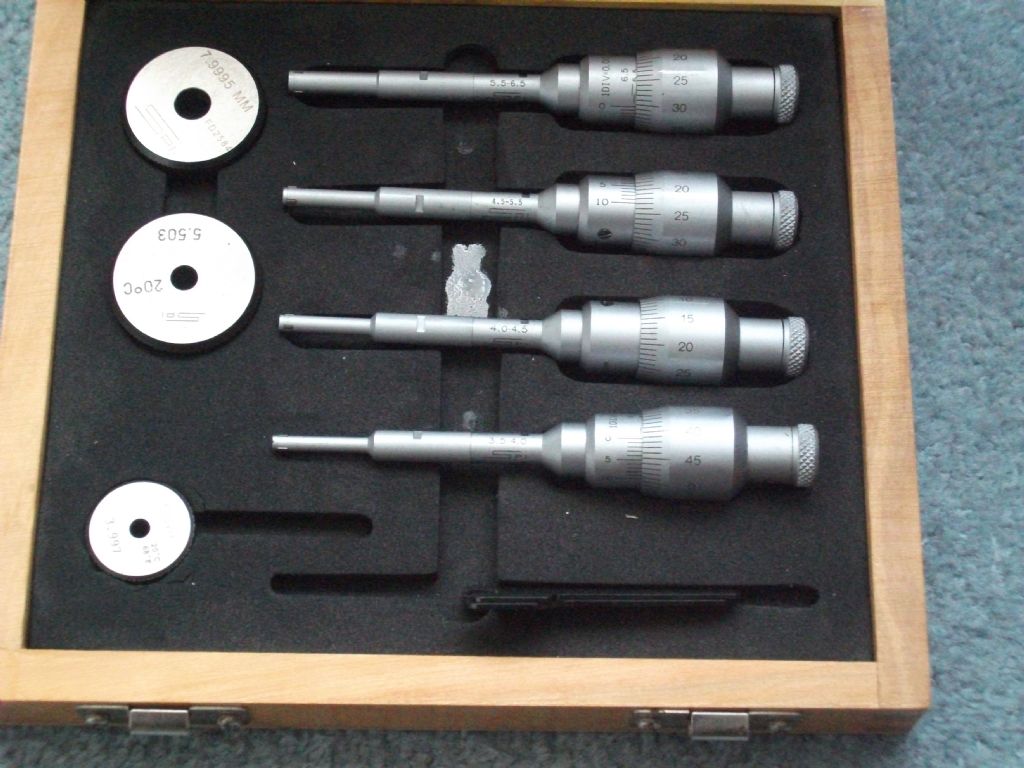
Hi Darren I've found the page on the December 2020 Advantage for these micrometers.They are listed in the main book on page 871 as part no SPU 14346 K , as you may see there is difference in price than the listing on the Advantage page as part no UESPU 14346 K , they re-appear regularly in the advantage leaflet from time to time. As far as the quality aspect i can't fault them as i have nothing else to compare them with ,as they follow on in size range from one to the other they are within .002 mm using the ring gauge to check ,that is within the specification as advised . Edited By John Pace on 01/03/2021 12:05:09 |
| 01/03/2021 10:11:37 |
Hi Darren The Micrometers came from MSC J&L They usually appear in the monthly Advantage catalogue ,they are not in this months catalogue March. They are useful as you say to be able to measure where you are and eventually get to the size you need ,i doubt you will find a similar instrument within this price range . John |
| 01/03/2021 09:42:52 |
Hi Edited By John Pace on 01/03/2021 09:48:19 |
| 01/03/2021 08:06:34 |
Hi Chronos have a dial bore gauge in their Dasqua range that measures between 4 to 6 mm ,not cheap at about £165 and also 6 to 10 mm at around £70 ,sometimes MSC J&L have sets of three point micrometers in the Advantage cat that range between 3.5 to 6.5 in 4 micrometers with setting rings even more expensive but measure down to .001 um .Not in this months catalogue. John |
| Thread: Drilling |
| 20/02/2021 16:48:58 |
Hi Get a 24 gauge hypodermic needle has a bore of John |
| Thread: Plans for updating the archaic forum? |
| 17/02/2021 17:54:39 |
Hi Have done a trial posting on the RCME new site , very easy to do photo went straight in don't know if it is in an album .Still prefer the layout of this forum as it is . John |
Want the latest issue of Model Engineer or Model Engineers' Workshop? Use our magazine locator links to find your nearest stockist!
Sign up to our newsletter and get a free digital issue.
You can unsubscribe at anytime. View our privacy policy at www.mortons.co.uk/privacy
- hemingway ball turner
04/07/2025 14:40:26 - *Oct 2023: FORUM MIGRATION TIMELINE*
05/10/2023 07:57:11 - Making ER11 collet chuck
05/10/2023 07:56:24 - What did you do today? 2023
05/10/2023 07:25:01 - Orrery
05/10/2023 06:00:41 - Wera hand-tools
05/10/2023 05:47:07 - New member
05/10/2023 04:40:11 - Problems with external pot on at1 vfd
05/10/2023 00:06:32 - Drain plug
04/10/2023 23:36:17 - digi phase converter for 10 machines.....
04/10/2023 23:13:48 - More Latest Posts...
- View All Topics
- Reeves** - Rebuilt Royal Scot by Martin Evans
by John Broughton
£300.00 - BRITANNIA 5" GAUGE James Perrier
by Jon Seabright 1
£2,500.00 - Drill Grinder - for restoration
by Nigel Graham 2
£0.00 - WARCO WM18 MILLING MACHINE
by Alex Chudley
£1,200.00 - MYFORD SUPER 7 LATHE
by Alex Chudley
£2,000.00 - More "For Sale" Ads...
- D1-3 backplate
by Michael Horley
Price Not Specified - fixed steady for a Colchester bantam mark1 800
by George Jervis
Price Not Specified - lbsc pansy
by JACK SIDEBOTHAM
Price Not Specified - Pratt Burnerd multifit chuck key.
by Tim Riome
Price Not Specified - BANDSAW BLADE WELDER
by HUGH
Price Not Specified - More "Wanted" Ads...
Do you want to contact the Model Engineer and Model Engineers' Workshop team?
You can contact us by phone, mail or email about the magazines including becoming a contributor, submitting reader's letters or making queries about articles. You can also get in touch about this website, advertising or other general issues.
Click THIS LINK for full contact details.
For subscription issues please see THIS LINK.
Model Engineer Magazine
- Percival Marshall
- M.E. History
- LittleLEC
- M.E. Clock
ME Workshop
- An Adcock
- & Shipley
- Horizontal
- Mill
Subscribe Now
- Great savings
- Delivered to your door
Pre-order your copy!
- Delivered to your doorstep!
- Free UK delivery!




 Register
 Log-in


