Steam Engine Number One
A Build Log (hopefully)
| Iain Downs | 29/05/2019 17:36:35 |
| 976 forum posts 805 photos | Being as my cross head / con rod progress is stalled pending parts for the little mill, I thought I'd crack on with the piston (whilst the lathe still works...).
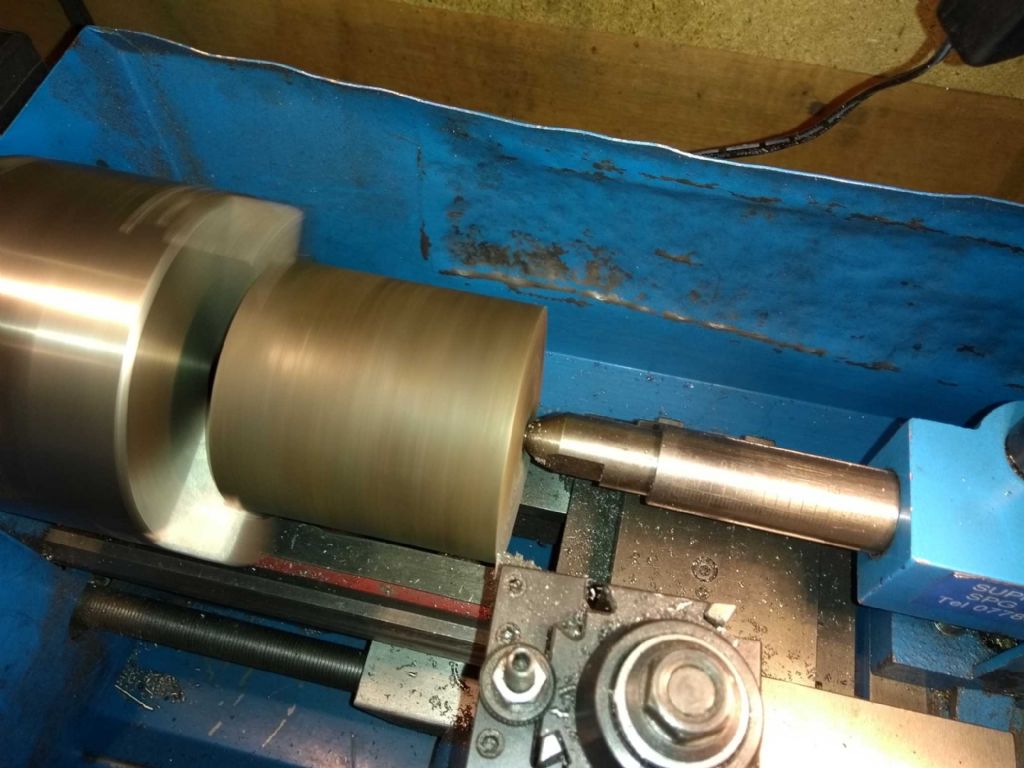
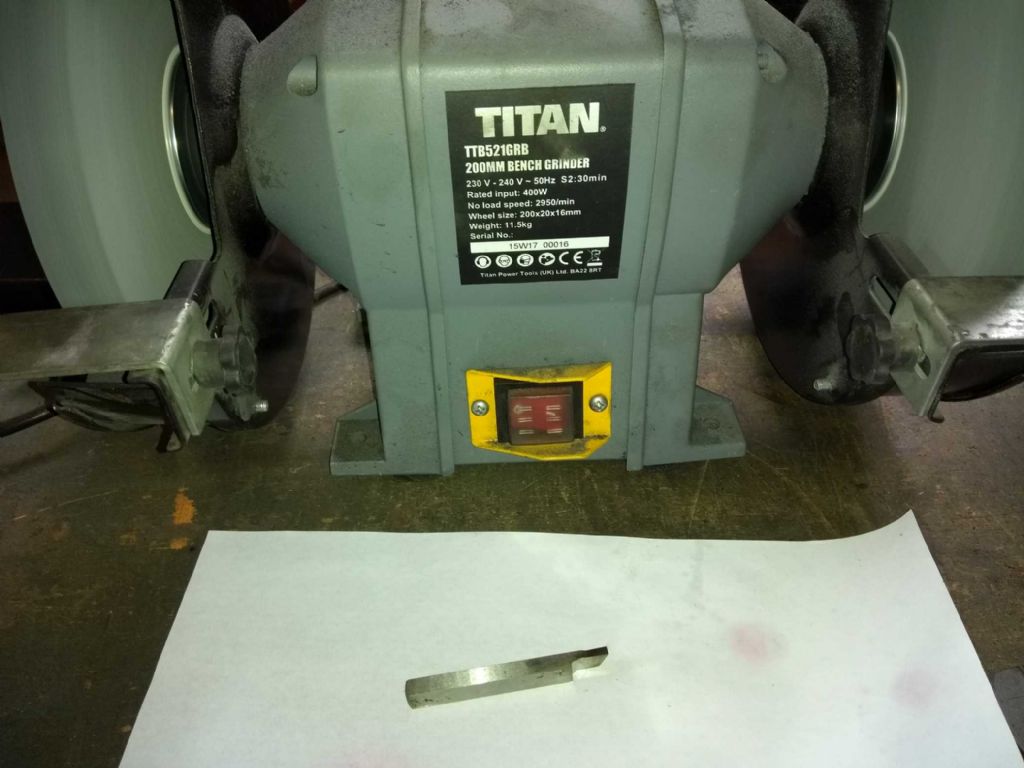
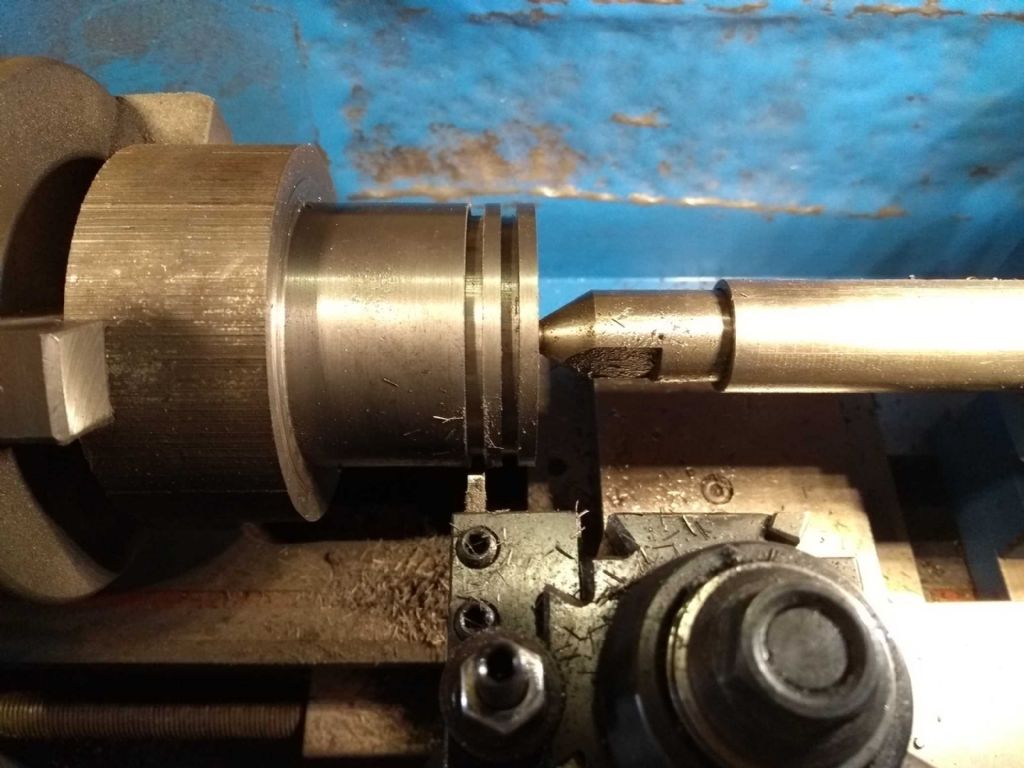
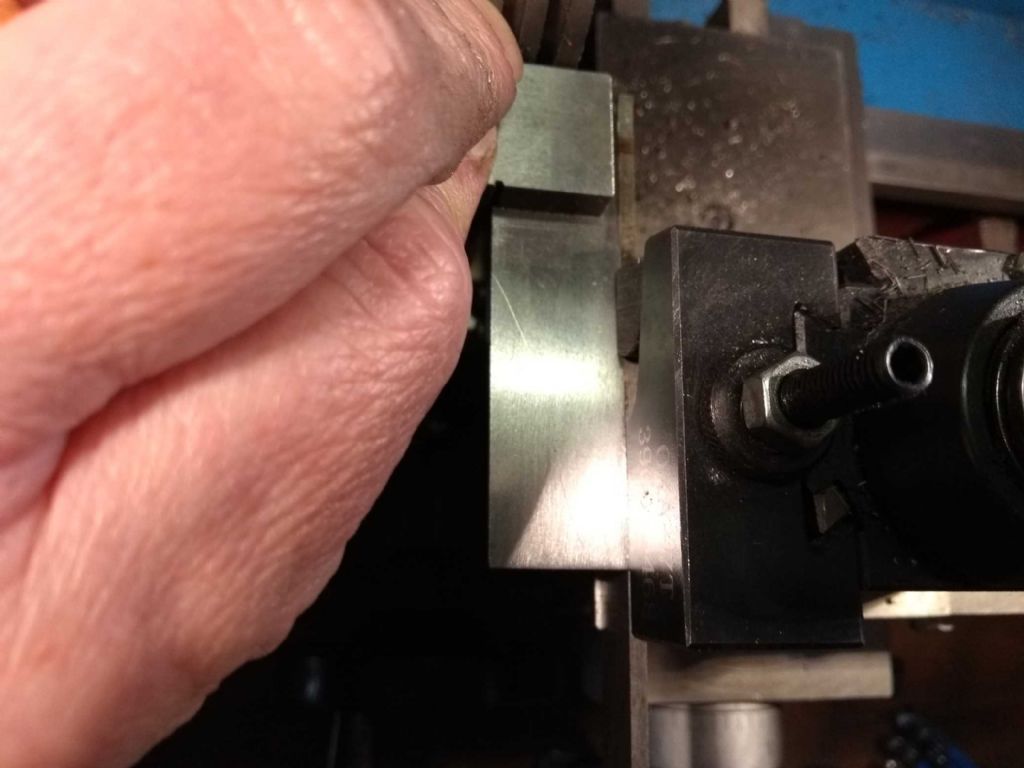
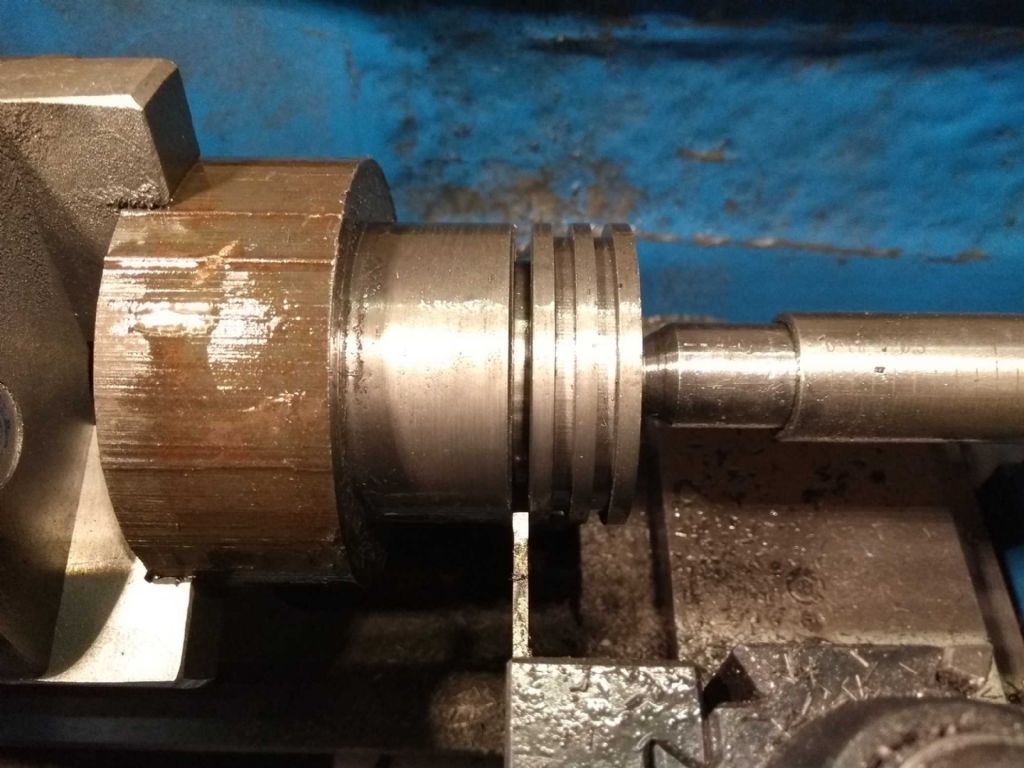
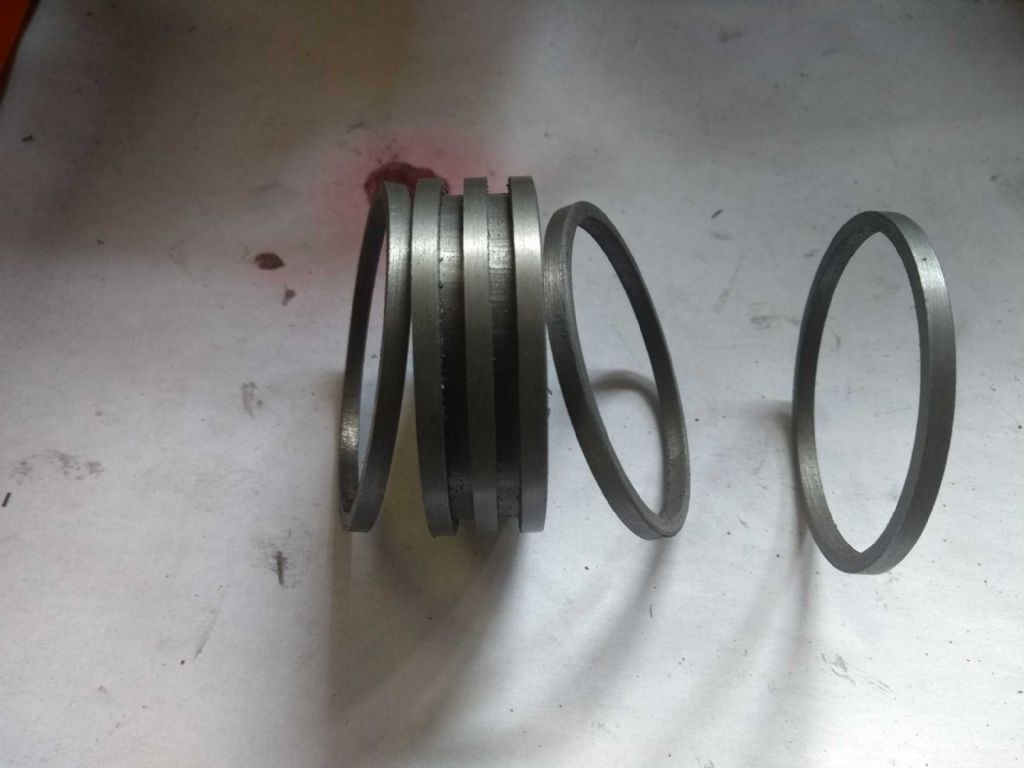
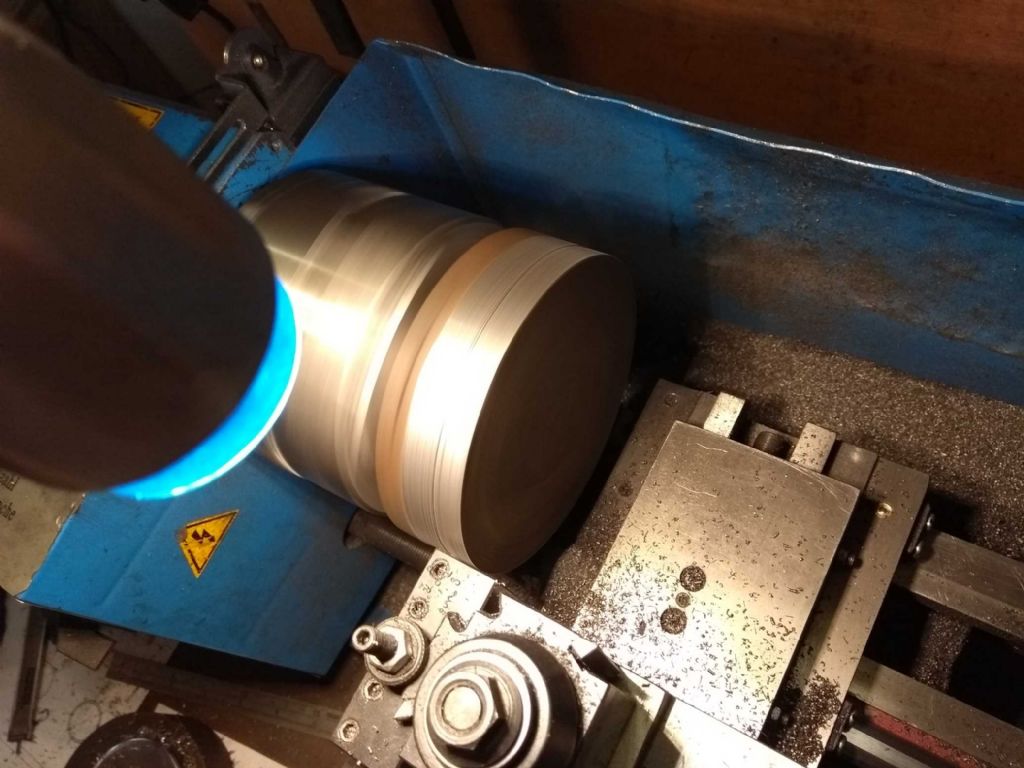
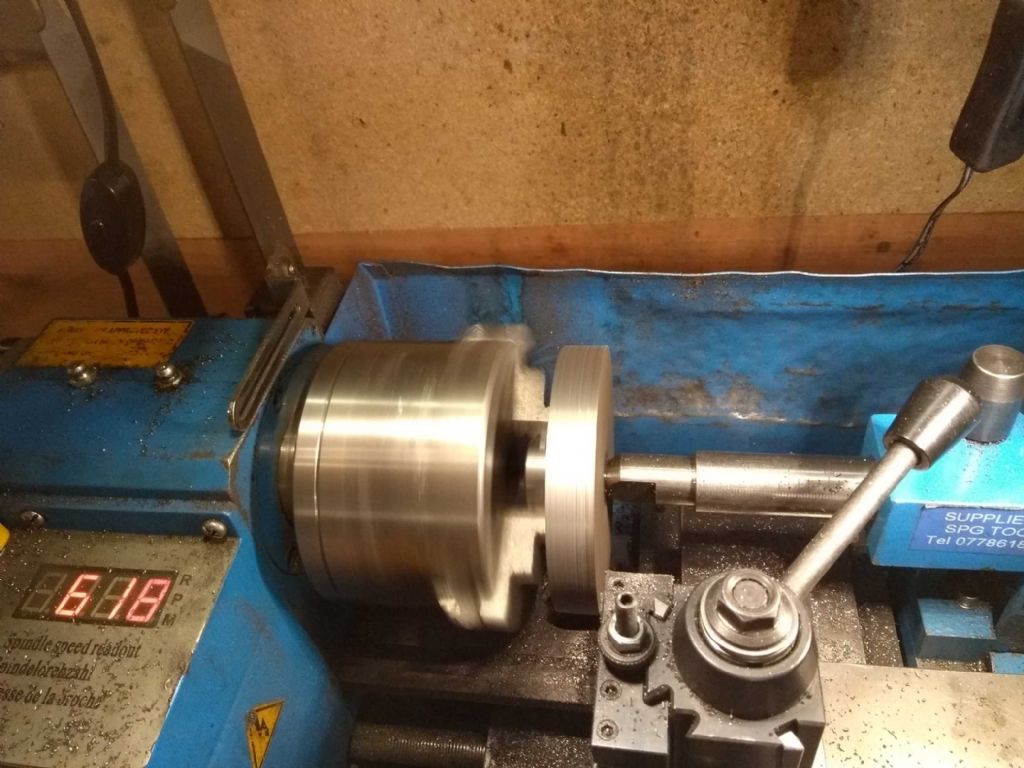
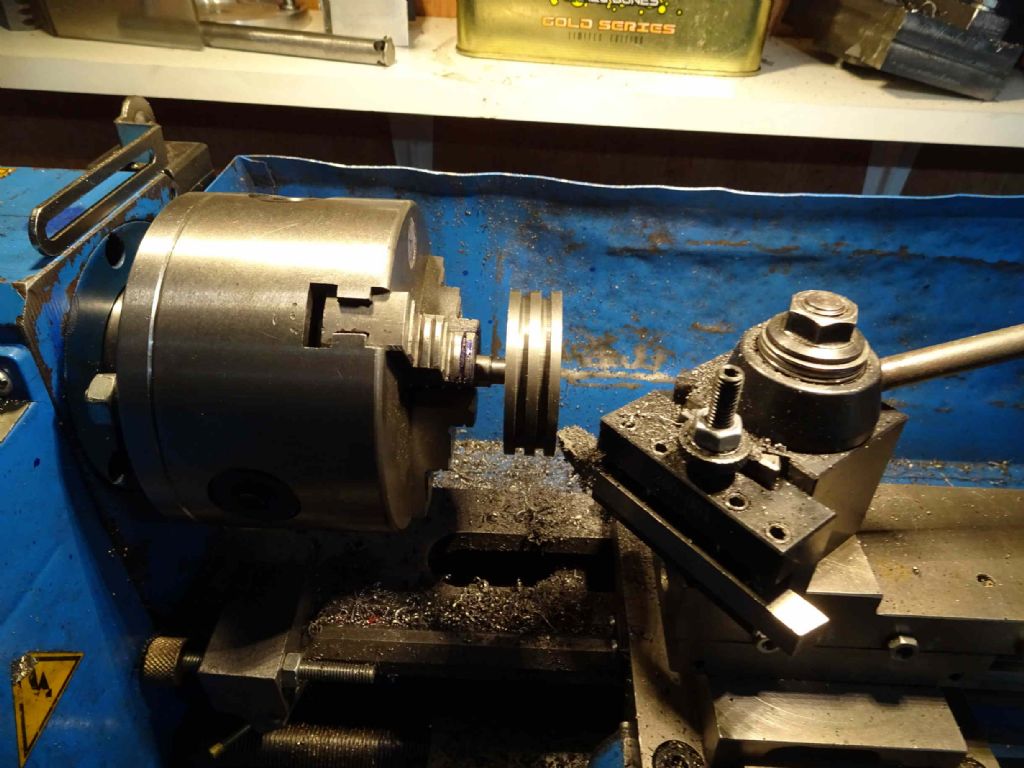
Here we have the chunk of cast iron from which the piston and it's rings will be carver. I used a centre as much as possible throughout this process as the grip from the 3 jaw isn't great and the chunk quite long. Having trimmed a bit down to a little over 50mm, I then made a grooving tool exactly (for me) 3mm wide. Then the grooving. A bit of chatter on this - no idea why and not going to affect the performance. Then. Oh. My. God. The parting off. For this I took some half inch x 3/16ths HSS (yes I know. Everything else is metric, but this is how I bought it) and added a bit of top rake and some side clearance. I added a bit more later (part way through) and this should have worked. I was very nervous about the parting off. It's not an area I've had huge success with, though the QCTP made of steel rather than the rubber one (well Ally really) that I had before makes it closer to possible. I tried to make sure the parting tool was dead on right angles to the work. Not my best photo. you can see some chatter in the groove here. This was a serious issue all the way through. What would happen is that as you fed the tool in it would not do a lot and then start to grab. Sometimes (not too often)this caused a jam which in turn would dislodge the piece from the jaws so I had to loosen push back and re-tighten. After a while I got used to the feeling for this and could pull back (mainly) before anything untoward happened.. Curiously, the cutting got easier the further in to the material I went. I started off with the tool perfectly (for me) centre aligned, but after a little while dropped it by maybe half a mm which may have helped. This was a very very cautious parting off. In fact it took the best part of an hour, feeding in a fraction at a time. Phew! Sadly, my lathe is not equipped with the means for a back parting tool. IN the end this was reasonably successful. I've found that the parted end isn't exactly straight. It domes towards the centre. Also my adding up must be wrong, It's about 0.25mm too long. I'm thinking that I'll put it on a stub mandrill and shrink it back to the right size. Next, the piston rings. I wasn't sure to be scared of these or not. My greatest concern was that I had to finish these to spot on the diameter of the bore. I actually seemed to have got pretty close to that so I'm quite pleased. However, we start with yet more discarding of perfectly good metal. LIke this 2.5 wall thickness with 3mm width rings. I started off with a reasonably chunky indexed carbide bar but finished of with an hss tool. And finally, here we have a piston and three matching piston rings. If anyone things my maths is a bit dodgy, the word on You Tube is that these get broken easily when tempering or fitting, so I need a spare. In fact I probably need two or 3, but I didn't leave enough metal for this. I'm really hoping I get my spares tomorrow and can get on with the con rod bits.
Iain |
| Samsaranda | 29/05/2019 17:40:15 |
1688 forum posts 16 photos | I have a variant of the CMD 10 and it does have its limitations, I would think that a 50 mm facemill is probably at the limit or just beyond its capabilities, hence the damage to drive gears. Fortunately I now have a Champion V20 mill for the heavier cuts. Dave W |
| Iain Downs | 29/05/2019 20:04:01 |
| 976 forum posts 805 photos | No, No, No, No, Dave! JasonB has a 50mm face mill on his X3 or something. I have a 17mm facemill! I don't aspire to anything that big!
Iain |
| Iain Downs | 01/06/2019 17:50:32 |
| 976 forum posts 805 photos | Multi-tasking again! Whilst my armchair engineering has been contemplating budgets and how to cut metal, my active alter-ego has been working on a couple of components. The cross-head paused whilst the parts to fix the mill turned up. In the meantime I wondered what I could make next. I'd originally bought a piece of 50mm piece of 90mm cast iron bar for the cap. This was as small as I could buy it from Metals4U (I was buying a batch of bits). I was somewhat naive in retrospect for thinking there was any way I could cut a piece of round metal this size in half! What I realised was that I had a bit of 100mm x 25 cast which I'd bought for some scraping practice - but how much happier it will be to be part of a motor, eh? Here it is in my lathe. I found this difficult to machine and I don't know why. So far cast Iron and I have been quite good friends, but this one didn't like me at all. I did most of the cutting with an indexed carbide insert and found that I couldn't take more than about 0.25mm off or the lathe would stall. This is not a good thing. I also had a lot of chatter / squealing so the surface was rougher than I'd like. It was also easy to have a jam and in fact I appear to have chipped (and discarded) at least one of the inserts. I tried this at speeds from about 300 up to 600 and it didn't make much difference to the chatter. Still, got there in the end.
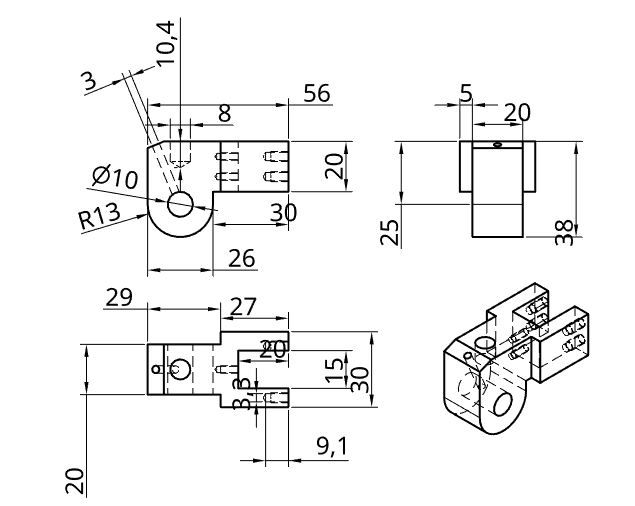
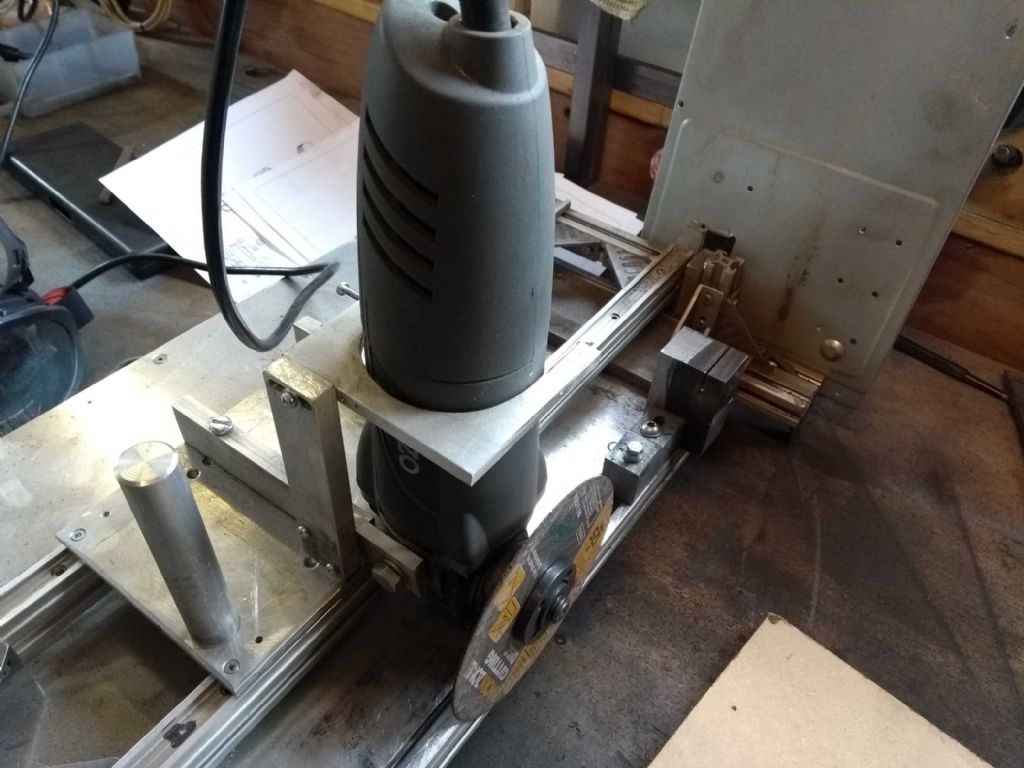
I actually started this because I was trying to be careful (!!!!) with one of my home made tools. The mill was back in excellent working order so I continued to thin it down to 30mm. next was to take a corner out - and to clarify this, here is a drawing of the cross head I thought about setting to with the mill, but it really deserves a break and I thought - Ah- I can saw the bulk of it off and just mill clean! Prior to purchasing my melted chop saw, I'd just finished making a home made version of it. It kind of worked, but not terribly well and I thought my 50 quid was well spent. So I pulled it out and cut down the excess.
Having (maybe?) learned something about overloading DIY tools with work that's too big, I did this in careful stages, letting the angle grinder cool between cuts. In the meantime I got on with the top cap. In the end (and with a bit of final help from a human powered hacksaw) I completed the cut and my mill was very pleased indeed! I shall probably finish this off before getting back to the top cap. Oh, by the way - Jason you agreed that threading the bottom end of the piston rod was a reasonable approach, but suggested a finer thread. As it happens I have a 10mm 0.5 pitch tap and die set. If I reduce the end to 10mm do you think that would weaken it too much?
Iain |
| JasonB | 01/06/2019 18:21:35 |
25215 forum posts 3105 photos 1 articles | 0.5mm pitch is probably a bit finer than I would have gone, 1.0mm or 0.75mm on a 10 or 12mm dia would be about right. Reducing to M10 on the end of the 12mm rod will be OK strength wise. I'd also drill and tap a bit deeper than you have it shown on the drawing above, say 18mm which will just miss thecrosshead pin hole. |
| Iain Downs | 03/06/2019 08:25:38 |
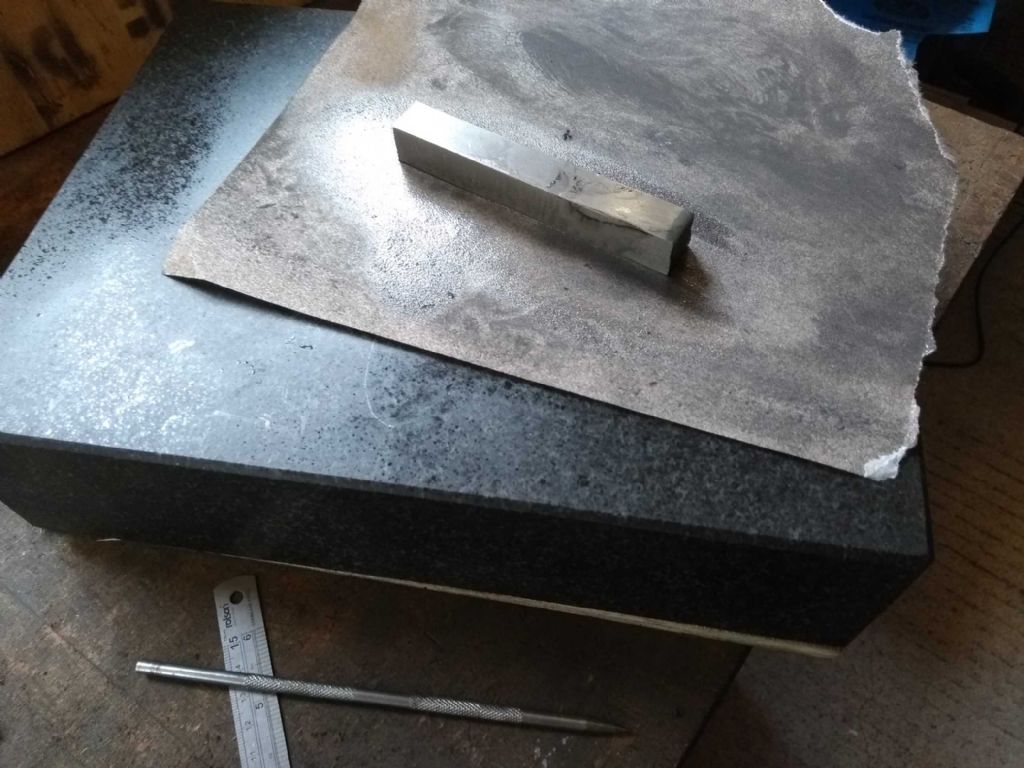
| 976 forum posts 805 photos | Paul - I forgot to mention that I took your advice on the key. I found a piece of 4mm square in my bits box - actually part of a hook of some kind and I have no idea where it came from. I cleaned it up and lapped it (300 grit paper on a surface table) and fitted it to size. It's working so far. Hi, Jason - the drawing is of a soldered assembly - I've not updated it, but will do so before completing.
Iain |
| Iain Downs | 08/06/2019 08:41:22 |
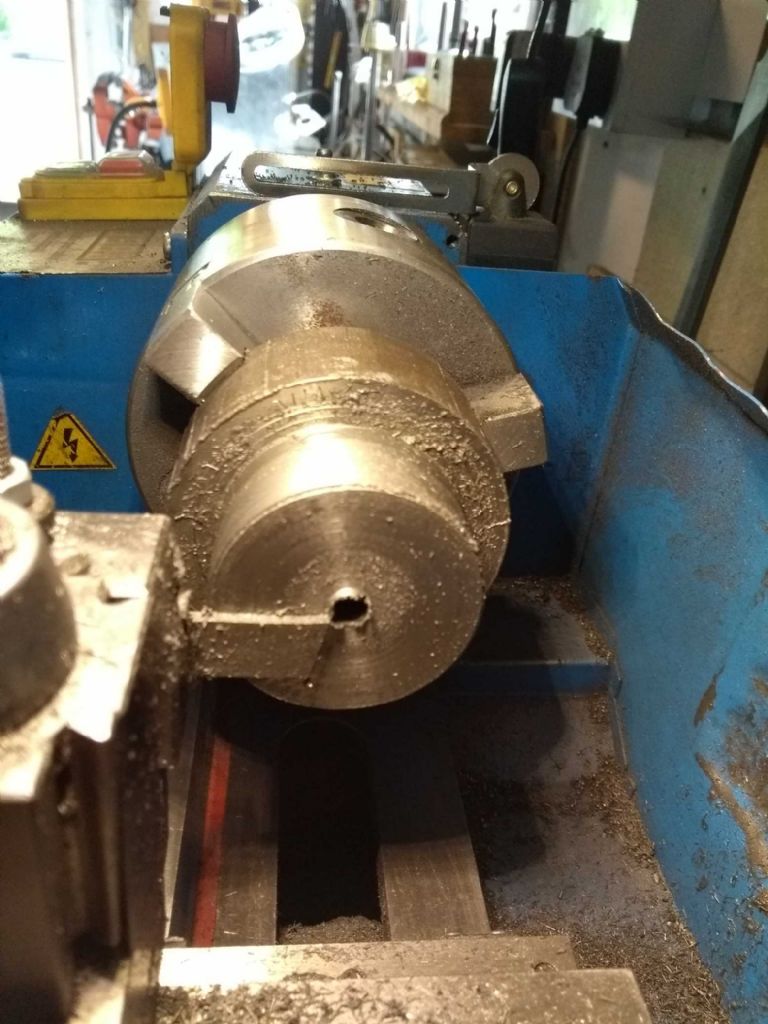
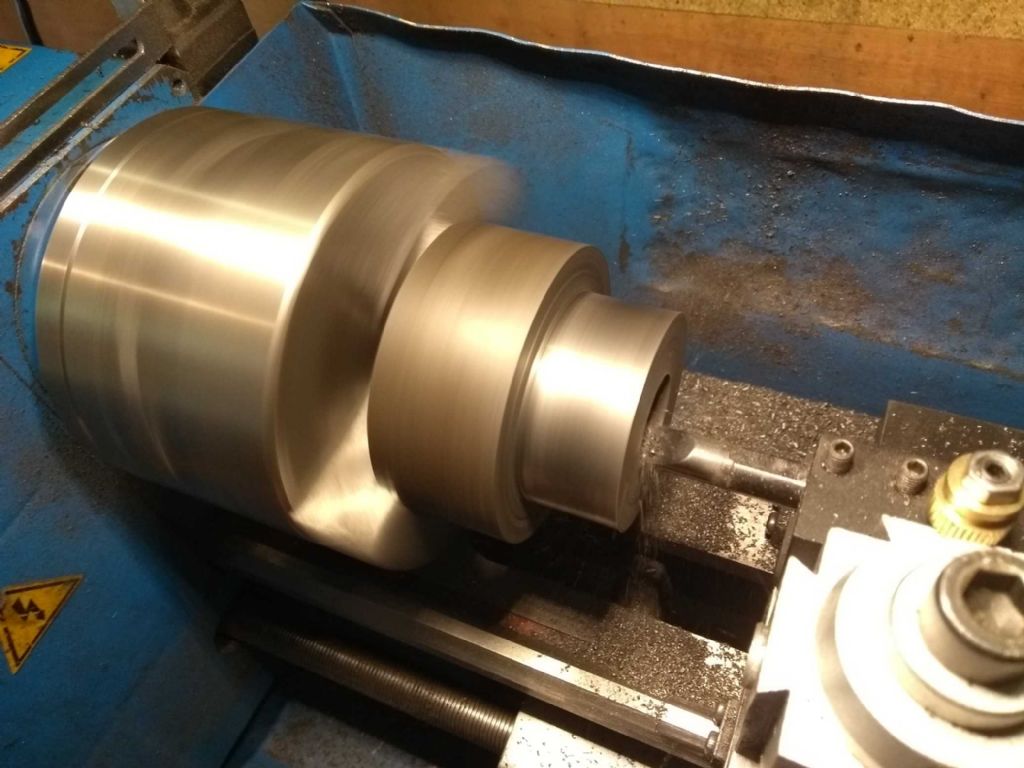
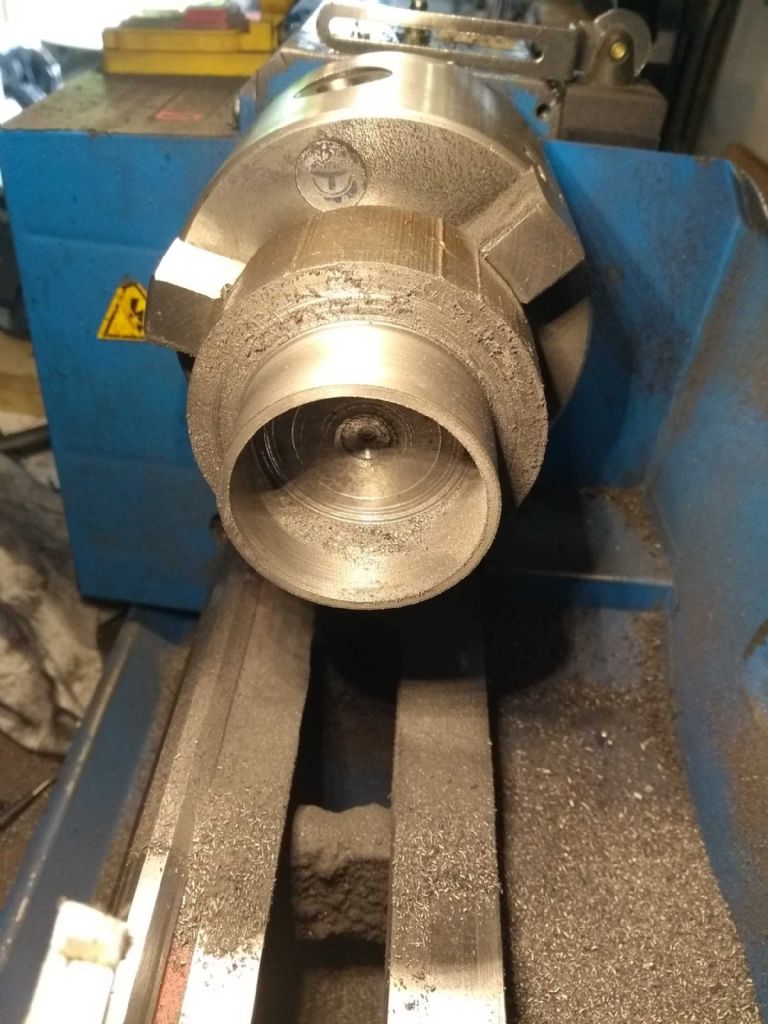
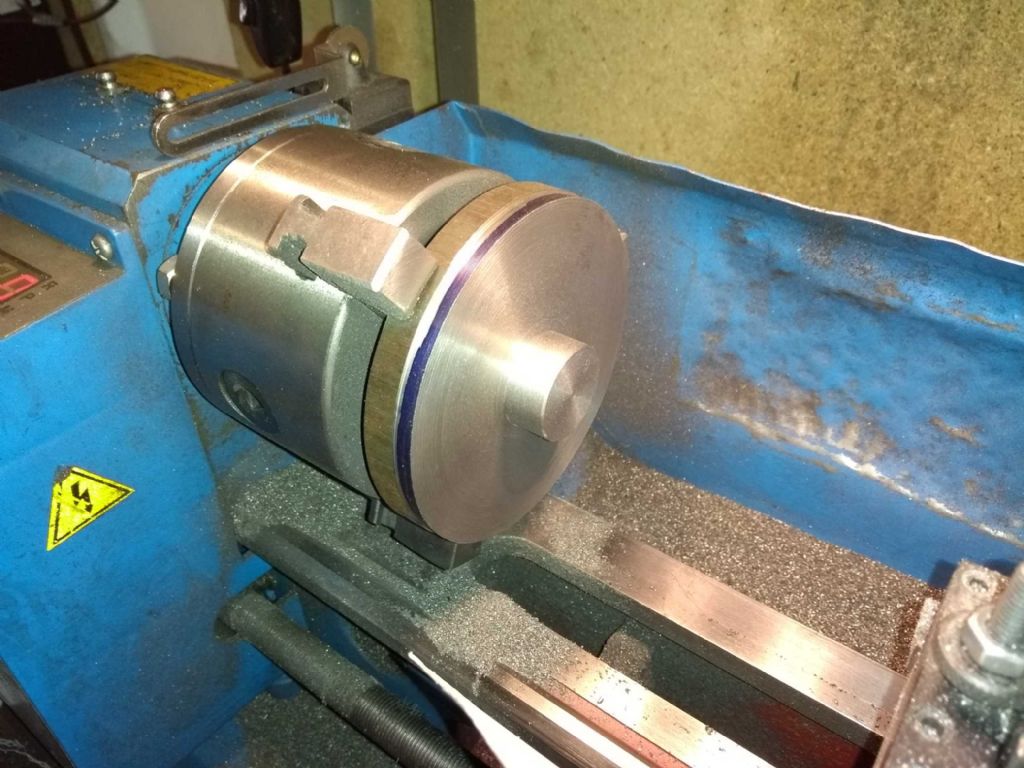
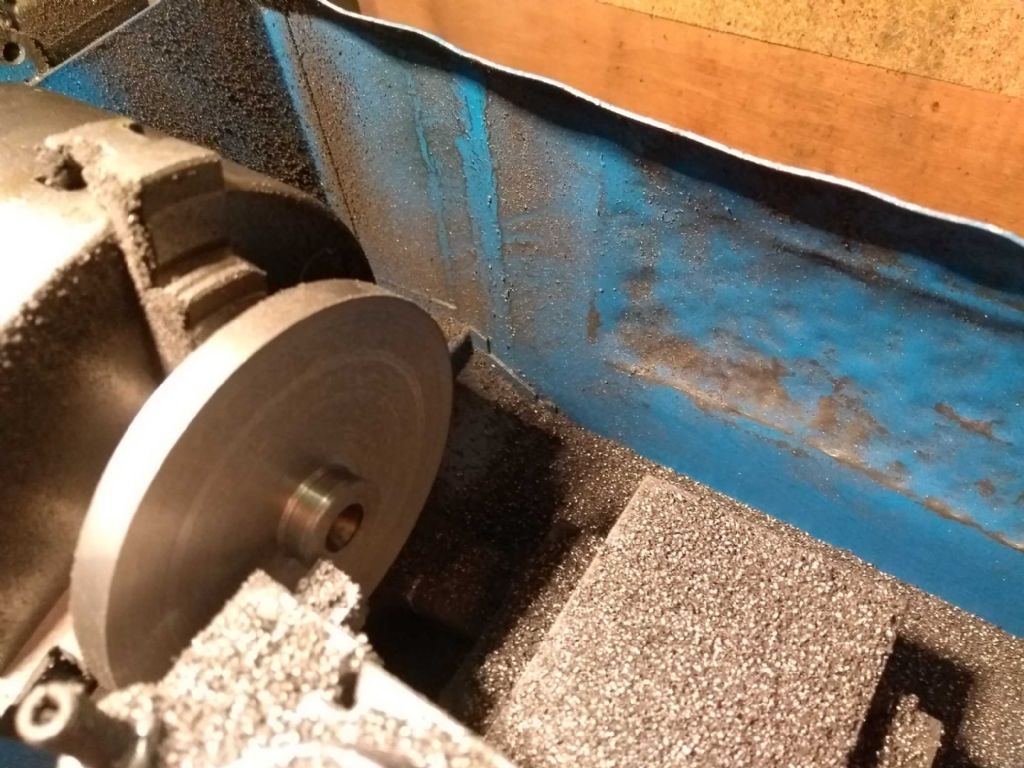
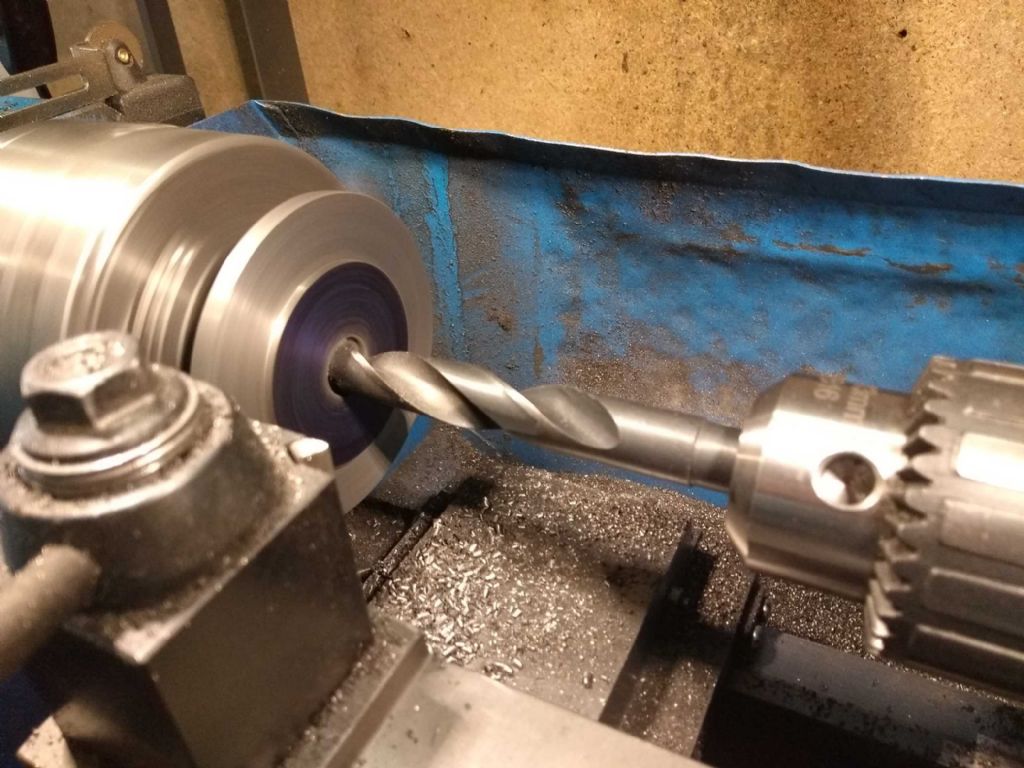
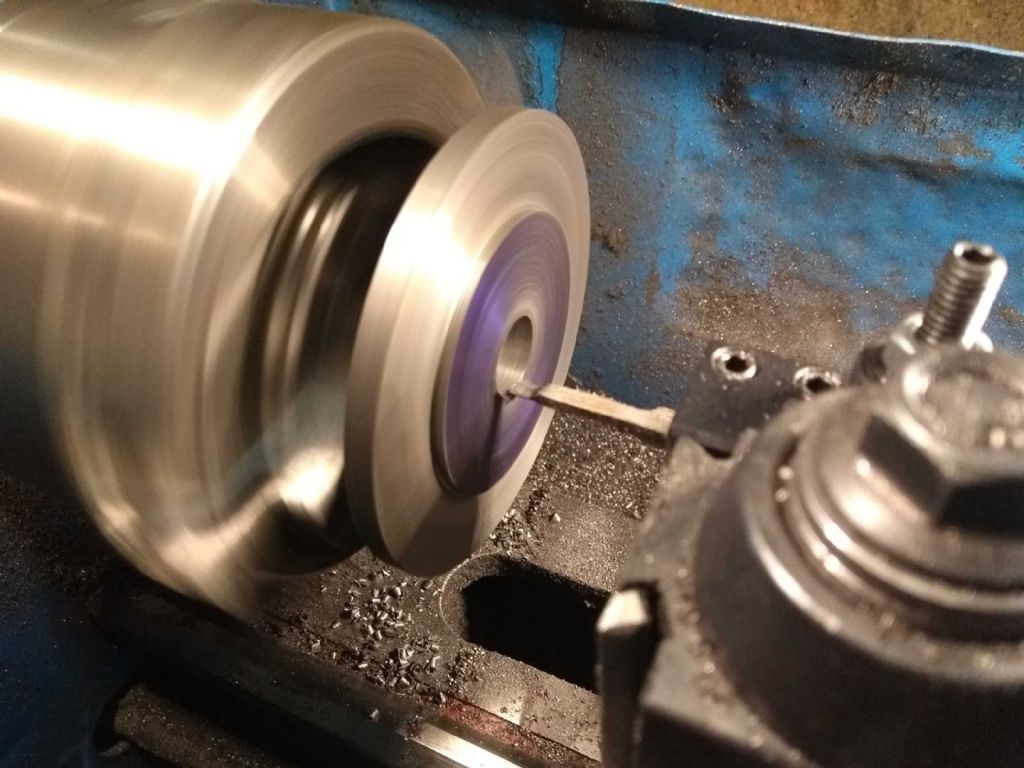
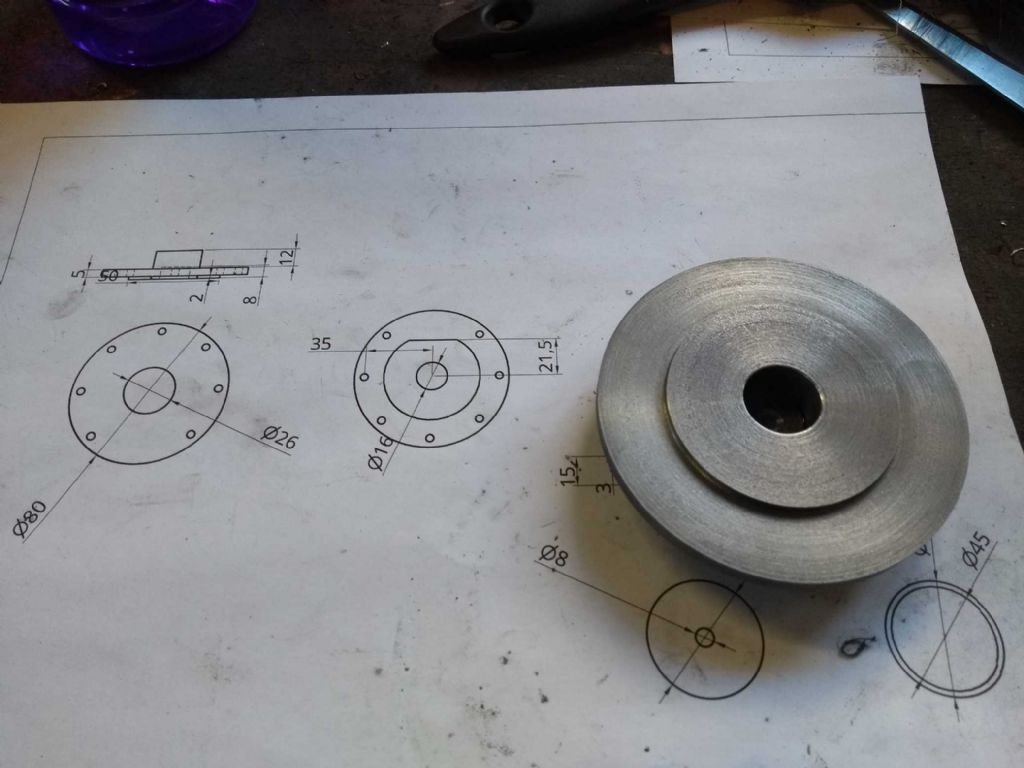
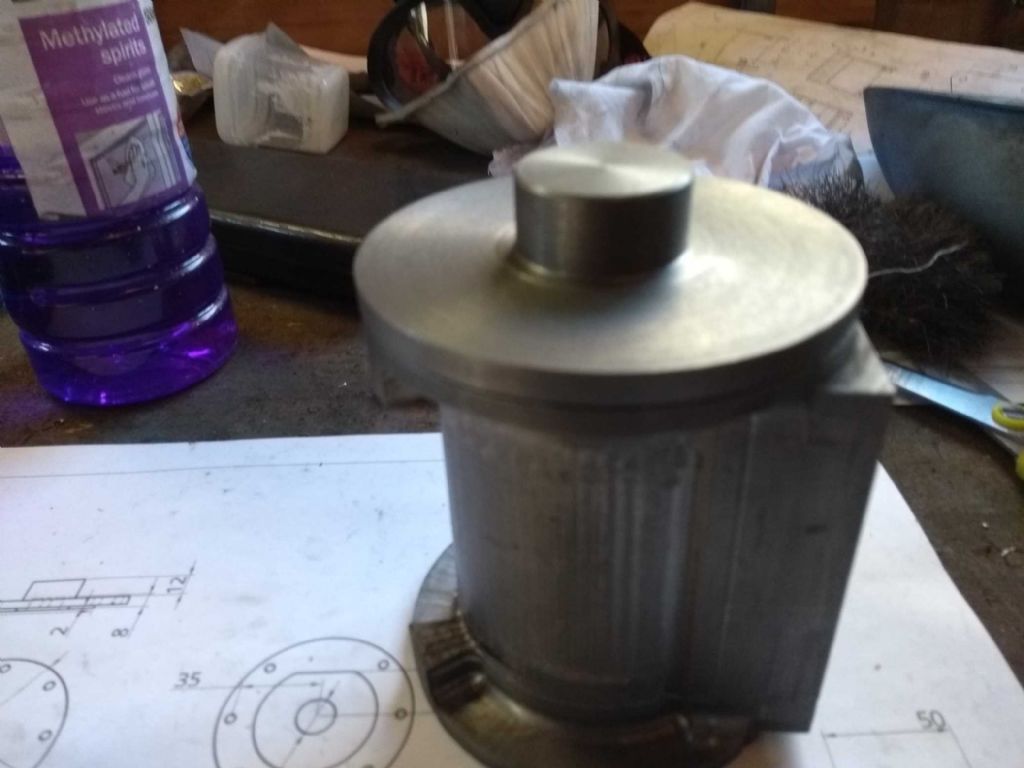
| 976 forum posts 805 photos | I've been Multi-tasking again, but to save confusion I shall separate the work as if I did it in a linear fashion! The reason for multi-tasking was that I ordered some specific drills for the crosshead bearing hole and taps for the piston rod. I only had millimeter drills above 6mm and I didn't want to try reaming a 10mm hole on a 9mm drilled hole! So the side work was to continue the top cylinder cap. I found this strangely difficult most of the way through. For the main part I was using a carbide tool which has served me well, but I felt it wasn't cutting right. I swapped ends and tips a couple of times but nothing seemed to make it go nicely. I tried speeds from 300 to 600. What I was seeing varied, so I was probably doing a lot of different things wrong! Sometimes I got a kind of ripple effect on the iron. I suspect some kind of vibration was causing this and I think I was hearing a whine whilst this was going on. When cutting along the face, there was an area around 25-35 mm from the centre where the lathe struggled and I saw a different texture to the machined part. It was also in the area that the lathe was most likely to stall. Incidentally for the main part I was only able to take 0.25mm cuts and that fairly gingerly until nearer the centre. Towards the end of the job, I thought I'd try out an HSS tool. This really didn't work. In fact the only effect was to wear down the face and polish the iron! I don't think the geometry of the tool was right for the face. However, when I put the carbide tool back on, suddenly everything was working nicely! I could even take 0.5mm cuts (albeit with some care). I have two theories. One is that the ripple of the previous cut caused the tool to vibrate which added ripple in this one. By polishing the surface with the HSS tool, the ripple was removed. The second is that I'd (by chance) got the alignment of the indexed tool just right at the end for it to cut cleanly. Ah, the mysteries of engineering! However, that's the end of the dull stuff. Here are some pictures. When I turned the piece round to hold the stub in the 3 jaws, I wanted to make sure that it was secure, so I set a centre against it. Then turned the part down to 80mm and made sure it matched the cylinder (it turns out that one end external diameter is about 0.1mm smaller so I've engraved T on the side of the cylinder to make sure I get it right. Following that took the thickness down to 7mm, and removed the centre and turned down the nun. I then took 2mm of the face up to 50mm leaving a 2mm raised locating area. This was taken down to a measure 50 point something and then I used try and fit to get a perfect registration with the cylinder. You can also see here the drilling out of the centre to allow the nut securing the cylinder to have some space. And then trimmed to size. And here we have the result. Now it's time for more excitement; recycling to the tip and an Aldi shop. Perhaps they'll have some nice tools today ....
Iain |
| Iain Downs | 17/06/2019 20:58:36 |
| 976 forum posts 805 photos |
Back to the Well, I've had a bit of a run at work on the con rod assembly - which is nice, but it's going to make this post a bit of an Epic... And it will be subtitled, 'Measure Twice, cut ... Oh Bugger!'.
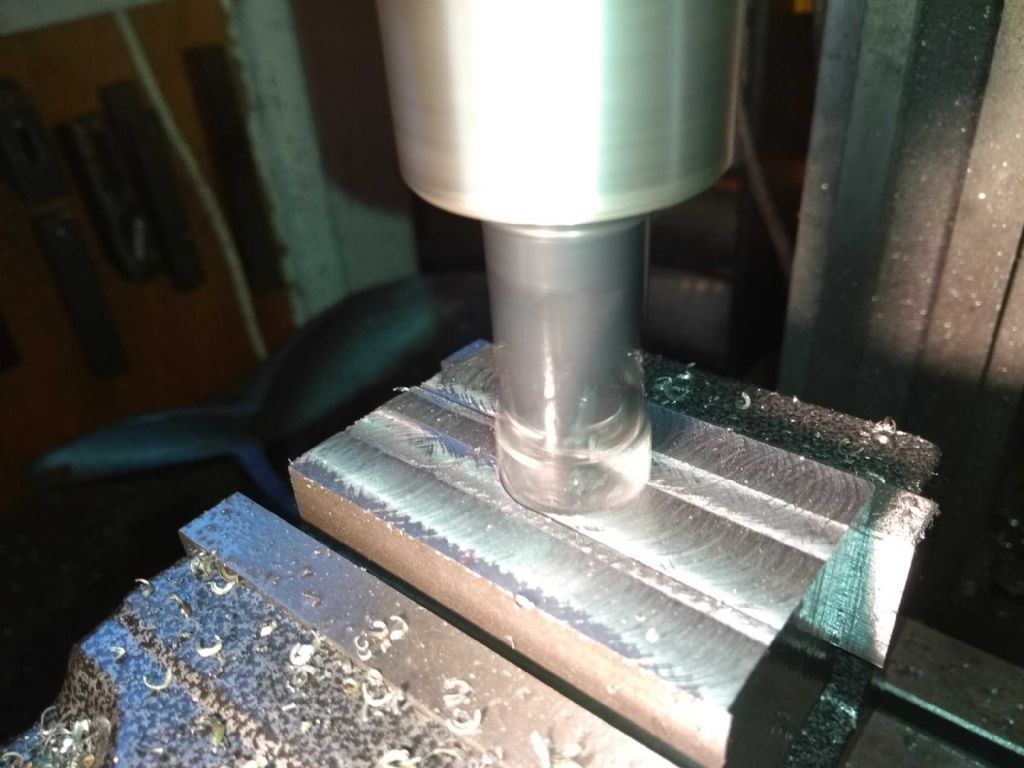
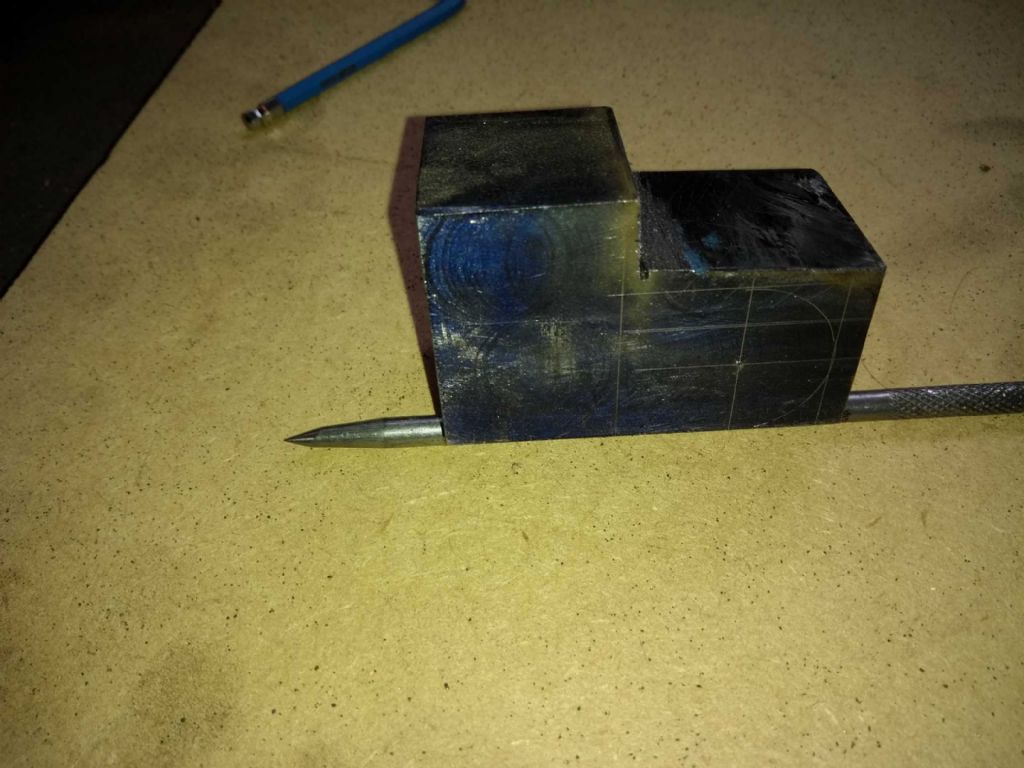
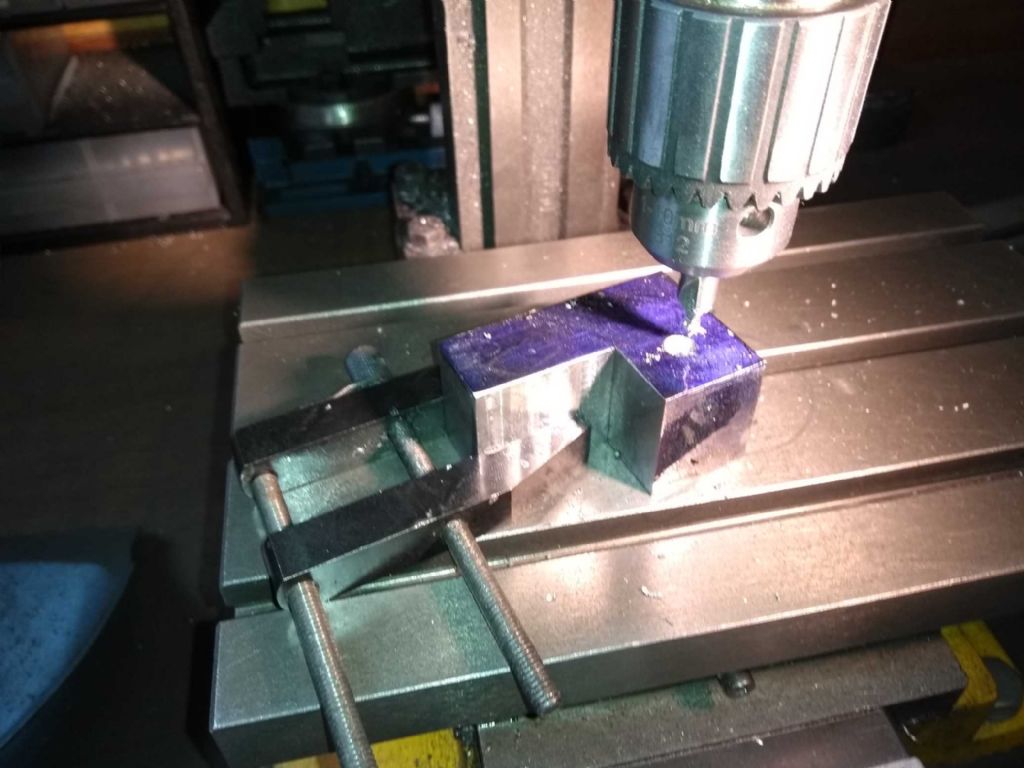
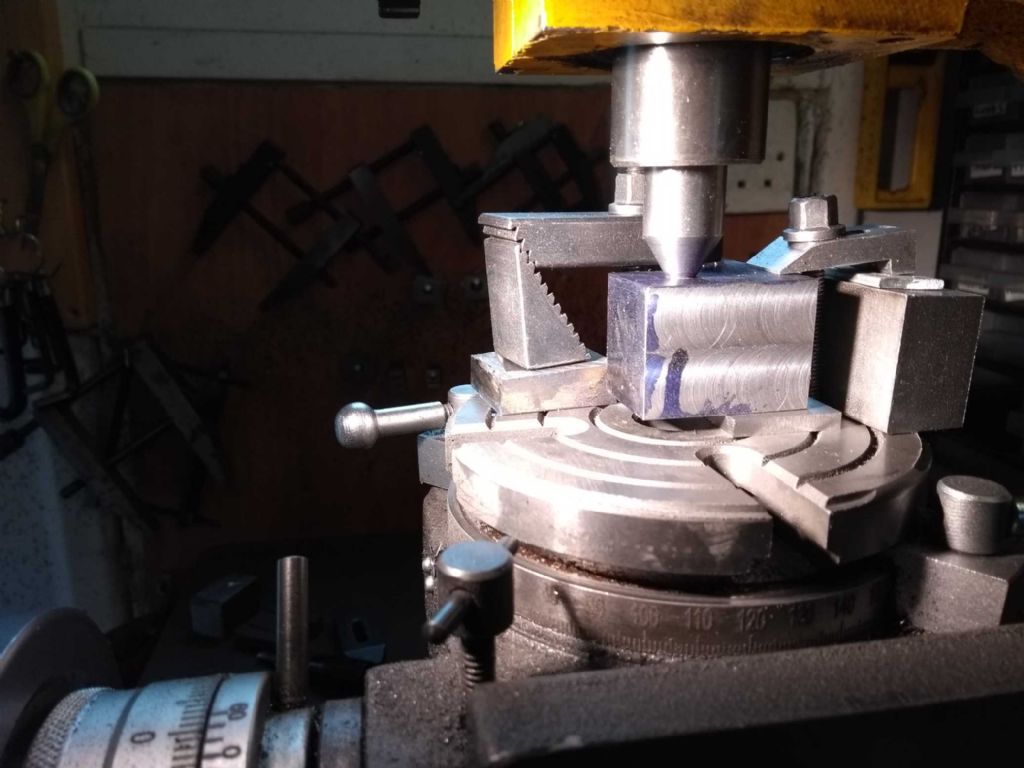
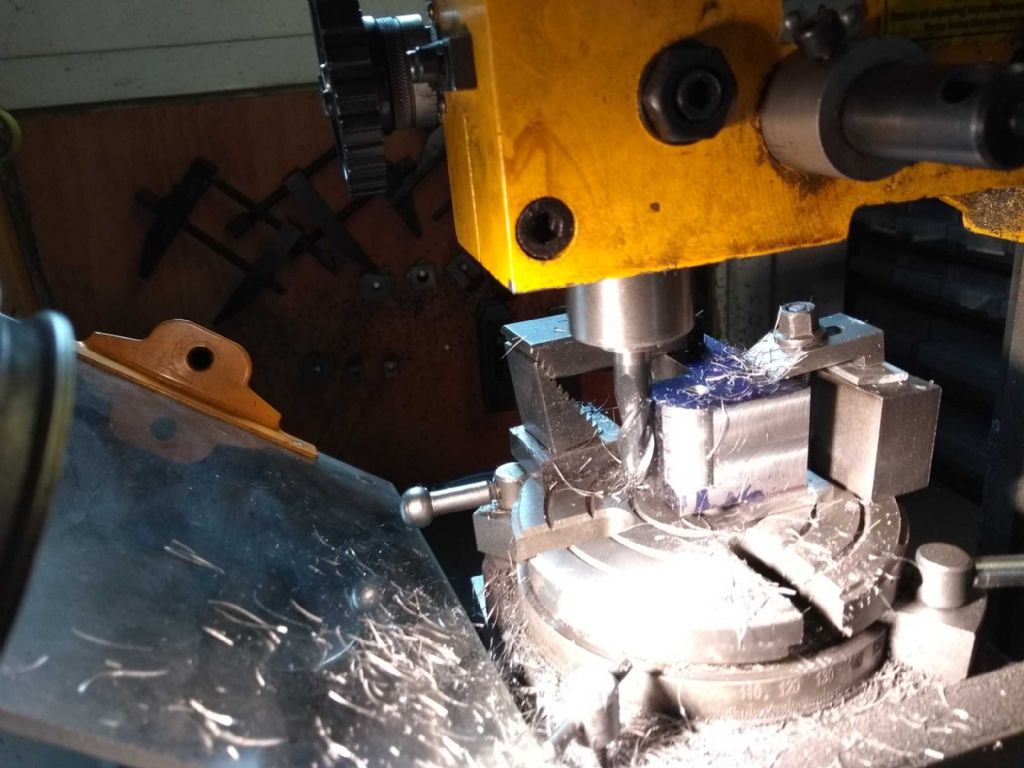
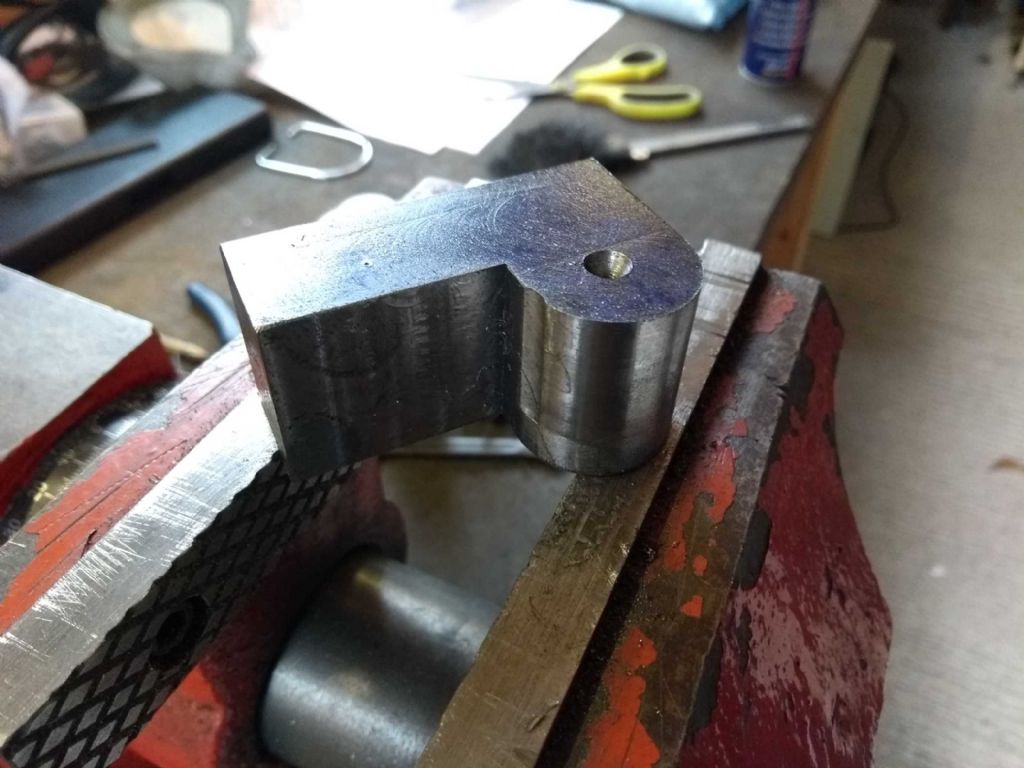
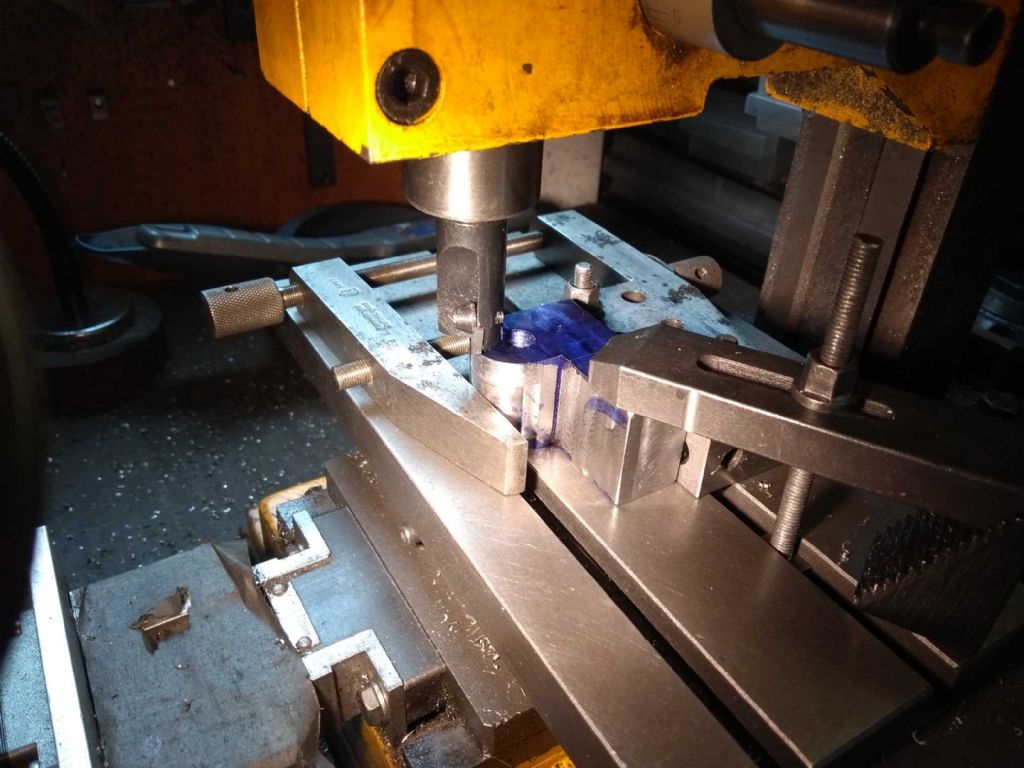
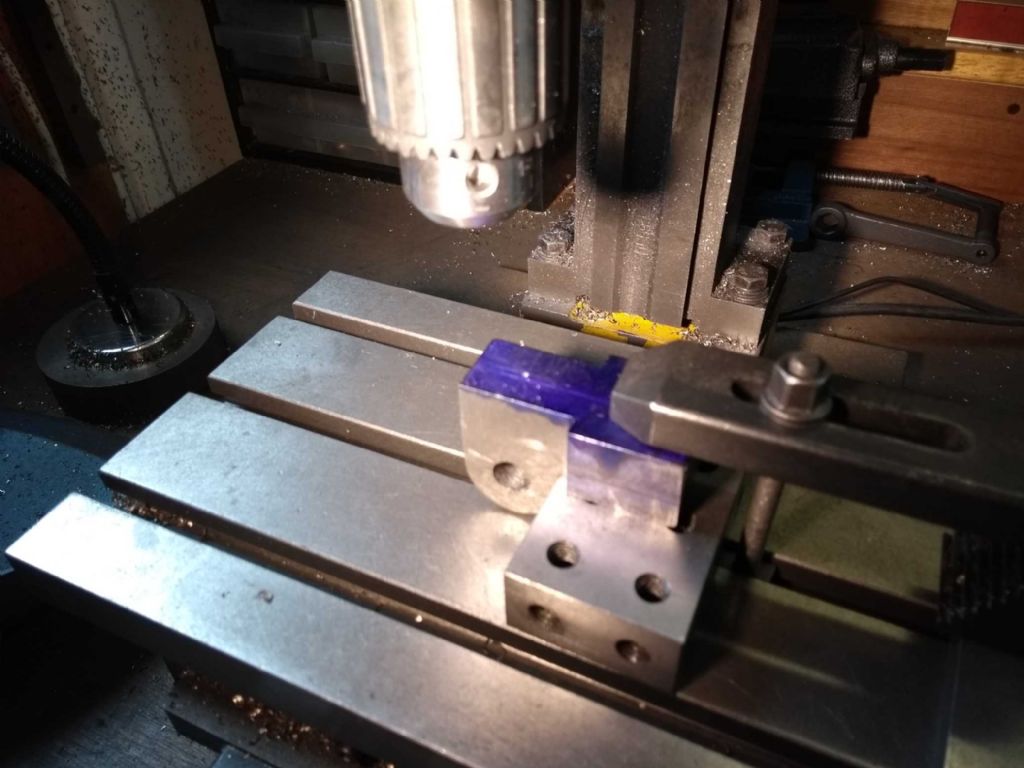
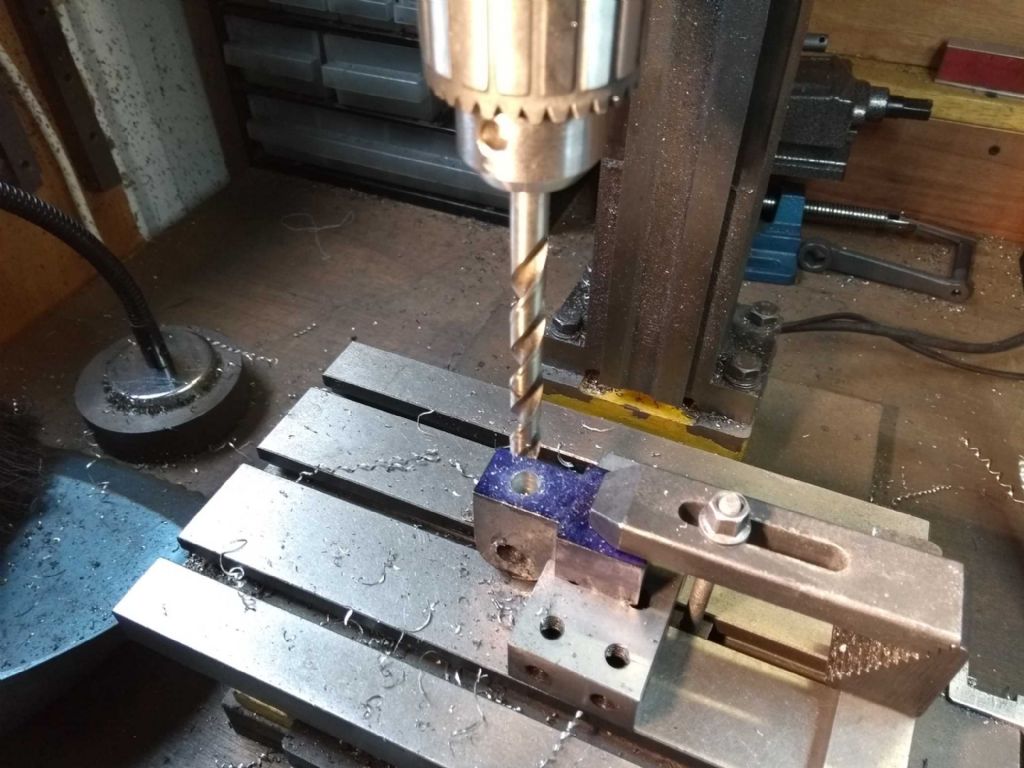
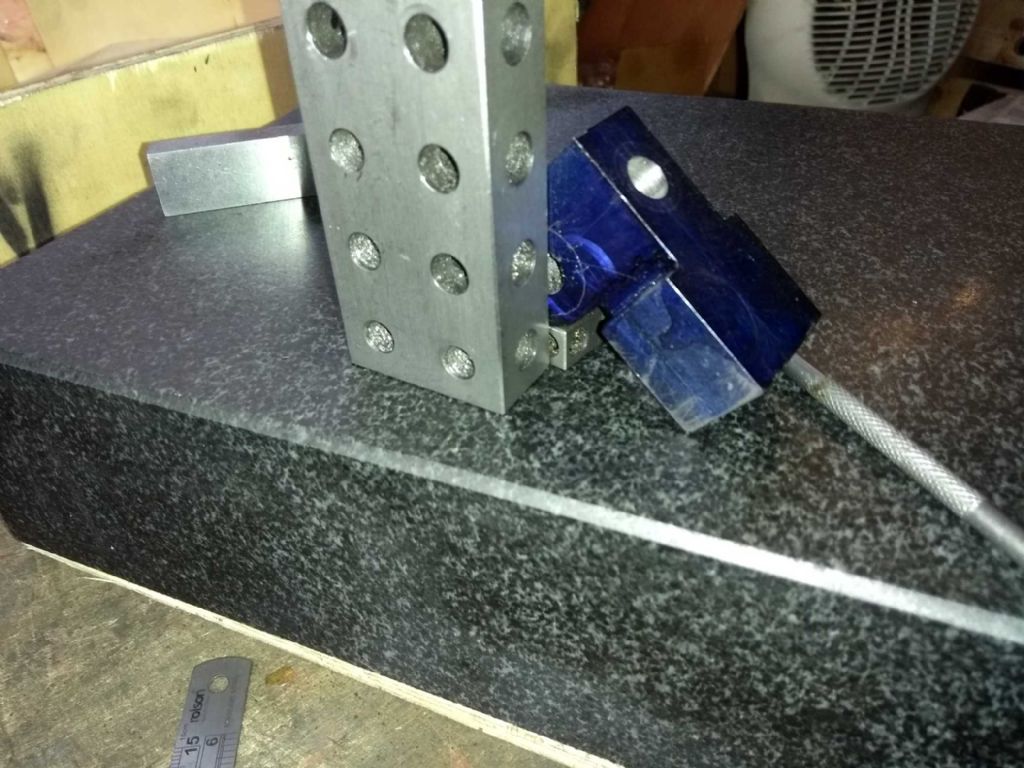
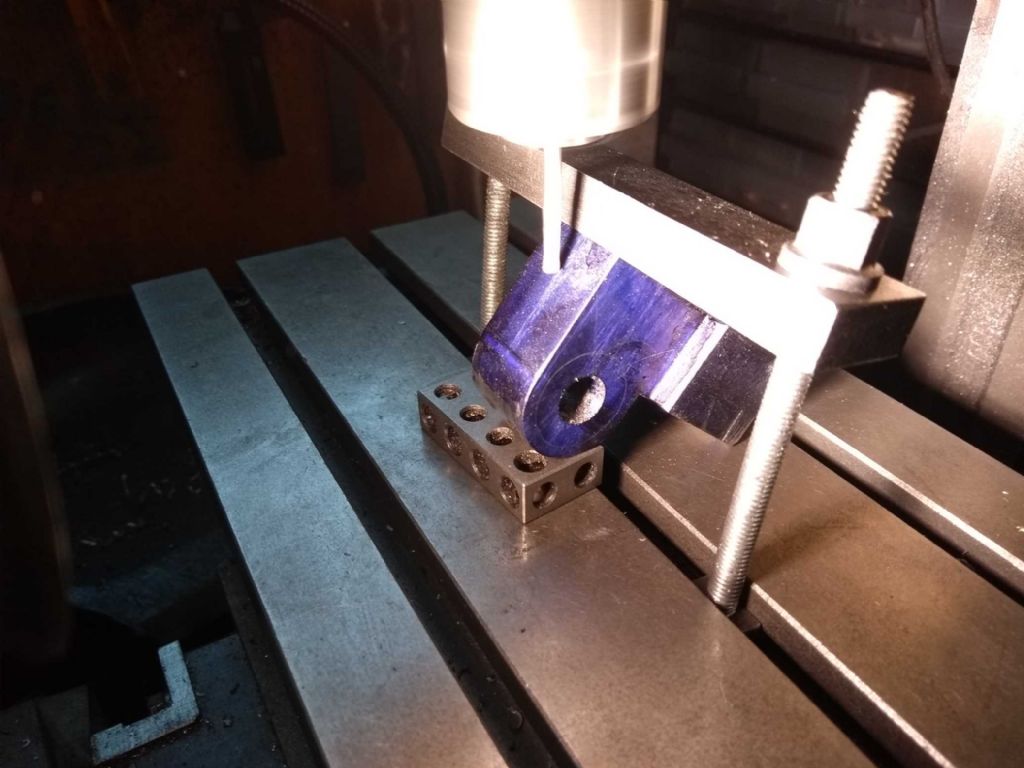
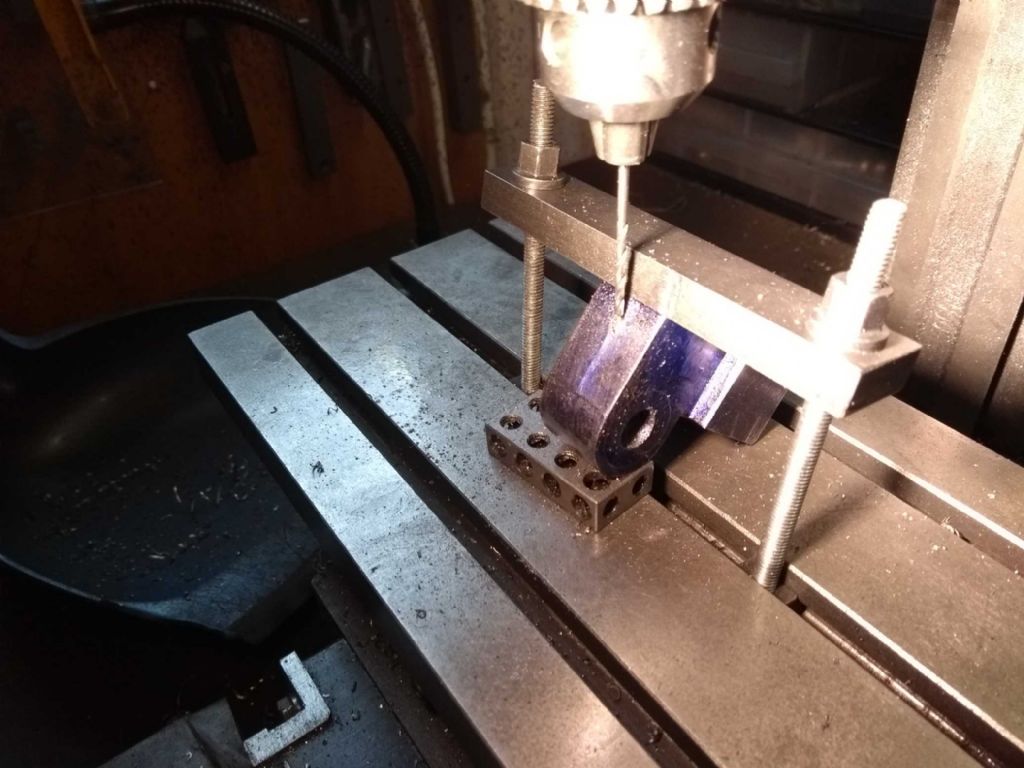
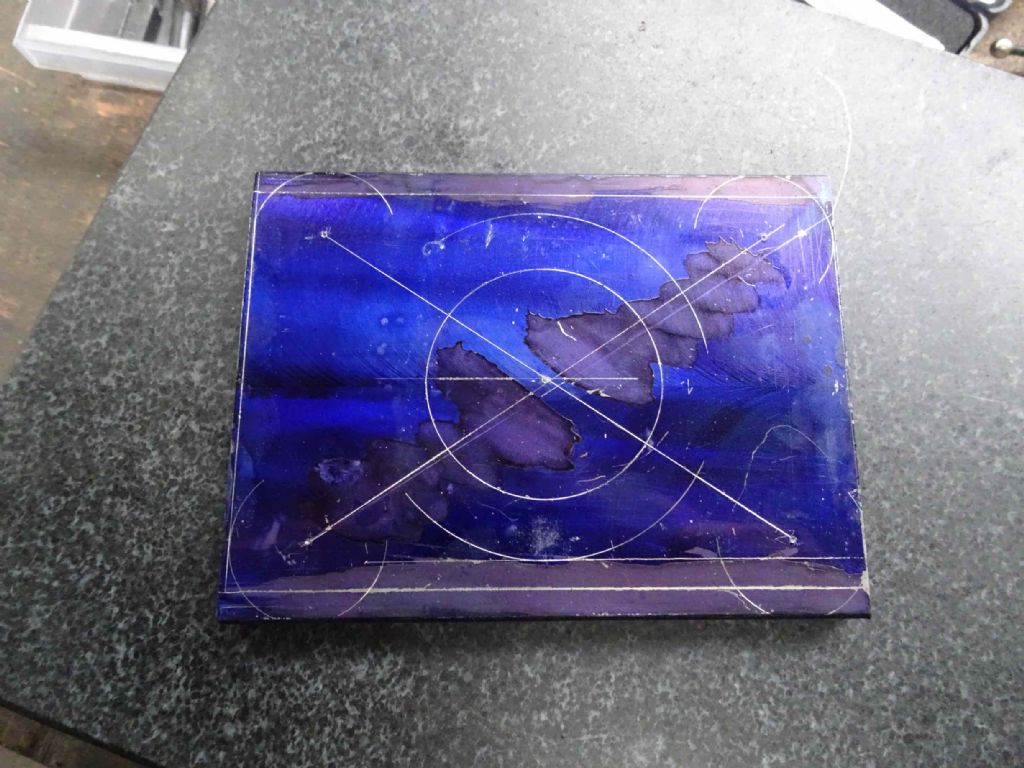
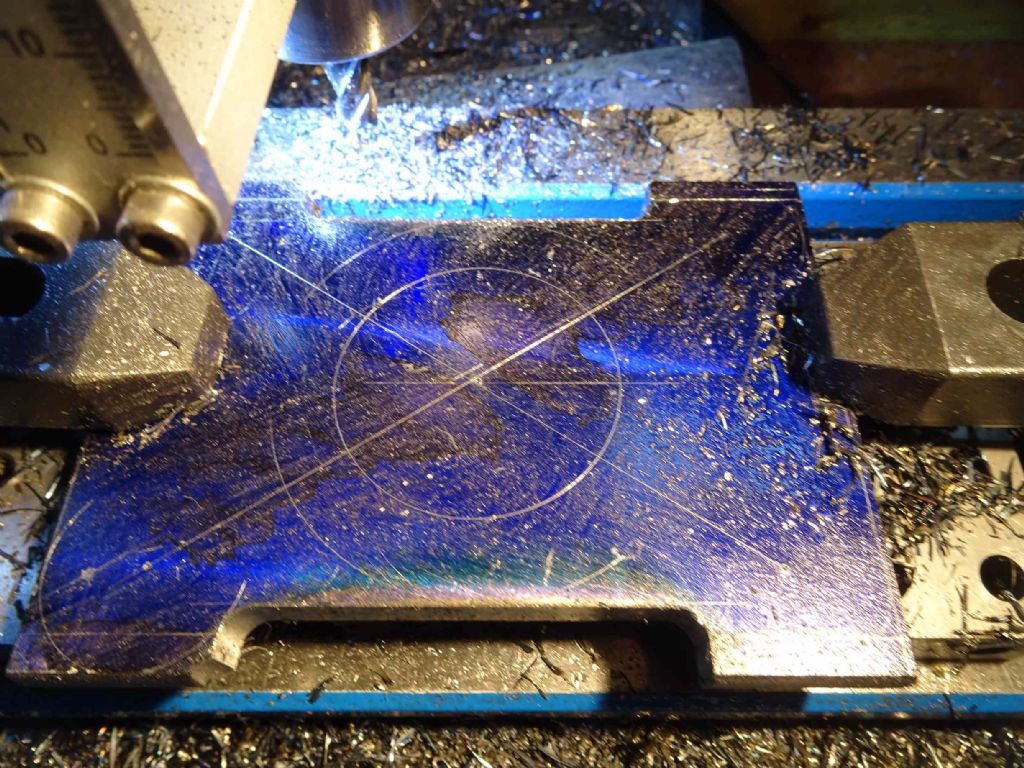
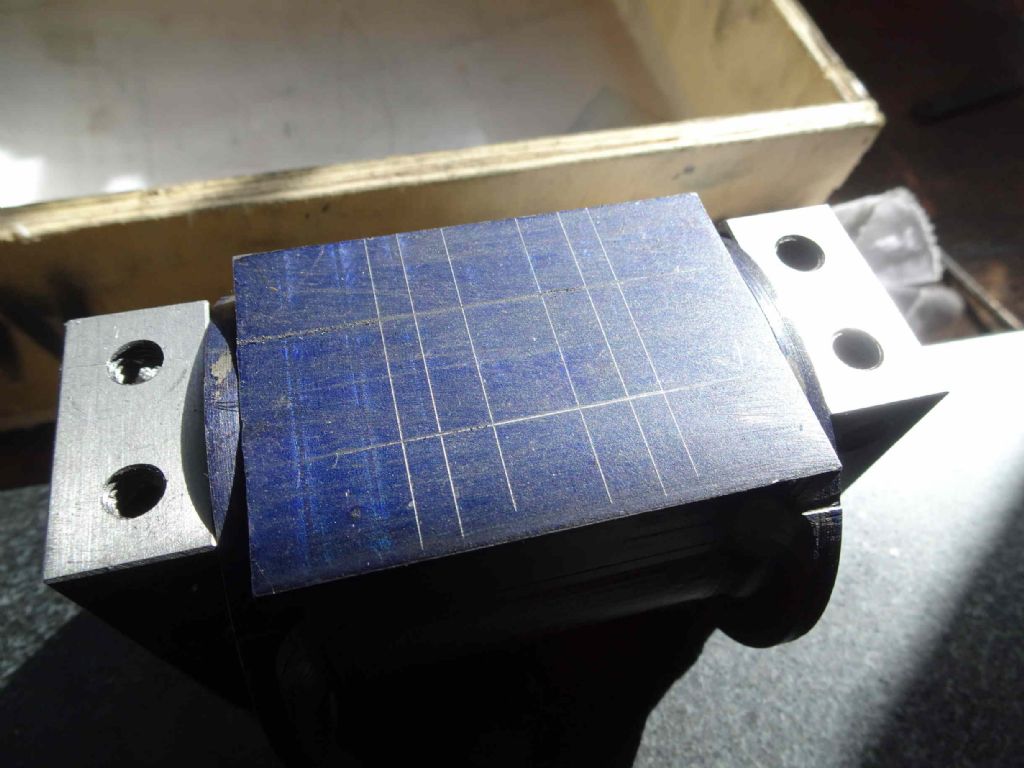
You see, the cross head is basically L shaped. So I marked out where the L should be and then in a stupor of insanity decided I'd got the wrong end and marked again. Fool! It turns out I was right the first time. I started cutting and then had a moment. So I measured for a third time and compared to the drawing, said some bad words and took stock. It turns out (fortunately) that I'd not gone to far with the cutting and was able to re-mark and carry on. In the drawing below you can see one of the false lines near the top of the G Cramp. Although I took the bulk off with the face mill, I finished up to the edge with an end mill and trimmed the bottom at the same time. Next was to make the radius for the bottom of the cross head. What I do here (are reported earlier) is to centre the rotary table on the mill and then centre the work item for clamping with a centre in the mill spindle. Here I centre drill the part And the centre And then on with the milling In this operation, the part moved (clamping not tight enough), but I spotted it before it was unrecoverable. Sadly in the process I grabbed an Y which I should have grabbed a turn and took a bit out of the side. Next was to take 5mm of either side of the cross head proper As follows The shot above is also the set up for drilling the hole for a 10mm x 1mm threaded hole (threading not yet done, but tap has arrived!). I drew up a design for the oiler hole, but when I looked at the part I found an easier way of getting something good enough (I hope). As you can see just resting the part on the surface table leaves a perfectly good oil route as a vertical. So I marked that out, clamped the piece and milled a small hollow. Not shown here is that I ground a small groove in the clamping plate to keep it in place. The drill through
It turns out that I'm being too loquacious and so need to stop here or the system tells me off. More in a moment!
Iain |
| Iain Downs | 17/06/2019 21:02:16 |
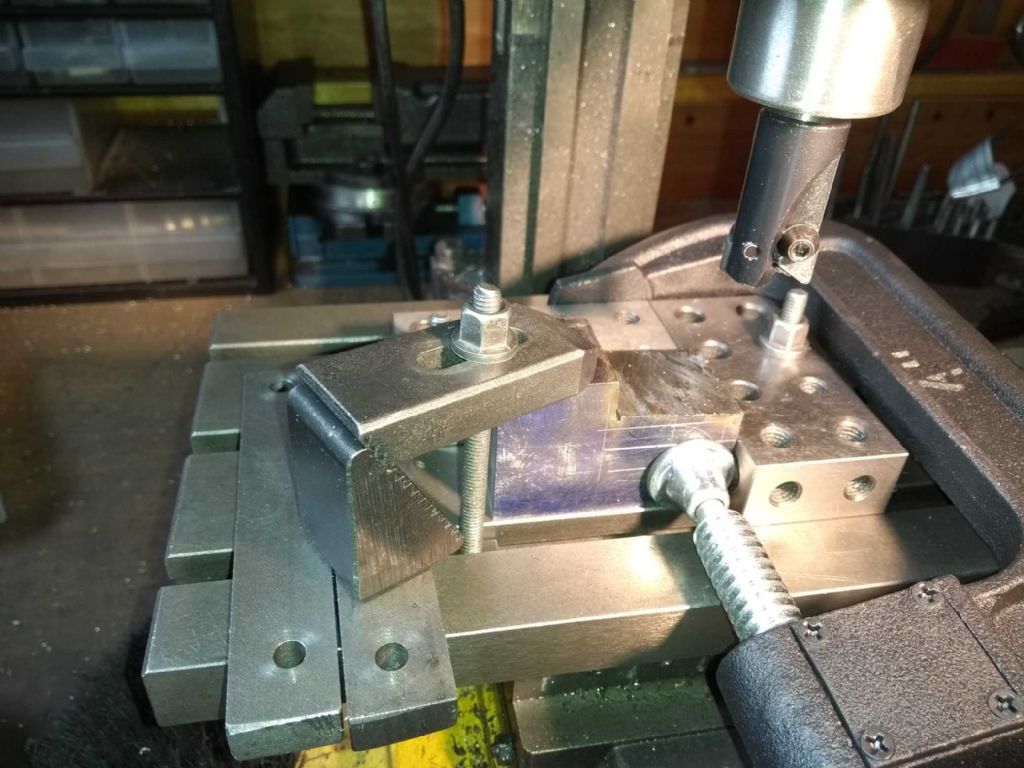
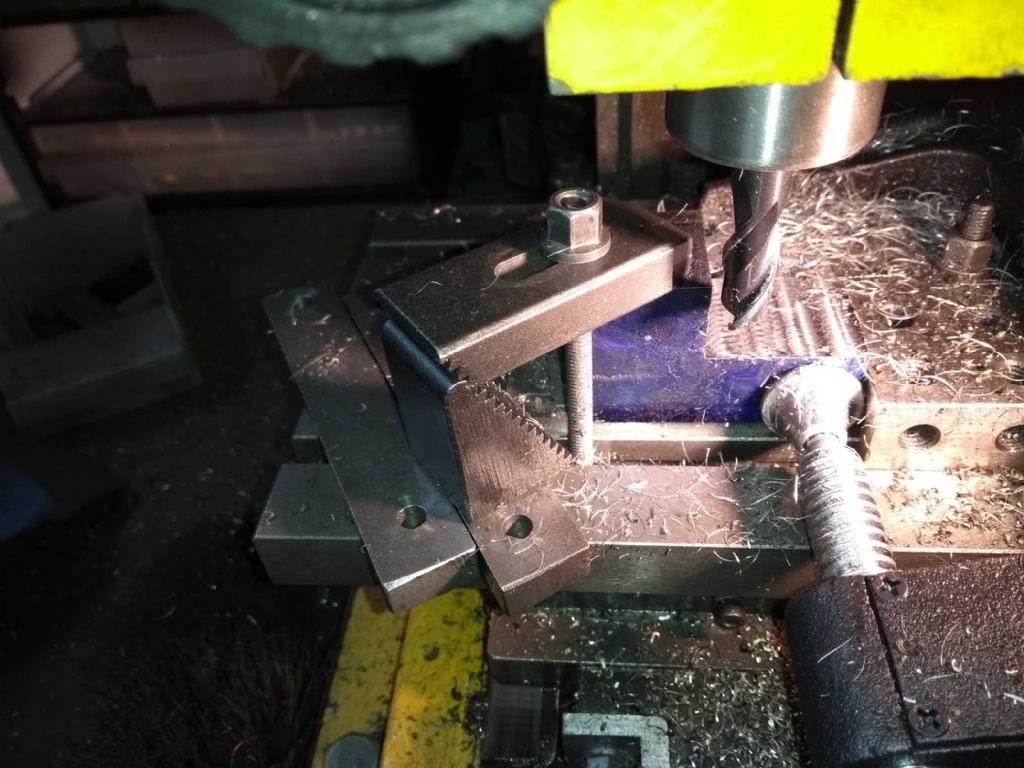
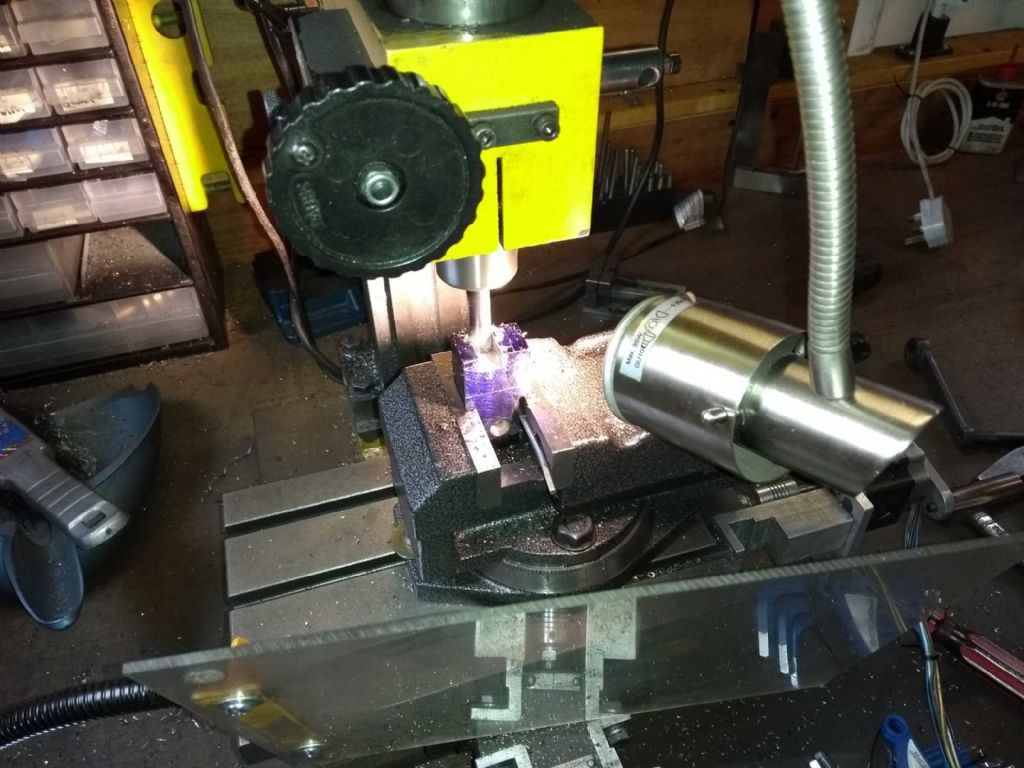
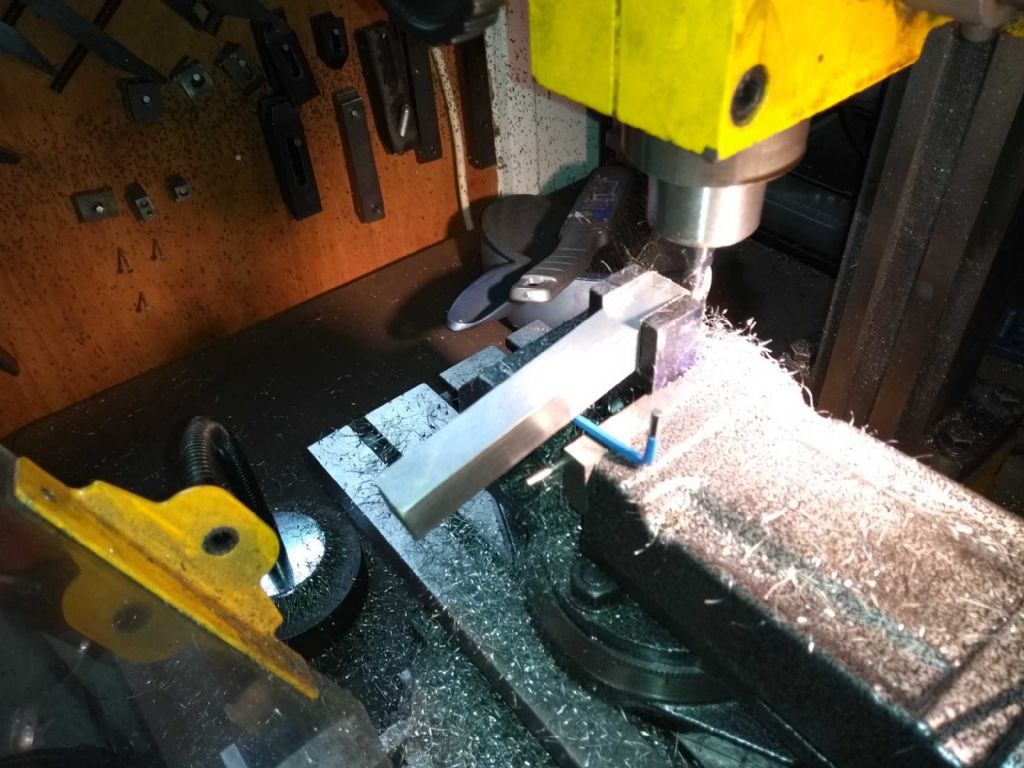
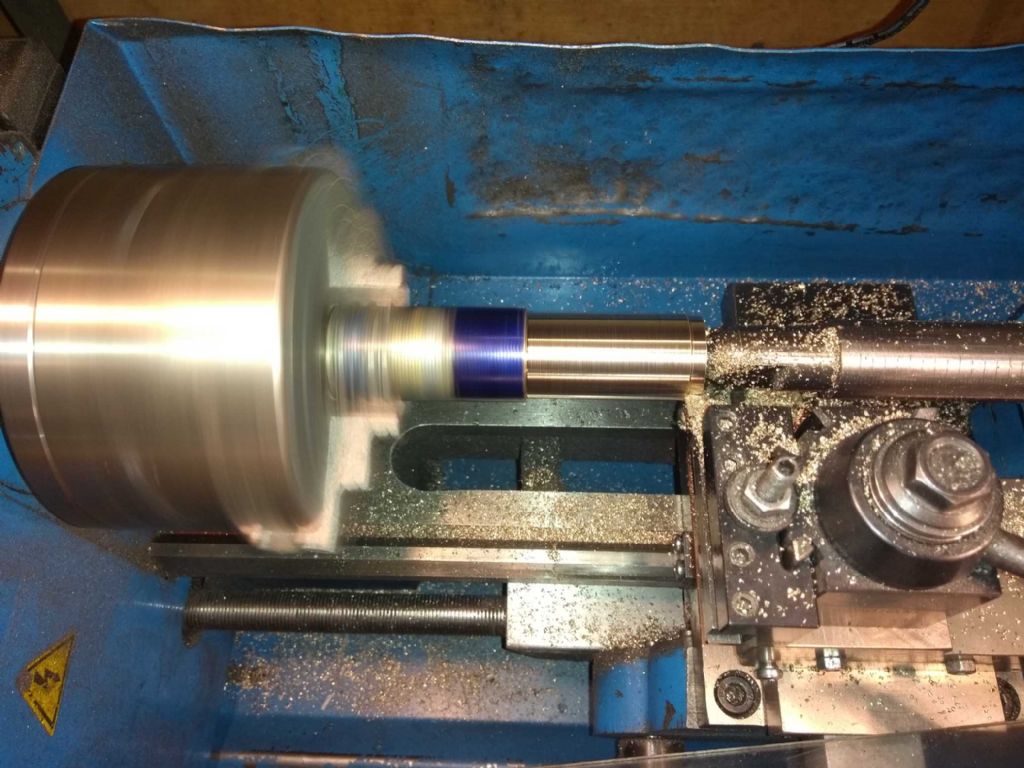
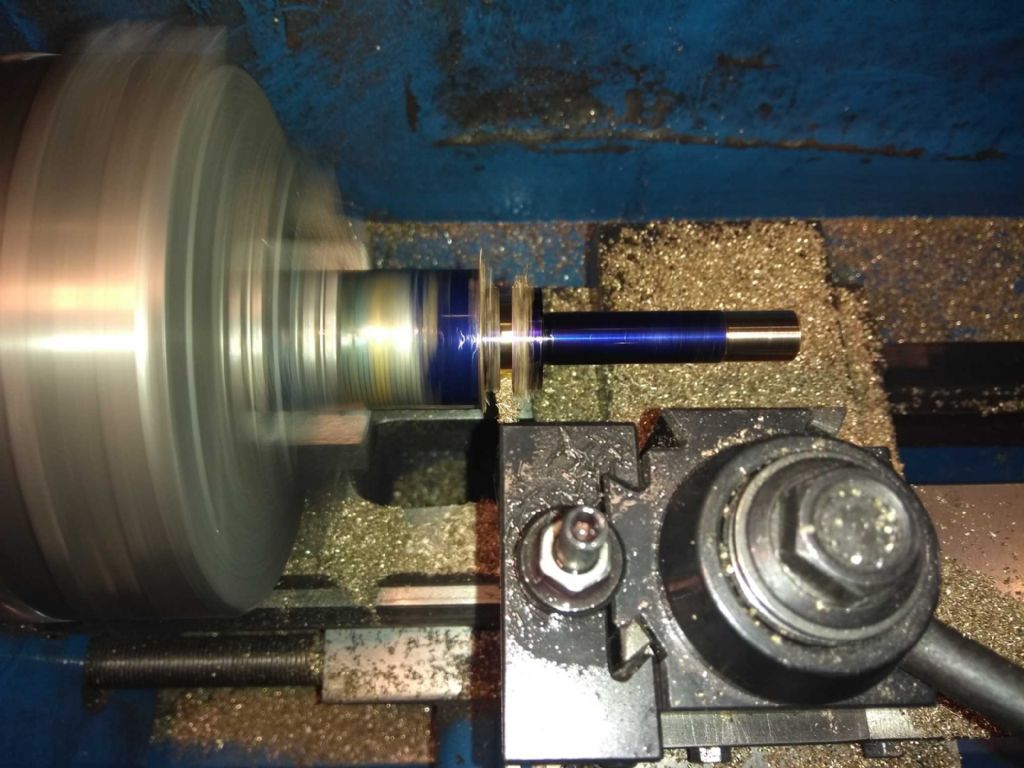
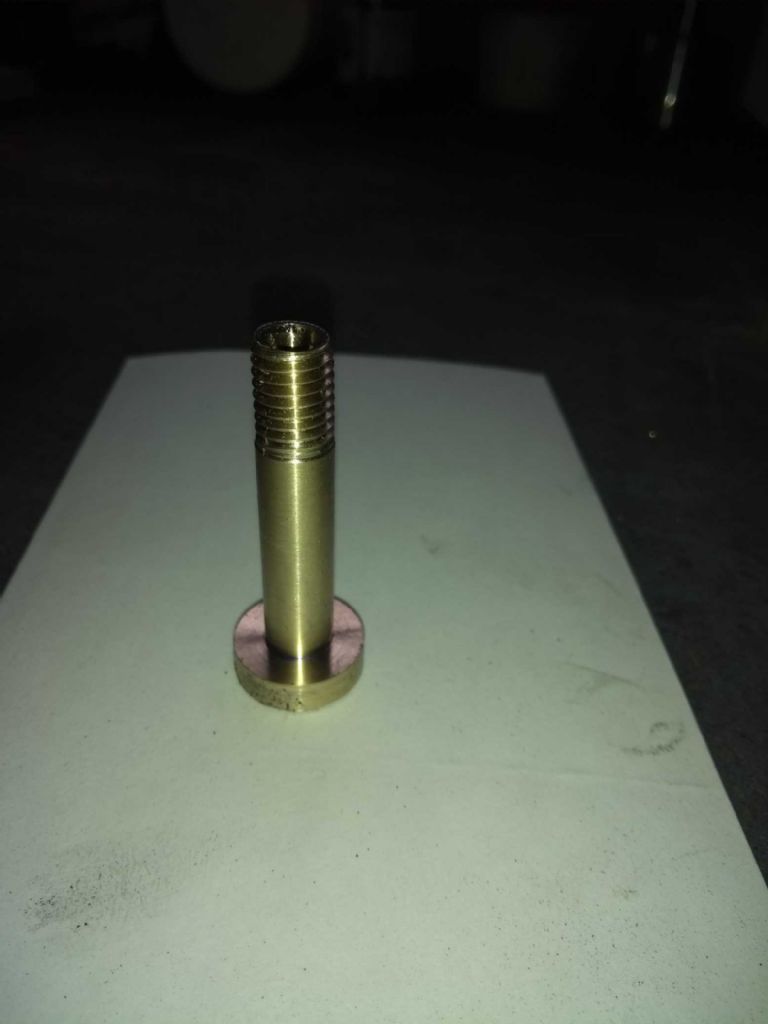
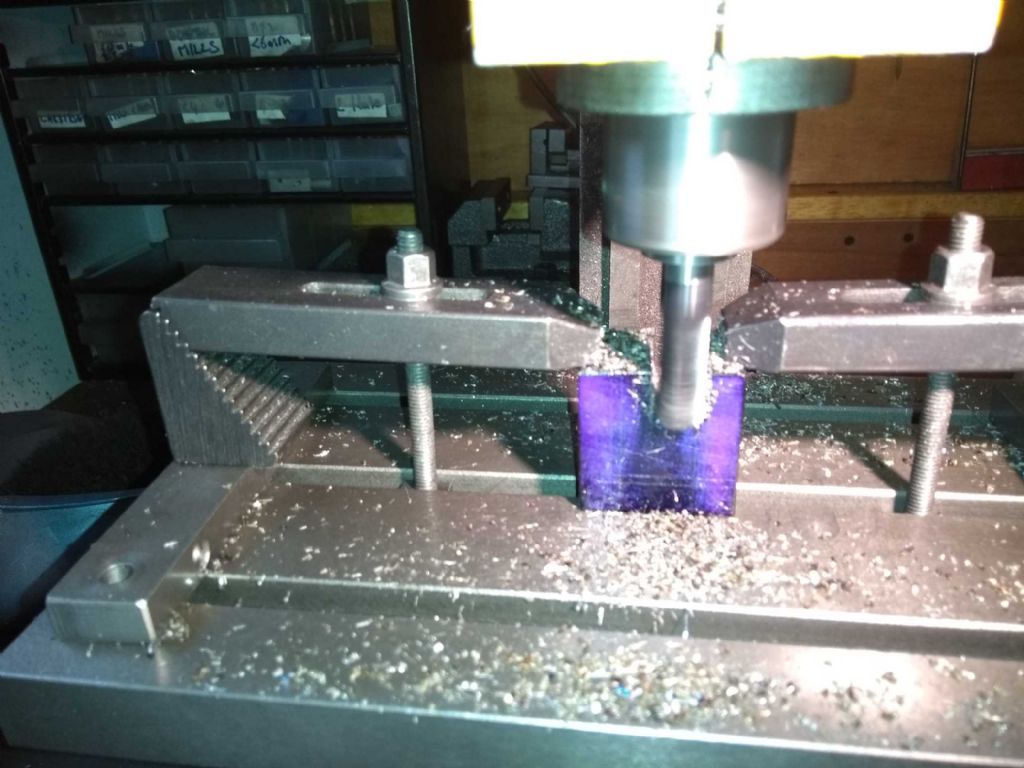
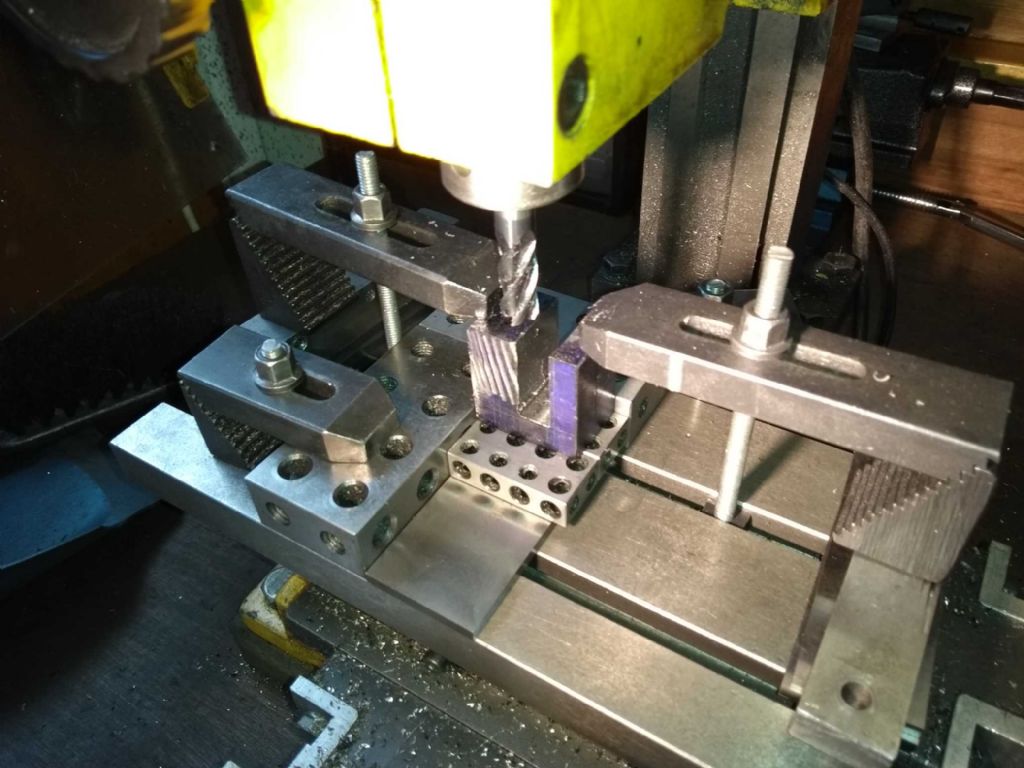
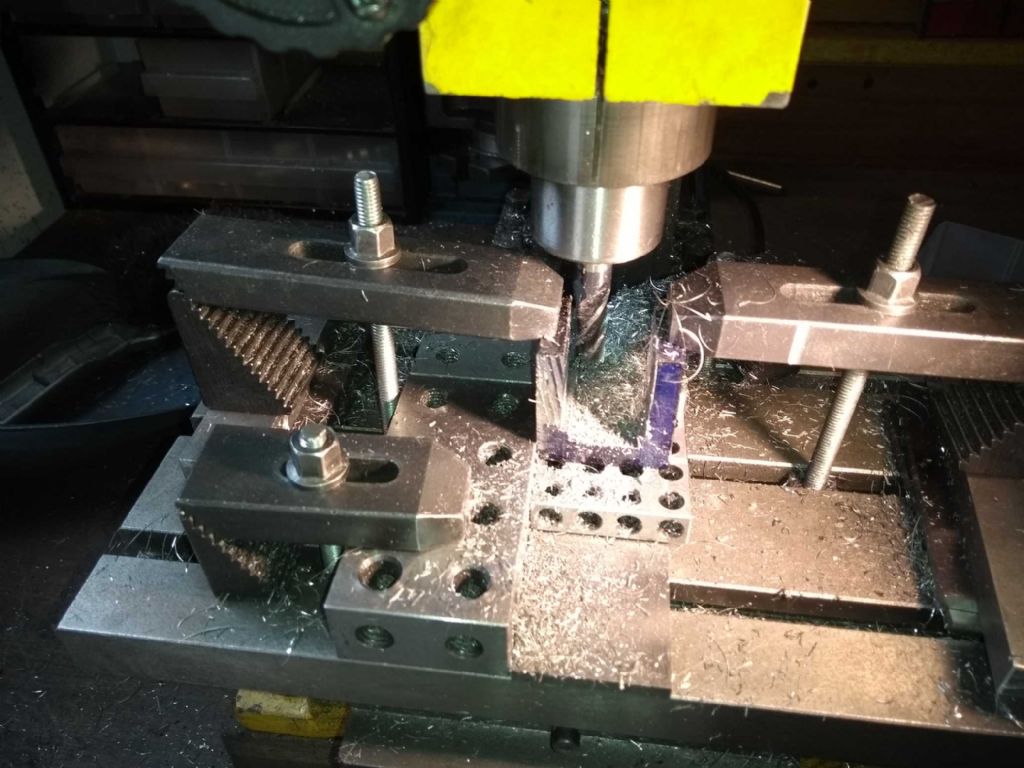
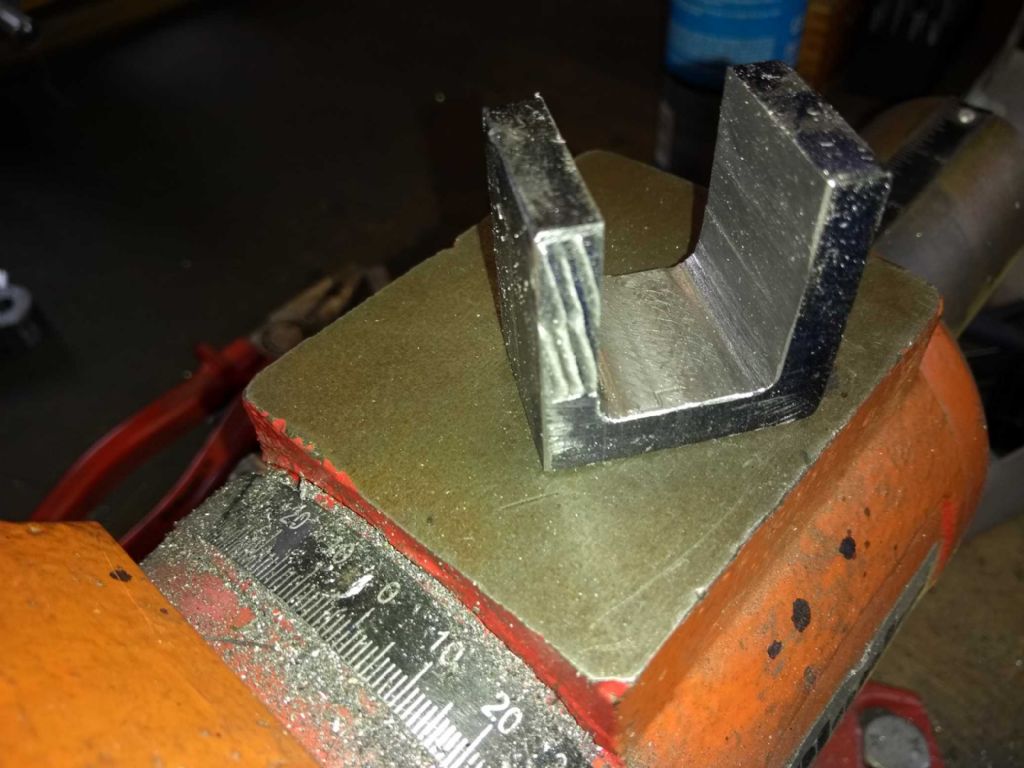
| 976 forum posts 805 photos | And to carry on ... The next operation on this part was to be to mill a slot for the guide. However, before I got to that I wanted to clean up the rod I'd got for the guide. It turns out (I seem to be saying that a lot in this post!) that the 15mm square bar I bought at the show is a tad under 16mm. Rather than attempting to mill it down to what I'd drawn, I thought I'd just make the slot a little bigger. However, the first step was to final and emery it reasonably square, straight and smooth. Back to the Mill and cutting the slot. As I got close to 15.8 mm I took very fine cuts and started to try the guide. I still need to cut the bronze for the cross head guide bearings, but I'd had enough of this piece. It's probably the most complex piece of machining I've ever done and surprised I got (nearly) to the end with out breaking it! So I took a nice refreshing rest on the lathe. This was to machine the bronze pin which would act as an axle / bearing for the cross head. As usual, I had a bit of metal too big and needed to lose most of it a 25mm piece of bronze which needs to be turned down to 10mm, Mind you with a 20 mm head on . And here I part it off. Parting of bronze after cast iron is such a pleasure! You may notice by the way the profligate use of marking blue in this post. The marking blue was a purchase at the show and a welcome one. I've been using a sharpie (per advice in this forum) which is all very well when you don't want to do much. But a few wipes with cutting oil and it disappears leaving you none the wiser where to cut. This stuff stays on very nicely, but still can be cleaned off with a but of meths. And here is the finished product after cutting a thread for the bolt. I was originally going to file a head on this, but it seems a shame to take away the purity, so I may get my slitting saw out instead. Never fear! The end is near! Only a little bit to go and this is the bit that goes below the cross head. I've no idea what people who have a clue call it so I've called it the cross head con rod. The bit tha the pin above connects to the cross head and which then goes down to the crank. The main lesson from this is to clamp better. Here was my first clamping arrangement. It survived about 5mm of cuts and then the cutter caught, then clamps went sideways and the motor quite. Just the overload light and a pretty common affair with this build. A bit more thought and care ended up with this. You can see on the left of the piece where the cutter went mad on it. And as you can see above this arrangement meant I got to the end with no blow ups. Also I could position the piece back accurately when I took it out to measure the base thickness. The observent will notice little squares at the base of the cut. My intent was to finish the cut with a ball nose cutter to provide relief. Sadly, I'd not taken into account the length the bit would have to stick out and the (carbide) tool went was part way through one side. This left me to finish it off with files with the result below. It still needs a bit of cleaning up, but it's getting there!
Iain |
| JasonB | 18/06/2019 06:58:34 |
25215 forum posts 3105 photos 1 articles | Progressing well, keep up with the posts. Will have to see how well that bronze pin holds up when you start running. For the future a part like the conrod end two holes can be drilled first to get the corner radius, you can even stitch drill along the bottom and then saw down the sides to get most of the waste out before milling. |
| Iain Downs | 24/06/2019 20:52:58 |
| 976 forum posts 805 photos | Hi, Jason (and others, of course). Today I had a bit more soldering practice and that turned out well. What I'm struggling with now is how to hold the parts of the con rod (big end connector, rod and cross head connector) in such a way that they end up at right angles. I've thought of pinning them (or the second one to solder) or trying to make some sort of rig. I'm not convinced that just standing them up and hoping they don't move is the right approach! I did think of drilling the corners as a starter but rejected the idea for no good reason I can now bring to mind... Next time...
Iain |
| Iain Downs | 10/07/2019 19:57:55 |
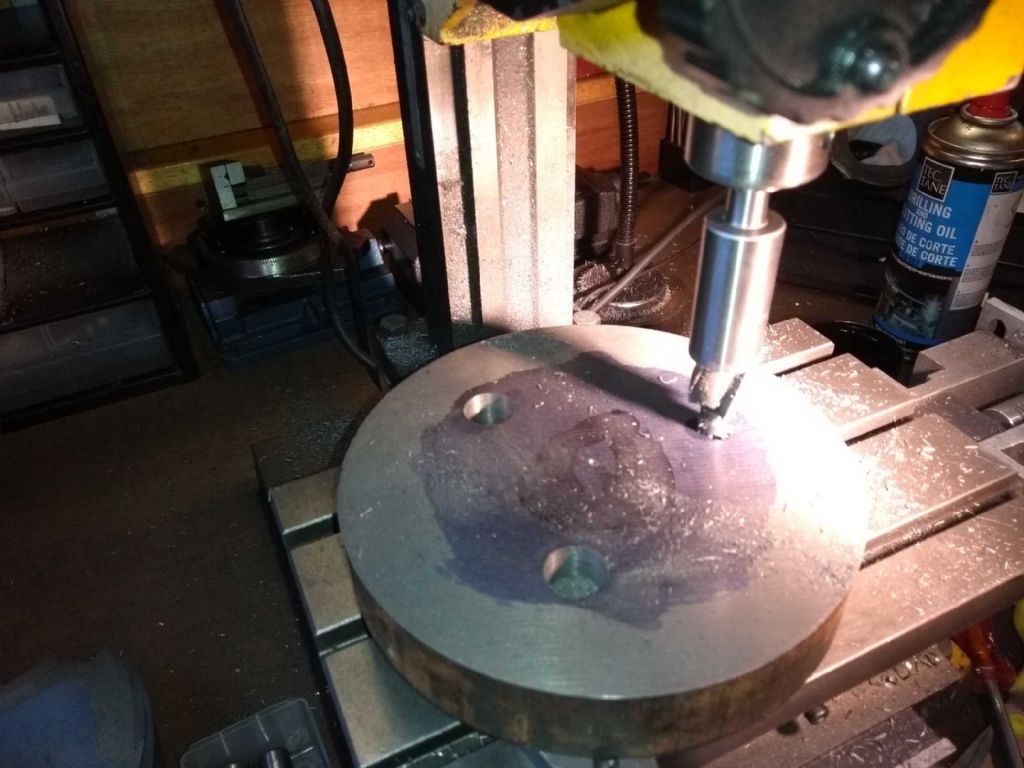
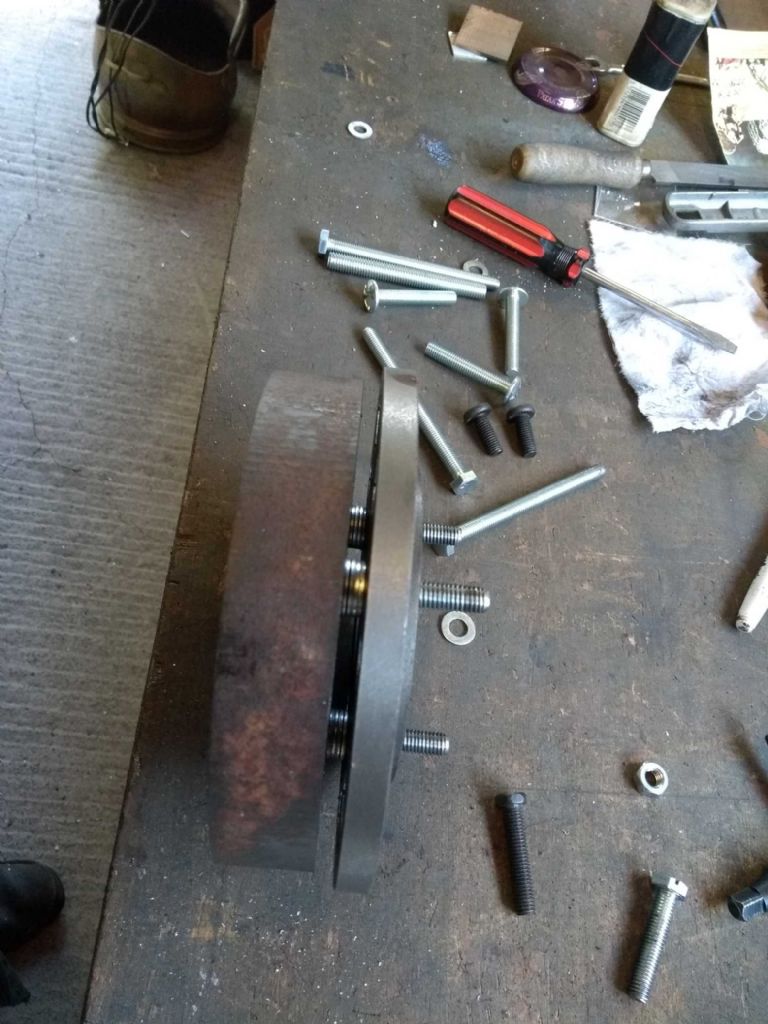
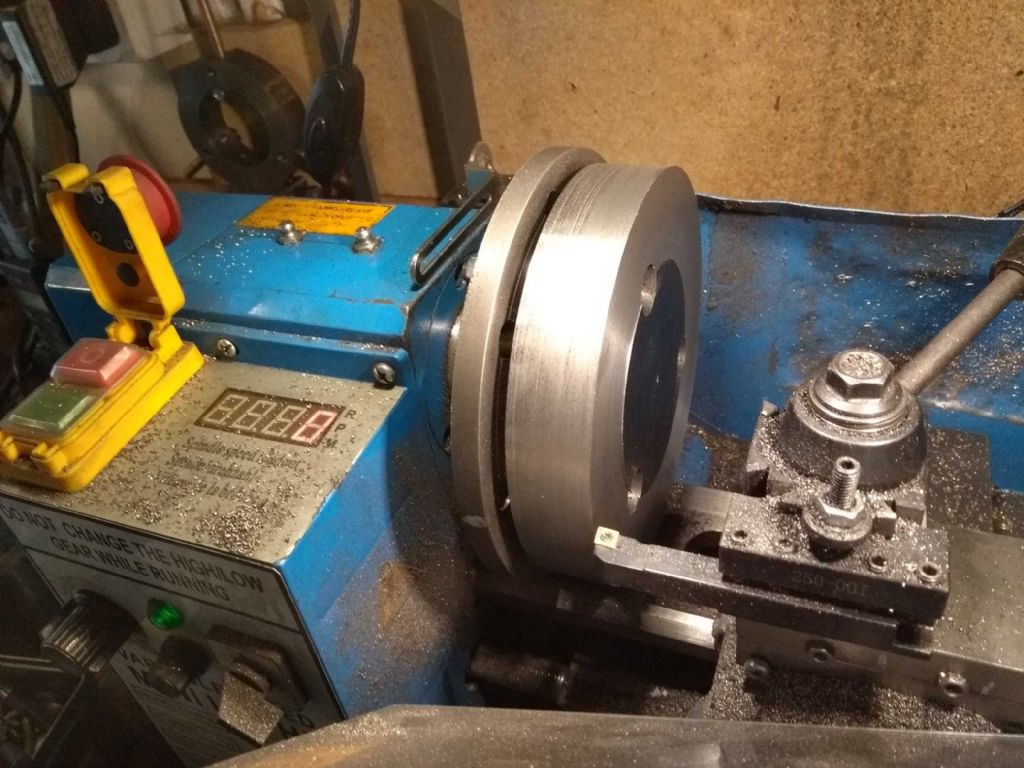
| 976 forum posts 805 photos | This last week or so has been about the flywheel. As usual, I wouldn't have done it this way if I'd thought about it.... I'd bought a 1 inch thick piece of 6 inch diameter cast iron at the doncaster show for the flywheel, think that this was about as big a piece as my 7x14 would cope with. Needless to say, this isn't going to fit in a chuck (not on my kit anyway). After pondering for a bit, I decided that the thing to do was to screw it to my faceplate, face one side and hollow it out leaving a hub. I'd then hold the hub in a chuck face the other side and add a hub, then turn round and finish off. I marked the centre of the M6 threaded holes in the faceplate on the flywheel metal, drilled to 6mm (a bit more as I was a touch out) and counterbored to get some bolts in. The screwed it to the faceplate with some washers to stand off and mounted the faceplate on the lathe.
What I SHOULD have done (I think) is to glue it to a sacrificial plate of some kind and bolt that to the faceplate. This way I had the issue of the interrupted cut on top of the hollowing (trepanning operation).
Anyway. I tidied up the edge with a indexed cutter.
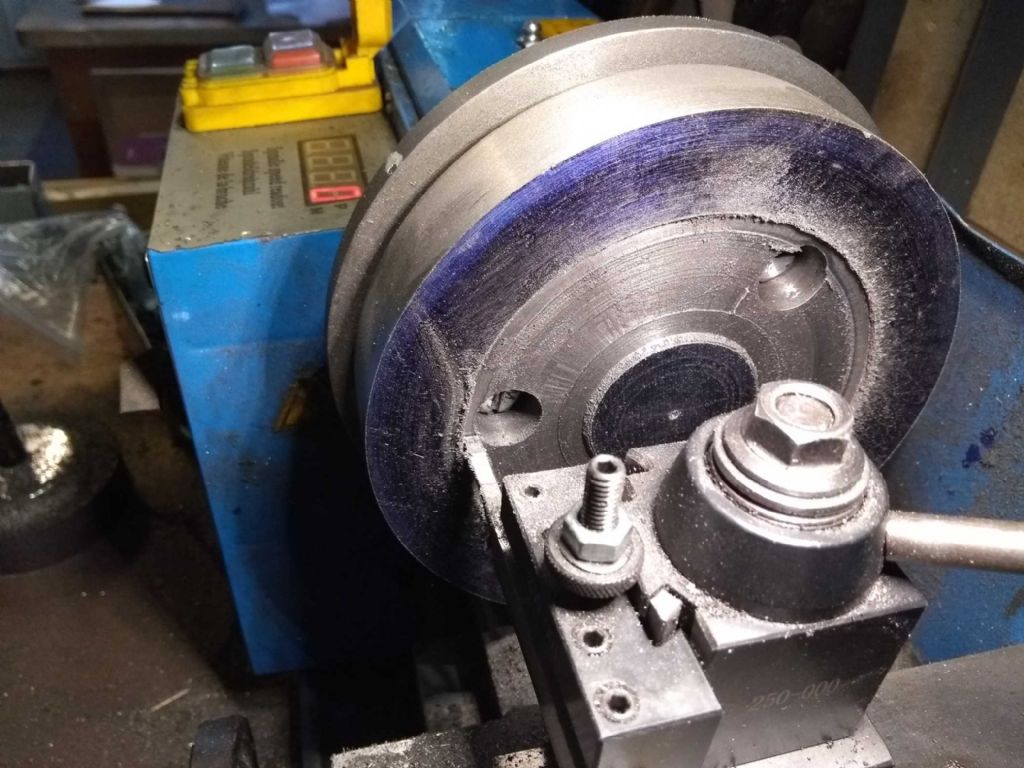
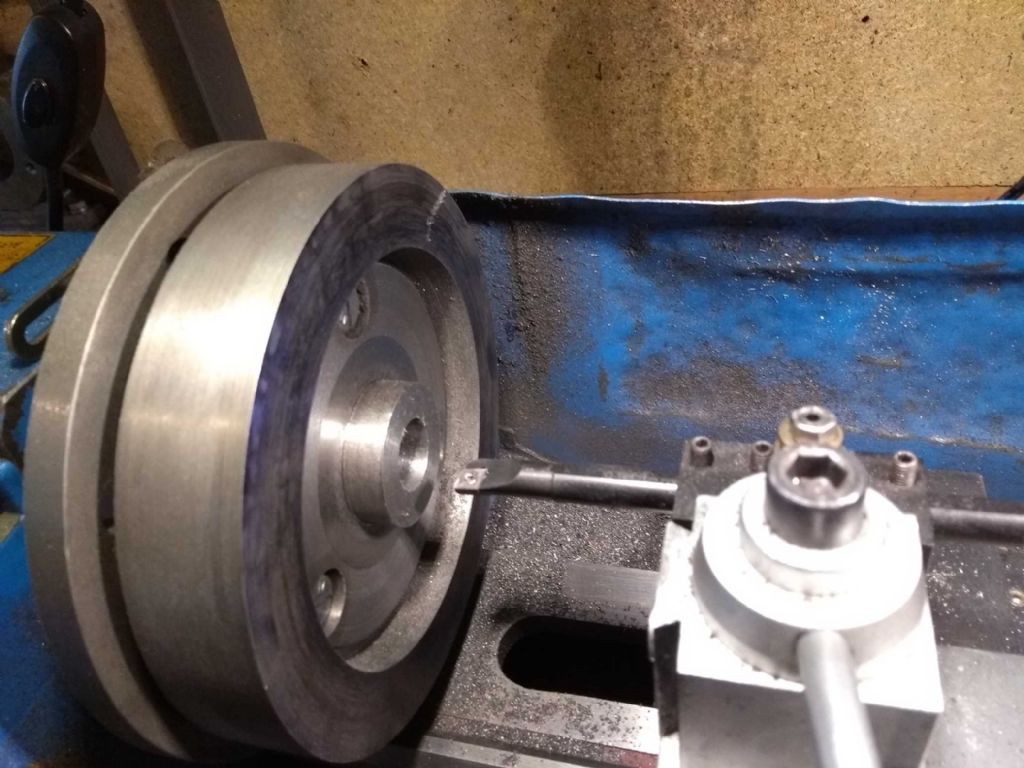
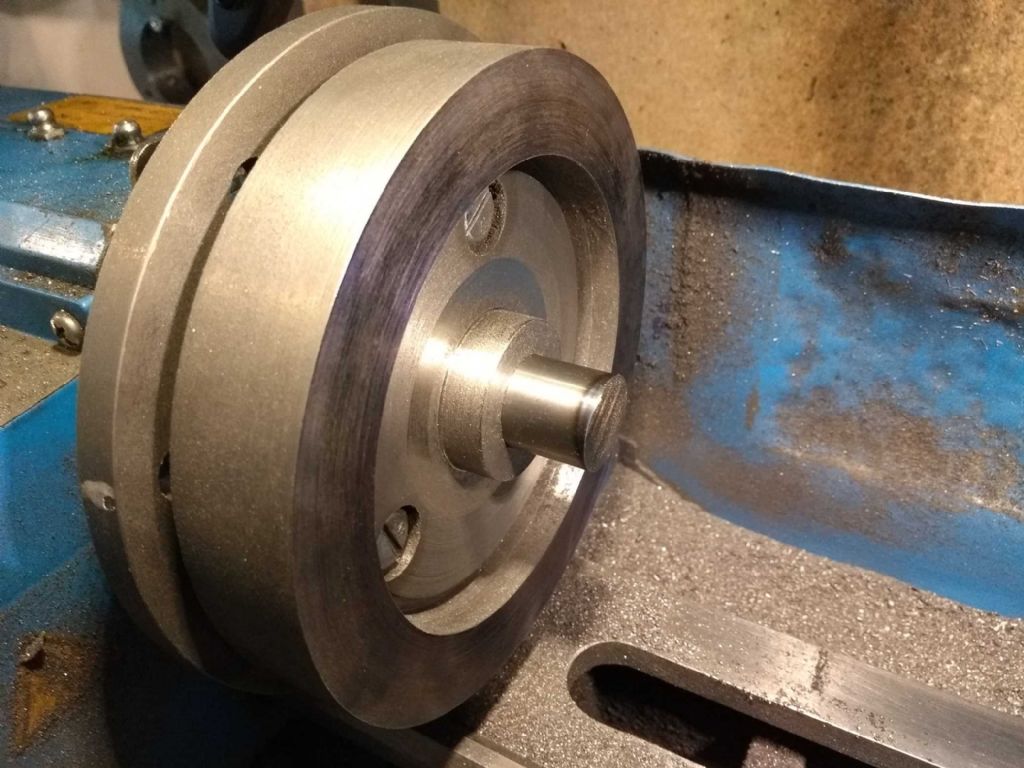
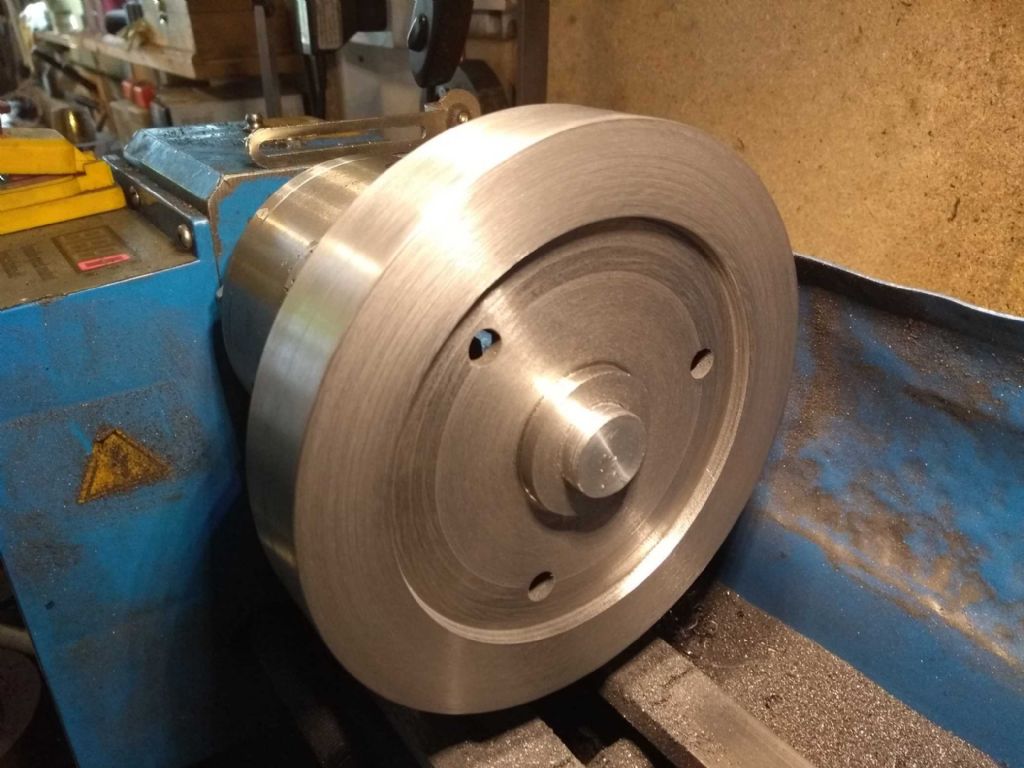
One 'interesting' aspect of this sort of job is that the cross-slide has less movement than the radius of the work (even with a Wyatt modification), so you have to work on the outside and the inside of the toolpost. In this case I don't need a smooth face, so it's not actually an issue. Then came the 'interesting' part. Digging into the face (trepanning) in order to get the middle out. voracious readers of the forum will know that I had to seek advice on this from the beginners section. The resolution for me was to take the top rake of the trepanning tool, which reduced the chance of it digging in. Nonetheless, this was a delicate and time-consuming operation. Having got a channel in which I widened with the tool, I could then get something more meaty in an carve out more of a hollow to leave me a hub to hang on to. There! with some imagination you can see a flywheel starting to form. And with the next step (boring the centre hole, first (image) with a carbide bar and then with a HSS tool for the final approach.. And I seem to have got this reasonably accurate. A silver steel offcut fits in rather nicely (same diameter as the crank) However, i've changed my mind about holding it in a chuck. What I think I'm going to do is to make up a stub mandrel, face the what is currently the back part and then turn it round and finish off the hollowing out. In fact, there's an argument for saying that I should have started off with the hole and done the rest on a mandrel. I'm not quite sure how I'd have made an accurate hole without the lathe. My mill isn't up to the job, I think.
Iain |
| Iain Downs | 15/07/2019 21:29:55 |
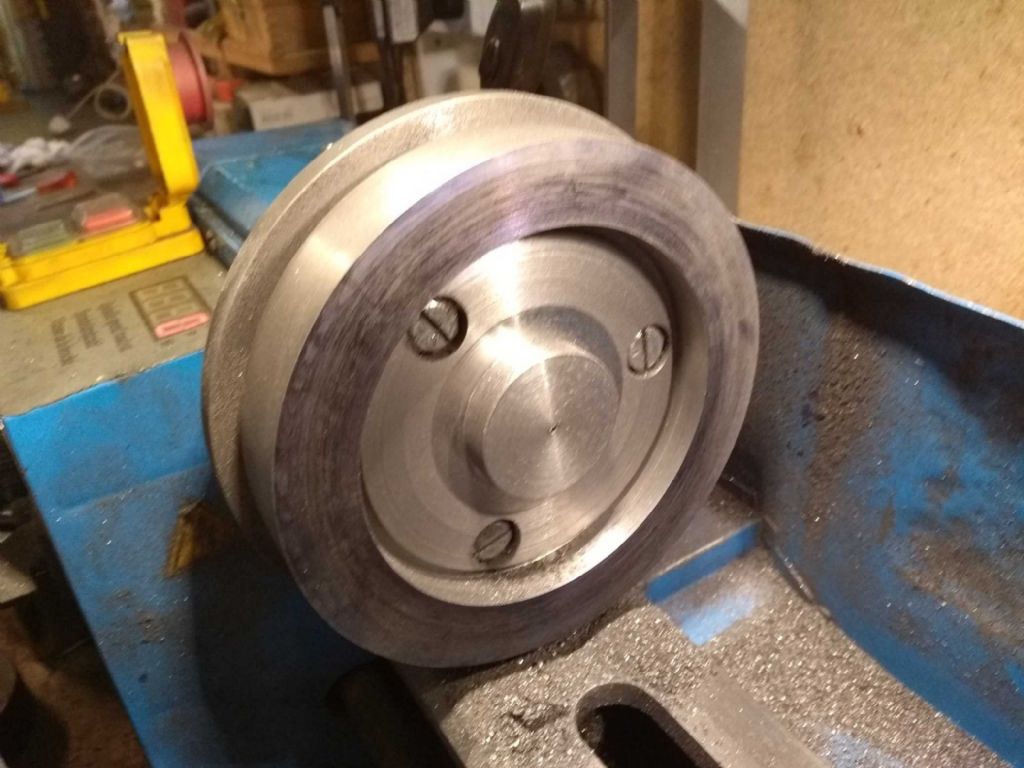
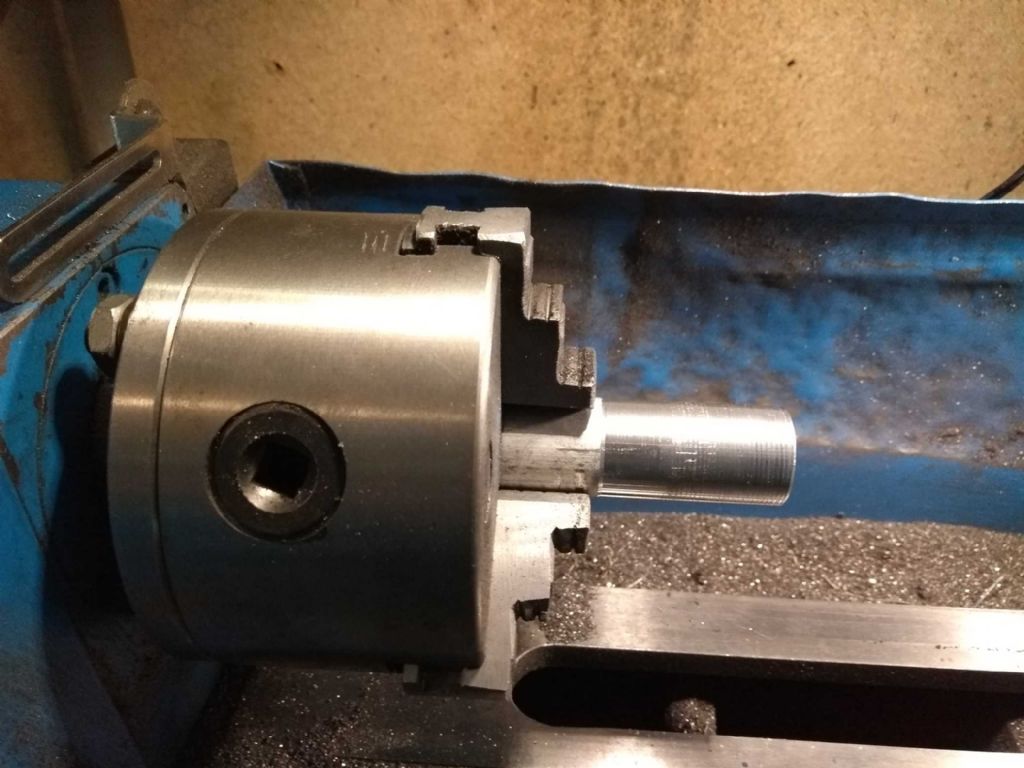
| 976 forum posts 805 photos | Back to finish the job. Having got the front side of the flywheel I set about carving out the back side. After some dithering and advice, I ended up by holding it on the inside of the flywheel shoulder with my 3 jaw. This worked quite well though the piece was a bout 0.1 mm off-centre taking the outside of the rim as true. I had some thoughts on that - later. Rather pleasingly, the trepanning on this side went really quite well. By now I'd ground the very hell out of the treppaning tool and obviously the million monkeys approach has finally worked. I think that a bit more relief on the sides of the tool helped. Here we are a 5mm deep groove with a 3mm wide tool. I took a few more cuts beside it - these being considerably easier than the groove itself - until the groove was side enough to get a 'normal' tool in.
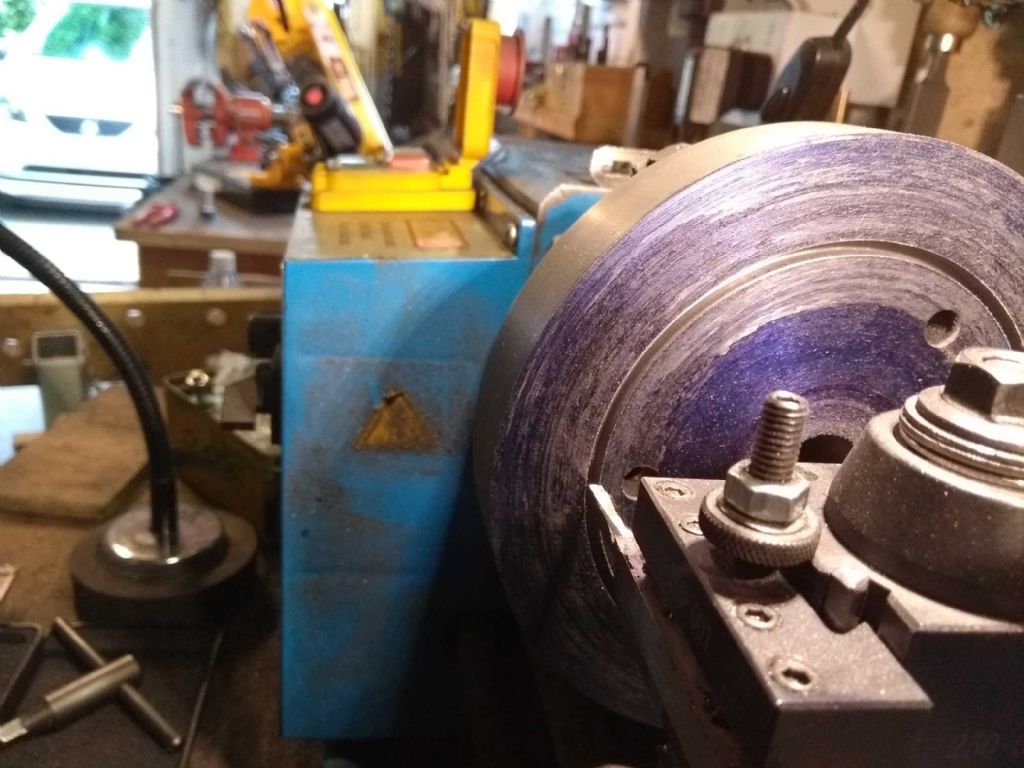
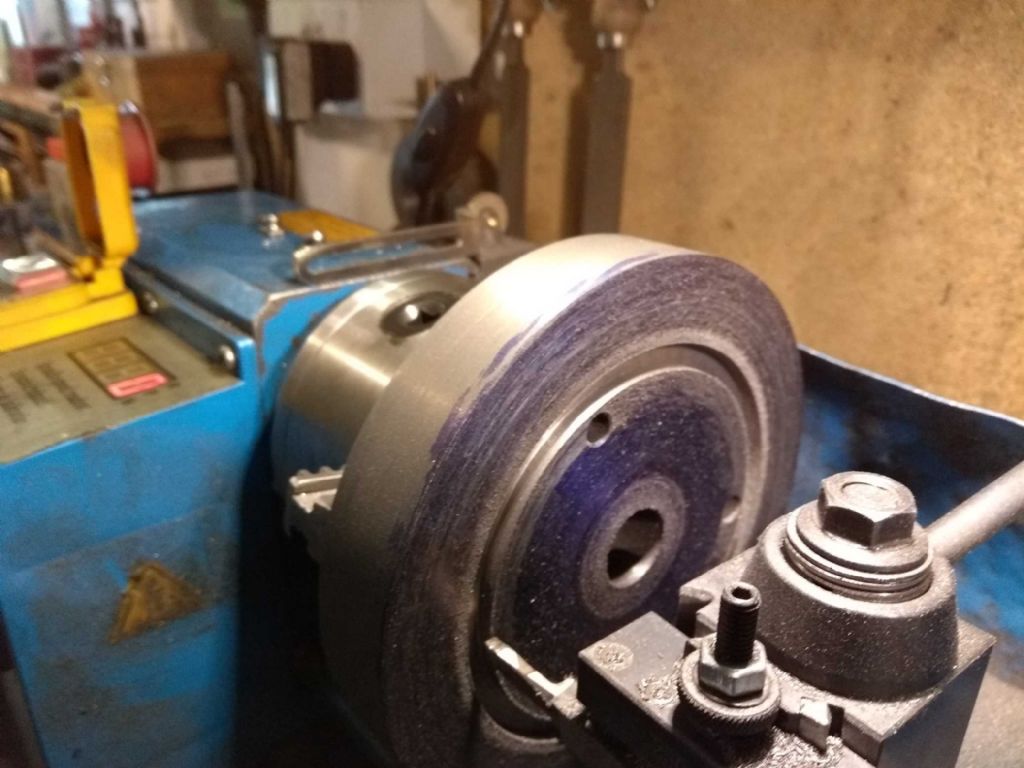
Once this was done, I turned the flywheel round to dig out the rest of the front side. This time, gripping the centre of the front side in the chuck, but bolting it through the spindle to give it a bit more strength. This was gouged out with a combination of a pointed tool (hss on the right) to dig out the bulk and then carbide left and right knife tools to come up cleanly to the rim and centre hub (well, cleanly for me!). I'd decided, though that 0.1mm of centre wasn't good enough and made a stub mandrel to mount it on and tidy up the back side. I'd learned some tricks for this from Harold Hall, who said that you should put the topslide to a few tenths of a degree to put the taper on. When I came to measure this up, I found it was already about 0.6 degrees out (in the right direction)! I must go back and set it up correctly now I've finished! And here is the flywheel on the mandrel being tidied up.
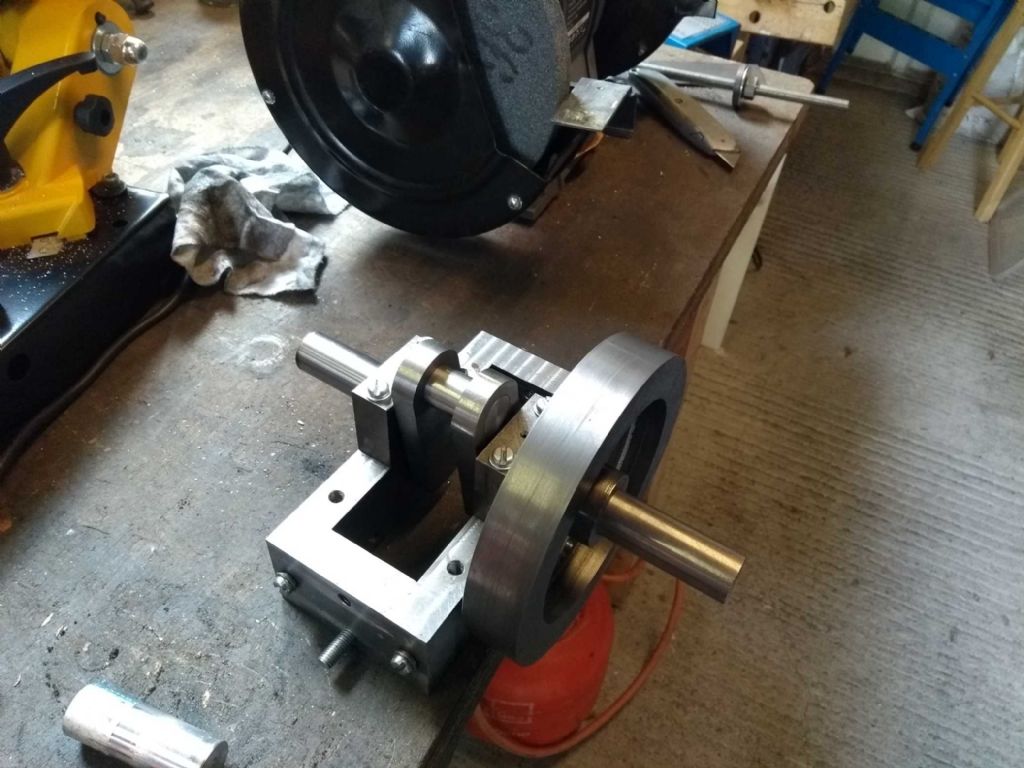
I still need to cut a keyway, to do which I need to make a broach, but that can wait until nearer the end of the process. Here's the flywheel on the Crank.
Next I'll be assembling the con rod, cross head and so on. I've all the parts just need to turn the rods to the correct length and connect.. Iain |
| Iain Downs | 26/01/2020 09:12:54 |
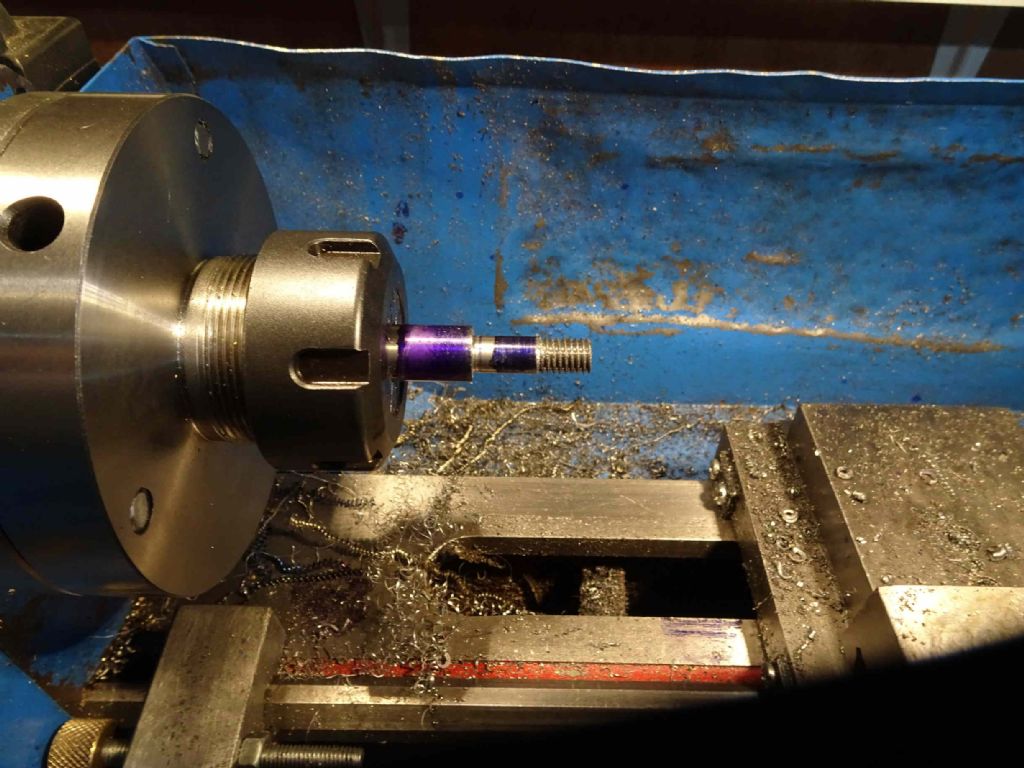
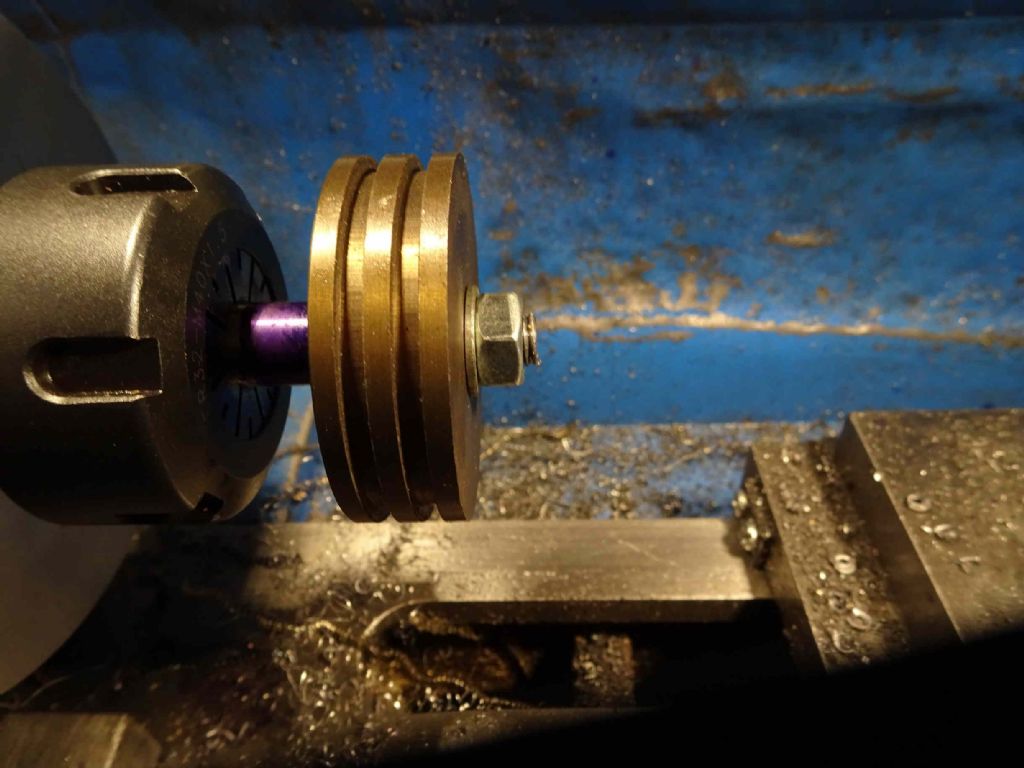
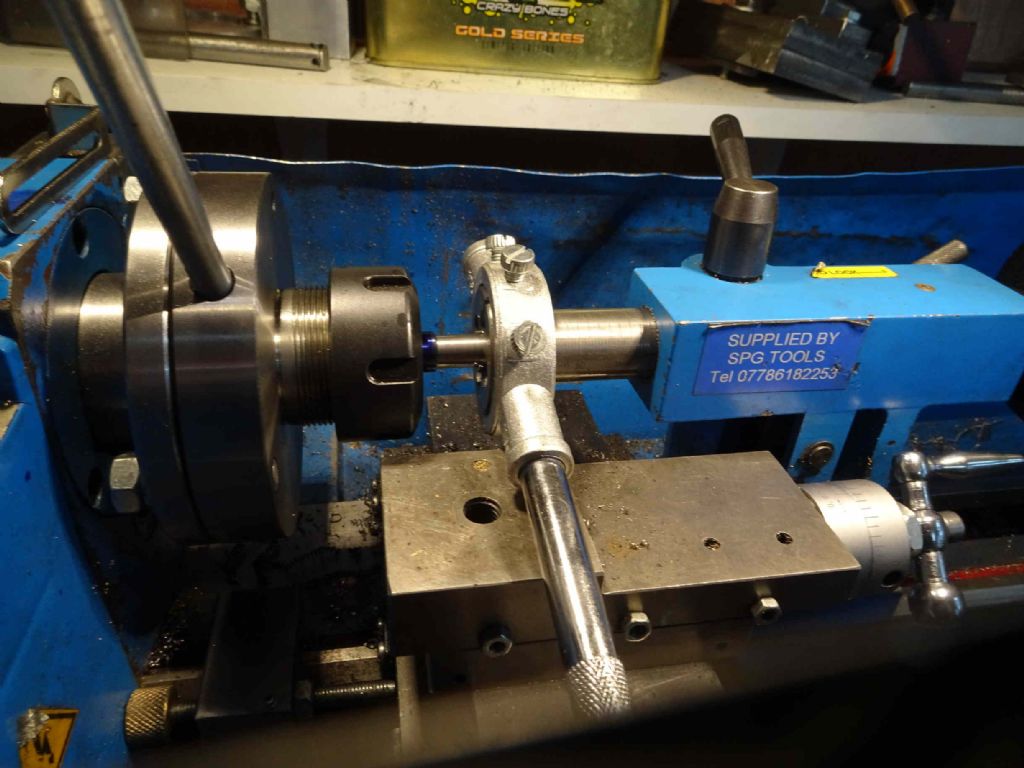
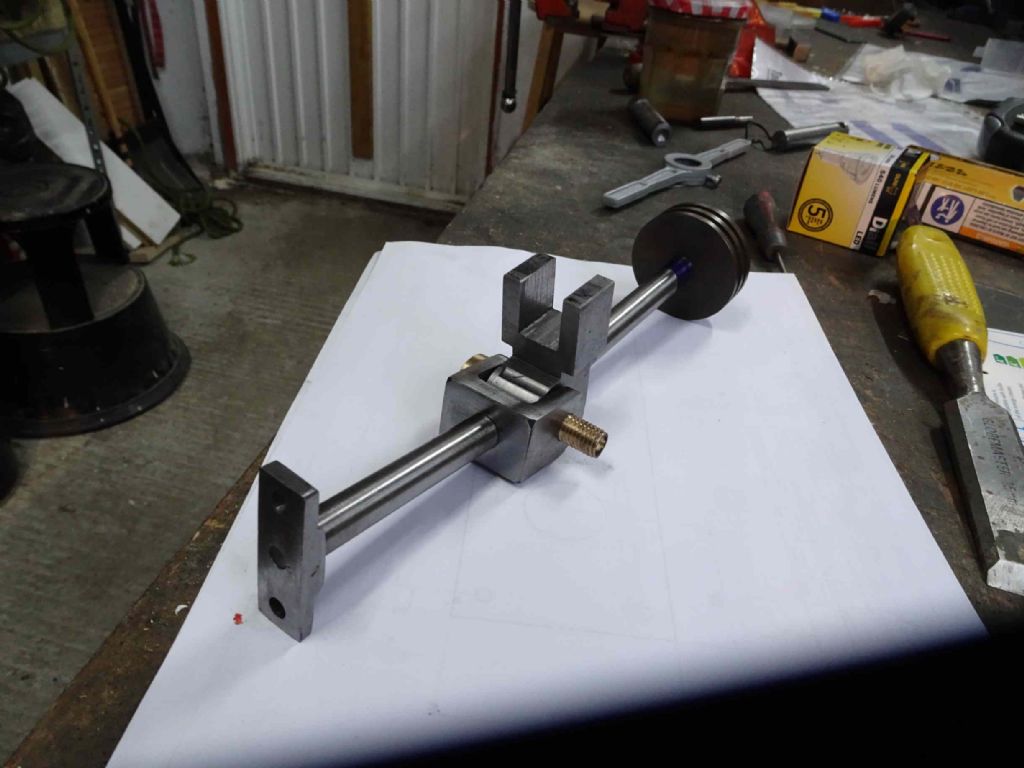
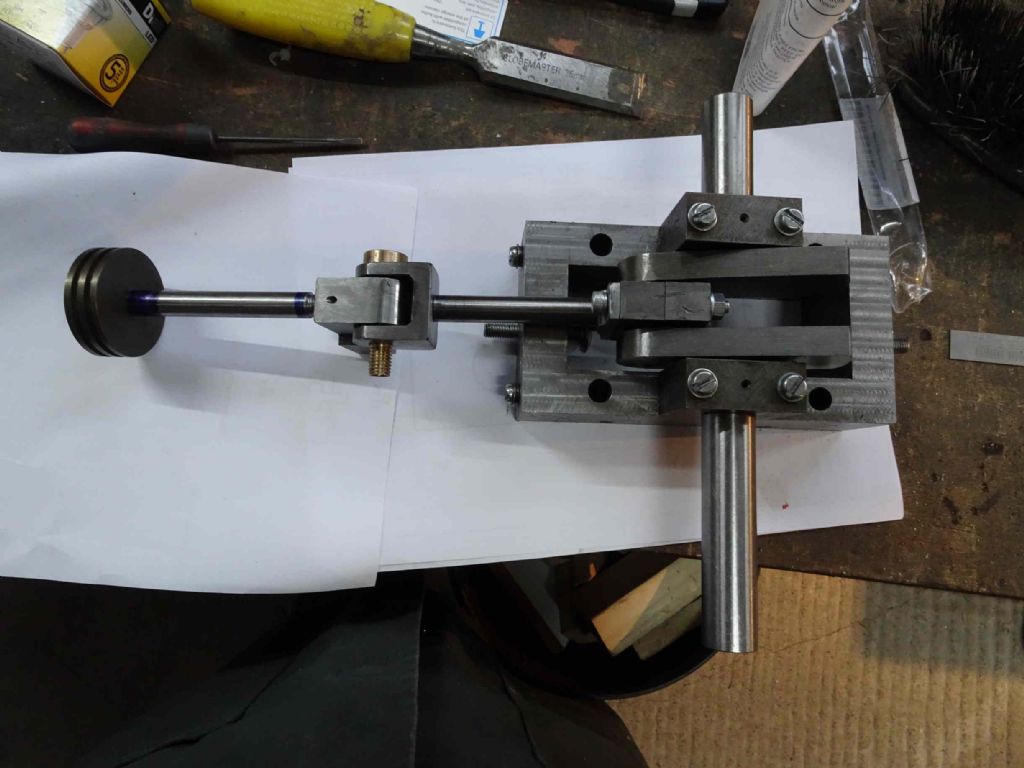
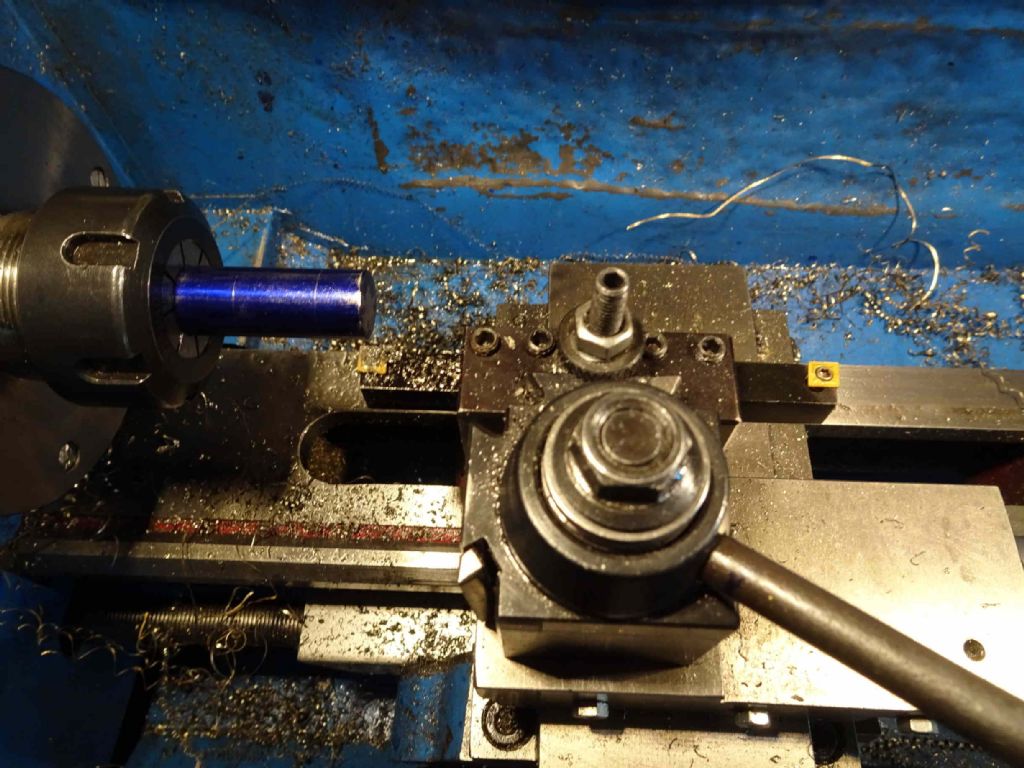
| 976 forum posts 805 photos | I can't believe it's 6 months since I posted on this thread. It's quite astonishing how distractions can take you away from building things - and perhaps no surprise that most of us (except Jason) seem to take months, years or decades to complete stuff! In my case I became concerned about the accuracy of the lathe, discovering that the spindle had some lateral movement. This involved taking the headstock apart and attempting to thin down the spindle to be a smoother fit. Making some mistakes (never!) meant having to do some quite Heath Robinson kludges, but the result is good (in fact I've just retightened the spindle today and it's taken away a squeek). Next I struggled a bit with some threading on the lathe - I never quite got to the end of that as I was distracted (further) by the search for a new milling machine. Should anyone find this journey other than stultifyingly boring, it's mainly chronicled in this forum... But back to the real work! So this week I've been finishing off the drive train. This is probably the wrong term, but i mean the bits from the piston down to the flywheel. First off was to trim the piston down lengthwise to be exactly the right length, it being about 0.15 mm too long. I have become a fan of wax chucks recently - with superglue playing the part of the wax. IN this case I had about 5 goes at making a stub mandrel and always seemed to end up a few thou too thin. I got bored and slathered some superglue on, with a nice bake at 250 degrees for one hour to free it. I finally got my ER32 stuff working. In this case using a collet chuck which attaches to the face of the spindle not into the taper. Here the 12mm silver steel rod is turned down to 8mm and then threaded. And, rather nicely, the piston fits on it! Later I will clack it together with some threadlock and turn the piston down to exactly the cylinder width - but first I want to make sure all the parts fit. The other end is reduced to 10mm and threaded 10mm x 1mm This fits into the crosshead to allow some tuning of the location of the piston and here is the whole connecting assembly put together. And even more remarkable, the whole powertrain (as I'm calling it)! Next step is to make the lower cylinder plate and the supporting pillars. I'm hoping to start on that today, all being well.
Iain |
| Iain Downs | 02/02/2020 17:49:50 |
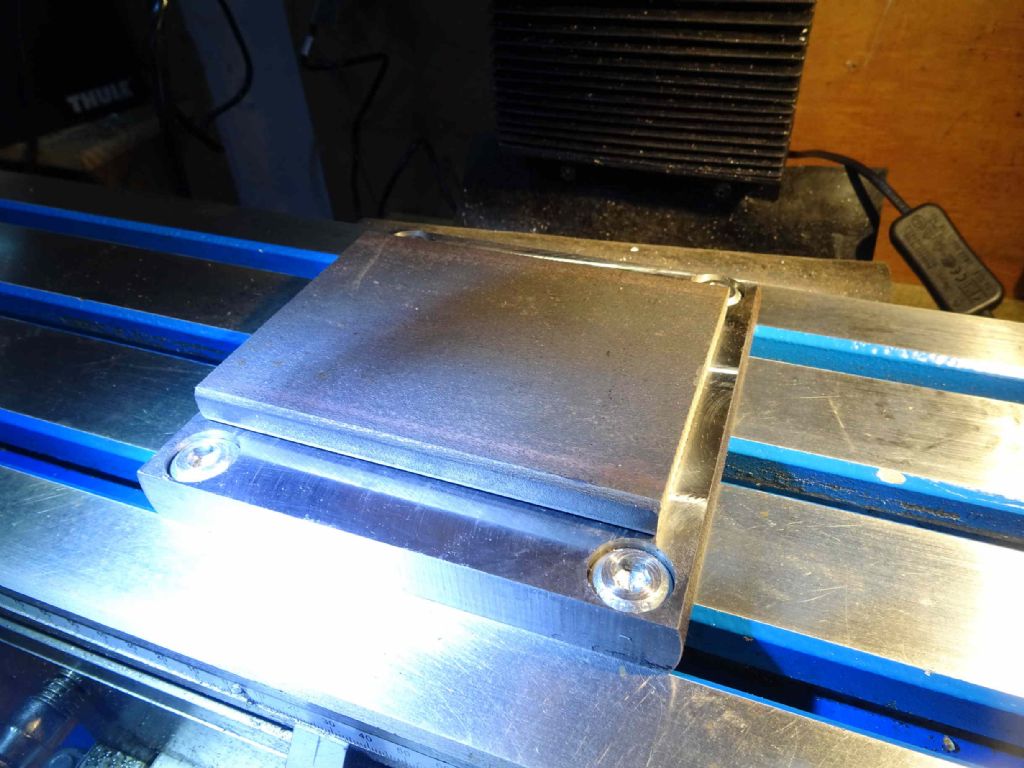
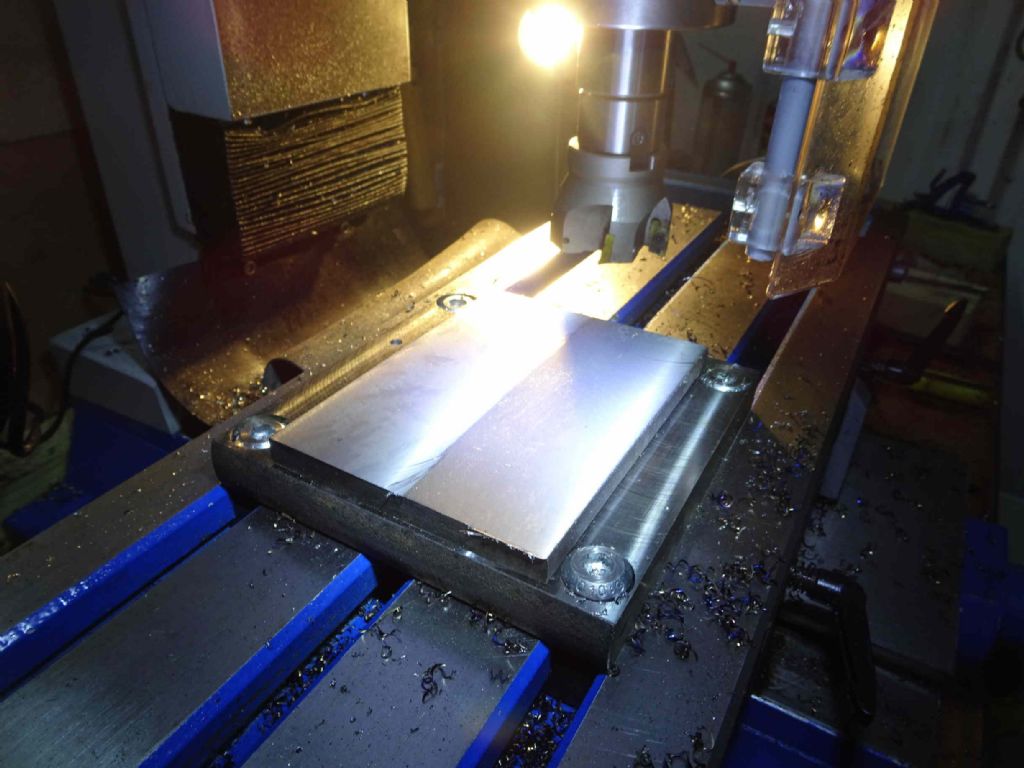
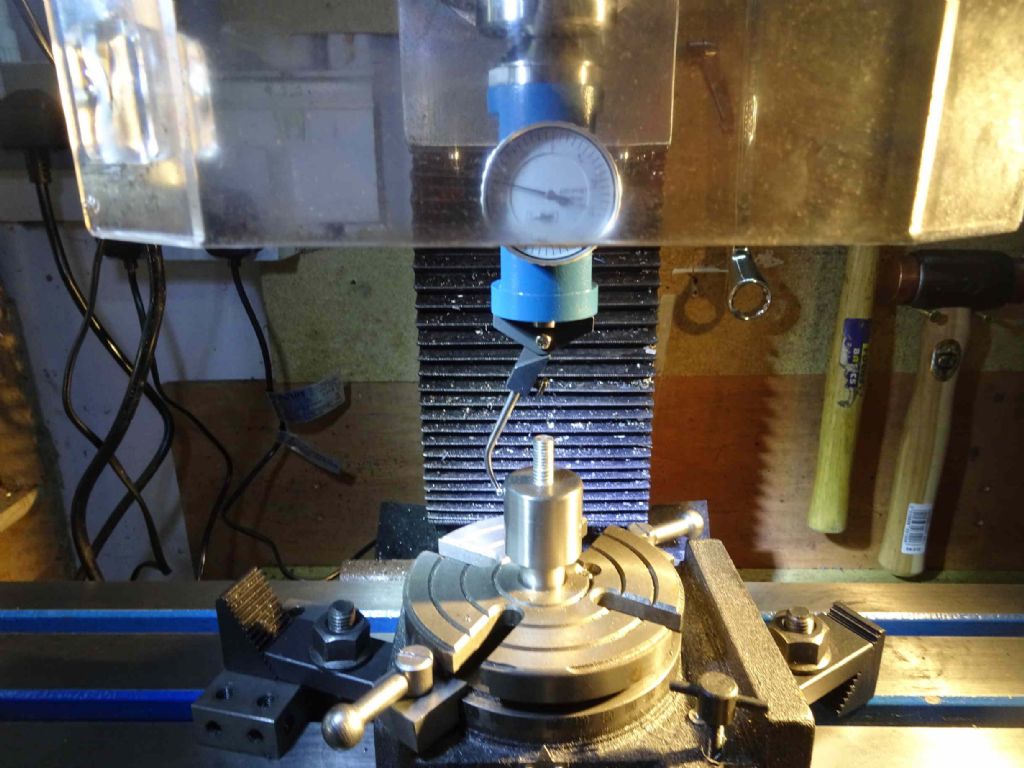
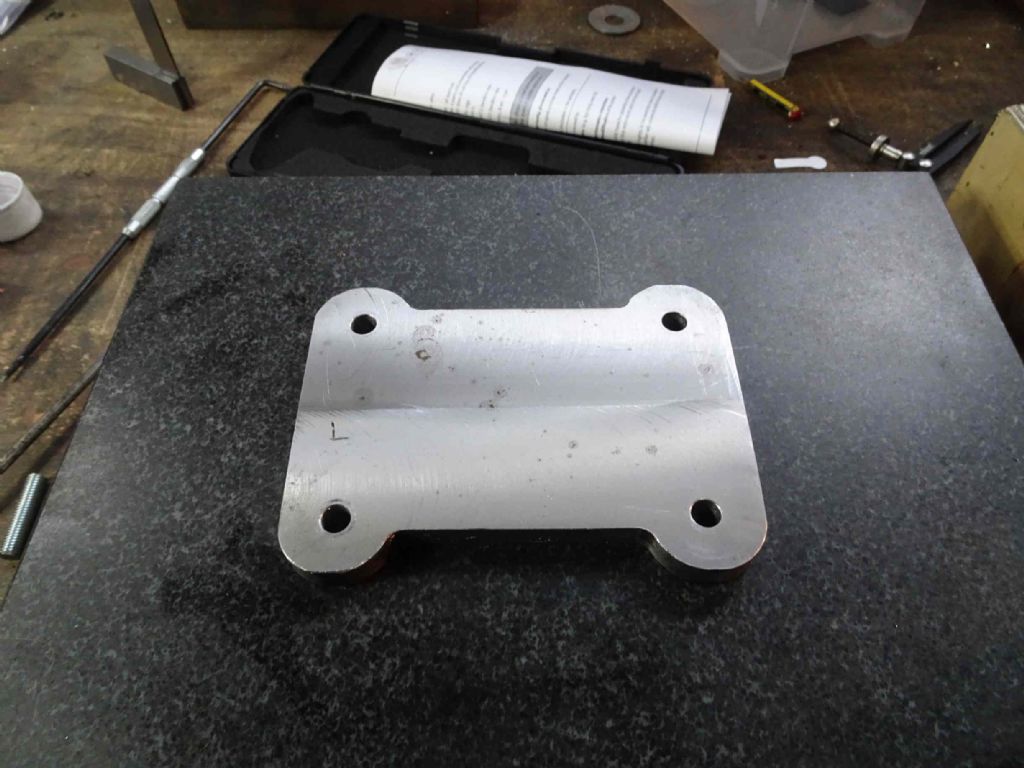
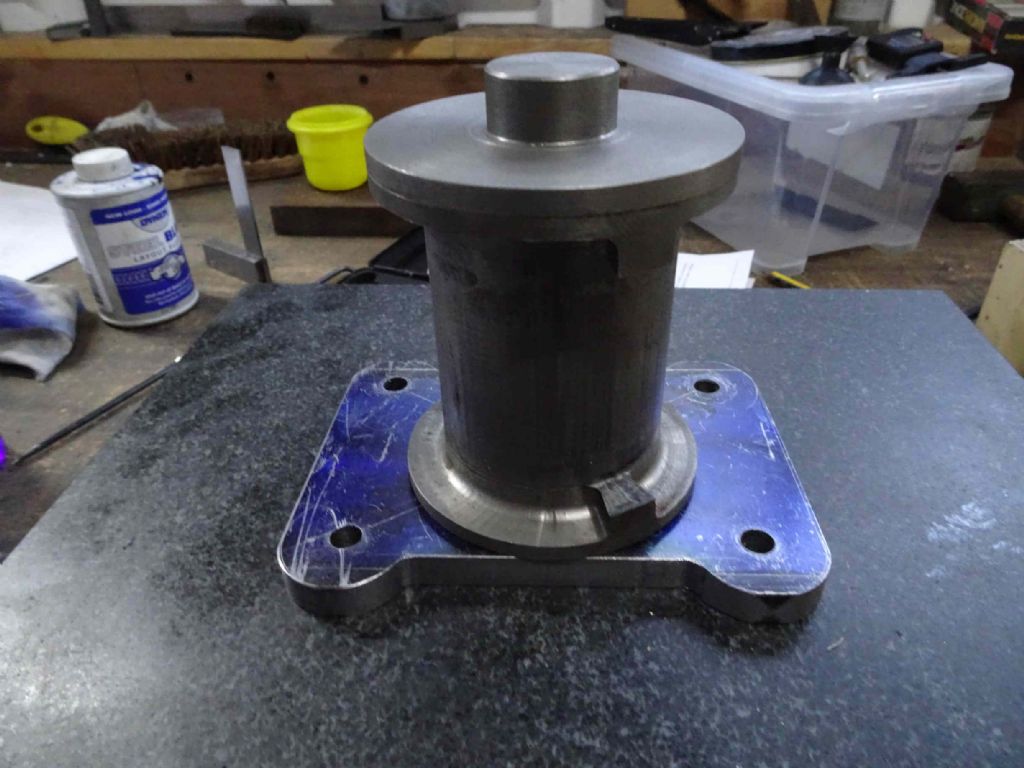
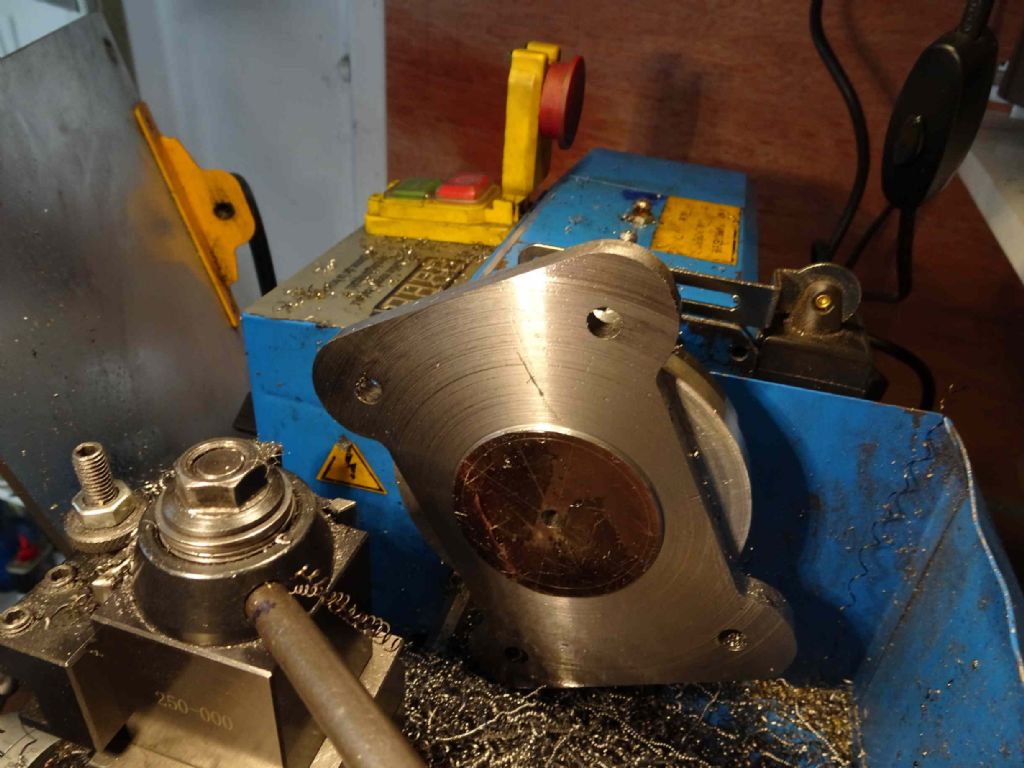
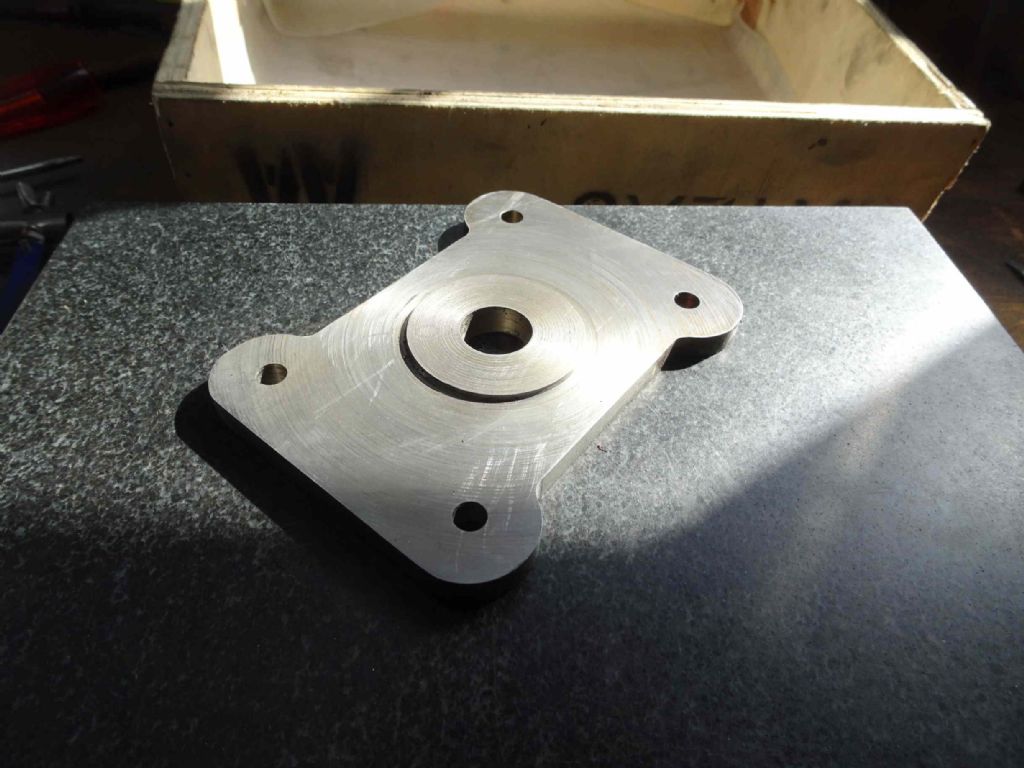
| 976 forum posts 805 photos | The latest addition to the Steam Engine parts is the bottom cylinder plate. This supports the cylinder, holds the piston gland and will be supported by 4 columns from the base. Starting off with a piece of 100 x 130 x12 EN1A. This superglued to my base plate and then skimmed - as well as wanting to get it flat, the plate is also 12mm and needs to be 10mm - Metals4U had no 10mm in stock. Next, to mark the position of the holes required for the pillars using a transfer punch And then complete the marking out - the bearing block isn't exactly central so I bodged what will be the centre of the cylinder a fraction to the right. Next to mill recesses at the top and bottom, drill 8mm for the support columns and a centre drill in the middle which will be used to locate the piece on a wax chuck to turn down the outside leaving a spigot for the cylinder to locate.
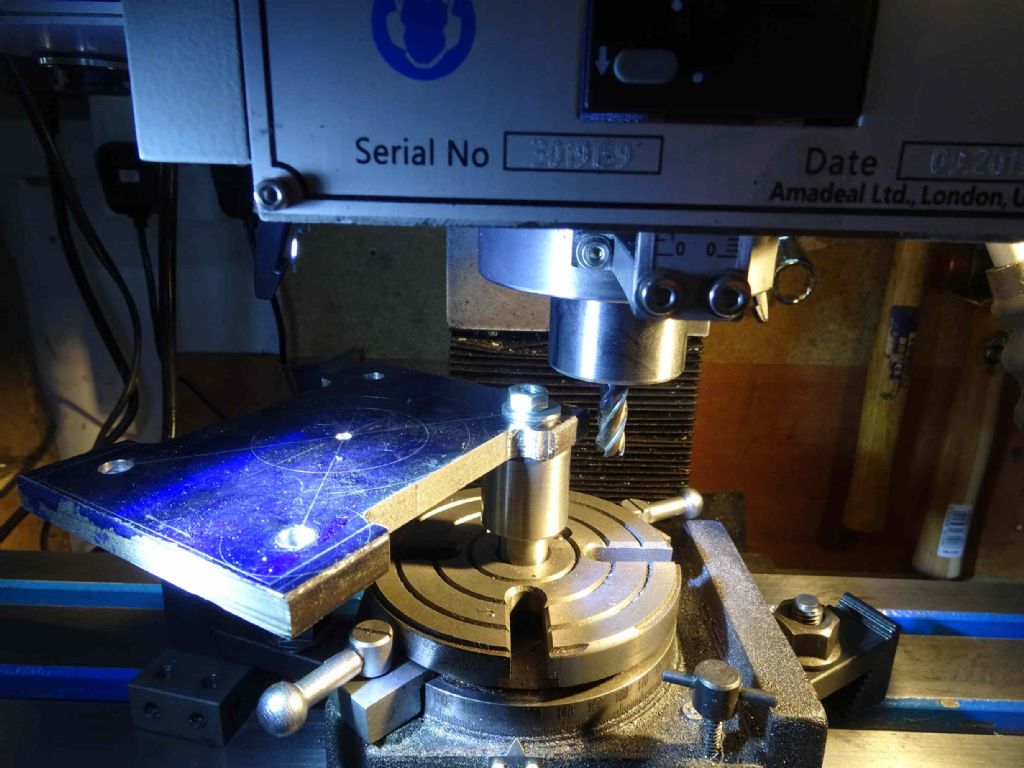
ACtually, the drilling didn't work so well. I was trying to line up the centre drill with the punched dot by eye and I'm not convinced I managed it at all well.There was quite a bit of vibration at the start of all the holes, though I'm also wondering how accurate the chuck that came with the mill is. Something to investigate another time. Now to try and make it look a bit less rough. To round the corners off at (I think ) 15mm radius. How to hold the plate on the rotary table? After some thought I found a MT2 stub which I'd used earlier that I'd tapped 10mm in the centre. Actually, I suspect it was only mainly in the centre, which led to the corners not quite coming out as I expected - or the holes are more off from the punched dots than I thought. What marvelous things co-axial indicators are! You can see the MT2 'blank end arbor' fixed into the table with an M10 bolt and being centred nicely. Then attach the plate at one corner and turn! This worked surprisingly well, though I had to have two goes at it. The first time I'd not tightened the drawbar bolt enough and the MT2 slipped. Oh you may notice that the guard has gone. Simply put it stopped the piece moving sensibly. It was encouraging to know that I can take the guard off just by slipping it out and the microswitch defaults to 'closed'. Obviously Weiss expect this! Not sure if I'll bother putting it on, though I will re-evaluate next timing I'm facing with the 63mm face mill which chucks hot swarf EVERYWHERE! This is the final result of the milling And with the cylinder more or less as it will be The next task for this piece is to mount it on the lathe and skim off all bar the centre spigot to locate the culinder. Also to bore the hole for the piston gland. Thinking about it, though I think I need to make the piston gland first so that I can try fit it. the way I'm thinking I need to make the gland may not be as accurate as I would like - so that first, then complete the plate. It's starting to feeling like at least the end of the beginning!
Iain
|
| Iain Downs | 06/04/2020 19:14:20 |
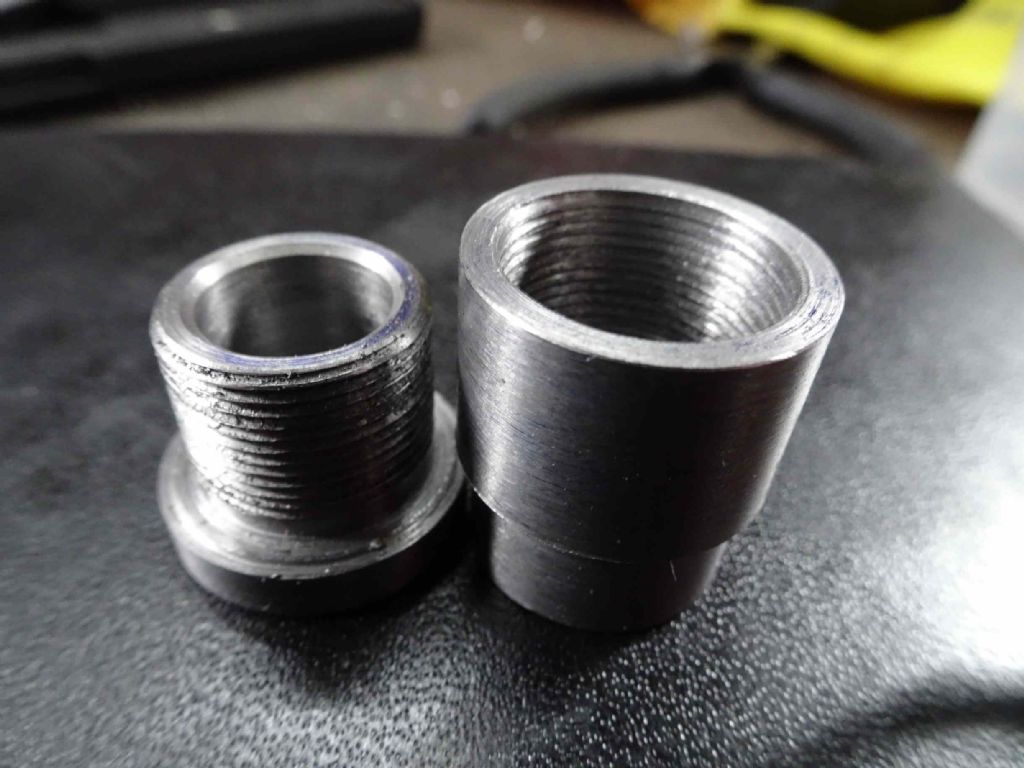
| 976 forum posts 805 photos | Apologies for a fair chunk of no results for a while. The piston gland demanded I do something about internal threading on the lathe, which, frankly I found challenging. There's more of my moaning here . However, in the end I've got a reasonable result. I've also been attempting to design some Stevenson reversing gear (tangent mates in OnShape are not entirely intuitive) and hope I can post something soon for experts to argue about! Bottom plate is next and when that's done I should be in a position to make the support pillars and do a trial assembly. Perhaps the Easter weekend will be kind to me (if I can avoid painting the fence).
Iain |
| Paul Kemp | 06/04/2020 21:24:41 |
| 798 forum posts 27 photos | Iain, Loving this thread and your approach. Keep it up, really interested to see the final result. Paul. |
| Iain Downs | 13/04/2020 17:53:15 |
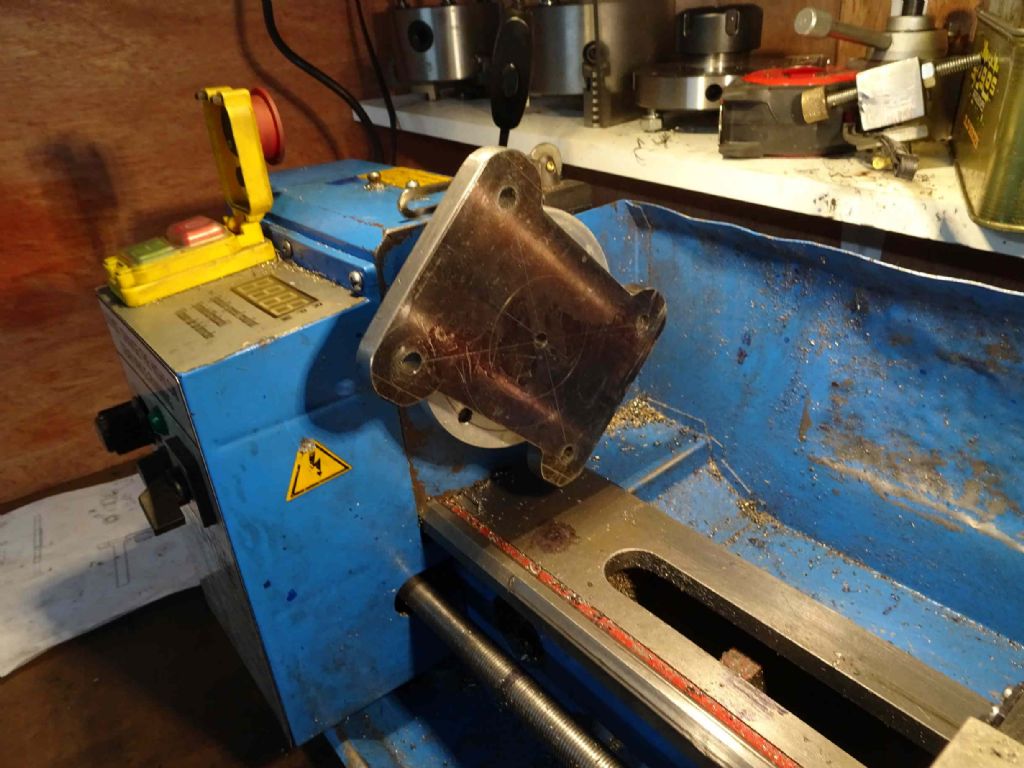
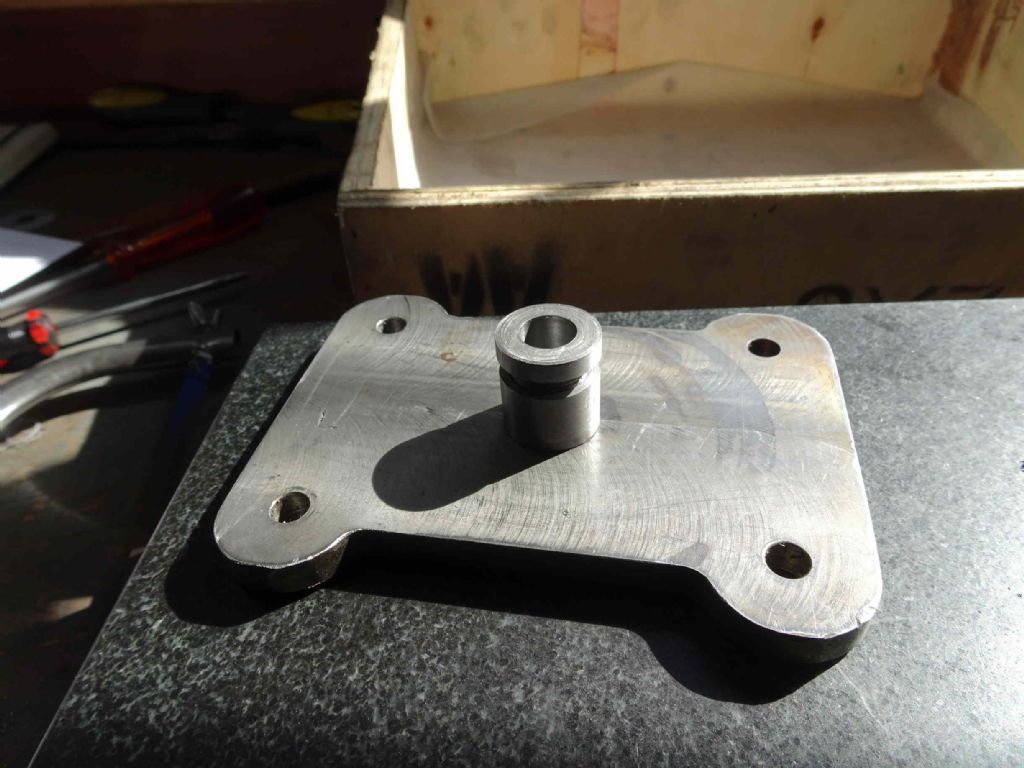
| 976 forum posts 805 photos | A good weekend. First time in ages I could be in the shed with no heating and the door open. More of that to come I hope! The main thrust this weekend has been to complete the bottom plate of the engine. The cylinder sits on it and is supported by some struts above the crankcase. I started on this some posts (and months) back, but didn't want to do the lathe work until I had a piston gland to try fit as the other way round just wouldn't work. I've become fond of the superglue chuck, though I still have some issues with release and heat. I have some blue masking tape, but haven't used it yet. I seem to struggle with interrupted cuts - which this clearly is. I suspect I would be better off using HSS tools as the carbide tools used here seemed to chip easily. I also had a nasty few moments with fairly horrid grinding noises coming from the lathe and the spindle showing hesitations. I was terribly afraid that I'd broken the change gears which, frankly would be a nightmare, despite now having specialist tools to remove and replace. It turned out that the motor had worked loose and the timing belt was loose and slipping raggedly. Not fun, but much much easier than a gear replacement! Still it worked in the end and the results were pleasing And this with the piston gland in position. I've not decided if I want to attempt to solder this or to glue. Soldering feels nicer, but it's a big chunk of steel.
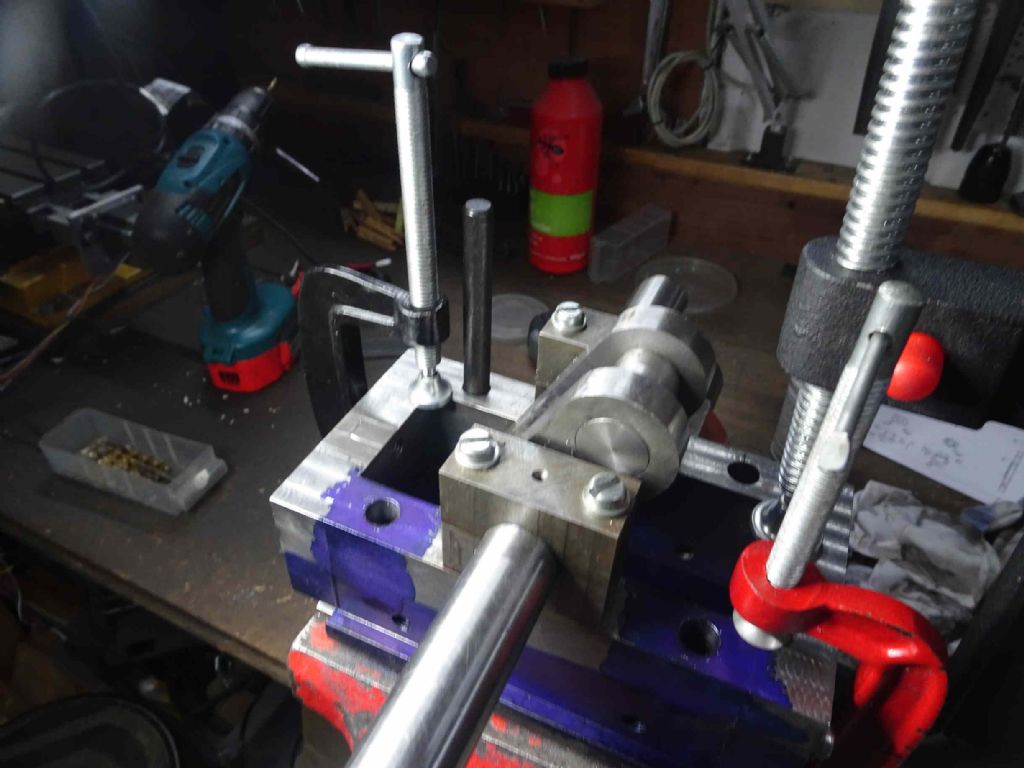
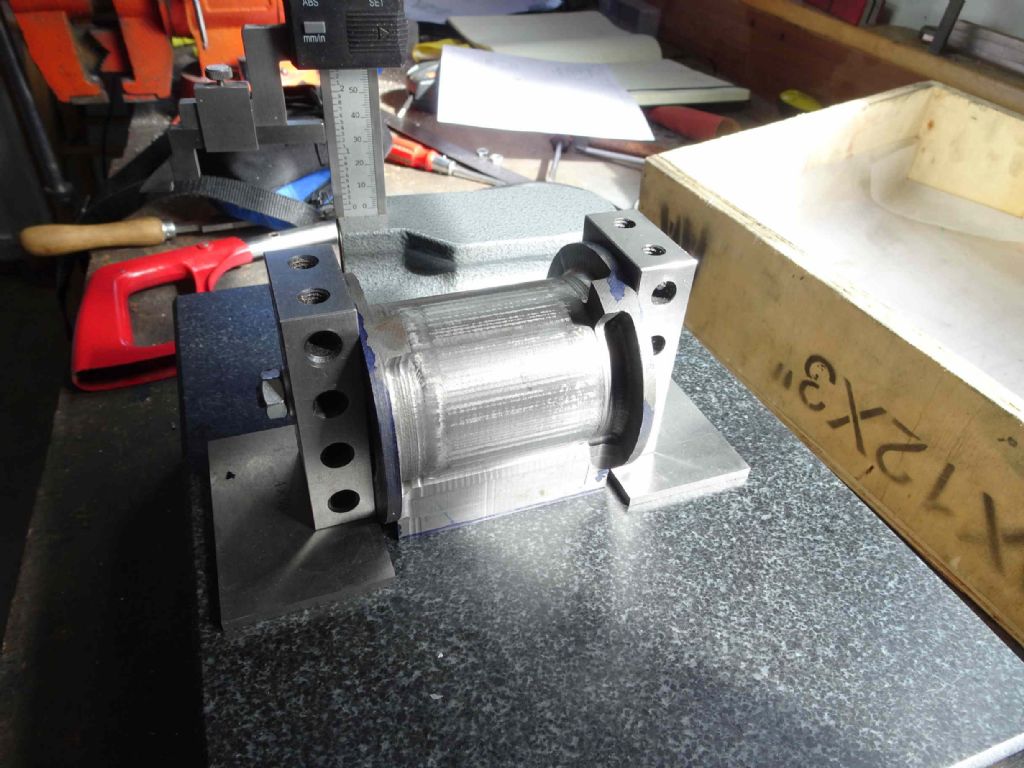
Next is either the pillars to support this or cutting the valve ports. I've started to set the cylinder up for this. Here I've bolted the cylinder to some 2 4 8 blocks with the port face flat against the surface plate/ Turn it round and clamp it to the mill and ready for go.
Unfortunately my DRO kit for the mill hasn't turned up yet so it's going to be a question of taking a great deal of care. I'm expecting the markings to be for checking and the mill for accuracy. I'm also trying to work out if I should use a 5mm bit for the 5mm slots or a smaller one and multiple cuts. The mill seems to be pretty accurate when cutting a slot. Hmm. Why don't I find some 'scrap' cast and experiment! Iain |
| Iain Downs | 18/04/2020 16:11:30 |
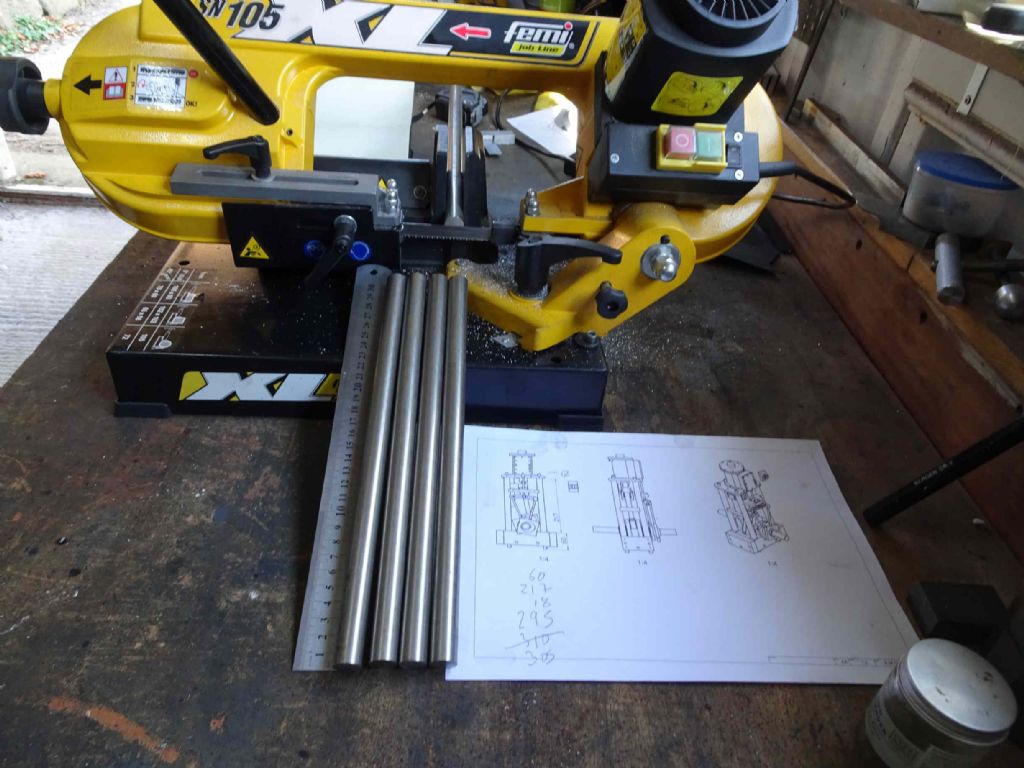
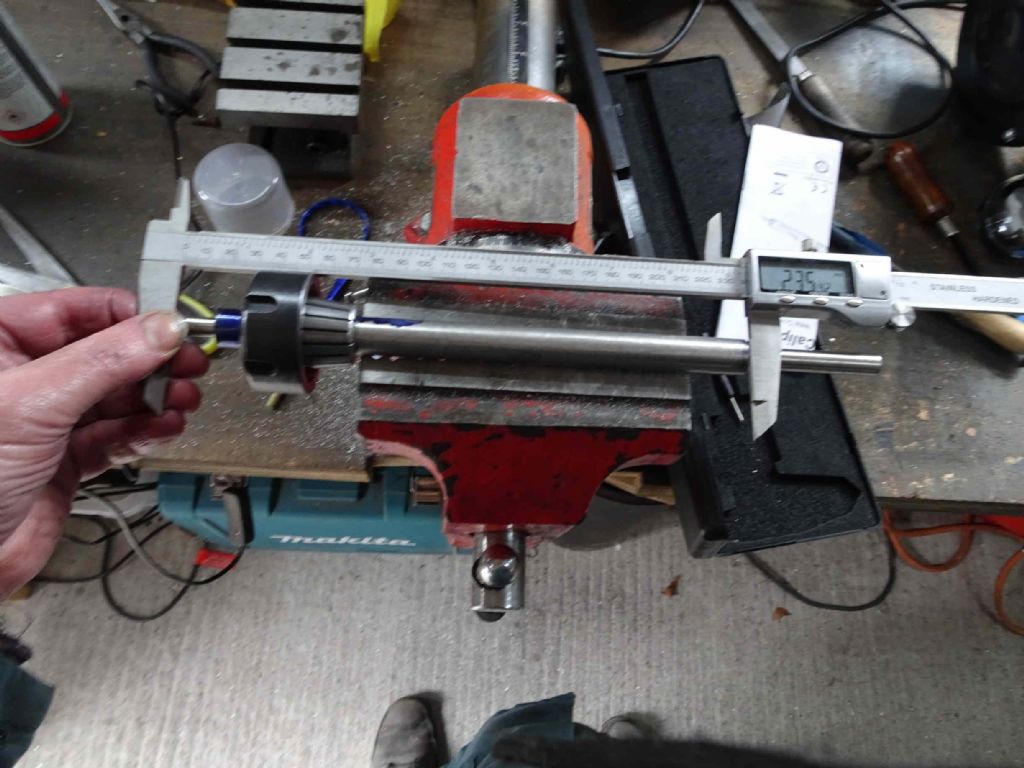
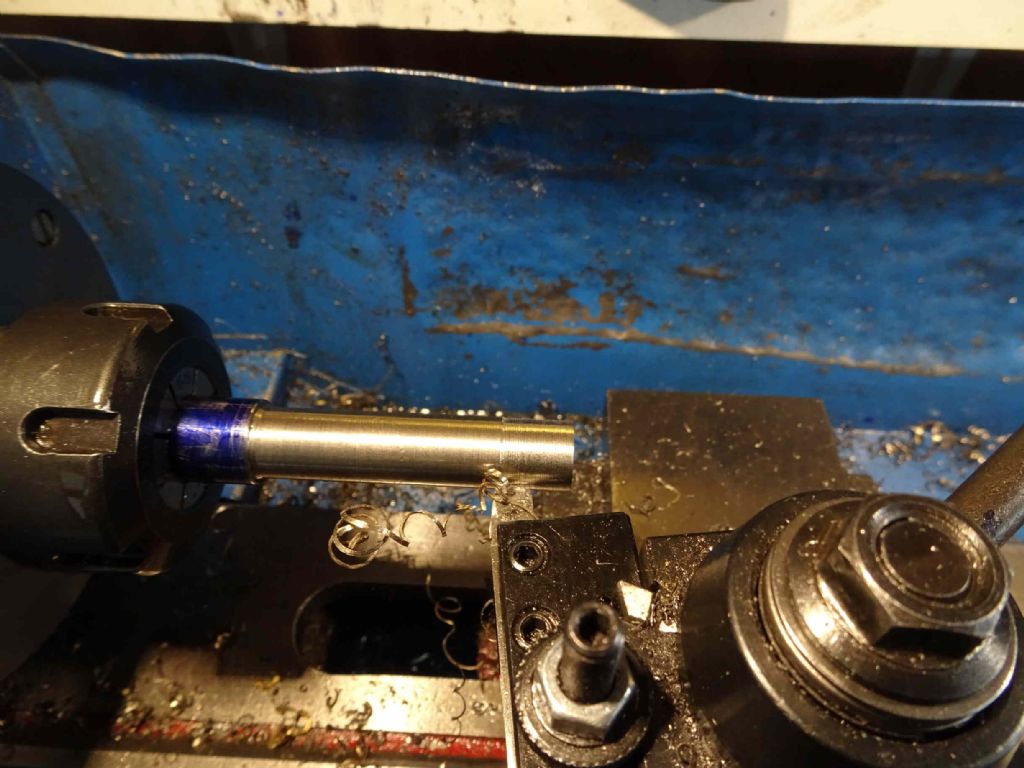
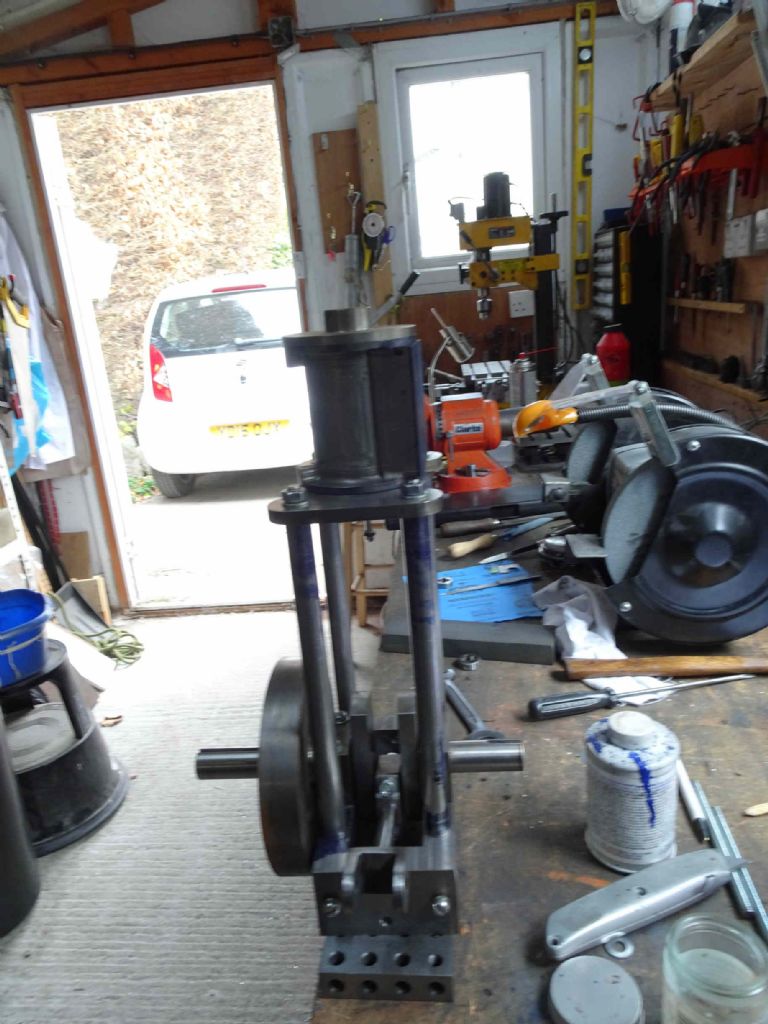
| 976 forum posts 805 photos | I've put the port machining on one side for the moment as I wanted to get the support pillars done - at which point I would have a half built engine rather than a box of bits. I started off by cutting some stainless steel (16mm) to a bit over size on my rather lovely Femi bandsaw (there's a table for the bandsaw in the works and I'll report on that when done). In fact with my propensity for cutting a bit to firmly, I cut beyond the strict length (295mm) by 10mm. In the end I had to trim 9.8 mm off so next time I will be less careful! The next task was to tace one end and then turn down to an exact length. The idea was to get the overall length spot on and then reduce the shoulder to exactly the right length. This didn't quite work out so I had to make final check after removing and measuring the bar length As you can see I'm using a collet to hold the bar. I still seem to get a little wobble, but decided that it's not important for these bars. I'm hoping that when I come to finish the cylinder the ARC 12mm collet will not give me any problems! First take the base end down to 10mm for 60mm, then the top down to 8mm for 18mm. What was confusing about this was the behaviour of the different tools I used. I started off with a indexable carbide tool onto which I put my last tip. CCMT060204 from a box of 10 from ebay. These did not work at all well, It was like the bar was made from pure Aluminium - soft and sticky. I abandoned the carbide attempt and turned to good old fashioned hand ground HSS The tool for bulk removal is quite chunk with a angle of about 100 degrees. This worked quite well, but the long long swarf was coming off straw coloured and bloody hot I can tell you! Even the bar itself was turning a yellowish colour. Speed was about 700 rpm. Once I was within a couple of mm of the correct length, I switched to a very pointy hss tool to skim off the last mm or so. This worked OK (though it took a couple of sessions) and I got through all the 10mm ends and then called it a day. I was delighted to find that some new tooling I'd ordered had arrived This little chappie also came from ebay and has the interesting double ends. I've also ordered some tips from ARC, with the idea of having some tools for roughing (0.8mm tips), finishing (0.4mm) and aluminium (different wierdo numbers) Anyway, It would seem wrong not to try it out! My goodness, what a difference! This tool cuts beautifully! I can take 1mm cuts (though that was straining the lathe a bit so I ended up taking 0.5 - 0.75 cutts( and the finish is excellent. I believe that quality of carbide tools has been discussed on the forum recently, but this was a real eye-opener. As I mentioned above, the attempt to get the right inside (leg length) dimension by measuring down from the ends didn't work particularly well with nearly 0.5mm variation between the 4 legs. So I popped them back in the collet and took a bit more of each and ended up well within 0.1mm - 4 thou. For god's sake, they're only legs! And here it is. With a little imagination you could believe that one day it will grow up and become a steam engine!
Iain |
| Iain Downs | 18/04/2020 16:13:41 |
| 976 forum posts 805 photos | IN passing, the 300mm calipers were on my Xmas list for 2018, requested, specifically for measuring the legs. It's an indication of how long these hobby projects can take that I've only just used them, 16 months later. Hopefully, I will find something else long to measure in the not-to-distant future.
Iain |
Please login to post a reply.
Want the latest issue of Model Engineer or Model Engineers' Workshop? Use our magazine locator links to find your nearest stockist!
Sign up to our newsletter and get a free digital issue.
You can unsubscribe at anytime. View our privacy policy at www.mortons.co.uk/privacy
- hemingway ball turner
04/07/2025 14:40:26 - *Oct 2023: FORUM MIGRATION TIMELINE*
05/10/2023 07:57:11 - Making ER11 collet chuck
05/10/2023 07:56:24 - What did you do today? 2023
05/10/2023 07:25:01 - Orrery
05/10/2023 06:00:41 - Wera hand-tools
05/10/2023 05:47:07 - New member
05/10/2023 04:40:11 - Problems with external pot on at1 vfd
05/10/2023 00:06:32 - Drain plug
04/10/2023 23:36:17 - digi phase converter for 10 machines.....
04/10/2023 23:13:48 - More Latest Posts...
- View All Topics
- Reeves** - Rebuilt Royal Scot by Martin Evans
by John Broughton
£300.00 - BRITANNIA 5" GAUGE James Perrier
by Jon Seabright 1
£2,500.00 - Drill Grinder - for restoration
by Nigel Graham 2
£0.00 - WARCO WM18 MILLING MACHINE
by Alex Chudley
£1,200.00 - MYFORD SUPER 7 LATHE
by Alex Chudley
£2,000.00 - More "For Sale" Ads...
- D1-3 backplate
by Michael Horley
Price Not Specified - fixed steady for a Colchester bantam mark1 800
by George Jervis
Price Not Specified - lbsc pansy
by JACK SIDEBOTHAM
Price Not Specified - Pratt Burnerd multifit chuck key.
by Tim Riome
Price Not Specified - BANDSAW BLADE WELDER
by HUGH
Price Not Specified - More "Wanted" Ads...
Do you want to contact the Model Engineer and Model Engineers' Workshop team?
You can contact us by phone, mail or email about the magazines including becoming a contributor, submitting reader's letters or making queries about articles. You can also get in touch about this website, advertising or other general issues.
Click THIS LINK for full contact details.
For subscription issues please see THIS LINK.
Model Engineer Magazine
- Percival Marshall
- M.E. History
- LittleLEC
- M.E. Clock
ME Workshop
- An Adcock
- & Shipley
- Horizontal
- Mill
Subscribe Now
- Great savings
- Delivered to your door
Pre-order your copy!
- Delivered to your doorstep!
- Free UK delivery!

 .
.


 Register
 Log-in


