Steam Engine Number One
A Build Log (hopefully)
| geoff walker 1 | 25/11/2018 11:11:50 |
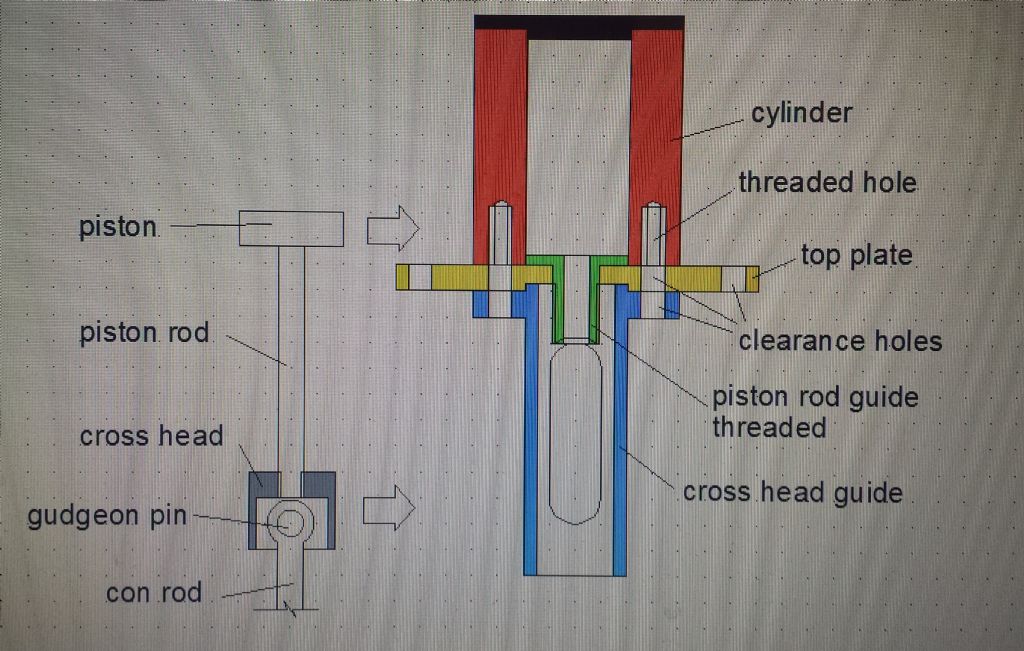
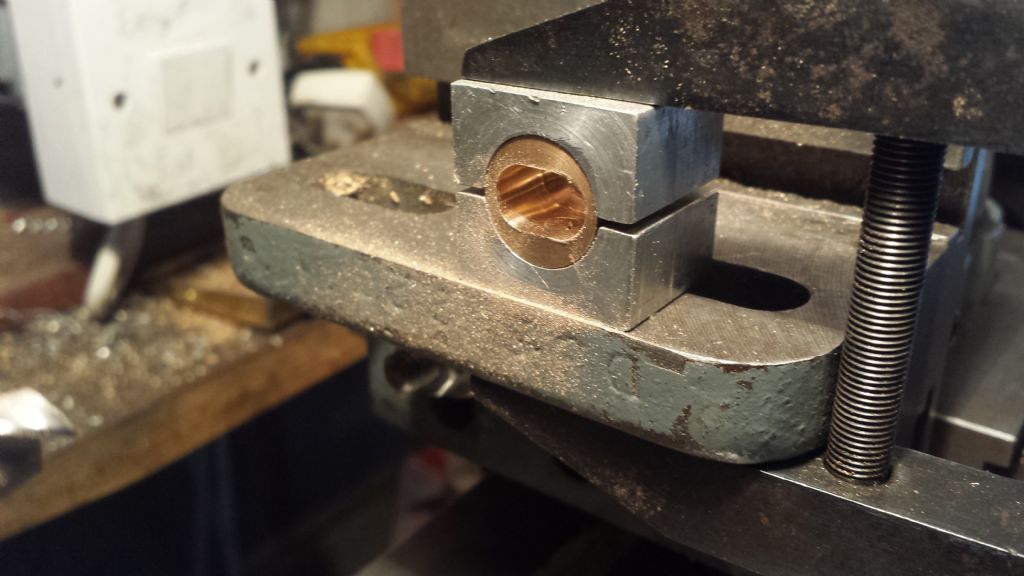
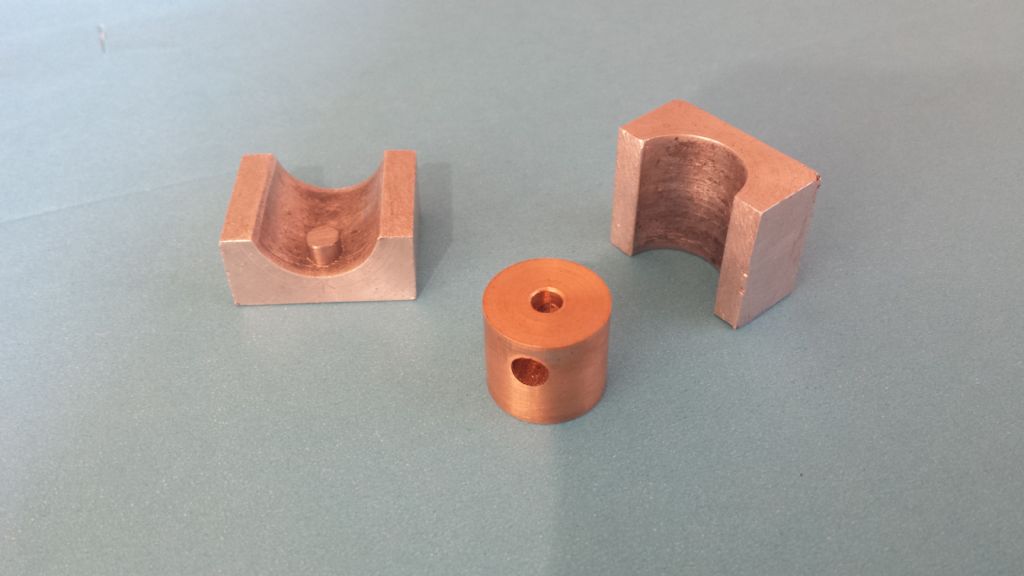
| 521 forum posts 217 photos | Hi Iain, One last post from me with a diagram I did last night. As I understand it, you have a cylinder whose bottom hole is s slidefit for the piston ron and the top has a registration plate which fits into the underside of the plate. Not quite like above Iain the piston rod guide is separate from the cylinder. The register is on the underside of the top plate. Have a look at the jepson drawings on plans-for-everything.com and also the drawing with this post. Hope it helps you Geoff see also the photos of the cross head |
| Iain Downs | 25/11/2018 12:57:43 |
| 976 forum posts 805 photos | Thanks both. Not entirely sure I'd found plans-for-everything.com before but very useful. I have seen some of the plans elsewhere, but there's good stuff here! Geoff - I much appreciate the drawing - I get it now! However I wasn't quite sure what the bottom picture was of. Jason - I just couldn't be bothered last night! Actually, I'd had much the same thought for manufacturing as the link shows, but hadn't worked out the details. On an other matter: Silver soldering. I'm trying to understand where I should use sliver soldering around the cylinder. Do I need to worry about it softening or melting, or can I just use it anywhere? Do I need to worry about the thickness of the solder disrupting registration (angling the registered item fractionally?). In my youth I did a LOT of electronics soldering and I've done a smidgen of plumbing. Neither of which help here.
Iain |
| JasonB | 25/11/2018 13:09:49 |
25215 forum posts 3105 photos 1 articles | It would be quite a big lump to solder so probably better to cut from solid CI but what I usually do for things like cylinders if make the flanges say 0.5mm thicker than finished and the bore 1-2mm less then once it is soldered treat it as you would a casting by finishing the bore and machining one flange at the same setting then flip it around to bring to final length. If doing it this way bosses for drains etc can just be soldered on. This will give an idea of how I do a silver soldered cylinder |
| Iain Downs | 25/11/2018 14:15:39 |
| 976 forum posts 805 photos | Thanks. I was looking at making the bottom plate and the gland as two parts and then soldering. I guess I'd need to ream the piston hole afterwards - or would I need to do the truing up of all the parts after soldering/
Iain. |
| Iain Downs | 28/11/2018 21:27:22 |
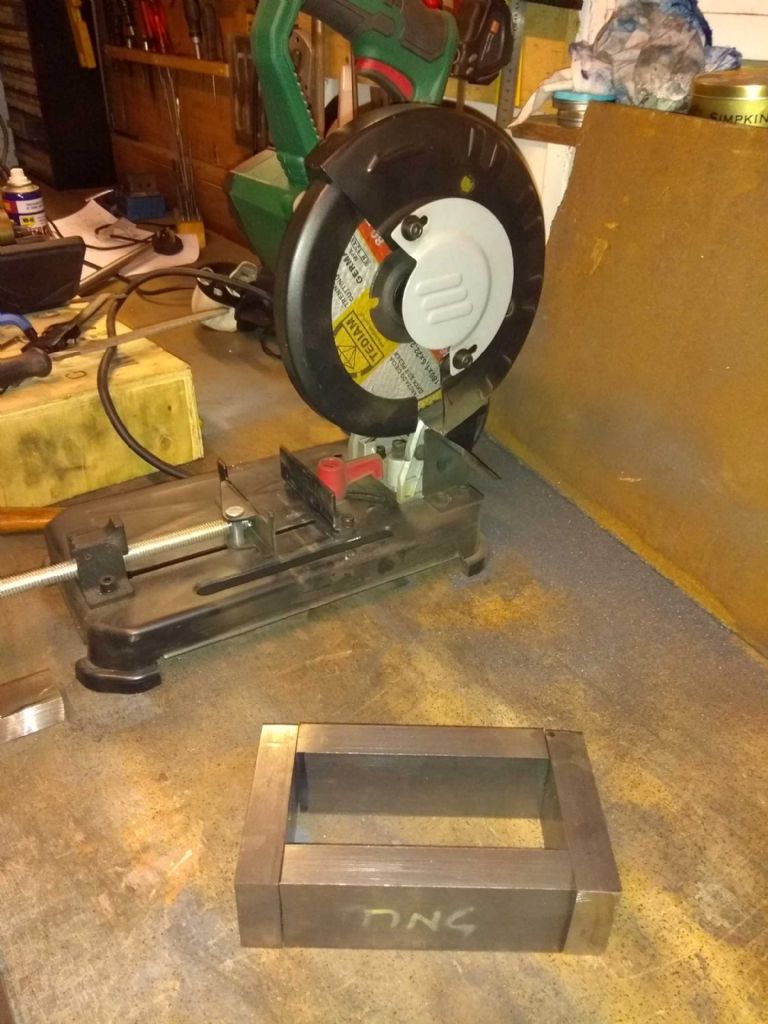
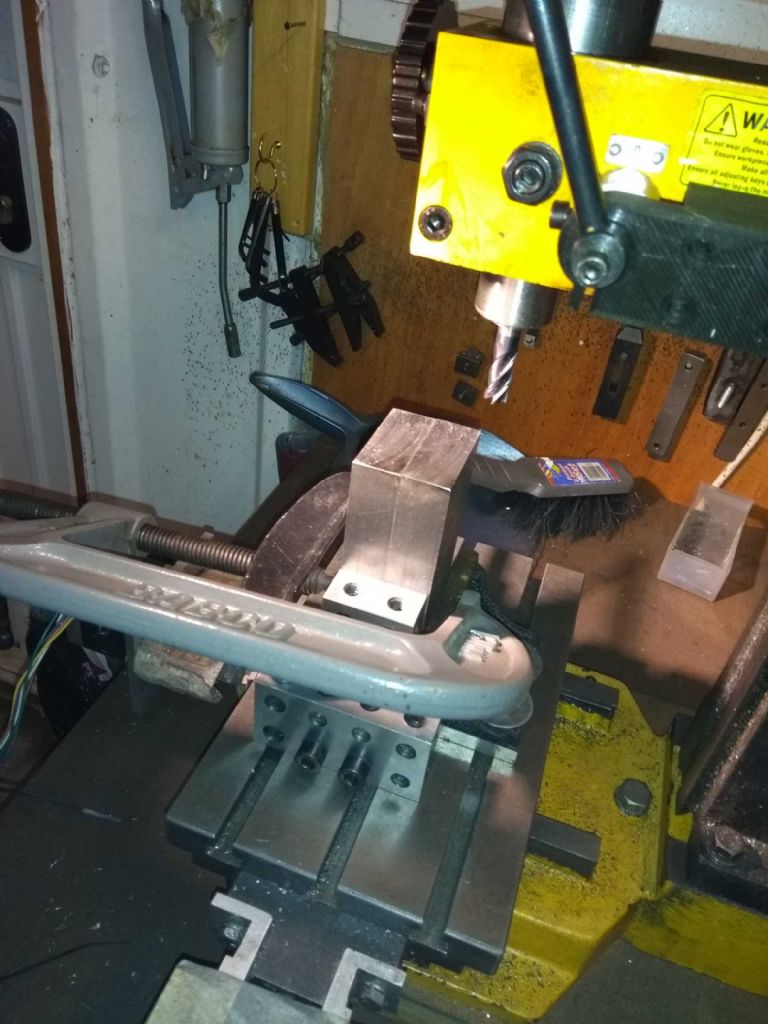
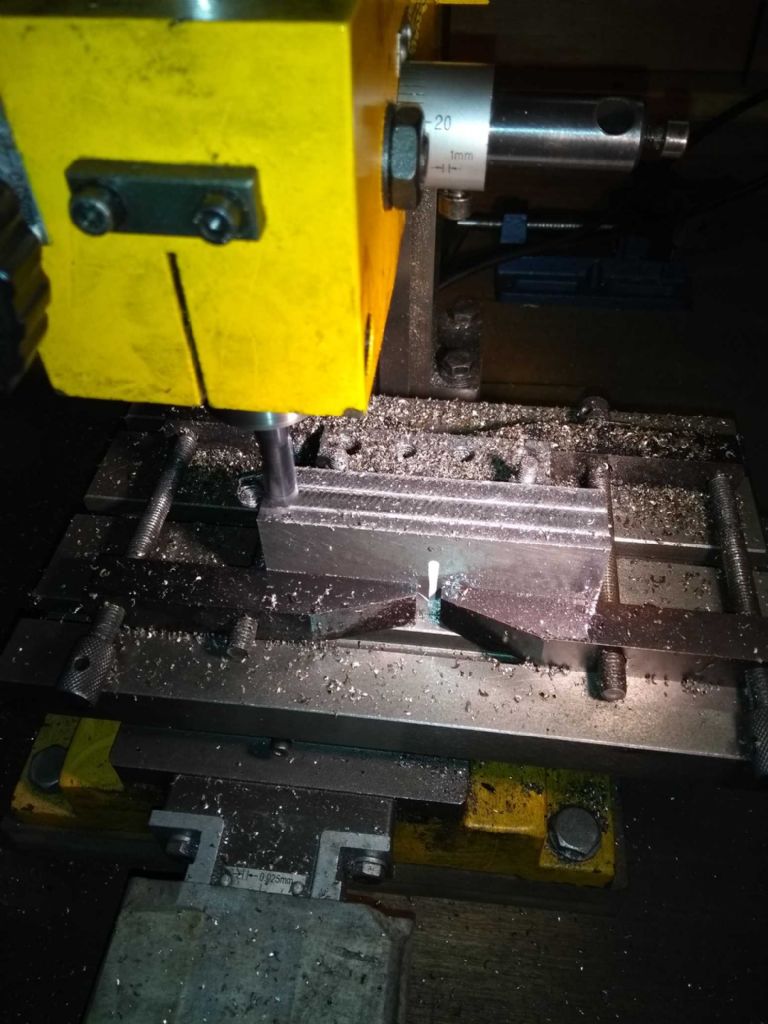
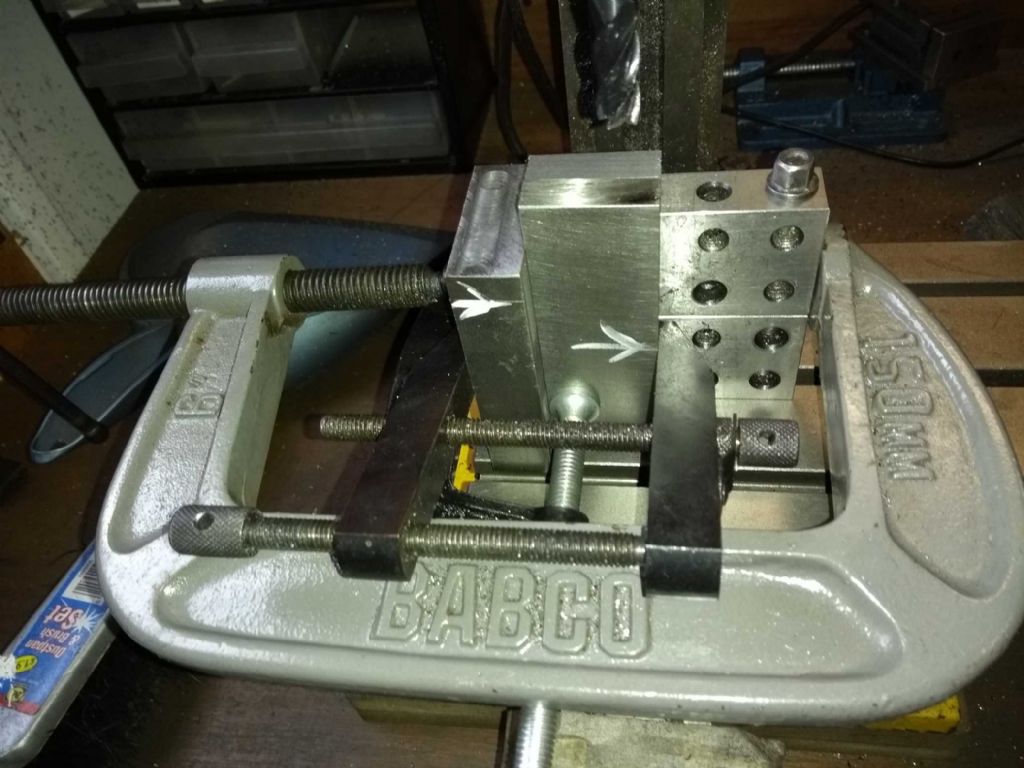
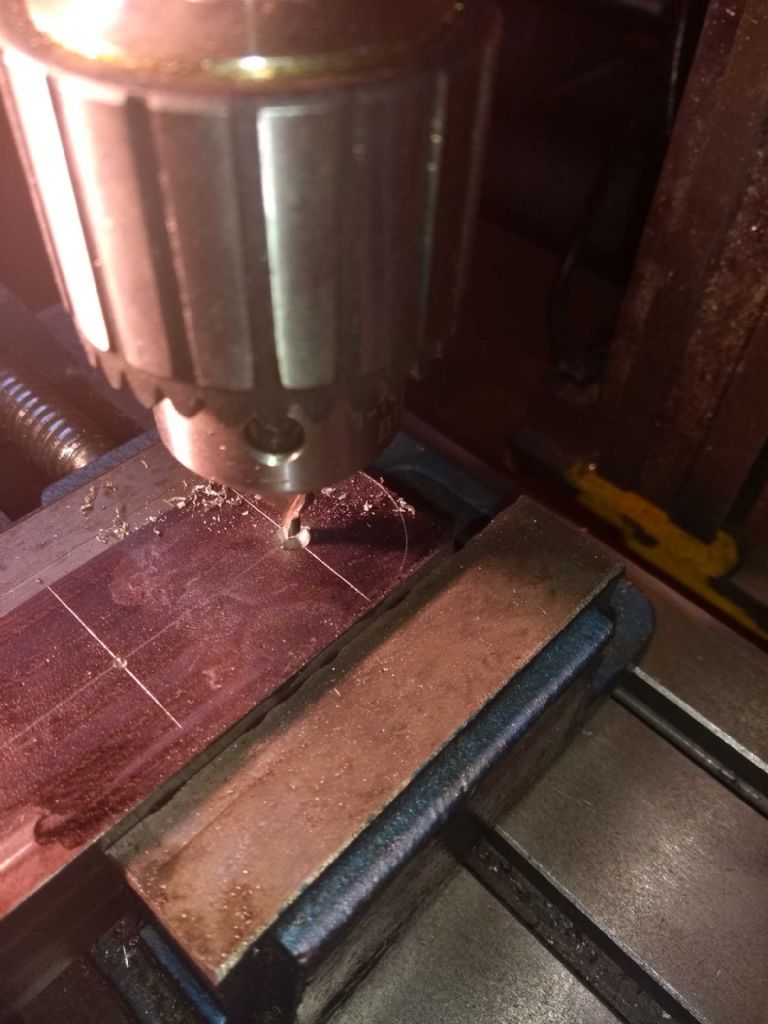
| 976 forum posts 805 photos | Yes, well, I hear you say. That design baloney is all very well, but when are you going to start making iron filings! Your wish is going to come true. First up the bits for the crank case. 4 bits of steel cut by the rather marvelous Aldi chop grinder. Square up the pieces and mill to approximate size. This was my first attempt, but I realised on checking that something was wrong and it turns out that my angle plate does indeed have an angle, however it's not right. Not a right angle that is! for the crank I ended up using my angle table and setting it at right angles with a 20 40 80 block. With this and the journal I found I could get my measured end with a thou (0.02mm), but that the other end could be up to 3 thou out (thats over about 100mm or so). Not precision engineering, but I suspect a decent result with a CMD10 micro mill. Next the journals cut, squared and milled to size. This, by the way is the first time I've glued bits together - a bit of superglue to make sure the journals exactly match. I just hope I can get them apart! Next up us putting a nice round end on the big end end of the journal. I'' put that in a new post so the forum doesn't explode. |
| Iain Downs | 28/11/2018 21:41:37 |
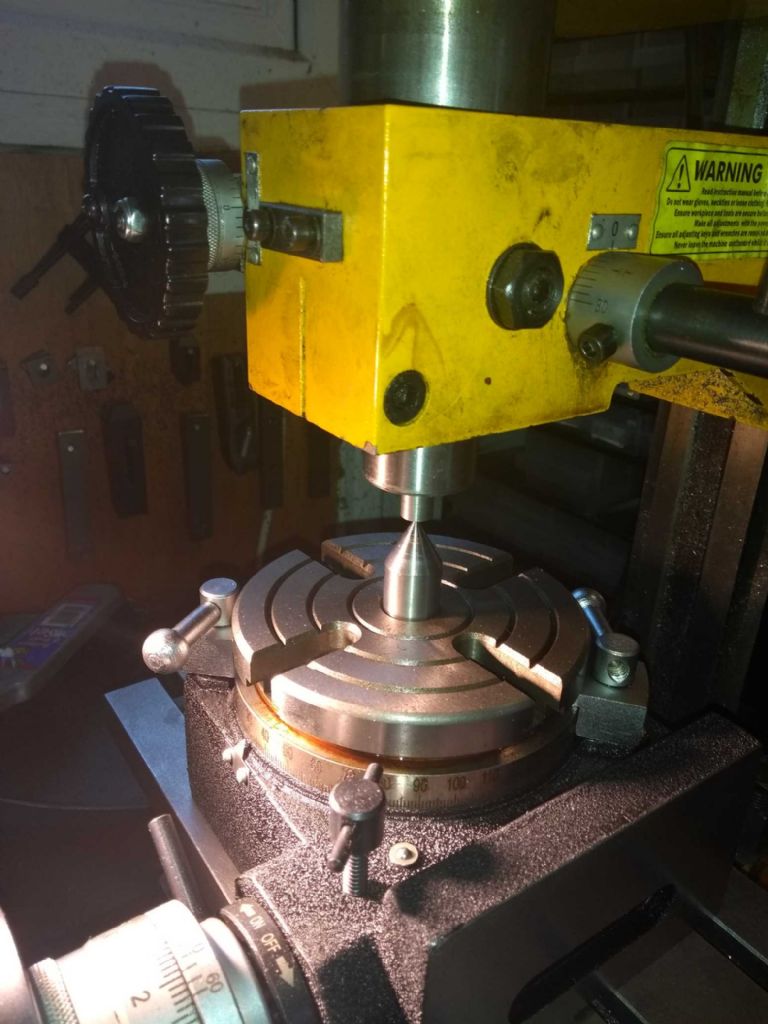
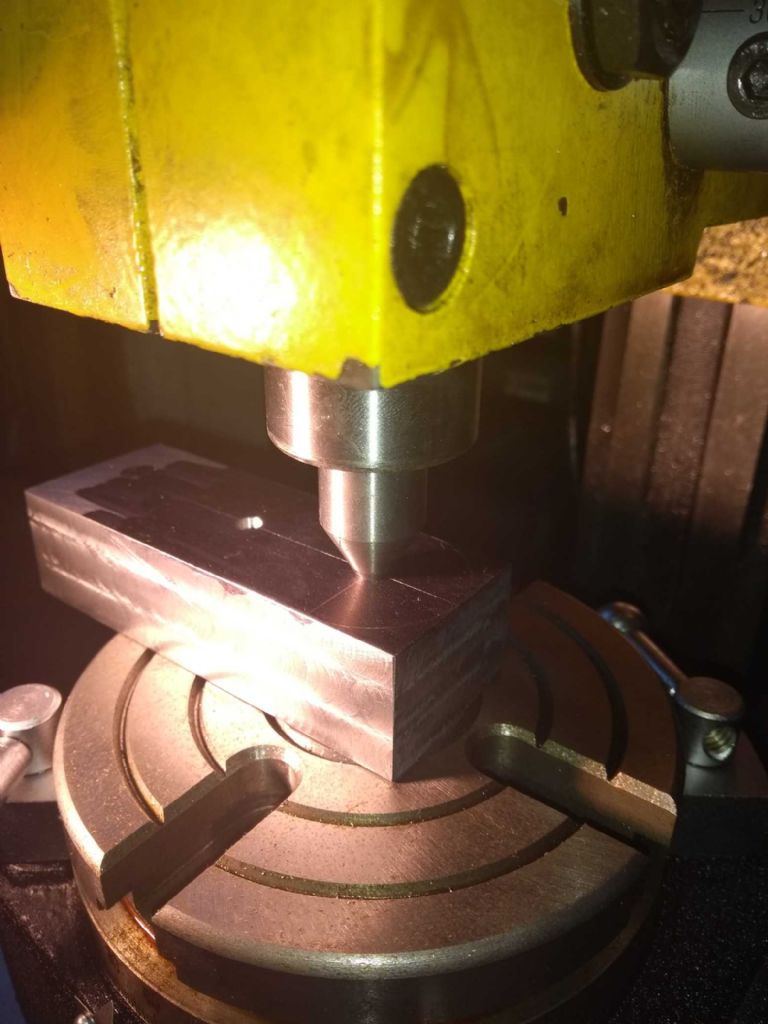
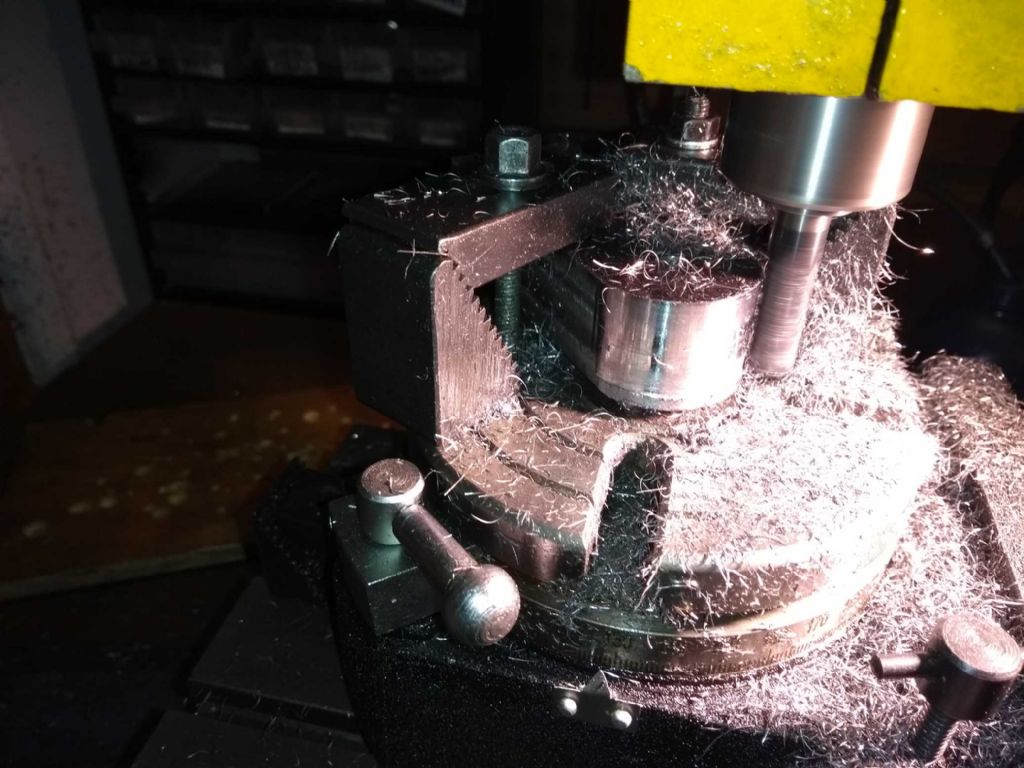
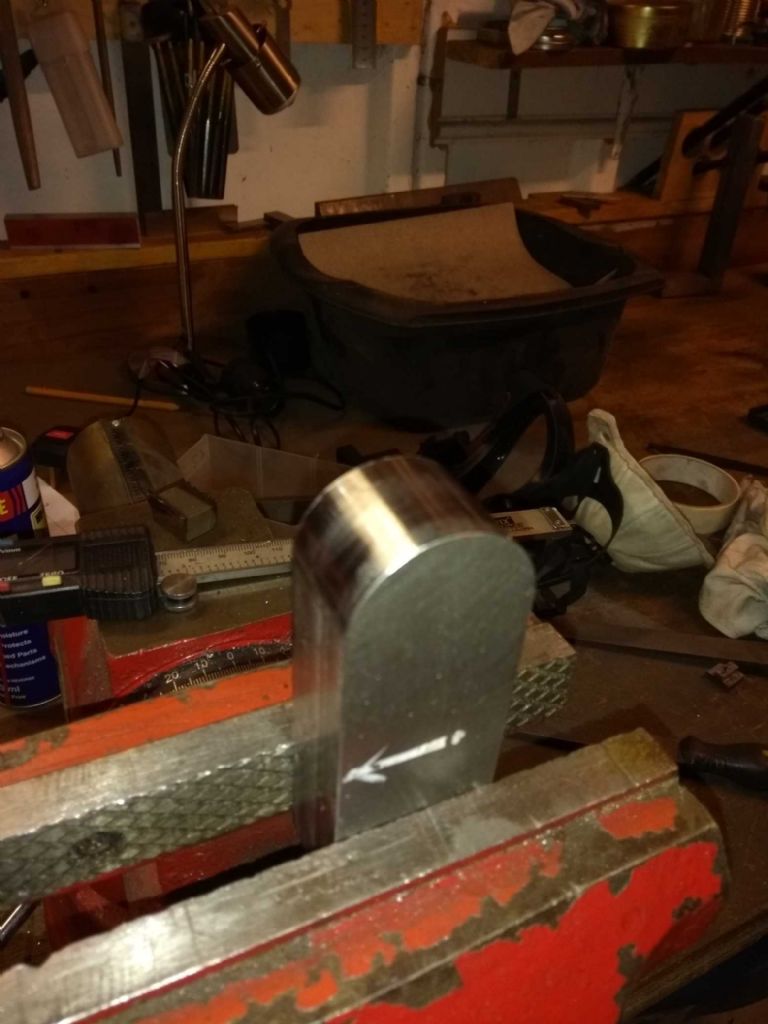
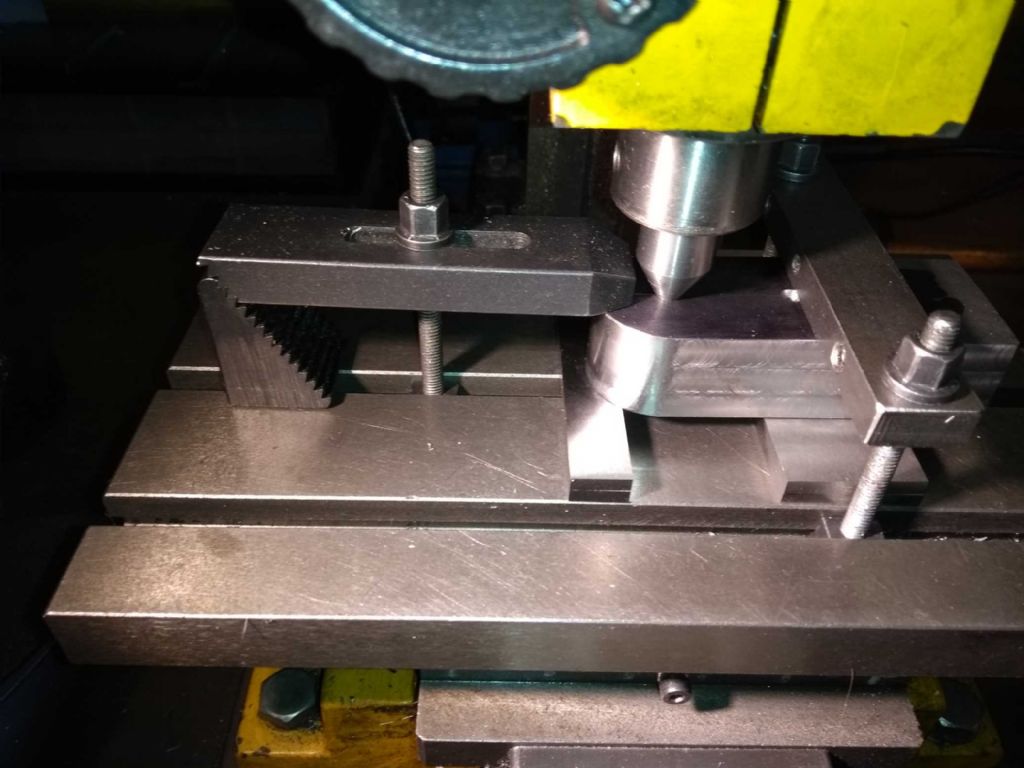
| 976 forum posts 805 photos | So the Journals will have a nice round end for the big end and a counter weight (yet to be worked out) on the opposite end. My first proper use of a rotary table.... I've turned a reasonably accurate 10mm round bar with a centre drilled end. The idea is that I mount this in the mill collet and an MT2 centre in the rotary table. bring the bar onto the center wiggle the table a bit and the table should be centred. I mean, I didn't try and measure this afterwards, but it makes sense. Then put the MT2 centre in the mill spindle and lower into the centre drilled hole in the journal exactly where the bearing centre will be.
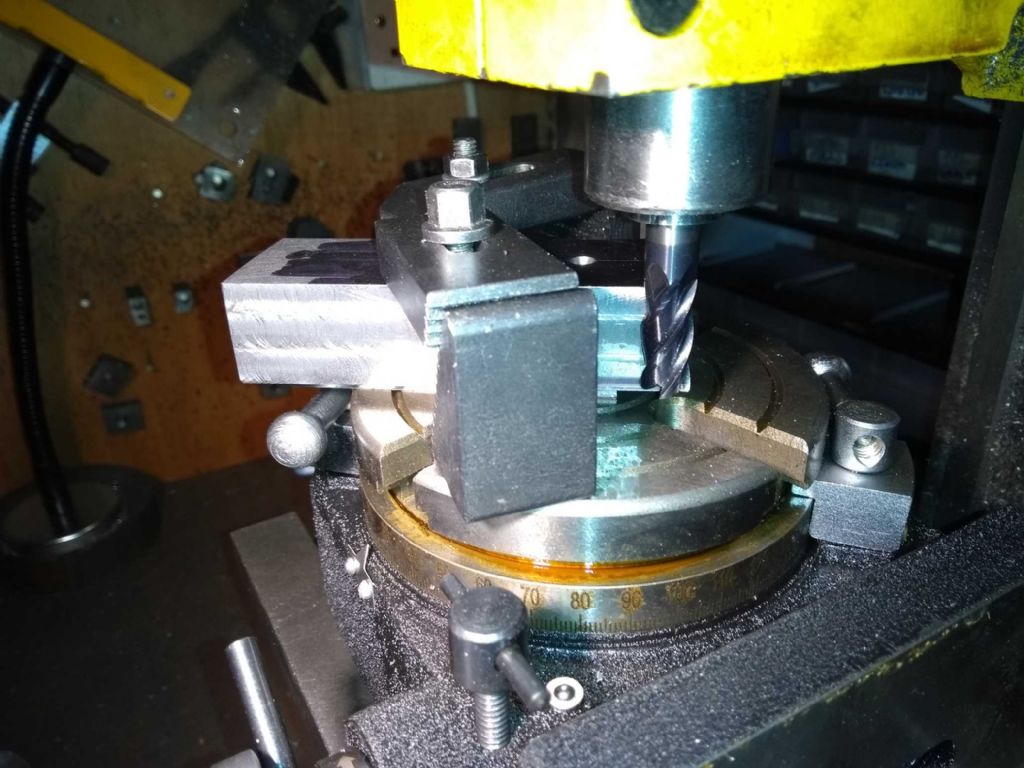
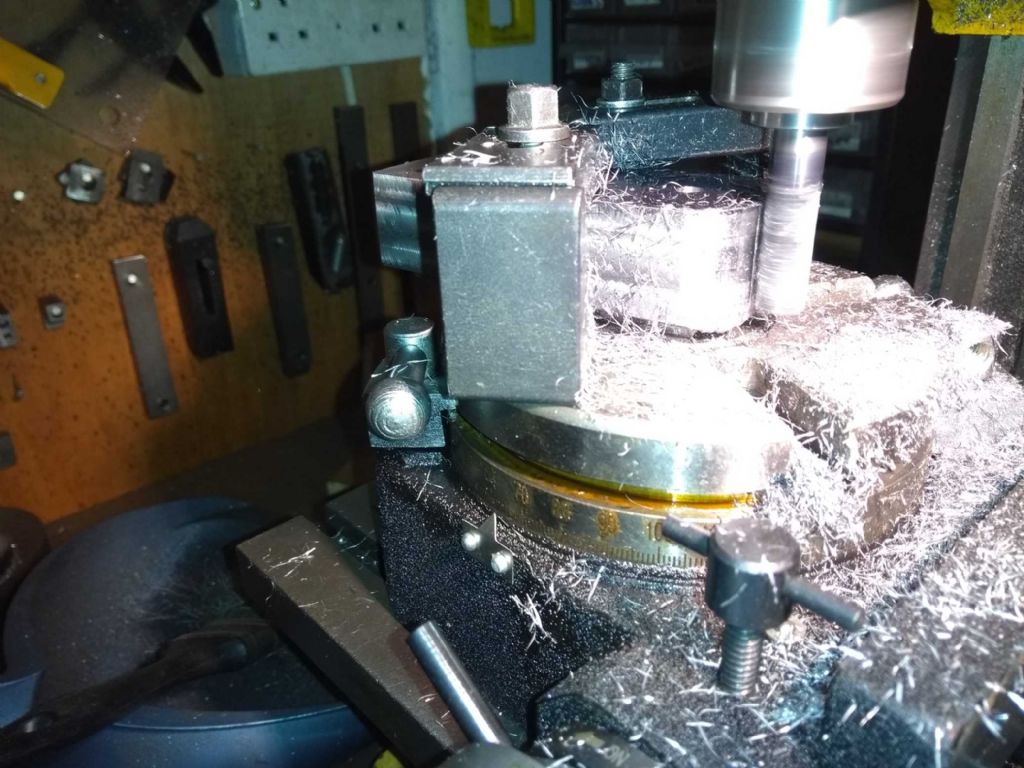
Now for the exciting part! Clamp the journal (sitting on a 4mm parallel) back off the X axis rotate and then cut. I took off about 1mm each time (10mm 4 flute carbide cutter at 2000rpm). The cutter isn't quite long enough so I lowered by 4mm and took a second pass every couple of turns - you can just see the ridge at the bottom before the second pass. Which I'm unreasonably pleased with! Next up (not today) is to bore out the 20mm holes for the shafts proper. At the moment I'm planning to mount the journals on a faceplate (another first - I buy these things and EVENTUALLY I find a use). I'm thinking to use a similar technique for centring. Put the journal loosely on the face plate and offer a centre up to if from the tailstock. Having said that, I need to recheck the accuracy - it's OK forward backwards, but I thought it too high by 0.25 mm when messing with it a year or two back. The other task I have ahead of me is to work out the counterbalance. I think that's a bit of trigonometry and integration. I've asked my son for help (Year 2 maths degree) but as he has demanded payment and I'm a Yorkshire man I might just try and puzzle it out. Thanks for your patience. The redesign by the way is nearly done and I will upload design baloney sometime soon. Still mulling guides for cross head and eccentric rod.
|
| JasonB | 29/11/2018 06:59:30 |
25215 forum posts 3105 photos 1 articles | Off to a good start and the little mill seems to have done a good job on that rounded end. |
| Iain Downs | 01/12/2018 20:32:51 |
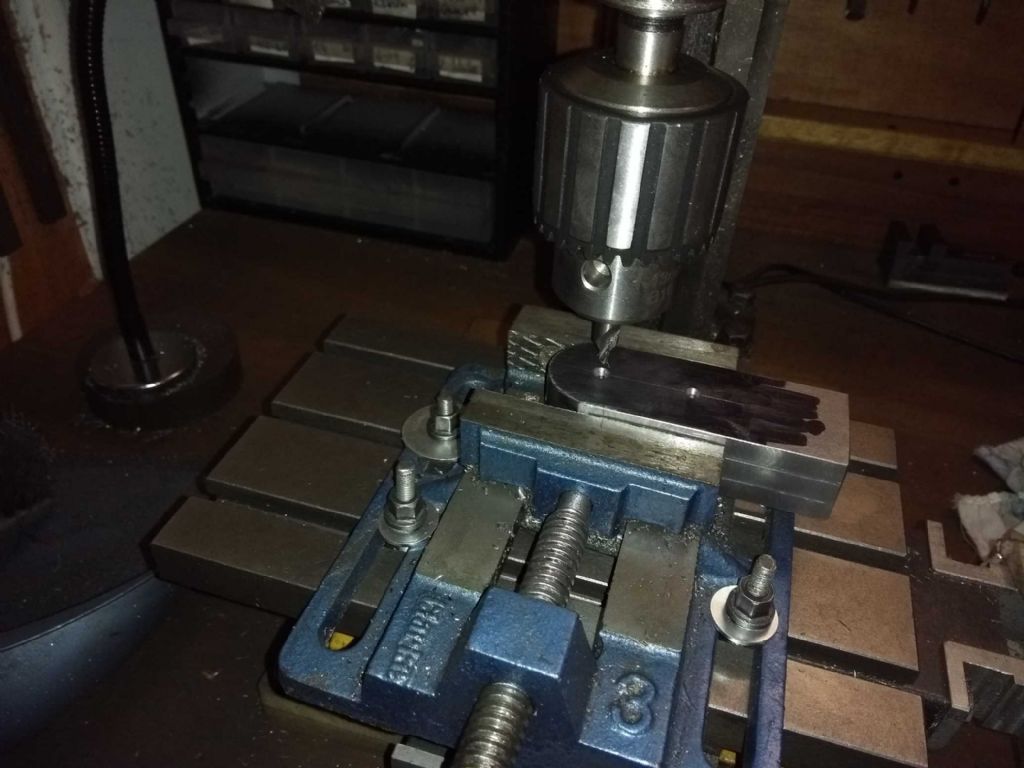
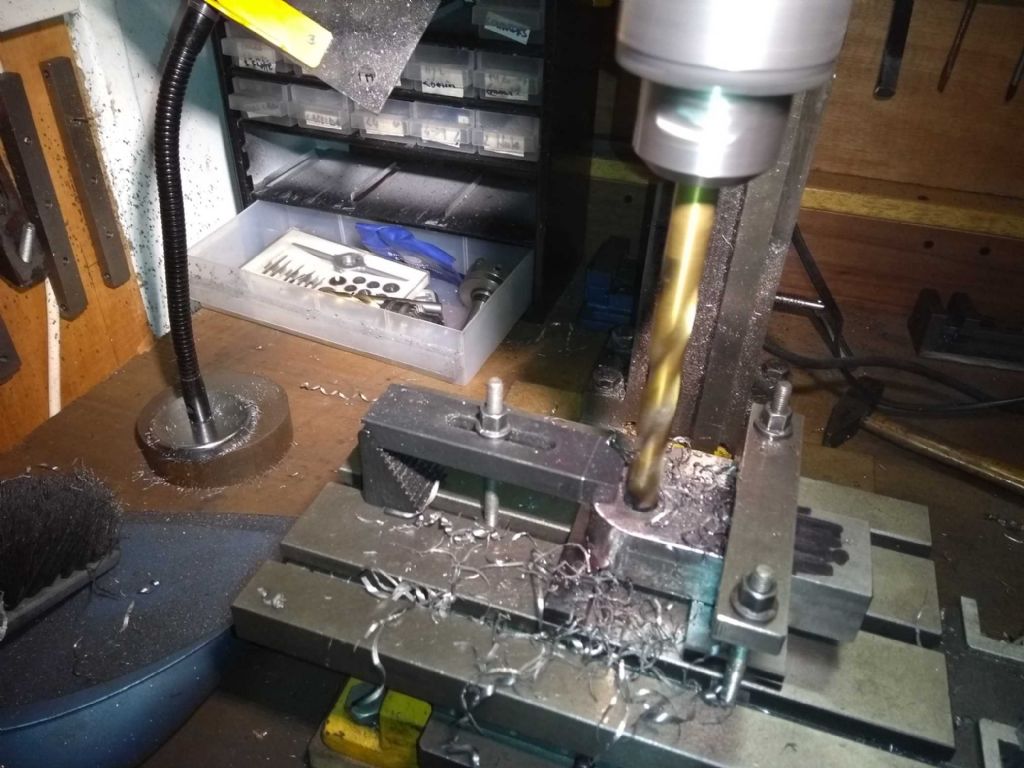
| 976 forum posts 805 photos | Yesterday and today I continued to work on the journals. First task was to drill out the centre-drilled shaft centres to be big enough to bore on the lathe. I do have a boring head for the mill, but the mill and it are far to non-rigid for something requiring a reasonable level of precision. I started off trying to do the job quickly. Mounted the journal in a drill vice, and centred it using a centre drill (not turning!) in the chuck. This seemed to centre, but when I secured the drill vice, the centre drill no longer entered the hole smoothly! I guess that tightening the vice mounting bolts applied some torsion and shifted something. Tried a variety of combinations and didn't like what I was seeing. So back to an MT2 centre and mounting the journals directly on the table with some parallels and clamps. Drilled with 4mm, 6mm, 10mm and finally 13mm. The big drill here turns out to have a chip out on the end, which was more apparent when drilling the other hole. Somewhere i have a drill sharpener that sometime I will try and use to fix it. Before mounting the journal on my faceplate and boring, I checked that there was enough clearance. yes, but only by using low profile nuts. However, first I thought I should cut the big and shaft and main shaft and trim them. I'm thinking to use the main bearing shaft (44mm) as a try fit when approach the 20mm internal diameter of the shaft bore. Perhaps tomorrow I will get round to doing the faceplate work and boring out the journal for the shafts. A bit nervous about that - it requires a level of accuracy which I don't normally manage!
Iain
|
| Iain Downs | 03/12/2018 21:08:31 |
| 976 forum posts 805 photos | Crisis! I've overbored the journals. The main axis bore turns out to be about 20.35 and a wiggle fit for the shaft In the traditional amateur way, I'm going to make an excuse. The plan was to drill to 13mm (my biggest drill) rough it out with my carbide insert boring bar and finish to size with a self ground hss boring bar. I managed to get the 13mm bore centred on the faceplate to about 2 thou with aid of a rubber mallet and a bit of wood. I was reasonably pleased with that! My first faceplate work! The carbide insert boring did not go well. To start with it seemed incapable of actually cutting and it graunched and groaned as it went into the rougher parts of the bore. So I swapped out for the hss tool (specially sharpened). that cut nicely enough and I have about 3 miles of 1 thou thick coiled steel as it pulled in and out and took just a bit off. My mistake was to get to what I thought was about 5 thou under with 3 or 4 runs through of the tool and then pull back that 5 thou. Then kept cutting until there was no more coming off the inside. What's happened (I think) is that the spring in the tool (it started live as a 5/16th toolbit) was much bigger than I thought. So the last cut but one had not finished cutting when I measured. When I kept on in the final cut I was obviously still pulling against the spring, hence the over cut. Sadly, I don't see any way of rescuing this piece, though advice from experts is welcome. Which means ordering some more steel and starting again Ah the joys of amateur engineering!
Iain |
| JasonB | 04/12/2018 17:12:17 |
25215 forum posts 3105 photos 1 articles | Can you not just turn a bit of bar down to fit the 20.35mm hole, as it is only the pin you won't have too long a length to turn. |
| Iain Downs | 04/12/2018 19:10:43 |
| 976 forum posts 805 photos | If by 'pin' you mean the bit that connects to the big end / piston, then sadly, it's not that bit. It's the main bearing shaft. One thing I did find strange is that after the first cut as I took the spring out moving in and out of the bar, only the backstroke was cutting. Having thought about that, I'm wondering if the boring bar was a bit blunt on the forward end (I did try and sharpen it on a stone, but perhaps not enough). I may try and make a more substantial boring bar (12mm bar with a hss bit in the end...) before trying this again. On the shaft - I've bought ground silver steel for this for two reasons. Firstly, my research seems to show this as a shaft material more than anything else (though I'm not sure it's any harder untempered than mild steel) and secondly, I don't have to worry about turning a bar to a very accurate diameter along the length - perhaps on Steam Engine Number Three I will have acquired the skill and courage... As usual thanks for the advice. Iain
|
| JasonB | 04/12/2018 19:15:40 |
25215 forum posts 3105 photos 1 articles | 21mm and 0.8125" Silver steel are available |
| Iain Downs | 04/12/2018 21:00:17 |
| 976 forum posts 805 photos | Aye. Sorry I just had a moment. In my head was - 'oh yes, Jason means me to get a 21mm bar and turn it down to 20.38mm. Hmm, how would I do that on my minilathe'. And I was writing to express my challenges with taking an accurate 0.62mm off a long bar... Then, I thought, 'Prat' and realised that all I need to do is to overbore the hole by another 0.62mm and I'm spot on. Which I expect is what you meant since you are quite clearly not as dim as me! I have just ordered some more steel for the journals, but I'm sure I'll find a use for it elsewhere at some point! Off to ebay now....
Iain |
| Boiler Bri | 04/12/2018 21:14:33 |
856 forum posts 212 photos |
Great job Ian. I love all your fixtures etc. I am currently machining a cast bracket for the governor on my Durham engine. It was difficult deciding where to start 🤔 Your doing it. For me that's what counts. As for the overboring I have four wheels for my sweet pea with different size bore. In the end I reamed them all and made the axles oversize 👍 Bri |
| JasonB | 05/12/2018 07:01:21 |
25215 forum posts 3105 photos 1 articles | Iain, My first suggesting of turning something down assumed it was the short bit in the middle, later suggesting was to open up the hole to take the next stock size. |
| Iain Downs | 06/12/2018 22:25:07 |
| 976 forum posts 805 photos | Thanks to the advice of Jason and the Gods of eBay, I've ordered a 22mm silver steel shaft, got it delivered and VERY CAREFULLY trimmed out the centre bore to fit. The end result appears to be just a tad tappered. the mouth is a reasonably easy fit for the shaft, but the part by the faceplate is tight. That is it needed a little tap to get through the last few mm. I think the difference in diameters at each end is sub-thou (guess) and most probably outside my ability to measure accurately. Good enough for me! hopefully, this weekend I will bore the pin (20mm) trim the main shaft and add a keyway. If I get really excited I will try and glue them together!
Iain
|
| Iain Downs | 08/12/2018 17:48:25 |
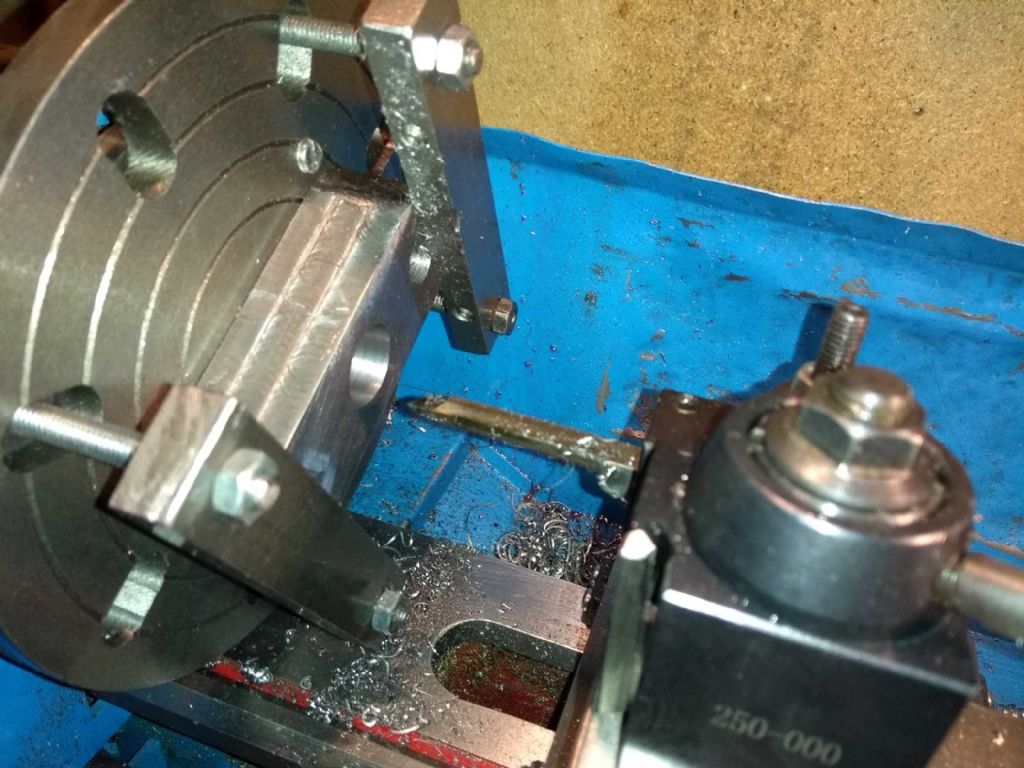
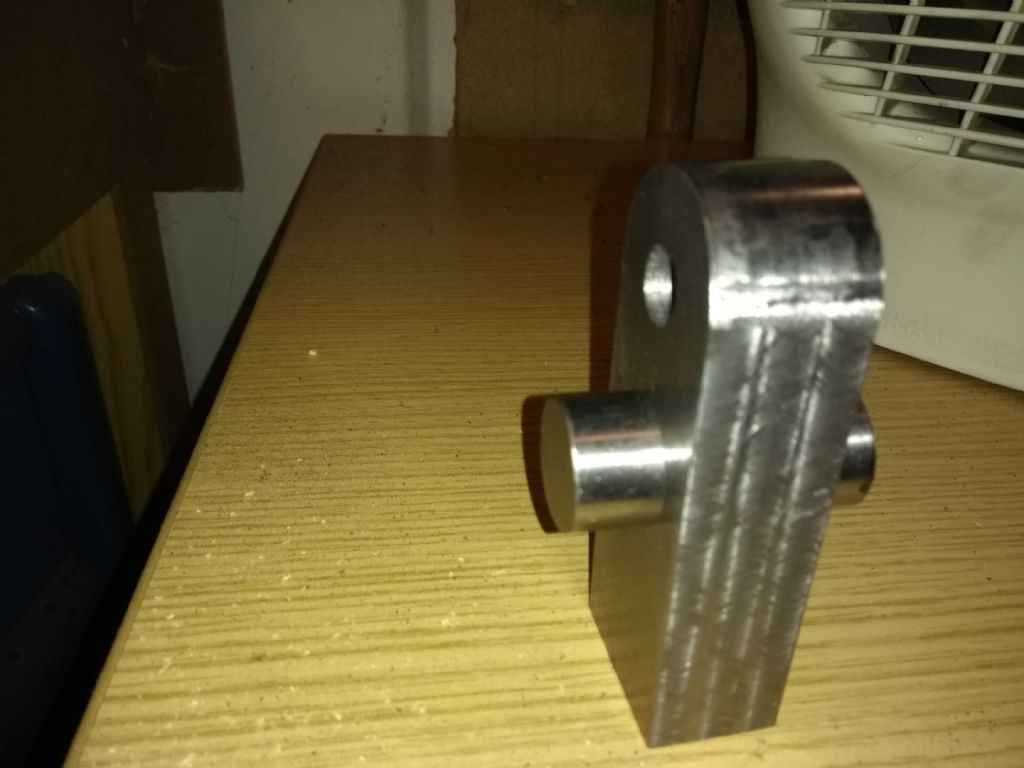
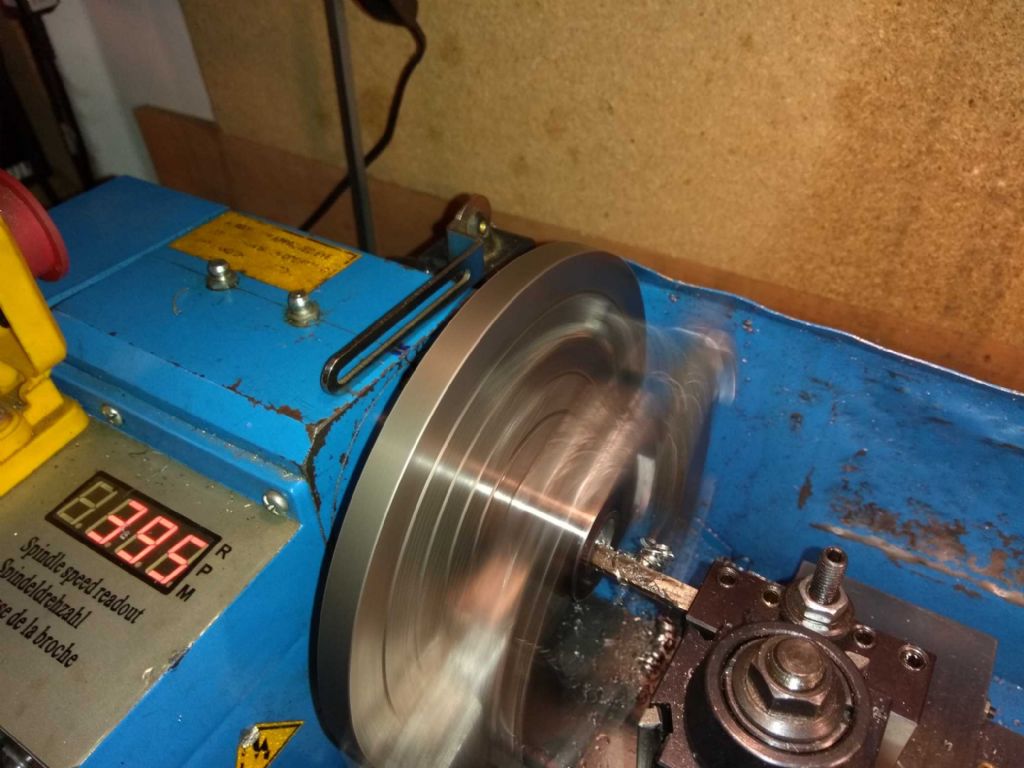
| 976 forum posts 805 photos | Journals: Done! Main Shaft. Done! Pin bored out to 20mm. I must say I'm seeing the same thing with this bore. The outer diameter is just a little bit bigger than the inner one (by the faceplate). The only thing I can think is that the head isn't exactly in line with the ways that that might be awkward to fix.
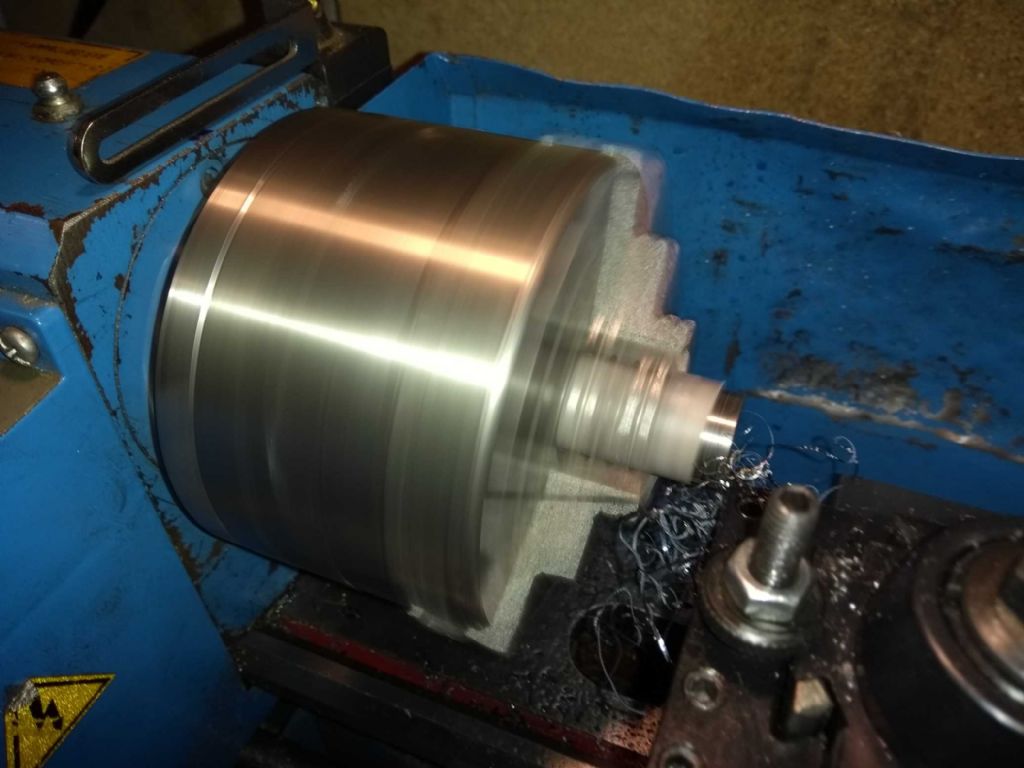
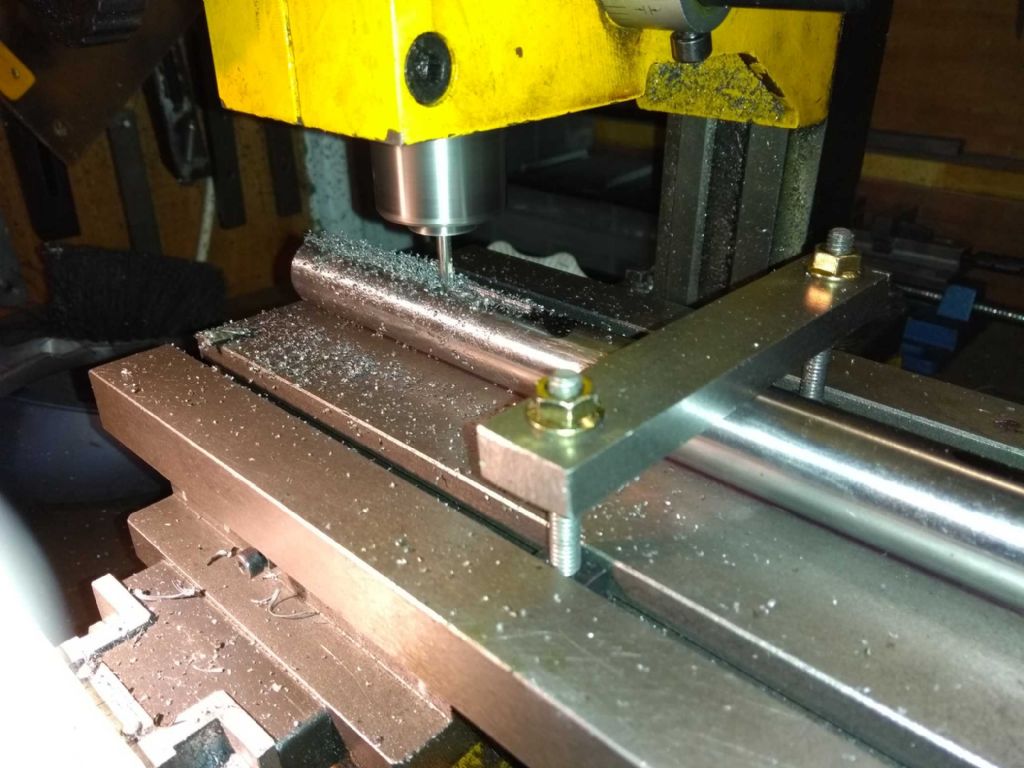
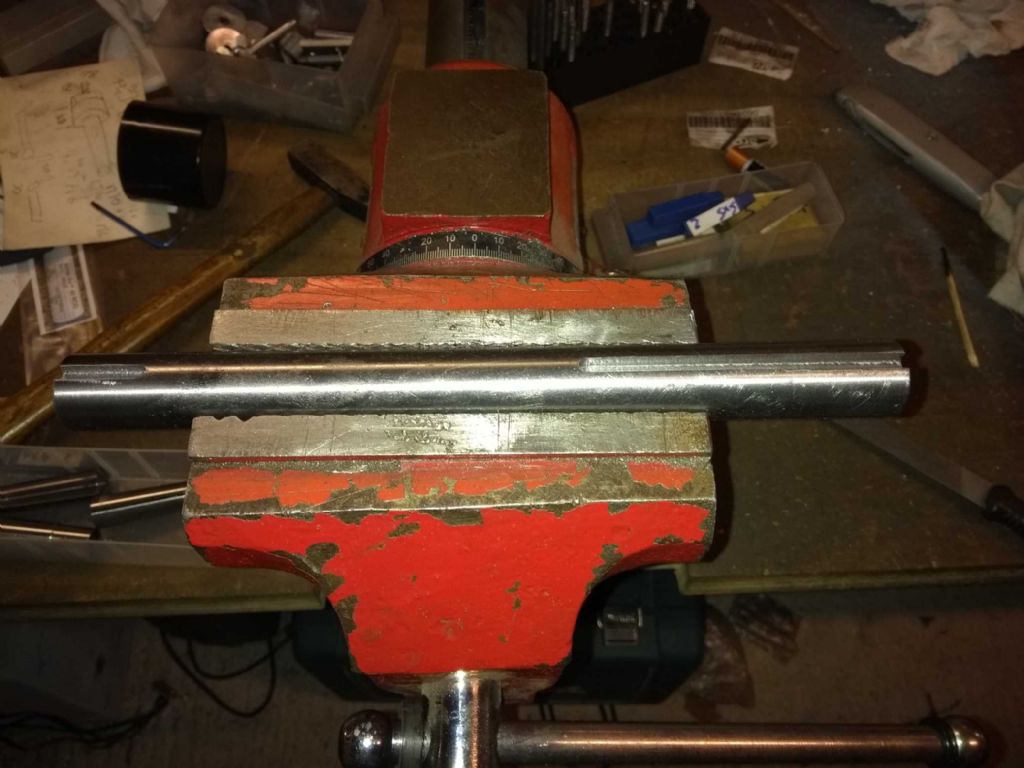
You can't see it in this picture but I was able to balance the faceplate with a bit of steel clamped on the periphery. It was good to about 400rpm with negligible vibrations. Next to cut the key way. Used a wobbler to centre the head - then double checked by eye and found I'd added up wrong And the result! I have to say that it looks a lot better in real life than in the picture. Next step, separate, glue and pin.
Iain |
| Michael Gilligan | 08/12/2018 19:41:50 |
23121 forum posts 1360 photos | Posted by Iain Downs on 08/12/2018 17:48:25:
... must say I'm seeing the same thing with this bore. The outer diameter is just a little bit bigger than the inner one (by the faceplate). The only thing I can think is that the head isn't exactly in line with the ways that that might be awkward to fix. . Another possibility is 'spring' of the boring tool ... Have you tried a few finishing cuts with the slide locked at the same setting ? This will often produce tiny slivers of swarf [from the depths of the hole] for several passes. End result will [should be] a less tapered bore. MichaelG.
|
| Iain Downs | 08/12/2018 19:48:31 |
| 976 forum posts 805 photos | I have run back and forward a few times with the same slide setting. However, I have to say that I can't see what's happening at the bottom of the bore so it could be I just need to keep trying. I will to a trial bore with some scrap and see if I can get it better. Now you mention it I think I had a similar discussion when building my oscillating engine. Thanks
Iain |
| JasonB | 08/12/2018 19:51:21 |
25215 forum posts 3105 photos 1 articles | You need the tool to be really sharp to get the little whispy cuts that Michael mentions, if the tool is even slightly dull it will get pushed off of the surface. |
Please login to post a reply.
Want the latest issue of Model Engineer or Model Engineers' Workshop? Use our magazine locator links to find your nearest stockist!
Sign up to our newsletter and get a free digital issue.
You can unsubscribe at anytime. View our privacy policy at www.mortons.co.uk/privacy
- hemingway ball turner
04/07/2025 14:40:26 - *Oct 2023: FORUM MIGRATION TIMELINE*
05/10/2023 07:57:11 - Making ER11 collet chuck
05/10/2023 07:56:24 - What did you do today? 2023
05/10/2023 07:25:01 - Orrery
05/10/2023 06:00:41 - Wera hand-tools
05/10/2023 05:47:07 - New member
05/10/2023 04:40:11 - Problems with external pot on at1 vfd
05/10/2023 00:06:32 - Drain plug
04/10/2023 23:36:17 - digi phase converter for 10 machines.....
04/10/2023 23:13:48 - More Latest Posts...
- View All Topics
- Reeves** - Rebuilt Royal Scot by Martin Evans
by John Broughton
£300.00 - BRITANNIA 5" GAUGE James Perrier
by Jon Seabright 1
£2,500.00 - Drill Grinder - for restoration
by Nigel Graham 2
£0.00 - WARCO WM18 MILLING MACHINE
by Alex Chudley
£1,200.00 - MYFORD SUPER 7 LATHE
by Alex Chudley
£2,000.00 - More "For Sale" Ads...
- D1-3 backplate
by Michael Horley
Price Not Specified - fixed steady for a Colchester bantam mark1 800
by George Jervis
Price Not Specified - lbsc pansy
by JACK SIDEBOTHAM
Price Not Specified - Pratt Burnerd multifit chuck key.
by Tim Riome
Price Not Specified - BANDSAW BLADE WELDER
by HUGH
Price Not Specified - More "Wanted" Ads...
Do you want to contact the Model Engineer and Model Engineers' Workshop team?
You can contact us by phone, mail or email about the magazines including becoming a contributor, submitting reader's letters or making queries about articles. You can also get in touch about this website, advertising or other general issues.
Click THIS LINK for full contact details.
For subscription issues please see THIS LINK.
Model Engineer Magazine
- Percival Marshall
- M.E. History
- LittleLEC
- M.E. Clock
ME Workshop
- An Adcock
- & Shipley
- Horizontal
- Mill
Subscribe Now
- Great savings
- Delivered to your door
Pre-order your copy!
- Delivered to your doorstep!
- Free UK delivery!

 . Corrected!


 Register
 Log-in


