Forum sponsored by:

Colchester Student Mk1 Won't Start
| Richard Kirkman 1 | 03/06/2020 23:12:00 |
| 334 forum posts 799 photos | Posted by Herman van der Merwe on 03/06/2020 22:21:39:
Posted by Richard Kirkman 1 on 03/06/2020 21:35:40:
The belts are almost definitely different lengths or not running right as they make a lot of noise and sound like they're hitting off each other. What is this chalk test? You need a matched set of v-belts. If you do not have such you need to replace the belts with Nu-T link belts. I only run Nu-T Link belts on all my machines. Chalk test - http://www.lathes.co.uk/colchester/page2.html Thank you, I have read that page before but I don't remember reading that. The belts were supposedly matched but I'll do the chalk test tomorrow. Link belts are a possibility depending on the cost.
|
| Swarf Maker | 04/06/2020 01:12:29 |
| 132 forum posts 7 photos | Unmatched belts can certainly cause some strange noises/vibrations/patterns in the finish. If you are experiencing any of these effects you could try operating with just a single belt. That is what I have done on both of my Master 2500 lathes and even though I work them hard, I don't spend all day taking huge cuts as would have perhaps been the case in a production environment. As a consequence all belt derived artifacts no longer arise, but a the same time there is no loss of transmitted power at the levels I require. The removed belt becomes a spare for when it may be needed, although at least 10 years have gone by with no requirement! |
| Herman van der Merwe | 04/06/2020 09:23:52 |
 180 forum posts | Posted by Phil Whitley on 29/05/2020 18:38:31:
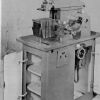
here ya go Herman!
Any reason for the white backplate @Phil? |
| Phil Whitley | 04/06/2020 09:50:37 |
 1533 forum posts 147 photos | Two reasons really Herman, it reflects the light into areas that would normally be in shadow, and it makes a good background for contrast with the job in the chuck. Also I didnt want to run out of green paint! Phil |
| Herman van der Merwe | 04/06/2020 09:59:15 |
180 forum posts | Posted by Phil Whitley on 04/06/2020 09:50:37:
Two reasons really Herman, it reflects the light into areas that would normally be in shadow, and it makes a good background for contrast with the job in the chuck. Also I didnt want to run out of green paint! Phil Thanks @Phil, I thought as much. Maybe I must do the same ... |
| Richard Kirkman 1 | 04/06/2020 19:26:02 |
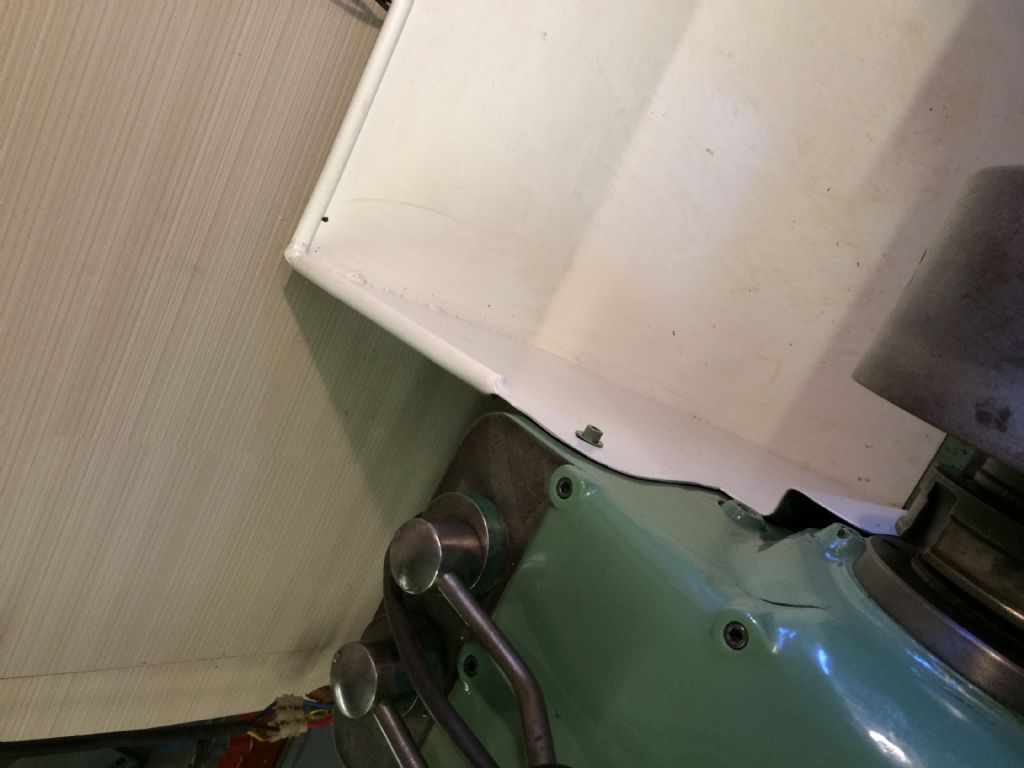
| 334 forum posts 799 photos | I'm sure my background of a nice brick wall works perfectly too I've had a very productive day. I finished some jewelry boxes, similar to the one I made for Phil, but with trays and sections. Then some castors arrived in the post so my bandsaw is now free to glide around the garage. Then onto lathe work... I picked up some m8 bolts from Toolstation so I could work on getting the panel fixed in place properly
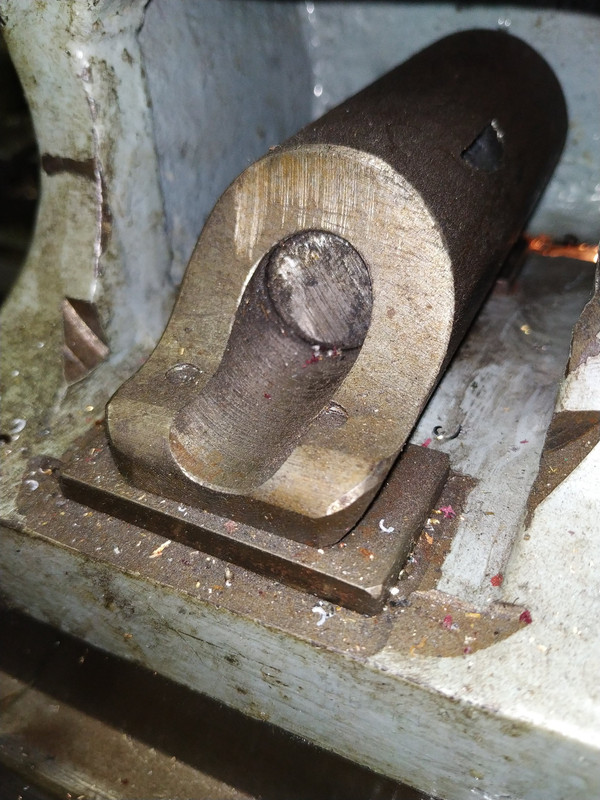
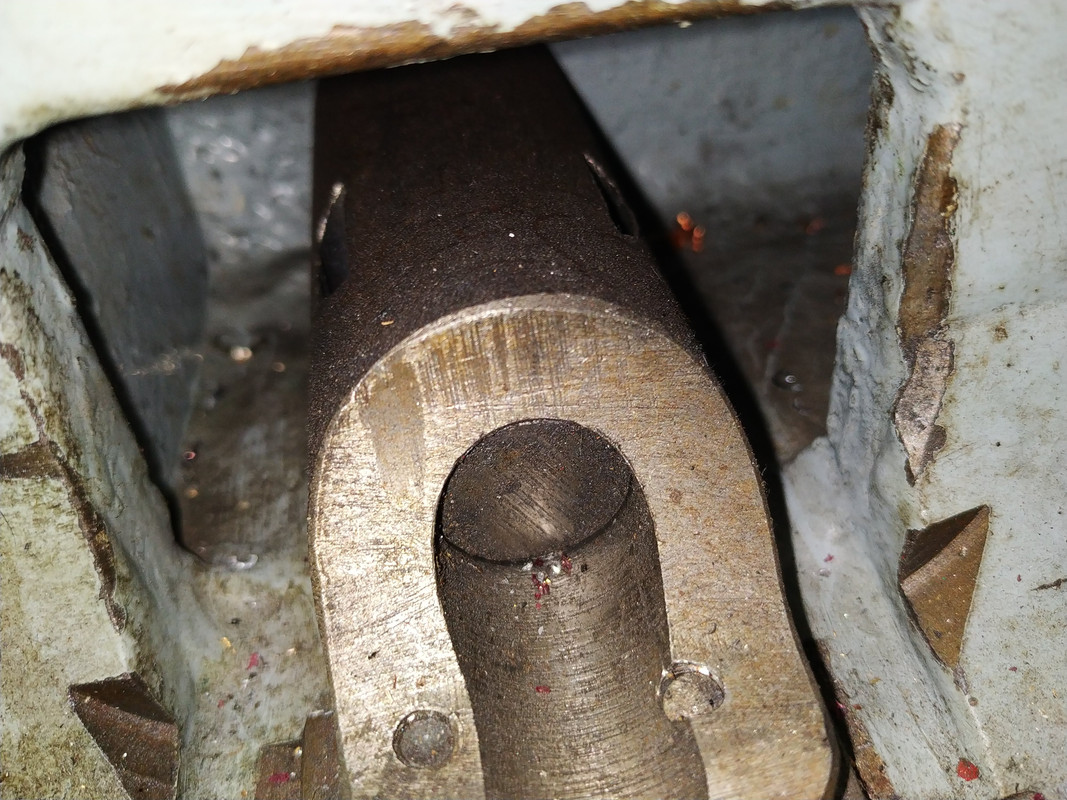
Before I could turn the bolts down I had to put the starting lever back onto the lathe, so I took a picture of the back. Tracy finally got back to me today, so I will try to see if she can send me the starting level of her lathe so I have a spare if I mess this one up!
Chalk test, with a gold highlighter as I didn't have any chalk. The belts are not even. Can this be caused by a misaligned motor too? Anyway, I'm running on 1 belt now and the lathe is much more peaceful. The link belts seemed a bit expensive when I can just use one belt, especially since I just bought these belts, although I do see the attraction.
The bolts were screwed into a piece of aluminium I tapped, then faced, and turned to the dimensions I wanted. Then I cut the slots just with a hacksaw
Then I prepared to drill and tap the lathe body.
This went surprisingly well
Then I polished the bolts, gave them a brushed finish, then cold blued and oiled them.
Fully installed, I'd say they look rather fitting. They pull the panel in tight
Then I tried the light and gave the panel a bit of a bang around to see if the light went off. The light went off again I've still fixed the stripped threads and improved the panel's fit, which I'd say is productive enough, but It annoyed me that it didn't fix it, so I started testing things I cleaned the contacts of where the 2 legs for the lighting power leave the brass plug bit, that didn't help I cleaned the surface of the slide lock fuses, that didn't help Then I bypassed the switch to see if that made a difference, low and behold it stopped flickering when I banged it, I think. I could be completely wrong once again, I'll replace the switch and see. I've ordered a toggle switch to replace it with since I found a picture and there should have been a toggle switch there anyway. I ordered it a couple of days ago actually, so this is currently working in my favour until it turns out to not be the issue.
|
| Phil Whitley | 04/06/2020 19:39:38 |
1533 forum posts 147 photos | Belt problem could easily be a misaligned motor Richard, and I like those screws so much I am going to make some! I never realised that the hex bolts in mine were not original! For a better screwdriver slot, put two blades in your hacksaw at once, but of course, when you buy your milling machine, you will be able to use a slitting saw! Jewellry box? anyone can see that it is an instrument case! Phil. Edited By Phil Whitley on 04/06/2020 19:40:24 |
| Richard Kirkman 1 | 04/06/2020 20:02:01 |
| 334 forum posts 799 photos | I'll have a look at playing with the alignment then, we'll see what happens Phil, I don't know if they used hex bolts or not originally. I just wanted slot head screws since I could make the head whatever size I wanted. If I had a rotary broach, I would have made hex bolts Two blades at once sounds like a good idea, although it wouldn't work for a junior hacksaw like I used. I'll definitely try that in the future!
Definitely a toggle switch originally.Can't see if they're hex or slotted
Now you've said it, looks like there are plenty of compartments for various instruments!
|
| Phil Whitley | 04/06/2020 20:30:00 |
1533 forum posts 147 photos | I was going on the fact that the control panel has counterbores in it for cheese head screws, or allen bolts, of course, mine may not be the same! Phil |
| Herman van der Merwe | 04/06/2020 21:39:24 |
180 forum posts | Posted by Richard Kirkman 1 on 04/06/2020 19:26:02
Then I polished the bolts, gave them a brushed finish, then cold blued and oiled them. What do you use to blue the steel? I normally use a mixture of phosphoric acid and copper sulphate. The reaction on the bolts looks similar. Edited By Herman van der Merwe on 04/06/2020 21:40:16 |
| Herman van der Merwe | 04/06/2020 21:46:06 |
180 forum posts | Posted by Phil Whitley on 04/06/2020 20:30:00:
I was going on the fact that the control panel has counterbores in it for cheese head screws, or allen bolts, of course, mine may not be the same! Phil Mine has 5/16" cap screws installed @Phil. |
| Herman van der Merwe | 04/06/2020 21:50:59 |
180 forum posts | Posted by Phil Whitley on 04/06/2020 19:39:38:
Belt problem could easily be a misaligned motor Richard, Agree, read this article on how to get the pulleys aligned. http://www.lubsys.com/knowledge/knw_align05.htm
What I like about a Nu-T belt is that it never slips, does not have a direction, oil has no effect on it and when a link breaks you simply replace that link. These may be a tad expensive but in the long run they are just so much better in all aspects. |
| Richard Kirkman 1 | 04/06/2020 21:53:25 |
| 334 forum posts 799 photos | It's just 'Phillips Professional Cold Blue' but it's quite expensive, I'd like to be able to make my own. The web says its made from some sort of selenium dioxide
Phil, I had to look up what cheese head bolts were. But now I know what to search when I need bolts like that. Does your lathe have hex bolts in it? Because that really doesn't sound right?
|
| Herman van der Merwe | 05/06/2020 14:30:05 |
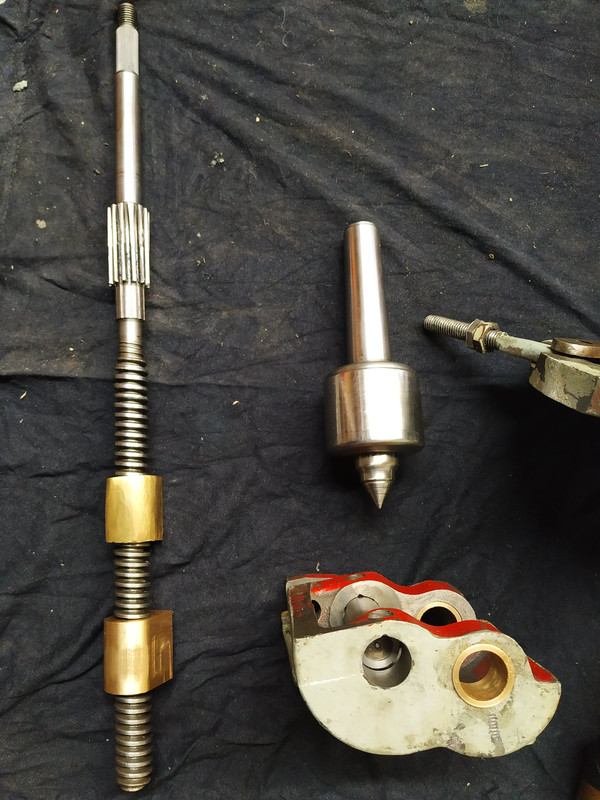
180 forum posts | New sleeved wormbox, new cross-slide screw nut and all new sleeved bushes or replaced bushes for all shafts done.
|
| Herman van der Merwe | 05/06/2020 15:06:07 |
180 forum posts | @Richard, my friend who made the sleeving etc did these mods to his tailstock.
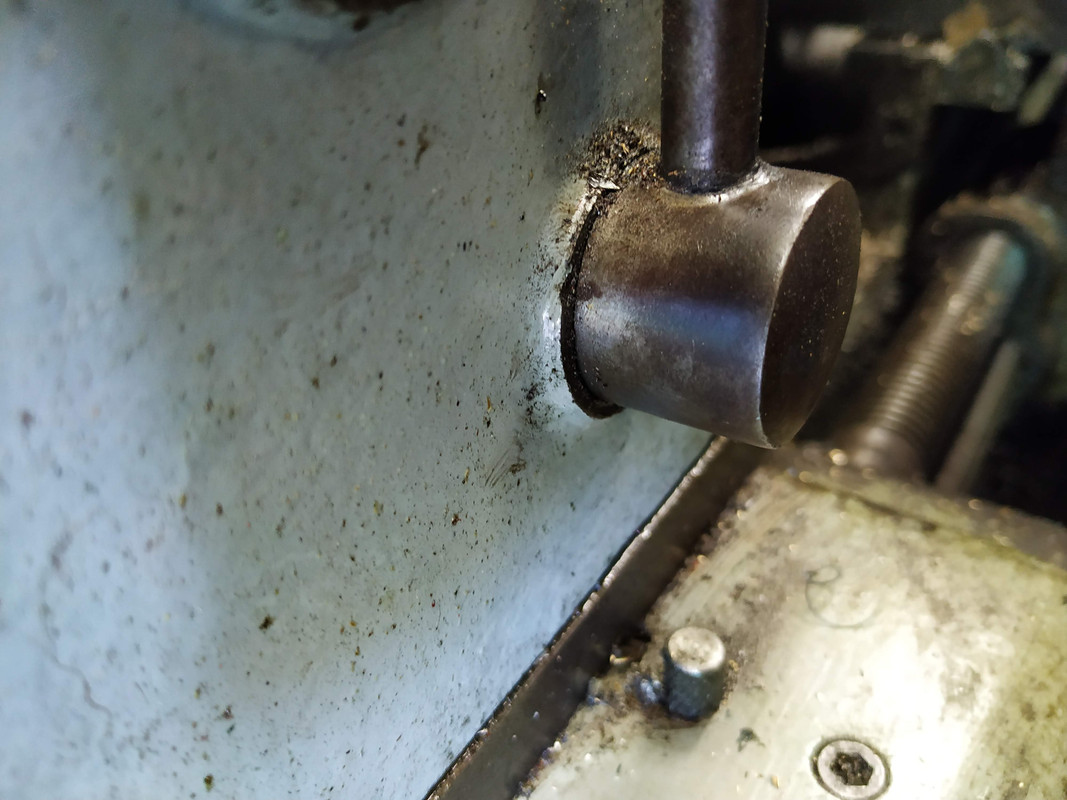
Both our lathe's stop/start arms do not have pins and the arm screws into the shaft.
|
| Richard Kirkman 1 | 05/06/2020 15:30:54 |
| 334 forum posts 799 photos | Very cool Herman, do you think you'll do something similar? Also, how well did the windshield cleaner work on the sight glasses? I managed to clean mine a bit but they're not as clean as I'd like them to be |
| Herman van der Merwe | 05/06/2020 21:00:29 |
180 forum posts | Posted by Richard Kirkman 1 on 05/06/2020 15:30:54:
Very cool Herman, do you think you'll do something similar? Also, how well did the windshield cleaner work on the sight glasses? I managed to clean mine a bit but they're not as clean as I'd like them to be Yes, I think that will be one of my first projects once the lathe is turning again. If that spanners falls again ...
It worked very well. I injected it, let it sit for an hour, blew it out with my compressed air (see?) and repeated. After two days, the sight glass is quite clear. |
| Richard Kirkman 1 | 06/06/2020 17:22:07 |
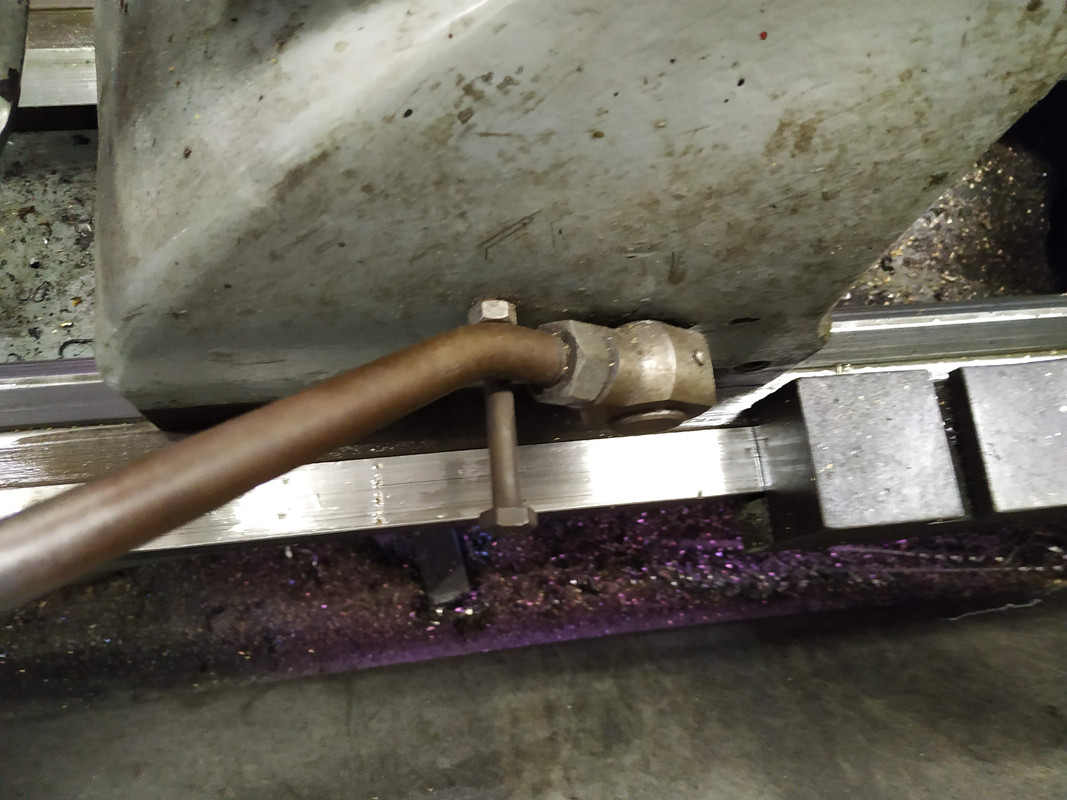
| 334 forum posts 799 photos | Looks like I'll try some windshield cleaner, but I'll have to blow it out using a straw with lung pressure! Leaking once again. The brake seemed to stop working so I thought I'd have a check. Low and behold, it's leaking. It seems like its leaking from the outside of the seal, not the inside. So I need to take it out and put it back with gasket sealer or something? What do people recommend?
|
| Freddybear | 06/06/2020 17:54:47 |
 27 forum posts 54 photos | I replaced the bearings and the seals. ( and I seem to remember there is a gasket at the rear too). However. I did have the entire headstock stripped at the time. Also I was sick and tired of all the oil leaks everywhere Incidentally, I also bored my wormbox true and bushed it. Action is much more positive now. |
| Phil Whitley | 06/06/2020 19:02:30 |
1533 forum posts 147 photos | Richard, clean the boss out with paint thinners, and use some fine surface car body filler, the one you add hardner to, not the stopper! flat it with fine abrasive paper, and put a smear of gasket cement over it when you fit the seal. silicon RTV will do it. I would recomend Red Hermetite or Hylomar, but under the VOS regs, they have been reformulated, and they are both crap! Phil |


Please login to post a reply.
Magazine Locator
Want the latest issue of Model Engineer or Model Engineers' Workshop? Use our magazine locator links to find your nearest stockist!
Sign up to our Newsletter
Sign up to our newsletter and get a free digital issue.
You can unsubscribe at anytime. View our privacy policy at www.mortons.co.uk/privacy
Latest Forum Posts
- hemingway ball turner
04/07/2025 14:40:26 - *Oct 2023: FORUM MIGRATION TIMELINE*
05/10/2023 07:57:11 - Making ER11 collet chuck
05/10/2023 07:56:24 - What did you do today? 2023
05/10/2023 07:25:01 - Orrery
05/10/2023 06:00:41 - Wera hand-tools
05/10/2023 05:47:07 - New member
05/10/2023 04:40:11 - Problems with external pot on at1 vfd
05/10/2023 00:06:32 - Drain plug
04/10/2023 23:36:17 - digi phase converter for 10 machines.....
04/10/2023 23:13:48 - More Latest Posts...
- View All Topics
Support Our Partners


Shopping Partners
Subscription Offer

Latest "For Sale" Ads
- Reeves** - Rebuilt Royal Scot by Martin Evans
by John Broughton
£300.00 - BRITANNIA 5" GAUGE James Perrier
by Jon Seabright 1
£2,500.00 - Drill Grinder - for restoration
by Nigel Graham 2
£0.00 - WARCO WM18 MILLING MACHINE
by Alex Chudley
£1,200.00 - MYFORD SUPER 7 LATHE
by Alex Chudley
£2,000.00 - More "For Sale" Ads...
Latest "Wanted" Ads
- D1-3 backplate
by Michael Horley
Price Not Specified - fixed steady for a Colchester bantam mark1 800
by George Jervis
Price Not Specified - lbsc pansy
by JACK SIDEBOTHAM
Price Not Specified - Pratt Burnerd multifit chuck key.
by Tim Riome
Price Not Specified - BANDSAW BLADE WELDER
by HUGH
Price Not Specified - More "Wanted" Ads...
Get In Touch!
Do you want to contact the Model Engineer and Model Engineers' Workshop team?
You can contact us by phone, mail or email about the magazines including becoming a contributor, submitting reader's letters or making queries about articles. You can also get in touch about this website, advertising or other general issues.
Click THIS LINK for full contact details.
For subscription issues please see THIS LINK.
Digital Back Issues


Donate

 Register
 Log-in
Model Engineer Magazine
- Percival Marshall
- M.E. History
- LittleLEC
- M.E. Clock

ME Workshop
- An Adcock
- & Shipley
- Horizontal
- Mill

Subscribe Now
- Great savings
- Delivered to your door

Pre-order your copy!
- Delivered to your doorstep!
- Free UK delivery!
All Forum Topics > Help and Assistance! (Offered or Wanted) > Colchester Student Mk1 Won't Start