Member postings for Richard Parsons
Here is a list of all the postings Richard Parsons has made in our forums. Click on a thread name to jump to the thread.
| Thread: Phase Converter Which Type? |
| 01/09/2010 10:08:10 |
|
I wish someone would have a look at Single phase speed controllers for a ‘Squirrel Cage’ motors. Something with a limited frequency range say from 50Hz (CPS in old money) down to 20 Hz.. I do not want to run my machines at huge speeds nor do I want all of the bells, whistles, gongs and hooters nor can I afford the cost of replacing my perfectly good single phase motors with expensive 3 phase units.
My lathes have some blind spots in their speed ranges which are either very difficult to engage or make nasty grongeling noises. |
| Thread: Small Arms models |
| 01/09/2010 09:51:47 |
|
If it is the personal decision of the Editor (or the Editorial Committee) not to publish such information then that is OK, but if this decision has been made as a result of pressure being brought by the ‘Authorities’ then that is censorship which is contrary to one of the protocols in the European Charter of human rights. If threats were used under some act then that is downright illegal as Parliament never intended that the act be used in that way. People have been arrested for taking photographs in the street under this act! In 2002 (the last year I drew books from a U.K. public library) books on gunsmithing and pictures of guns were freely available. You could also buy them from a well known Mail Order book seller who advertises in M.E and MEWS. A 1/5 scale 0.577 Enfield dating to 1857-8 would have a bore of 0.115” which is 0.006” under 7/64”. Try drilling that hole about 7 to 8” deep. The problem is when is a gun not a gun? When is a piece of metal a gun? When it has a hole drilled up it? If that is the case every bit of tube is a gun! Where does this logic end? The pons asinorum is, “Is a quantity of metal ore a gun”? A Chief Constable once said publically that all model engineers spent their time re-activating de-activated weapons. The answer to him is that well known soap powder 'Brollix' I suspect that this is all down to our ‘Managers’ in the Hume Office and the gnomes of Elfin Safety who for reasons of ‘Blame’ wish to suppress all knowledge of anything sharp, pointy, or goes bang. They would only allow us to have wax crayons in here as a pencil can be sharp! |
| Thread: Boley-Leinen drilling attachment |
| 01/09/2010 09:03:23 |
|
Do you know I cannot remember. I made a sketch and calculated the total movement of the chuck which allowed enough of the chuck stem to remain in the holder. I drew up the bottom bar with its position ½ way along that movement. Drew the centre line of the handle in the forward position and calculated the width of the slot. I marked the centre line of the trunnion holes on the metal at a suitable point (allowing for the length of the lower fork) drilled them tapping size and used that as the centre line of the slot. It is not too critical if everything is marked form the centre of the trunnion holes. I originally drilled the bottom bar to the calculated length but later I had to revise this as I found the chuck was a little wobbly and needed to be given less travel. I did not bother to shorten the bar hence the extra hole in it. Hope this helps Regards Dick |
| Thread: Verge & Foliot details |
| 30/08/2010 16:28:57 |
|
The foliot clock escapement is one of the larger escapements. It has several forms one of which you can find here. This is the most fascinating form of the equipment by God’s Clockmaker one Richard of Wallingford (have often had a drink or two in that town). The best example of is in St Albans Cathedral (it is a replica). It has been added to since I last saw it circa 2002. The Astronomical clock which was not there in 2002 looks fascinating. But it is Big!. There is another one (probably original) in Salisbury Cathedral which is here. It is a bit older. These clocks or Clochers (from the French for bell) rang bells (as in the song Frere Jakquer .. Sonnez la matina etc) so they originally had no dials. On the later smaller domestic machines these normally had a dial but with one hand. The verge escapement often used hog bristles ti limit the swing of the foliot arm. There is a Foliot watch in the Asmolean Museum Oxford which also contained a Sundial and compass and an alarm. From the inscriptions on it it was made for a ‘Hansea merchant’. It refers to Lubek, Riga etc. It was the super Rolex of its day and would have cost serious money. That would be a beauty to make. I will try and find the photos of it if anyone is serious. To our Dutch friends, if you will promise never again to sail up the Medway and burn our ships in Chatham, I will see if any of my contacts are still alive. They may be able help you. There is a good article in Britten’s Watch and Clockmakers Dictionary. The verge and foliot were not accurate time keeps |
| Thread: Boley-Leinen drilling attachment |
| 28/08/2010 17:12:20 |
|
Jupiter! you do ask the 64 megabuck question. I made the thing about 10 years ago and do not really remember the details. If any drawings/sketches were made they would have been in my old workshop notebook now long lost in the move to Hungary. The length of the bottom bar depends on the length of the stem of the drill chuck. You have to keep enough of the drill chuck stem in the tail stock holder to make certain that chuck is held firmly when it is the full out position. From memory that distance was some 6 to 8mm. The main problem is drilling the hole in the tailstock stem. I am used to drilling deep holes. The barrel for my 1/10th scale baker rifle was 3.2” long by 1/16” diameter and the 1/5th scale 0.577 Enfield was well over 6” long by 3mm diameter. The trick is to ‘peck drill’ brushing the drill with a paint brush moistened with cutting fluid after each ‘peck’. About 1 peck in 4 is done just to clear swaff left behind. One easy way to break a drill is to jam it up with swaff. I also use an old fashioned (glass barrelled) syringe with a long vetinary needle to help flush out swaff. The depth of each ‘peck’ should be about the same as the diameter of the drill. The watch word is ‘take it slow and easy’. I reamed the hole and finished it with a ‘tool maker’s broach’. This is a piece of steel (of the right diameter) whose end is ‘slash cut’ at about 10° hardened and stoned off (there is one in the new pictures). Be careful they are greedy beasts but do not ask them to scrape more than 0.05 to 0.127mm (0.002” to 0.005”. Make certain that the cross drilled hole is made so that it will not get covered up in the tailstock. My Lorch has a slot along its length but I do not know your Boley-Linen at all. Remember the tool you are looking at is for a 6mm lathe yours is an 8mm. The new picture shows the ‘front view’ of the thing. The bottom bar is just pinned with plain pins. Only the bottom bar was reamed and the other holes were drilled a few thou undersized. The two cap screws had points machined in them to fit the ‘Tommy bar’ holes in the chuck If you ‘right click on at pictures you can then save it to your computer and ‘play tricks’ with your picture editor. The other large thing in the earlier picture is an adjustable ‘filling rest’ for the Lorch. 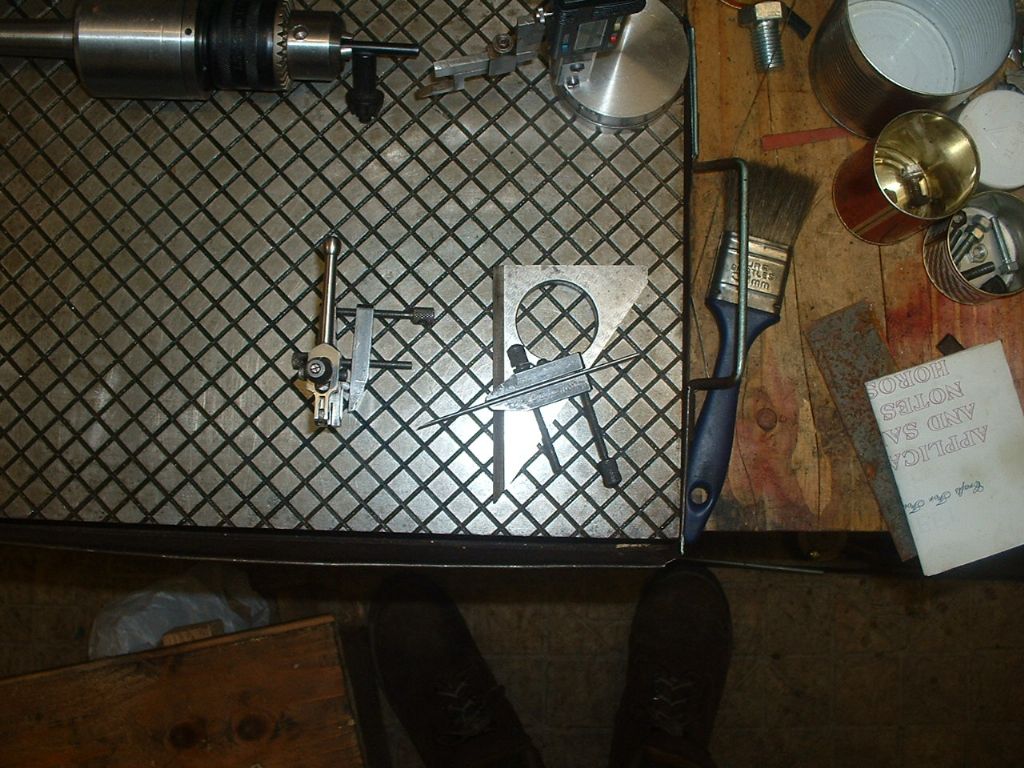 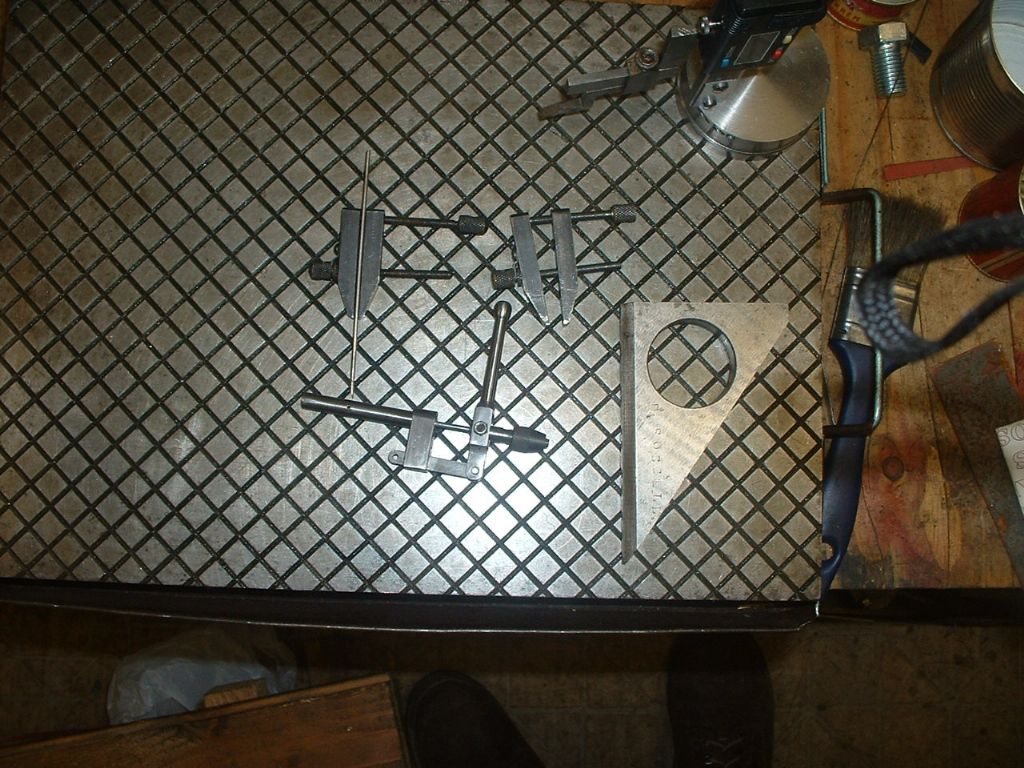 Norman it is about the same as mine. If you can trace the source of the runout you may be able to fix it. However my Lorch tailstock has some inaccuracies as the bed is of the sliding bar type and i have never measured it's out of line distances. I do not know the Schubert lathe at all. Mine which is a 'bitza' (I know that parts were made before 1914 and some bits in the late 30's Edited By Richard Parsons on 28/08/2010 17:13:26 |
| Thread: Undersize Taps |
| 27/08/2010 14:03:23 |
|
If you cannot get an undersize tap, make an oversize stud. How? Simple if you have the old studs/bolts make two rollers to fit your knurling tool holder. These rollers will have a 60° angle and be hardened to match your metric studs. Set up the feed to cut the thread and set up your tool in the tool post. Chuck your stud and run in your tool as though you were knurling. This will up swage the thread oversize. Take it gently and not put too much pressure on the tool as the thing can be fierce.
It does the same thing as Bogstandards centre punch but more so Dick |
| Thread: Magnetic Milling Machine |
| 26/08/2010 17:44:18 |
|
If the whole machine is your worry then wind 5 or 6 turns of cable round the confounded machine and hook it up to a low voltage AC source for a few hours. I have a similar problem over here in Hungary. The soil is full of iron but it is too diffuse to recover and the ‘Variation’ is Zero not 12½°West like back in the U.K. but I only demagnetise small hand tools. BTW Magnetic mine sweeping with a Wimpey was BLOOMING dangerous. You had to fly at under 50 feet and if a mine went up it was touch and go -they contained about 1 ton of bang stuff-
Hi Dave hows the metal plates doing? You have to use AC to demagnetise anything, low voltage, if possable, I would not like to read about a 'fried editor'
Regards
Dick
|
| 26/08/2010 08:33:45 |
Rick
Build yourself a demagnitser. All it is is a coil through which you pass an AC current. You moe the thing to be demagnitised accross it. I use the primarys of an old transformer and drive it with a 6 volt bell transformer I dont like 230 volts wandering about.
Gool Luck
Dick Edited By Richard Parsons on 26/08/2010 08:35:21 |
| Thread: David Clark |
| 23/08/2010 09:40:47 |
|
Steve, Hear Hear! -No cheques please I only accept cash in plain brown envelopes-.
One critism of the system (and a constructive one I hope). There ought to be a way of reporting ‘problems with the website’ which is divorced from the main ‘threads’. This way it will go straight the ‘techies’ without them having to search through the postings for them. Dick |
| Thread: ARGUS oscillator |
| 21/08/2010 15:40:29 |
John,
I think you have it in one! I could tell how one from a land where one once needed a criminal record instesd of an enttry visa to get there got his face slapped in a chain stationers - but I wont. That ia enough of the traditional ritual insuts. so I will buy you all a beer and as you are not here I will have to drink it for you.
Dick Edited By Richard Parsons on 21/08/2010 15:43:07 |
| 21/08/2010 12:51:57 |
|
Raymond,
I do not want to go into this problem too deeply. Reactive chemicals like Alum (Potassium Aluminium Sulphate), Ferric Chloride are intrinsically chemically reactive. They would all rather be some other compound with a higher energy barrier and so be more stable. To do the tap removal trick: - 1. Degrease the tap and hole. This is important! 2. Build a little dam around the hole using wax/modelling clay/shellac/PCB resist. Do not let any go down the hole. 3. Use an eye dropper/pasture pipette or W.H.Y. drip in your reagent. 4. Make sure you do not get air trapped in the hole. 5. Let the reaction start. Wash out and refresh as needed. Do not use acids they will not work well in this way. Selotape (Durex for those who live upside down where the Cross hangs in the sky) I have never used it. (U.K. stuff has semi-water soluble glue). The last time I had to pull this stunt was in 1996 on a 12 BA tap (or there about) I used some candle wax (from a real ‘Frankie Randall’ not one of those smelly things the S.W.A.M.B.O’ have in the bathroom). I like good old Carbolic anf a lump of bath brick -to get rid of any clinkers- my self For small taps It works! And is cheaper than building a ‘Sparky’. Good luck Dick Edited By Richard Parsons on 21/08/2010 12:55:08 |
| 21/08/2010 09:16:33 |
|
The Ferric Chloride solution will work in bronze, brass and gun metal. It also works in Spherical cast iron. Back to lower level school chemistry (or ‘stinks’ as we called it)! The reason it will work is that in brass etc the alloy has a lower (less reactive) position in the electro chemical series than iron. The hard steel of the tap reacts with the Ferric Chloride in the same way that the ‘Wasting Anode’ protects your central heating system. What you are really doing is making a battery where the iron is the wasting anode and gets eaten away (dissolved). In cast iron, the carbon in the matrix protects the iron in the casting so that the broken tap is dissolved preferentially. It can also work in mild steel where the materials in the tap tip the reaction towards the harder material –the tap-. Do not try it if you are using free cutting mild – think how badly this rusts-. In an ‘etching bath’ dissolving copper on a printed circuit a different reaction is occurring. |
| Thread: Boley-Leinen drilling attachment |
| 20/08/2010 10:16:43 |
|
The chuck I used was a drill chuck and is as accurate as the Lorch tailstock. I got them here. (usual disclaimer). It works quite well. have just tested link. the part no I would look at is 128-10 Dick Edited By Richard Parsons on 20/08/2010 10:19:36 |
| Thread: ARGUS oscillator |
| 20/08/2010 08:48:20 |
Hello there Pete. Re the 10 Ba tap, two questions. Is it in a blind hole? What is the base plate made if? If the base plate is Brass or bronze, get some Ferric Chloride solution –the stuff used to etch printed circuits-. Build up a little dam with wax and put a drop of Ferric Chloride into the hole and leave it overnight. Wash and repeat the dose until the tap is gone (4 or 5 days). If the base is aluminium make a small trepanning saw and cut away the metal surrounding the broken tap. Plug the hole and start again.
Dick |
| Thread: Scale model Economy hit & miss engine builders wanted |
| 19/08/2010 10:18:52 |
|
John Look at the plug. Sometimes the insulation degrades as the plug warms up. Have a look for fine filaments of carbon forming across the points. These often break as the plug cools. Small plugs can be the very devil with this problem. It is often caused by too much lube oil sloshing around in the cylinder, in the fuel. As you are ‘running it in I will bet that you are keeping the engine well ‘oiled’. Also try placing a small spark gap in the plug line. This also helps by making the plug fire ‘harder.’ These things can be bought as ‘performance improvers ans are often found in plug caps. |
| Thread: Coventry Die Head |
| 17/08/2010 11:13:45 |
|
Bill, Be aware that there should be a ‘stop’ inside the die head. When the work piece hits the stop the chasers in the die head fly open and release the work piece so the die head can be retracted.
Before you can cut another thread with it you have to 'reset' the head. There are at least 2 types of head. One the Herbert pattern and the other made by some American outfit. The chaser are very different and cannot be interchanged. |
| Thread: Boley-Leinen drilling attachment |
| 17/08/2010 11:03:03 |
|
Geoff Here is what I thing you want. The smallest drill chuck was made from a little chuck I bought from as I remember it ‘Expo Drills’. This one had a hole for a tommy bar which is where the fulcrum pin goes in this version. The 7mm was drilled and reamed to take the original chuck stem. Do not forget to cross drill into the bottom of this hole to let the air out and the oil in! The second largest is made from a Jacobs size ‘00’ I found in the £2 per item at M.E. Exhibition at (I think Ally Pally). They are both for my 6mm Lorch. It has a No 2 MT adaptor for use on the Myford. The big chuck is for drilling square holes. The 6mm Lorch has a 7mm tailstock so I bought some 7mm silver steel (drill rod) 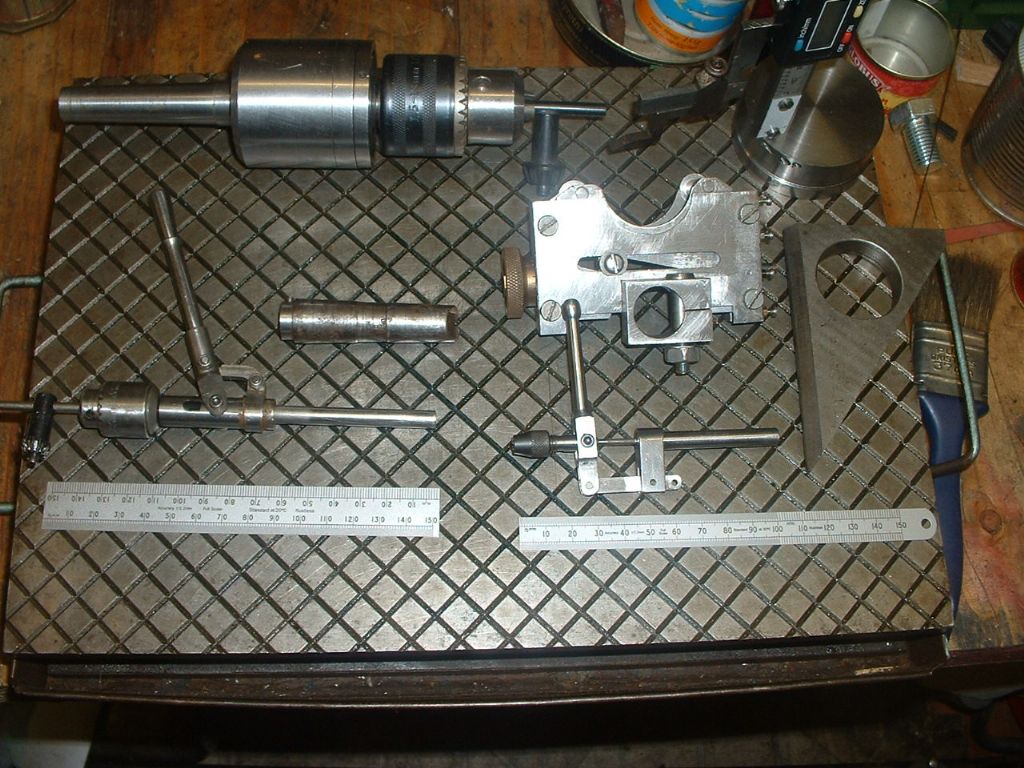 regards Dick |
| Thread: Out of round turning |
| 15/08/2010 15:12:04 |
Mark,
Where did you get the steel? This looks like 'internal stresses’ coming out.
If you are having problems try ‘Rough turning’ to about 0.2mm oversize and then ‘stress relieve’. This can be done by leaving for a day or two ,of if SWMBO is ‘out’ or does not object leave it in the kitchen oven over night at about 180-220°C. Reset in the lathe anf finish turning. That should fix it!
Edited By Richard Parsons on 15/08/2010 15:13:54 |
| Thread: Making springs 2 |
| 15/08/2010 15:03:39 |
Have a look at the 'chuck-away' lighters they come to bits easily!
Dick |
| Thread: Making Springs |
| 15/08/2010 14:00:22 |
Hi there Jason.
If you are going to make this your core hobby you may like this idea
Apart from using formers there is another way of making springs (there usually is). To do it you need three rollers, Two are the feed rollers which feed the wire/bar. The third roller forms the coil. This is done by the position of the third roller to the bar being fed. If the third roller is just touching the fed bar no coil will form. If the third roller is raised a coil will form just as in a set of ‘slip rolls’. The radius of the coil is determined by position of the third roller If the axle of the third roller is angled to the axle of the feed rollers spirals can now be rolled. The angel of the third roller with respect to the feed rollers determined the pitch of the spiral being formed. By controlling the radius of the coil and its pitch and changing them ‘in flight’ you can make almost any spring you like. You can also heat the feed rod. Bogs - That isa good idea if you only have a few to make. |
Magazine Locator
Want the latest issue of Model Engineer or Model Engineers' Workshop? Use our magazine locator links to find your nearest stockist!
Sign up to our Newsletter
Sign up to our newsletter and get a free digital issue.
You can unsubscribe at anytime. View our privacy policy at www.mortons.co.uk/privacy
Latest Forum Posts
- *Oct 2023: FORUM MIGRATION TIMELINE*
05/10/2023 07:57:11 - Making ER11 collet chuck
05/10/2023 07:56:24 - What did you do today? 2023
05/10/2023 07:25:01 - Orrery
05/10/2023 06:00:41 - Wera hand-tools
05/10/2023 05:47:07 - New member
05/10/2023 04:40:11 - Problems with external pot on at1 vfd
05/10/2023 00:06:32 - Drain plug
04/10/2023 23:36:17 - digi phase converter for 10 machines.....
04/10/2023 23:13:48 - Winter Storage Of Locomotives
04/10/2023 21:02:11 - More Latest Posts...
- View All Topics
Support Our Partners


Shopping Partners
Subscription Offer

Latest "For Sale" Ads
- Reeves** - Rebuilt Royal Scot by Martin Evans
by John Broughton
£300.00 - BRITANNIA 5" GAUGE James Perrier
by Jon Seabright 1
£2,500.00 - Drill Grinder - for restoration
by Nigel Graham 2
£0.00 - WARCO WM18 MILLING MACHINE
by Alex Chudley
£1,200.00 - MYFORD SUPER 7 LATHE
by Alex Chudley
£2,000.00 - More "For Sale" Ads...
Latest "Wanted" Ads
- D1-3 backplate
by Michael Horley
Price Not Specified - fixed steady for a Colchester bantam mark1 800
by George Jervis
Price Not Specified - lbsc pansy
by JACK SIDEBOTHAM
Price Not Specified - Pratt Burnerd multifit chuck key.
by Tim Riome
Price Not Specified - BANDSAW BLADE WELDER
by HUGH
Price Not Specified - More "Wanted" Ads...
Get In Touch!
Do you want to contact the Model Engineer and Model Engineers' Workshop team?
You can contact us by phone, mail or email about the magazines including becoming a contributor, submitting reader's letters or making queries about articles. You can also get in touch about this website, advertising or other general issues.
Click THIS LINK for full contact details.
For subscription issues please see THIS LINK.
Digital Back Issues


Donate

 Register
 Log-in
Model Engineer Magazine
- Percival Marshall
- M.E. History
- LittleLEC
- M.E. Clock

ME Workshop
- An Adcock
- & Shipley
- Horizontal
- Mill

Subscribe Now
- Great savings
- Delivered to your door

Pre-order your copy!
- Delivered to your doorstep!
- Free UK delivery!