Member postings for Pete Rimmer
Here is a list of all the postings Pete Rimmer has made in our forums. Click on a thread name to jump to the thread.
| Thread: cutting spur gears on a mill |
| 11/10/2021 18:39:07 |
Posted by Andrew Johnston on 11/10/2021 11:04:15:
Posted by Pete Rimmer on 10/10/2021 21:20:16:
It produces facets it just doesn't produce flat ones...... Unfortunately that is mathematically incorrect. A facet is a feature of a polyhedron, generally of one dimension less than the original object. Assuming that we're discussing 3D Euclidian geometry then a facet will be 2D. By definition that means it exists on a plane and so will be planar, ie, flat. Here's a thought experiment. Let's assume we hob a spur gear of zero width, so the hob teeth only cut when they cross the plane of the blank. As the hob enters the plane of the blank, and exits the other side, it will cut a reproduction of its shape, ie, straight sided. Since the blank is of zero thickness the cut time is also zero, so there is no rotation of the blank during the cut to consider. What will the resultant shape of the cut space be; a series of straight lines, or a smooth curve? Andrew I don't do theroetical debate very well I see it as wasted energy. I take your point about the use of the term 'facet' but it's the most fitting terminology I could come up with. Basically my hobber when it's feeding has very little infeed in fact the feed handle moves like clock's minute hand. Almost all of the 'movement' is the hob teeth passing the blank whilst the blank is constantly rolling so whilst a zero-thickness blank might theoretically receive a flat facet cut ANY thickness of blank will be cut via a simultaeneous action of helical-motion teeth passing through the part whilst it's rolling. It will generate a curve, not a flat. |
| 10/10/2021 21:20:16 |
It produces facets it just doesn't produce flat ones. In a similar vein who would argue that a lathe can't produce a smooth round finish even though it's using a tool that inherently cuts a helix? It's all a matter of degree.
|
| 10/10/2021 20:08:35 |
The gear blank does not stop rotating for each hob tooth to make a cut, so each cut is made not with a flat facet but with a slight rolling action. Think of it as analogous to filing a curved face in a part. The file is flat but you generate the curve by rolling the file as you push. Hobbing is similar. Edited By Pete Rimmer on 10/10/2021 20:09:44 |
| Thread: What taper does this mill use |
| 07/10/2021 19:04:29 |
Mine was done in 2009 by John. I did have the details on email but they have long gone. I think he used EN40 for the end slug, he machined a parallel pocket in my spindle end, pressed in the slug then machined it to size for the R8 collet. When I fitted it up there was a tiny bit of runout so I tilted the head over to the R8 taper angle, put a lathe tool in the mill chuck and took a skim cut to make the taper run dead true. https://bbs.homeshopmachinist.net/forum/general/35047-herbert-mill-spindle-r8-conversion Worth noting that the Herbert spindle through-hole does not quite have the clearance for the R8 drawbar but it's only a few thou so he made a slightly undersized one for me and it's been in use for 12 yrs now. I have to say I can thoroughly recommend it as a modification it opens up a wide range of usefulness being able to use the R8 tooling. Edited By Pete Rimmer on 07/10/2021 19:04:50 |
| 06/10/2021 18:27:20 |
Posted by Stan Tomson on 05/10/2021 10:56:37:
Hello everyone, I have a 0V mill with 6 original collets and would like to fit an Clarkson Auto lock. As far as I know my mill does not have the Herbert Easy Taper. I purchased a Clarkson Easy taper auto lock some time ago but it does not fit. The machine is very well made and in excellent condition so I do not want to get rid of it. Hope that someone can offer some information.
Hello Stan, I also have an 0V and it also came with the 6 collets in a wooden block. I could not find any other collets or informatio on the taper type and came to the conclusion that they must be particular to the machine. John Stevenson modified my spindle so it now takes R8 collets which are plentiful. It involved pressing a slug of steel into a recess that he cut into the end and machining the R8 taper into it. I'm very happy with the result and have been using it for quite a few years I considered adapting another chuck like an autolock to it but decided agaist it to give as much z-height as possible and also keep things as rigid as I could. I think it was a good choice and woud suggest you consider the same. Does your machine have one Tee slot in the bed or three? Regards Pete. |
| Thread: Unwanted Taper |
| 04/10/2021 20:08:34 |
Well done Steve it;s nice to see people thinking about and tackling a problem themselves without having to have their hand held all the way. |
| 03/10/2021 14:42:32 |
Posted by Steve355 on 03/10/2021 14:38:44:
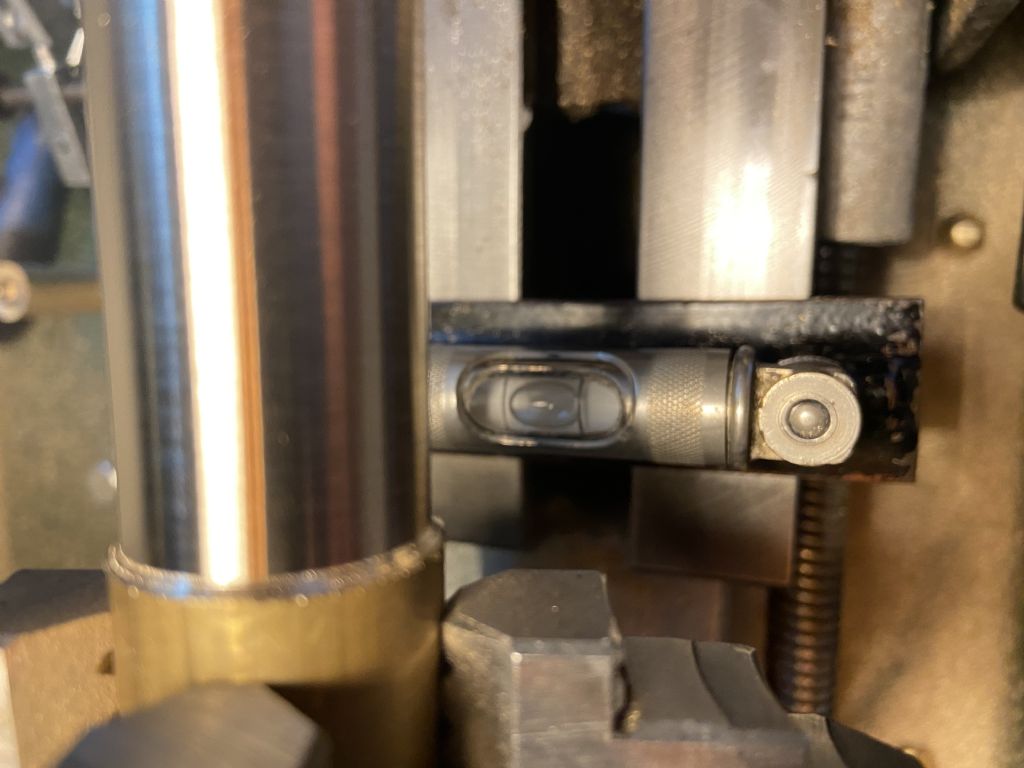
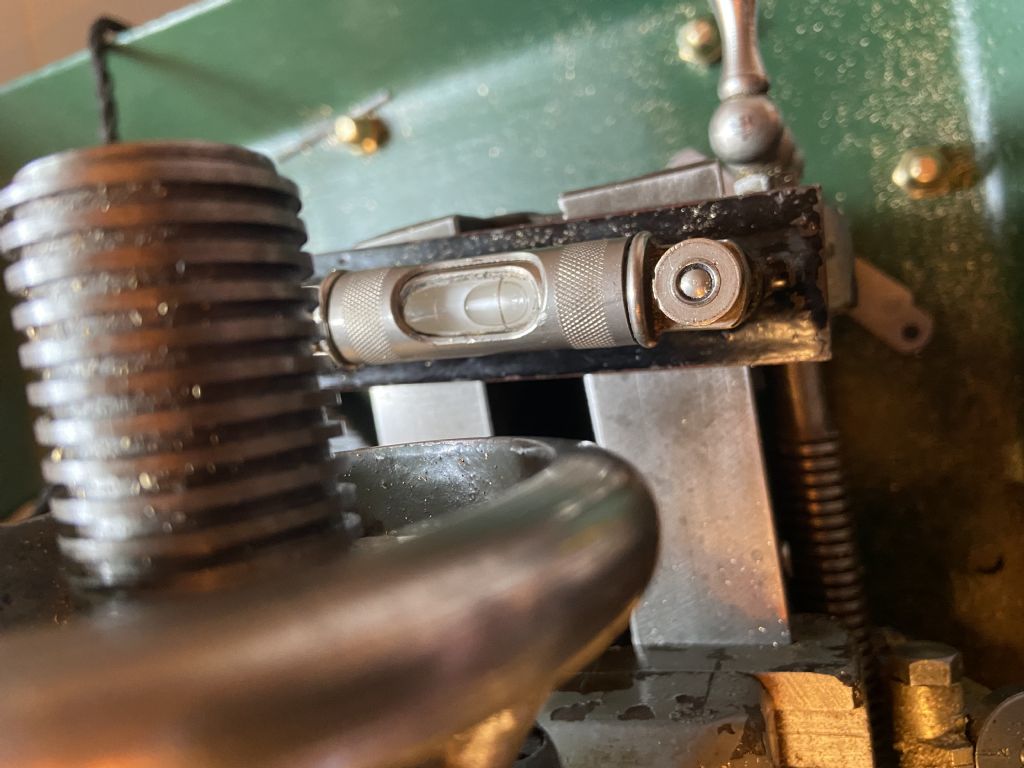
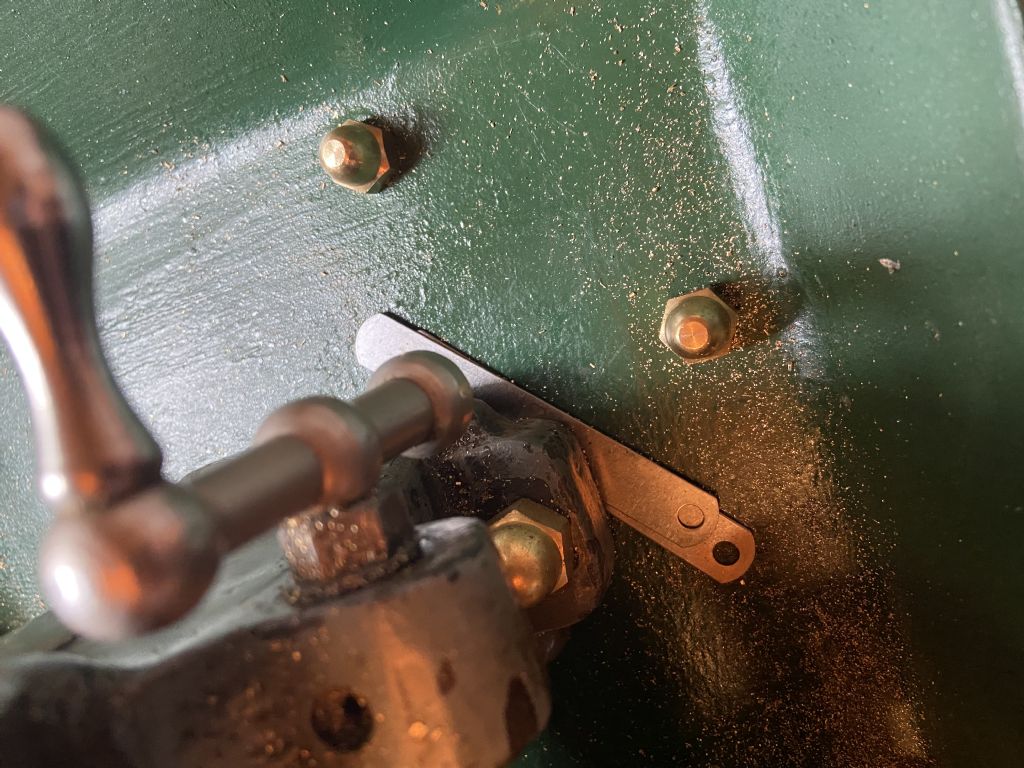
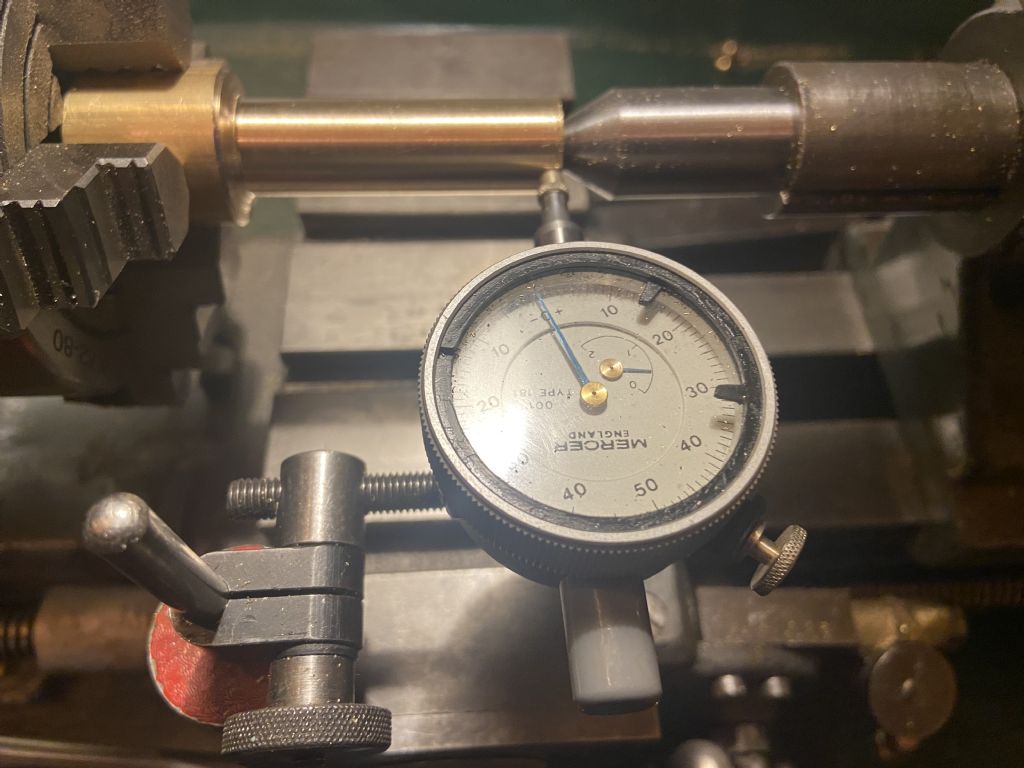
Thanks for all the comments when I remeasured my work this morning the taper was back 😢 no idea how but it clearly is So I thought I would try what several have suggested and turn a new piece of brass rod without tail support and try shimming the tail end to get it parallel. So I did that… my first measurement was 935 at the headstock and 961 at the far end. I added shims tightened it back up and took several more cuts and measurements. now I have quite a lot of shim (about 030) and my level (love it or hate it) indicates a significant amount of twist that wasn’t there before. Headstock: tailstock: shims : my latest measurement is 908 at the headstock end and 920 at the tail end, so quite a lot better but nothing like close enough. I am starting to think this is nonsense, because I seem to be adding twist to try to reduce taper. In addition the finish is bad at the far end of the bar, which is what one would expect I believe, and probably enough to account for the taper. basically it doesn’t seem to be working. I’m worried too I could damage the lathe. arghhhh! Steve Steve you might well damage your lathe If you keep that up. You don't say what lathe is actually is. It could be that your bed is level but the headstock is not pointing straight down it. |
| Thread: Crankshaft Factory |
| 03/10/2021 10:50:08 |
The packaging says steel crankshaft but the chips and sparks say iron |
| Thread: Unwanted Taper |
| 03/10/2021 10:46:40 |
Posted by Tony Pratt 1 on 03/10/2021 10:25:00:
I've always used the method as advised in the Myford handbook where you actually turn a piece of metal & shim the tail stock feet to get parallel. Loads of threads about this subject on here & on the net. Last time I saw a machinists level was 2 years ago & yes it was gathering dust in a cupboard. Tony That should be plenty good enough for most bench lathes. If you have a machine with 2 pedestals like a Bantam, the first thing to do sould be to level the bed and fix the feet to the floor, with shims of required to achieve level. I rebuilt a Bantam and as an exercise I put a dial gauge on the saddle and against a part in the spindle, then I moved it about on my workshop slab - the dial gauge swung all over the place just from the variations in floor level and the lathe stood normally on it, and my floor isn't bad at all. It was quite the eye-opener.
|
| 03/10/2021 10:12:02 |
Posted by Steve355 on 02/10/2021 22:17:10:
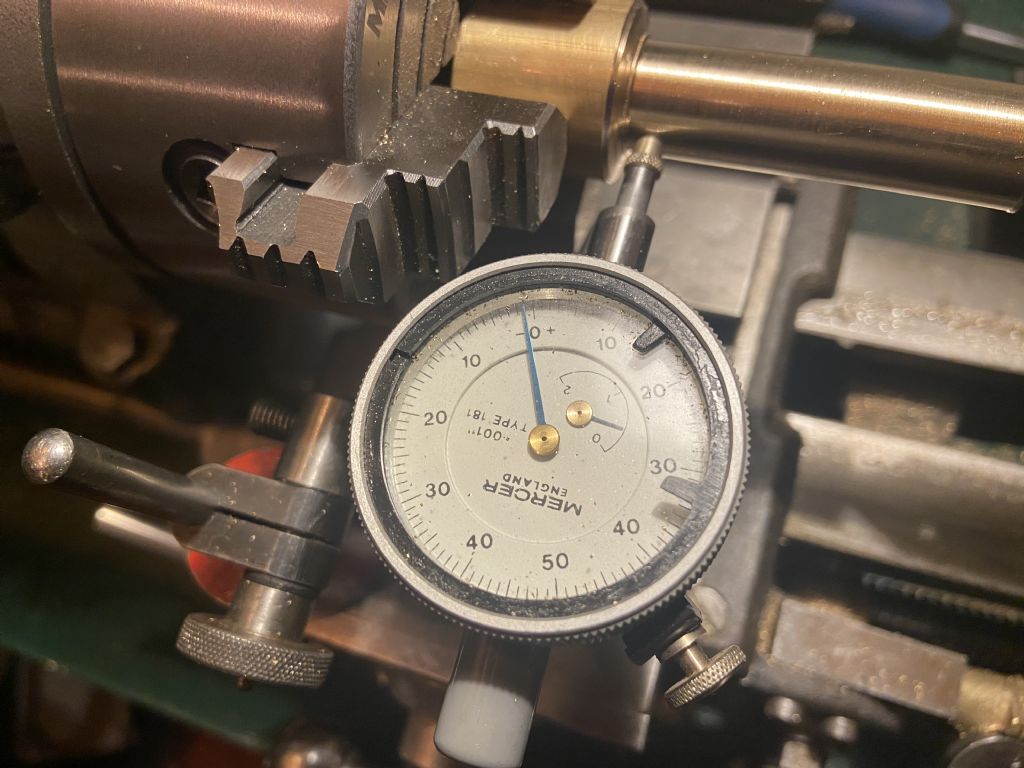
Ok, you are right, it’s all me. I did that and it’s very close to parallel - about 1 thou out. I checked again with the micrometer and got the about .5 thou. Luckily this is the “beginners” forum so I am allowed to be an idiot. Why did it give me an incorrect reading on the other side then? Hard to describe in words coherently but easy enough to show. Your dial is not actually measuring taper as such, I mean it MIGHT be or there might be a taper when it's showing no movement. To measure taper with a dial you'd use a comparator stand. With the dial on the front and mounted on the saddle it is following the same path that the tool took when it did the cutting. It should therefore give the same reading all along the length. If there is any wear or twist in the bed then where the tool was caused to move away from the centreline of the part, so would the dial point. It would show no change. With the dial on the opposite side of the part if there was wear or twist causing the tool to move away from the centreline of the part then the same wear or twist would cause the dial to move TOWARDS the centreline which would give a rising reading. |
| 02/10/2021 21:10:42 |
Put the mag base for the dial gauge on the front of the saddle and do your measurement again. That way the dial gauge will be following the path of the tool and should read zero all the way. That gauge setup is a poor way to check for taper if that's what you're doing Steve. You should be using a micrometer to take measurements at each end of your cylinder. The dial gauge reading can be affected by twist or wear in the bedway. |
| Thread: cutting spur gears on a mill |
| 02/10/2021 12:19:19 |
Posted by brian jones 11 on 02/10/2021 10:29:40:
Caustic commentators on this thread must remember its Title "Spur Gears - a rogue method" If you want to pursue the conventional route on this topic by making precision standard gears then this thread is definitely not for you - it has nothing to offer that mindset, walk away. With respect Brian you only started the thread, you don't get to dictate who may contribute or how. If that's what you want, write a blog. This is a community and participation is encouraged. If there is an obvious flaw in the concept, the application or the result then it absolutely should be pointed out so that those who come across this thread in the future don't assume that a poor practice is perfectly acceptable just because it's gone unchallenged. Edited By Pete Rimmer on 02/10/2021 12:19:52 |
| Thread: Hardinge HLV H |
| 01/10/2021 10:43:49 |
I have to say that I never bothered to work out what the difference was. I just knew that the British machines are 4 degrees. Sorry for making everyone rush for their calculators. David. If you look at the drawing posted further up David you'll see that the spi dle taper is given as 4 degrees then it's crossed out and pencilled in as 3.59.30. What does that mean? Both sizes are accommodated within the given tolerances it might be that someone has measured an a tual taper and found that its somewhat less than 4deg but still within tolerance, and decided to record the fact, giving birth to the belief that there are two sizes depending on which side of the Atlantic you're on The thing is, Hardinge USA supplied the spindle assemblies, with their slightly modified bearings, to the UK for the Feltham machines. They all came from the same place. |
| 30/09/2021 18:08:06 |
Posted by Fernando Abad on 30/09/2021 10:45:01:
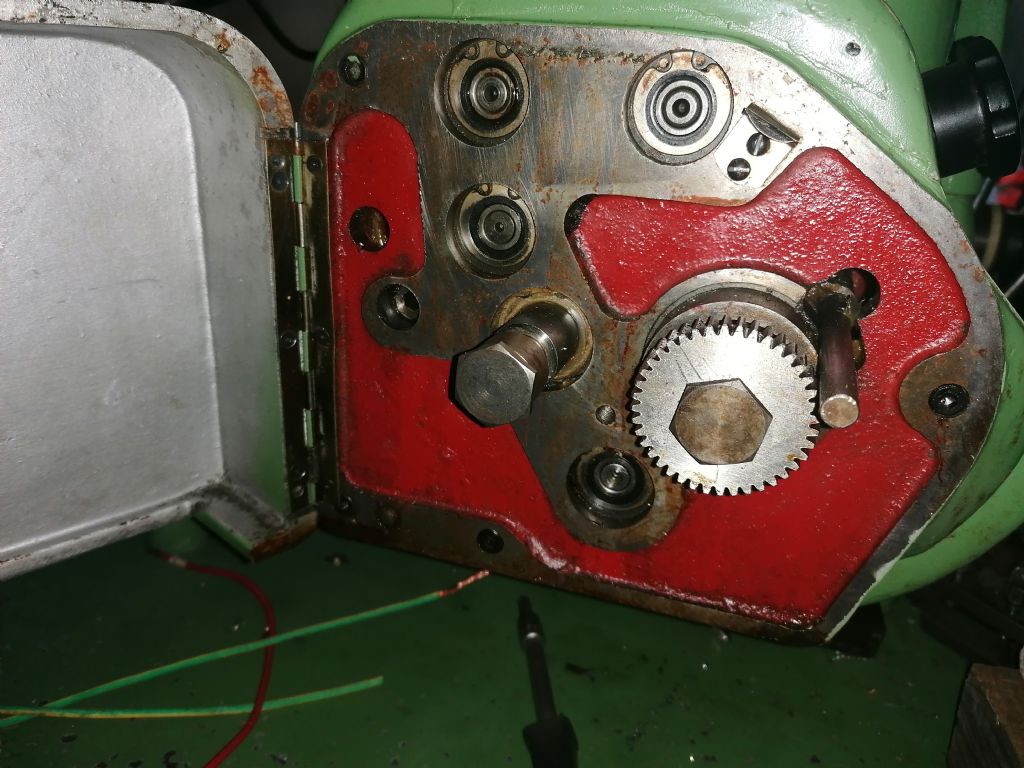
Hi, according to the picture, do you think that something is missing? I have made some test threads and I think they are metric, but I see pictures of other Hardinge and I see that they have more gears, on the lathe they did not deliver more gears, are more gears necessary? greetings. Yes you are missing the quadrant that holds the extra gears. It may be that it never had one. The rod you can see poking through is the interlock that prevents you from engaging the extra gears if the gearbox has a feed selected. If you move the lever to the AUS (OUT) position you'll see that the rod sits below flush which would allow the quadrant to move (if it had one). You can cut all of the metric pitches on the chart as the machine sits right now. The quadrant is only required if you want to cut any other pitch than what's on the chart. Edited By Pete Rimmer on 30/09/2021 18:08:55 |
| 27/09/2021 19:30:38 |
Posted by David Colwill on 27/09/2021 07:20:25:
I believe that there is a difference between the British and American built machines. The British Machines have a 4 degree taper as opposed to the 3 degree 59 minute 30 second of the American machines. Not a problem if you are working to the taper on your machine. David. I make it roughly 0.00017" difference which is no difference at all given that the big and small ends have a 7 tenths allowance on the drawing.
Edited By Pete Rimmer on 27/09/2021 19:34:35 |
| 27/09/2021 19:06:11 |
Have ZMT started up again under new ownership? They sold up a few years ago. |
| Thread: Zyto Lathe |
| 27/09/2021 06:04:59 |
It's lasted 80+ years so it deserves a sympathetic restoration, and to be used of course! Pics are in my album folder **LINK** |
| Thread: Hardinge HLV H |
| 26/09/2021 21:32:14 |
The nose cover protects the spindle outside taper when using collets in the spindle. It would otherwise be vulnerable to damage. The drawing could - thoeretically - be used to produce a chuck mount but the fit is so fine that there is no substitute really for having the spindle present for bluing or a decent dummy taper to use as a gauge. ZMT had a gauge for the grinders to re-finish the spindle taper. It had a pair of marks on it that bracketed the spindle witness mark when the taper was ground to the correct size. |
| Thread: Zyto Lathe |
| 26/09/2021 17:54:13 |
Okay so it turns out this lathe is only a couple of miles from me so I volunteered to look it over. What I can say is that the lathe appears to be 100% complete and aside from the grimy appearance and very light surface rust is in remarkable condition and seen very little use. Here's a quick rundown. The model appears to be the "now rare early Zyto" listed on the Lathes website as linked by Michael G above. It has a working backgear with all the teeth in perfect condition. It also appears to have a full set of screwcutting change gears (10 in total) and the tumbler reverse works although the tiny actuating lever needs attention There is little or no wear apparent on the bedway. The original planing lines are evident all along the length of the top even (faintly) right up to the chuck. There are no digs or dents on it at all that I could see. The swivelling slide is complete and bears no battle scars. I didn't move the slide except to check it's not seized and external inspection shows no wear. The leadscrew is in fine condition showing little use and certainly very little wear in the usual spot in front of the chuck. The lathe has two chucks in excellent working condition just a little grubby, a 3-jaw 3" Crown with both sets of jaws and a 4" 4-jaw Burnerd. Both are undamaged with no signs of wear, no corners knocked off or gouges in the chuck or jaw faces The outside jaws are actually pristine. The jaws fit snug and there is a chuck key that fits both chucks. There's a centre in the tailstock and also a keyless tailstock chuck that looks unused. Apart from a clean and service the only part that appears to need attention is the drive system. There a vintage motor which turns smoothly but I would certainly suspect the rubber insulation on the internal wiring before putting it into service. There is a flat leather belt that is perished but that could be replaced with a poly-vee belt very easily. All in all, a cracking little lathe with loads of potential if you look beyond the grime and put in a few hours of cleaning and fettling effort. I've advised Becky that it's worth every penny of £200 and perhaps a little more given the completeness and condition. This is going to make a very nice little lathe for someone |
| Thread: cutting spur gears on a mill |
| 26/09/2021 11:19:00 |
Posted by ega on 26/09/2021 11:13:25:
In trying to answer my own question about Brunel, I found a chapter on Gearing and Millwork in J W Roe's "English and American Tool Builders" which briefly touches on the history of epicyclic and involute gearing and contains some interesting comparisons between the two. A footnote says that "Diametral pitch, which is credited to John George Bodmer, was long known as Manchester pitch." I have a paid-for reprint of this fascinating work but do wonder if it is lurking somewhere gratis on the internet! Yep: A fascinating read and the archive version is handily scanned so as to be searchable. It seems that the DP system was originated by (Austrian born) Bodmer here in England but adopted and popularised by Brown & Sharpe. Edited By Pete Rimmer on 26/09/2021 11:56:34 |
Want the latest issue of Model Engineer or Model Engineers' Workshop? Use our magazine locator links to find your nearest stockist!
Sign up to our newsletter and get a free digital issue.
You can unsubscribe at anytime. View our privacy policy at www.mortons.co.uk/privacy
- *Oct 2023: FORUM MIGRATION TIMELINE*
05/10/2023 07:57:11 - Making ER11 collet chuck
05/10/2023 07:56:24 - What did you do today? 2023
05/10/2023 07:25:01 - Orrery
05/10/2023 06:00:41 - Wera hand-tools
05/10/2023 05:47:07 - New member
05/10/2023 04:40:11 - Problems with external pot on at1 vfd
05/10/2023 00:06:32 - Drain plug
04/10/2023 23:36:17 - digi phase converter for 10 machines.....
04/10/2023 23:13:48 - Winter Storage Of Locomotives
04/10/2023 21:02:11 - More Latest Posts...
- View All Topics
- Reeves** - Rebuilt Royal Scot by Martin Evans
by John Broughton
£300.00 - BRITANNIA 5" GAUGE James Perrier
by Jon Seabright 1
£2,500.00 - Drill Grinder - for restoration
by Nigel Graham 2
£0.00 - WARCO WM18 MILLING MACHINE
by Alex Chudley
£1,200.00 - MYFORD SUPER 7 LATHE
by Alex Chudley
£2,000.00 - More "For Sale" Ads...
- D1-3 backplate
by Michael Horley
Price Not Specified - fixed steady for a Colchester bantam mark1 800
by George Jervis
Price Not Specified - lbsc pansy
by JACK SIDEBOTHAM
Price Not Specified - Pratt Burnerd multifit chuck key.
by Tim Riome
Price Not Specified - BANDSAW BLADE WELDER
by HUGH
Price Not Specified - More "Wanted" Ads...
Do you want to contact the Model Engineer and Model Engineers' Workshop team?
You can contact us by phone, mail or email about the magazines including becoming a contributor, submitting reader's letters or making queries about articles. You can also get in touch about this website, advertising or other general issues.
Click THIS LINK for full contact details.
For subscription issues please see THIS LINK.
Model Engineer Magazine
- Percival Marshall
- M.E. History
- LittleLEC
- M.E. Clock
ME Workshop
- An Adcock
- & Shipley
- Horizontal
- Mill
Subscribe Now
- Great savings
- Delivered to your door
Pre-order your copy!
- Delivered to your doorstep!
- Free UK delivery!



 Register
 Log-in


