Forum sponsored by:

Radius Geometry Question
| Steve355 | 10/07/2022 01:51:45 |
| 321 forum posts 235 photos | Hi I have recently been trying to make a set of radius sanding blocks (for woodwork), in fact the subject of a recent post I did on casting. I’m stuck in a hotel for the weekend, so I’m busy drawing up the 3-D printing designs for all 16 sanding blocks I need. I have a question that I think probably only a moron would ask, but I’ve been thinking about it too long and I’m going around in circles (no pun intended). For example, a particular sanding block needs to precisely sand a 60 degree radius of a 2 inch circle - which happens to make the block exactly an inch wide. But I need to take account of the sandpaper, which is 0.015” thick. The question is, does the addition of the sandpaper to the block: 1) simply “translate” the 2” radius on the sanding block by 0.015” or 2) create the next 0.015” ring of a concentric circle, meaning that to create a sanding surface of exactly 2” od , I need the sanding block to have radius 2”+0.015”. it seemed obvious to me that the answer was (2) but the more I think about it I’m not sure! Pic below hopefully explains. Feel free to tell me I’m a moron. Steve
Edited By Steve355 on 10/07/2022 01:53:11 Edited By Steve355 on 10/07/2022 02:06:02 |
| Howard Lewis | 10/07/2022 02:30:40 |
| 7227 forum posts 21 photos | IF it is imperative that the radius of the wood is EXACTLY 2", the the block needs to be machined to 2.015" concave radius, (4.030" Diameter ) so that when the sandpaper is attached, the surface of the sandpaper that touches the wood will then be 2". If the object is to produce a convex radius the block needs to be machined to 1.985" radius, so that when the sandpaper is attached the surface touching the wood will be 2" radius. In practical terms, how long it will stay 2" radius may be a moot point, if we are chasing thousandths of an inch. Howard GRRR Smileys! Edited By Howard Lewis on 10/07/2022 02:31:40 |
| Steve355 | 10/07/2022 02:55:04 |
| 321 forum posts 235 photos | Posted by Howard Lewis on 10/07/2022 02:30:40:
IF it is imperative that the radius of the wood is EXACTLY 2", the the block needs to be machined to 2.015" concave radius, (4.030" Diameter ) so that when the sandpaper is attached, the surface of the sandpaper that touches the wood will then be 2". If the object is to produce a convex radius the block needs to be machined to 1.985" radius, so that when the sandpaper is attached the surface touching the wood will be 2" radius. In practical terms, how long it will stay 2" radius may be a moot point, if we are chasing thousandths of an inch. Howard GRRR Smileys! Edited By Howard Lewis on 10/07/2022 02:31:40 Thanks Howard, I’m not going mad, that’s what I thought. I know it may seem obtuse to be chasing thousandths of an inch in woodworking, but it is for sanding a plane sole. The thickness of the shaving it can take (needs to be 0.001 ish) is defined by the flatness of the sole If I’m going to make a sanding block that is that accurate longitudinally, I may as well make sure the radius is as accurate as possible too, so the plane is an accurate tool. my original idea was to cast these blocks in brass for stability, I still haven’t completely given up on that! Steve
|
| Steve355 | 10/07/2022 03:03:04 |
| 321 forum posts 235 photos | Posted by Steve355 on 10/07/2022 02:55:04:
Posted by Howard Lewis on 10/07/2022 02:30:40:
IF it is imperative that the radius of the wood is EXACTLY 2", the the block needs to be machined to 2.015" concave radius, (4.030" Diameter ) so that when the sandpaper is attached, the surface of the sandpaper that touches the wood will then be 2". If the object is to produce a convex radius the block needs to be machined to 1.985" radius, so that when the sandpaper is attached the surface touching the wood will be 2" radius. In practical terms, how long it will stay 2" radius may be a moot point, if we are chasing thousandths of an inch. Howard GRRR Smileys! Edited By Howard Lewis on 10/07/2022 02:31:40 Thanks Howard, I’m not going mad, that’s what I thought. I know it may seem obtuse to be chasing thousandths of an inch in woodworking, but it is for sanding a plane sole. The thickness of the shaving it can take (needs to be 0.001 ish) is defined by the flatness of the sole If I’m going to make a sanding block that is that accurate longitudinally, I may as well make sure the radius is as accurate as possible too, so the plane is an accurate tool. my original idea was to cast these blocks in brass for stability, I still haven’t completely given up on that!
Steve ps I think I said radius in the original post when I meant diameter.
|
| Howard Lewis | 10/07/2022 03:25:08 |
| 7227 forum posts 21 photos | Radius / Diameter? At least we are both thinking along the same lines. Yes, cast in brass and then machine to get a good finish, although steel machined all,over would probably be more durable.. An interesting project. Howard. |
| Michael Gilligan | 10/07/2022 05:45:56 |
 23121 forum posts 1360 photos | Posted by Steve355 on 10/07/2022 01:51:45:
… The question is, does the addition of the sandpaper to the block: 1) simply “translate” the 2” radius on the sanding block by 0.015” or 2) create the next 0.015” ring of a concentric circle, meaning that to create a sanding surface of exactly 2” od , I need the sanding block to have radius 2”+0.015”. it seemed obvious to me that the answer was (2) but the more I think about it I’m not sure! . Simple answer … Your instinct was right BUT, as Howard has observed, you are confusing Radius and Diameter MichaelG. |
| DC31k | 10/07/2022 06:13:06 |
| 1186 forum posts 11 photos | But as soon as you apply the sandpaper, its abrasive grains will start to wear down, changing the radius it sands... And if you are applying a vertical force to the block, the pressure distribution over the curve of its working surface will not be uniform, so both the wear and the material removal rate will vary... And if you are to use more than one grit of abrasive, the thickness of the sandpaper itself will vary (the paper is the same for each grade; the sharp bits glued on reduce in size as the P-number increases)... |
| JasonB | 10/07/2022 07:20:19 |
 25215 forum posts 3105 photos 1 articles | I'd make the block wider than the 60deg arc if that is the width of your timber, being able to roll the block will make sanding more efficient and the abrasive less likely to clog and even if you want to sand straight you are unlikely to be able to hold the block dead in line with the edges of the wood. With 16 plane to make I'd be looking a knocking something up to rotate the roughed out wooden blocks against moving abrasive, with a movable pivot so you can do different radii. If you have a lathe I would cut the concave face of the sanding block with that, more likely to give the numbers you want without having to allow for under/over size prints, casting shrinkage, surface finish on print or casting, etc |
| JasonB | 10/07/2022 07:44:11 |
25215 forum posts 3105 photos 1 articles | Also if working to thous then you will also need to increase the width of your block to fully support the abrasive as the larger radius ark will mean the block width increases.
|
| Martin Connelly | 10/07/2022 08:31:58 |
 2549 forum posts 235 photos | Just pointing out that if you have trouble imagining the change in radius again think about what would happen if you added a layer of sandpaper to the inside of a pipe with a 2" bore. You would not expect the bore inside the sandpaper to still be 2" would you? Martin C |
| Steve355 | 10/07/2022 12:07:15 |
| 321 forum posts 235 photos | Wow, lots of responses! I will answer with them one by one….
Steve |
| Steve355 | 10/07/2022 12:13:45 |
| 321 forum posts 235 photos | Simple answer … Your instinct was right
BUT, as Howard has observed, you are confusing Radius and Diameter MichaelG. True, but the reason is (apart from being late when I wrote it) that these blocks are called radius blocks (used a lot in luthiery), and radius gauges are called radius gauges, not diameter gauges. It only takes a minor slip of the brain to confuse them in a post because of that. That’s my excuse anyway. |
| Steve355 | 10/07/2022 12:18:55 |
| 321 forum posts 235 photos | Posted by DC31k on 10/07/2022 06:13:06:
But as soon as you apply the sandpaper, its abrasive grains will start to wear down, changing the radius it sands... And if you are applying a vertical force to the block, the pressure distribution over the curve of its working surface will not be uniform, so both the wear and the material removal rate will vary... And if you are to use more than one grit of abrasive, the thickness of the sandpaper itself will vary (the paper is the same for each grade; the sharp bits glued on reduce in size as the P-number increases)... All correct, I will stick to the same grit (240) though, and the diametral dimension is not *that* critical - it’s the longitudinal dimension that’s most important. |
| Steve355 | 10/07/2022 12:39:32 |
| 321 forum posts 235 photos | Posted by JasonB on 10/07/2022 07:20:19:
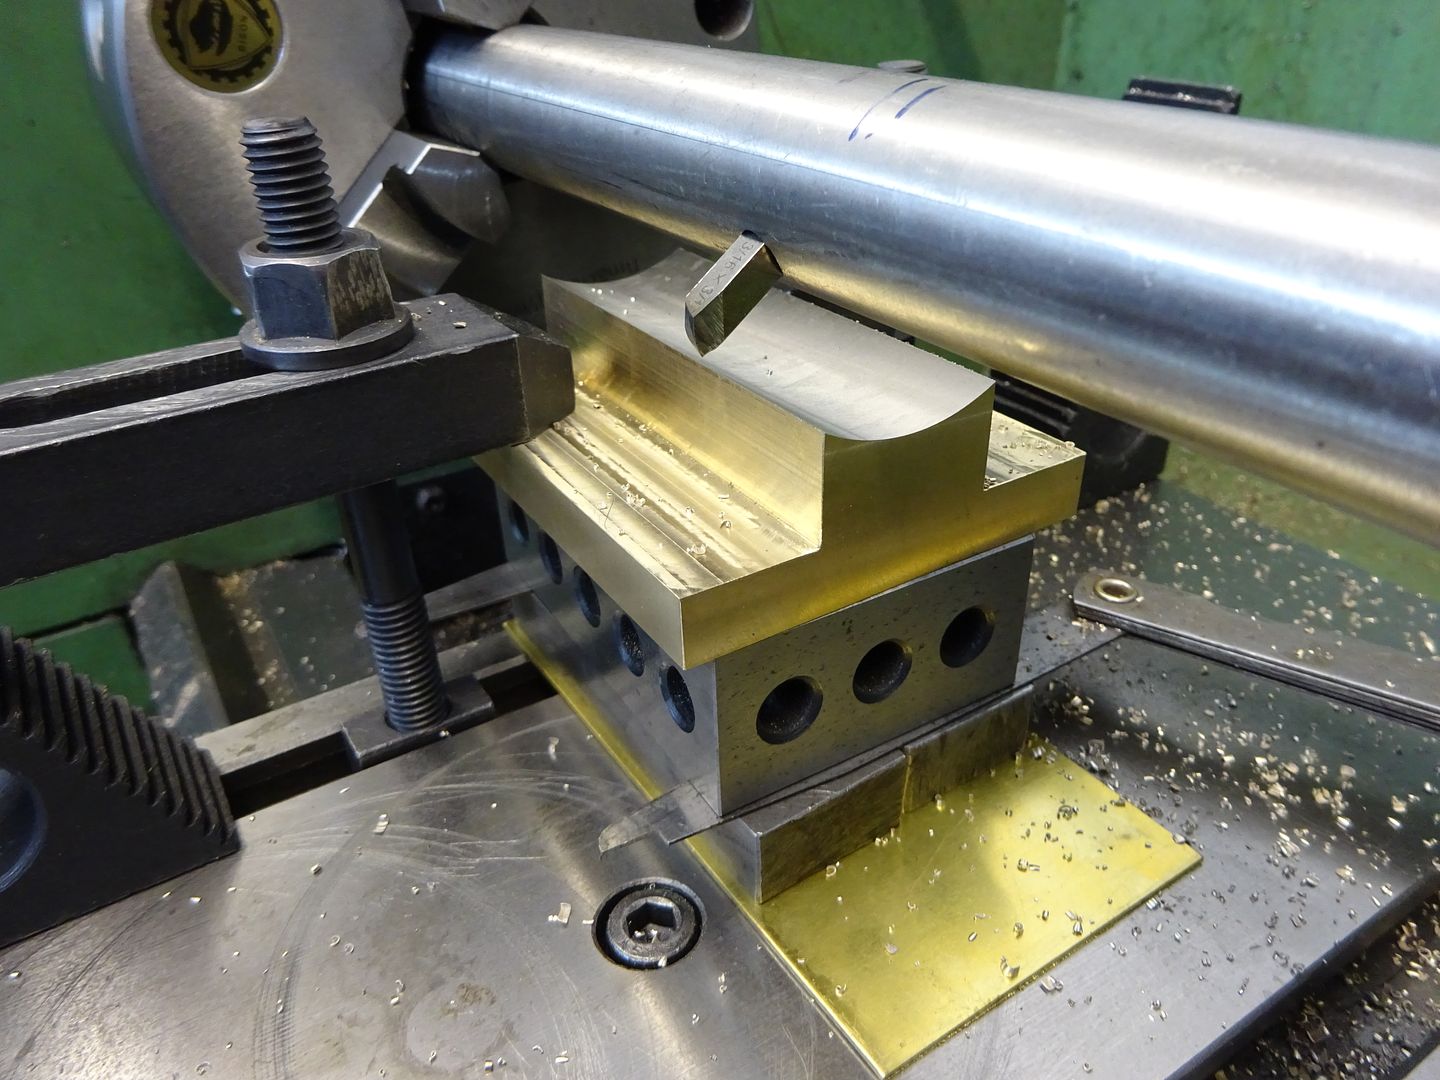
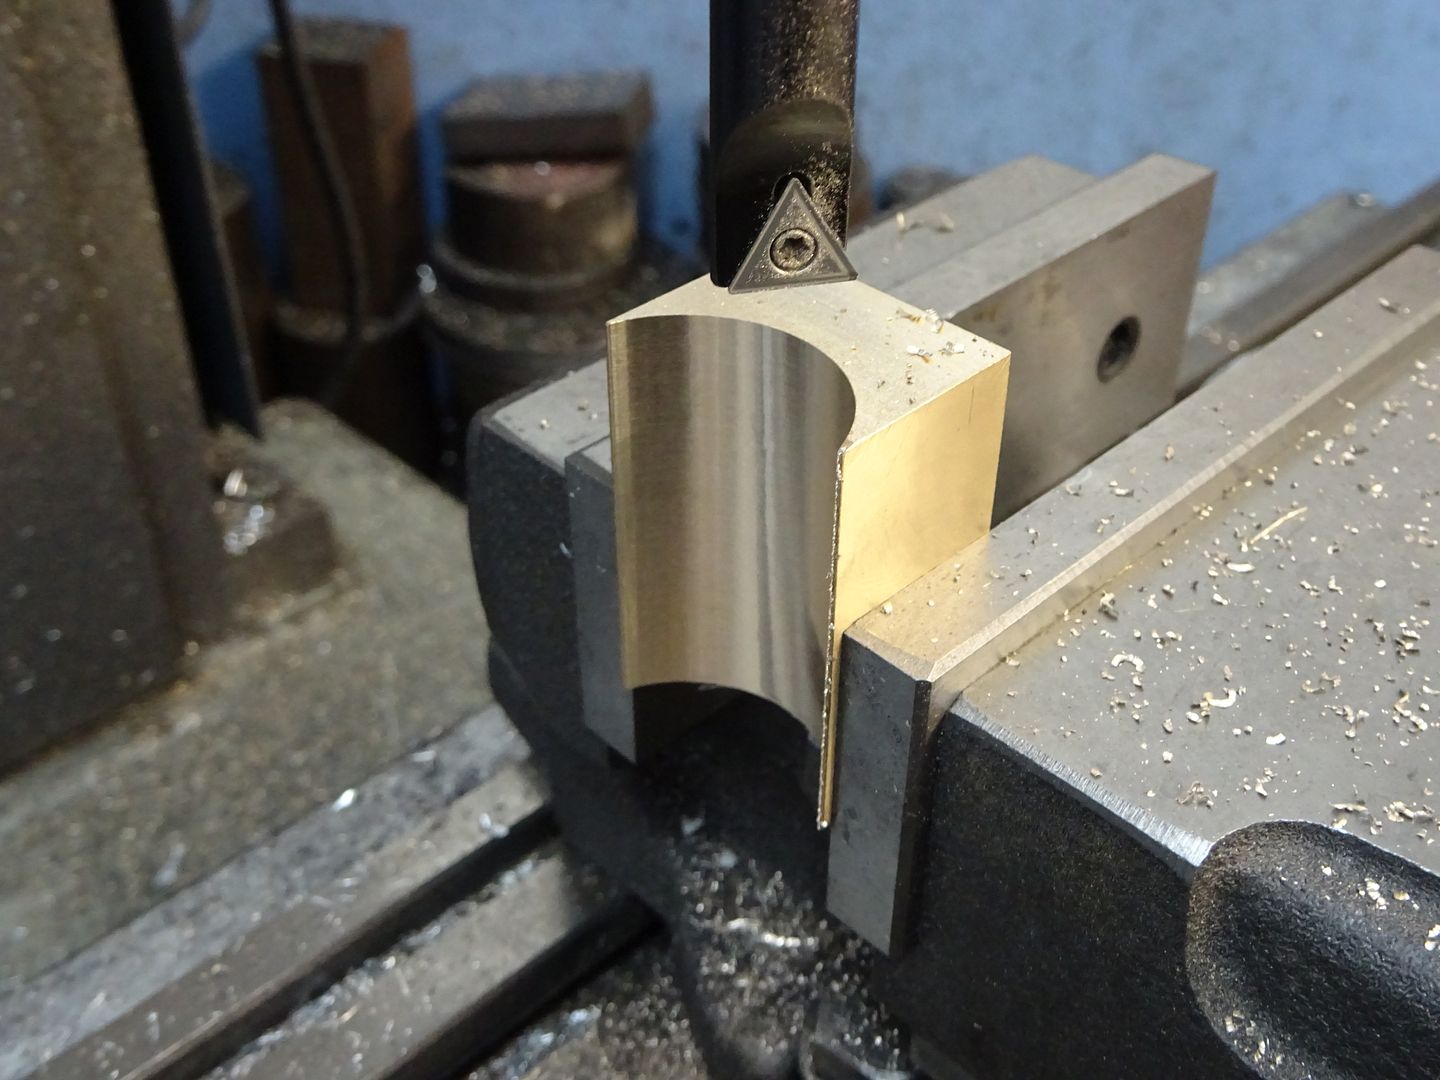
I'd make the block wider than the 60deg arc if that is the width of your timber, being able to roll the block will make sanding more efficient and the abrasive less likely to clog and even if you want to sand straight you are unlikely to be able to hold the block dead in line with the edges of the wood. With 16 plane to make I'd be looking a knocking something up to rotate the roughed out wooden blocks against moving abrasive, with a movable pivot so you can do different radii. If you have a lathe I would cut the concave face of the sanding block with that, more likely to give the numbers you want without having to allow for under/over size prints, casting shrinkage, surface finish on print or casting, etc It’s 32 planes…
I have already made 11 of them but stopped at the point of profiling the soles for 10 of them, as 3d printing a sanding block massively helped getting the first one to work properly. You are right that it would be useful to make them oversize. But I want to use them to make other planes, and certainly for the concave blocks, I wouldn’t be able to get into gaps - see pic.
On the casting, it didn’t go well, but I learnt a lot. You are right about the surface finish and shrinkage. If anyone has any practical ways of milling or turning these shapes, I’m all ears. I think in the end I might just use 3d printed blocks. They are accurate and stable enough. I’d love to have them in brass, but unless I stop somewhere with “making the tools to make the tools to make the tools” my wife will never get her greenhouse and my son will never get his sash window, which in the end is what all this is for, in the end. |
| Steve355 | 10/07/2022 12:41:35 |
| 321 forum posts 235 photos | Posted by JasonB on 10/07/2022 07:44:11:
Also if working to thous then you will also need to increase the width of your block to fully support the abrasive as the larger radius ark will mean the block width increases.
The width is set by the sole of the plane. Interesting point though, I will bear that in mind today when doing the drawings. |
| Steve355 | 10/07/2022 12:42:28 |
| 321 forum posts 235 photos | Posted by Martin Connelly on 10/07/2022 08:31:58:
Just pointing out that if you have trouble imagining the change in radius again think about what would happen if you added a layer of sandpaper to the inside of a pipe with a 2" bore. You would not expect the bore inside the sandpaper to still be 2" would you? Martin C That’s a very useful way to visualise it, thanks. |
| JasonB | 10/07/2022 13:14:25 |
25215 forum posts 3105 photos 1 articles | yes would need a different approach now you say you are making more complex moulding planes. I got rid of 4 large stacking boxes of them about 10yrs ago, gave them to a french polisher that I did the odd bit of turning for. These days if its a shortish run needed I'll just rough out by a series of saw cuts, odd bit with a spindle moulder or router and then just hand finish. Quicker and cheaper than getting a pair of knives and limiters made for my spindle moulder. As for machining the blocks a simple bar driven by the chuck and supported by the tailstock, drilled for an HSS blank and cross drilled for a locking grub screw will do. Just adjust tool projection to alter radius. Concave can be done by mounting on a carrier and just turning the outer radius for all but the very smallest
Also hopefully it's obvious but your radius on the convex blocks will need to be SMALLER by the thickness of the abrasive. Edited By JasonB on 10/07/2022 13:15:34 Edited By JasonB on 10/07/2022 13:18:39 |
| Steve355 | 10/07/2022 17:37:47 |
| 321 forum posts 235 photos | Posted by JasonB on 10/07/2022 13:14:25:
yes would need a different approach now you say you are making more complex moulding planes. I got rid of 4 large stacking boxes of them about 10yrs ago, gave them to a french polisher that I did the odd bit of turning for. These days if its a shortish run needed I'll just rough out by a series of saw cuts, odd bit with a spindle moulder or router and then just hand finish. Quicker and cheaper than getting a pair of knives and limiters made for my spindle moulder. As for machining the blocks a simple bar driven by the chuck and supported by the tailstock, drilled for an HSS blank and cross drilled for a locking grub screw will do. Just adjust tool projection to alter radius. Concave can be done by mounting on a carrier and just turning the outer radius for all but the very smallest Also hopefully it's obvious but your radius on the convex blocks will need to be SMALLER by the thickness of the abrasive. That’s really useful Jason, thanks. I can see that the difficulty with that method is that on a lathe there is no Z axis movement. So a concave surface would either need to be cut in one pass, or the cutter would have to be carefully extended after each pass. Or (2) the workpiece could be mounted on an angle plate on the cross slide. Or (3) I could do it on my horizontal mill, although I can’t drill a hole through the 1” arbor, but I might find a way to make it work for some of the larger blocks. Steve
|
| JasonB | 10/07/2022 19:14:39 |
25215 forum posts 3105 photos 1 articles | On that one the cutter was extended. I have done others with angle plates or a vertical slide where the radius can be set and then the cross slide used to feed the block for each pass. Depending on length of your block a boring head on the mill works either vertical or horizontal. If you have a collet or collet chuck that will fit your horizontal mill then you can grip a bar and arrange a ctr to support the other end. Set radius and then move the work.
Edited By JasonB on 10/07/2022 19:17:58 |


Please login to post a reply.
Magazine Locator
Want the latest issue of Model Engineer or Model Engineers' Workshop? Use our magazine locator links to find your nearest stockist!
Sign up to our Newsletter
Sign up to our newsletter and get a free digital issue.
You can unsubscribe at anytime. View our privacy policy at www.mortons.co.uk/privacy
Latest Forum Posts
- *Oct 2023: FORUM MIGRATION TIMELINE*
05/10/2023 07:57:11 - Making ER11 collet chuck
05/10/2023 07:56:24 - What did you do today? 2023
05/10/2023 07:25:01 - Orrery
05/10/2023 06:00:41 - Wera hand-tools
05/10/2023 05:47:07 - New member
05/10/2023 04:40:11 - Problems with external pot on at1 vfd
05/10/2023 00:06:32 - Drain plug
04/10/2023 23:36:17 - digi phase converter for 10 machines.....
04/10/2023 23:13:48 - Winter Storage Of Locomotives
04/10/2023 21:02:11 - More Latest Posts...
- View All Topics
Support Our Partners


Shopping Partners
Subscription Offer

Latest "For Sale" Ads
- Reeves** - Rebuilt Royal Scot by Martin Evans
by John Broughton
£300.00 - BRITANNIA 5" GAUGE James Perrier
by Jon Seabright 1
£2,500.00 - Drill Grinder - for restoration
by Nigel Graham 2
£0.00 - WARCO WM18 MILLING MACHINE
by Alex Chudley
£1,200.00 - MYFORD SUPER 7 LATHE
by Alex Chudley
£2,000.00 - More "For Sale" Ads...
Latest "Wanted" Ads
- D1-3 backplate
by Michael Horley
Price Not Specified - fixed steady for a Colchester bantam mark1 800
by George Jervis
Price Not Specified - lbsc pansy
by JACK SIDEBOTHAM
Price Not Specified - Pratt Burnerd multifit chuck key.
by Tim Riome
Price Not Specified - BANDSAW BLADE WELDER
by HUGH
Price Not Specified - More "Wanted" Ads...
Get In Touch!
Do you want to contact the Model Engineer and Model Engineers' Workshop team?
You can contact us by phone, mail or email about the magazines including becoming a contributor, submitting reader's letters or making queries about articles. You can also get in touch about this website, advertising or other general issues.
Click THIS LINK for full contact details.
For subscription issues please see THIS LINK.
Digital Back Issues


Donate

 Register
 Log-in
Model Engineer Magazine
- Percival Marshall
- M.E. History
- LittleLEC
- M.E. Clock

ME Workshop
- An Adcock
- & Shipley
- Horizontal
- Mill

Subscribe Now
- Great savings
- Delivered to your door

Pre-order your copy!
- Delivered to your doorstep!
- Free UK delivery!
All Forum Topics > General Questions > Radius Geometry Question