Forum sponsored by:

Machining a crank web
| Andy_C | 14/10/2018 19:24:58 |
| 66 forum posts 13 photos | so i have just machined the 3mm disc required for jan ridders flame licker engine. I now have a 3mm disc ready to be milled to a crank web shape. How to hold and machine is s the question. Edited By Andrew Cree on 14/10/2018 19:25:28 |
| JasonB | 14/10/2018 19:31:33 |
 25215 forum posts 3105 photos 1 articles | Which one of his flame lickers are you making and what tools do you have available as the crank could be filed or milled? |
| Andy_C | 14/10/2018 19:34:01 |
| 66 forum posts 13 photos | The plans as in model engineer 4323. Seems a lot to file. I have a warco 290 and sieg sX3 and a rotary table.
Edited By Andrew Cree on 14/10/2018 19:43:11 |
| JasonB | 14/10/2018 19:46:10 |
25215 forum posts 3105 photos 1 articles |
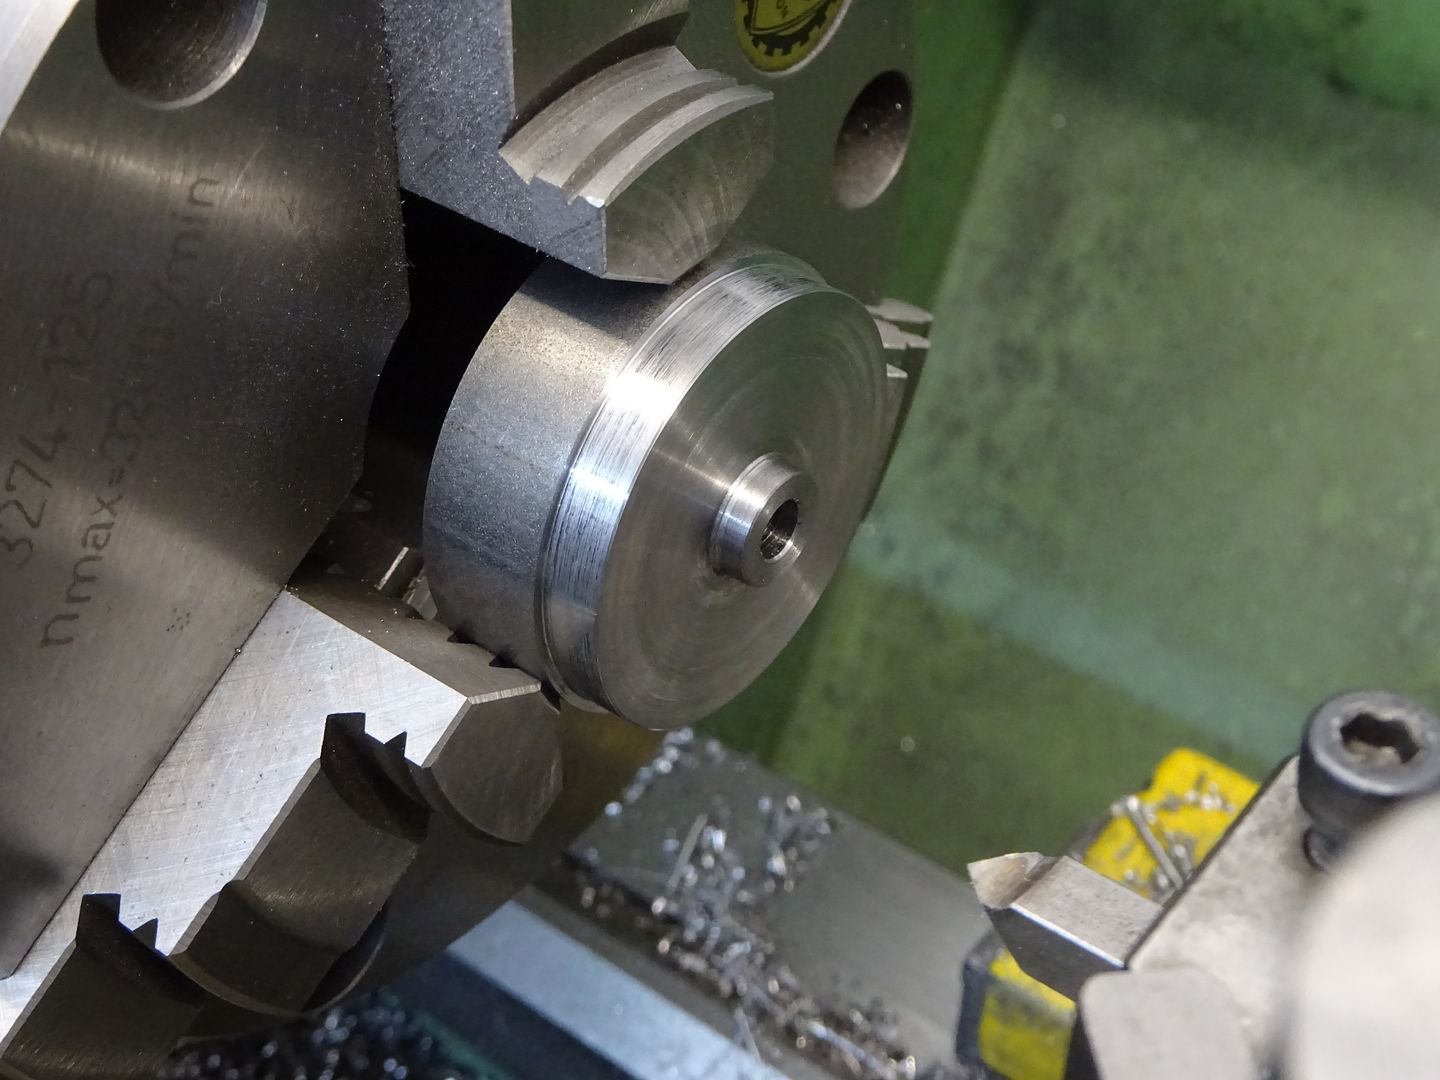
Myself I would make from round bar. face off and turn to diameter add any boss if needed then drill and ream the central hole.
Then over to the mill, locate ctr and then offset to drill and tap crank pin hole. If you already have a plain disc then hold that, locate ctr and drill ream that then do the crank pin hole. *
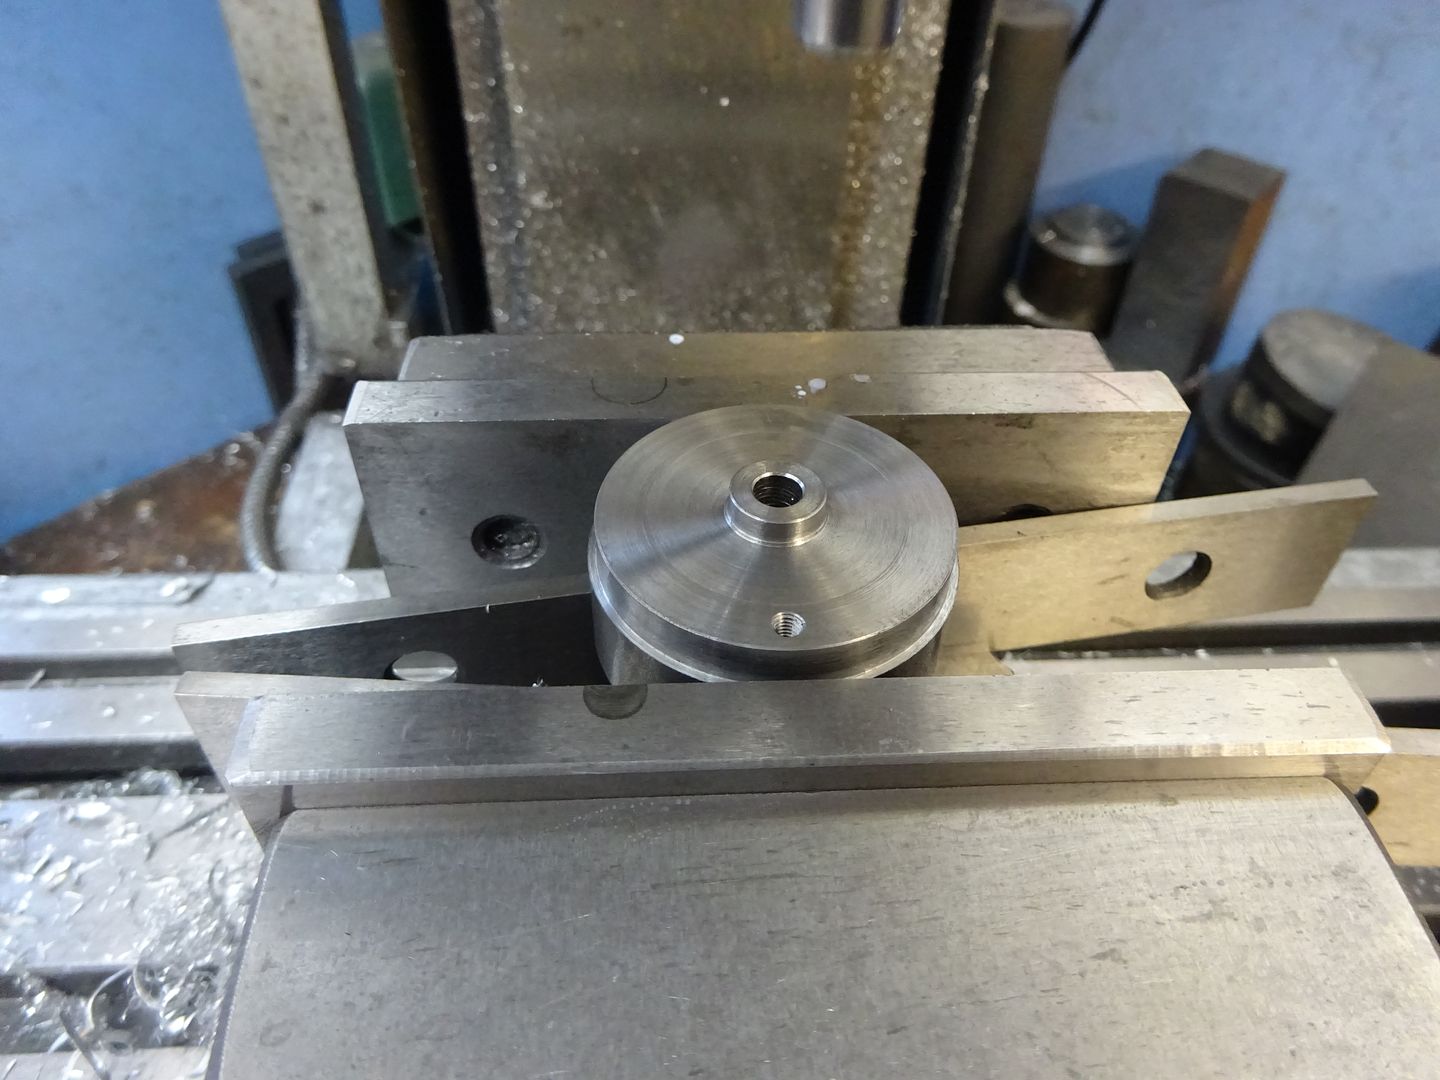
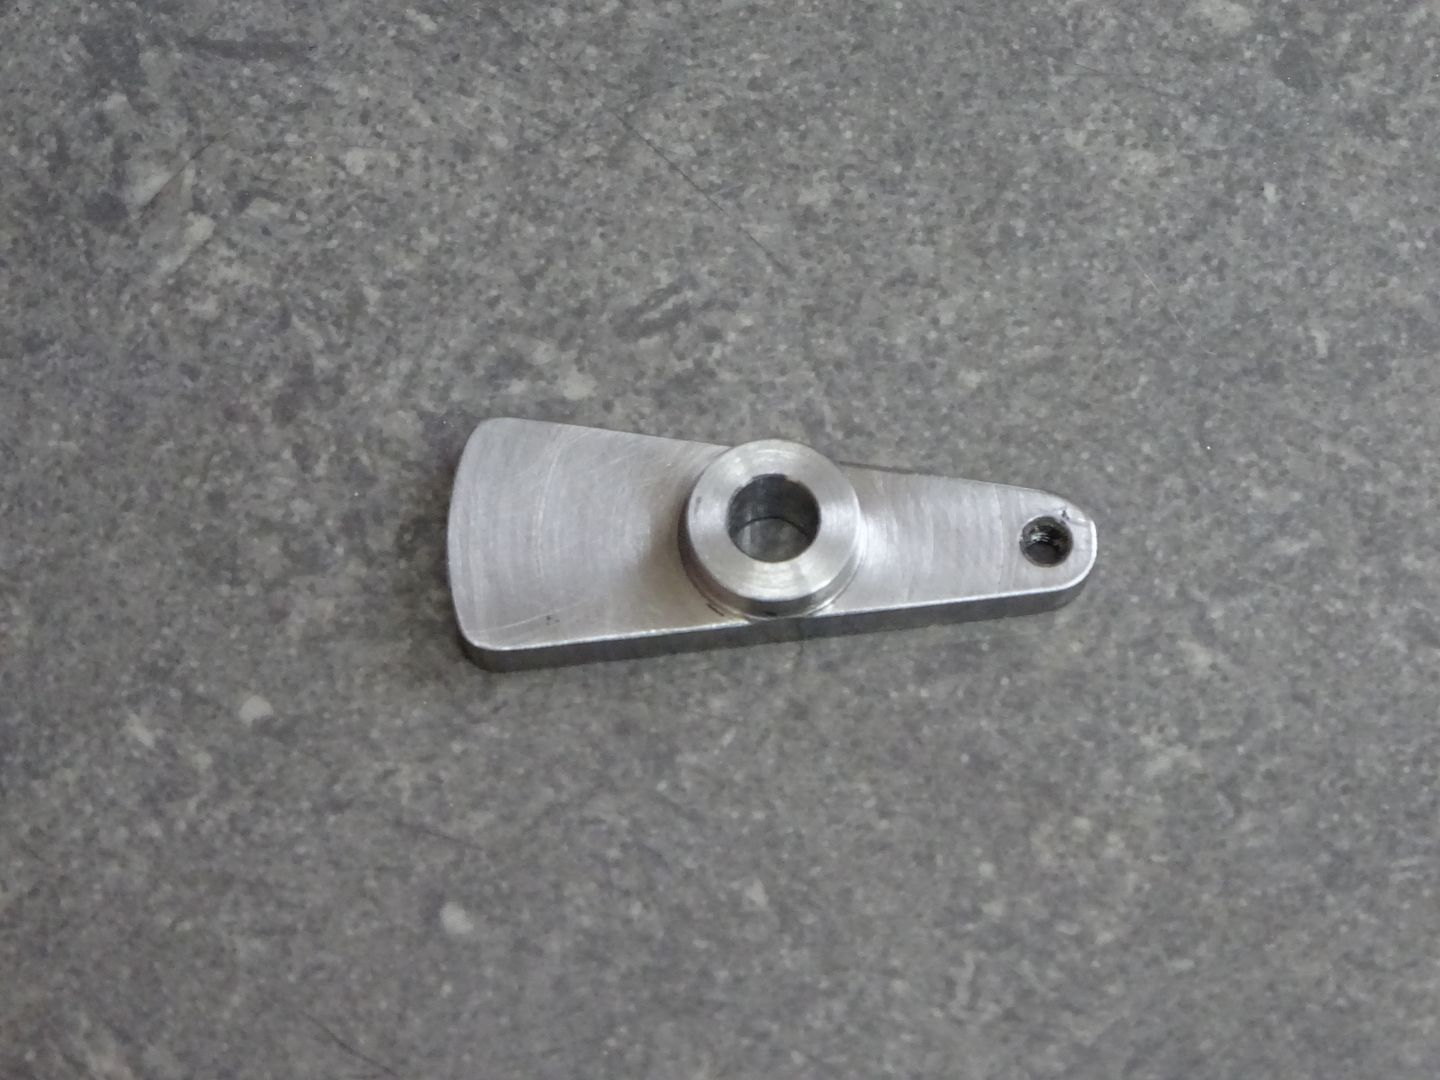
Saw/part off and then mark out the profile of the crank, this one is a bit plainer but same principal. Saw off most of the waste and then hold vertically in the mill vice and mill to your marked out lines.
Round any edges if needed and job done
I also like to leave my crank webs over thick so that once they have been fixed to the crankshaft they can by skimmed to finish thickness which also ensures that the face is true to the shaft and the pin will fit square so no binding.
* if the two flats need a fillet where they meed drill holes for that at this stage and later mill upto the edge of the holes. Edited By JasonB on 14/10/2018 19:48:28 |
| Andy_C | 14/10/2018 20:05:42 |
| 66 forum posts 13 photos | Many thanks for such swift response. Will need to modify your process as I now have a perfectly formed 3mm disc. Planning a milling cut on the rotary table will be a challenge which is what I was planning. Getting the angle between the the straight and angled section is what I was thinking about which causes you to think about how to hold.
|
| JasonB | 14/10/2018 20:29:55 |
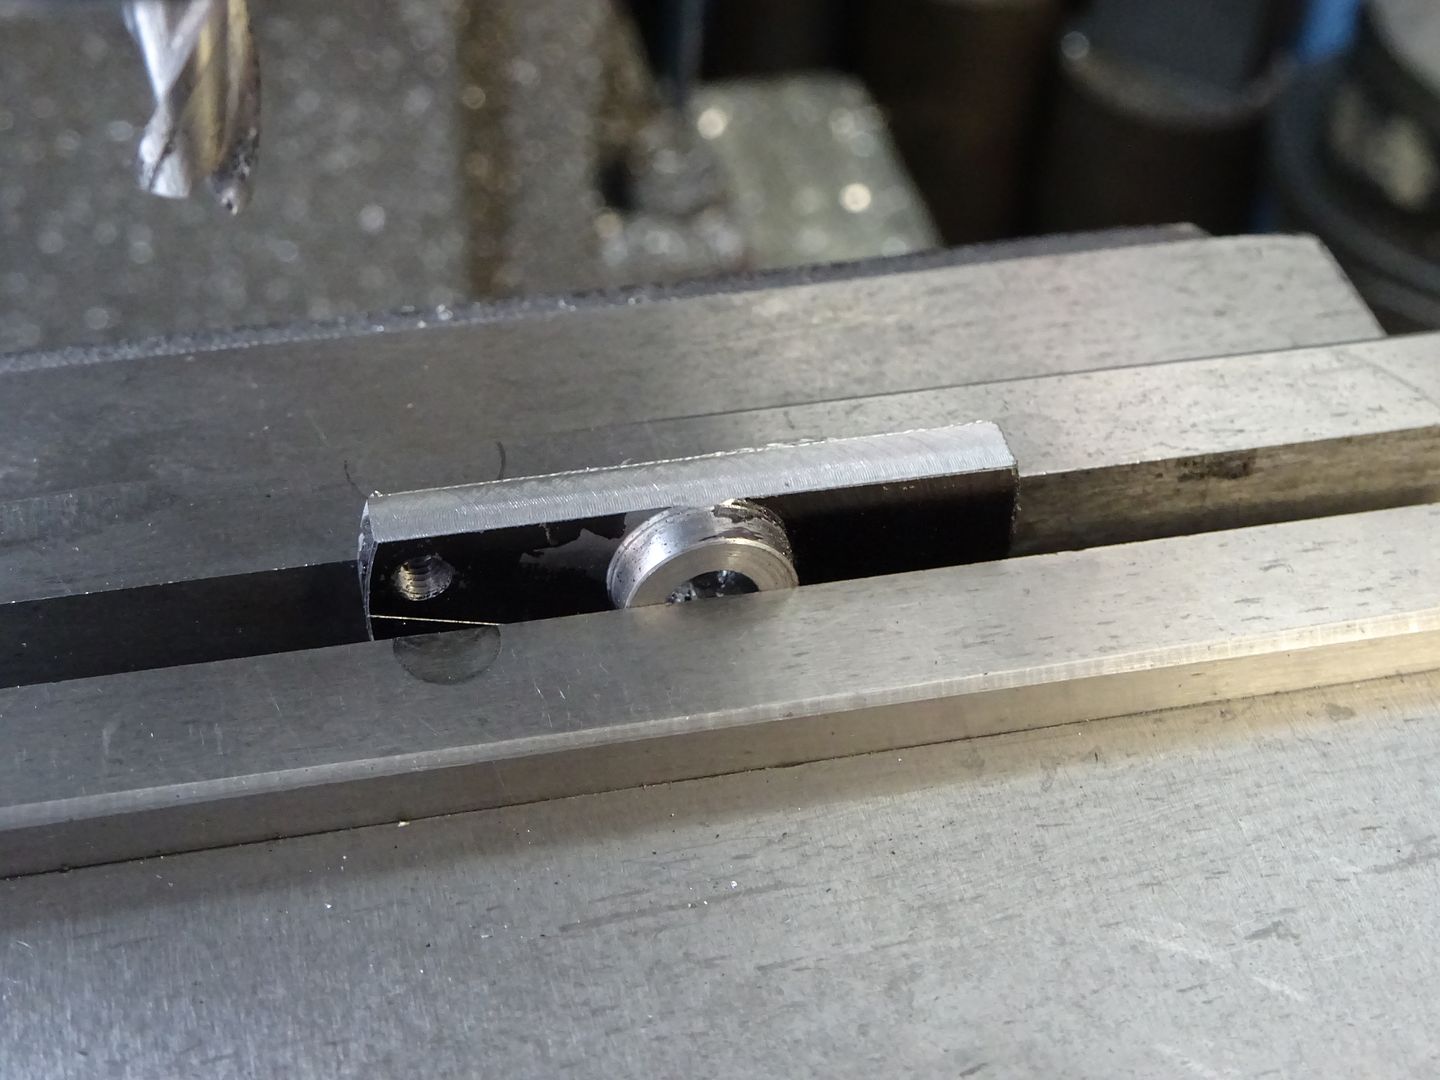
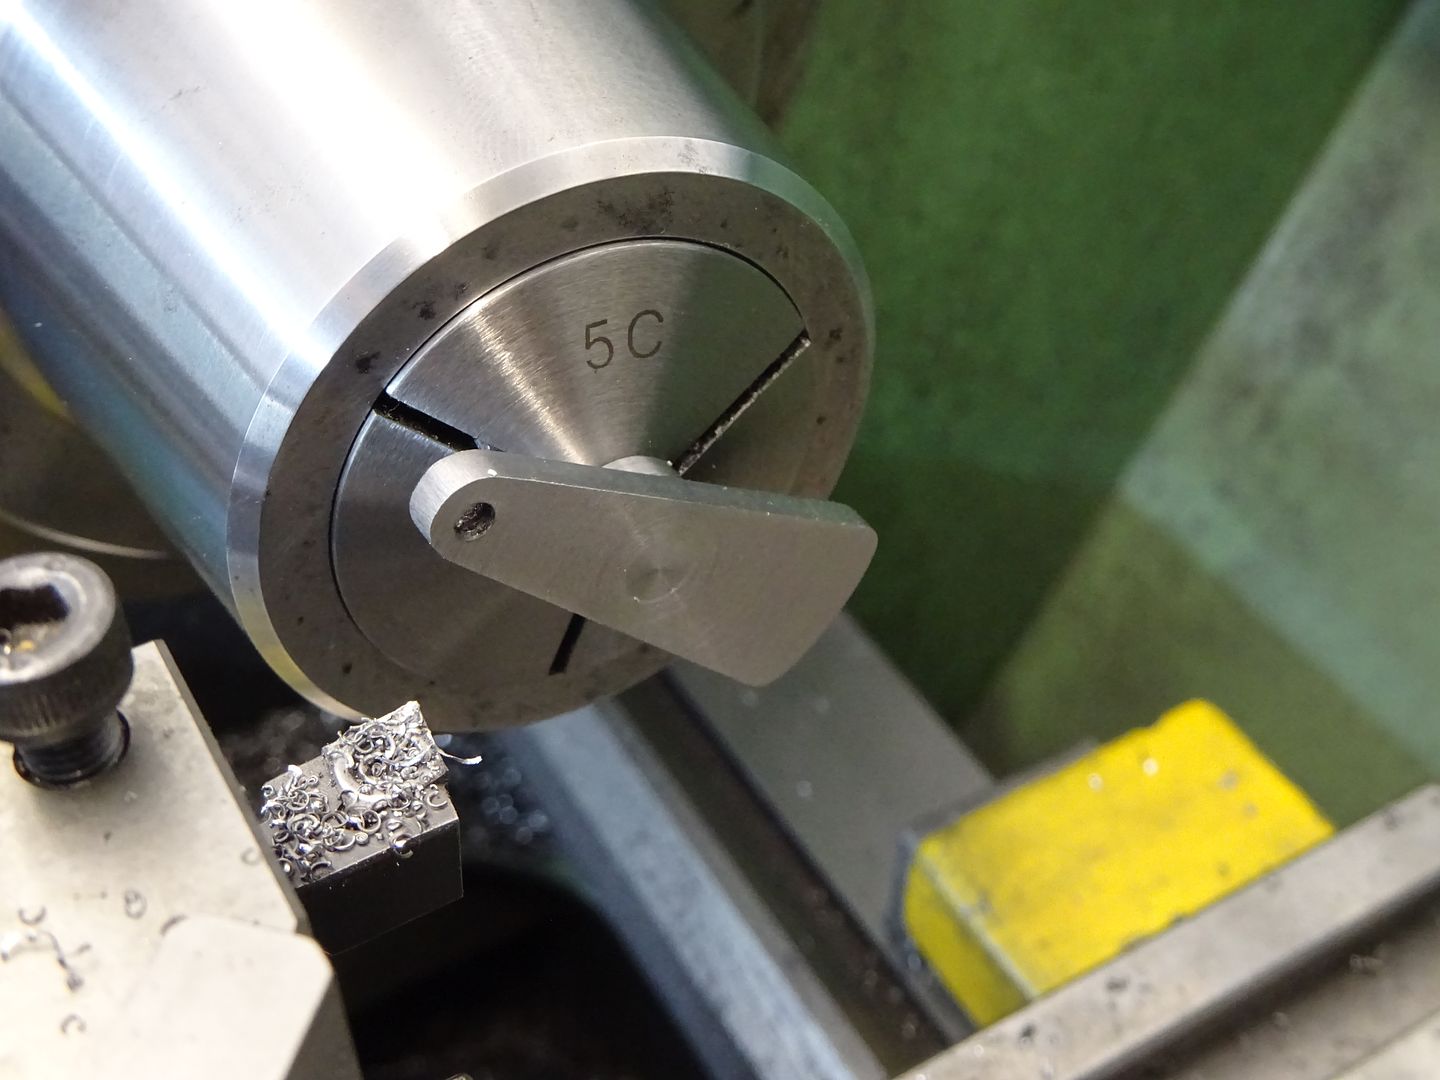
25215 forum posts 3105 photos 1 articles | If you want to use a rotary table then probably easiest to solder to the shaft first, you can then put a chuck on the R/T and hold the shaft. Use something like a 6mm dia cutter. Pic of the angle for you.
|
| Andy_C | 15/10/2018 18:43:57 |
| 66 forum posts 13 photos | Very many thanks. Really helpful and swift responses - most grateful. |
| William Ayerst | 05/12/2020 22:34:18 |
 264 forum posts | I've just turned my first crank web and I'm quite pleased - now I'm at the point where I'd like to machine it into a wedge shape of sorts. The plans suggest a 3/16" 'width' at the crank end and 11/16" at opposite side if the axle hole. I marked this out on the flat by scribing the centre line on the lathe with a tool while the piece was stationary and then spacing 3/32" and 11/32" either side of the centre line - but that marking has been smudged and lost. I'm totally comfortable with just winging it, but I'm wondering if there is a way to mark these measurements on the part 'properly'? I've just sorted myself a centre square from Chronos to put the centre line back in so I could always just measure with calipers and scribe again - but am I missing something? |
| duncan webster | 05/12/2020 23:56:39 |
| 5307 forum posts 83 photos | To make your marking out more robust use a 60 degree pointed punch and lightly punch along the line. If it's straight then now and again, if curved closer together. If you're then filing you stop when half the mark has gone. |
| JasonB | 06/12/2020 07:11:09 |
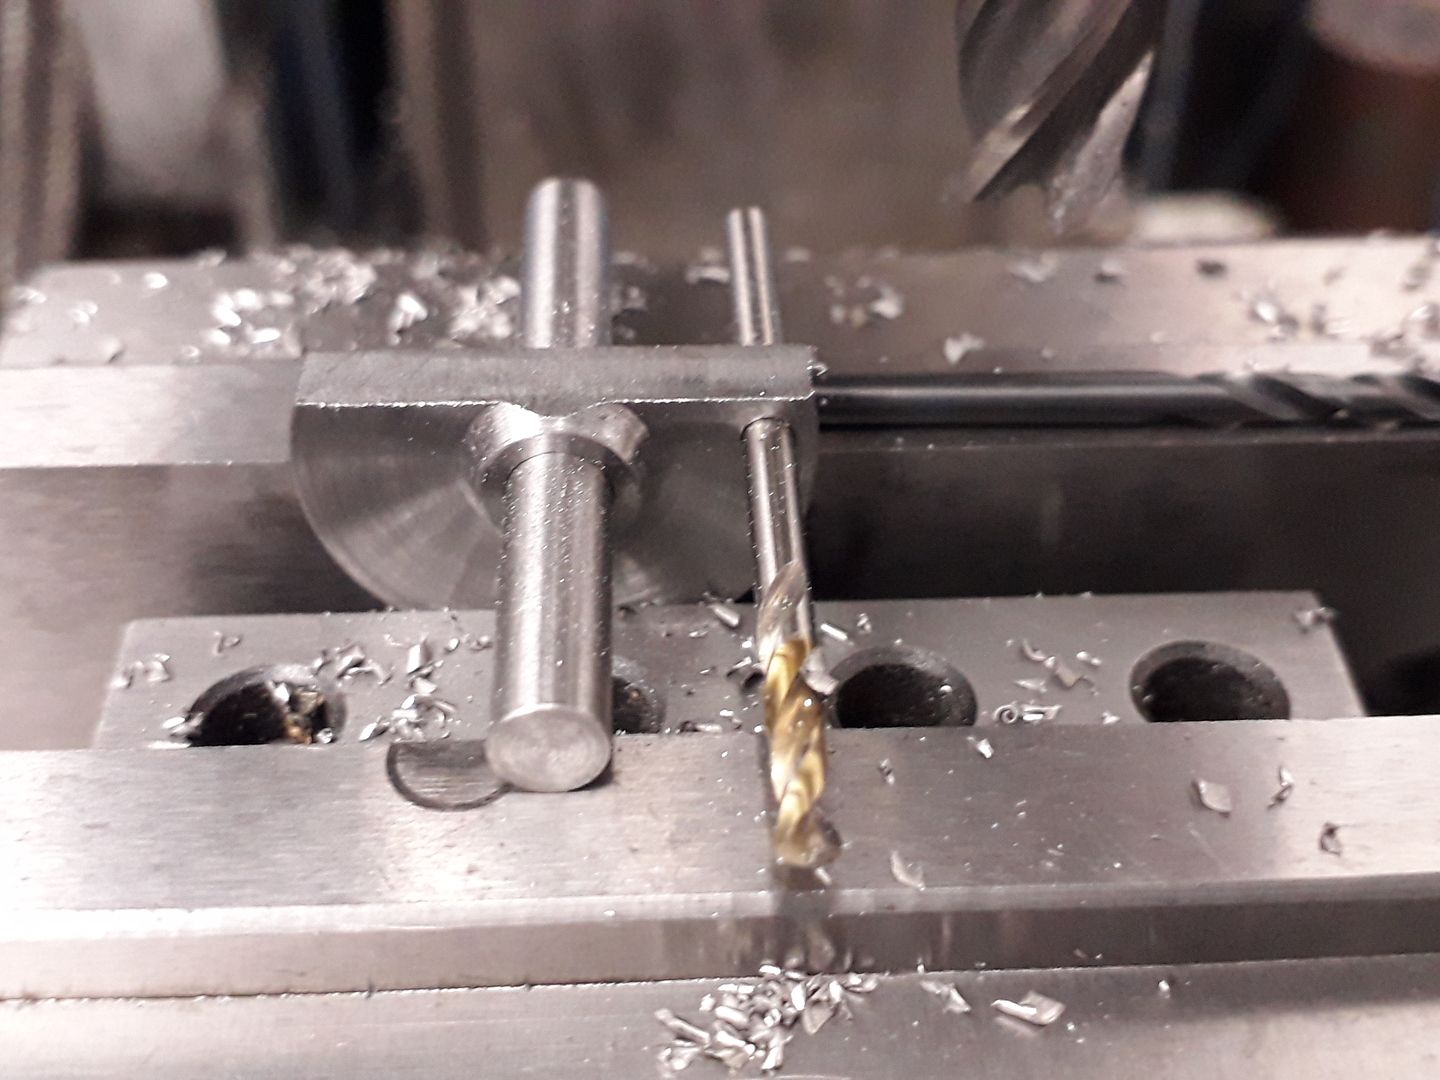
25215 forum posts 3105 photos 1 articles | How did you actually mark the lines if they have been smudged and lost did you just use a marker? If you have applied marker or layout blue then scribed the line should still be there unless you did not scribe hard enough or have a very blunt scriber. Rather than marking out the sides another option is to use various size drill bits in the two holes to set the work in the vice so it can be milled.
Edited By JasonB on 06/12/2020 07:41:48 |
| William Ayerst | 06/12/2020 11:43:04 |
264 forum posts | I marked it all out, then drilled and tapped the axle hole and offset in the 4-jaw and drilled the crank hole, but then took a skim cut across the face of the web after threading it onto the axle to make sure it was parallel. Good idea to use drillbits to hold the web at the correct angle to machine the angle - I hadn't thought about that! I guess then it is very possible to take out and re-seat the web as many times as possible, flipping it over, etc. as neccesary to get the final dimensions. I'm using a vertical slide rather than a mill, do you have any tips on ensuring those drillbits don't vibrate out? |
| JasonB | 06/12/2020 12:09:51 |
25215 forum posts 3105 photos 1 articles | Take them out once the vice is tightened. |

Please login to post a reply.
Magazine Locator
Want the latest issue of Model Engineer or Model Engineers' Workshop? Use our magazine locator links to find your nearest stockist!
Sign up to our Newsletter
Sign up to our newsletter and get a free digital issue.
You can unsubscribe at anytime. View our privacy policy at www.mortons.co.uk/privacy
Latest Forum Posts
- hemingway ball turner
04/07/2025 14:40:26 - *Oct 2023: FORUM MIGRATION TIMELINE*
05/10/2023 07:57:11 - Making ER11 collet chuck
05/10/2023 07:56:24 - What did you do today? 2023
05/10/2023 07:25:01 - Orrery
05/10/2023 06:00:41 - Wera hand-tools
05/10/2023 05:47:07 - New member
05/10/2023 04:40:11 - Problems with external pot on at1 vfd
05/10/2023 00:06:32 - Drain plug
04/10/2023 23:36:17 - digi phase converter for 10 machines.....
04/10/2023 23:13:48 - More Latest Posts...
- View All Topics
Support Our Partners


Shopping Partners
Subscription Offer

Latest "For Sale" Ads
- Reeves** - Rebuilt Royal Scot by Martin Evans
by John Broughton
£300.00 - BRITANNIA 5" GAUGE James Perrier
by Jon Seabright 1
£2,500.00 - Drill Grinder - for restoration
by Nigel Graham 2
£0.00 - WARCO WM18 MILLING MACHINE
by Alex Chudley
£1,200.00 - MYFORD SUPER 7 LATHE
by Alex Chudley
£2,000.00 - More "For Sale" Ads...
Latest "Wanted" Ads
- D1-3 backplate
by Michael Horley
Price Not Specified - fixed steady for a Colchester bantam mark1 800
by George Jervis
Price Not Specified - lbsc pansy
by JACK SIDEBOTHAM
Price Not Specified - Pratt Burnerd multifit chuck key.
by Tim Riome
Price Not Specified - BANDSAW BLADE WELDER
by HUGH
Price Not Specified - More "Wanted" Ads...
Get In Touch!
Do you want to contact the Model Engineer and Model Engineers' Workshop team?
You can contact us by phone, mail or email about the magazines including becoming a contributor, submitting reader's letters or making queries about articles. You can also get in touch about this website, advertising or other general issues.
Click THIS LINK for full contact details.
For subscription issues please see THIS LINK.
Digital Back Issues


Donate

 Register
 Log-in
Model Engineer Magazine
- Percival Marshall
- M.E. History
- LittleLEC
- M.E. Clock

ME Workshop
- An Adcock
- & Shipley
- Horizontal
- Mill

Subscribe Now
- Great savings
- Delivered to your door

Pre-order your copy!
- Delivered to your doorstep!
- Free UK delivery!
All Forum Topics > Workshop Techniques > Machining a crank web