Myford ML4 restoration, setup, upgrades.........improvements???
| Jon Cameron | 22/09/2017 23:05:16 |
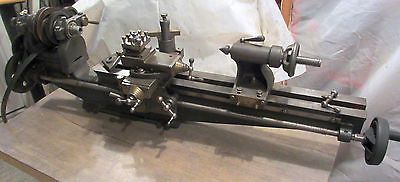
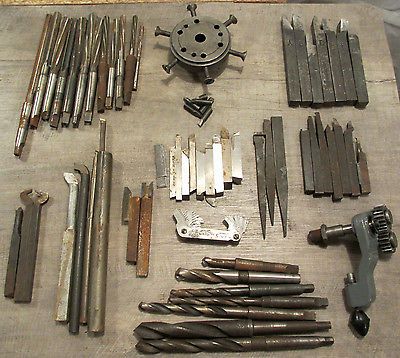
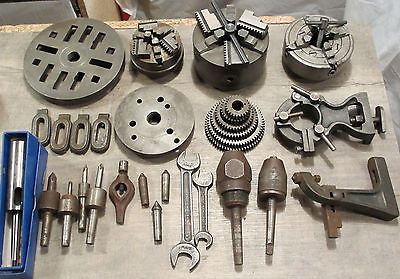
| 368 forum posts 122 photos | Hello there since I seem to be hi jacking other peoples threads in the quest for info on my lathe I thought an update and an introduction were probably necessary. I bought this lathe from e-bay for the princely sum of £350, it came with a range of tooling some of it knackard, some still usable. Also 3 jaw, and a four jaw self centering, and a 3 jaw quick tightened chuck. It also has a myford fixed and traveling steady and a couple of tapered drill chucks for the tailstock which are to be honest a little past it but may be useful at some point so have been put to one side. Firstly some photos of the lathe as advertised Edited By Jon Cameron on 22/09/2017 23:08:31 Edited By Jon Cameron on 22/09/2017 23:13:24 Edited By Jon Cameron on 22/09/2017 23:14:43 |
| Jon Cameron | 22/09/2017 23:19:18 |
| 368 forum posts 122 photos | This useful info posted by another member shows some very useful identification for the 4 different variations of the ML series. Posted by Georgineer on 22/09/2017 21:20:29:
Some simple measurements and observations can identify which of the different models ML1 to ML4 one is faced with. ML1 & 2: 3 1/8" centre height, 15" between centres, 3 1/2" cross slide travel. ML3 & 4: 3 1/2" centre height, 24" between centres, 4 1/2" cross slide travel.
ML1 & 3 ('Standard' models): Spindle bearings direct in headstock. ML2 & 4 ('Superior' models): Bronze spindle bearings, shrouded ball thrust race. My understanding from lathes.co.uk is that the cast-in headstock was abandoned in 1937, so from then until the ML1 and ML3 went out of production in 1941, all models had the removable headstock. George |
| Jon Cameron | 22/09/2017 23:23:54 |
| 368 forum posts 122 photos |
Edited By Jon Cameron on 22/09/2017 23:30:05 |
| Hopper | 22/09/2017 23:35:54 |
7881 forum posts 397 photos | Or someone machined the spindle down to fit a set of chucks etc they already had from a previous machine etc. Looks like a good useable machine with a good selection of tooling you got there. There is a good Yahoo group for Myford lathes that could be useful source of info. I have an old Drummond M type of similar style and vintage and it has proved to be a good and useful machine once set up and sorted out a bit. Happy turning! |
| Jon Cameron | 22/09/2017 23:37:45 |
| 368 forum posts 122 photos |
|
| Jon Cameron | 23/09/2017 00:08:13 |
| 368 forum posts 122 photos |
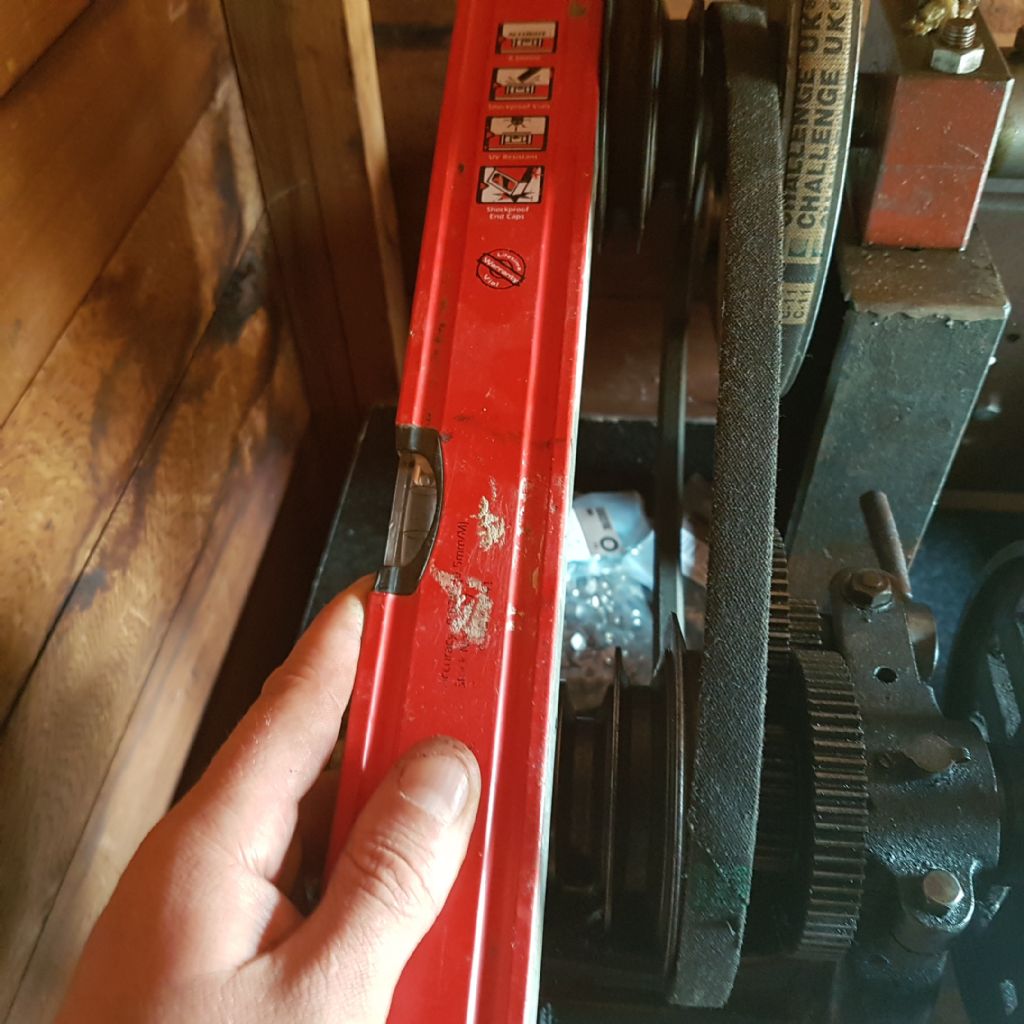
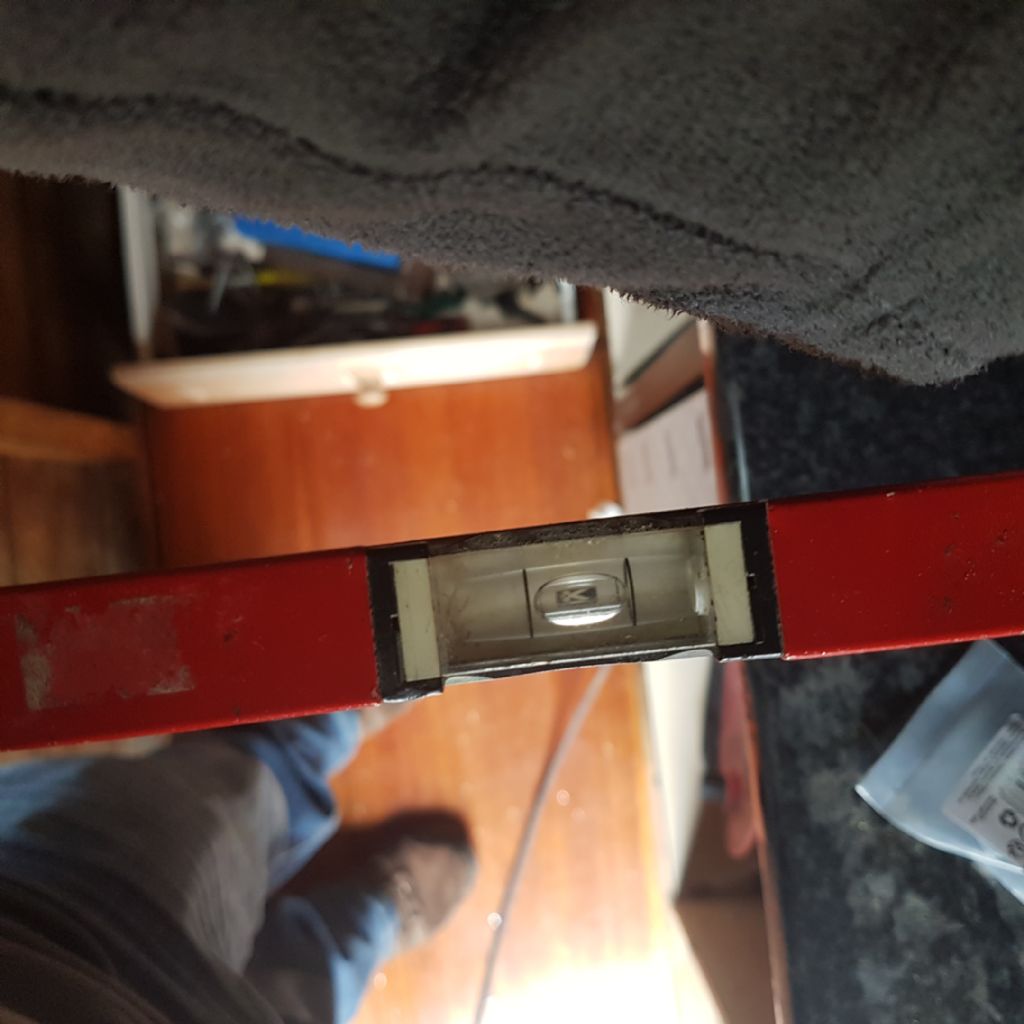
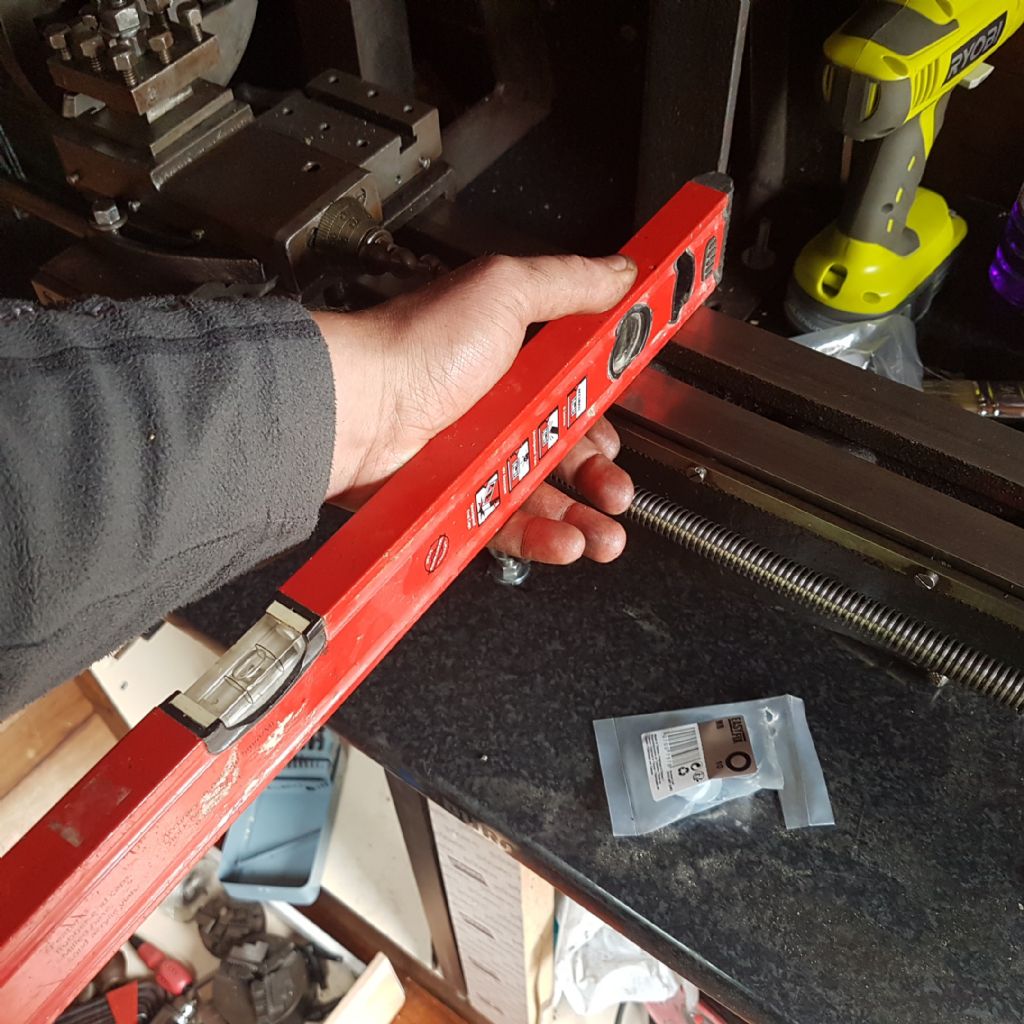
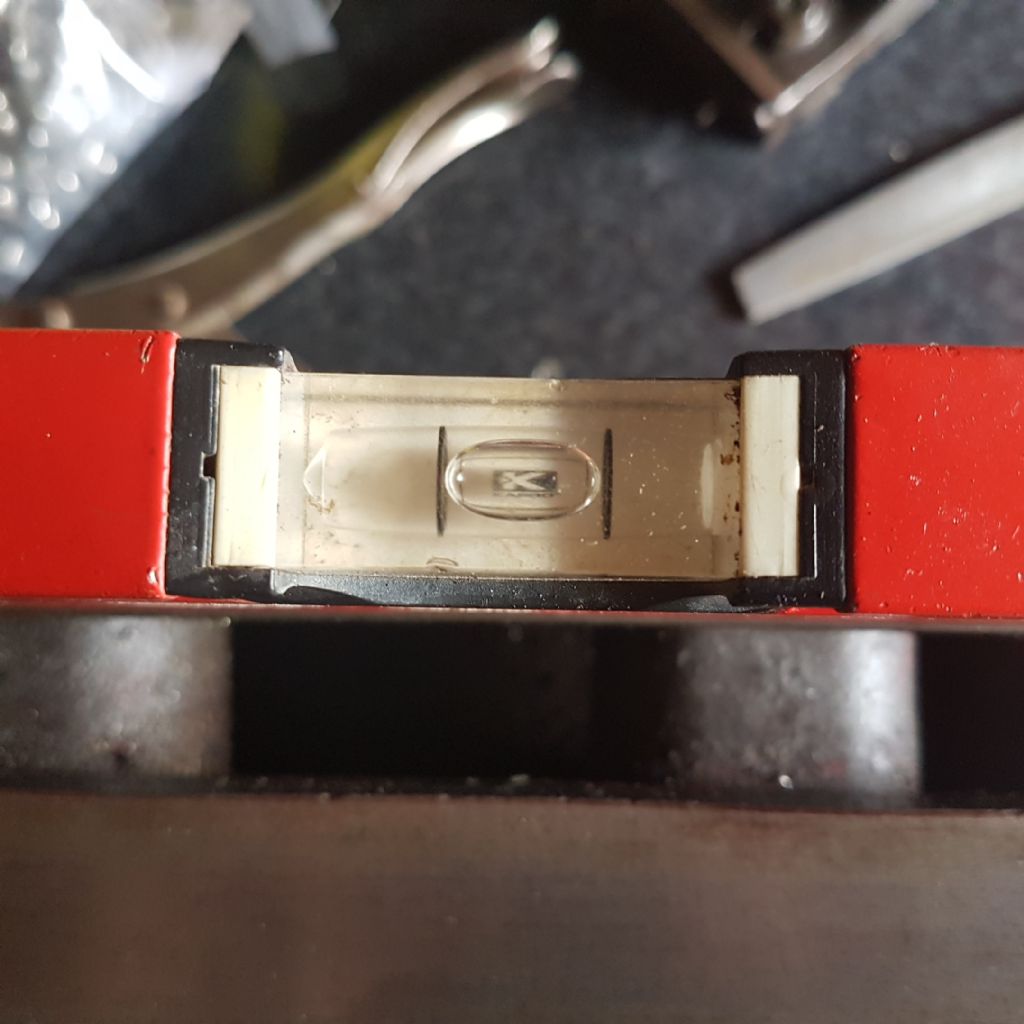
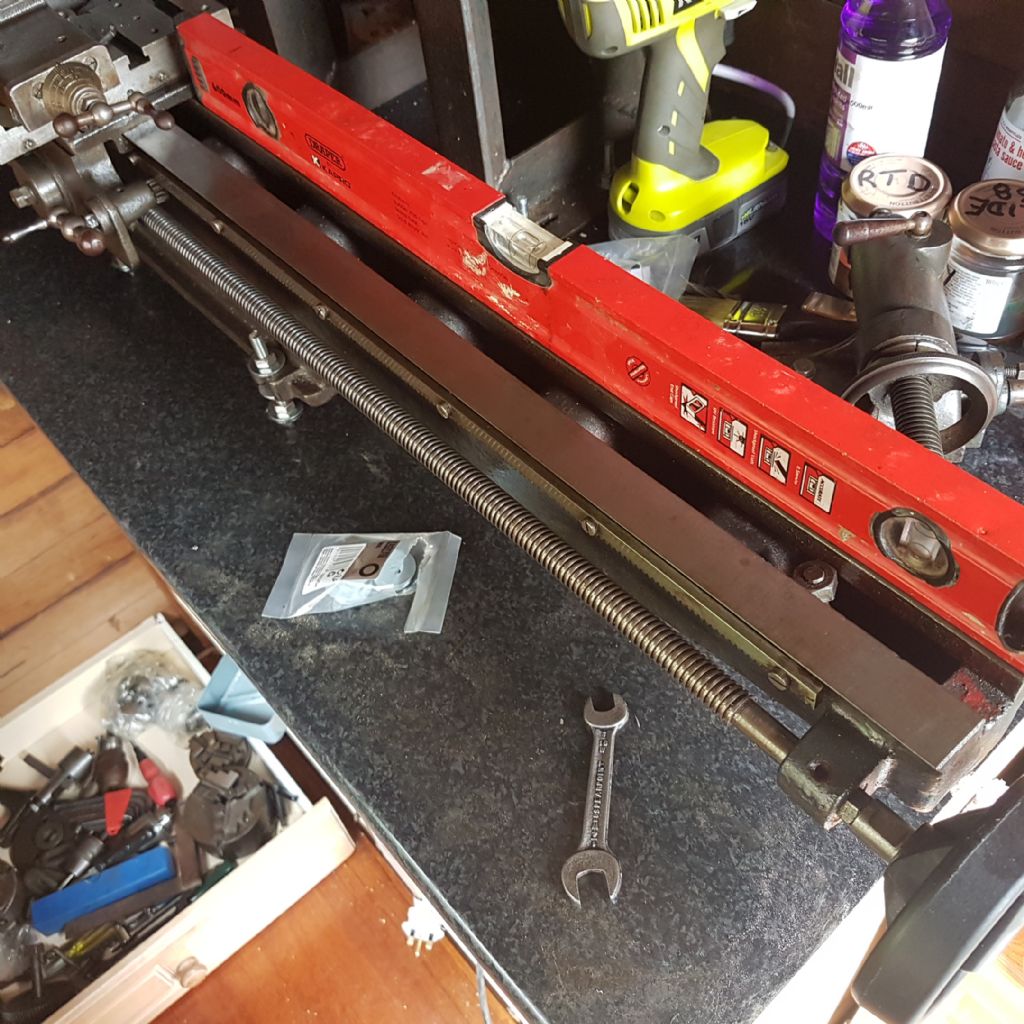
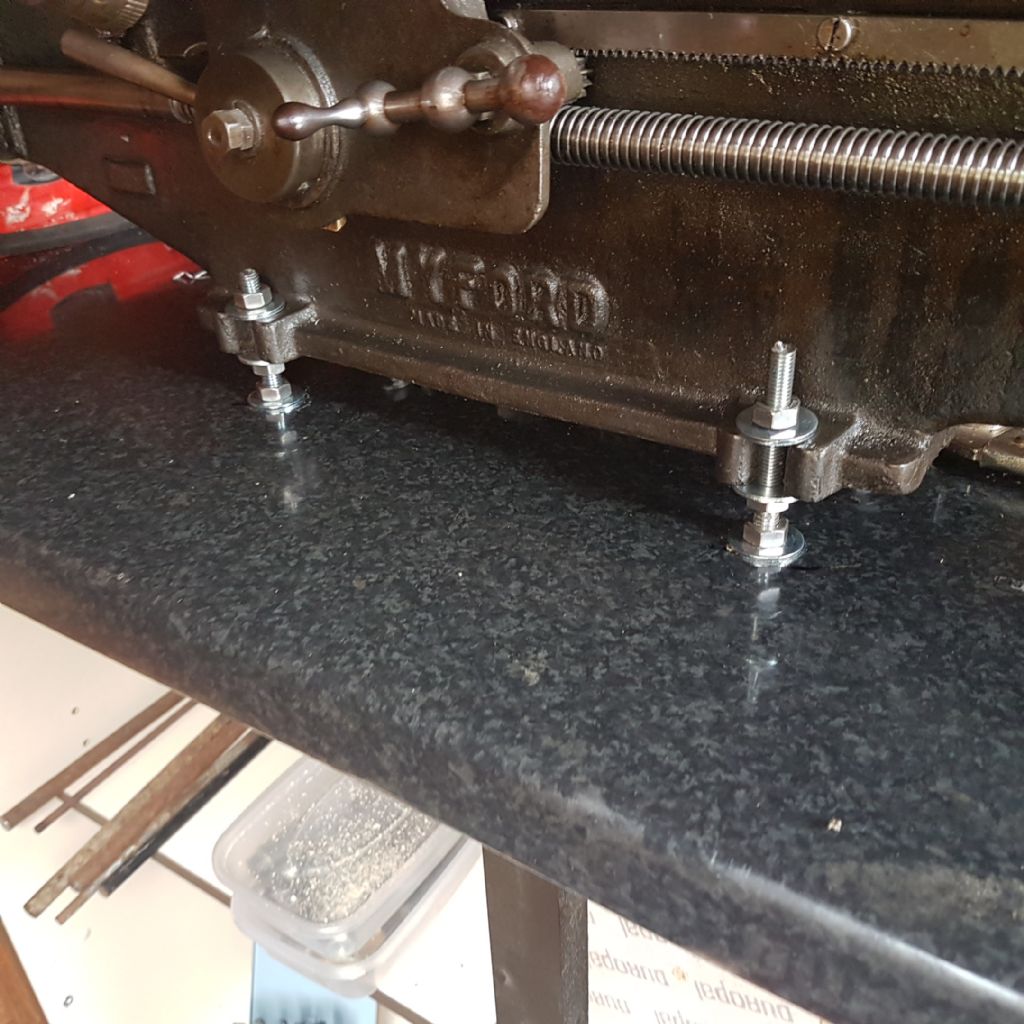
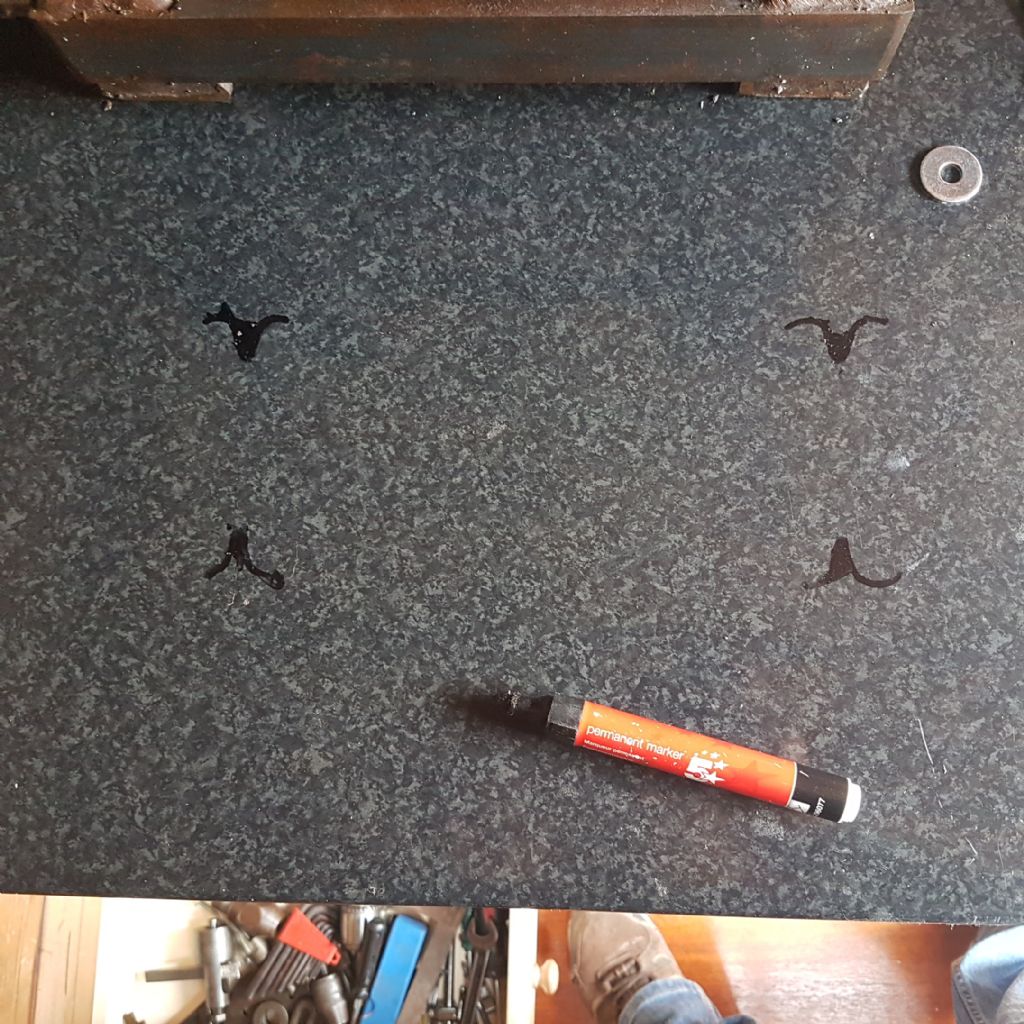
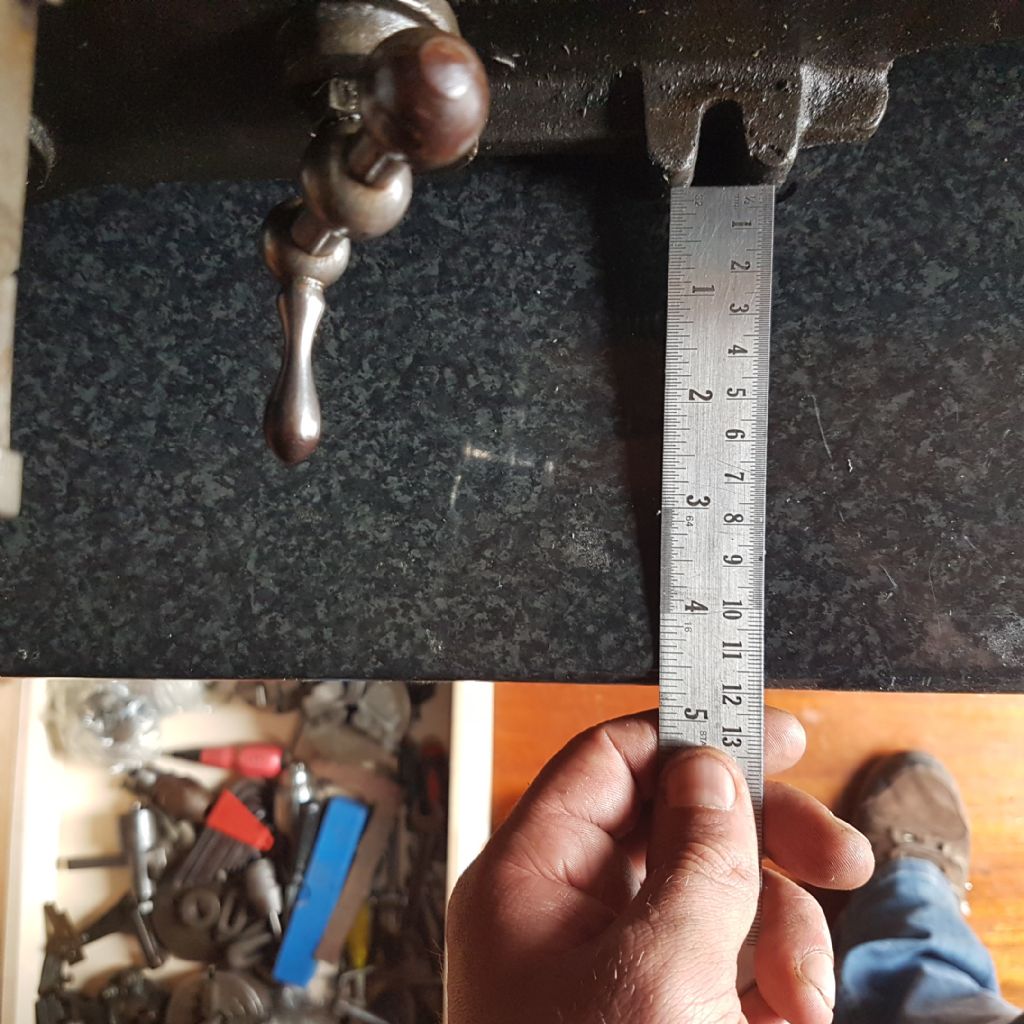
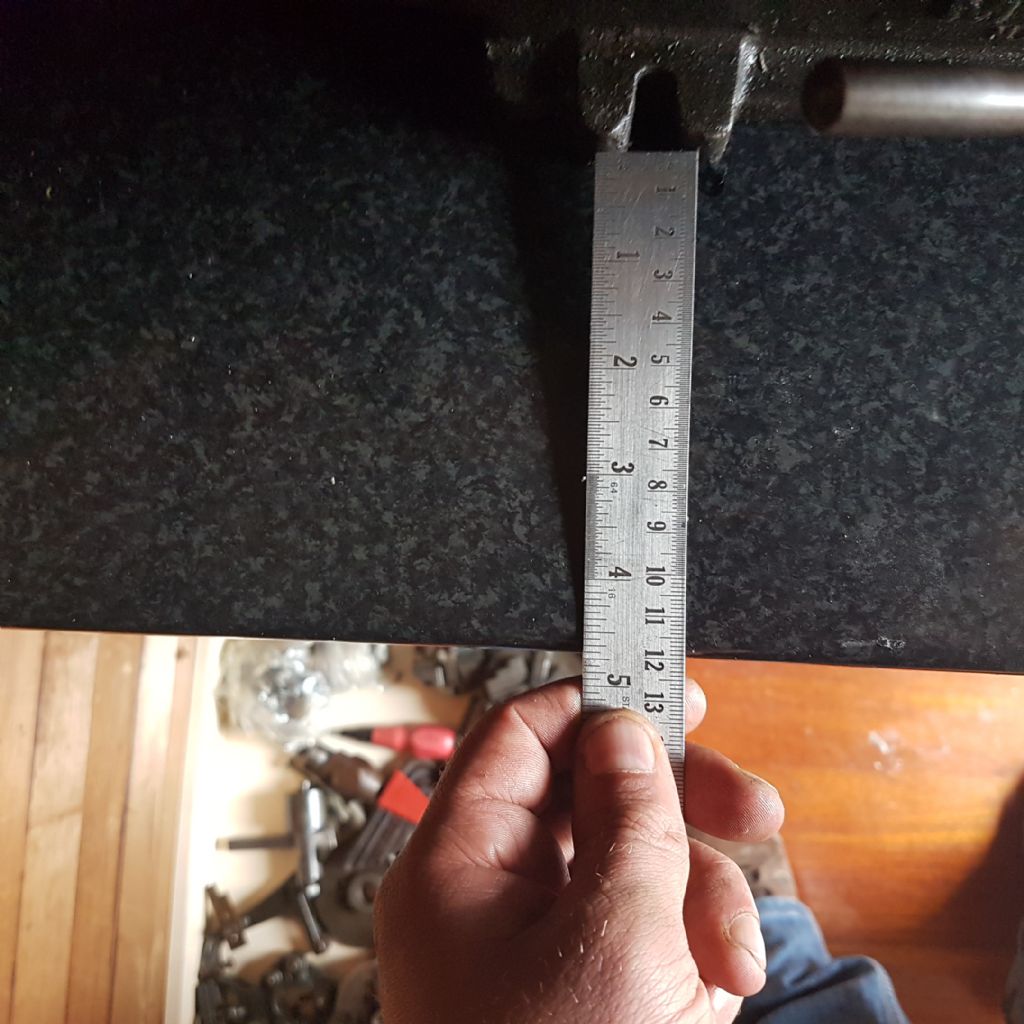
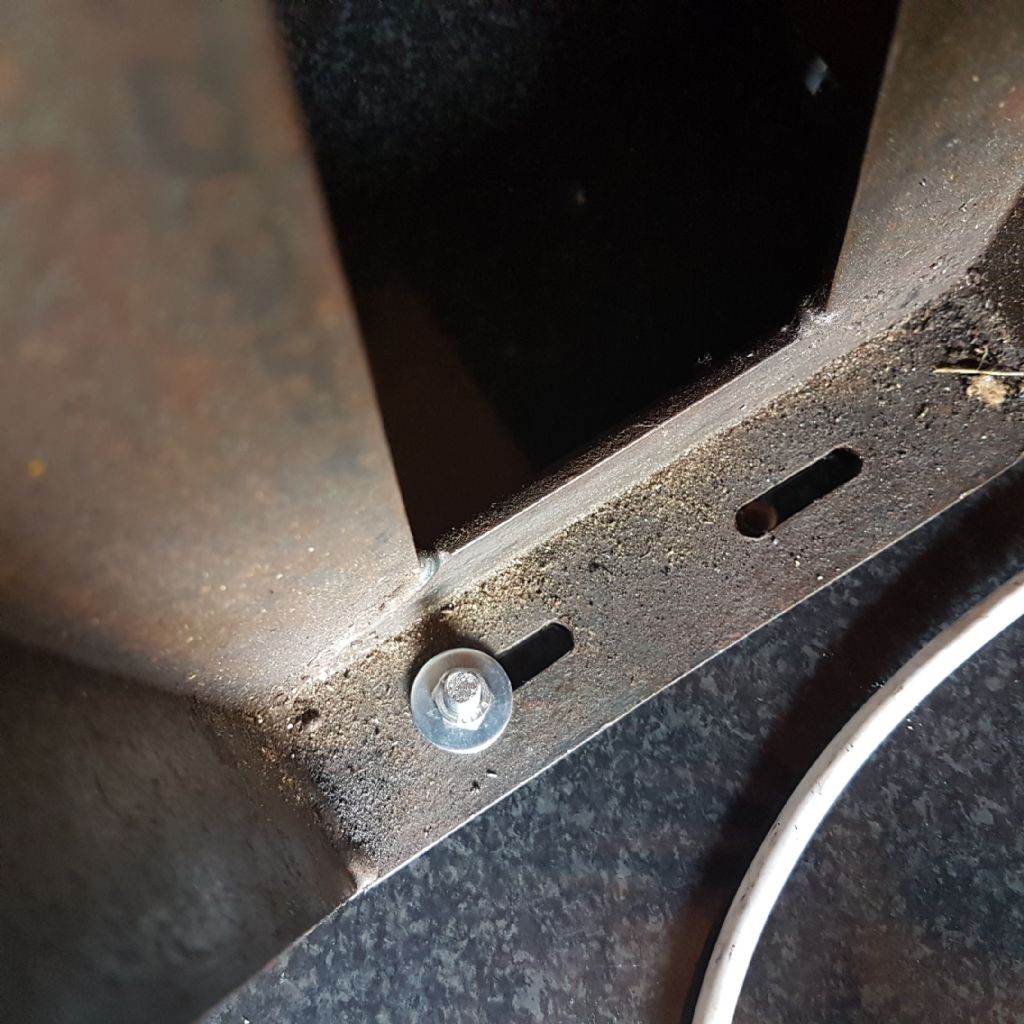
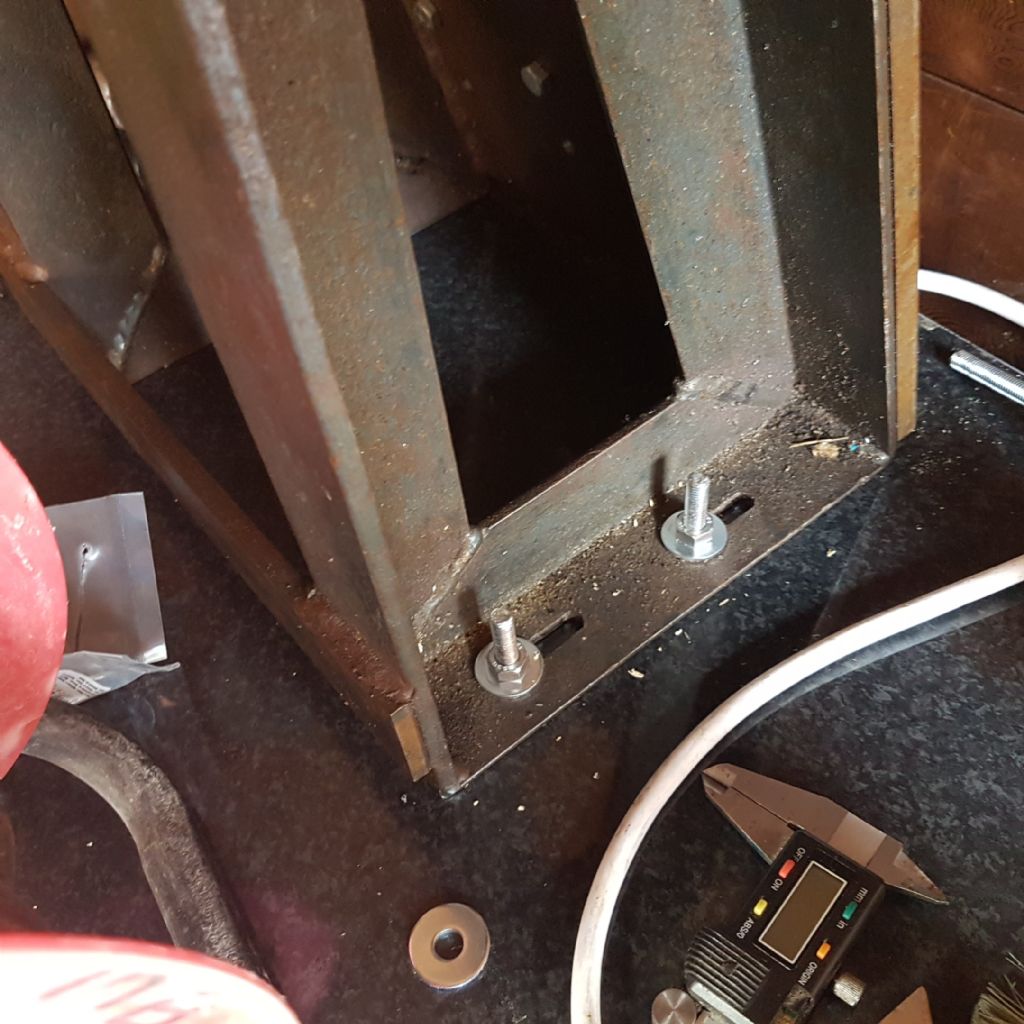
I first started with the motor using M8 threaded rod cut to length, and a nut backed onto another nut to form a good lock nut. The position of the motor was selected, with the lathe in situe. So I could gauge what room I'd need to be able to work around the lathe. Once finalised I marked the bolt openings from the motor frame onto the worktop with black market pen. These were then drilled using the cordless, and to the front edge of the markings enabling the motor bracket to move back and forth to allow tension to be set on the lathes belt. Then once the bolts were passed through and bolted tight, I turned my attention to the position of the lathe, making sure with a long enough straight edge the pulleys were in line. Then again marked the position on the bench and drilled. What I should have done is put some silicone down the holes when putting the bolts through as this would stop oil ingress, and potentially expansion of the chipboard as it takes on oil. (Will come back to that). The lathe was mounted on the studs (cut slightly longer than the studs for the motor mounting). To allow the lathe to be levelled, or more accurately trimmed for cutting concentric bars, drilling holes ect. Firstly a builders level was used length ways and at 90 ° to the bed, then diagonal from corner to corner of the bed. All the time watching the bubble and making small adjustments to the nuts. To get as close as I could with the level. |
| Jon Cameron | 23/09/2017 00:10:59 |
| 368 forum posts 122 photos | I hope you van appreciate that I'm a compete novice to this so I may make some errors in terminology along the way but please ignore that. I'll get there eventually. I started painting some bits up too but you'll have to wait for that.........TBC |
| Neil Wyatt | 23/09/2017 07:57:00 |
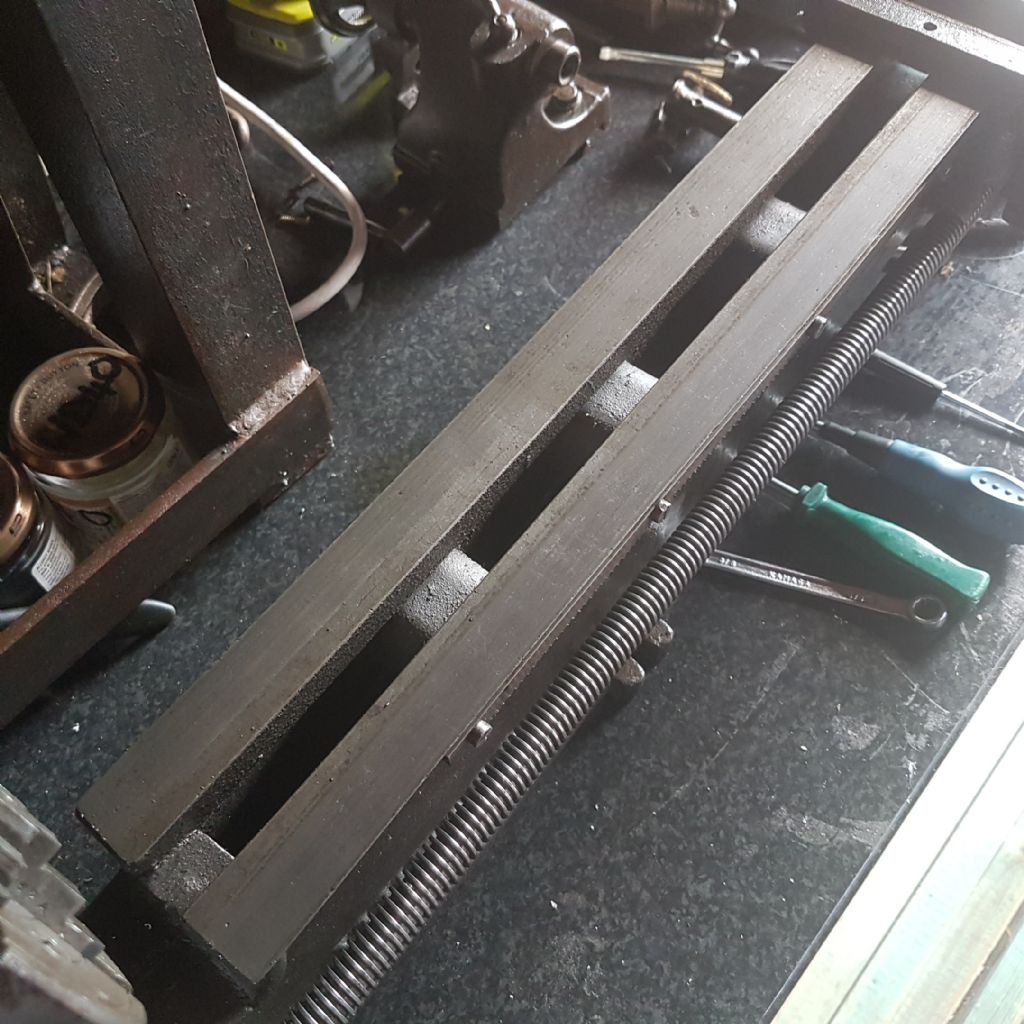
19226 forum posts 749 photos 86 articles | Keep it coming John, the lathe looks to be in good condition for its age given the photo of the bed. Neil |
| Jon Cameron | 23/09/2017 12:54:15 |
| 368 forum posts 122 photos | Posted by Neil Wyatt on 23/09/2017 07:57:00:
Keep it coming John, the lathe looks to be in good condition for its age given the photo of the bed. Neil
Looks can be deceiving Niel, the bed isn't as great as I thought from the sale pics, and may well be improved with scraping the bed, but im still reading up on that at the moment. And I haven't even bought the tools for the job yet. Comparing my lathe with some photos on Google, there is a lot more wear in mine than other, and will need to be addressed when I've the confidence to do it.
|
| Jon Cameron | 23/09/2017 13:05:29 |
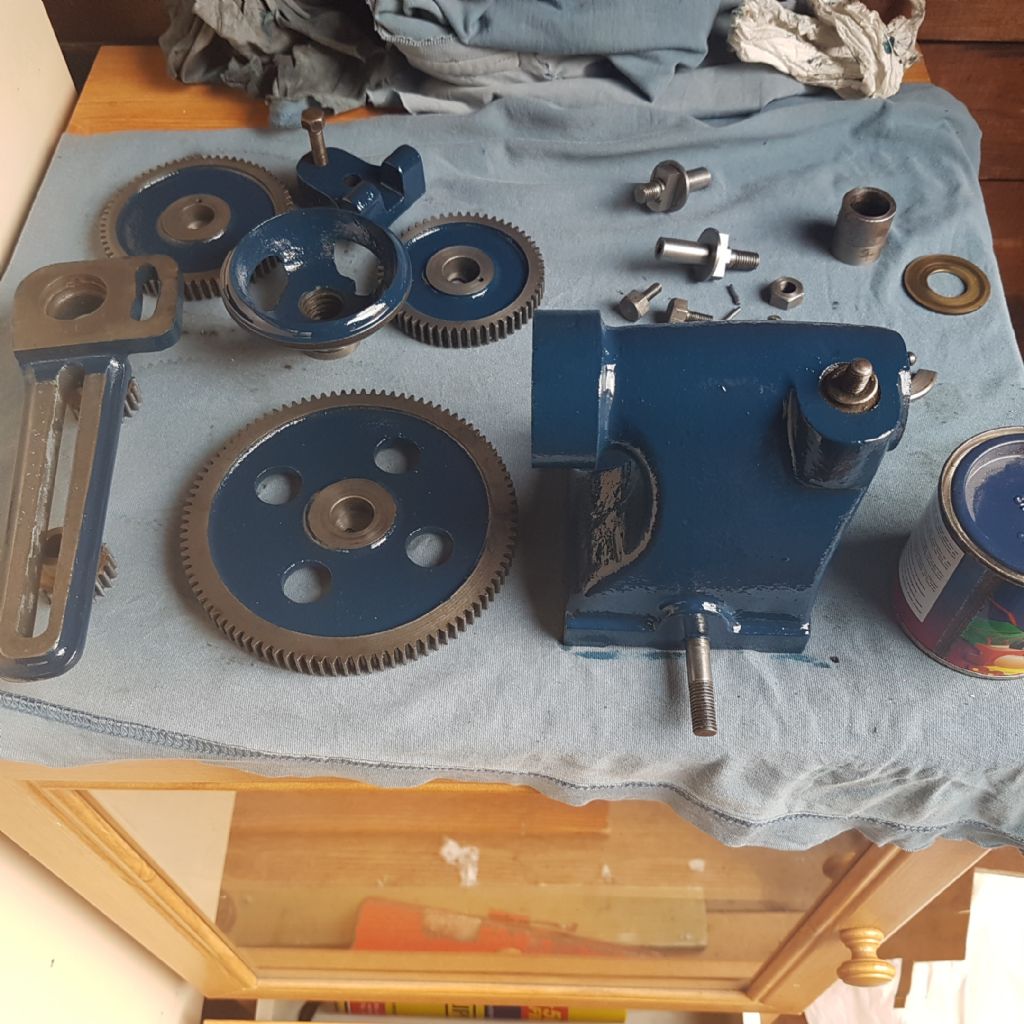
| 368 forum posts 122 photos | I have got sick of seeing rust on my lathe and bad paint, so I stripped the tailstock down and cleaned it up, I degreased the parts and then polished some of the metal parts to get rid of the rust. I cleaned up the bore and the spindle whilst I was at it, it's amazing how much bits of metal were back there.
With a fresh coat of paint the parts were left to dry over night and baked in the oven for an hour at 50°C this evaporated the solvents and hardened the enamel paint. I was careful not to get any paint on surfaces that were machined or would be in contact with other parts, these got a wipe over with oil after painting, whilst I was at it I also decided to do the change gears and bracket. |
| Georgineer | 23/09/2017 14:45:50 |
| 652 forum posts 33 photos | Posted by Jon Cameron on 22/09/2017 23:23:54:
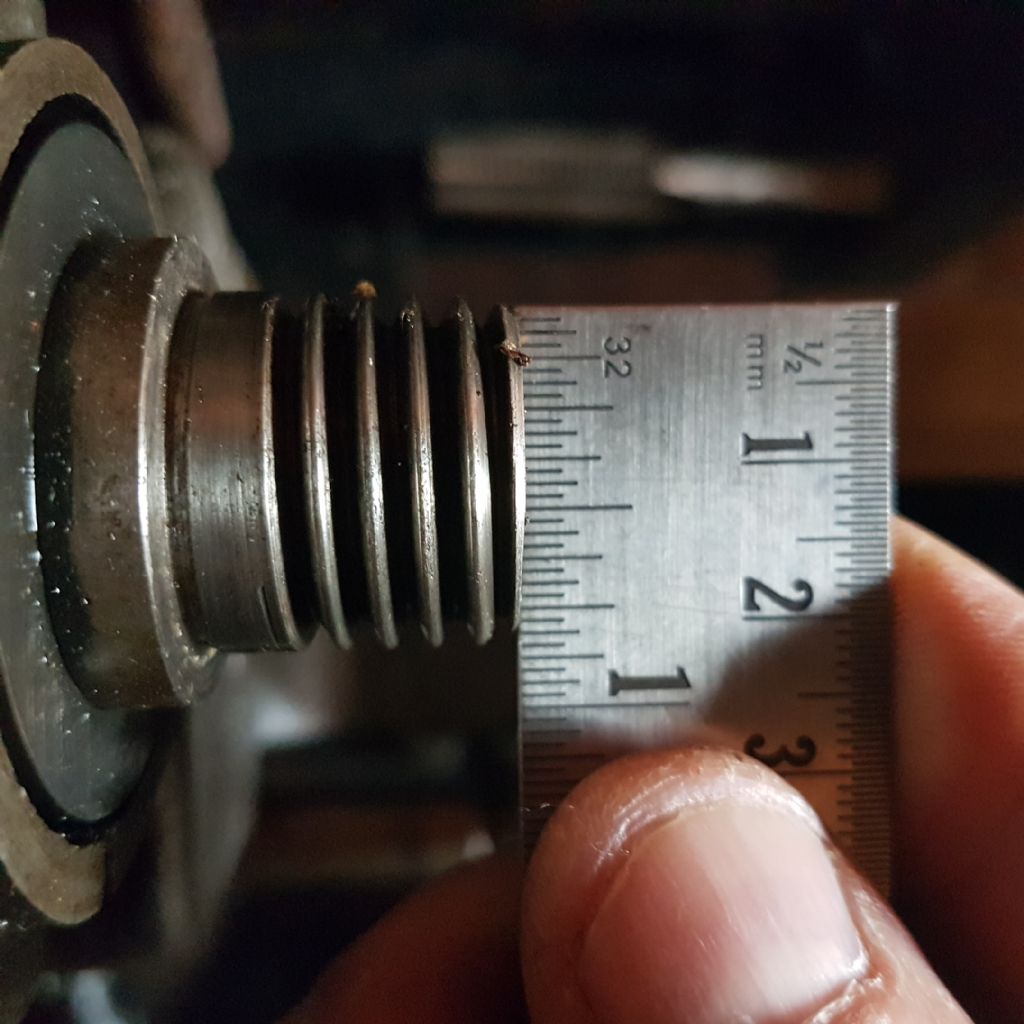
Edited By Jon Cameron on 22/09/2017 23:30:05 There were three spindle nose threads used as original by Myfords. 7/8" x 9 tpi Whitform (which is what you have), with MT1 internal taper; 7/8" x 12 tpi Whitform, also with MT1 internal taper; 1 1/8" x 12 tpi Whitform with MT2 internal taper (though the tailstock remained at MT1). I have never discovered if the two 7/8" threads were used at different times, or on different models, or according to the customer's choice. The 1 1/8" thread seems to have been introduced later, and is the same thread as used on the ML7. The thread should be slightly undersize, location of the chuck/faceplate being effected by the parallel register behind the thread. All three threads used on the ML1/2/3/4 had a register the same diameter as the nominal thread diameter. When the ML7 was introduced it had a larger 1 1/4" diameter register. This means that an ML7 accessory will fit onto an ML4 thread but without the accurate location given by a register. An ML4 accessory will not fit the ML7 spindle. It should be quite possible to make a register ring for the 1 1/8" ML4 nose, or a thread adaptor with register for the 7/8" nose, to give you a 'bolt-on' ML7 spindle nose, which opens up a whole world of accessories off the shelf or the internet. Just to confuse the picture, my ML4 came with a 7/8" BSF (11 tpi) spindle nose and no internal taper - somebody had obviously fitted a non-standard mandrel for some reason. George
Edited By Georgineer on 23/09/2017 14:47:22 |
| Jon Cameron | 28/09/2017 00:39:21 |
| 368 forum posts 122 photos | Hi all, some interesting reference material here on ML4 lathes from last year, and a more recent thread about half nuts, which also contains some useful references and information here Edited By Jon Cameron on 28/09/2017 00:40:41 |
| Jon Cameron | 28/09/2017 14:12:47 |
| 368 forum posts 122 photos | An explaination of setting up the tailstock by Brian Wood. Setting the tailstock alignment on an ML 4 lathe Ideally the method needs a 1MT test bar, the actual diameter of the plain parallel section is not important other than being a minimum of 3/8 inches. Also needed is a decent three jaw chuck with self aligning jaws, one that can be really trusted for true centreing. And finally, a sensitive DTI mounted on a magnetic stand. Brian Wood 2016 |
| Jon Cameron | 28/09/2017 17:23:04 |
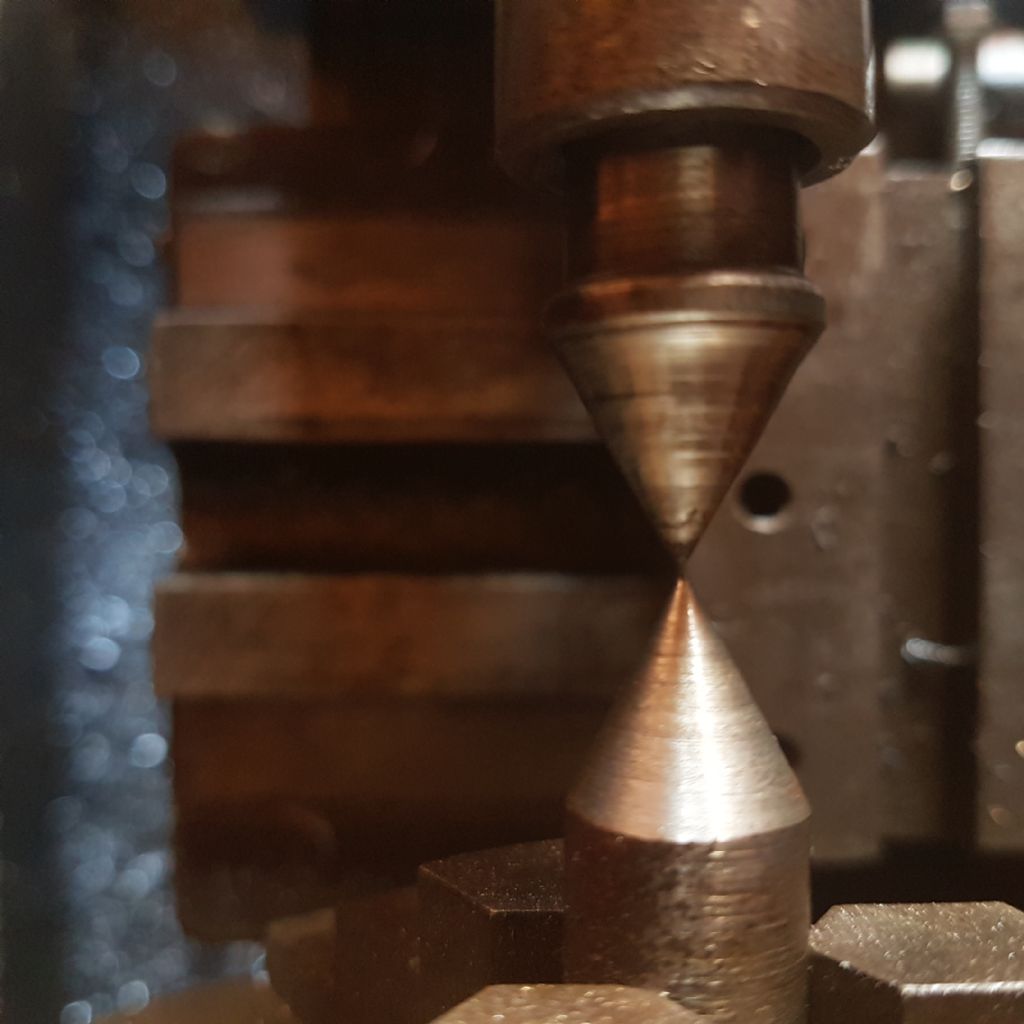
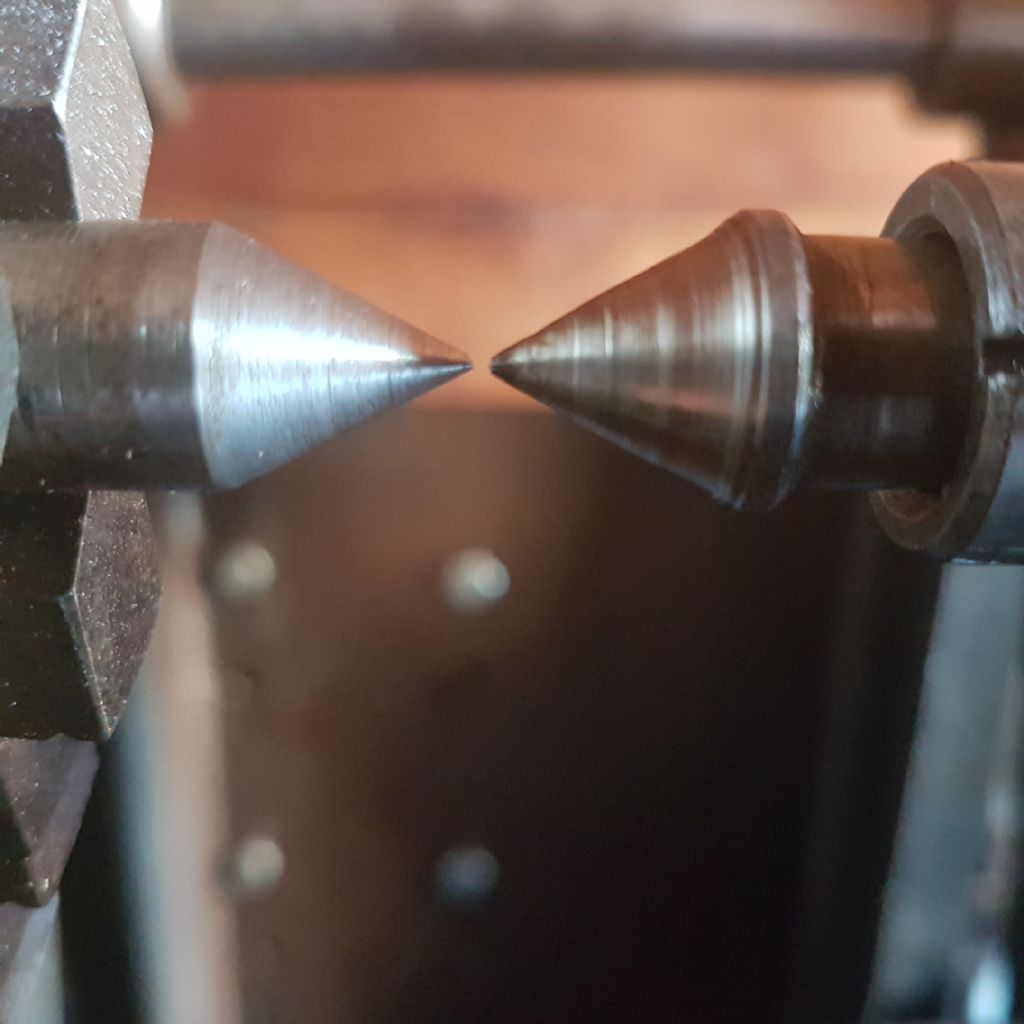
| 368 forum posts 122 photos | I have gone about it another way, and I've a video which demonstrated the frustration in setting it up. In that there are three items that can all influence the angle of the tailstock.
Edited By Jon Cameron on 28/09/2017 17:29:08 |
| Brian Wood | 28/09/2017 20:11:06 |
| 2742 forum posts 39 photos | You do like to do things the hard way don't you! I've wasted precious hours doing the job in much the sane way as you describe, only to find that the tailstock barrel is skewed on the bed and deep drilling into a job in the chuck is inaccurate. Thinking again about it since writing those notes last year, I think there is an even easier way of proceeding; it needs no drills, reamers or test bars either. Wind out about 1.5 inches of tailstock barrel and grip that in the 3J chuck, being careful not to grip in the anti rotation groove. Now bolt up the tailstock soleplate, the barrel is stiff enough to resist flexing. You might have hit lucky Jon, but this would give a confirmatory test on what you achieved today. Regards Brian
|
| Jon Cameron | 28/09/2017 20:45:04 |
| 368 forum posts 122 photos | Double post Edited By Jon Cameron on 28/09/2017 20:47:54 |
| Jon Cameron | 28/09/2017 20:47:27 |
| 368 forum posts 122 photos | Brian I thought of that already tried it even, but there was too much flex in the tail stock so wasn't what I thought was accurate enough, at least the centers provide a single reference point, when I've checked the extended length then back again I'm getting closer, for those that don't know here's how annoying it is to set up the tailstock, as you think it's spot on when oops it isn't! |
| Jon Cameron | 29/09/2017 21:36:29 |
| 368 forum posts 122 photos | Done a few bits today, things that have been bugging me. Firstly the dials would not rotate, on the feed screws for the cross slide and the top slide, so instead of dialing in a dimention I was adding subtracting ECT. Which was a bit of a pain.
I disassembled it and cleaned the parts before lubricating with light oil, the metal washers were firstly rubbed on some fine wet and dry with oil, then on a stone to remove any sharp edges.
The parts were reassembled as above all recieving a light dose of oil to stop corrosion. A small flat blade screw driver was inserted to the rear of the dial so the nut could be done up. The tension on the dial, (or resistance for turning), is adjusted by how tight this nut is. The handle was then screwed back on and the same was done for the cross slide.
|
| Jon Cameron | 29/09/2017 21:38:16 |
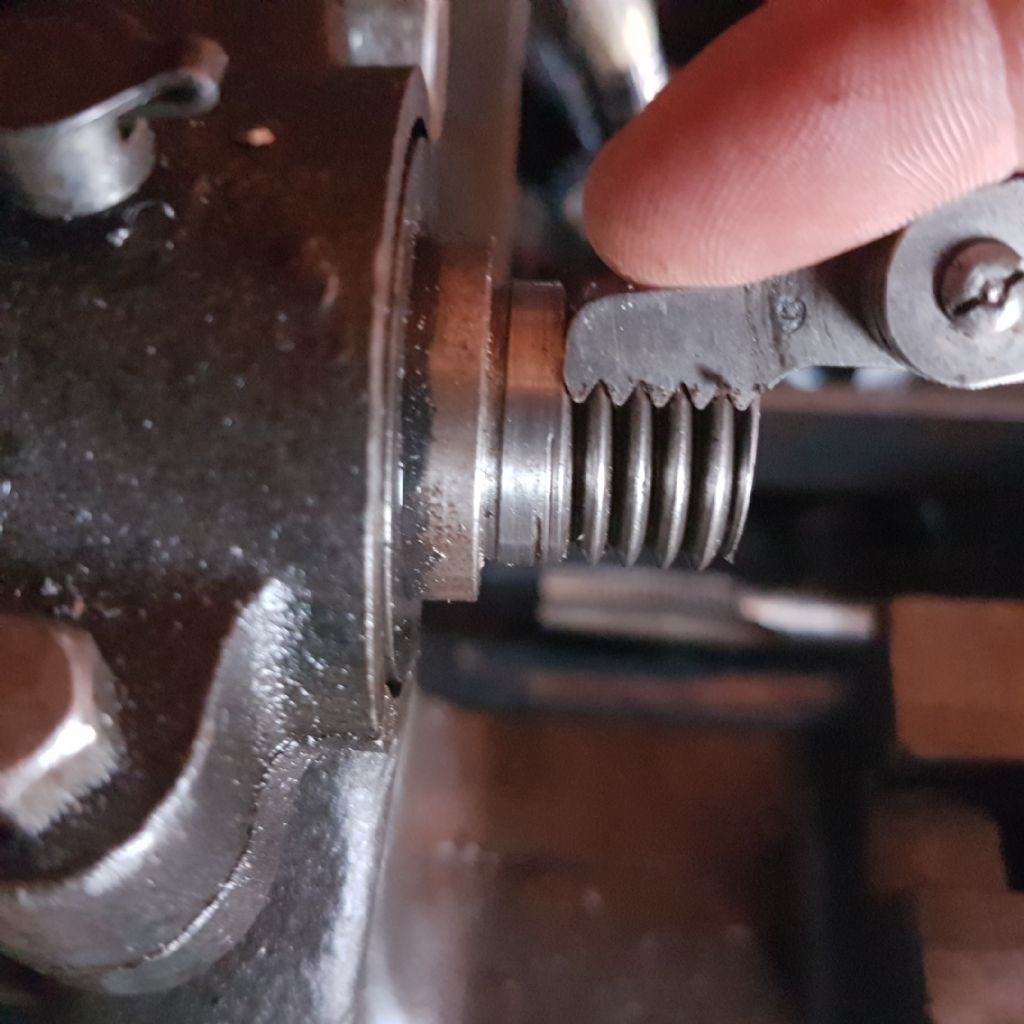
| 368 forum posts 122 photos | change gears and the lead screw was been thrown out. Plus it looked ugly and I didn't like it.
Once all was cleaned back up and the grime removed. The bracket was bolted back in place.
The disadvantage of this was that now the lead screw didn't line up with the half nuts and was pulling the lead screw 80thou from centre, not good for a smooth gear train.
I loosened the screws off the saddle which hold the apron in place, cleaned the underside of any muck, and remounted the apron. Just this adjustment halted the amount of deflection on the lead screw to 40thou. I began to think how I could make this better, and I thought to shim one side of the apron to tilt it into the lead screw. I started with one of the shims removed from the bracket. This was 16thou. By mounting this to the outer edge it tilted the apron at the bottom into the lathe. This removed all of the deflection on the lead screw. But the lead screw jammed and was stiff to turn.
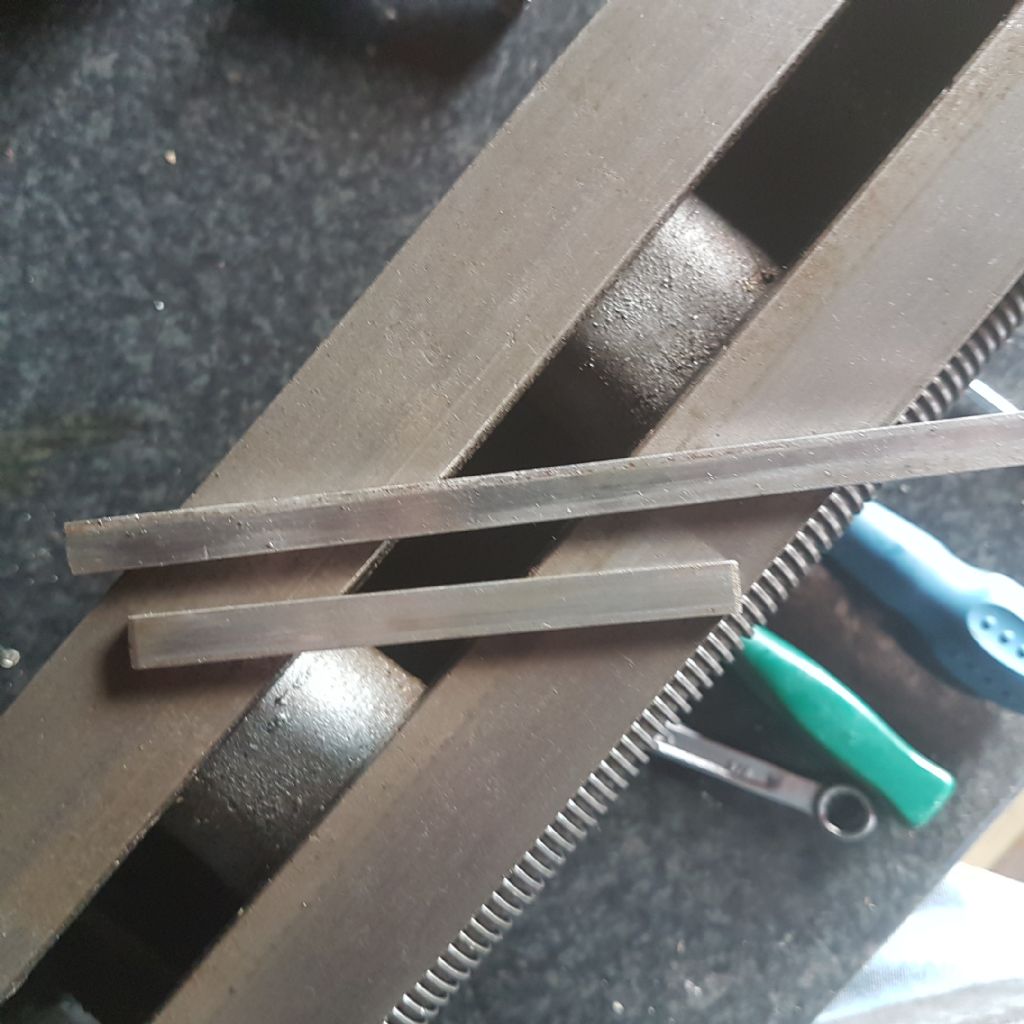
Next came good old beer can. Beer cans are made of 5thou thick metal and make for a great packing material. Two strips were cut. And mounted under the edge as before. This gave a deflection of just 15thou, but the leadscrews was free to turn when the half nuts were engaged.
You can just see the two 5mm strips of beer can under that saddle. The deflection now reads 15thou, but since it's so smooth the length of the bed I'll leave it alone.
It did however present another problem in that the gaurd for the lead screw no touched the rack, so that was removed and the offending edges that touched filed off.
|
| Jon Cameron | 29/09/2017 21:41:43 |
| 368 forum posts 122 photos | I also tried a rudemetary way of aligning the tailstock. Using one of the largest taper drills i have, (think it's 7/8" Edited By Jon Cameron on 29/09/2017 21:43:38 |
Please login to post a reply.
Want the latest issue of Model Engineer or Model Engineers' Workshop? Use our magazine locator links to find your nearest stockist!
Sign up to our newsletter and get a free digital issue.
You can unsubscribe at anytime. View our privacy policy at www.mortons.co.uk/privacy
- *Oct 2023: FORUM MIGRATION TIMELINE*
05/10/2023 07:57:11 - Making ER11 collet chuck
05/10/2023 07:56:24 - What did you do today? 2023
05/10/2023 07:25:01 - Orrery
05/10/2023 06:00:41 - Wera hand-tools
05/10/2023 05:47:07 - New member
05/10/2023 04:40:11 - Problems with external pot on at1 vfd
05/10/2023 00:06:32 - Drain plug
04/10/2023 23:36:17 - digi phase converter for 10 machines.....
04/10/2023 23:13:48 - Winter Storage Of Locomotives
04/10/2023 21:02:11 - More Latest Posts...
- View All Topics
- Reeves** - Rebuilt Royal Scot by Martin Evans
by John Broughton
£300.00 - BRITANNIA 5" GAUGE James Perrier
by Jon Seabright 1
£2,500.00 - Drill Grinder - for restoration
by Nigel Graham 2
£0.00 - WARCO WM18 MILLING MACHINE
by Alex Chudley
£1,200.00 - MYFORD SUPER 7 LATHE
by Alex Chudley
£2,000.00 - More "For Sale" Ads...
- D1-3 backplate
by Michael Horley
Price Not Specified - fixed steady for a Colchester bantam mark1 800
by George Jervis
Price Not Specified - lbsc pansy
by JACK SIDEBOTHAM
Price Not Specified - Pratt Burnerd multifit chuck key.
by Tim Riome
Price Not Specified - BANDSAW BLADE WELDER
by HUGH
Price Not Specified - More "Wanted" Ads...
Do you want to contact the Model Engineer and Model Engineers' Workshop team?
You can contact us by phone, mail or email about the magazines including becoming a contributor, submitting reader's letters or making queries about articles. You can also get in touch about this website, advertising or other general issues.
Click THIS LINK for full contact details.
For subscription issues please see THIS LINK.
Model Engineer Magazine
- Percival Marshall
- M.E. History
- LittleLEC
- M.E. Clock
ME Workshop
- An Adcock
- & Shipley
- Horizontal
- Mill
Subscribe Now
- Great savings
- Delivered to your door
Pre-order your copy!
- Delivered to your doorstep!
- Free UK delivery!

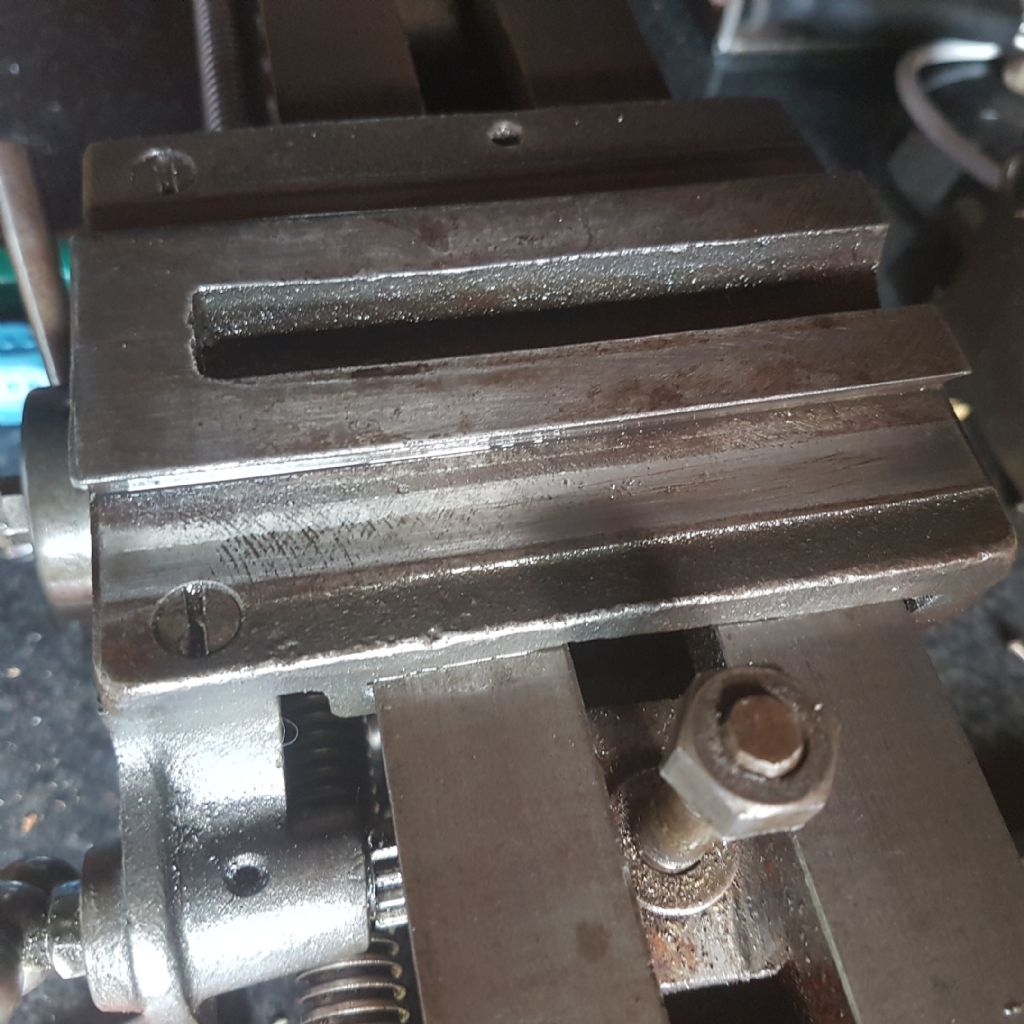
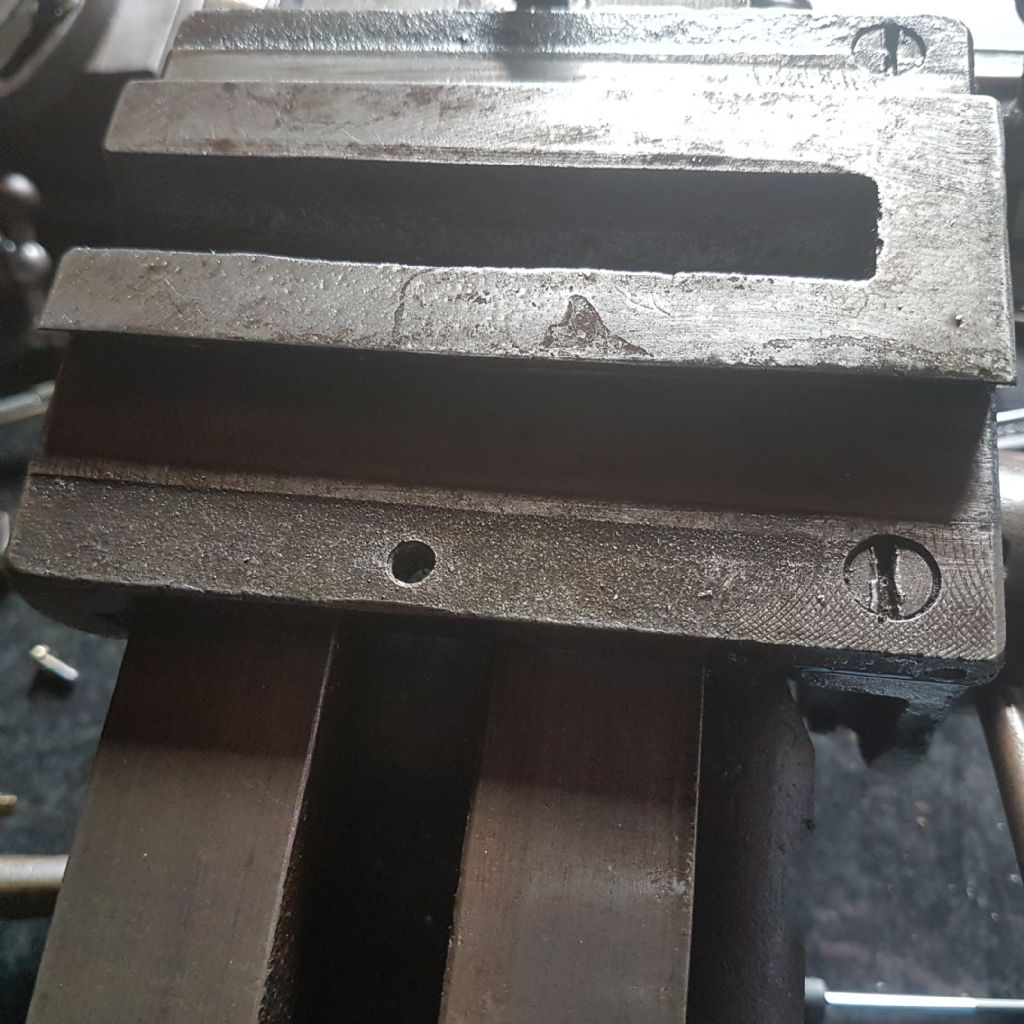
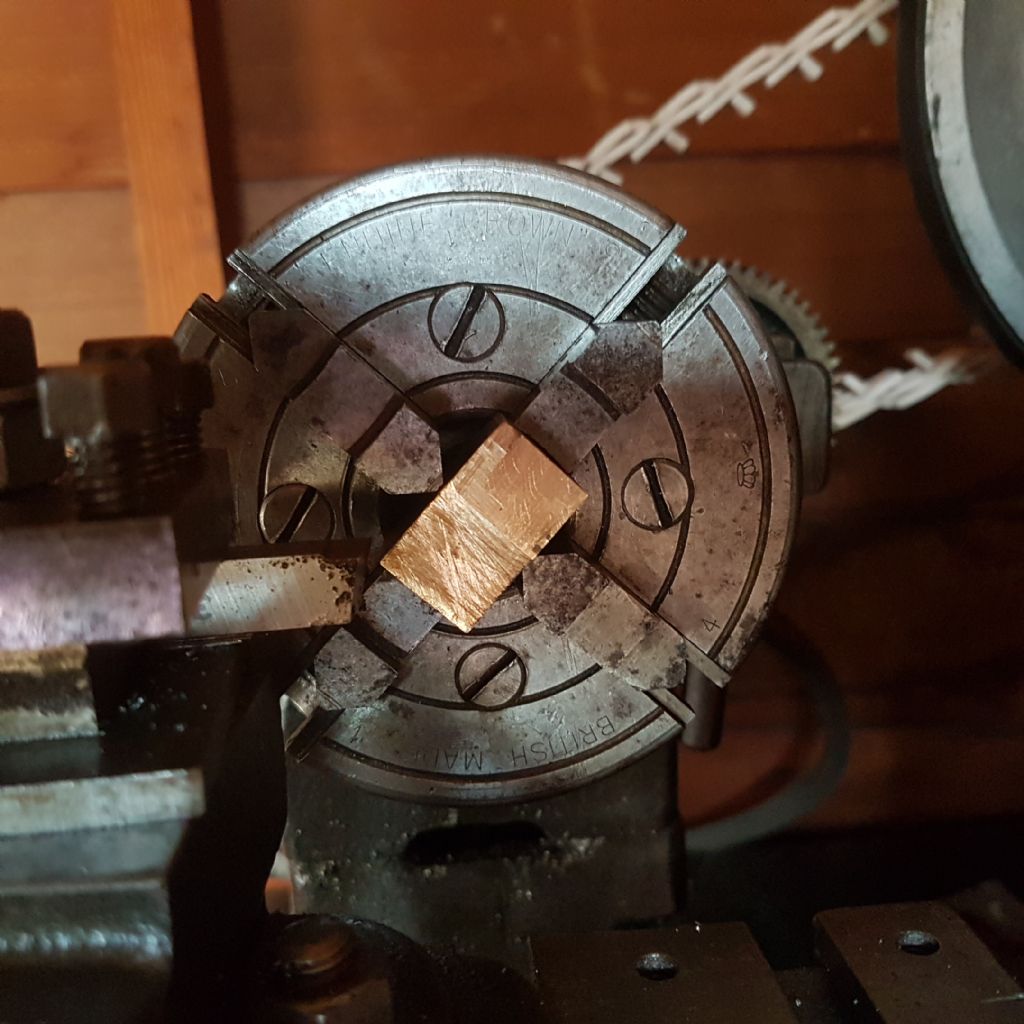

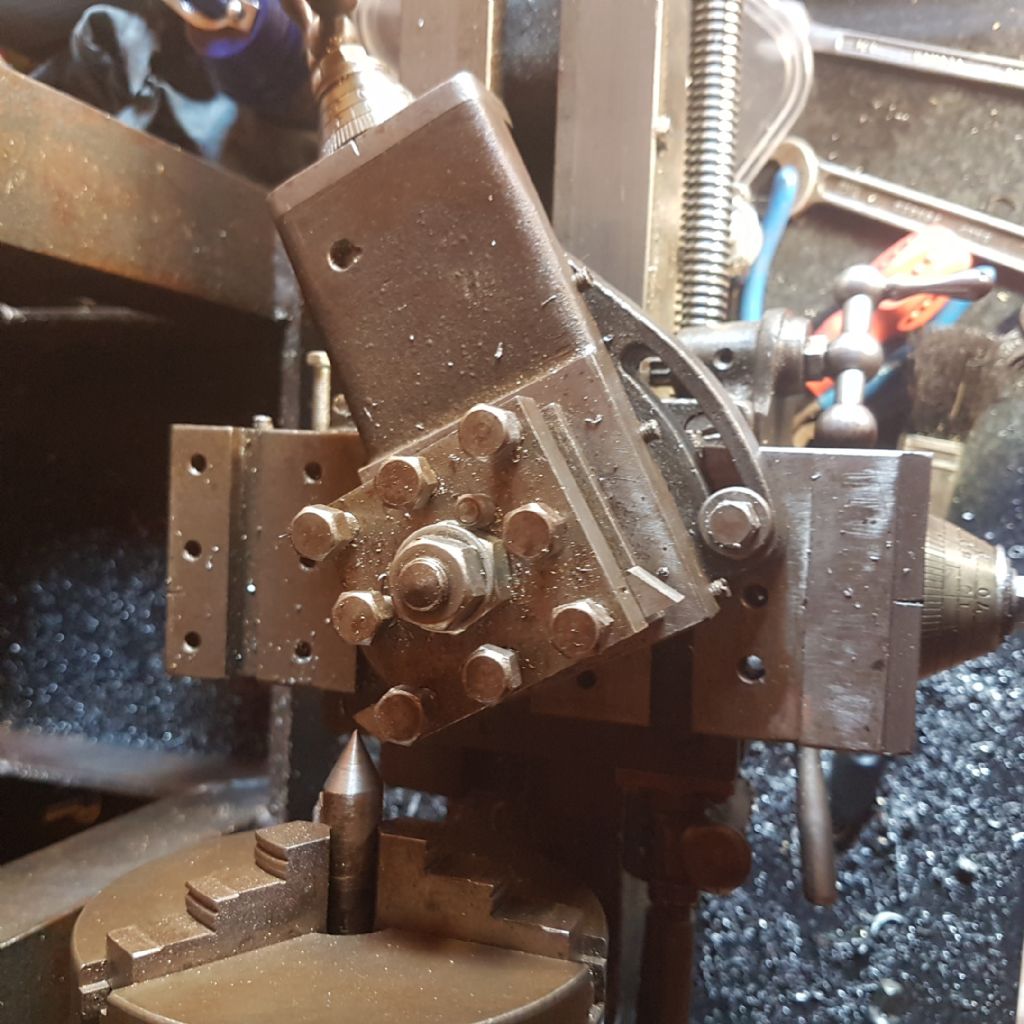
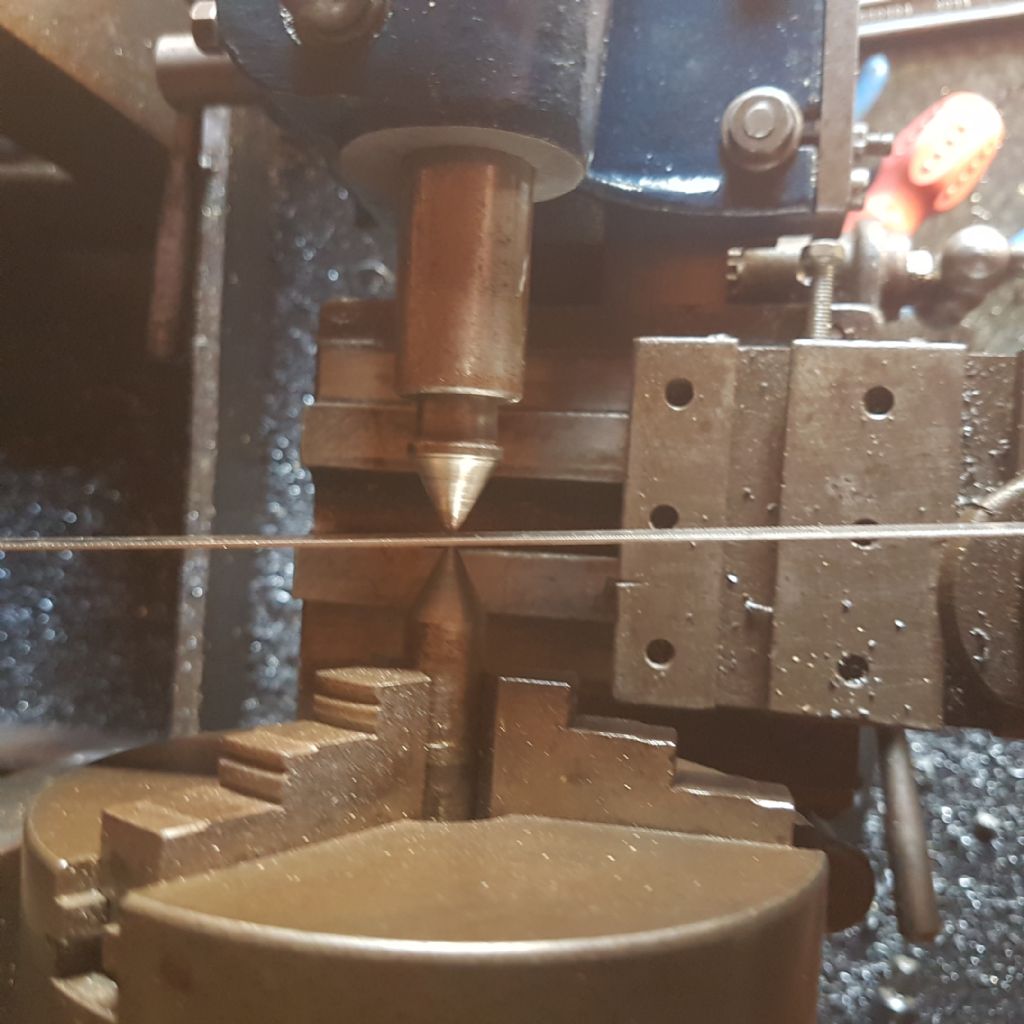
 mounted in the tailstock. The quill was extended out as far as I could and the gib adjusters loosened off. The drill was fed as far into the chuck as I could get it, and the jaws nipped up, not locked tight just nipped up. Then the gib was brought to mate with the ways and tightened, the clamp at the rear was then loosely tightened. Just enough to give some pressure to the rear. The adjusters were then tightened up making sure the whole setup wasn't moving, and locked into place. I've yet to check it's alignment, but the quill by eye looks to be perfectly parralel to the ways. The worn gib strip is also sitting nice and flat against the ways, whereas before it was slightly tilted.


 Register
 Log-in


