Forum sponsored by:

Colchester Student Mk1 Won't Start
| Richard Kirkman 1 | 21/07/2020 20:57:09 |
| 334 forum posts 799 photos | Somehow I very much doubt that they will do a student discount. However, It would be much cheaper for me to arrange my own courier. I was still expecting the part to cost a lot more than that. Yes John I do have a coolant pump in my lathe. And the household microwave just died...
|
| Herman van der Merwe | 22/07/2020 15:36:19 |
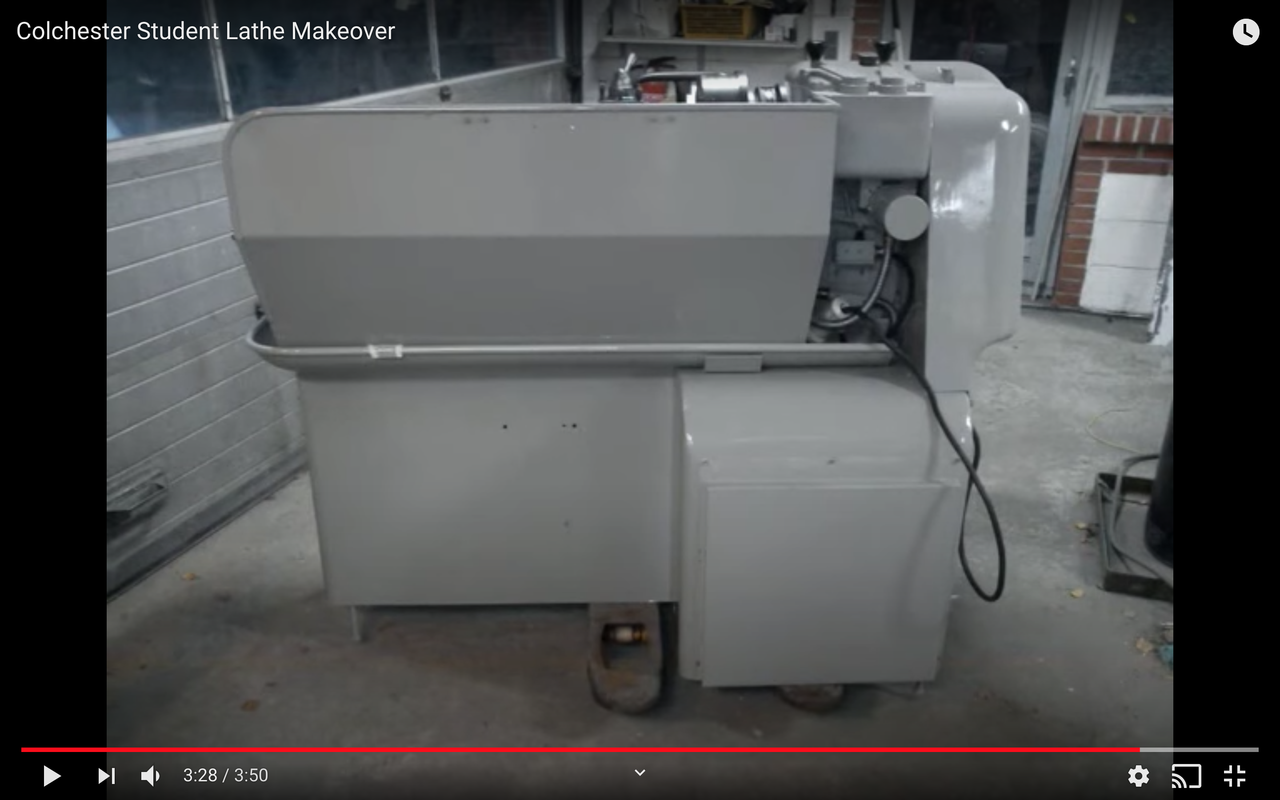
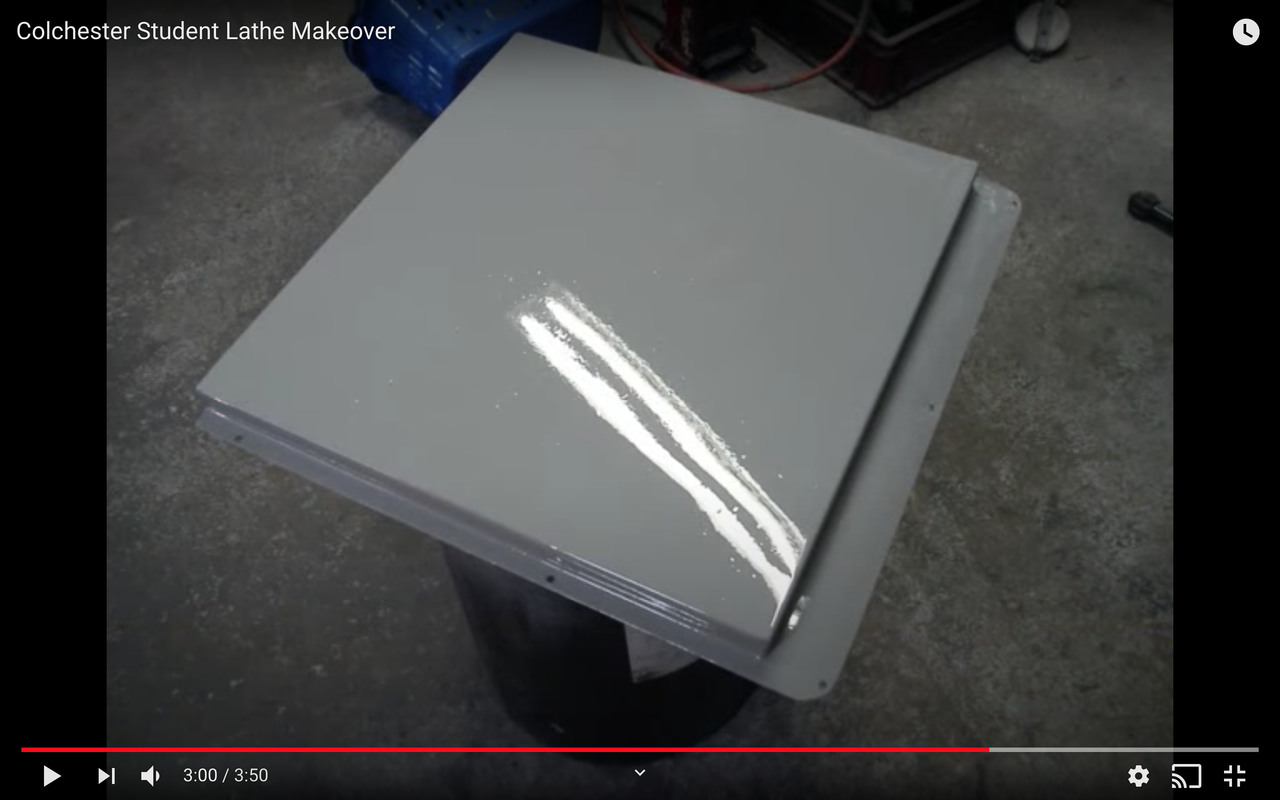
 180 forum posts | I found this in a YouTube video today.
|
| Richard Kirkman 1 | 23/07/2020 16:25:45 |
| 334 forum posts 799 photos | That doesn't look like an original cover to me? Whatever does the job though The spare parts were not collected on Tuesday, so they are delayed. They still haven't been collected, and they won't really give me a specific time, which makes arranging Traci a nightmare. They said that they should be collected today, but with a timeslot of 9am-6pm who knows what will happen. Then if they're not collected today, who knows when it'll be. Feels like it's a lot more complicated than it needs to be. If only they had collected when they said they would. So that's a bummer, no parts, they should have been here today. It would have been nice. Plus Tufnell's aren't delivering on Saturdays currently, due to corona. So even if they are collected today, it'll be Monday when they arrive. I'm very doubtful that it's going to be collected today, but only time will tell |
| Richard Kirkman 1 | 25/07/2020 22:53:38 |
| 334 forum posts 799 photos | Little update Tuffnells failed to collect 3 times, so I've had a week wasted. I've canceled and rebooked with UPS, which should be collected on Monday then delivered on Tuesday. Not quite as cheap, another £20 and I could have just had a pallet! I've been busy making some wooden signs for my aunt, and working on a kitchen knife and a hunting knife. However, the brass plate has arrived, so I'll be able to make my new labels soon enough. I think I'll heat treat the knives first |
| Richard Kirkman 1 | 26/07/2020 20:57:45 |
| 334 forum posts 799 photos | PROGRESS!! I heat treated the knives as expected, had some warps so had some fixing to do. So I had an hour or two spare while the knives were tempering in the mini oven.
First one went a little squiffy when I tried to make it deeper
Funilly enough, I currently only have 2 E's, so I had to do this by overlaying the other ones. I have some more letters on order, but they're backordered for a few more weeks, so I thought I'd have a go.
Ready to be fitted tomorrow. I'm very pleased so far. They look much better than F. and R. written in marker pen I may try to deepen the O and the R a little. |
| Herman van der Merwe | 26/07/2020 21:18:38 |
180 forum posts | Did you charcoal your fingers in the oven? No mittens? |
| Richard Kirkman 1 | 26/07/2020 22:25:43 |
| 334 forum posts 799 photos | Unfortunately my hands were covered in dirt from hand sanding. Not sure there's really a way around it. If only someone made a garment that fitted around my fingers, thumbs and palms!
|
| Herman van der Merwe | 27/07/2020 10:03:36 |
180 forum posts | Yeah, those garments sure would be handy! Edited By Herman van der Merwe on 27/07/2020 10:03:45 |
| Richard Kirkman 1 | 27/07/2020 16:01:10 |
| 334 forum posts 799 photos | So this is what the switch originally looked like. Nice and rough with beautifully handwritten F and R
First step was to take it out and off
It was held on by 2 countersunk screws, which were going through non countersunk holes.
So I countersunk the holes so the screws are now flush, cosmetic improvements only today.
Then I laid out the new labels and marked where I wanted them to go. I did one hole for each, drilled and tapped, then marked the other hole from there so they both lined up. This worked well
Then I had 4 long m3 screws to cut down. They didn't interfere with anything inside, but it made screwing them in and out much quicker
The F and the R mostly rubbed off with a bit of acetone. But It will be fully repainted one day! Then at last I put it all back together
I'm very happy with how they came out. Not original, but much more fitting than permanent marker! I did end up deepening the O and the R from forward, so it blended a bit better. A minute difference that you wouldn't notice unless I told you. The parts were successfully collected from Traci today, so I will hopefully receive them tomorrow! |
| Phil Whitley | 27/07/2020 19:24:53 |
 1533 forum posts 147 photos | Noice!! |
| Donovan Kaardal | 28/07/2020 14:55:09 |
| 27 forum posts 48 photos | Very nice! If you've got a car battery charger, you can also tinker with some galvanic etching. Basically reverse electroplating - I've used it in the past to make my own version of machine name plates, and also some medieval reenactment stuff. With brass you just need a bucket of water, some copper sulfate crystals (used for killing weeds), a DC power source (aka car battery charger), some wire, bits of brass, and a few vague memories from grade 9 science class. At least, that's how I did it. For the resist, I just used cut vinyl stickers made at a sign shop. You can use all sorts of things though, and you can etch a lot of different metals. I've etched some of my own home-forged knives back in the day. Regards, Donovan
|
| Richard Kirkman 1 | 28/07/2020 15:10:46 |
| 334 forum posts 799 photos | Parts have arrived! The main 4 parts I needed are exactly as I wanted, so they can be replaced easily There is much more than I need. So now I have spares, which don't fit my machine either
End cover, not needed and wouldn't fit anyway
Backsplash needs a good clean then I'll see how/if it fits
New on/off lever, no slop in handle and I can swap over the red knobs so mine will stay the same colour. Perfect Lead screw spare I think, with dials I won't be using. Interestingly the gear box cover there is aluminium instead of steel like mine. The holes to mount it are also in different positions.
Handwheel is very nice, so I'll be swapping my non original for it. Think it needs a good clean and polish before that though.
The toolpost seems to have been mounted just using a bolt and 1 locator hole. Not sure how beaten up it is. I may still just get a new one and stay away from the more expensive tool holders.
Pretty much the whole compound and most of the cross slide, the top part including the nut and leadscrew
Assorted bolts and nuts and small gears. None of them have chipped teeth, so I may swap a few over if any are the same
Much better
This bearing housing is also aluminium, which I need to use. So I'll have to get the etch primer out!
The knurled knob that goes onto the end cover fro the lathe is the same thread as the one on the threading dial here, so I've used one of the spares to go on here. It should have had one on here anyway, so it'll be much easier to engage and disengage. Spanner free! So, lots of parts, a few I'm unsure of what they are, which is impressive considering i've taken most of my lathe to pieces. So there must be more differences in the models I imagine there will be spares if anyone needs anything. I'll probably put it on the Colchester forum as well. No point me having parts that don't fit |
| Donovan Kaardal | 28/07/2020 15:50:33 |
| 27 forum posts 48 photos | That's a nice haul! Not sure if you can say it was worth the wait, but at least you've got 'em now. |
| Herman van der Merwe | 28/07/2020 19:26:43 |
180 forum posts | Nice gift to yourself! I was looking last night as to what the cross-slide and screw cost on the Bay. Sit before you look at the price ... Edited By Herman van der Merwe on 28/07/2020 19:27:01 Edited By Herman van der Merwe on 28/07/2020 19:27:13 |
| Howard Lewis | 28/07/2020 19:56:06 |
| 7227 forum posts 21 photos | All the spare bits will come in handy, one day. If not for you, for some other person who is in need! Keep up the good work, chaps! Howard |
| Richard Kirkman 1 | 28/07/2020 22:42:32 |
| 334 forum posts 799 photos | Posted by Herman van der Merwe on 28/07/2020 19:26:43:
Nice gift to yourself! I was looking last night as to what the cross-slide and screw cost on the Bay. Sit before you look at the price ... I actually plan on keeping my original cross slide parts. I don't think these ones would fit mine anyway. So once again, I'll hopefully find someone who needs them. Lots more progress made this evening. Firstly I looked at the on off levers. They are almost identical. Except the new one isn't worn! So it will be perfect. but only if the ball comes off the original. I don't like the brighter red one...
Then I got to work on the apron wheel. I took it to the wire wheel and polished it up a bit. Not its final finish, but close enough for a quick play today
Then came a very important task. The splines were full of crud and rust and all sorts, so I spent an hour filling down the inside of the wheel so it now pushed on and off with a little bit of force. Not too tight, not too loose. It looks fantastic, I'm very pleased. However, It most definitely needs a lick of paint(more so than the rest of the lathe)
Then I had a look at the backsplash. This part seems to go on here? But I don't know what It's for?
Then I had a little mock up of where the backsplash attaches. It looks perfect. From what I remember it's not the same shape as Hermans and Phils, but it has a space for the two holes in the back of the headstock to pass through. Which I think is for the taper attachment? I'll have a go at fitting this after I've given it a clean tomorrow.
I thought I'd take the wheel off the tailstock while I was cleaning things. So I removed all the paint from the areas that shouldn't have been painted; They both still need fully stripping and painting nicely
Meanwhile, it's looking better
Then I removed the nut that was on the threading indicator mount bit, and I put on the Knurled thingy. Looks and works much better
Then I moved onto trying to swap over the balls. The new ball came off without any struggle, but the old one put up a bit of a fight
Then just onto cleaning
I went to look at the end and try to thread the bolt back into the new one. Looks like there isn't a thread, I'll have to consult the later manuals to see how it should be held in place on the new ones. I think I will probably drill and tap the hole that is there. Possibly m12 if there is enough wall thickness(looks like there should be)
Then I realised that I haven't seen the apron carriage wheels button spacer that goes in the middle. I had it earlier but it's gone walkabout and I cannot find it for the life of me. That's one way to ruin what would have been a perfect night! The search shall continue tomorrow. I probably won't clean these parts too excessively. I don't see the point polishing them like Herman has(even though his look amazing) Definitely rust-free, but I don't need to be able to see myself, at risk of cracking the parts then! After all, A LITTLE BIT OF RUST IS NOTHING TO WORRY ABOUT! |
| Herman van der Merwe | 29/07/2020 07:25:41 |
180 forum posts | Posted by Richard Kirkman 1 on 28/07/2020 22:42:32: >Then I had a look at the backsplash. This part seems to go on here? But I don't know what It's for? It should be where the lamp mounts. The lamp has a mounting bracket with the same holes. >After all, A LITTLE BIT OF RUST IS NOTHING TO WORRY ABOUT! Ha ha ha, funny joke ... NOT ... I know it is aimed at me. |
| Richard Kirkman 1 | 29/07/2020 15:08:38 |
| 334 forum posts 799 photos | Mid day update, More progress. I tapped the end of the shaft to m10 as there was enough meat there. It was over the drill size however, so I tapped extra deep so there is more engagement so the pressure is more spread out. I also used a bolt that is twice or three times the length. So that will fit nicely now. I couldn't see on the diagrams in the manual how this was meant to fit as it was a bit complicated as the model was meant to have the forward reverse switch going through this shaft too? Or at least it was in the manual
Then I got onto cleaning up the handle and shaft properly. The little button at the front came off accidentally. But it made cleaning a lot easier. It was quite scored so I put it in the drill press and cleaned it up a bit. Nothing too extreme. I don't see any point making it perfect as it would take a very long time, and then I'd have to get everything perfect
Then I gave the old ball a bit of a polish on a very fine buffing wheel with some very high grade compound. It shined up nicely. Once again, not removing the dents and scratches, but just making it look a little bit better.
Then It's all done, Finally a satisfying click instead of a sloppy handle! I believe the feel of the machine is very important. The better it feels to use, the more I'll want to use it!
Upside down, but still shows the same thing. The mount for my light isn't original, but the holes seem to line up for the mount. So I will probably need to machine something to make it fit nicely. I'm not too sure how it's meant to be done. Does anyone have any pictures of this?
Then I moved back onto the Apron wheel. A little more wire wheeling and it was looking good enough to buff. I can't see myself in it, so it's safe. But it definitely looks the part
Then I stripped all the paint, cleaned it and put a coat of red oxide primer onto it.
Productive morning, time to look at the backsplash |
| Phil Whitley | 29/07/2020 21:09:09 |
1533 forum posts 147 photos | back splash is what you get when you haven't got a splash back!! That one looks the same as mine Richard, but the handwheel is a lot posher than mine, which does not have the corrugations on the inside of the rim. The 2 hole bracket on the splash back is for the early type of amglepoise lamp I think, is it not like the one you have? Phil Edited By Phil Whitley on 29/07/2020 21:09:45 |
| Richard Kirkman 1 | 29/07/2020 22:56:02 |
| 334 forum posts 799 photos | I didn't end up getting onto the backsplash, the grandparents paid a visit. However I did get 2 parts back onto the lathe, both the oil seals are definitely in tight with their silicon gasket. I'm praying for no more leaks... The shaft with the gear on actually went back in a lot easier than it came out! It's got a gasket installed with it now, so that should reduce the chances of leaks even further.
As it turns out, the yellow bearing cover replacement part that I wanted is the wrong size. The last of the 3 mounting holes doesn't line up, so i'll have to fix the old one somehow |


Please login to post a reply.
Magazine Locator
Want the latest issue of Model Engineer or Model Engineers' Workshop? Use our magazine locator links to find your nearest stockist!
Sign up to our Newsletter
Sign up to our newsletter and get a free digital issue.
You can unsubscribe at anytime. View our privacy policy at www.mortons.co.uk/privacy
Latest Forum Posts
- hemingway ball turner
04/07/2025 14:40:26 - *Oct 2023: FORUM MIGRATION TIMELINE*
05/10/2023 07:57:11 - Making ER11 collet chuck
05/10/2023 07:56:24 - What did you do today? 2023
05/10/2023 07:25:01 - Orrery
05/10/2023 06:00:41 - Wera hand-tools
05/10/2023 05:47:07 - New member
05/10/2023 04:40:11 - Problems with external pot on at1 vfd
05/10/2023 00:06:32 - Drain plug
04/10/2023 23:36:17 - digi phase converter for 10 machines.....
04/10/2023 23:13:48 - More Latest Posts...
- View All Topics
Support Our Partners


Shopping Partners
Subscription Offer

Latest "For Sale" Ads
- Reeves** - Rebuilt Royal Scot by Martin Evans
by John Broughton
£300.00 - BRITANNIA 5" GAUGE James Perrier
by Jon Seabright 1
£2,500.00 - Drill Grinder - for restoration
by Nigel Graham 2
£0.00 - WARCO WM18 MILLING MACHINE
by Alex Chudley
£1,200.00 - MYFORD SUPER 7 LATHE
by Alex Chudley
£2,000.00 - More "For Sale" Ads...
Latest "Wanted" Ads
- D1-3 backplate
by Michael Horley
Price Not Specified - fixed steady for a Colchester bantam mark1 800
by George Jervis
Price Not Specified - lbsc pansy
by JACK SIDEBOTHAM
Price Not Specified - Pratt Burnerd multifit chuck key.
by Tim Riome
Price Not Specified - BANDSAW BLADE WELDER
by HUGH
Price Not Specified - More "Wanted" Ads...
Get In Touch!
Do you want to contact the Model Engineer and Model Engineers' Workshop team?
You can contact us by phone, mail or email about the magazines including becoming a contributor, submitting reader's letters or making queries about articles. You can also get in touch about this website, advertising or other general issues.
Click THIS LINK for full contact details.
For subscription issues please see THIS LINK.
Digital Back Issues


Donate

 Register
 Log-in
Model Engineer Magazine
- Percival Marshall
- M.E. History
- LittleLEC
- M.E. Clock

ME Workshop
- An Adcock
- & Shipley
- Horizontal
- Mill

Subscribe Now
- Great savings
- Delivered to your door

Pre-order your copy!
- Delivered to your doorstep!
- Free UK delivery!
All Forum Topics > Help and Assistance! (Offered or Wanted) > Colchester Student Mk1 Won't Start