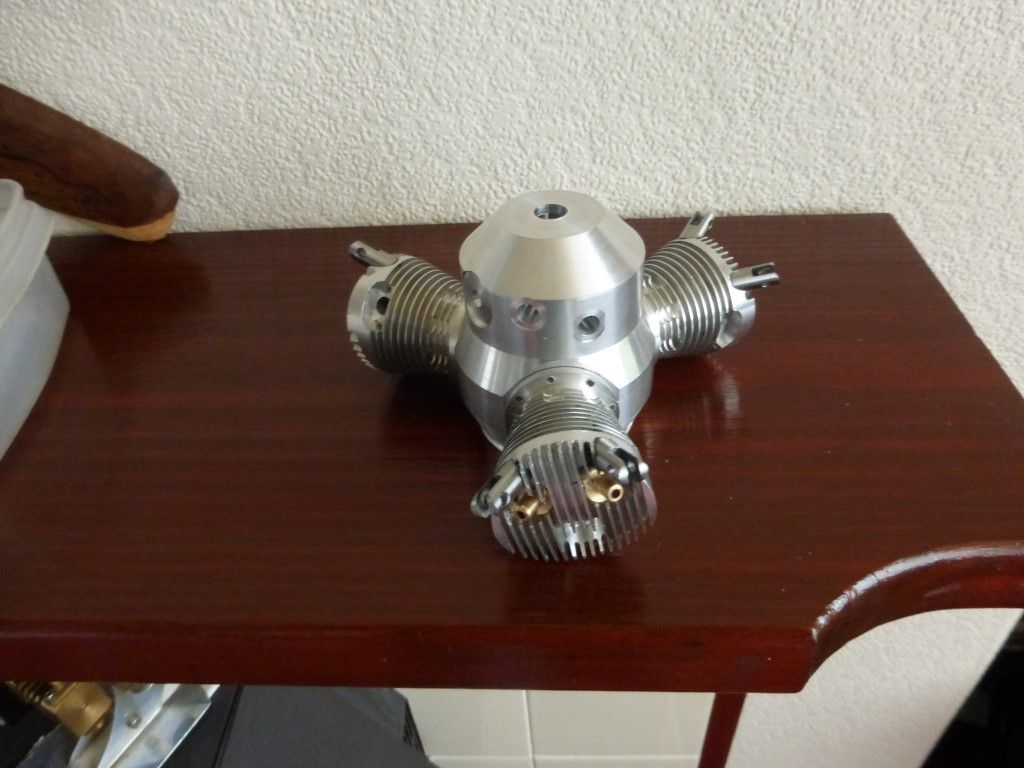
3 cyl Pip engine
| David K | 21/12/2018 17:09:07 |
| 258 forum posts 259 photos |
|
| David K | 21/12/2018 17:10:32 |
| 258 forum posts 259 photos |
|
| David K | 21/12/2018 17:11:04 |
| 258 forum posts 259 photos |
|
| David K | 21/12/2018 17:12:27 |
| 258 forum posts 259 photos |
|
| David K | 21/12/2018 17:16:23 |
| 258 forum posts 259 photos |
|
| David K | 21/12/2018 17:19:40 |
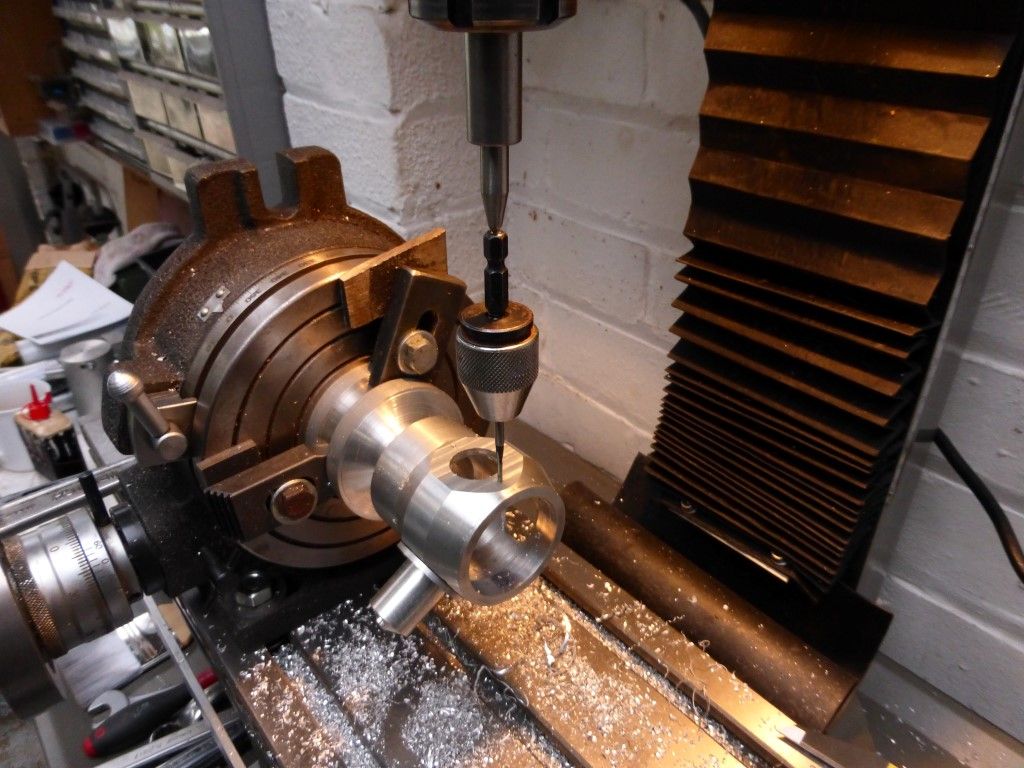
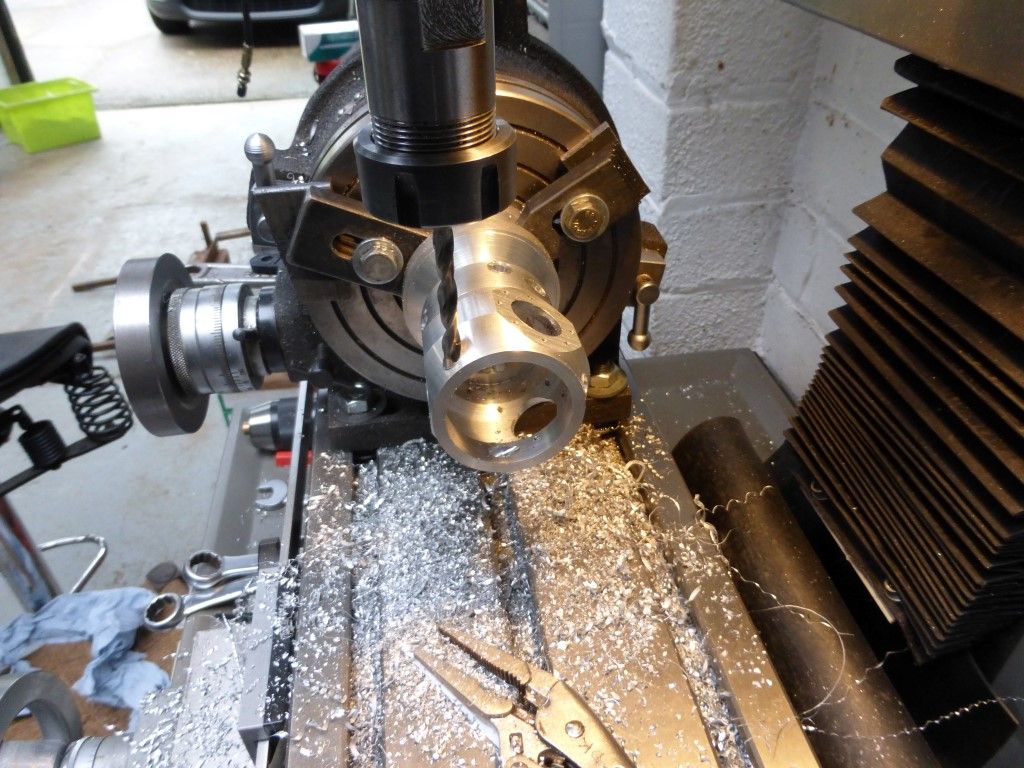
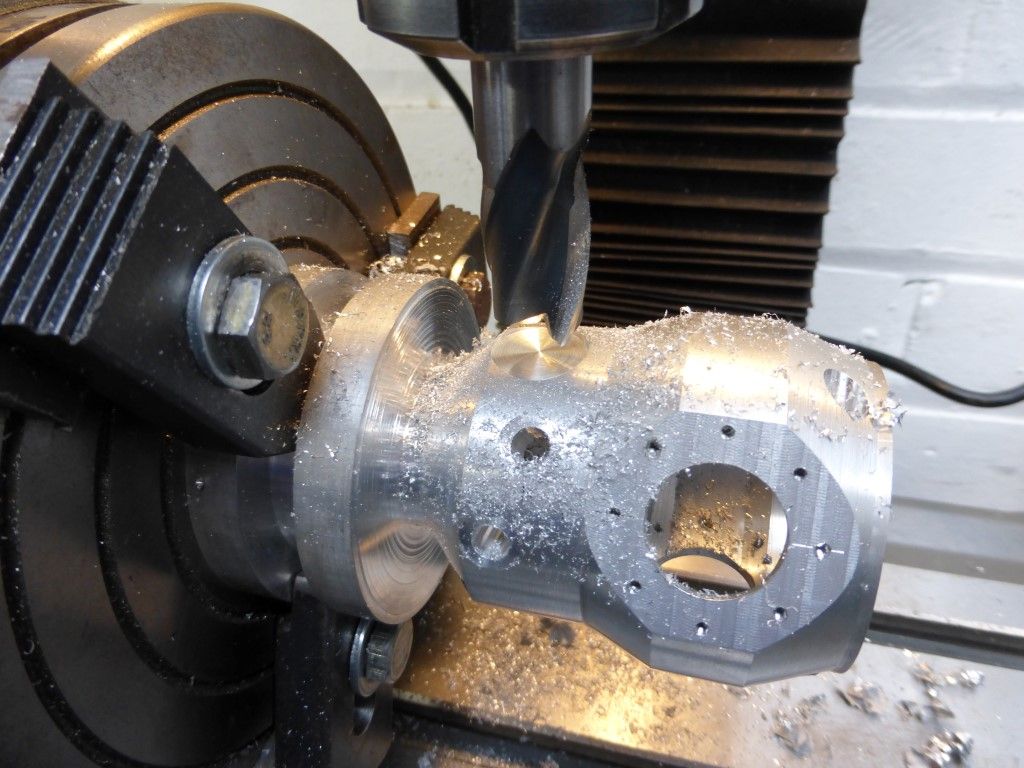
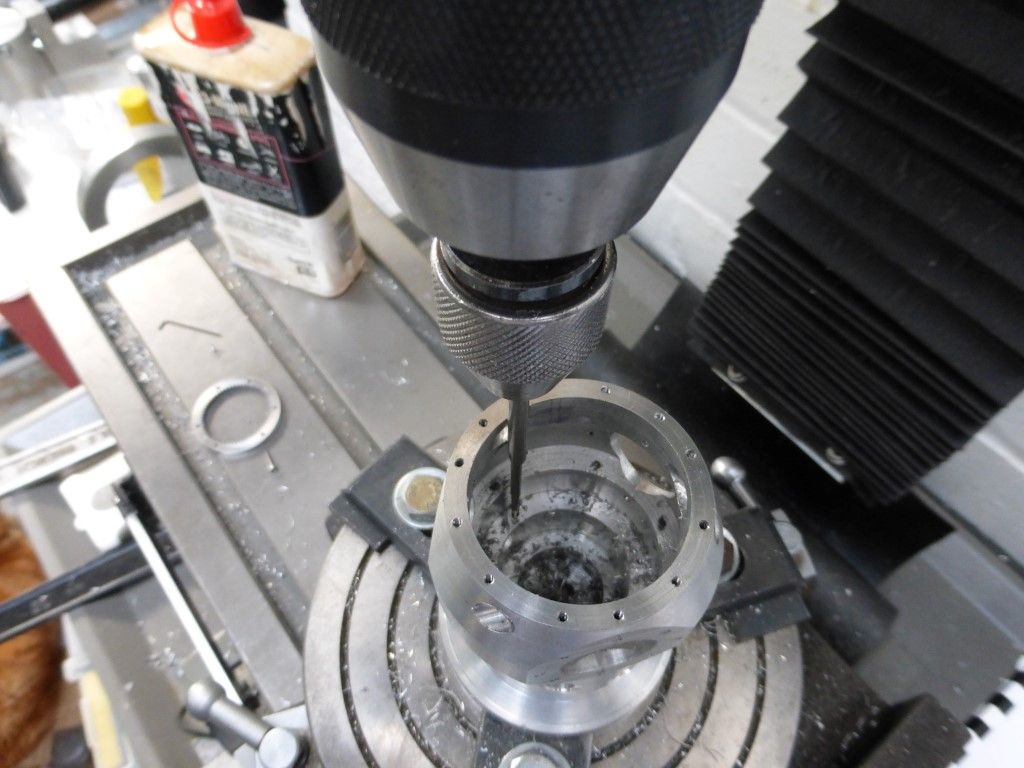
| 258 forum posts 259 photos | A flat is milled and centre drilled ready for the carburettor mount hole. I am not sure on the |
| David K | 21/12/2018 17:20:50 |
| 258 forum posts 259 photos |
|
| David K | 21/12/2018 17:21:36 |
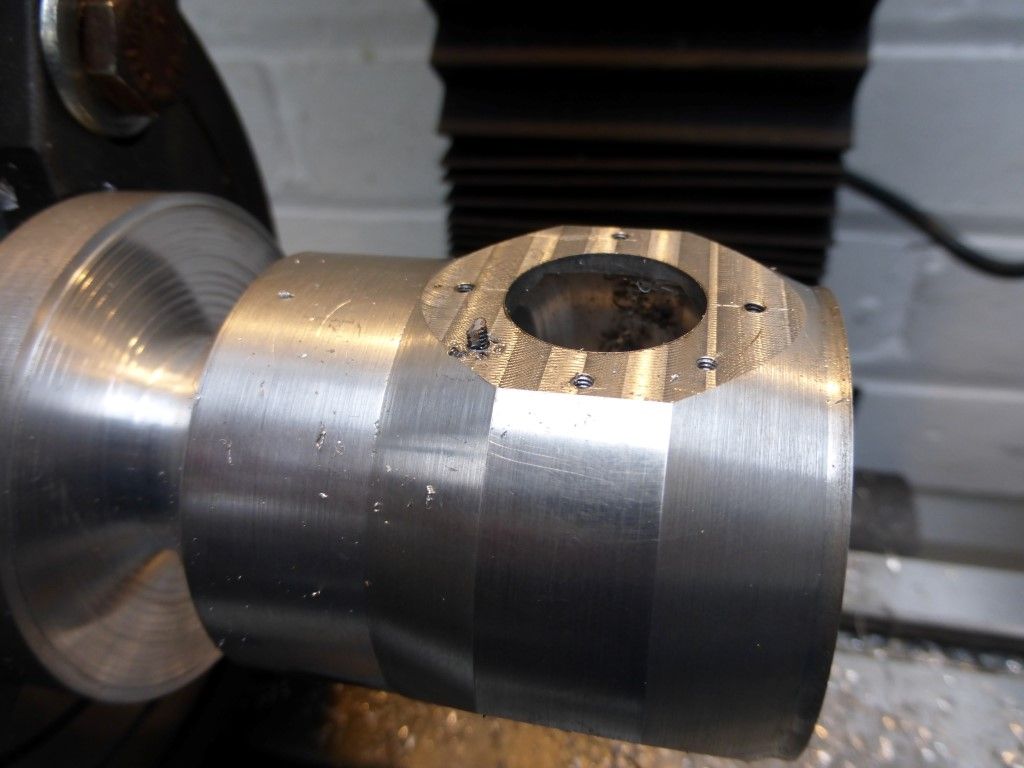
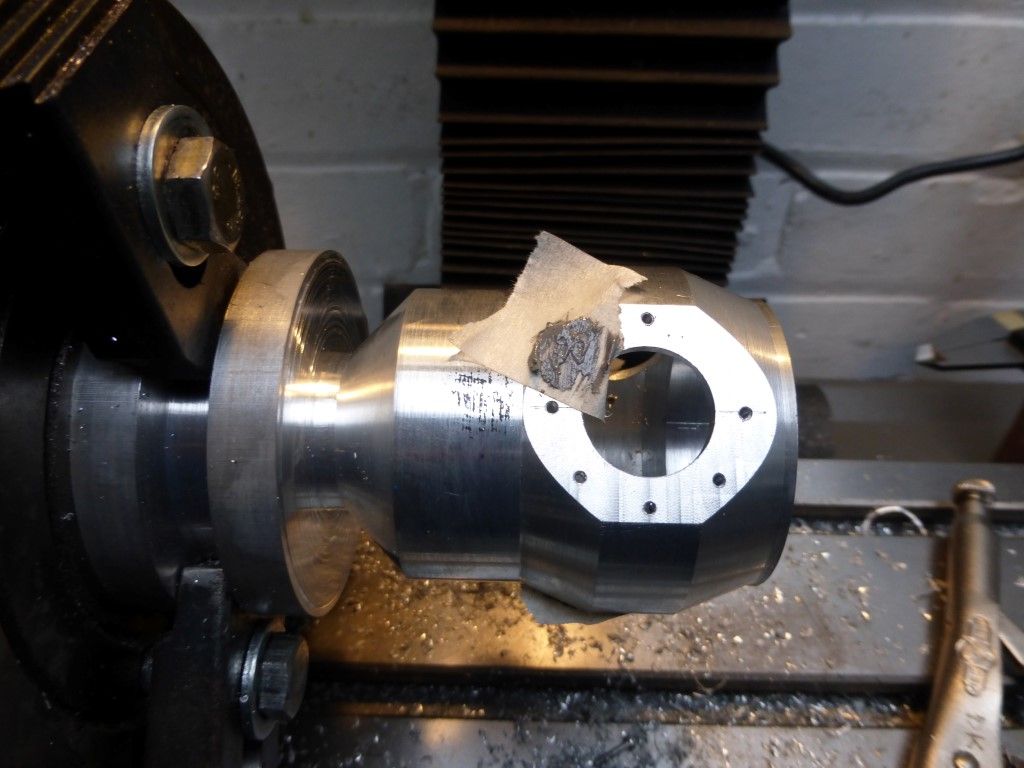
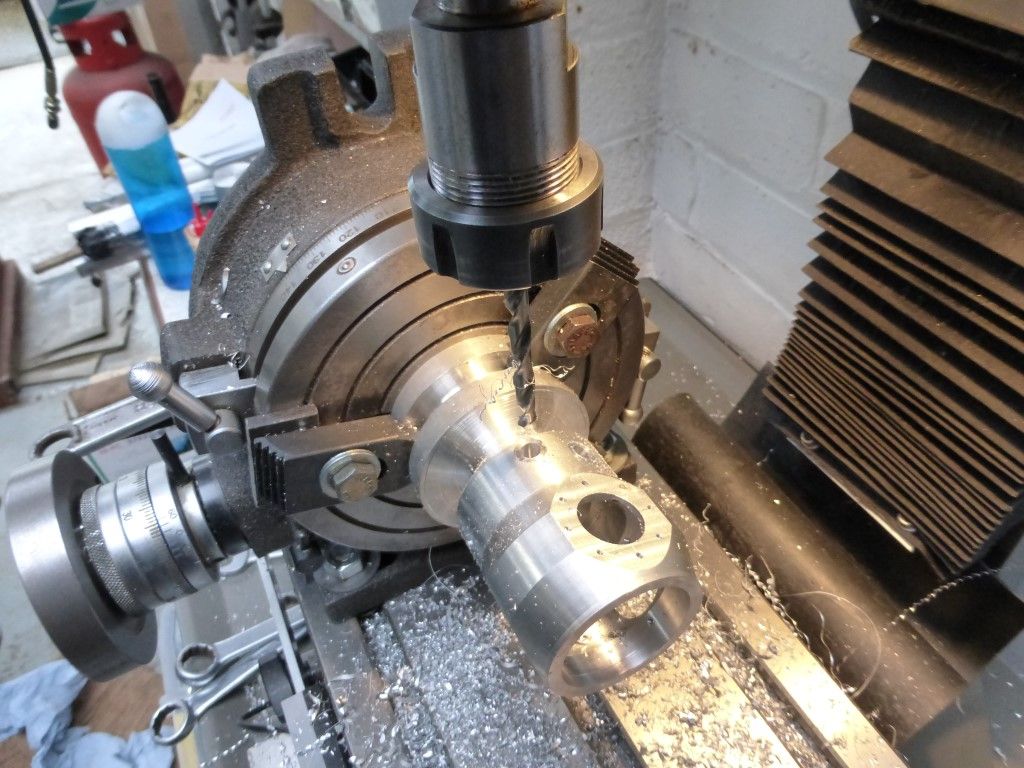
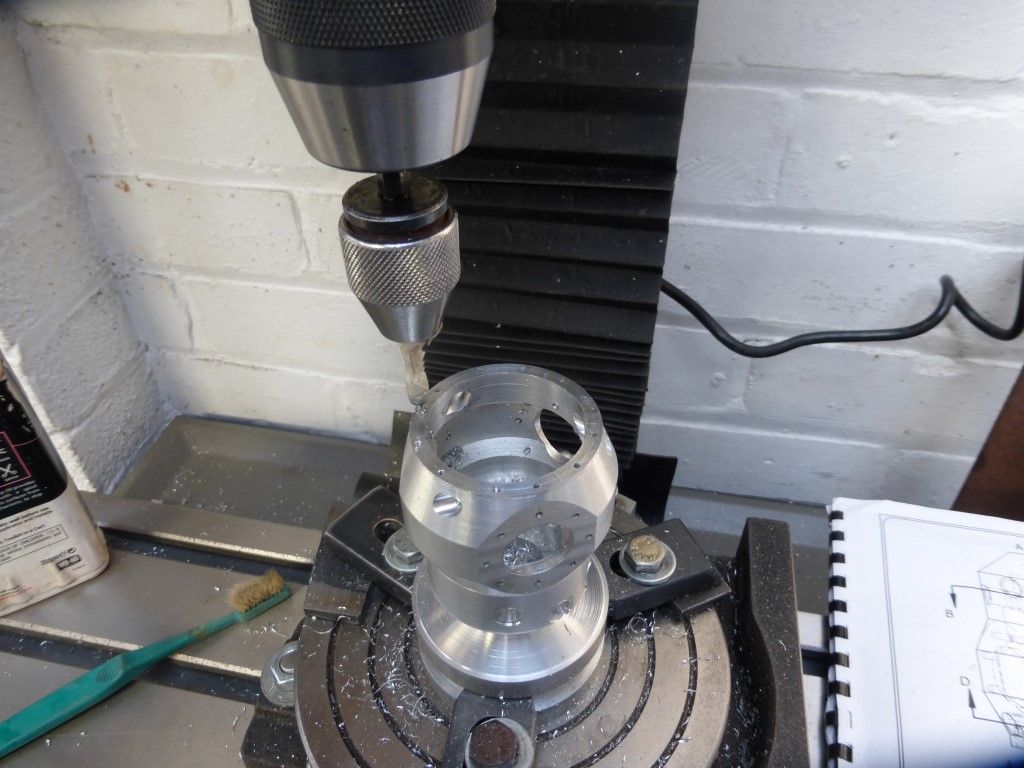
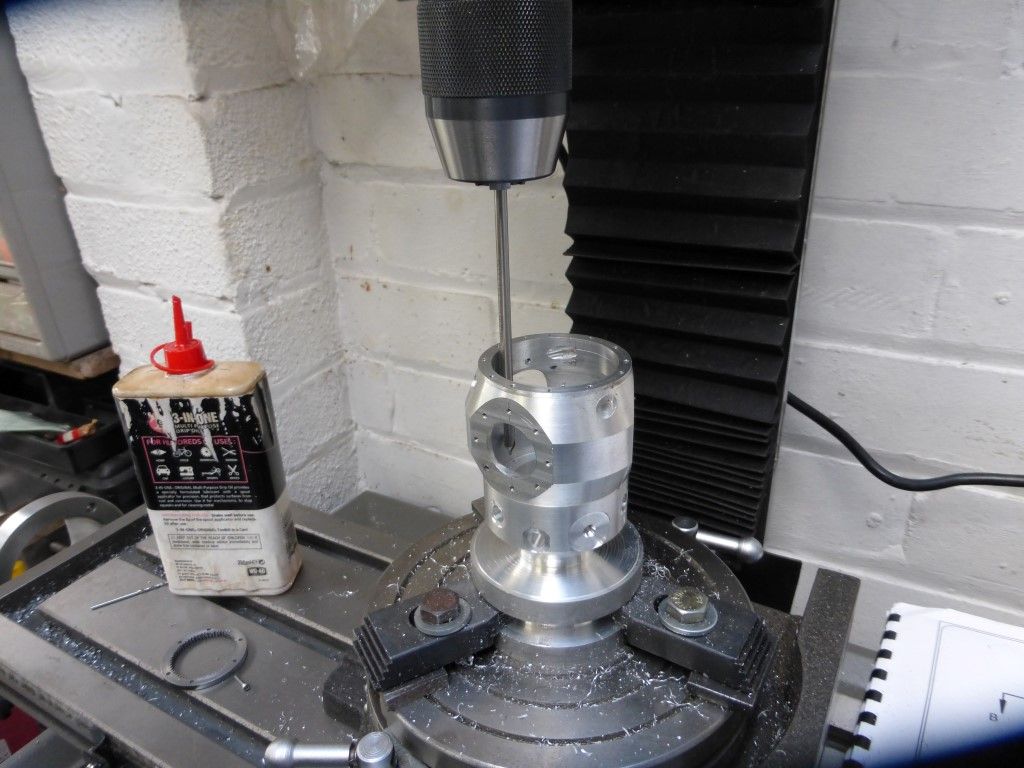
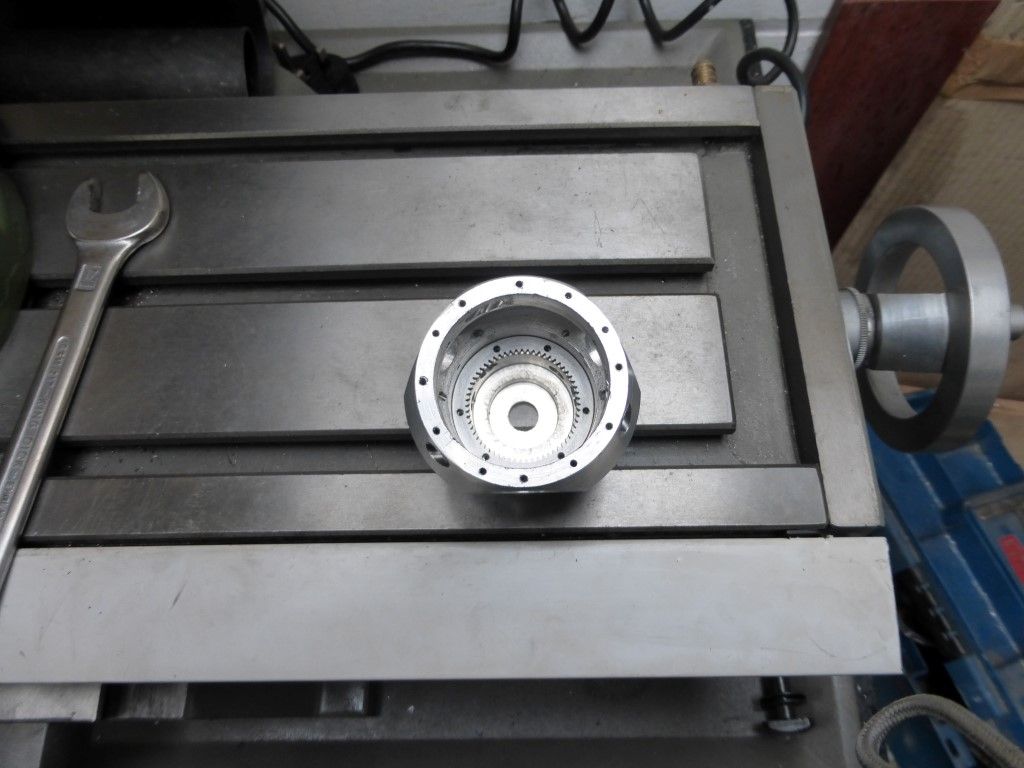
| 258 forum posts 259 photos | The locating holes for the timing gear are drilled and tapped inside the crankcase. For this I |
| David K | 21/12/2018 17:22:15 |
| 258 forum posts 259 photos | |
| David K | 21/12/2018 17:23:14 |
| 258 forum posts 259 photos | |
| David K | 21/12/2018 17:27:34 |
| 258 forum posts 259 photos | |
| SillyOldDuffer | 21/12/2018 18:19:12 |
| 10668 forum posts 2415 photos | Very impressive work. A broken tap at that stage would have broken my heart - I'd have bricked up my workshop and taken up knitting instead! Well done you. Dave
|
| Ian S C | 22/12/2018 10:24:45 |
7468 forum posts 230 photos | Have no fear of broken taps in alloy, they can usually be dissolved with a solution of Alum (there are a few threads on the subject). Thankfully not needed here, lovely little engine. Ian S C |
| David K | 22/12/2018 14:38:58 |
| 258 forum posts 259 photos | Yes the broken tap was not too costly this time, although I have managed to go through a few M2 taps. |
| David K | 22/12/2018 14:41:49 |
| 258 forum posts 259 photos |
|
| David K | 22/12/2018 14:42:28 |
| 258 forum posts 259 photos |
|
| David K | 22/12/2018 14:43:23 |
| 258 forum posts 259 photos |
|
| David K | 22/12/2018 14:43:58 |
| 258 forum posts 259 photos | |
| David K | 22/12/2018 14:45:02 |
| 258 forum posts 259 photos |
|
| David K | 22/12/2018 14:46:56 |
| 258 forum posts 259 photos |
|
Please login to post a reply.
Want the latest issue of Model Engineer or Model Engineers' Workshop? Use our magazine locator links to find your nearest stockist!
Sign up to our newsletter and get a free digital issue.
You can unsubscribe at anytime. View our privacy policy at www.mortons.co.uk/privacy
- hemingway ball turner
04/07/2025 14:40:26 - *Oct 2023: FORUM MIGRATION TIMELINE*
05/10/2023 07:57:11 - Making ER11 collet chuck
05/10/2023 07:56:24 - What did you do today? 2023
05/10/2023 07:25:01 - Orrery
05/10/2023 06:00:41 - Wera hand-tools
05/10/2023 05:47:07 - New member
05/10/2023 04:40:11 - Problems with external pot on at1 vfd
05/10/2023 00:06:32 - Drain plug
04/10/2023 23:36:17 - digi phase converter for 10 machines.....
04/10/2023 23:13:48 - More Latest Posts...
- View All Topics
- Reeves** - Rebuilt Royal Scot by Martin Evans
by John Broughton
£300.00 - BRITANNIA 5" GAUGE James Perrier
by Jon Seabright 1
£2,500.00 - Drill Grinder - for restoration
by Nigel Graham 2
£0.00 - WARCO WM18 MILLING MACHINE
by Alex Chudley
£1,200.00 - MYFORD SUPER 7 LATHE
by Alex Chudley
£2,000.00 - More "For Sale" Ads...
- D1-3 backplate
by Michael Horley
Price Not Specified - fixed steady for a Colchester bantam mark1 800
by George Jervis
Price Not Specified - lbsc pansy
by JACK SIDEBOTHAM
Price Not Specified - Pratt Burnerd multifit chuck key.
by Tim Riome
Price Not Specified - BANDSAW BLADE WELDER
by HUGH
Price Not Specified - More "Wanted" Ads...
Do you want to contact the Model Engineer and Model Engineers' Workshop team?
You can contact us by phone, mail or email about the magazines including becoming a contributor, submitting reader's letters or making queries about articles. You can also get in touch about this website, advertising or other general issues.
Click THIS LINK for full contact details.
For subscription issues please see THIS LINK.
Model Engineer Magazine
- Percival Marshall
- M.E. History
- LittleLEC
- M.E. Clock
ME Workshop
- An Adcock
- & Shipley
- Horizontal
- Mill
Subscribe Now
- Great savings
- Delivered to your door
Pre-order your copy!
- Delivered to your doorstep!
- Free UK delivery!



 Register
 Log-in


