Member postings for Alan Worland
Here is a list of all the postings Alan Worland has made in our forums. Click on a thread name to jump to the thread.
| Thread: Stuart No 4 Running at last! |
| 08/08/2011 17:50:49 |
Thanks J, the draincocks are 5/32 stainless rod with a groove turned into it which lines up with the hole in the body to allow draining. When in the 'pushed down' position the ports (holes) are covered, when 'pushed up' the ports are open for draining.
I made the rods a very close fit in the bodies so hopefully they wont leak when closed!
Alan |
| 07/08/2011 23:16:29 |
Finally got there, just a little to do on the valve gear operating arm, then some proper timing but I was well pleased with the result.
It has run for about 3 hours on air but is still quite tight - cant wait to run it on steam Alan
Edited By Alan Worland on 07/08/2011 23:18:00 |
| Thread: Low Temp Silver Solder |
| 28/07/2011 22:24:40 |
I wish to change some silver soldered bushes in a copper boiler.
I dont know what solder was used so I was planning on machining the bushes off then opening out the hole until I had removed all of the original bush (s)
I was then going to make the new bushes to fit the new hole size and silver solder with a low temperature solder - idealy the lowest temp available - does anyone know what grade I would be looking for? and at what temperature it would need to be used?
Alan |
| Thread: Drummond Headstock |
| 25/07/2011 22:09:46 |
Thanks for your replies.
The only grub screw in the pullies that I can see is to be removed for oiling of the bearing within, cant find any other screws.
I hear what you say about needing to dismantle it, but this is really mucky - dirt & dust from the last 40 years and it would definately benefit from a serious clean!!
Looking at the photos from the guy who stripped one down, it looks like the bull gear only drives on a single key? Perhaps it is just tight?
I shall follow through the links you gave.
Alan |
| 24/07/2011 21:38:39 |
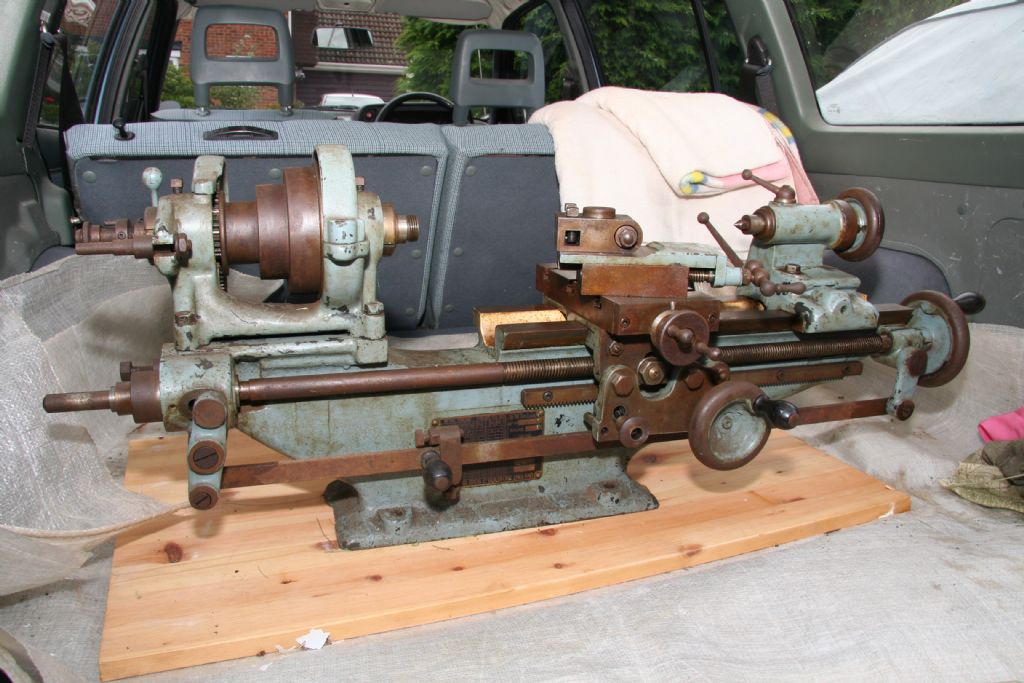 Today (after clearing the bench again!) I made a start on cleaning up the new lathe It has surprised me how easily the fixings came apart - no struggling.
When it came to the headstock spindle I made a 'C' spanner to fit and loosen the bearing ends and have removed the end float collar, but the spindle will only move forward a few thou, as though it is being stopped by the backgear - which I am sure it is.
Having no drawings for the assembly and not wishing to damage anything I am seeking advice on the removal process!
The bed I have cleaned with wire wool and parafin and while it appears unworn and undamaged it just doesn't look 'bright'
Is it ok to go over it with some fine wet & dry on a block? or just keep on with the steel wool?
Alan |
| Thread: PeterE - A simple headstock dividing device |
| 14/07/2011 22:05:48 |
Keep it simple and easy to setup! Very similar to what I made for my Myford, it expands in the mandrel and is so quick to setup.
In the gear I use (60 teeth) I have spot drilled shallow holes at the tooth base for the common divisions and dropped a spot of coloured paint in them so yellow is 4, brown is 3 etc - saves all that counting of teeth and reduces the risk of getting it wrong!
Alan |
| Thread: How tight piston rings? |
| 13/07/2011 22:23:08 |
At one point I didn't think the rings were going to open up enough without breaking, but they went on! 0.0035 inch gap and the assembly seems quite 'smooth' in the bore.
I am continuing to assemble the engine and am looking forward to having it running!
I have a displacement lubricator for the engine, do you think this would be ok fitted into the steam chest or would it be better in the supply pipe, but close to the steam chest? |
| 11/07/2011 23:05:47 |
I have honed the bore (although I cant really 'see' any cross hatching) I can see plenty of pors for the oil to be retained in.
Seems like it would be a better idea to run it in under steam then? or just give it loads of oil in the compressed air?
I have a displacement lubricator to be fitted in the supply line. |
| 10/07/2011 21:33:10 |
Thanks! What an interesting article. Just had a measure of the force required to close the gap, and they (two rings) both measure about 2.5lbs, so they would appear to be, if anything, a bit on the low side. Although I still feel they are tight in the bore!
I shall assemble the engine and run it unloaded with low pressure air and plenty of oil and see how they perform. |
| 09/07/2011 21:40:51 |
I have built a ST No 4 engine which has been assembled as I have machined the various parts, and before I took it all apart for 'final finishing' I put an air line on the inlet, and with very low air pressure it could tick over quite slowly and sounded great!
My concern is that the double piston rings are going to be too tight - the bore has a good finish within and the ring ends have a gap (very small but not touching)
The rings just seem too 'springy'!
Am I worrying too much or is there anything I can do to take some of the spring out?
Alan |
| Thread: Patination of Bronze & Brass |
| 08/07/2011 20:49:23 |
Well I received the patination fluid which is mixed at 10% with water and parts dipped for a max of 2 minutes then washed, dried for 6 hours.
All the bronze and brass parts went a dark brown colour which I then wax polished to a lustre.
They look now like they were made 15 years ago! and seems not to 'scatch off' under a finger nail - just what I was after and worth a go if you want the old bronze look!
Alan |
| Thread: Motor as Dynamo/Generator |
| 08/07/2011 20:39:22 |
That looks a proper generator shape Ian - is thet a flat belt driving it?
Alan |
| Thread: Miniature gas torches |
| 06/07/2011 23:01:05 |
I found the problem with a small but hot flame (I use oxygen and propane) is that it is very easy to over heat the work at which point it all gets mucked up and you get annoyed!
A large soldering is the way to go. |
| Thread: Motor as Dynamo/Generator |
| 06/07/2011 22:33:51 |
Thanks for all the responses. I think being realistic I will only be running a few bulbs/leds but I wanted to get the engine working at low revs to enjoy the exhaust!
I see bike dynamos on Ebay are very cheap and I found one that would give 12v at 6w but whatever I used would need to be diguised in some sort of casing to resemble a proper generator. My memory seems to recollect that hair dryer type motors have a permanent magnet type motor in, wired through a diode or two to obtain the DC required - might have the wifes dryer undone when she goes out!
The Forest generator looks great and has a decent output but I wonder what it would give at much lower revs? Like the idea of building it though.
I guess a rubber belt would be used for the drive - the Forest generator looks like it might be a flat belt? Has anyone got one?
I do like this part of a project, almost as much as building it all! Boys and their toys!
Alan |
| 05/07/2011 22:27:42 |
I had a little experiment tonight using an electric motor from a radio controlled model car as a generator - to be driven from my steam engine - and was most disappointed!
The motor itself is about 35mm dia by 55mm long and when in the car runs off 7.2v and is capable of some real torque/rpm. (a nice size)
With it being driven at about 1000rpm it would supply about a volt (I was hoping for more!)
Looking inside it the windings appear quite heavy, about 25 thou with 3 segments on the commutator.
My question is, is it worth considering rewinding the armature with more turns of a finer wire to get the voltage up? or look for another motor that might be more suitable?
I am after a generator that doesn't have to spin at thousands of revs.
Guidance/advice required please!
Alan |
| Thread: I've made it now what to do with it |
| 02/07/2011 22:38:36 |
I am looking forward to getting my Stuart No 4 finished - I can then get on with the boiler and a generator for it to drive.
It will all be mounted on a smart base so I can have it running on the sideboard (although I haven't told the wife yet!) |
| Thread: Patination of Bronze & Brass |
| 02/07/2011 21:02:26 |
Thanks for the information guys - all very usefull stuff!
I aborted the process I was trying (which I found on the net) as it was giving really poor results. The parts have now been re pickled and await my next trial, a product I found on ebay - a patination fluid, which if it does what it says on the tin will be great (similar to the Liberon product)
Will keep you posted!
Alan |
| 01/07/2011 21:13:06 |
I thought it would be a good idea to colour (oxidise) my steam engines bronze and brass parts rather than trying to keep them polished.
I pckled the parts in sulphuric acid to get them to an equal 'brightness' then hot water washed and submerged them in a solution of ferric nitrate for a couple of hours. I then washed them in hot water again and brushed all surfaces with a toothbrush and put them in a fresh mix of ferric nitrate overnight.
The results are not quite what I had hoped for!
I had hoped for a nice even 'browness' to the surfaces but they have come out a bit blotchy with different grades taking more or less of the process.
What is the best way of achieving the colour I am after?
Alan
|
| Thread: New Drummond Project |
| 26/06/2011 21:46:15 |
Thankyou for all your response(s) I get the impression that there are a lot of lathes in use that are driven by flat belts. I must admit my Myford belt is run on the slack side, to help in a jam up situation!
I thought I would start with cleaning and stripping the coolant tray of its chipped paint, but underneath the grey paint is a what looks like black bitumin paint which is a very unsuitable material to put a finish paint onto so I think it will all have to come off - but what a mess! (the legs have a similar material under the grey as well)
Cleaned up the large faceplate, catch plate and all the change wheels - all came up well and virtually unmarked. |
| 25/06/2011 23:35:12 |
I like the idea of the poly v! as I have the other half of the flat cone setup this could be the way to go.
Thinking about top speeds my ML7 top speed isn't very fast - and I rarely use that, so I guess 5/600 should be adequate.
Yes, the back end does look a bit baron! but I believe I have the bits that are missing in the photo. It has got an American 3 jaw chuck of which the jaws appear to be virtually unmmarked but it needs to operated by a female key about 7/16 square!
Also I have noticed that the manufacturers label has not been stamped with the machine number or date of construction? I discovered its date from the serial number.
|
Magazine Locator
Want the latest issue of Model Engineer or Model Engineers' Workshop? Use our magazine locator links to find your nearest stockist!
Sign up to our Newsletter
Sign up to our newsletter and get a free digital issue.
You can unsubscribe at anytime. View our privacy policy at www.mortons.co.uk/privacy
Latest Forum Posts
- *Oct 2023: FORUM MIGRATION TIMELINE*
05/10/2023 07:57:11 - Making ER11 collet chuck
05/10/2023 07:56:24 - What did you do today? 2023
05/10/2023 07:25:01 - Orrery
05/10/2023 06:00:41 - Wera hand-tools
05/10/2023 05:47:07 - New member
05/10/2023 04:40:11 - Problems with external pot on at1 vfd
05/10/2023 00:06:32 - Drain plug
04/10/2023 23:36:17 - digi phase converter for 10 machines.....
04/10/2023 23:13:48 - Winter Storage Of Locomotives
04/10/2023 21:02:11 - More Latest Posts...
- View All Topics
Support Our Partners


Shopping Partners
Subscription Offer

Latest "For Sale" Ads
- Reeves** - Rebuilt Royal Scot by Martin Evans
by John Broughton
£300.00 - BRITANNIA 5" GAUGE James Perrier
by Jon Seabright 1
£2,500.00 - Drill Grinder - for restoration
by Nigel Graham 2
£0.00 - WARCO WM18 MILLING MACHINE
by Alex Chudley
£1,200.00 - MYFORD SUPER 7 LATHE
by Alex Chudley
£2,000.00 - More "For Sale" Ads...
Latest "Wanted" Ads
- D1-3 backplate
by Michael Horley
Price Not Specified - fixed steady for a Colchester bantam mark1 800
by George Jervis
Price Not Specified - lbsc pansy
by JACK SIDEBOTHAM
Price Not Specified - Pratt Burnerd multifit chuck key.
by Tim Riome
Price Not Specified - BANDSAW BLADE WELDER
by HUGH
Price Not Specified - More "Wanted" Ads...
Get In Touch!
Do you want to contact the Model Engineer and Model Engineers' Workshop team?
You can contact us by phone, mail or email about the magazines including becoming a contributor, submitting reader's letters or making queries about articles. You can also get in touch about this website, advertising or other general issues.
Click THIS LINK for full contact details.
For subscription issues please see THIS LINK.
Digital Back Issues


Donate

 Register
 Log-in
Model Engineer Magazine
- Percival Marshall
- M.E. History
- LittleLEC
- M.E. Clock

ME Workshop
- An Adcock
- & Shipley
- Horizontal
- Mill

Subscribe Now
- Great savings
- Delivered to your door

Pre-order your copy!
- Delivered to your doorstep!
- Free UK delivery!