Member postings for Nick Hughes
Here is a list of all the postings Nick Hughes has made in our forums. Click on a thread name to jump to the thread.
| Thread: 15mm and 7/16" diameter HSS tool steel bar |
| 09/03/2019 17:51:33 |
Try searching for HSS Drill Blanks. Both sizes (the 7/16" is listed as 11.113mm) in the drop down list here:- Edited By Nick Hughes on 09/03/2019 17:57:43 |
| Thread: Machining cork! |
| 04/03/2019 20:08:04 |
Have a look here (Also lists Silicone and Neoprene rubber versions)
Edited By Nick Hughes on 04/03/2019 20:14:00 |
| Thread: Hemingway Dynamic Toolpost Grinder |
| 04/03/2019 19:02:40 |
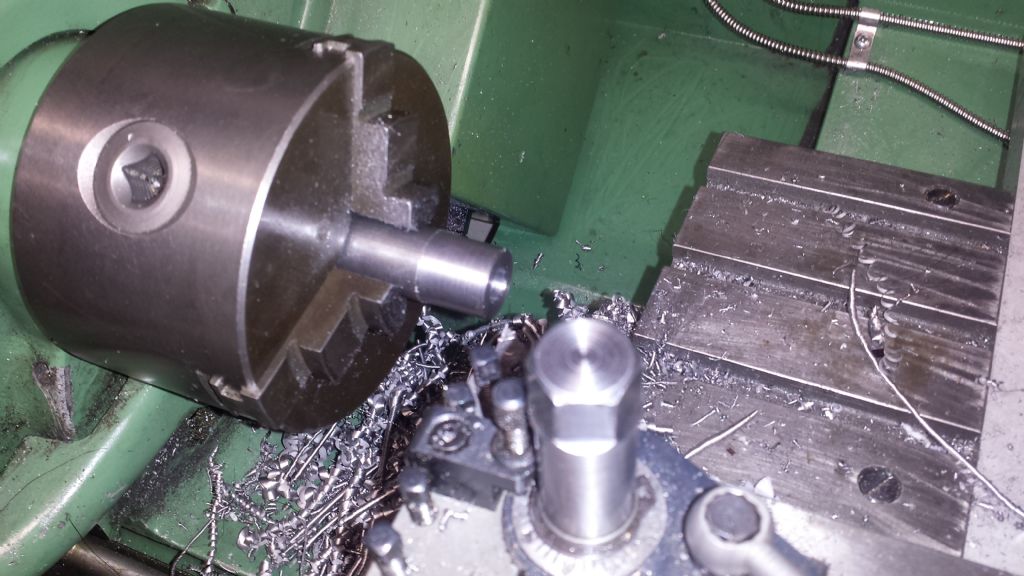
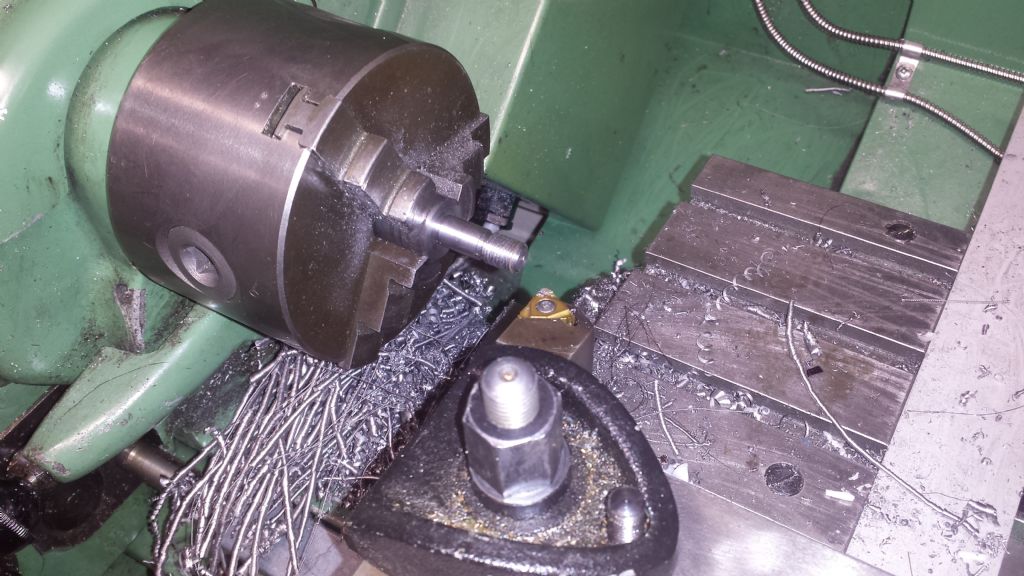
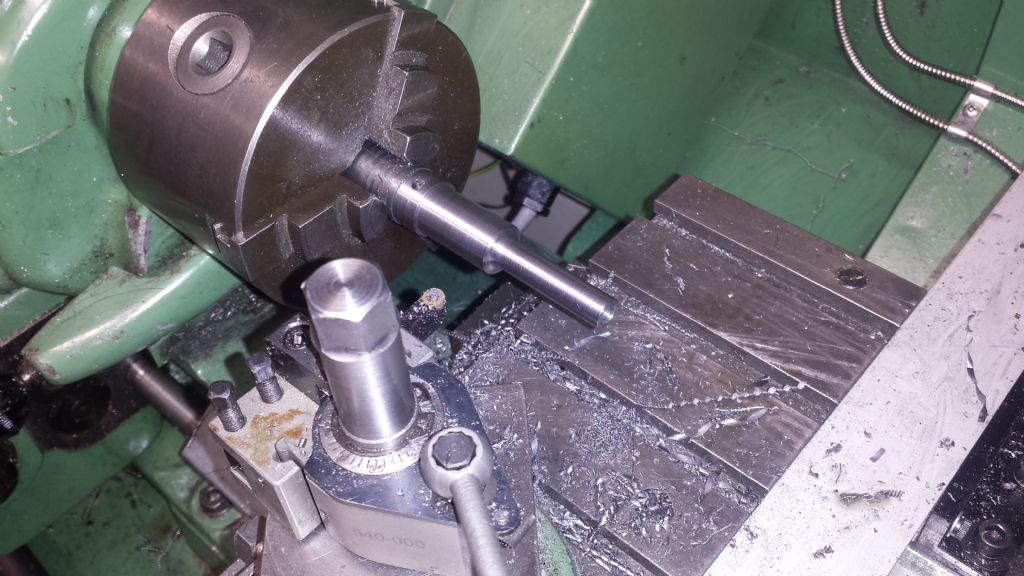
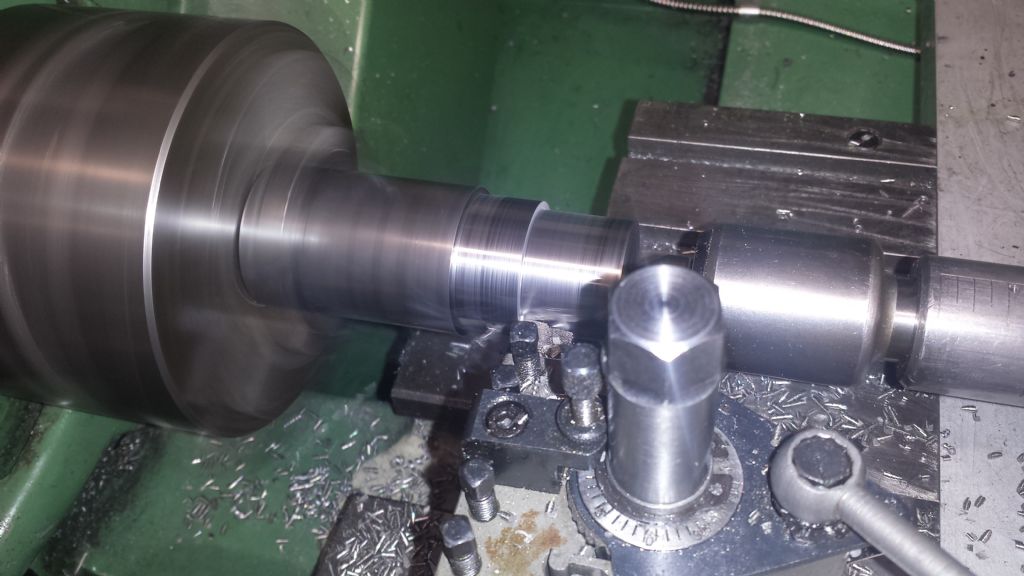
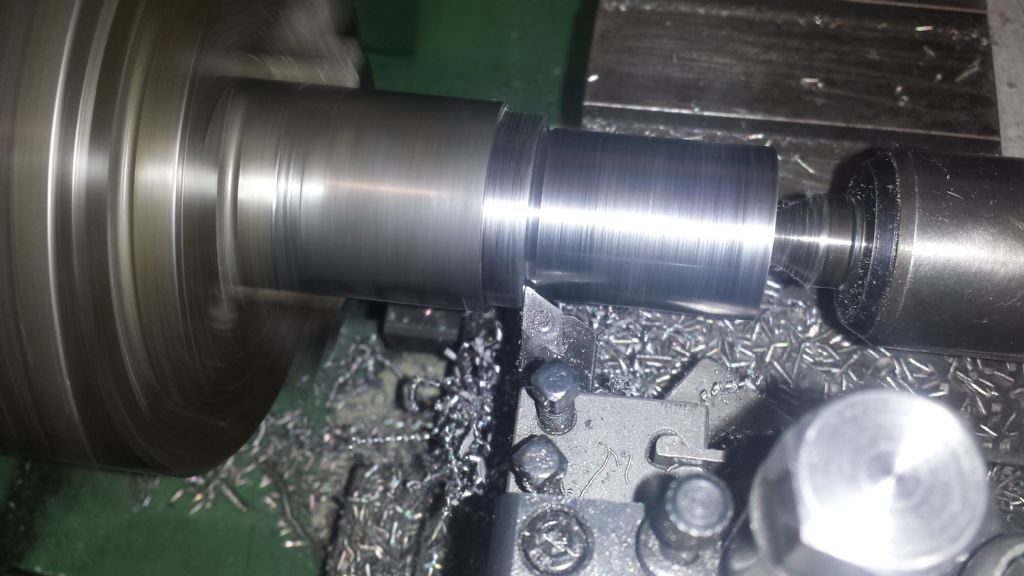
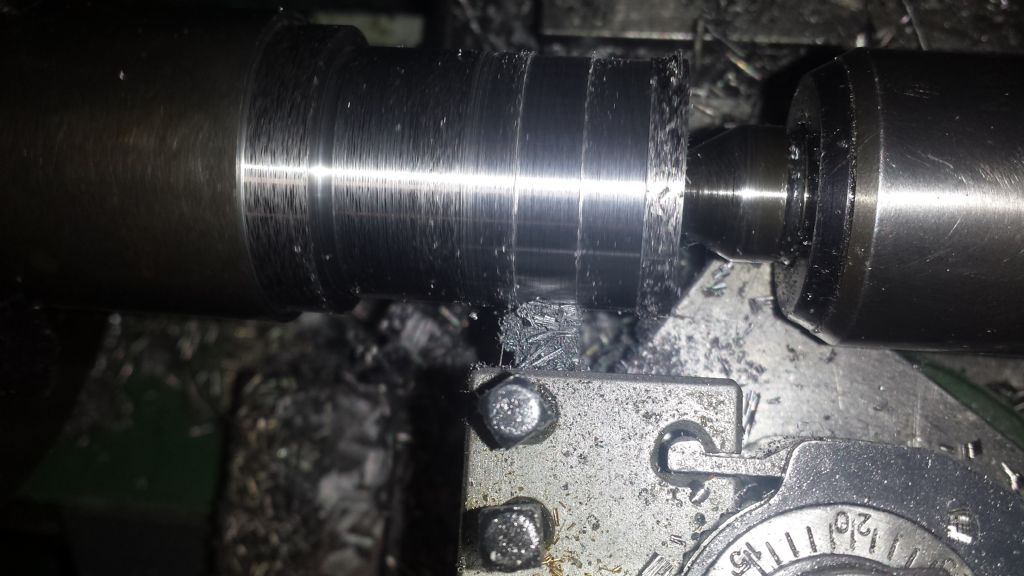
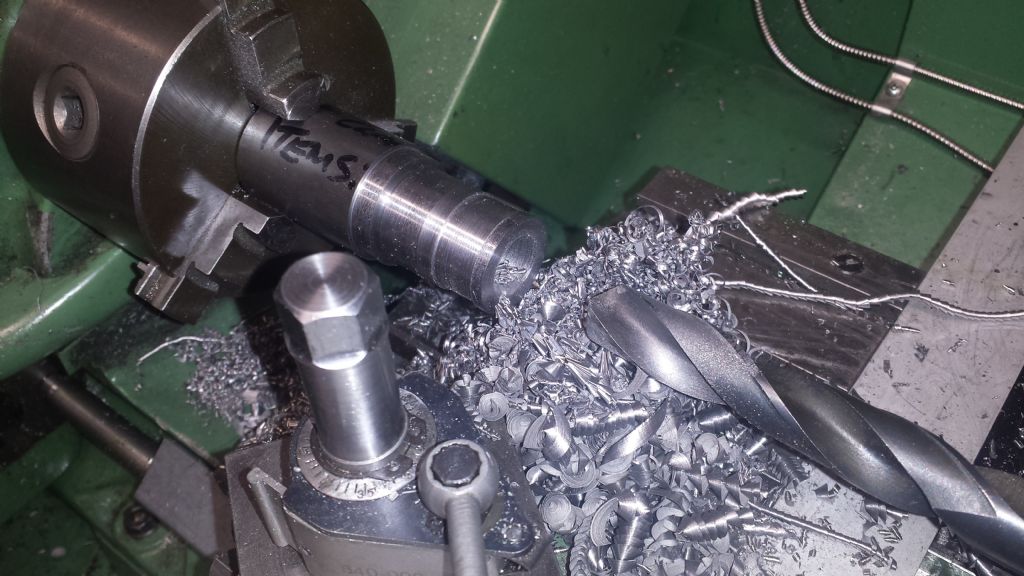
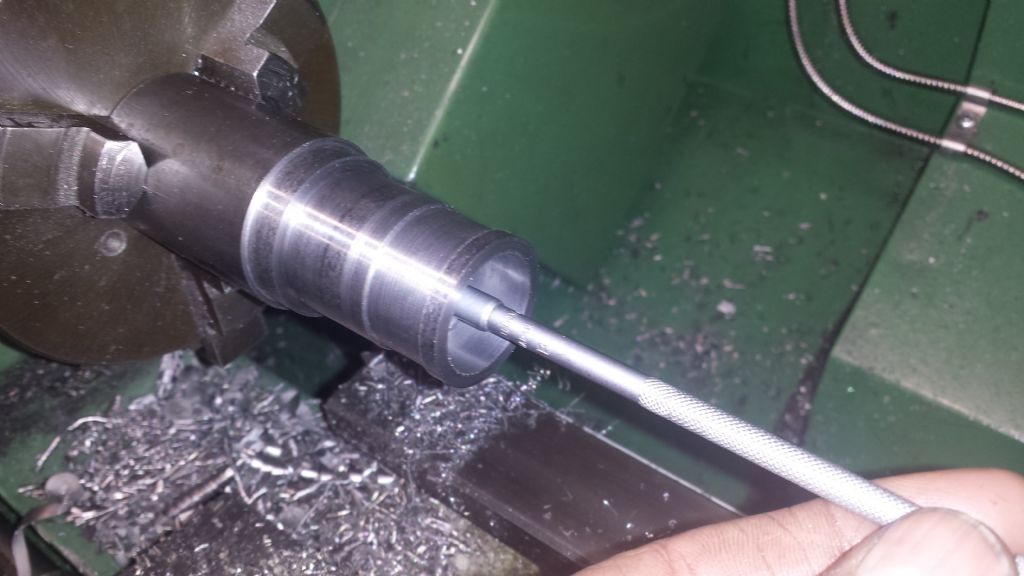
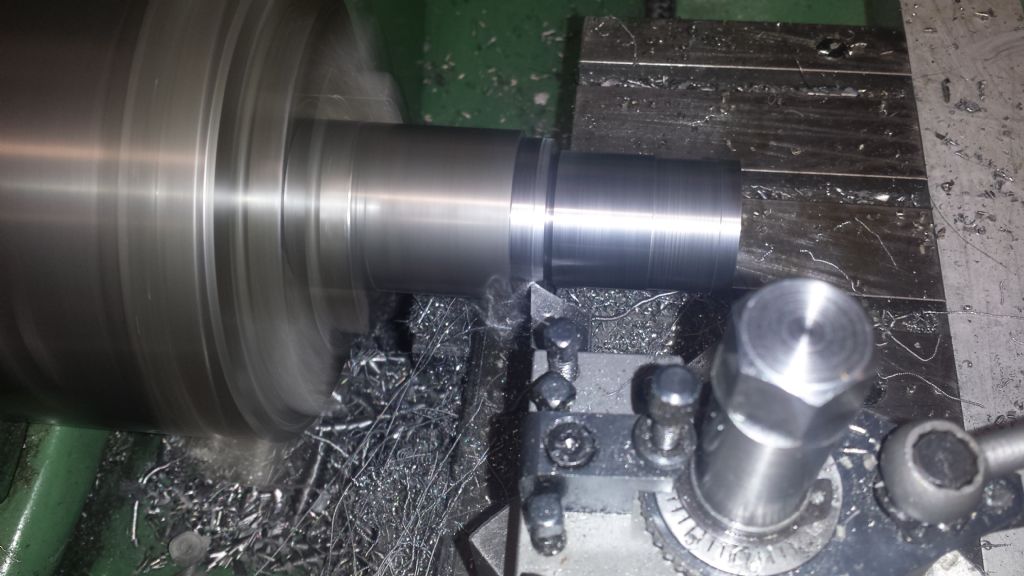
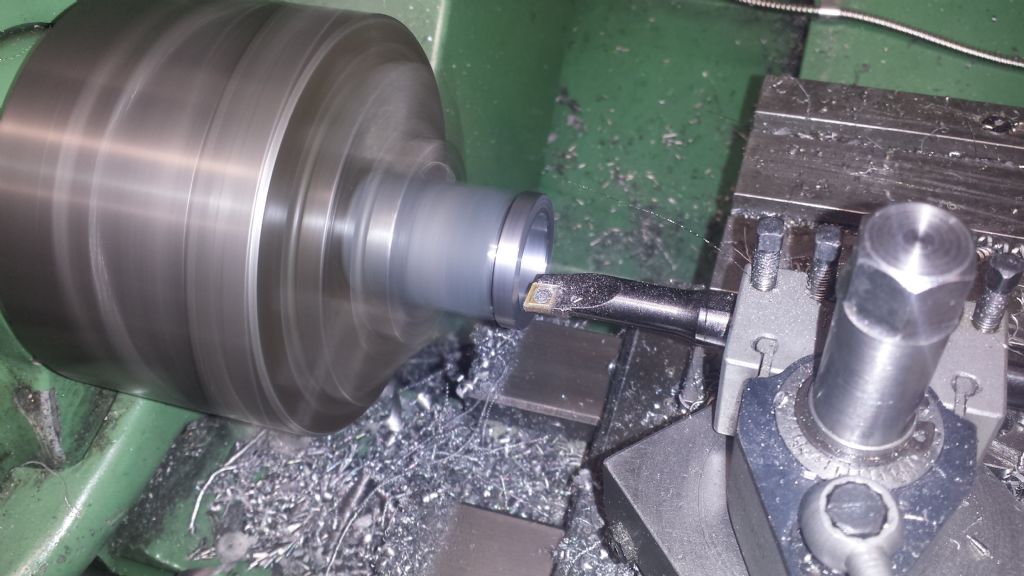
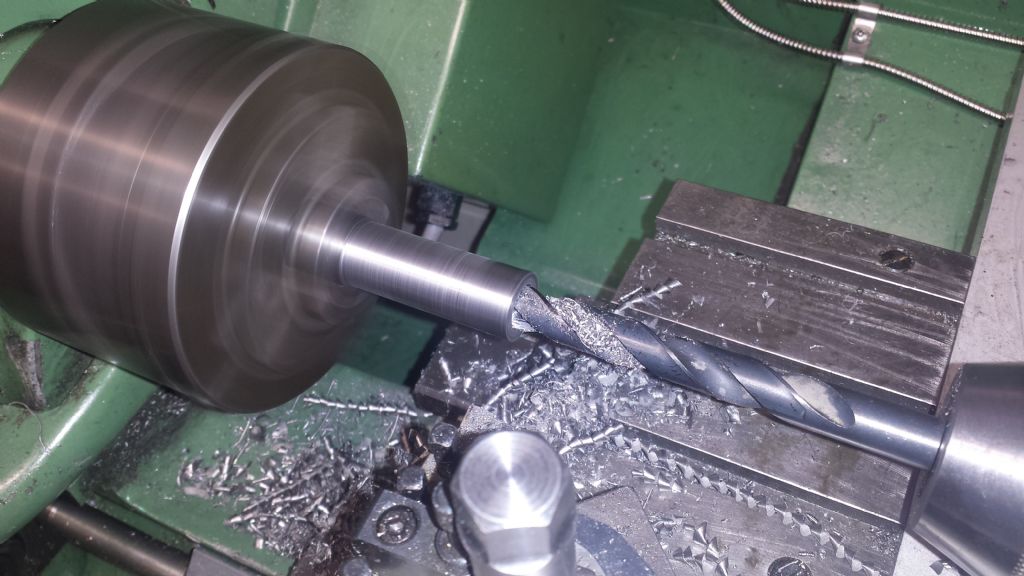
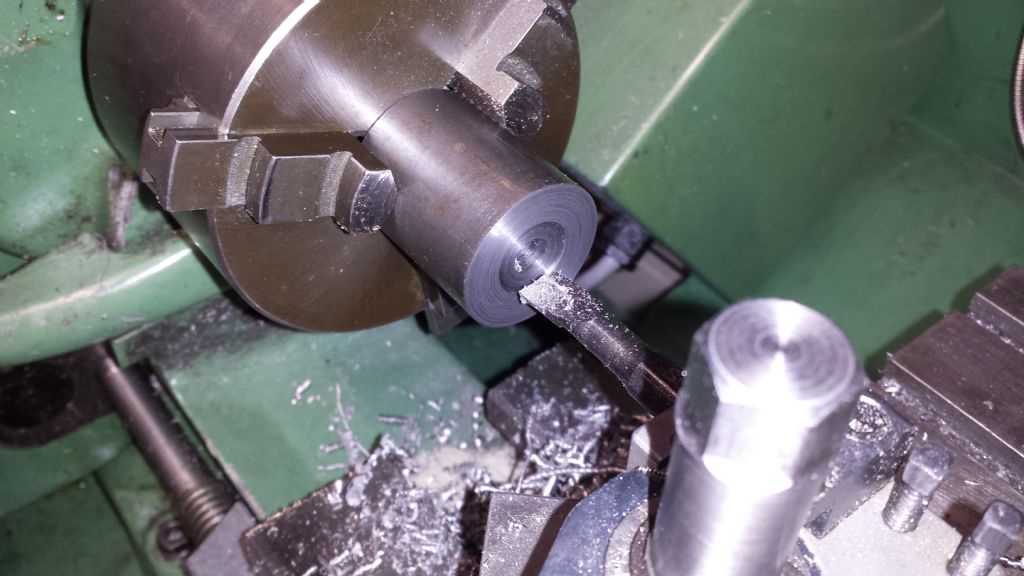
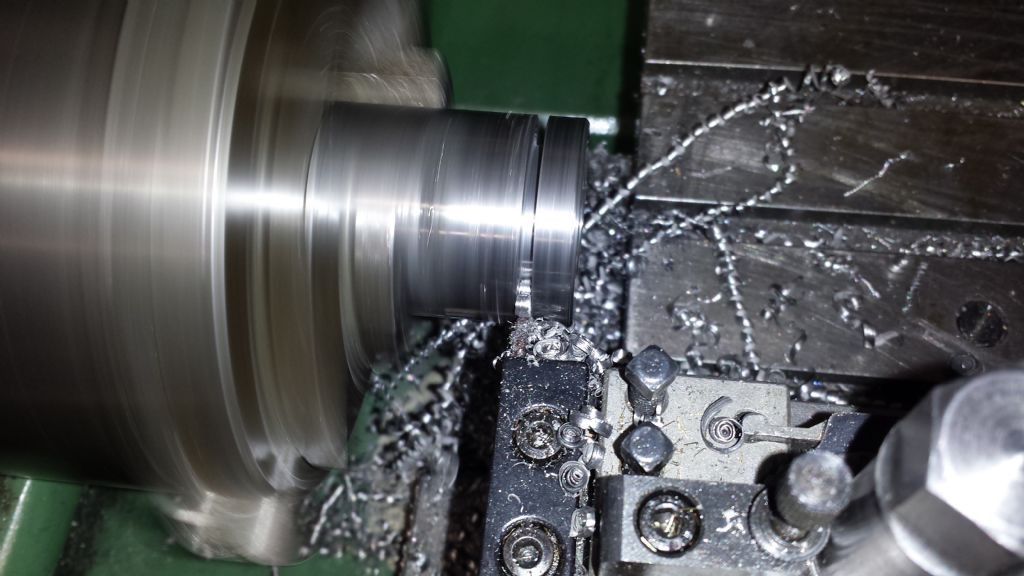
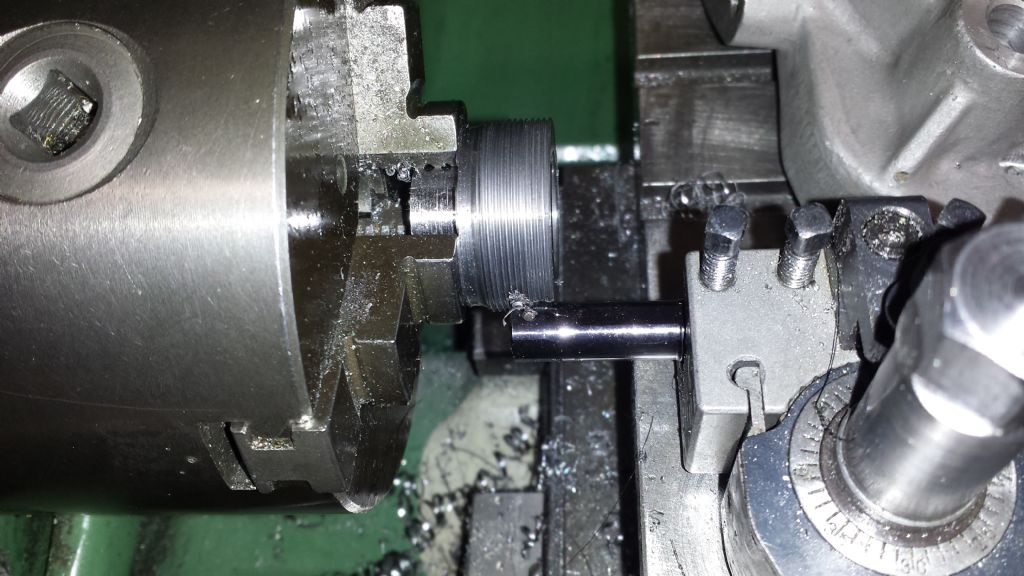
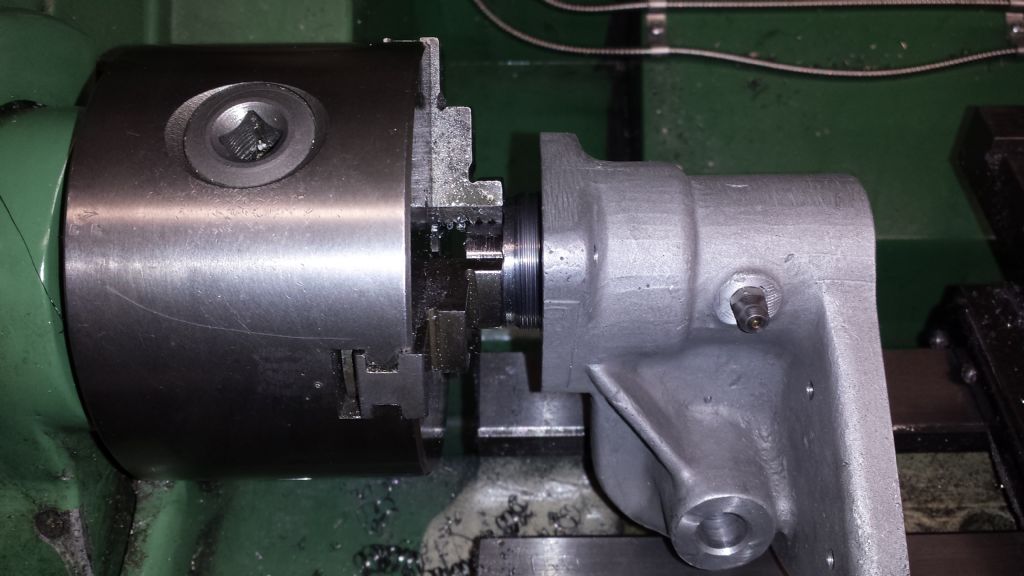
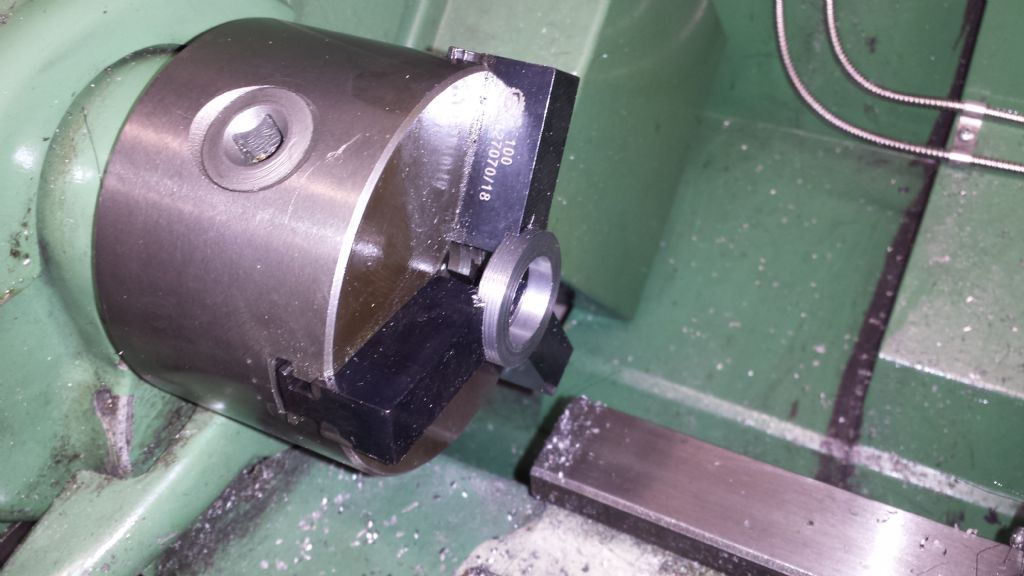
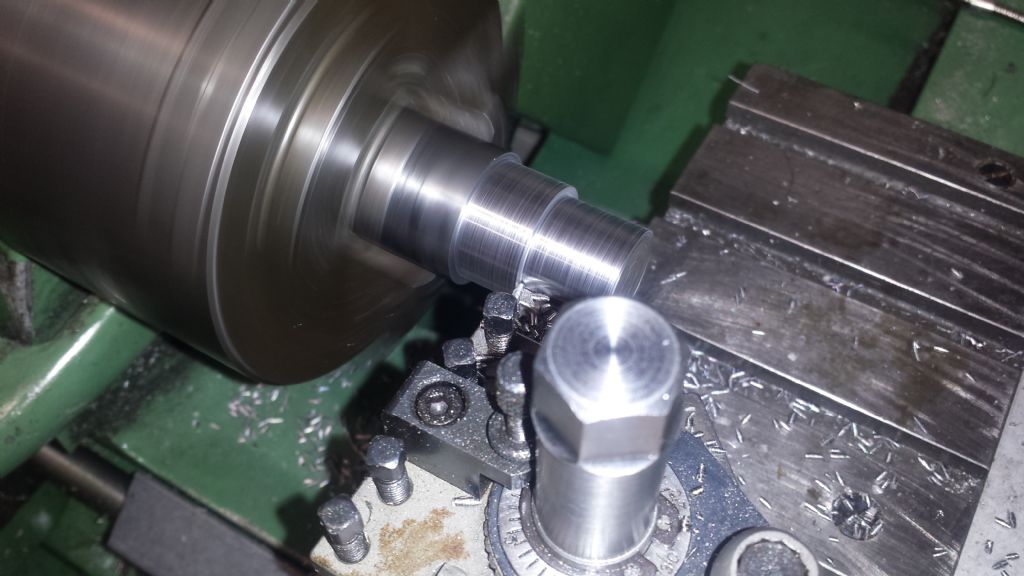
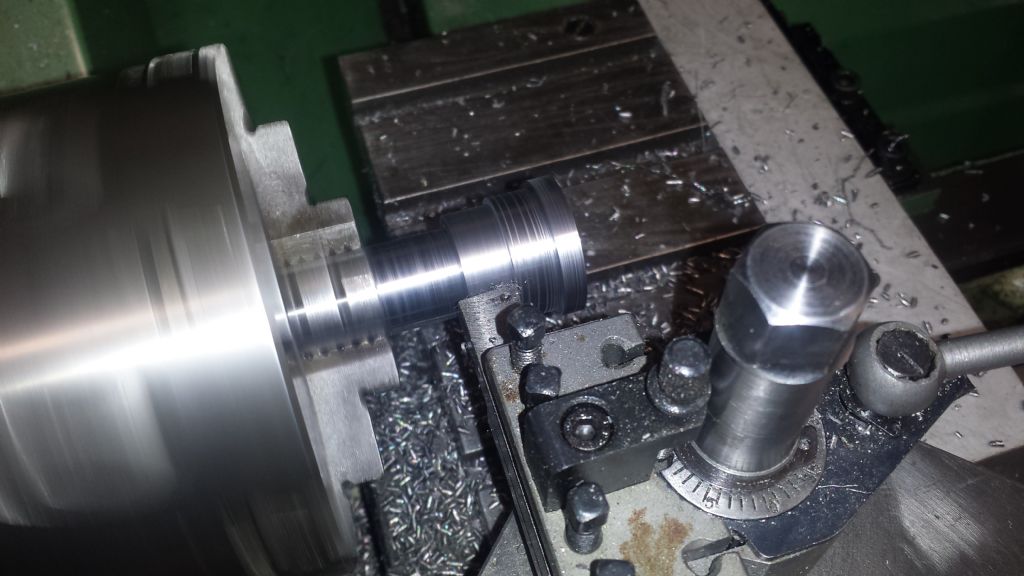
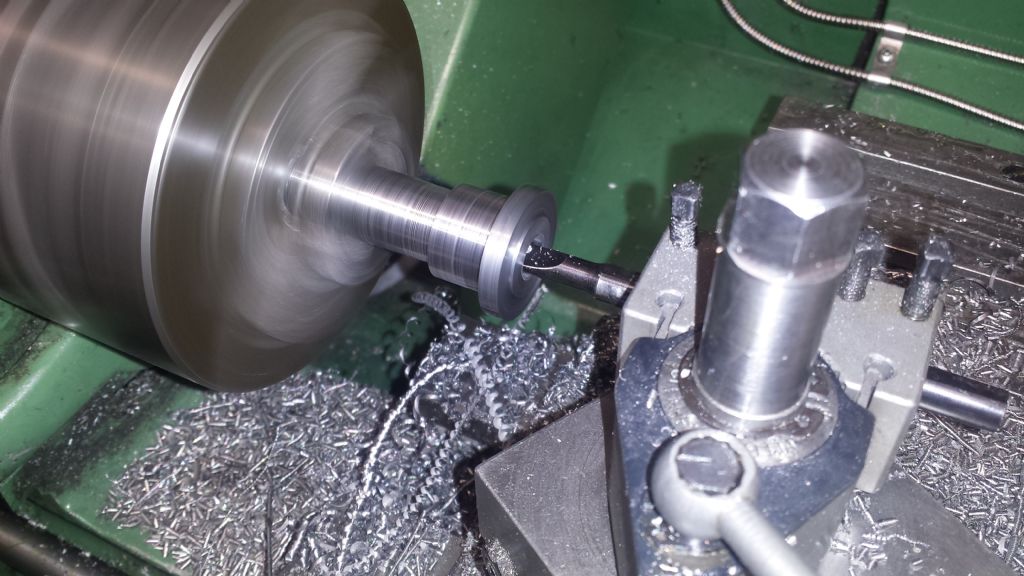
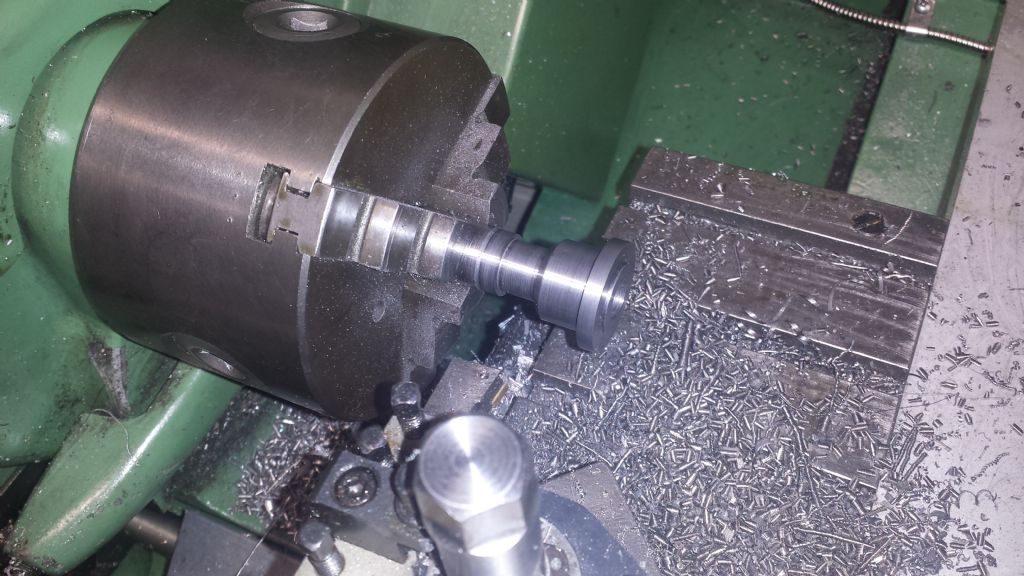
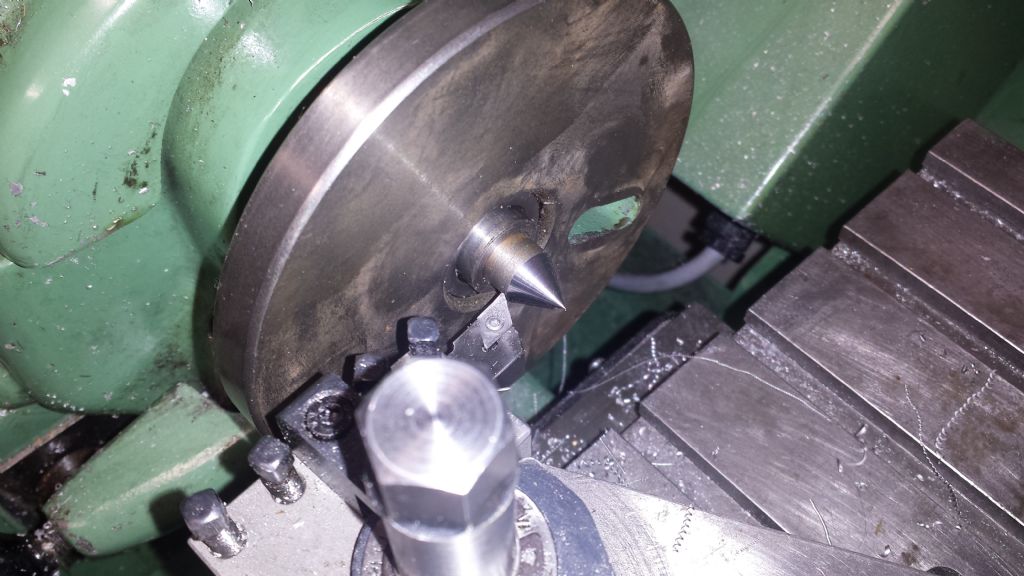
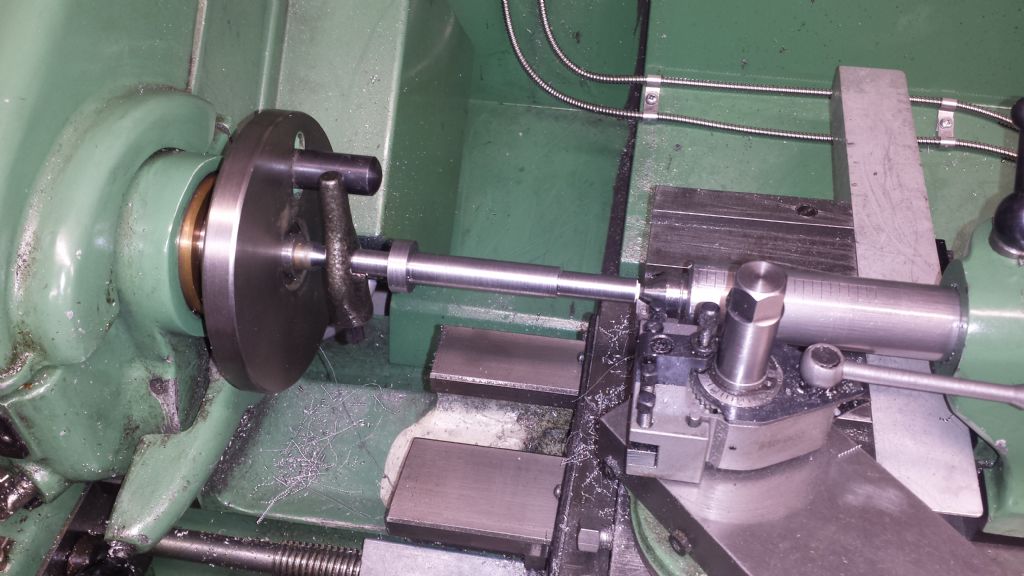
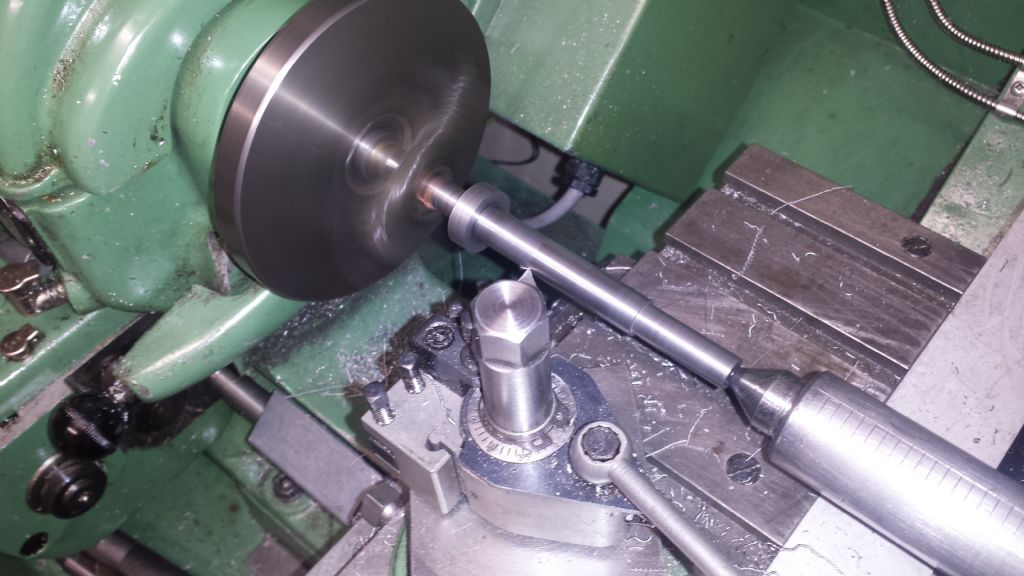
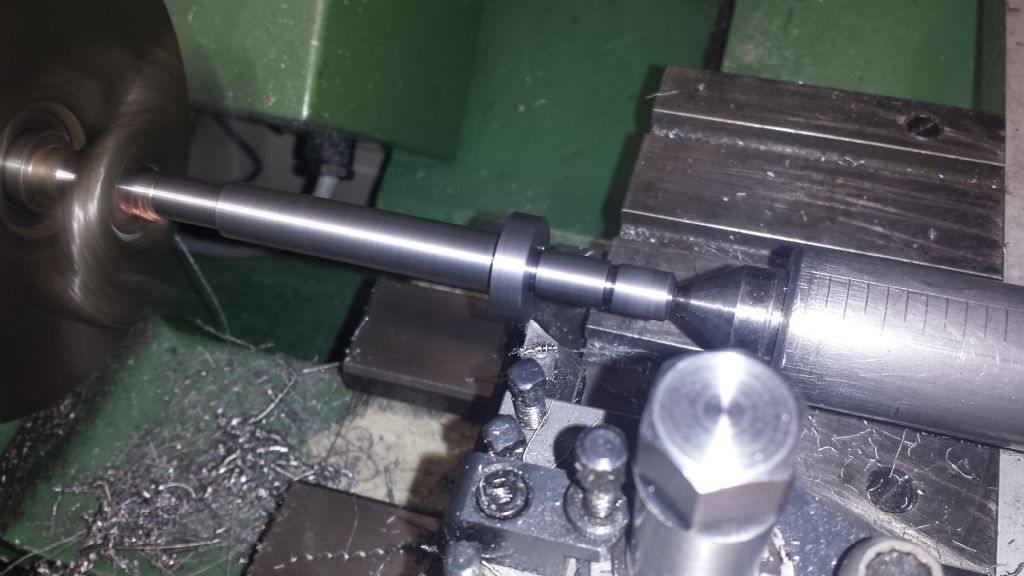
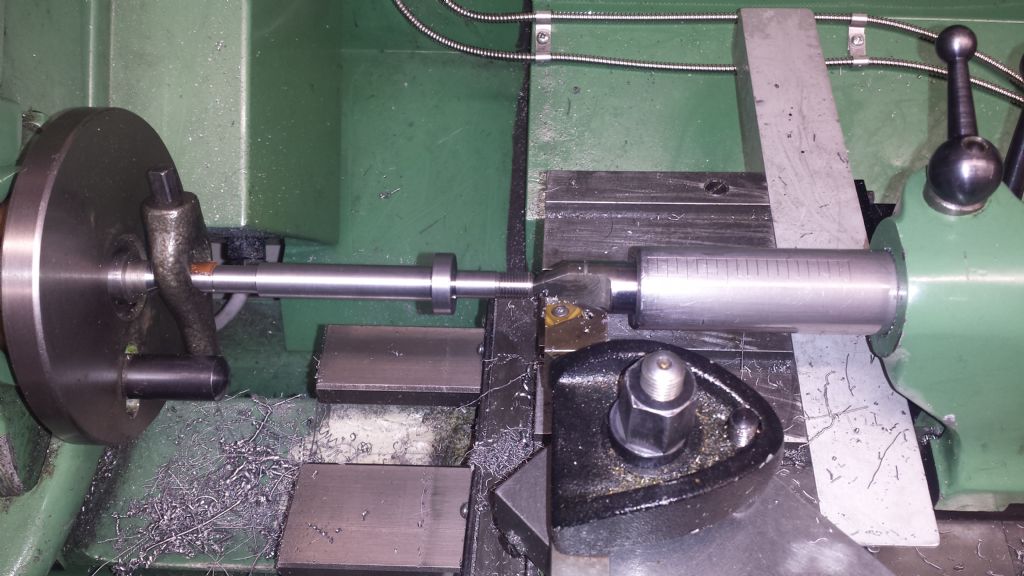
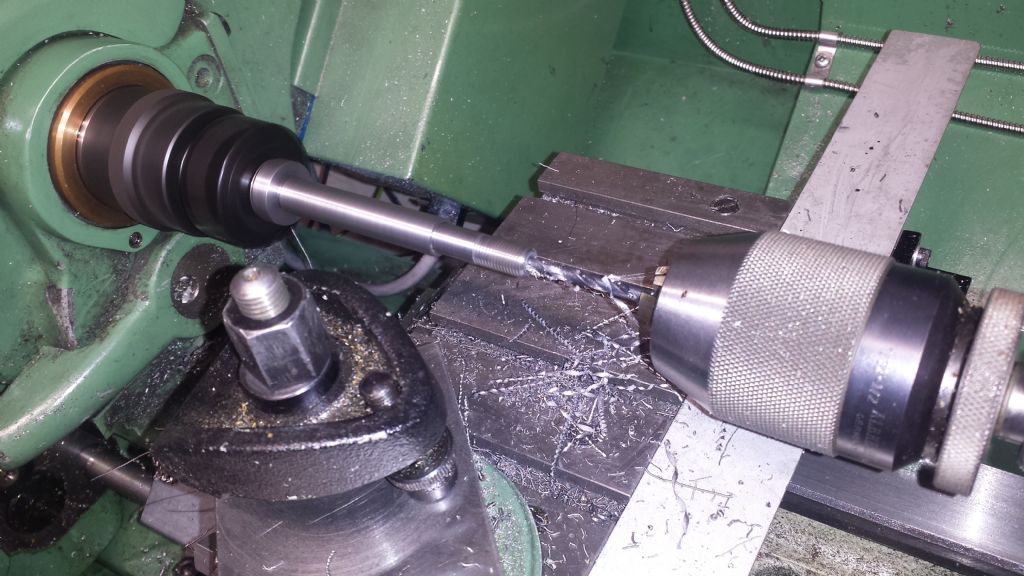
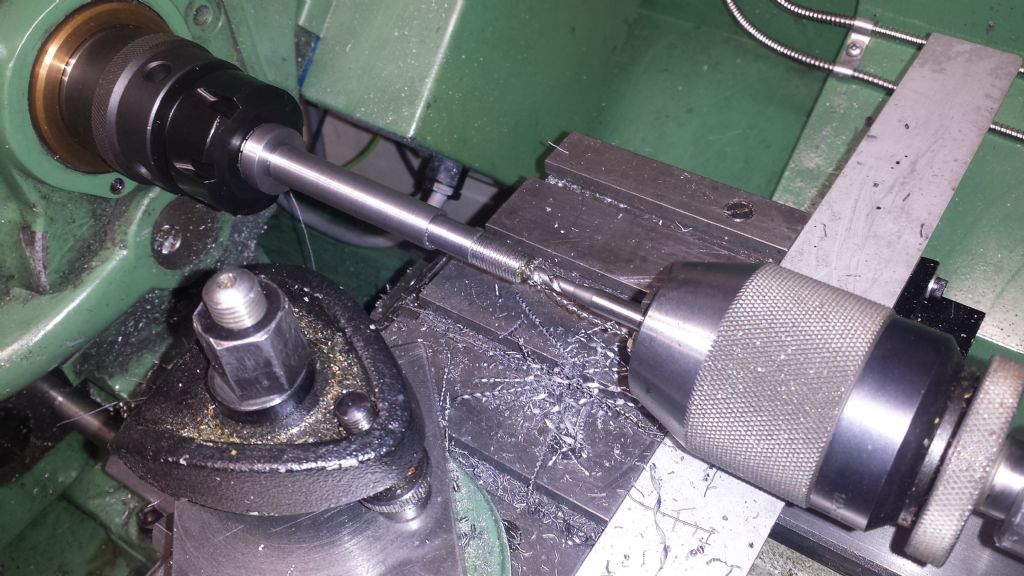
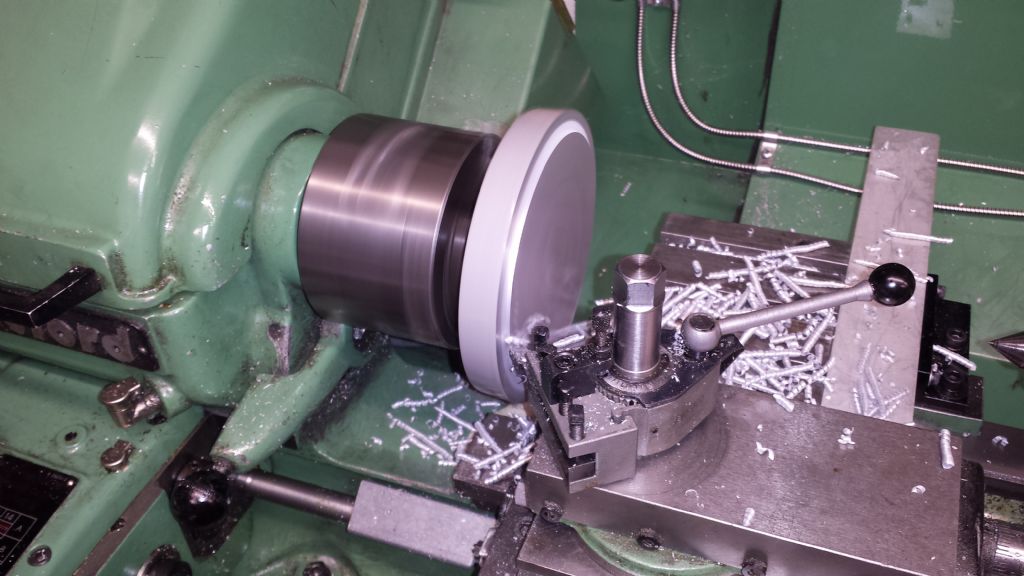
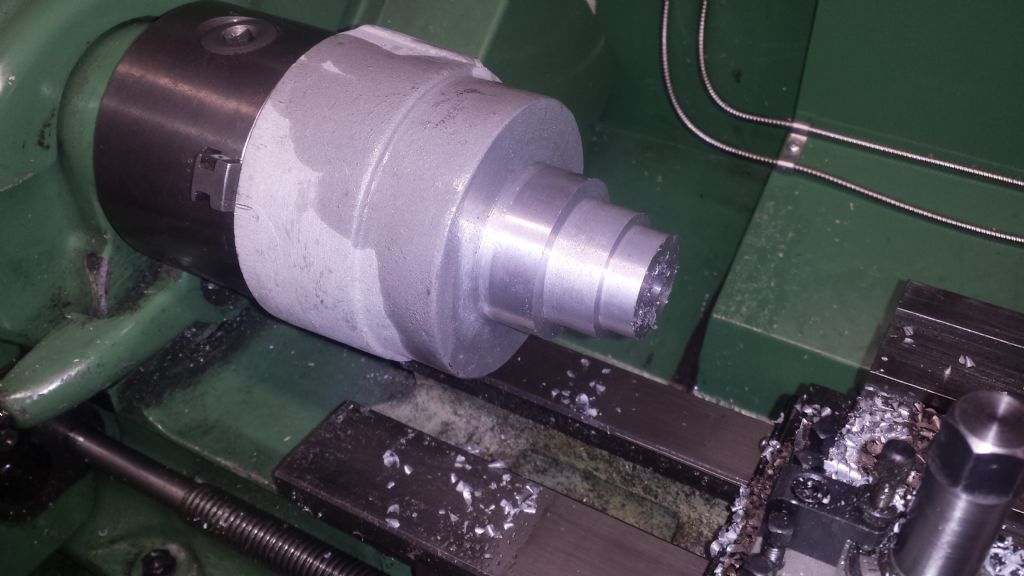
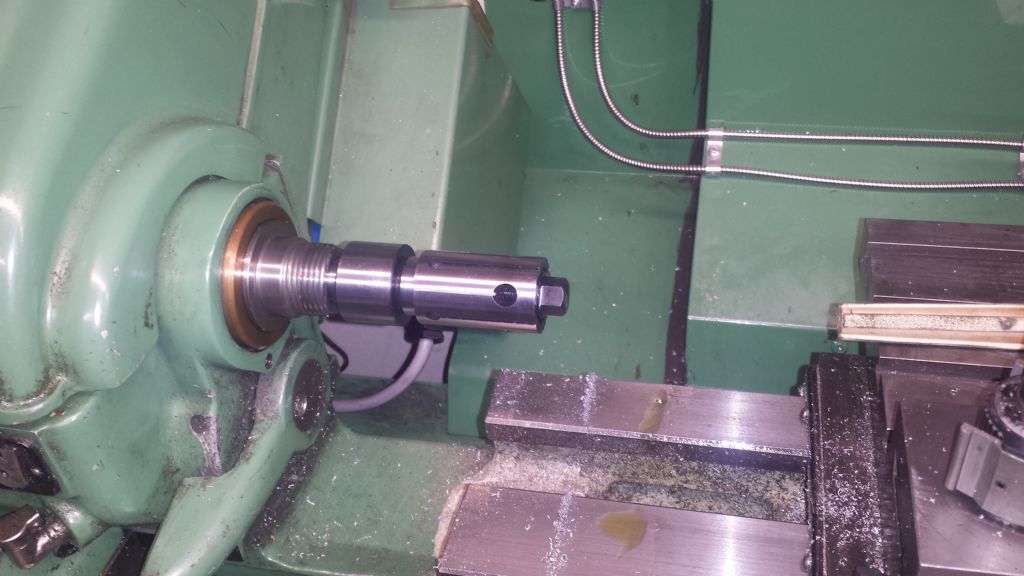
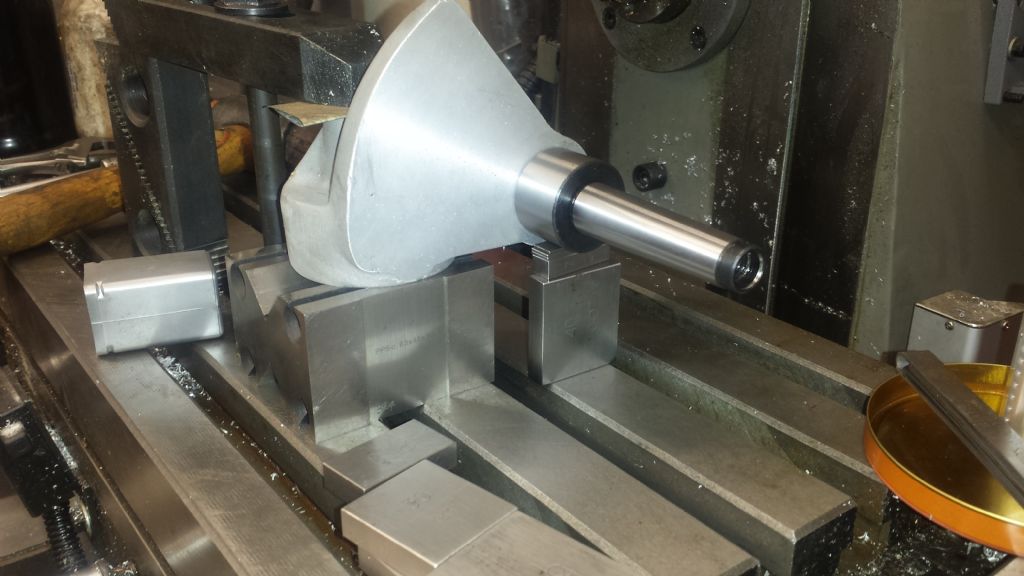
At last the Final installment:- The two Internal Grinding Extensions both start out as 3/4" Dia FCMS. The Spindle mounting bore and threads are machined in the same way as the Spindle Drive Pulley previously, To ensure true running of the extensions when mounted on the grinding spindle, a copy of the spindle end is machined, Each extension is now fitted to the above, finish turned (with tailstock support), then drilled, tapped, bored and reamed, Apart from painting, that's it complete! Thanks for all the kind comments and hopefully the photos will help others with ideas for various setups. Nick Edited By Nick Hughes on 04/03/2019 19:05:49 |
| 23/02/2019 15:16:57 |
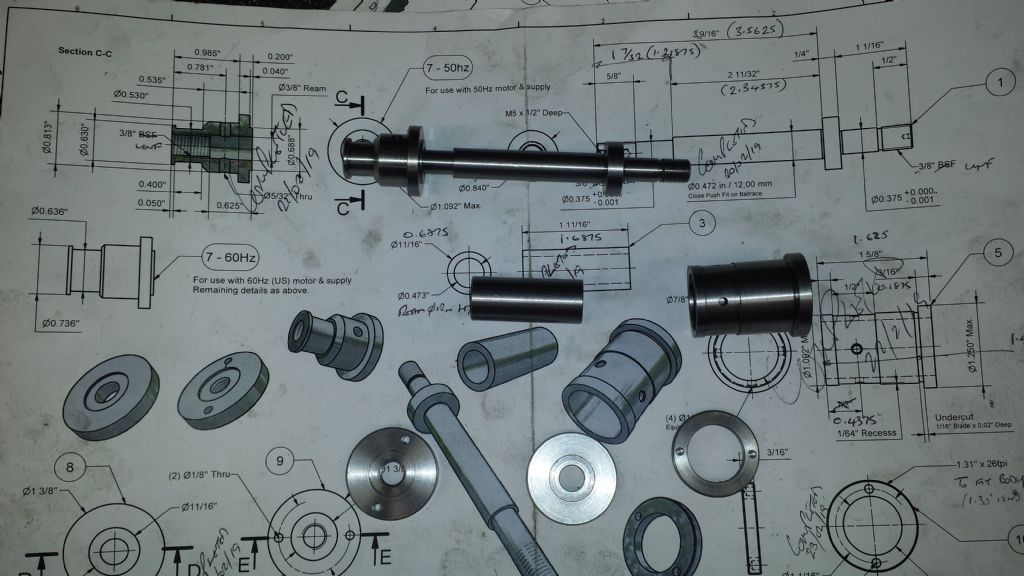
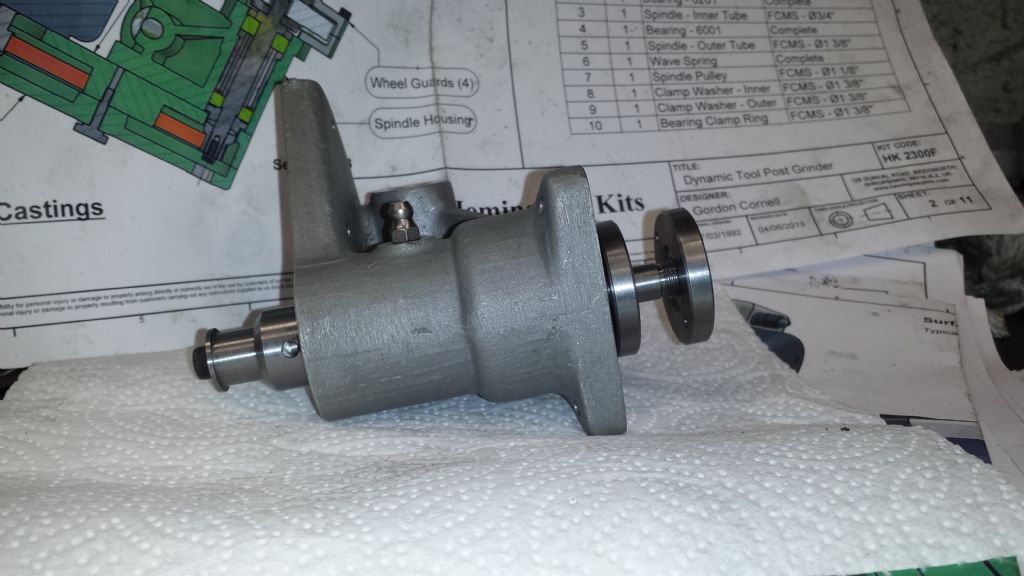
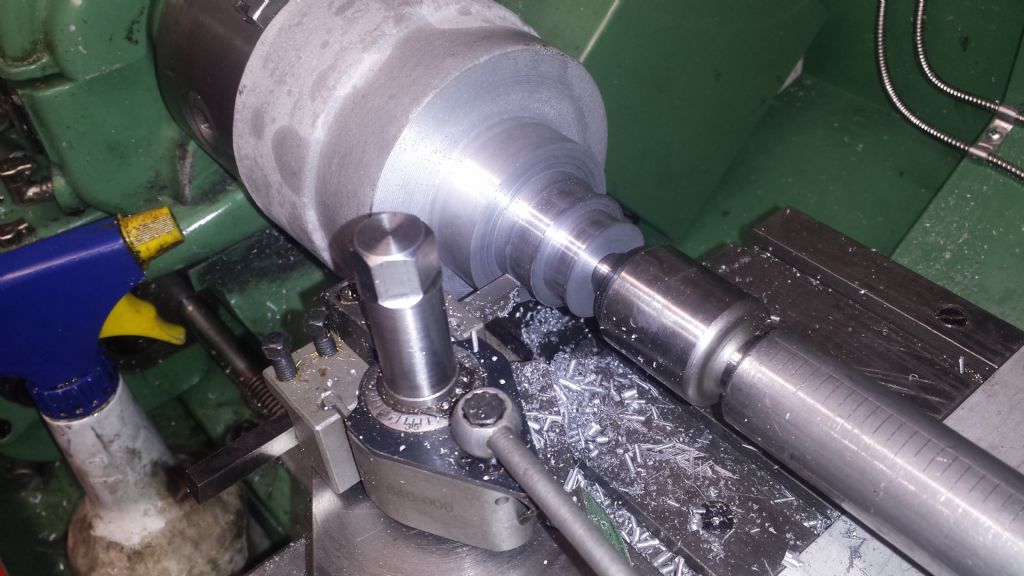
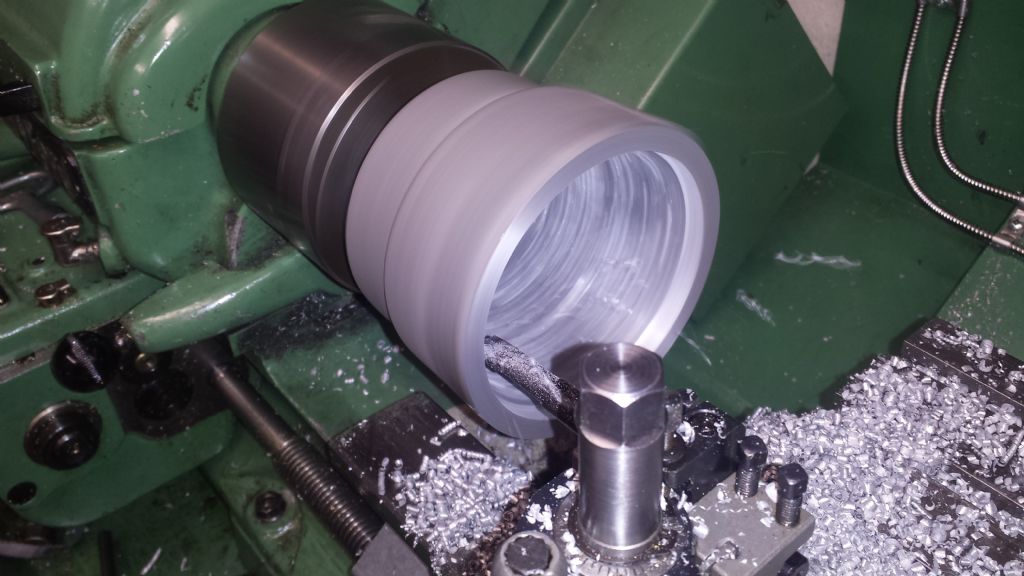
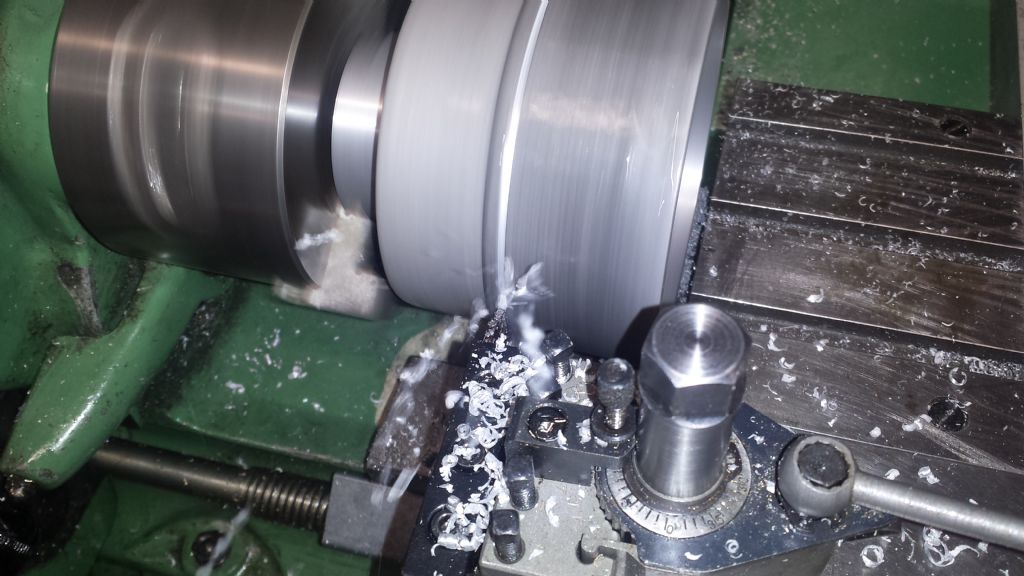
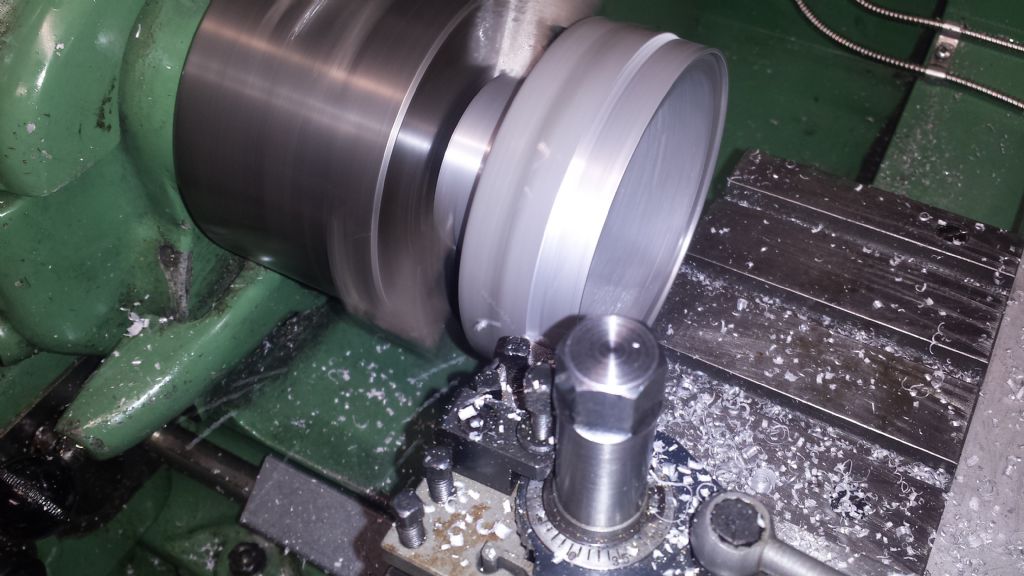
Fridays job was the Bearing Spacer Tubes. Staight forward turning, the outer from 1 3/8" Dia and the inner from 3/4" Dia FCMS:- The outer first. Faced centred and rough turned, Then the undercuts, Drilled, Bored to finish size and finish turned, Parted off, reversed in the chuck, faced to length and the edges lightly chamfered, The inner spacer is simply a tube, turned using the same sequence as above. The only difference was that the bore was reamed to size after semi finish boring, Today was on to the Wheel Flanges and the Bearing/Spindle Retaining Ring:- Once again straight forward turning for the wheel flanges, one plain reamed bore and one tapped. Turned, bored, counterbored, reamed or tapped, then parted off from the stock and set aside, until after the Retaining Ring, The remaining stock had a chucking piece turned on it, to make holding in the chuck to make the Retaining Ring easier, After turning, forming an undercut to below core dia and boring, the outside was screwcut to fit the Spindle Housing. Still waiting a month after ordering, for the external threading insert, I decided to use the internal tool and insert! Done by inverting the internal tool, running the spindle in reverse and cutting the thread away from the cuck (starting from in the undercut), Using a Full Form insert that also cuts the thread crest, it's easier to start with a slightly oversize blank Dia and sneek up on the final size/fit, After parting off, I bored some soft jaws to hold this ring and the wheel flanges for facing to width and chamfering, The soft jaws also came in handy when setting up on the miller, to drill the tightening holes (The bore was aligned by "clocking in" and holes placed as with previous items), All the Turned Spindle parts, Finally the complete Spindle Unit, Apart from a bit of fettling and painting of the castings, that completes the main grinder. The next and probably final installment, will be machining the internal grinding extensions. Edited By Nick Hughes on 23/02/2019 15:39:52 |
| 21/02/2019 21:05:59 |
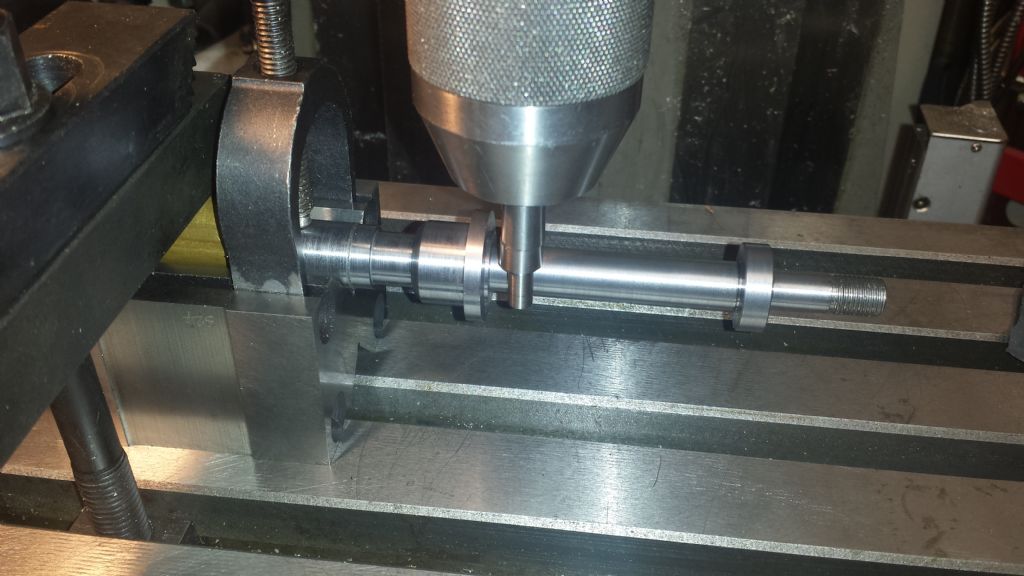
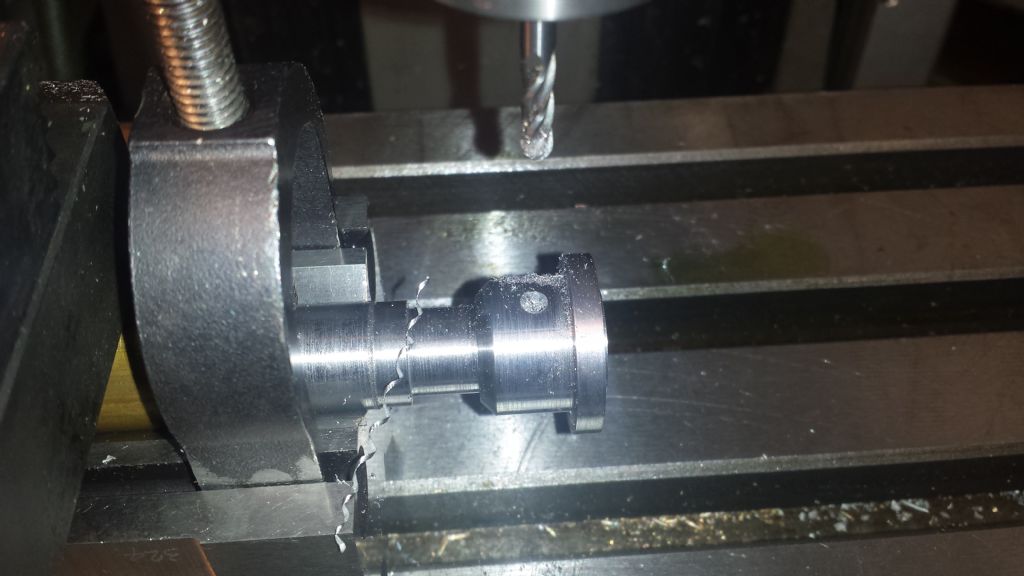
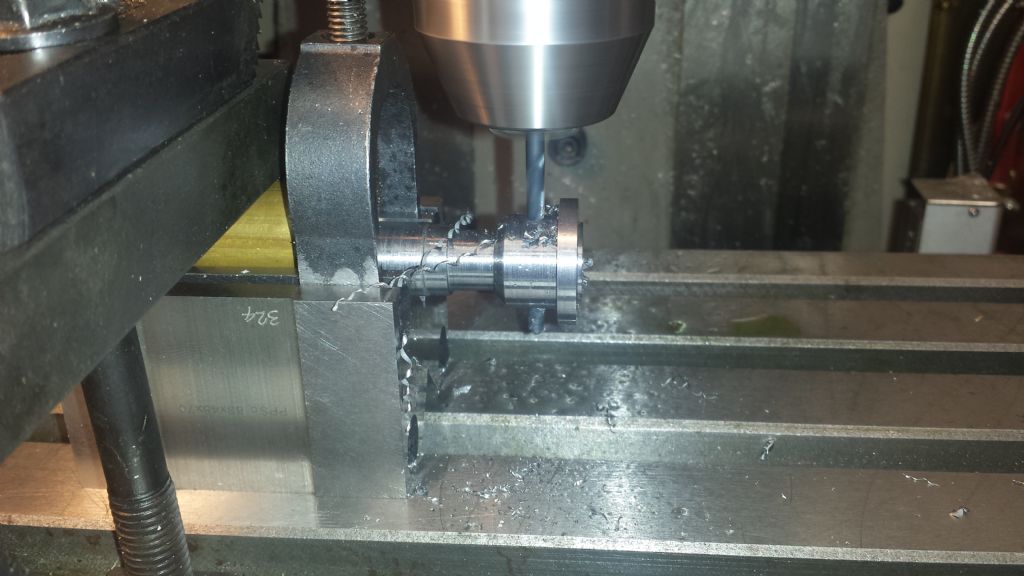
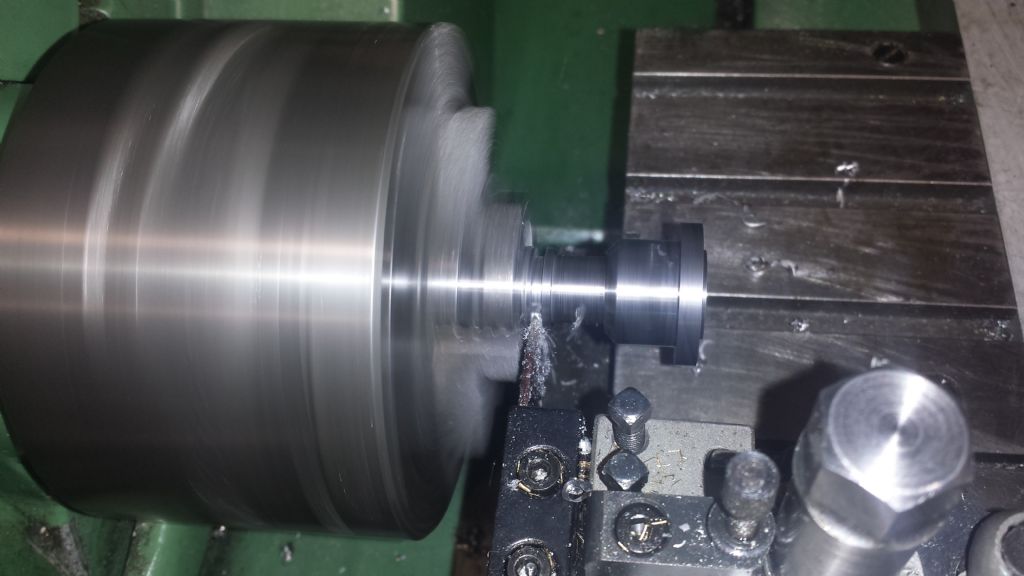
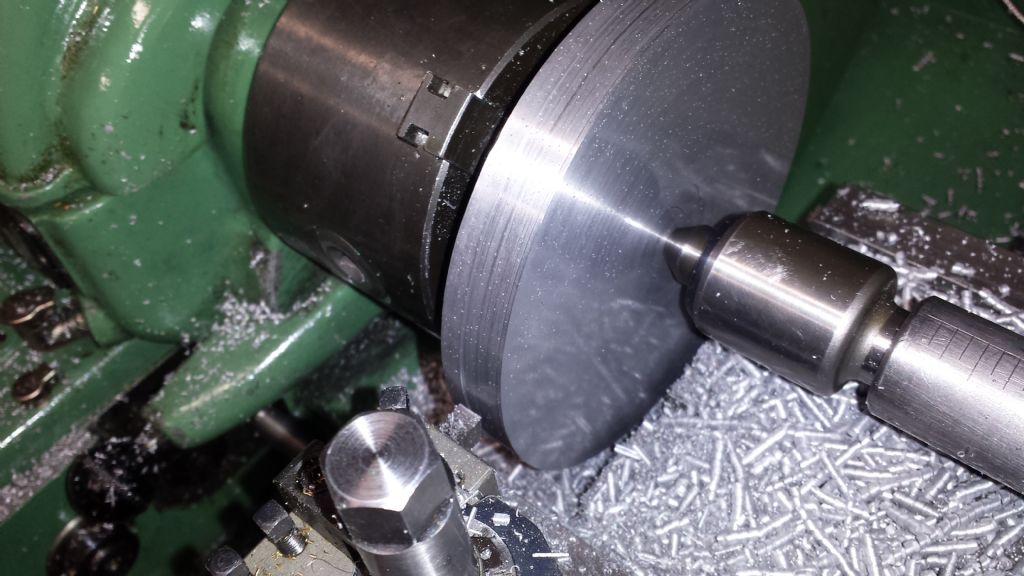
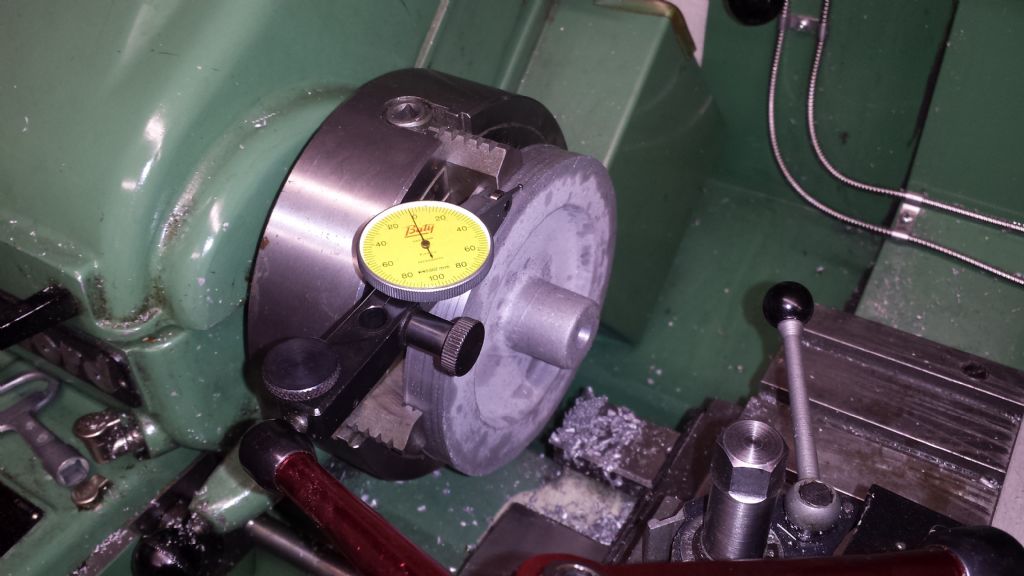
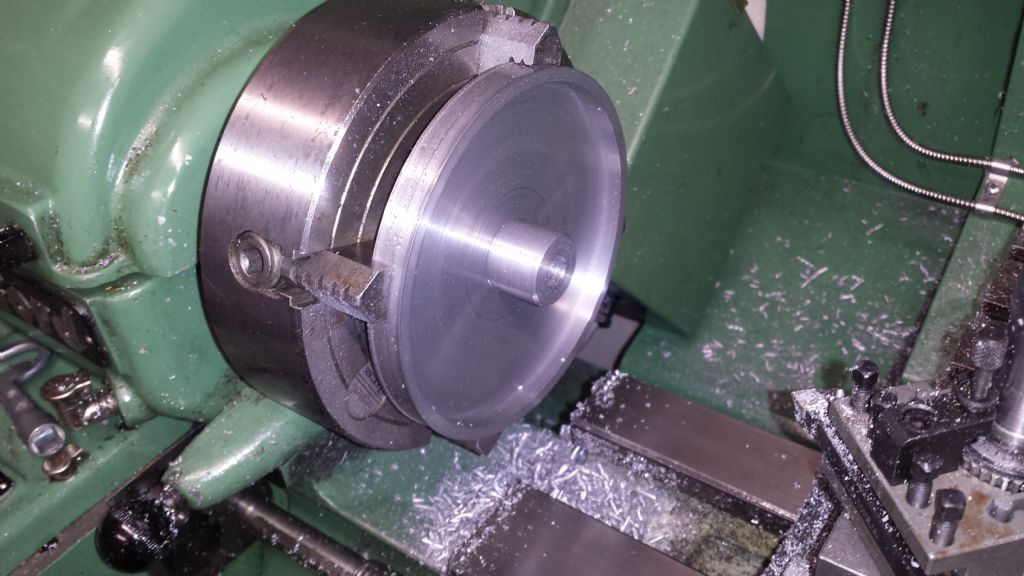
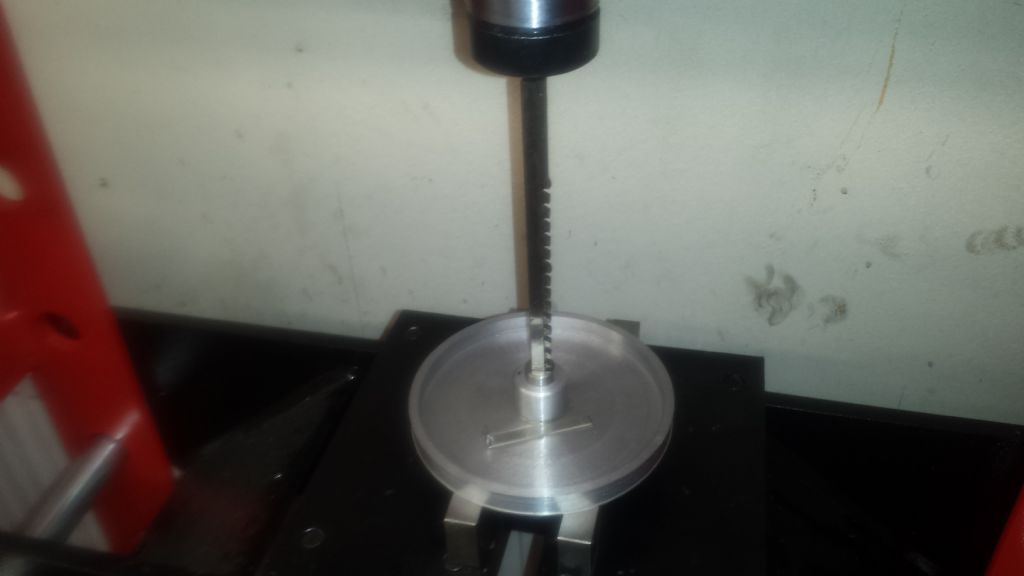
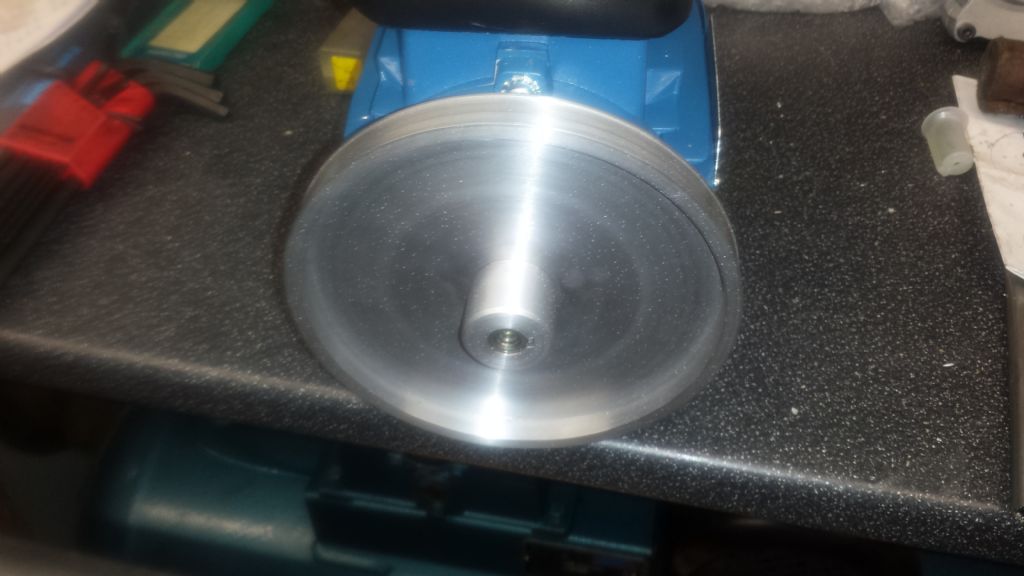
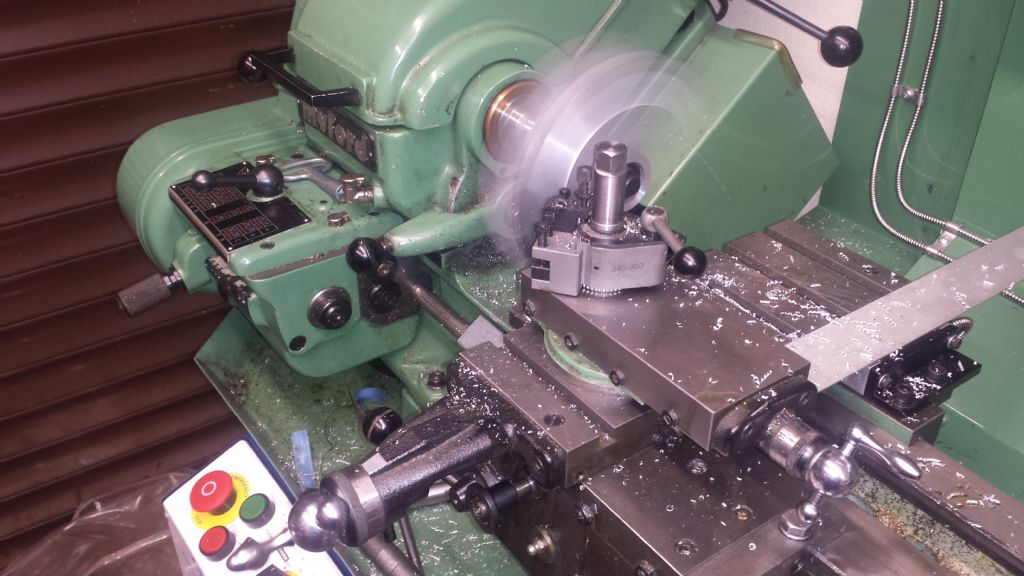
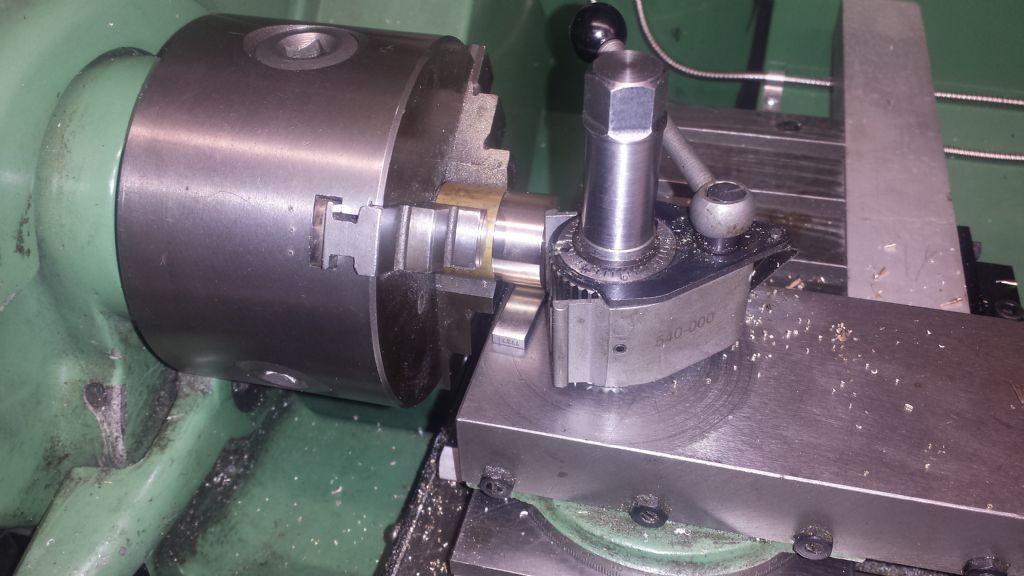
Thanks to everyone for the encouraging comments. The spindle drive pulley starts out as a 2 1/4" length of 1" Dia free cutting mild steel bar and when finished, must run as true as possible:- To start, the bar is rough turned to 0.020"/0.5mm above the belt groove flange finished Dia, far enough along to enable access with the tooling, when the bar is reversed in the chuck, to rough and finish the full pulley form, without removing from the chuck. Doing this should ensure the minimum of runout, Reversed in the chuck and because I had no LH turning tools available, I inverted the tool and ran the lathe in reverse. Taking it steady with the depth of cut, there was no hint of the chuck unscrewing! Again I left 0.020"/0.5mm on all dia and 0.010"/0.25mm on all faces for finish turning, after completing the bore, After rough turning the outside, the bore is drilled through tapping size, then bored and reamed for the plain locating bore portion and then tapped. Final boring op was to cut the 30 Deg chamfer on the bore, ready for the centre used when finish turning the outeside and forming the belt groove, All finished but resisting temptation to part off from the chucking stock, As you'll see, leaving it on the stock makes the following operation a lot easier, The chucking stock is now used to hold the pulley for drilling a 4mm cross hole, used to tighten it on the spindle. Held in a V block, clamped to the machine table and the V block aligned with the X axis, Then to make finding the centre easier, I screwed in the spindle and pitched over to the centre from that, After removing the spindle, I "wobbled" the pulley face, moved to the hole position and after centre drilling, used a 4mm ball nose cutter to start the hole (I find a ball nose cutter after center drilling, works better than using a normal flat face cutter) Follwed by drilling through, Back in the lathe and part off from the stock, Reverse in the chuck, face to length and chamfer the thread, Final de-burr and it's done! Next will be the two Spacer Tubes. Edited By Nick Hughes on 21/02/2019 21:29:10 |
| 20/02/2019 18:54:10 |
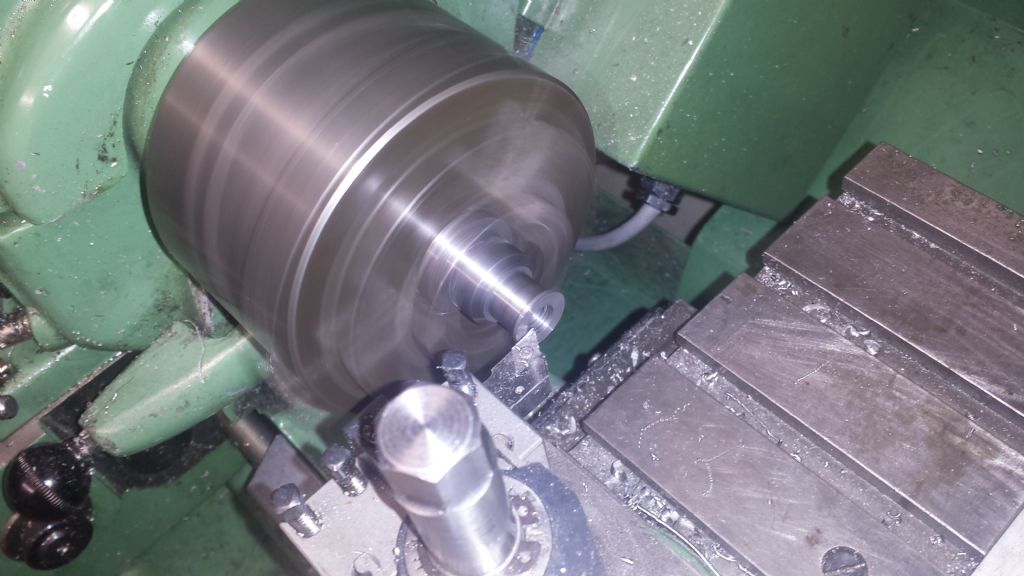
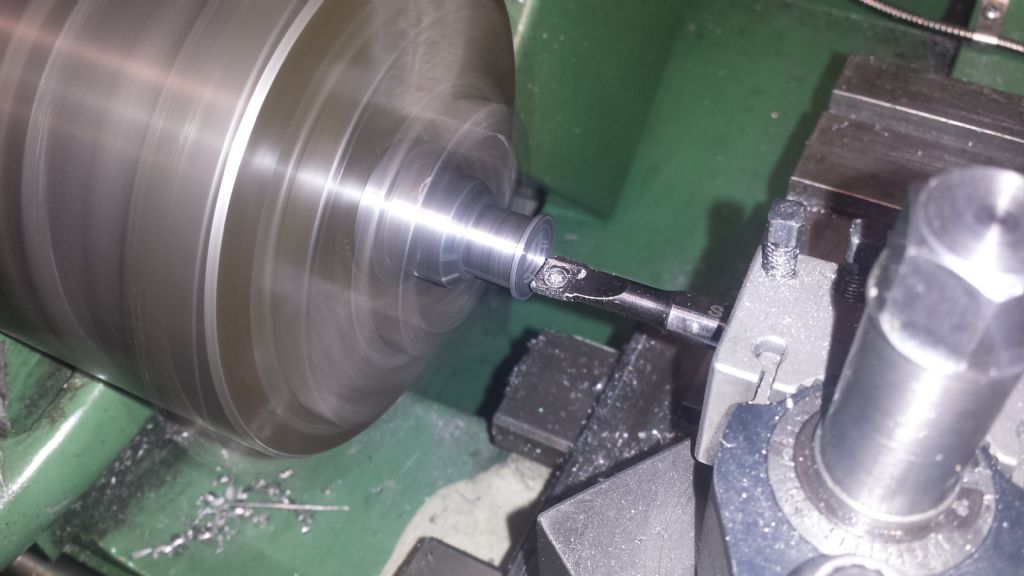
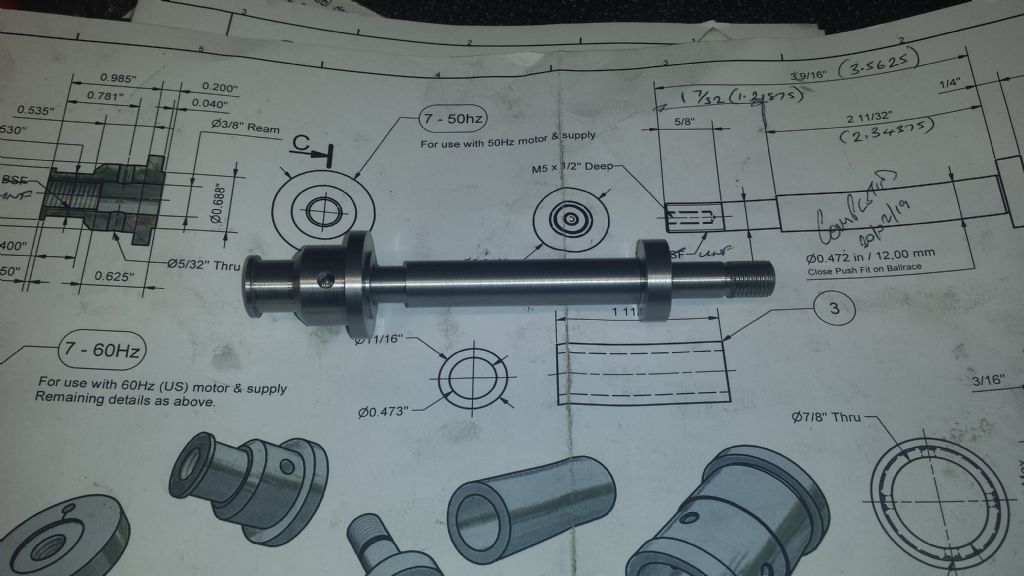
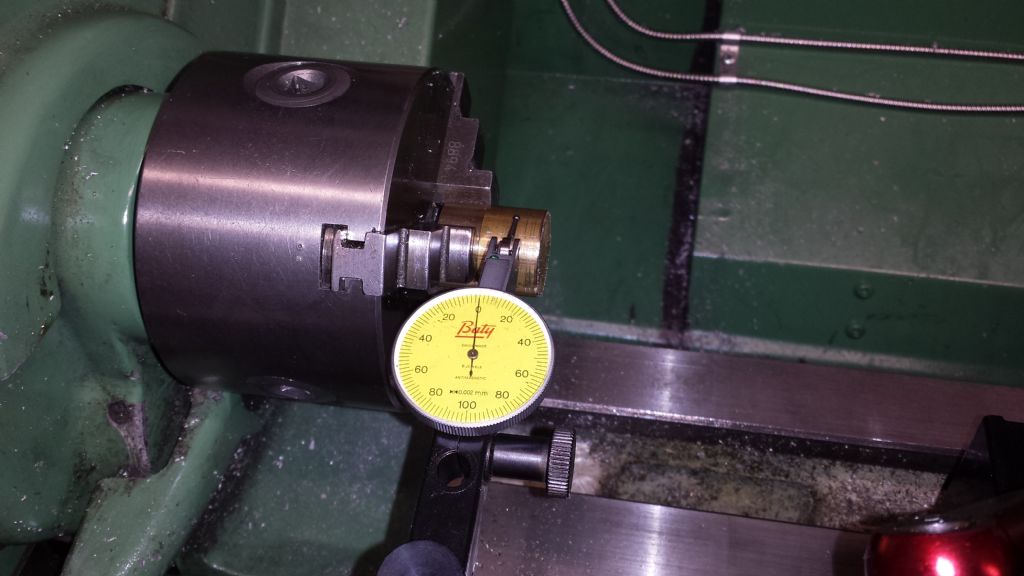
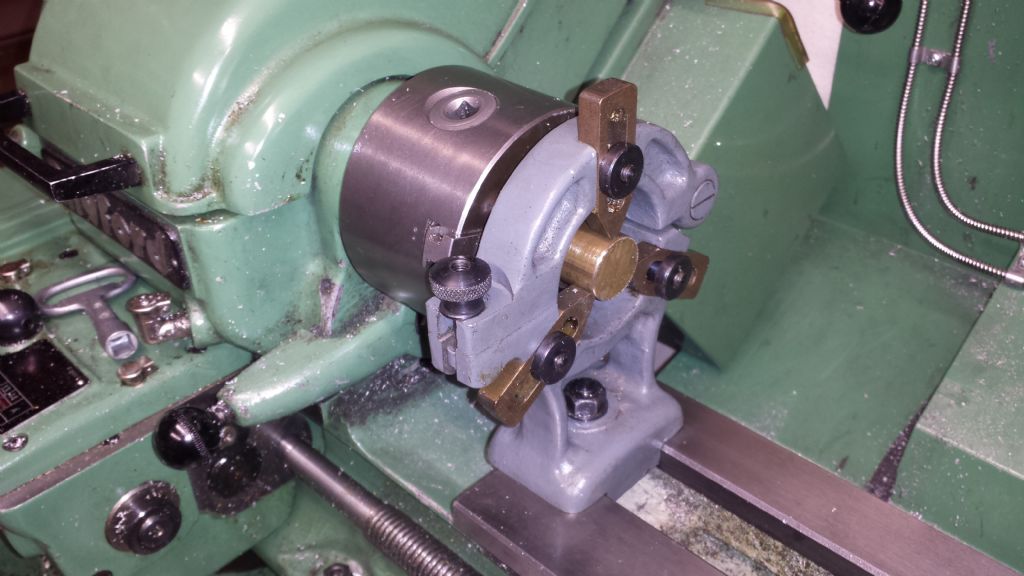
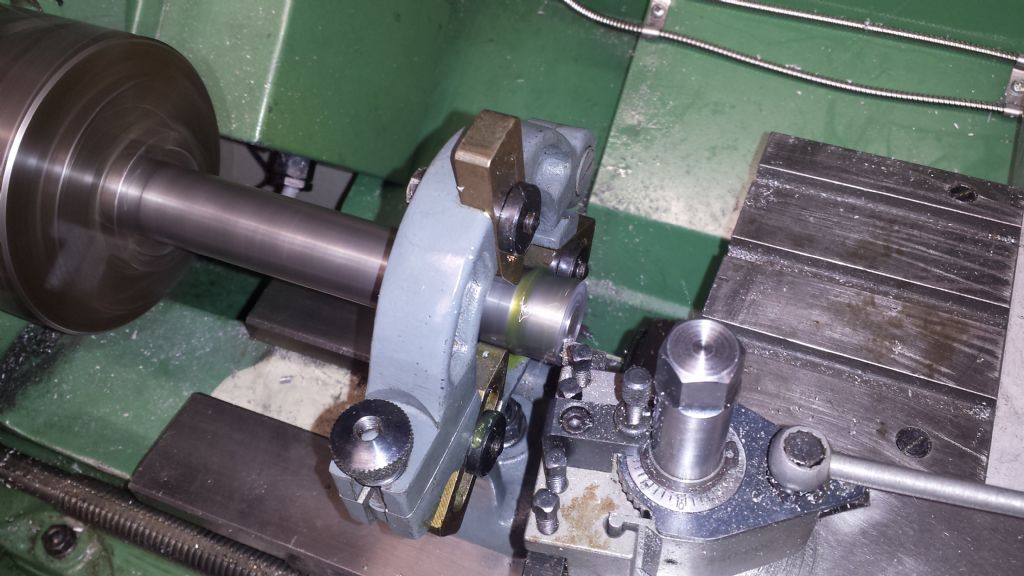
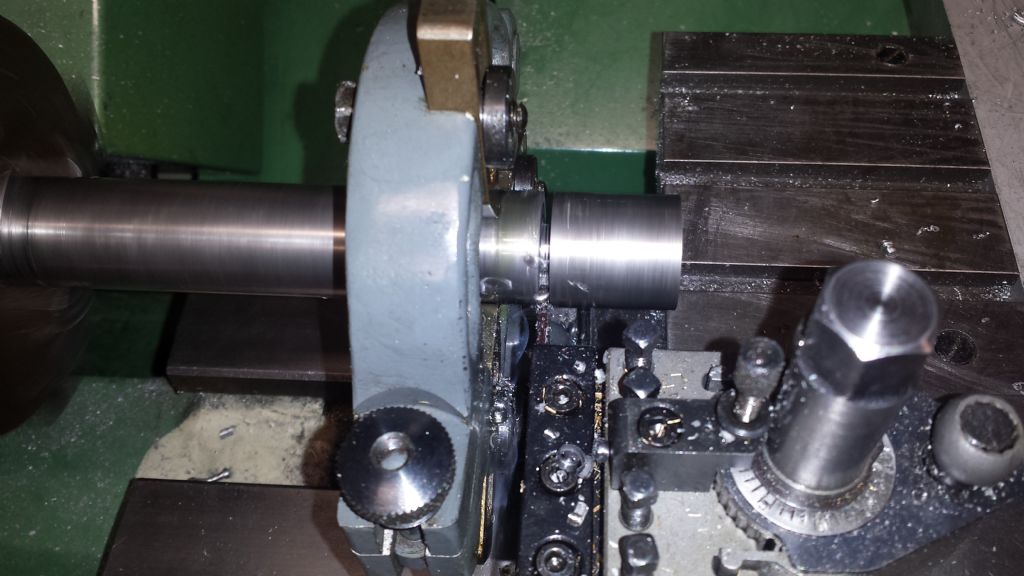
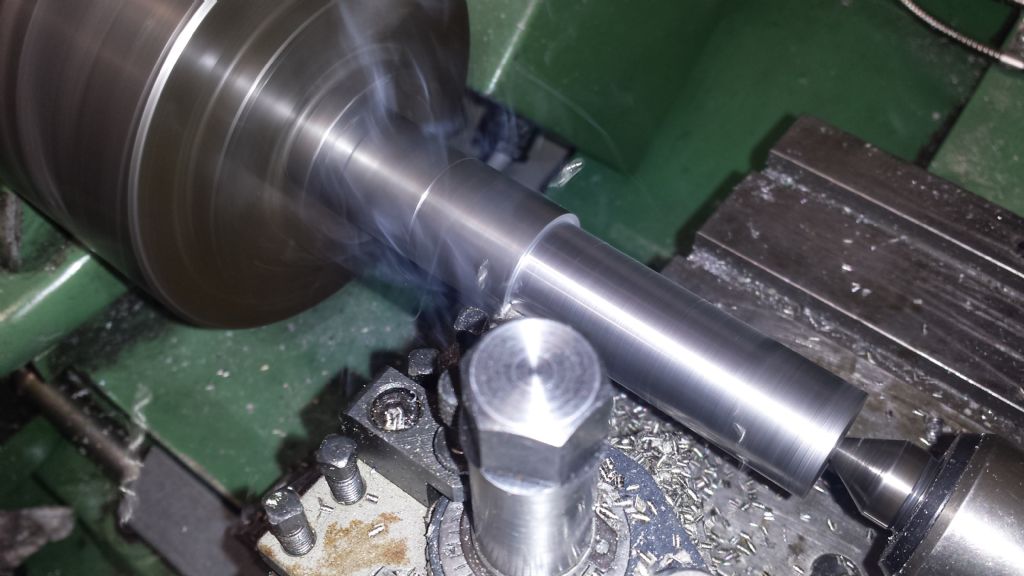
The raw matereal for the spindle is 1" Dia and will not fit up the Myford spindle, so in order to face and centre both ends, ready for finish turning between centres, I used the fixed steady:- Clocking a short piece of 1" Dia stock (only had brass), to check it is running true. If I had a slightly larger Dia piece, I would have used that and turned it down to 1" to ensure true running, Then clamped the Steady to the bed and set the pads to this, After setting the pads, slid the steady along the bed and re-clamped, loaded the spindle stock to the chuck, then faced and centred the first end, reversed in the chuck, parted off, faced to finished overall length and centred, With support now available from the tailstok and Revolving Centre, the spindle is roughed out, Preparing to finish turn between centres, starts with truing up the spindle "live" centre (this should be done each time the centre is re-fitted to the spindle and is why they are soft), Then the revolving tailstock centre is replaced with a carbide tipped "dead" centre, The spindle is now semi finished turned and during this, the tailstock alignment adjusted, in order to produce a parallel shaft. Then finished to the drawing specified 12mm "close sliding" fit for the ball races and the smaller 0.375" Dia for both the drive pulley location and thread, Reversed and the shorter "Wheel" end finish turned, The tailstock centre is now changed for a Half Centre, to provide enough clearance for the screwcutting tool and both ends screwcut 3/8" x 24 UNF (should be 3/8" x 20 BSF, but I already had the UNF threading inserts and taps) This final op, was drilling and tapping the end M5, as I had forgotten to do this whilst facing and centering the ends. Held in the ER spindle nose collet chuck, to prevent damaging the previously finished turned Dia, The next thrilling installment, will be the Spindle Drive Pulley! Edited By Nick Hughes on 20/02/2019 19:24:05 |
| 16/02/2019 16:15:02 |
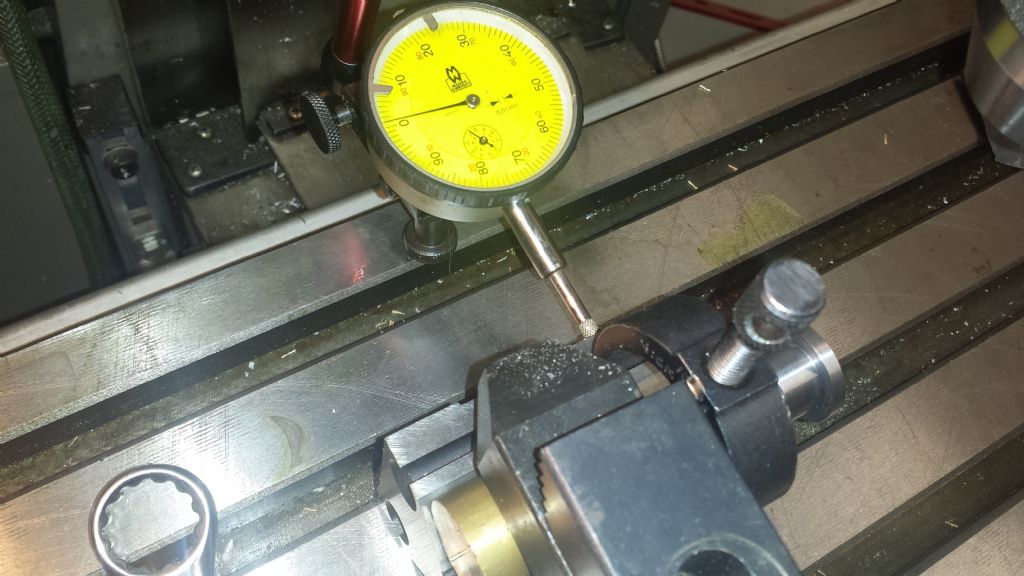
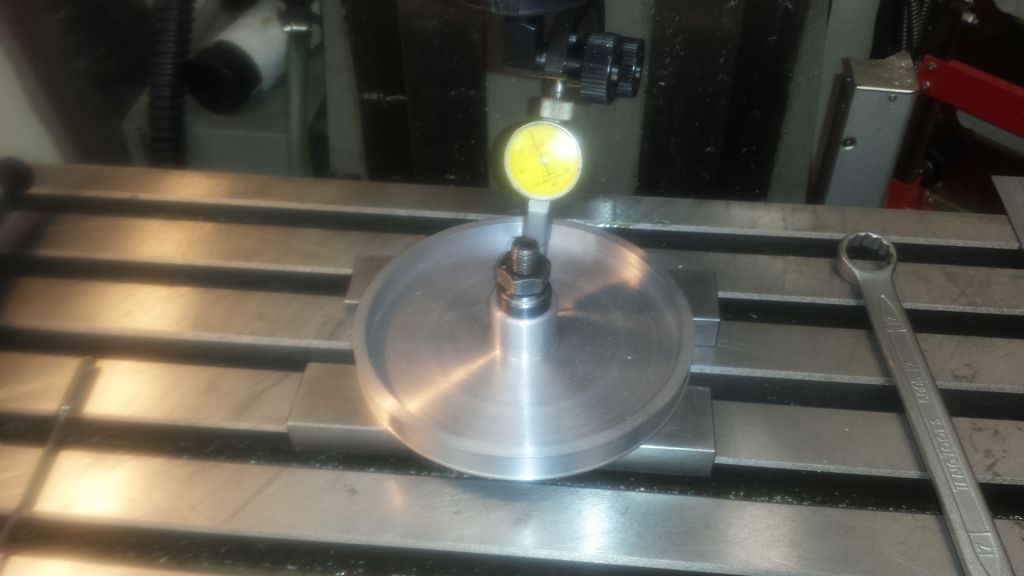
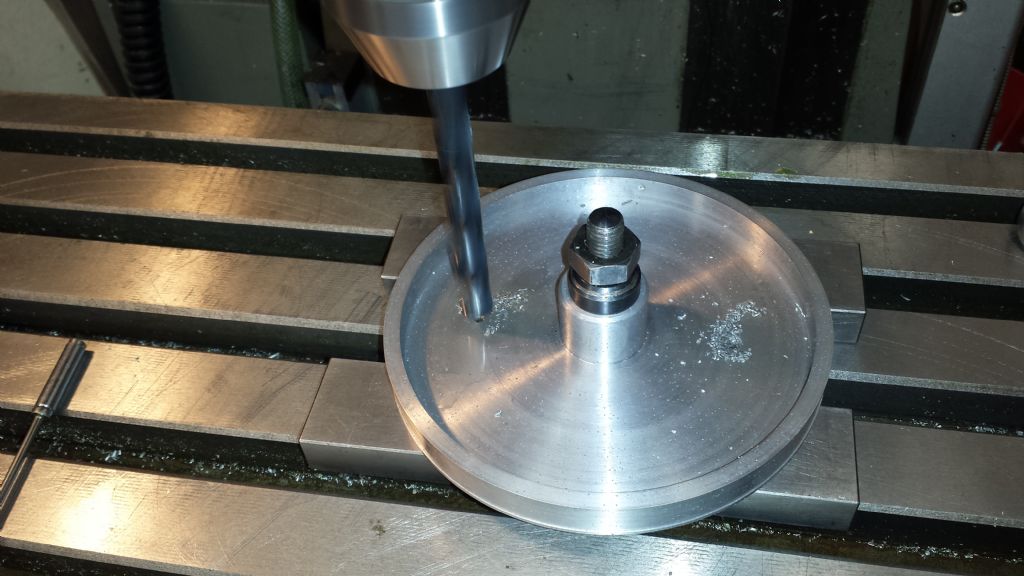
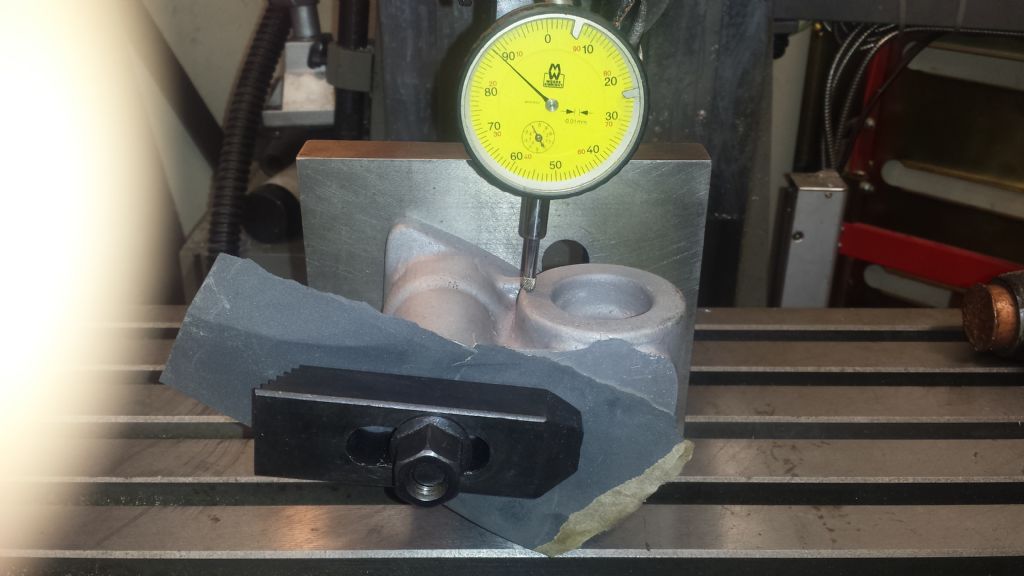
This morning was Large Motor Pulley (For when internal grinding) time:- A straight forward facing, turning, boring and reaming job. Face aprox half the total stock, off what will be the back face, After centre drilling for tailstock support, turned the O.D. to size and formed the belt groove. Followed by drilling, boring and reaming. Then held in the 4 jaw and clocked true, faced to width, finish turned/faced the boss and recess, On to broaching the 4mm keyway (Also did the smaller pulley machined earlier), Always a relief when it fits, Final job was to set the pulley up on the mill, and drill two 9.5mm holes, for access to the motor mounting bolts during belt tensioning. Clock/Align to the spindle (Rotating the DTI around the boss) and set both X and Y to Zero, either on the machine dials (But remember the direction you approached the Zero point, so that you can allow for any baclash when pitching over to drill one of the holes), or on the DRO (no need to worry about backlash with a DRO) And then simply pitched over both directioins in X, to Centre drill and then drill through, That completes all the castings and so tomorrow (hangover permitting again) will be the Spindle. Edited By Nick Hughes on 16/02/2019 16:24:21 |
| 10/02/2019 13:20:43 |
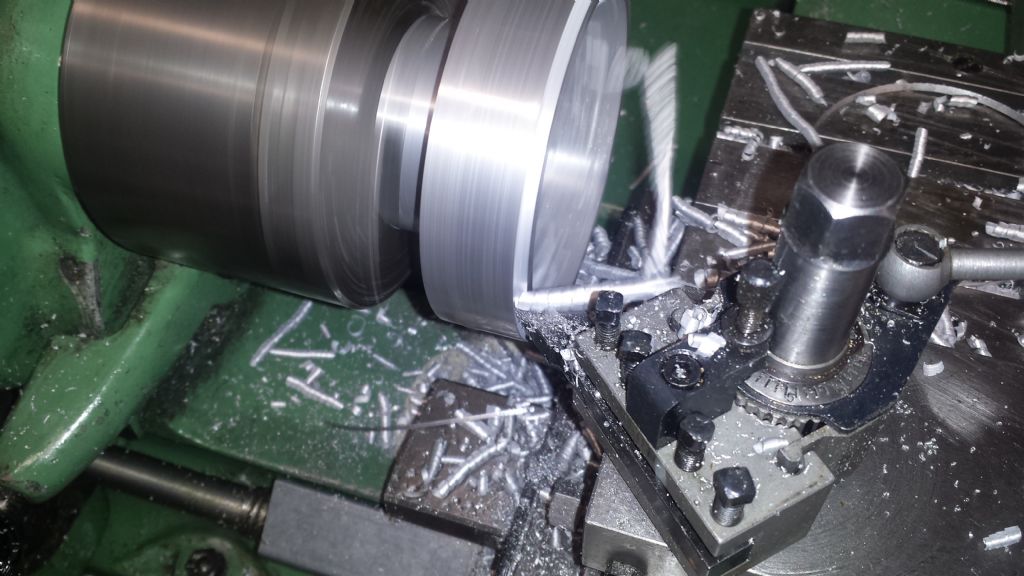
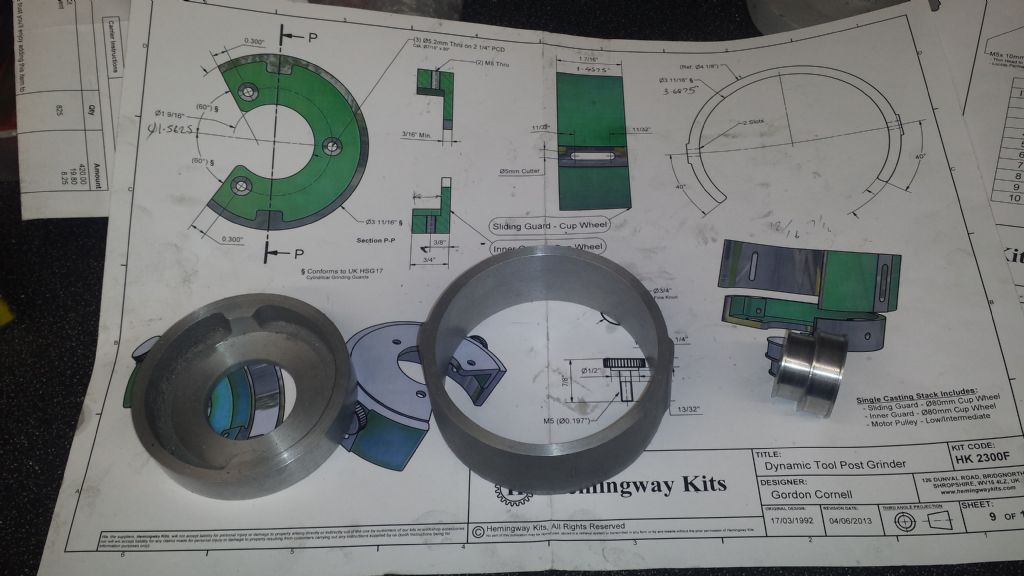
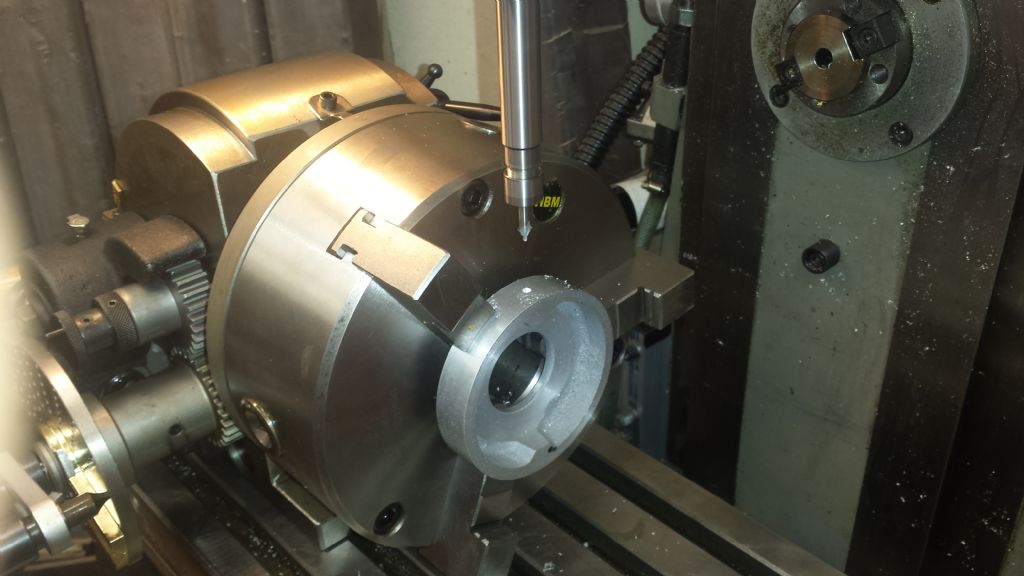
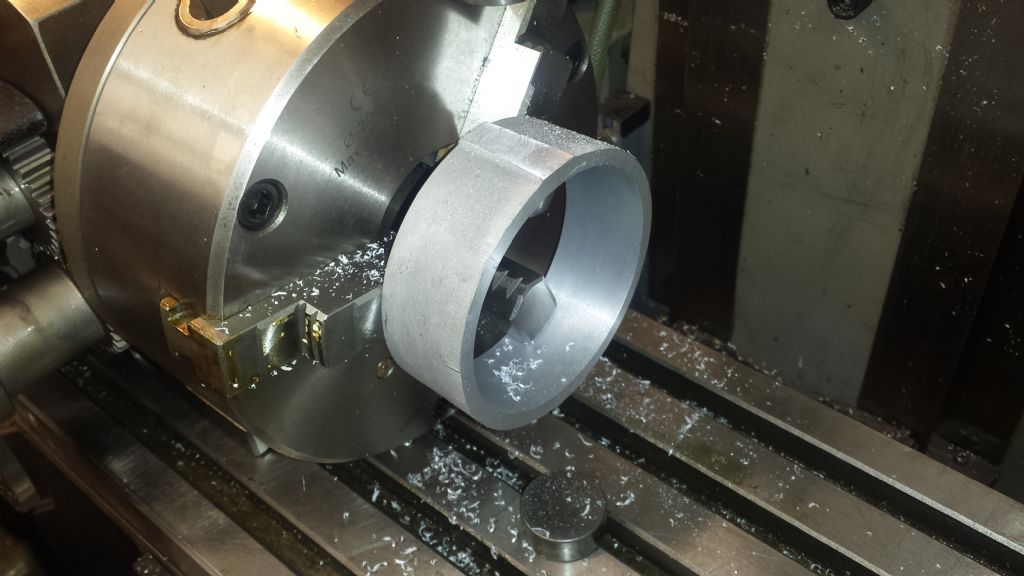
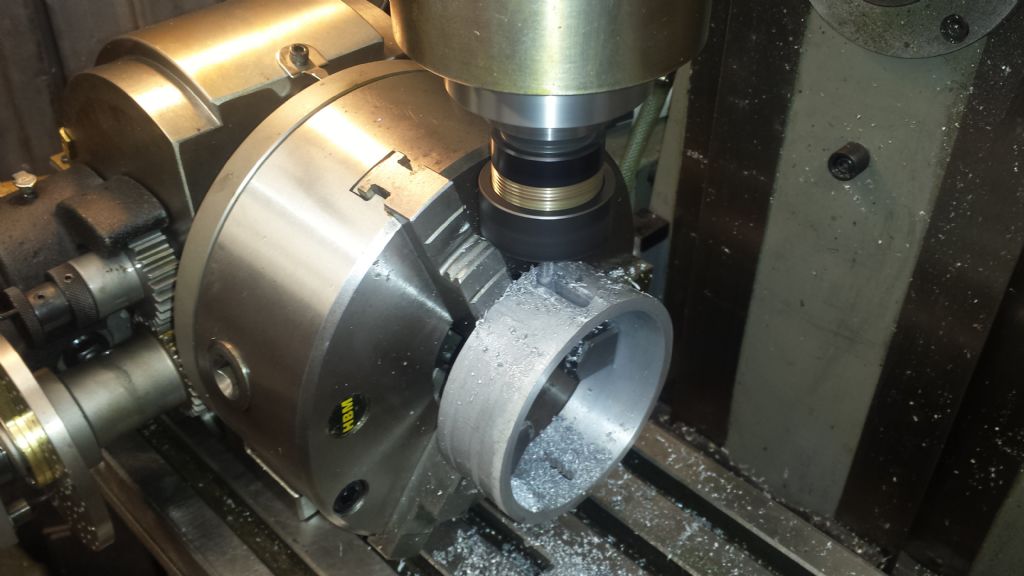
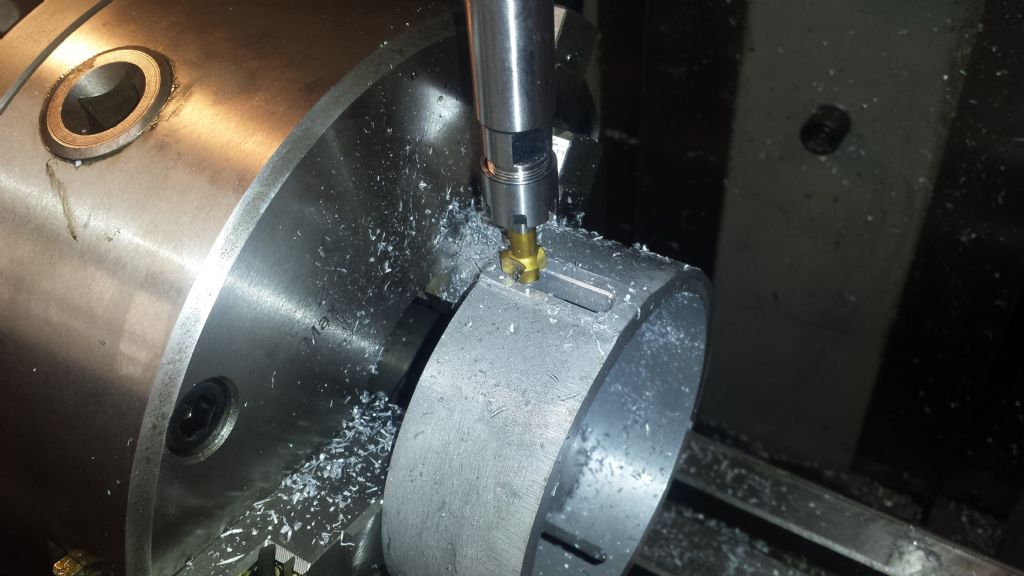
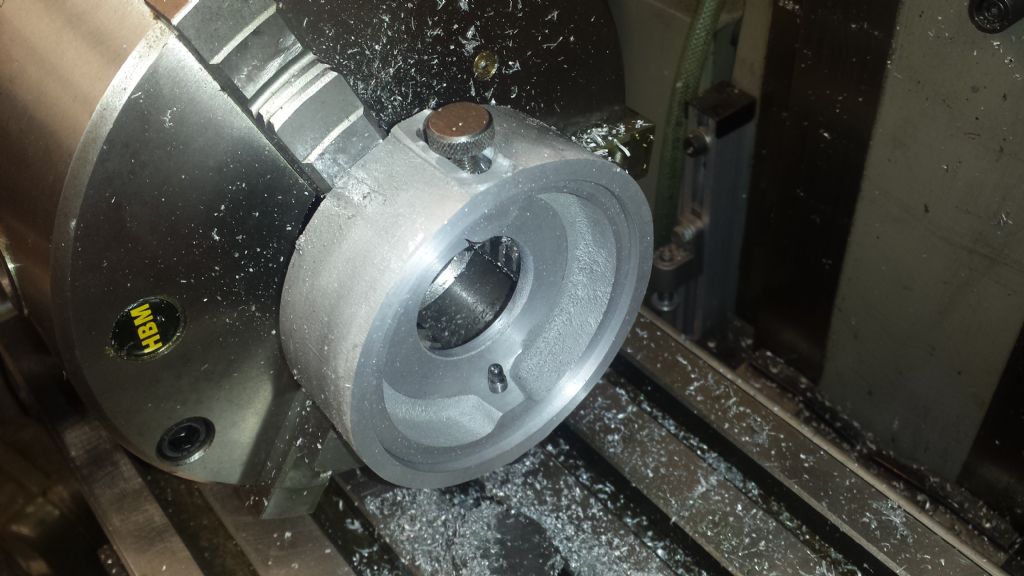
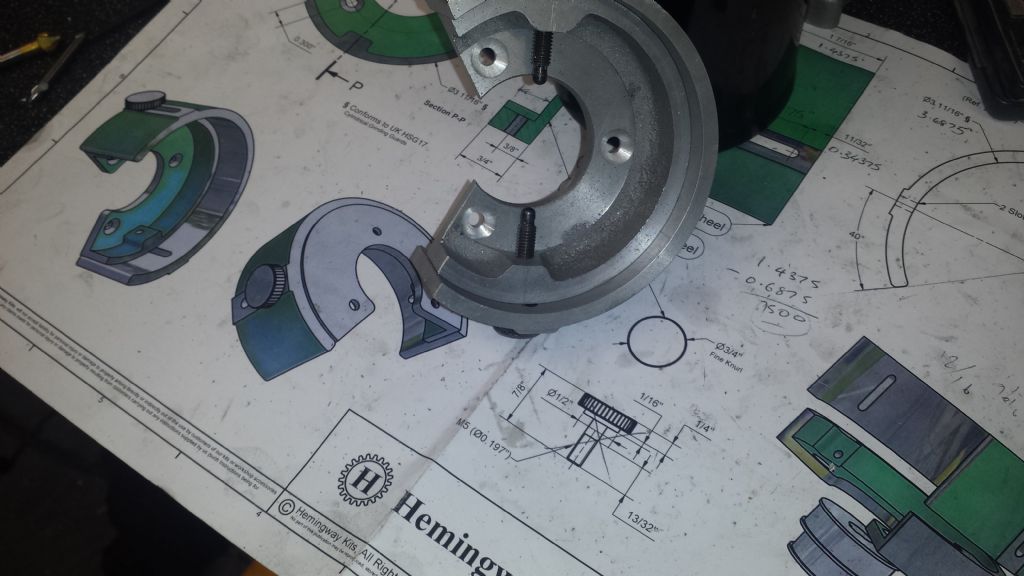
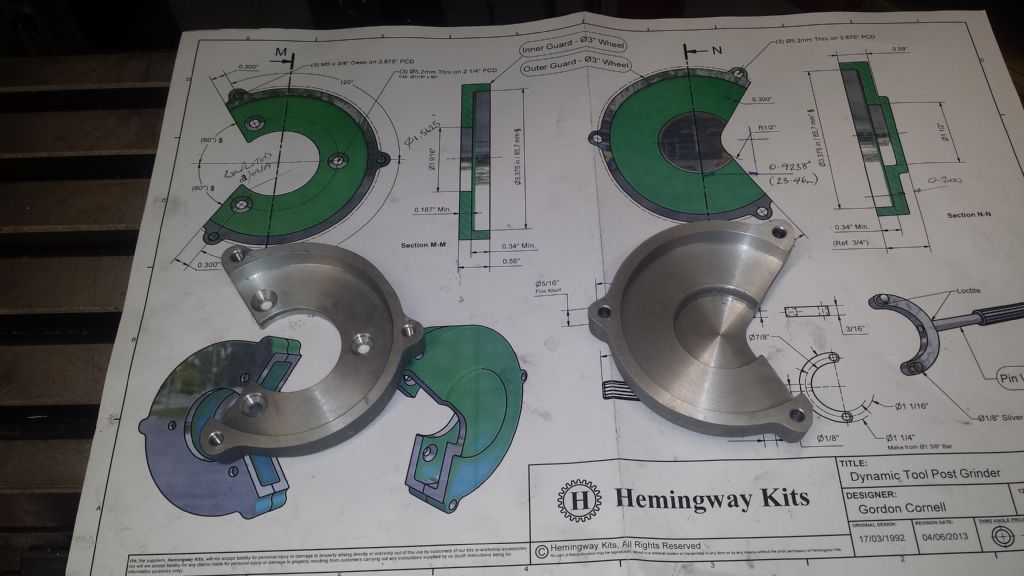
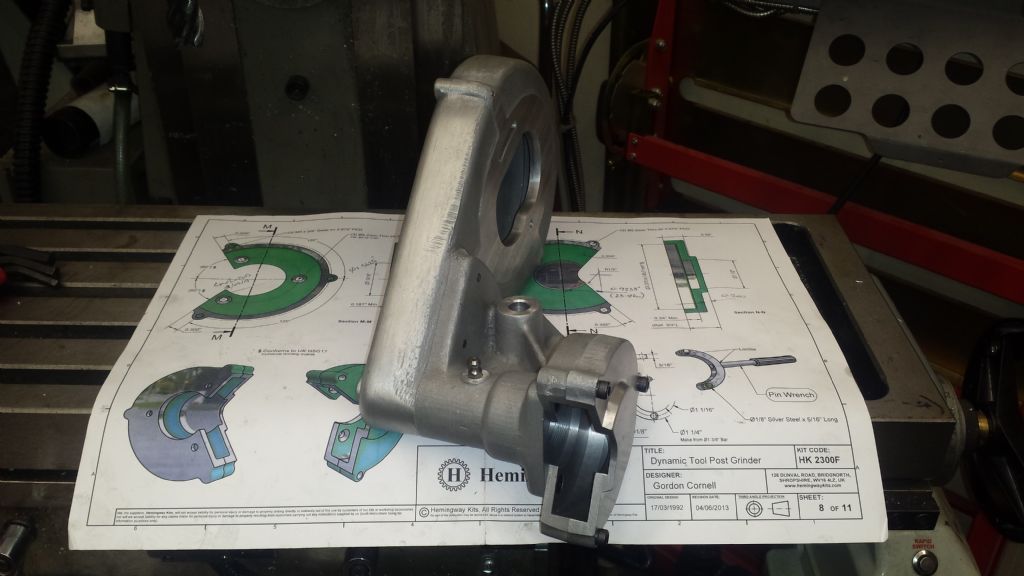
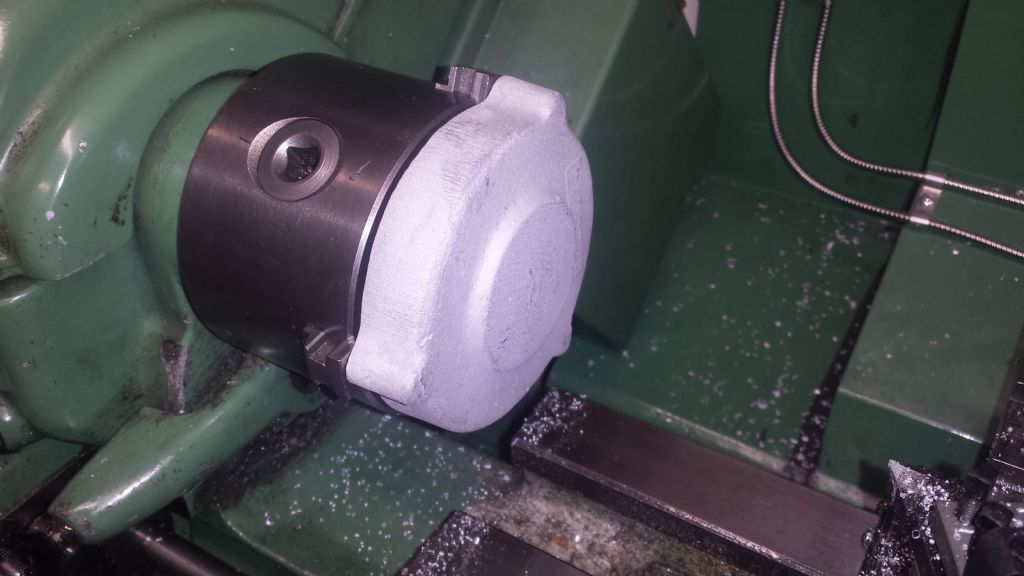
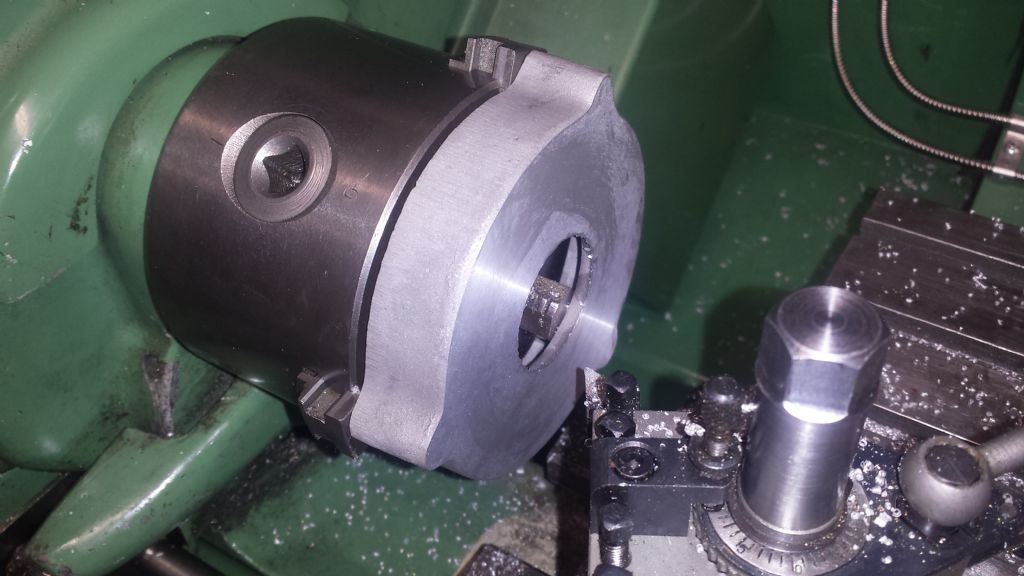
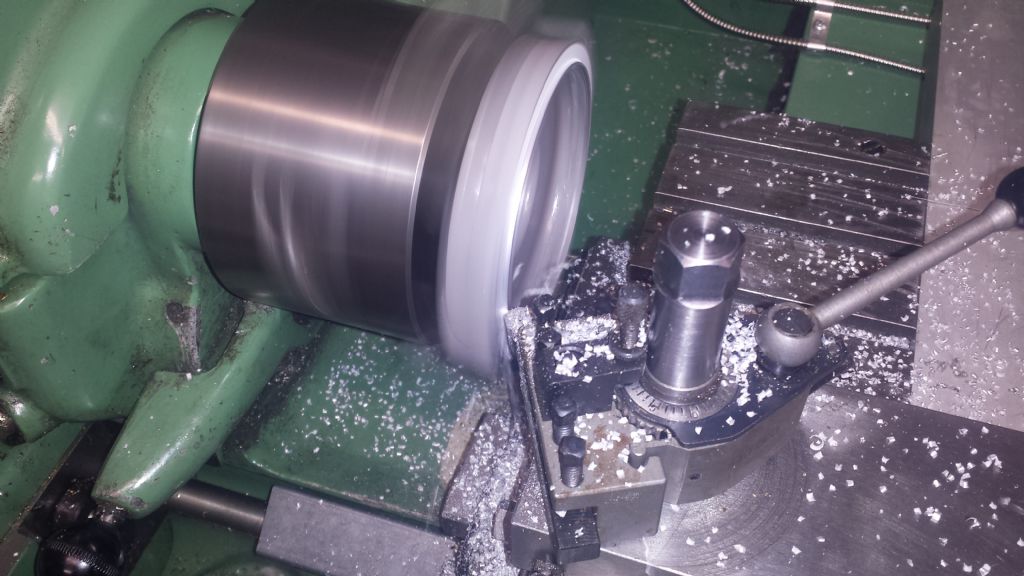
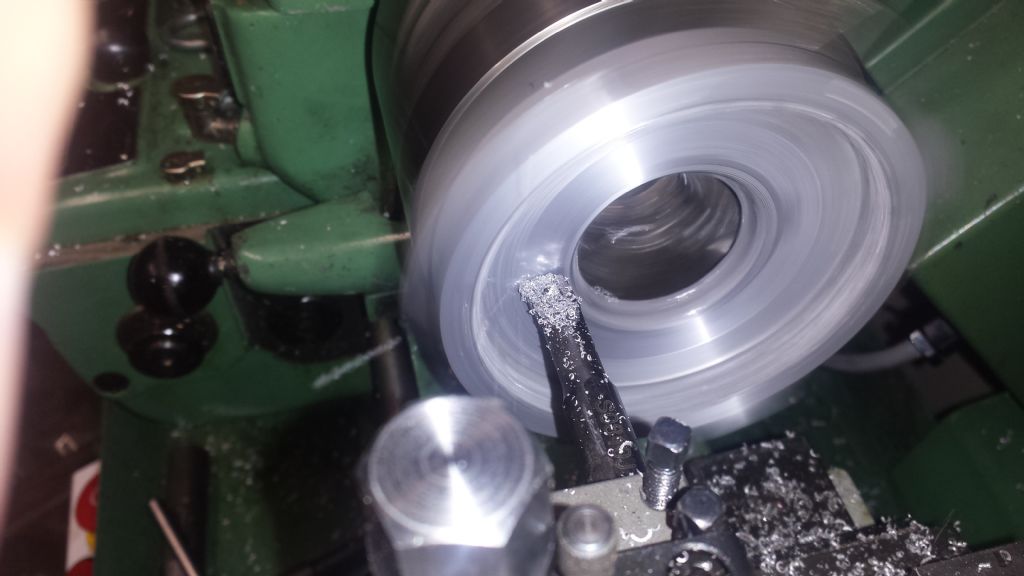
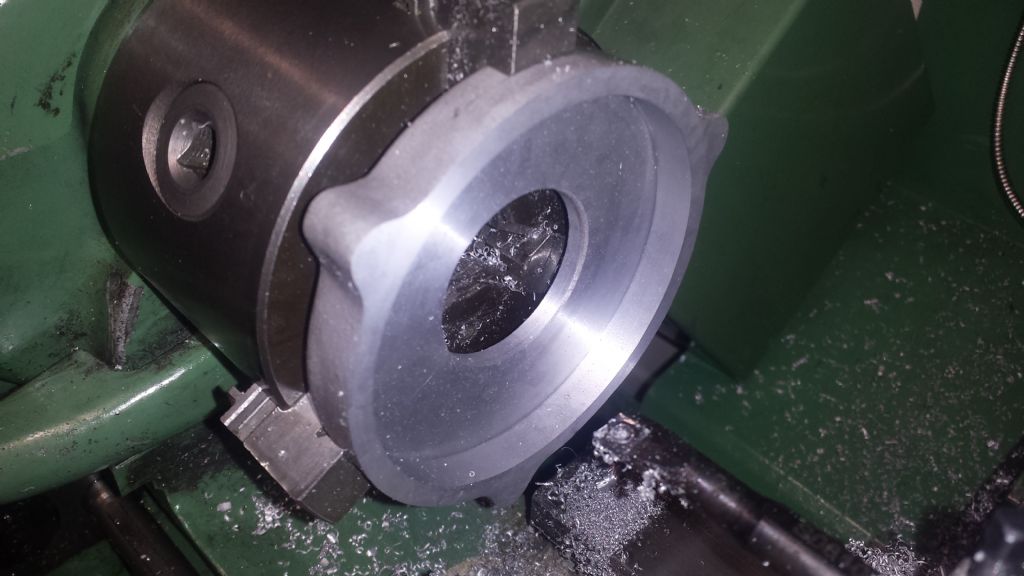
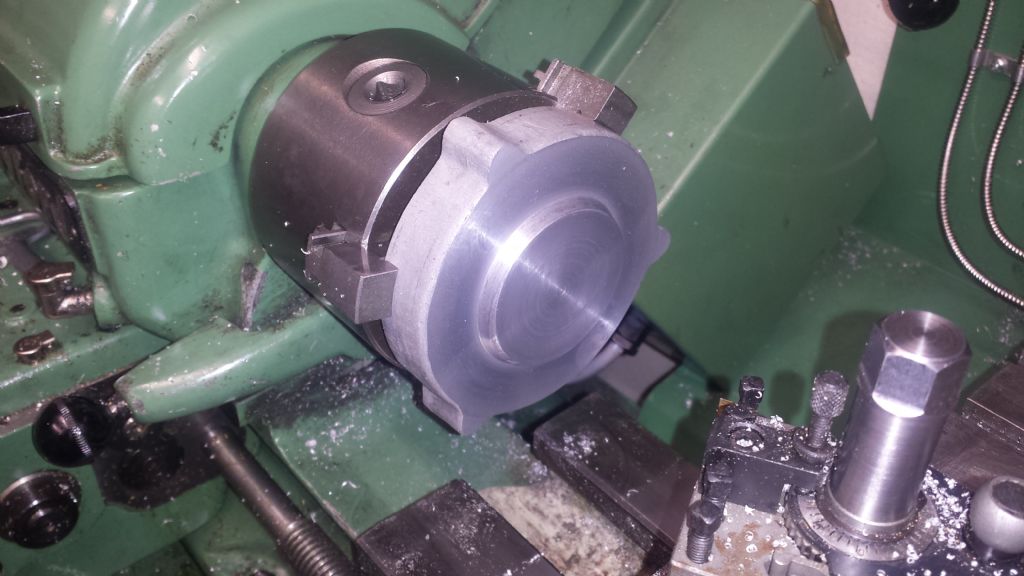
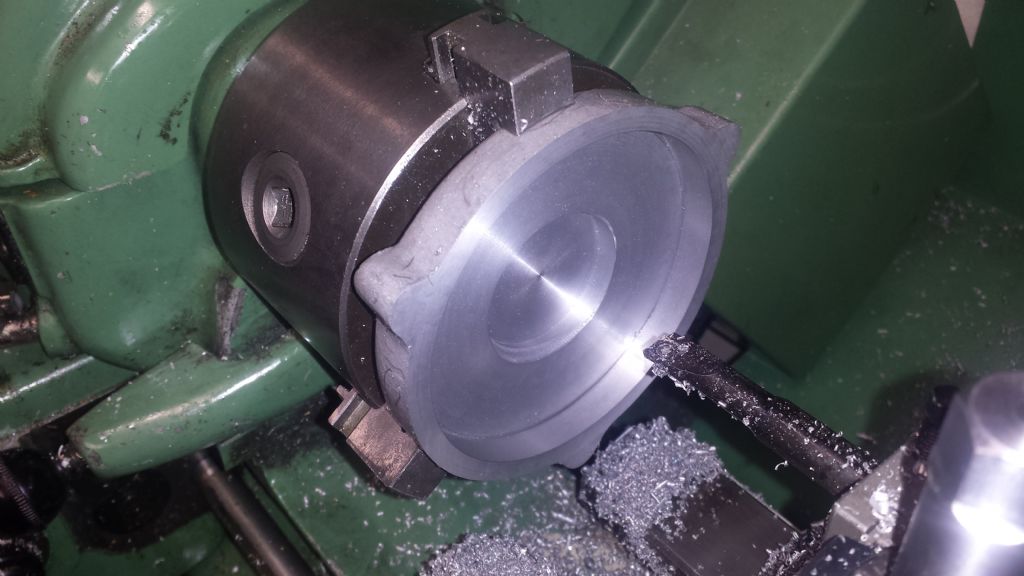
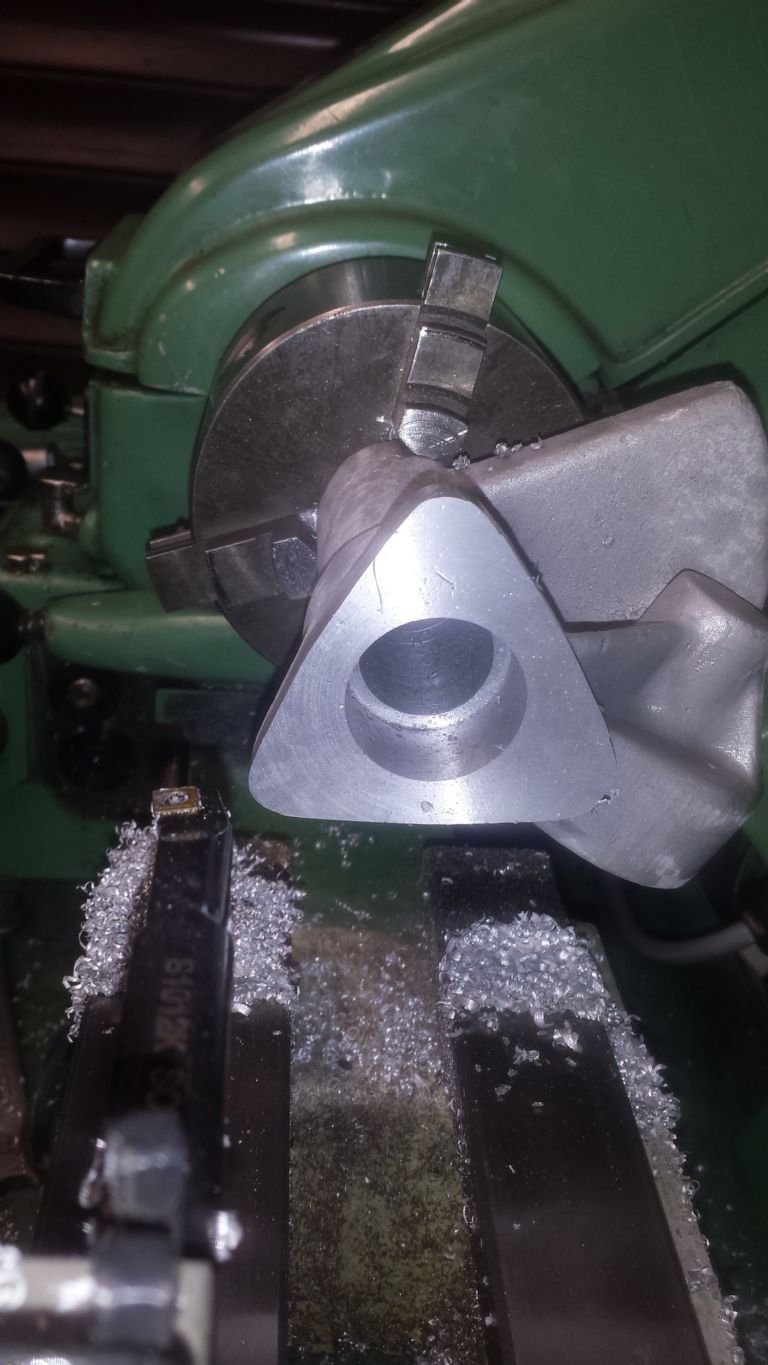
Last weeks mission was the Cup Wheel guard and motor pulley:- The single casting supplied makes the inner guard, outer guard and a small motor pulley. Centred and rough turn the pulley After boring and reaming, the belt grooves are cut (yes I do use HSS sometimes), Then part off the motor pulley and reverse the casting in the chuck, to bore the outer guard, Part off the bored outer cover and the remaining casting produces the inner guard, The inner guard casting is turned to a sliding fit in the outer cover, faced to length and then parted off the chucking piece, Setup the inner guard in the dividing head, to drill and tap the two outer cover clamping screw holes, Then the outer sliding cover slots, Checking the alignment before taking the outer guard off the dividing head, just in case there was some "adjustment" required to the slots. The cutouts and mounting holes are then done in the same way as the previous External 3" wheel guards, Lining up the cover for the rotary Zero degree starting point (after clocking the cover in to the rotary table and spindle) for the cutout. The inner guard was lined up in the same way, Just the screws to shorten and then a radus to file on the open ends, The final casting provided is for the Large motor pulley, but that will have to wait until next weekend.
Edited By Nick Hughes on 10/02/2019 13:24:49 |
| 04/02/2019 18:42:18 |
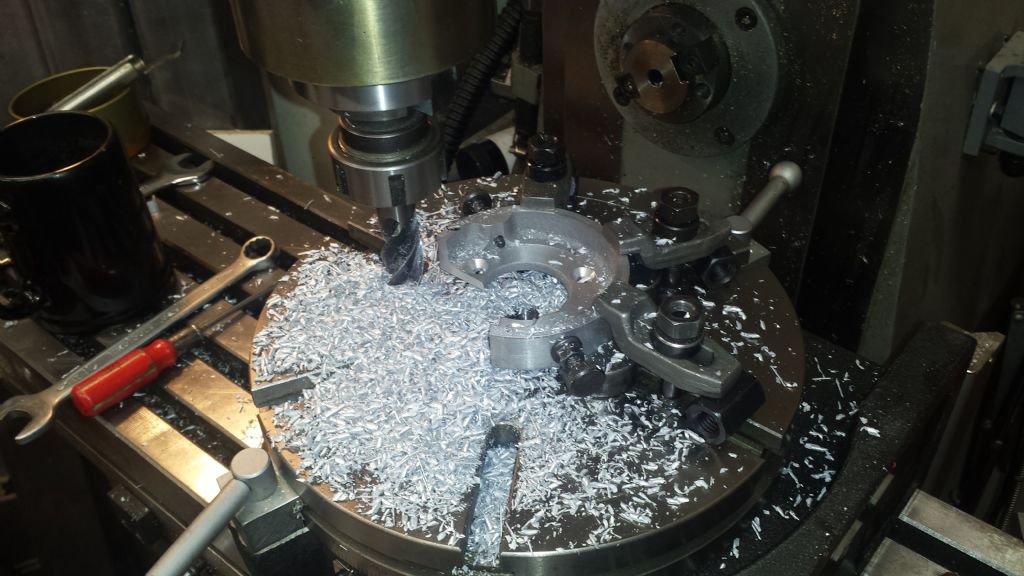
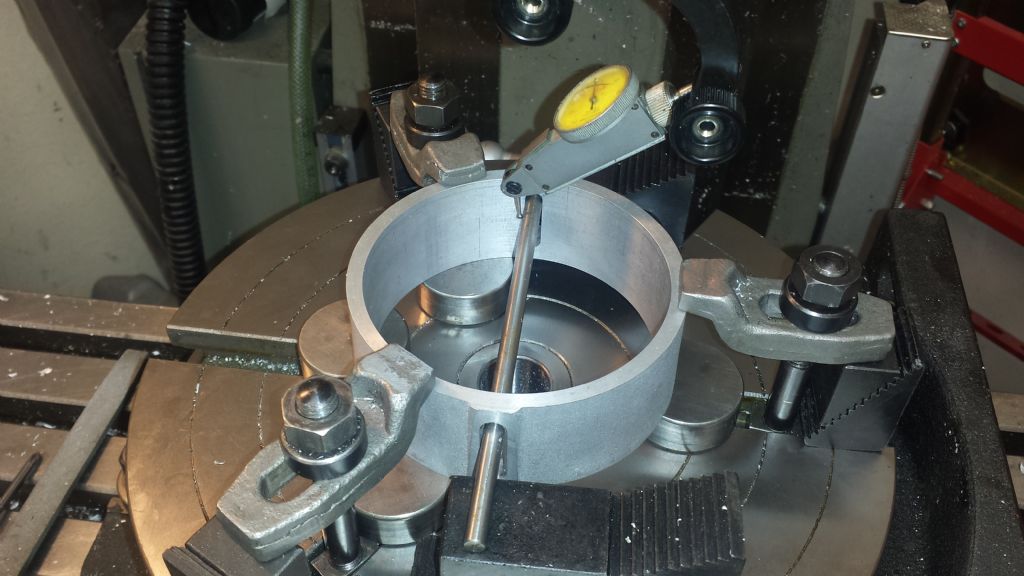
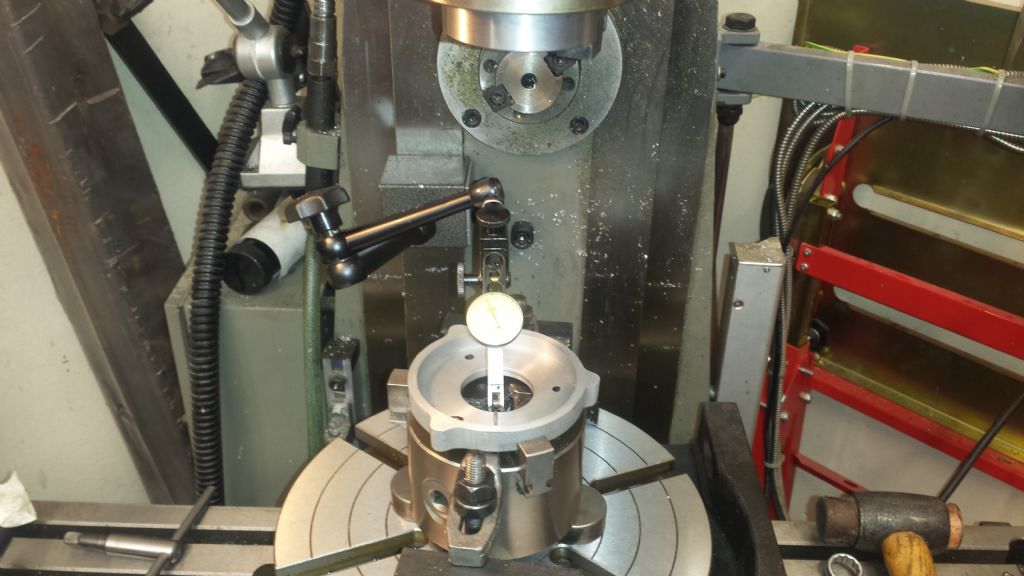
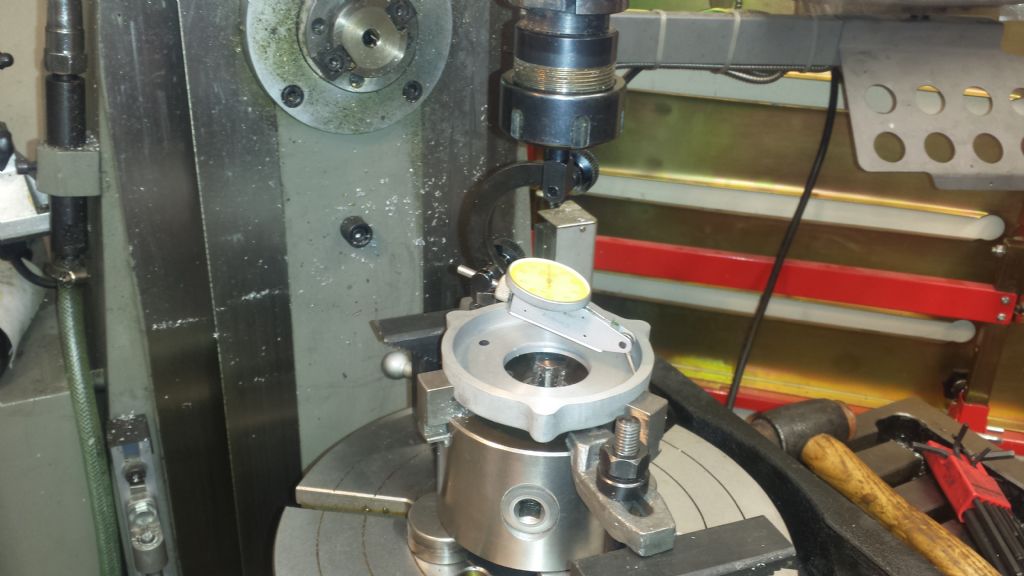
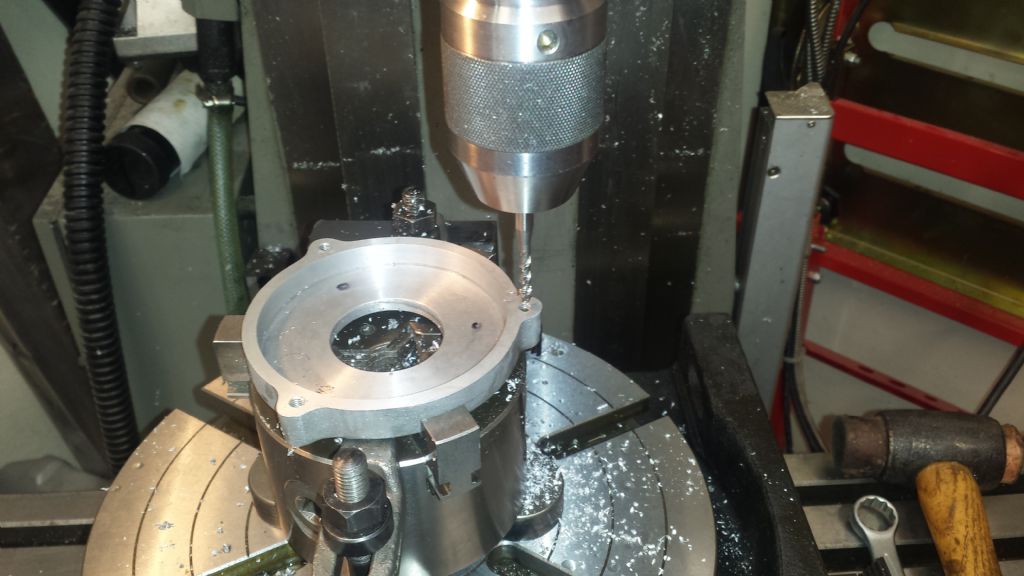
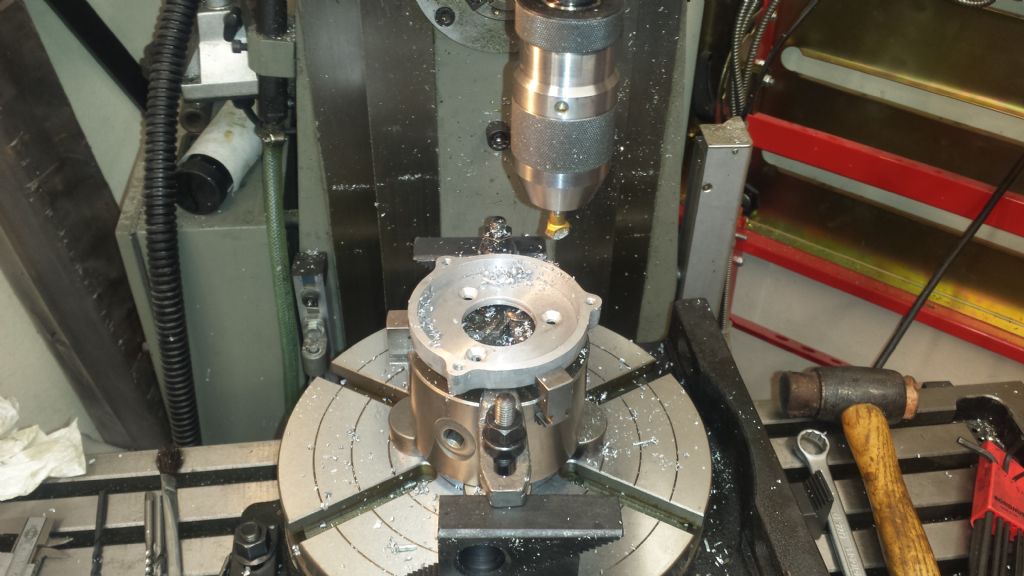
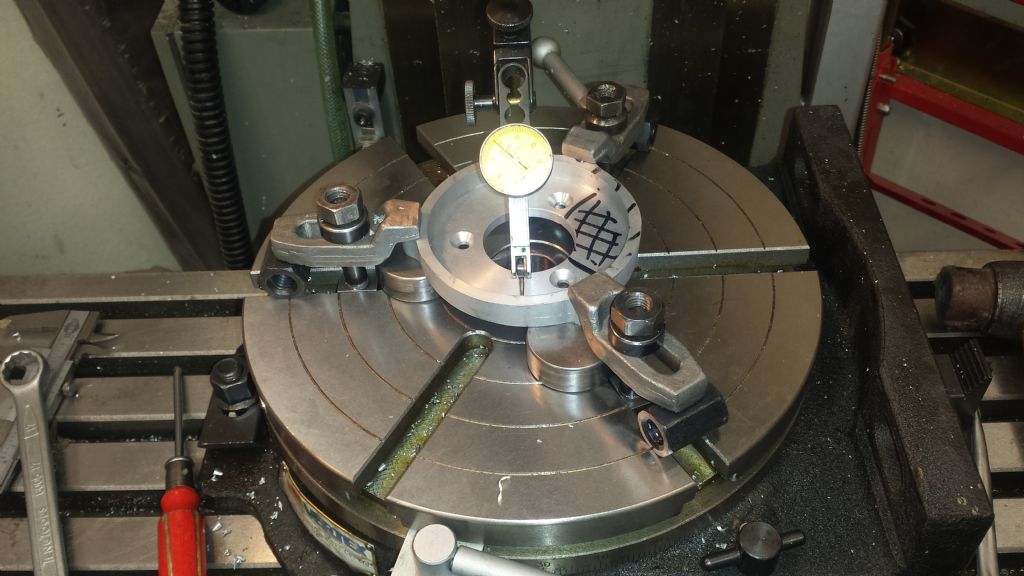
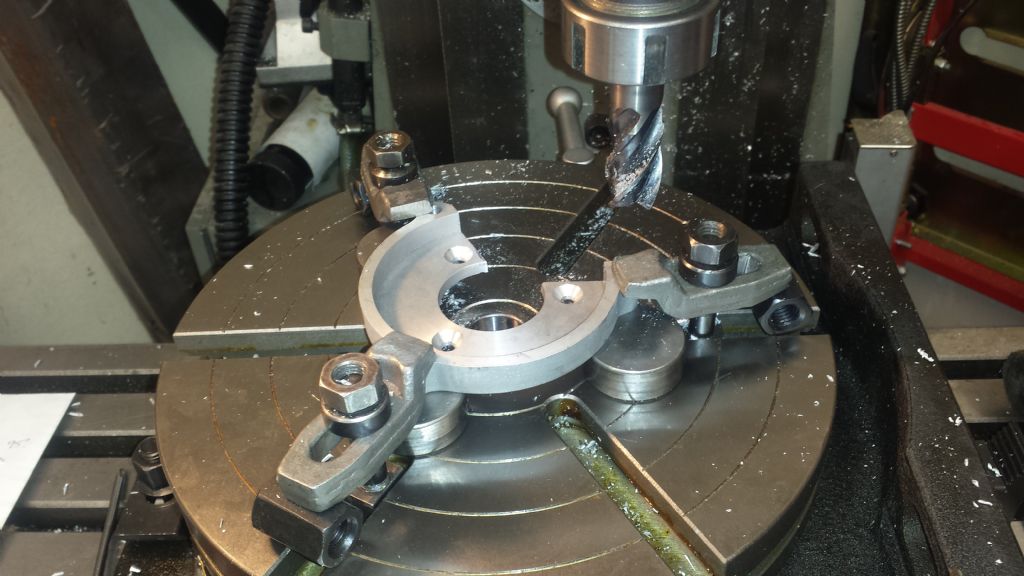
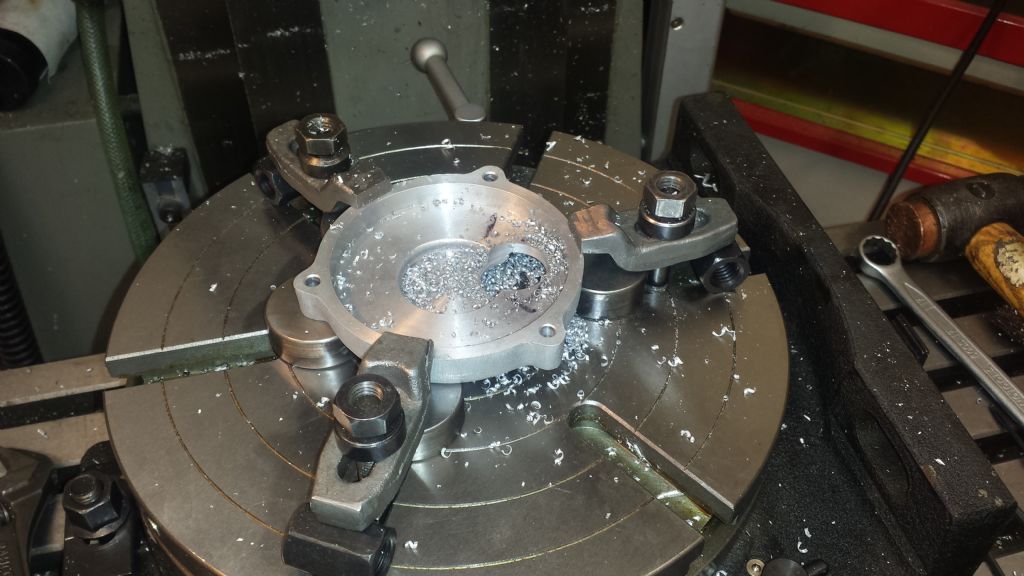
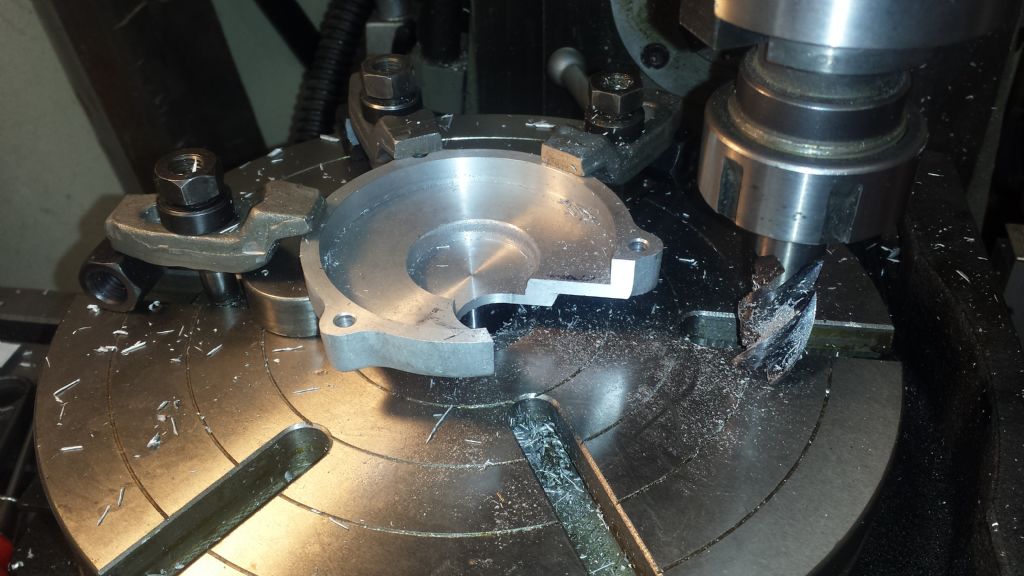
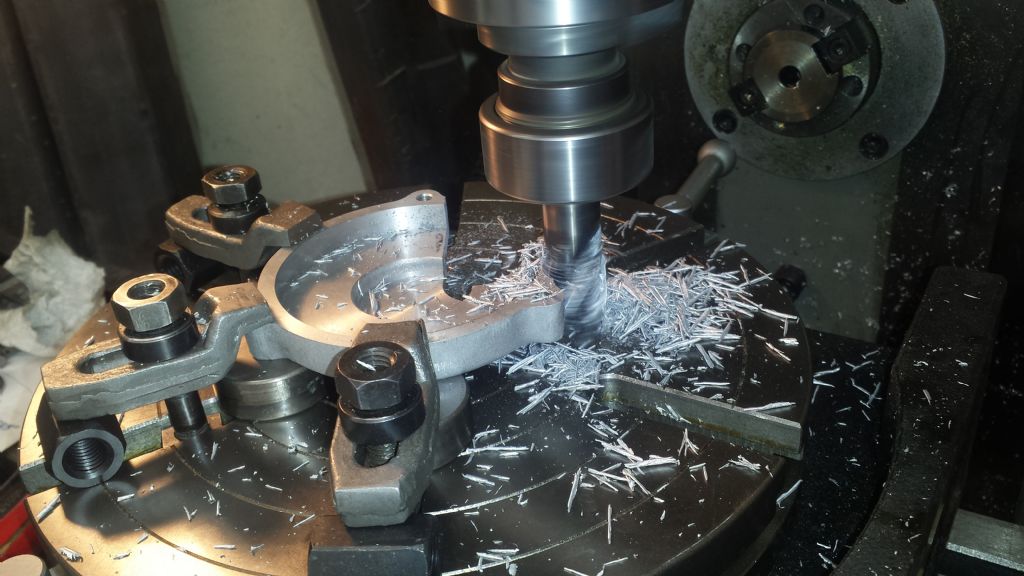
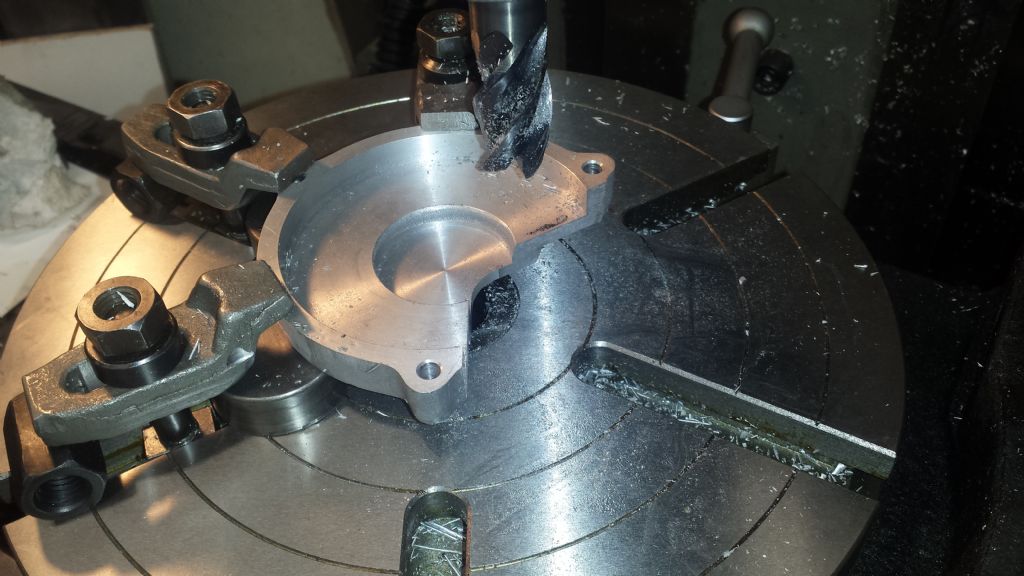
Sunday afternoon, only slightly hungover:- Clocking the inner guard bore, concentric to the rotary table axis, (the DTI is stationary and the table rotated), Then clocking to the spindle axis (this time the DTI is rotated around the bore), Next the outer 3 tapped holes. This used the DRO Circular Hole function for the positons and the hole to boss balance was achieved by lightly spotting each position and if needed, the table was used to rotate the part, the hole positions re-spotted and when an acceptable balance has been reached, the rotary table is clamped and the holes drilled, tapped and countersunk, Without changing the angular position of the the rotary table, the inner countersunk mounting holes were completed, once again using the DRO function, The outer cover was setup and drilled with clearance holes in the same manner (but without the inner countersunk holes). On to the cutouts. The chuck jaws would foul the cutter and so the covers are clamped directly to the rotary table, then aligned in the same way as previously, The outer cover has a 0.5" radius at the intersection/bottom of the cutout, so this was bored first, Then one of the clamps is re-positioned and the sides milled to blend in with this radius, Finished! The assembly so far, Edited By Nick Hughes on 04/02/2019 19:04:14 |
| Thread: Where have all the C/S Copper rivets gone? |
| 02/02/2019 16:32:39 |
For the UK, try contacting:- http://www.sapphireproducts.co.uk/index.htm |
| Thread: Hemingway Dynamic Toolpost Grinder |
| 02/02/2019 12:55:33 |
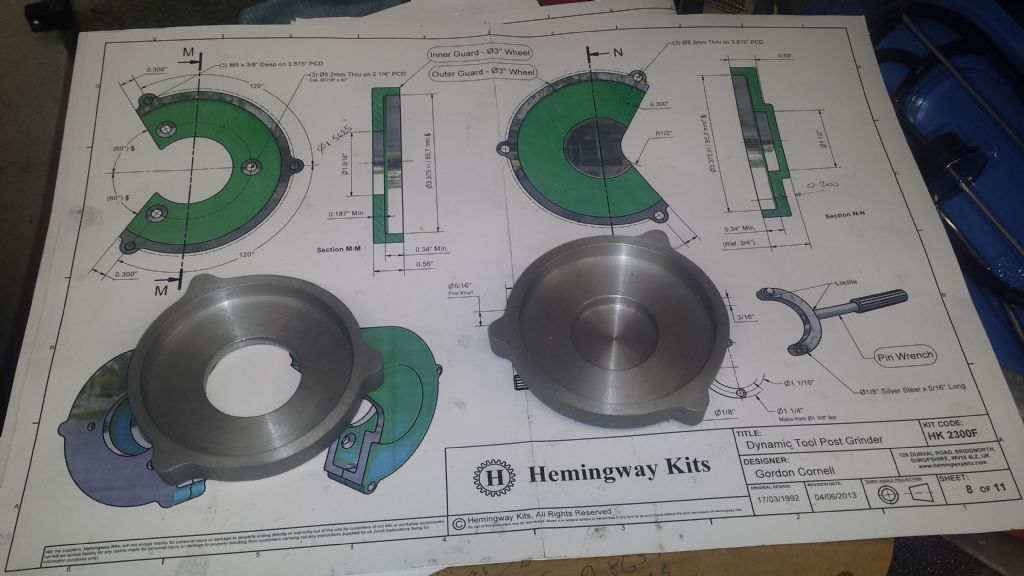
On with the External 3" Wheel Guard castings:- Two identical castings are supplied and the machining converts one to the inner guard, by removing the boss, Held internally, just to get started quickly, A light facing cut (after the boss has been machined off), just enough to clean up the whole face.Then the casting is measured to work out how much to remove off each face (in this case the light skim was enough for this face) Reversed and held externally, faced to length, then the internal features machined, Done!, The outer guard is machined in the same way, only this time the boss is left on the casting, Drilling and milling tomorrow, IF the hangover after tonight is not too bad! Edited By Nick Hughes on 02/02/2019 12:59:57 |
| 01/02/2019 10:48:23 |
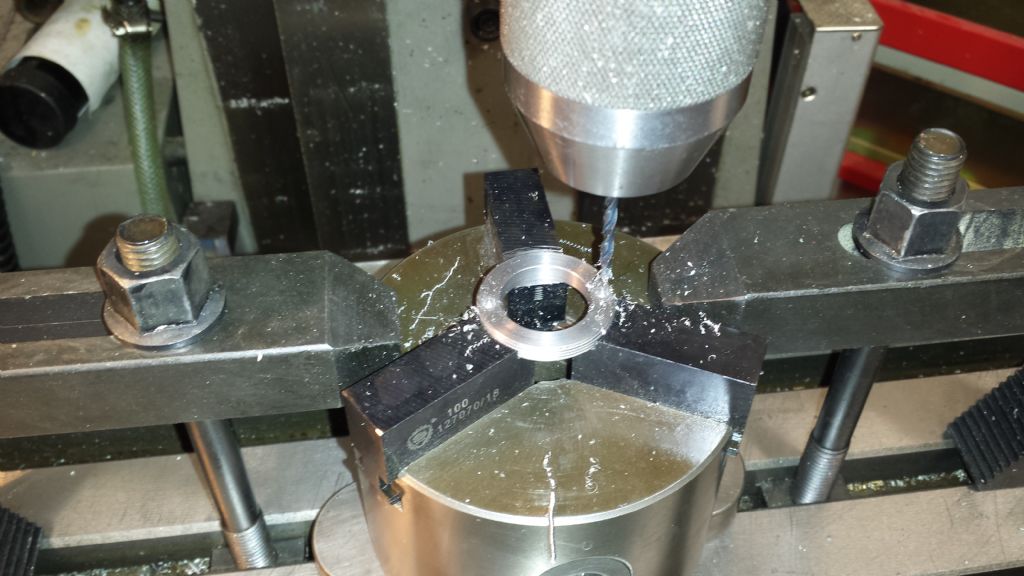
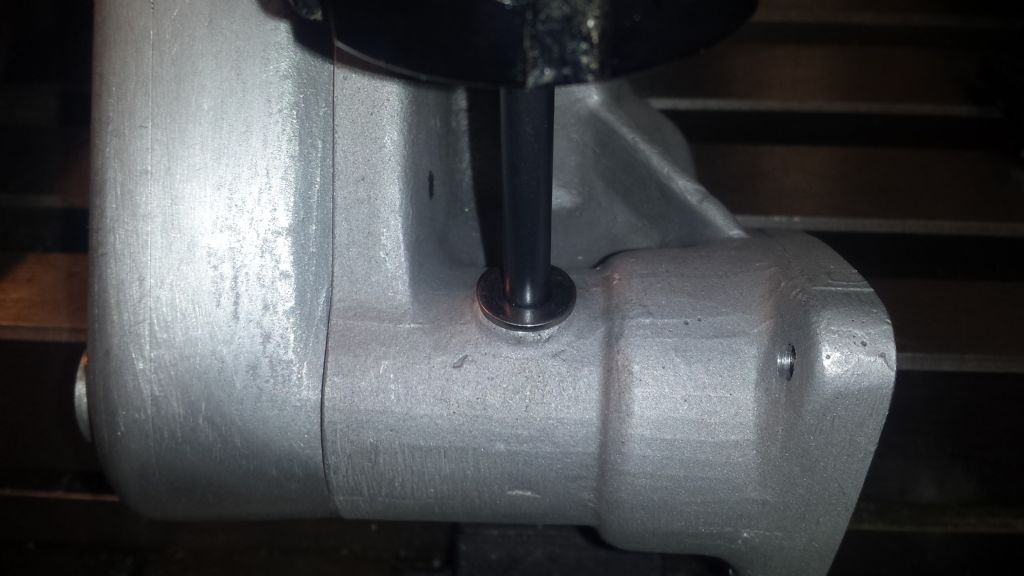
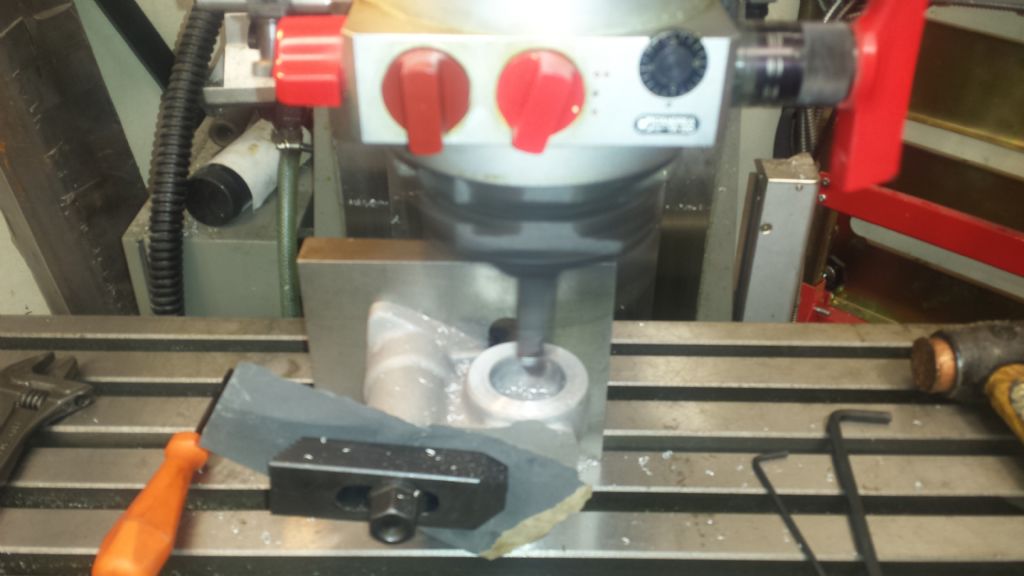
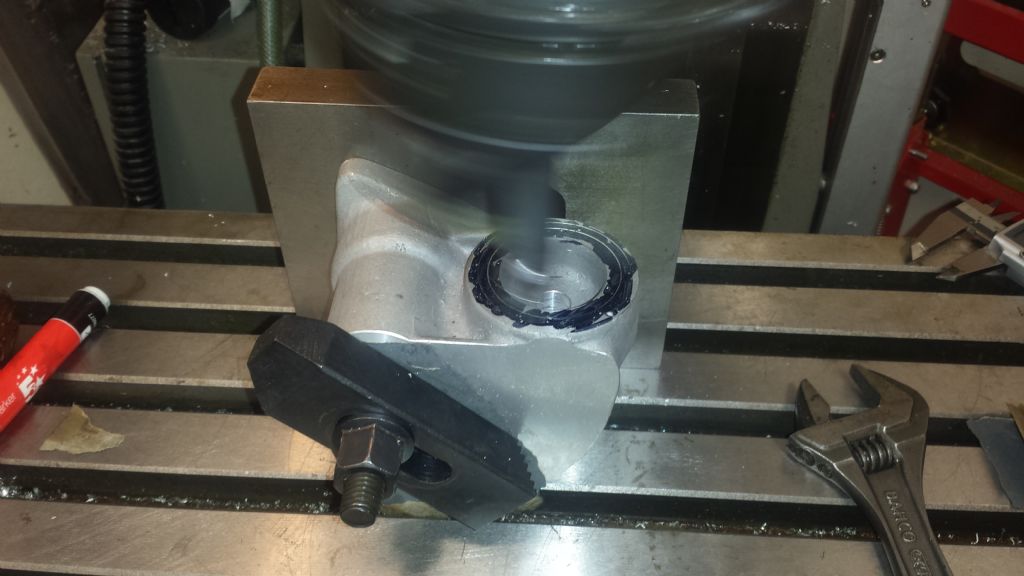
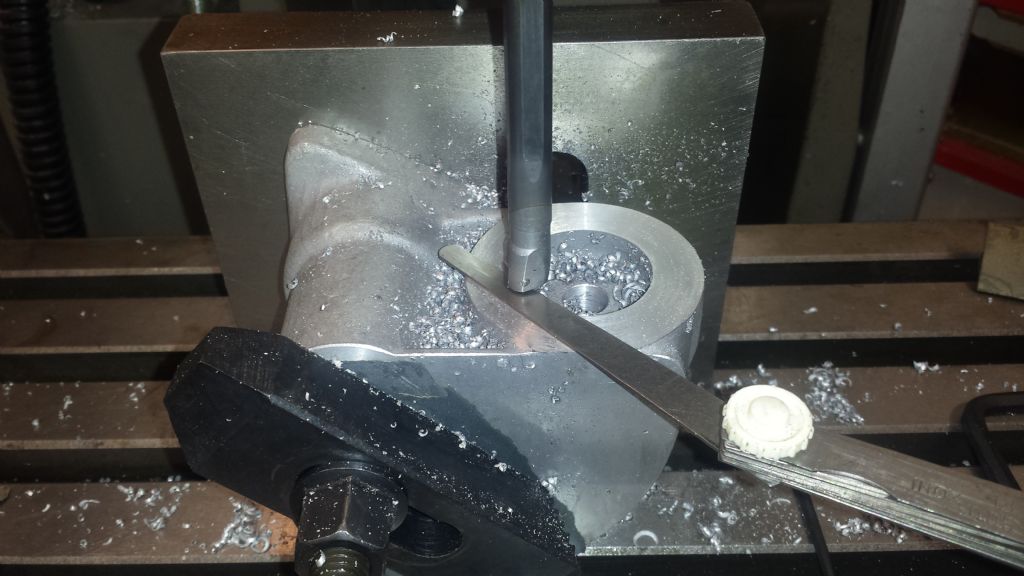
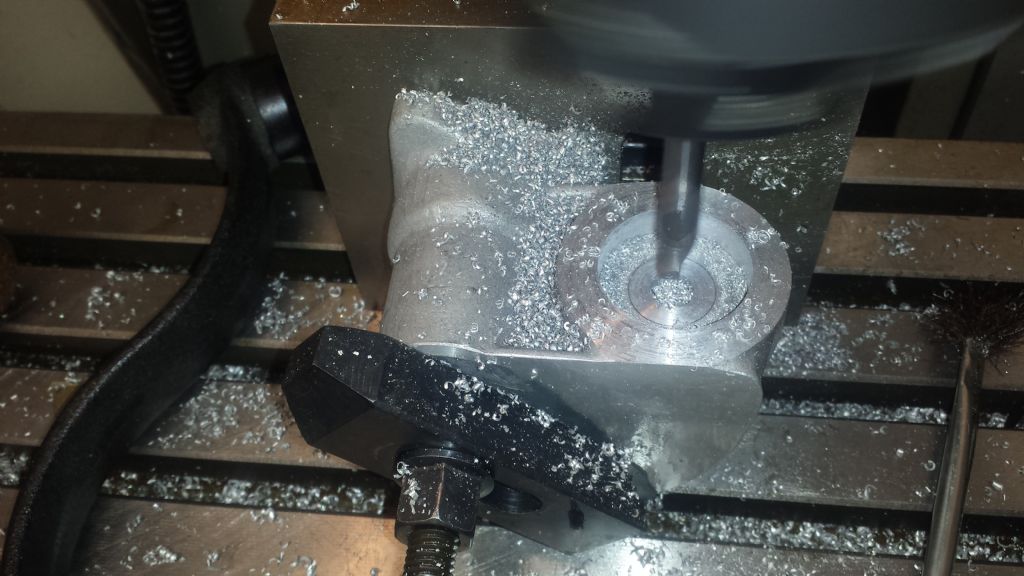
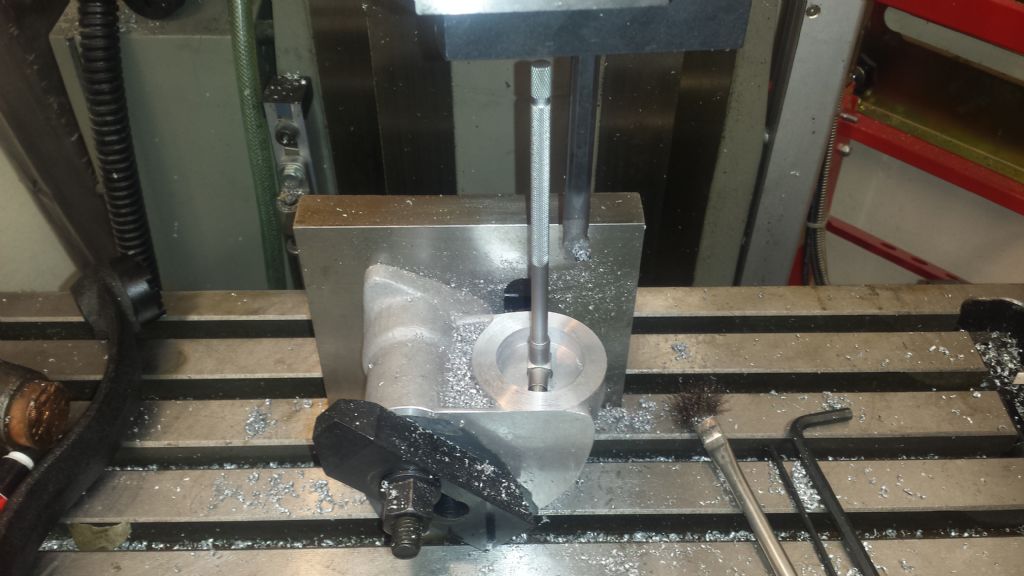
Drilled and tapped for the lubrication nipple this morning:- To centre the hole in a boss, I use a washer that is close to, or slightly smaller than the boss dia and with a drill shank or rod, that is a close fit in it's hole held in the chuck (use an ER Collet chuck if using a drill, as it holds on the drill flutes better), put the washer on the boss, lower the drill shank/rod into the washer hole (but keep it just clear of the boss face) and then simply move the table around until you are happy with the position, then drill as usual. As my plan is to machine all of the cast items first, the next on my list are the Wheel Guards and I should be starting on these tomorrow.
Edited By Nick Hughes on 01/02/2019 10:55:15 |
| 29/01/2019 11:49:37 |
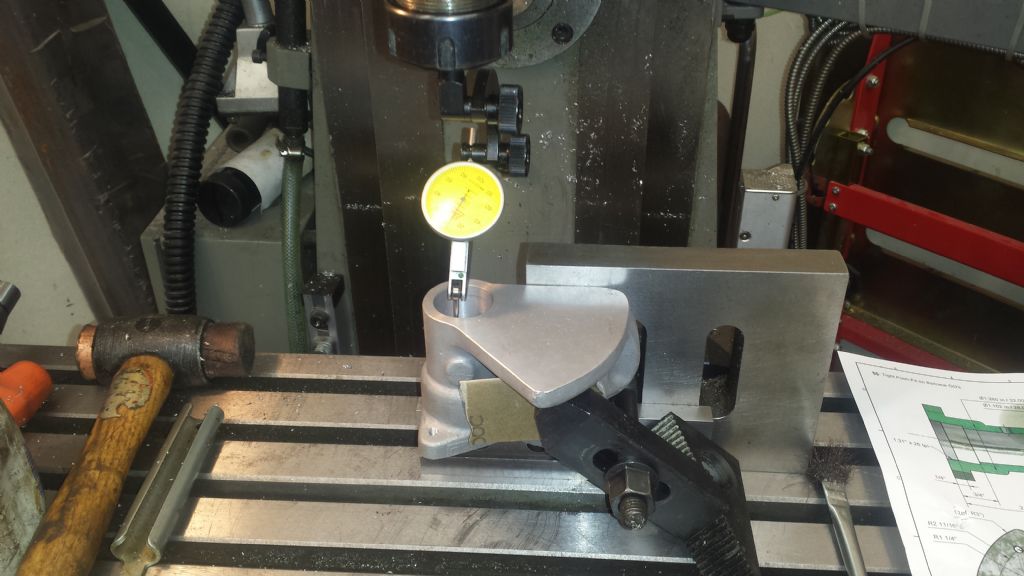
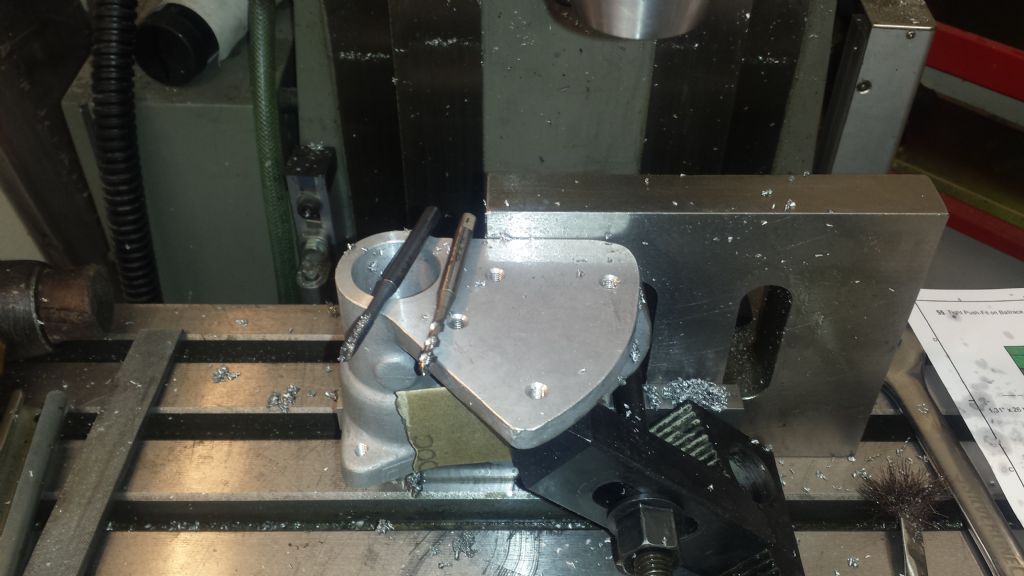
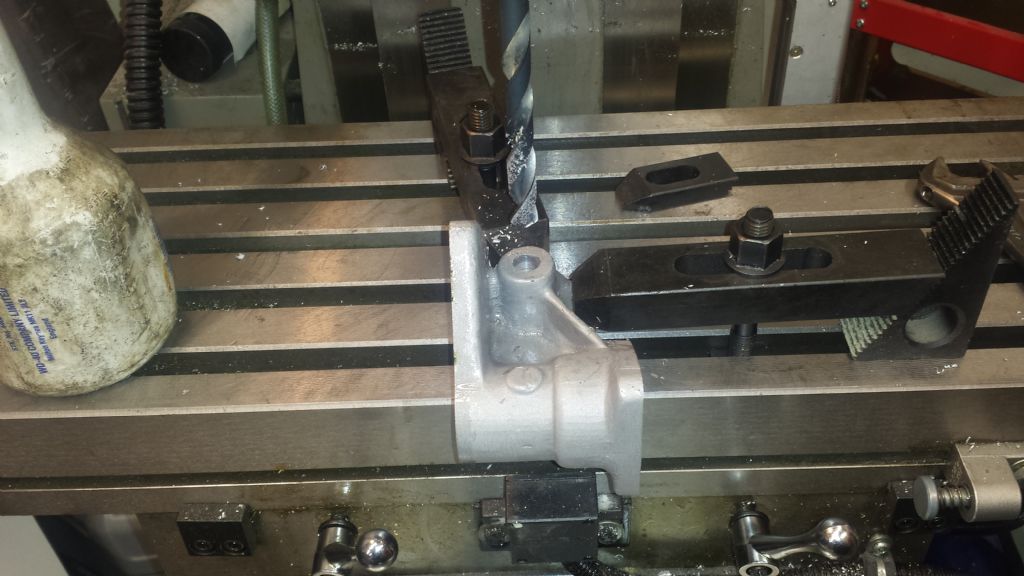
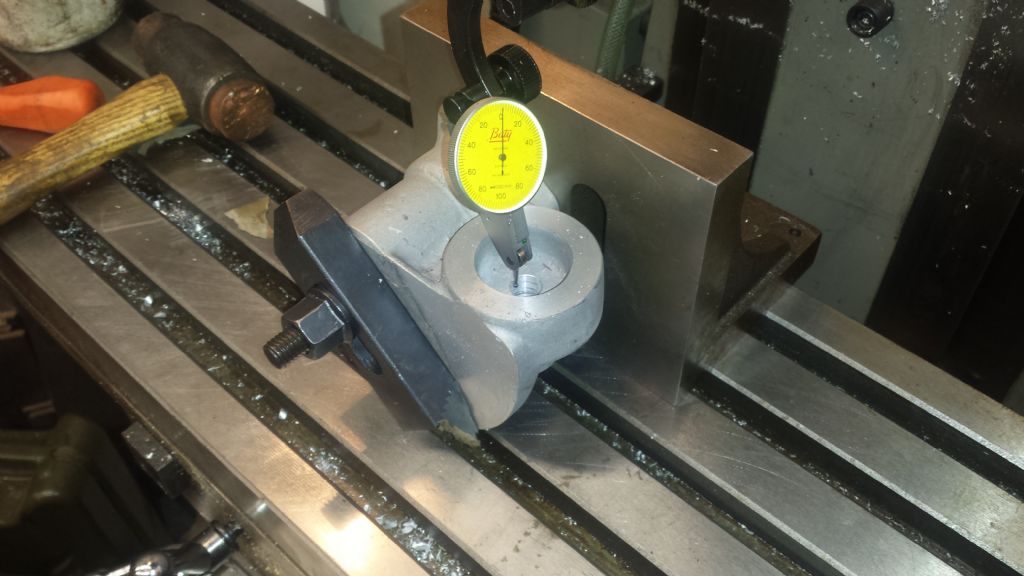
This morning before setting off for my afternoon shift:- Drilled and tapped the mounting holes for the Belt Guard/Motor Mount. Clamped to the previously aligned angle plate (a bit higher this time to make access easier). Then clocked in the main bore and set this as both X and Y axis Zero, The holes are drilled, tapped and chamfered using the DRO oblique line of holes function, in the same way as the cover previously. Note the two types of Machine Taps. The Bright one on the right, is a Spiral Flute for the two furthest Blind holes and the Dark one on the left, is a Spiral Point, used on the nearest two through holes, Thankfully the holes lined up, Just the lubrication nipple hole boss, to face, drill and tap and another part will be finished, Edited By Nick Hughes on 29/01/2019 12:14:27 |
| 26/01/2019 17:55:52 |
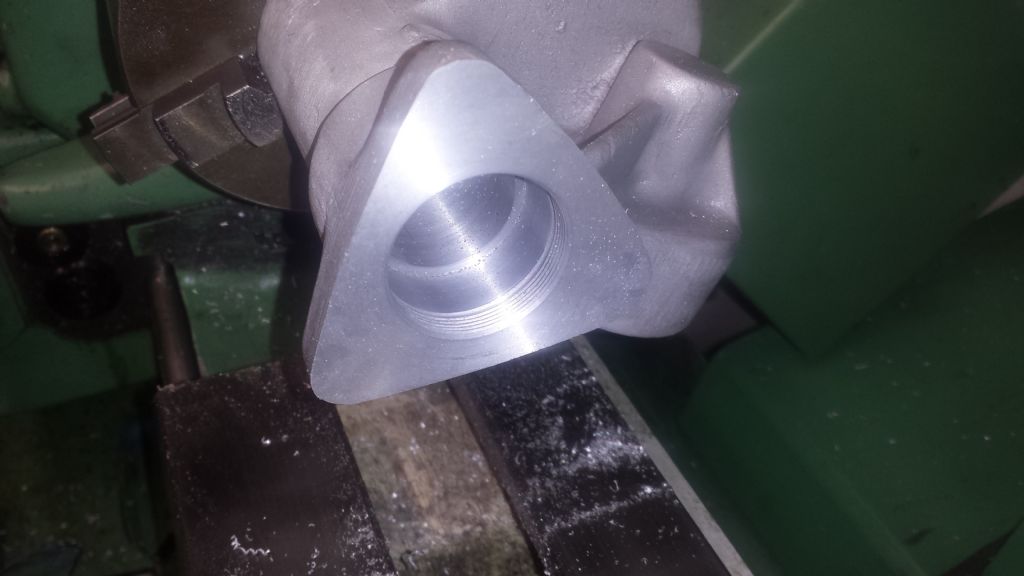
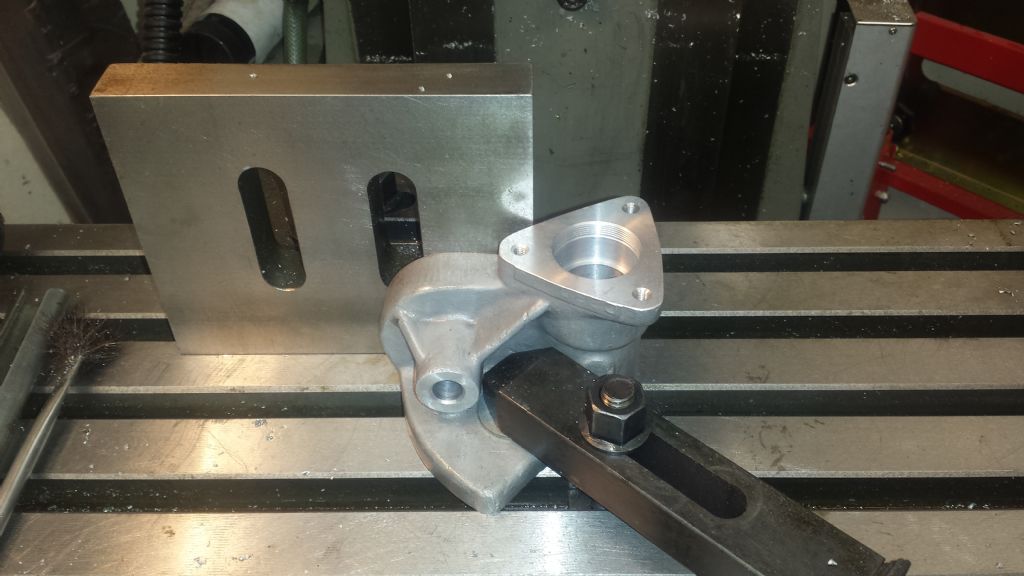
Fridays job was to screwcut the thread for the retaining collar:- Then using this expanding mandrel in the 28mm bore, Finish faced the second face to achive the final overall length (used the power cross feed), Then the height from compound slide face to spindle centre line was measured, using a turned bar and gauge blocks (slips), Today was on to the compound slide mounting face:- Clamped to a small angle plate and the cast face leveled, Then after roughly centering the face with the spindle, the face was skimmed enough to clean up and provide a true face for the next operation, After skimming, the part is clamped on to the machine table and after centering the boss under the spindle to a scribed centre point, the clamping stud clearance hole is drilled through into the cavity seen in the previous photo, Next was to determin the amount of material, that needed to be removed, to bring the bore centreline in line with the lathes centreline. This used the expanding mandrel from earlier, gauge blocks and a precision ground block to clamp the part down onto (V block in this case) and some arithmetic. Then re-mount the part on the angle plate, level the face as before, centre under the spindle by clocking in the drilled hle from earlier, touch on the face and then remove the amount determined previously from the face, After the face was completed, a smaller tool was fitted in the boring head, the cavity bored to diameter and faced to depth (clearance for the Myford four way toolpost ratchet if it's fitted), Final operation for today:- After clocking the angle plate parallel with the X axis (left to right), to act as the alignment datum for the next two operations. The previous mounting face is now held against the angle plate and the part clamped down on to the machine table, the bore aligned with the spindle by clocking in again. Then the three M5 tapped mounting holes were machined using the machines DRO Circular Hole Pattern function.
Edited By Nick Hughes on 26/01/2019 18:13:15 |
| 22/01/2019 17:47:57 |
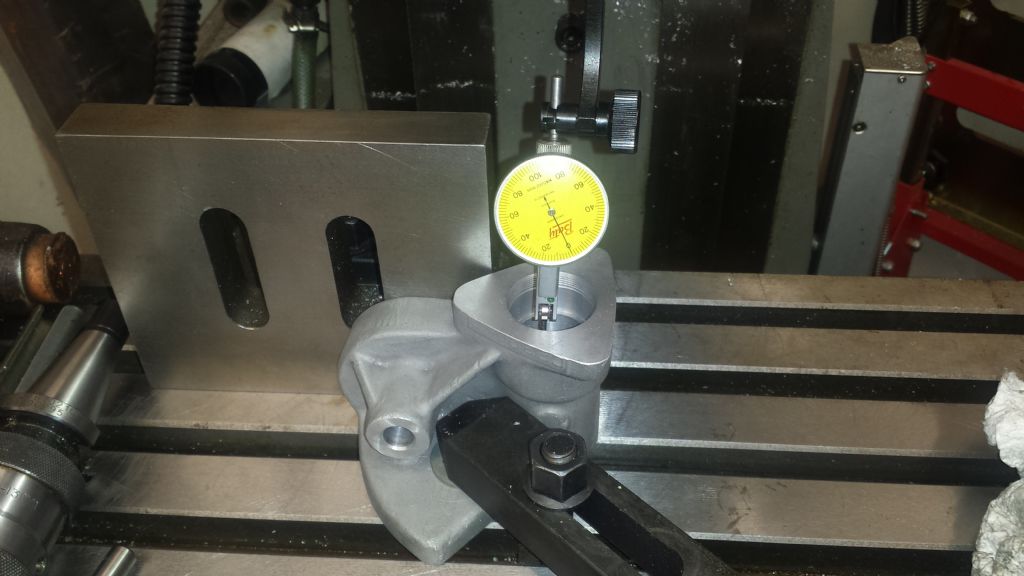
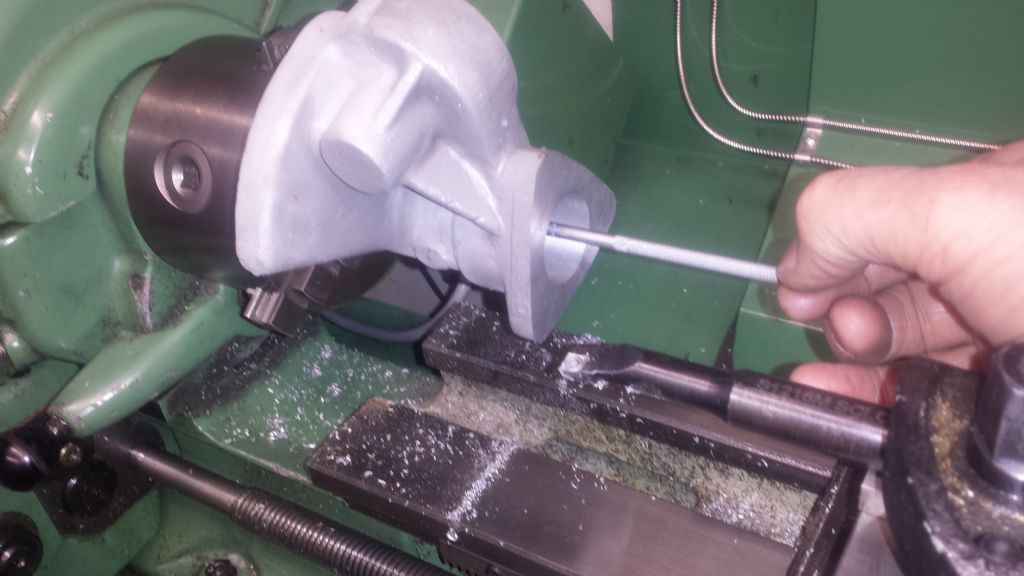
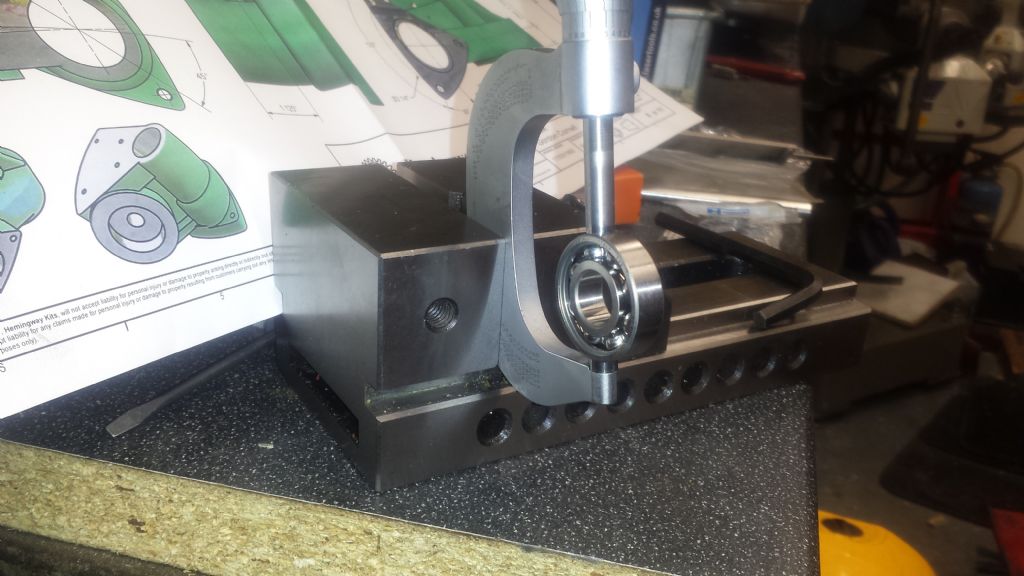
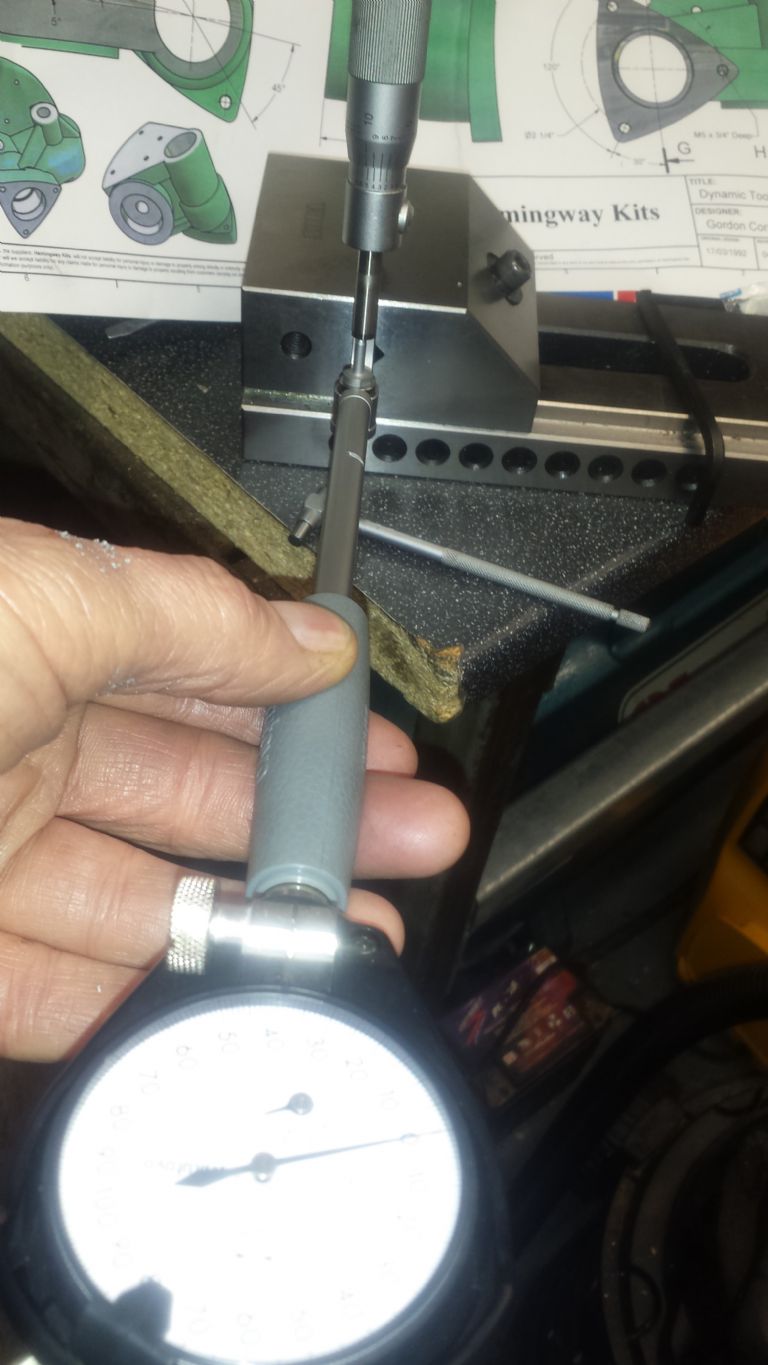
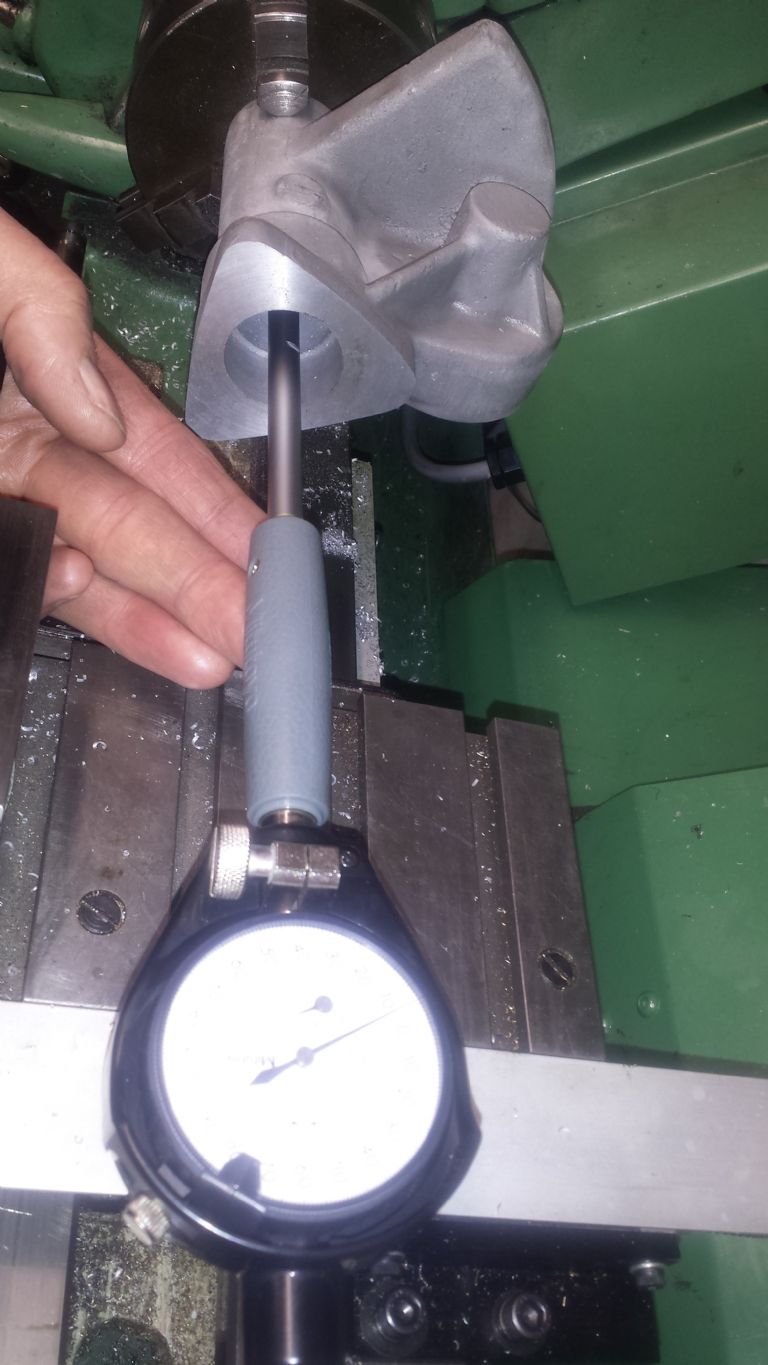
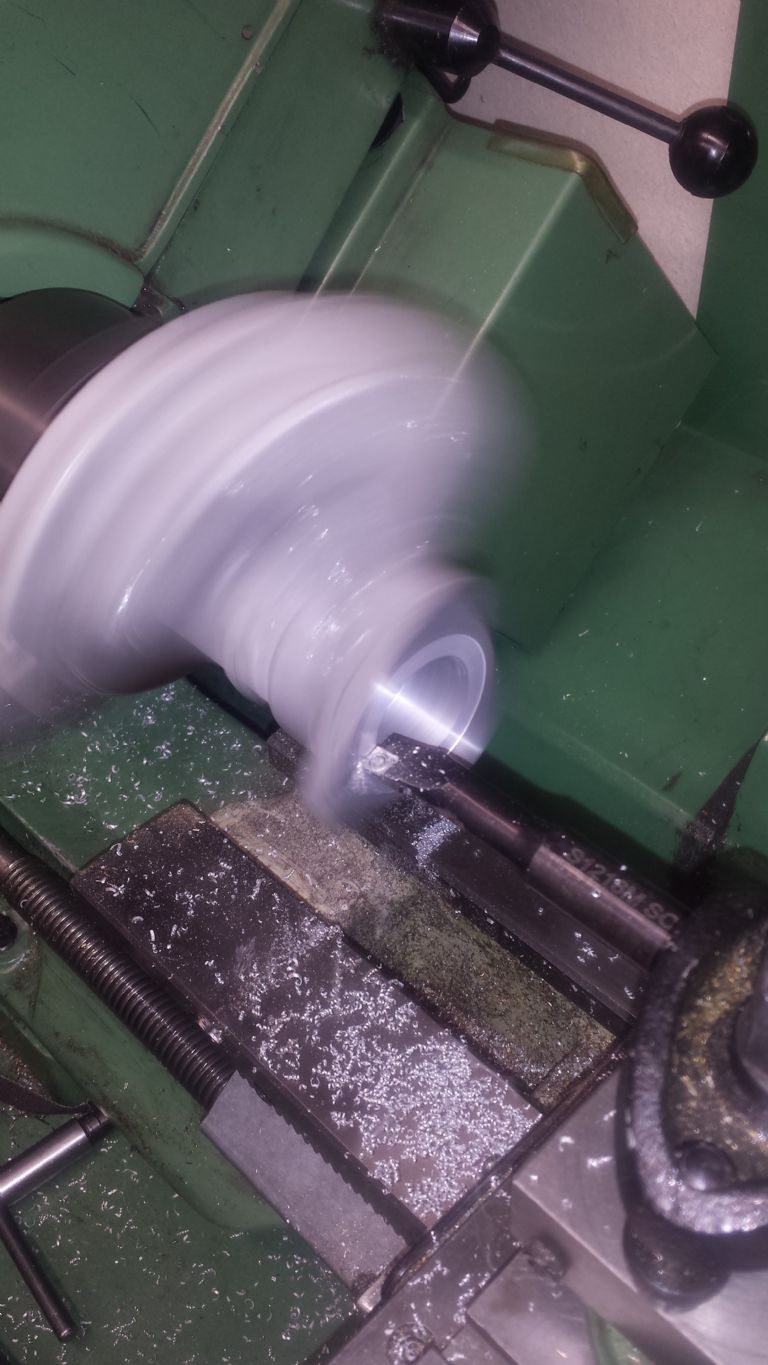
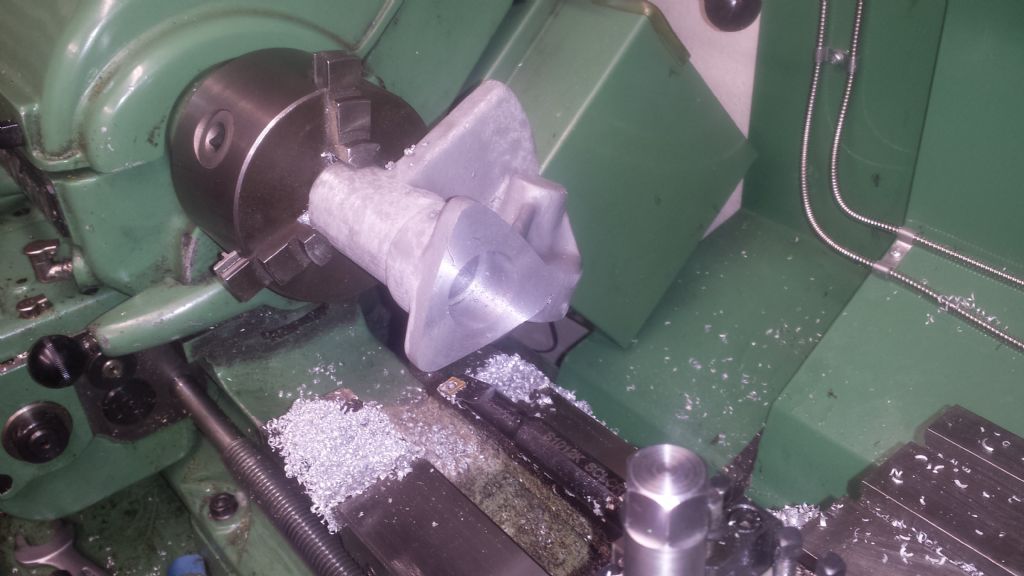
Today was finish bore the two bearing bores (28mm & 32mm Dia). Semi finish boring of both bores was checked for size, using a Telescopic Bore Gauge, leaving 0.2mm for finish boring :- Set and lock an External Micrometer to the (28mm in this case) bearing outside diameter :- Then use this to set the Bore Gauge ready for finish boring :- Checking the finished bore for size (Bored to Bearing Dia plus 0.005mm), for the drawing stated "Tight push Fit" :- The front 32mm bore was done in the same way and then a final skim of the front face :-
Edited By Nick Hughes on 22/01/2019 18:21:53 |
| 21/01/2019 17:35:34 |
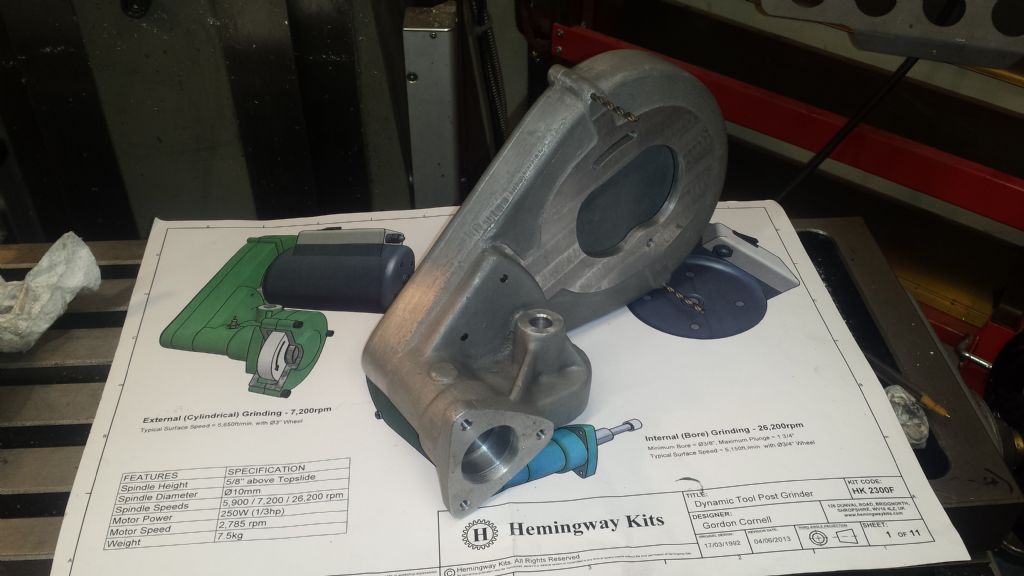
Started on the Spindle Housing this afternoon. Only had enough time to rough bore though:-
|
| Thread: New collets. Bankrupt now. |
| 17/01/2019 21:55:13 |
| Thread: Hemingway Dynamic Toolpost Grinder |
| 15/01/2019 10:42:47 |
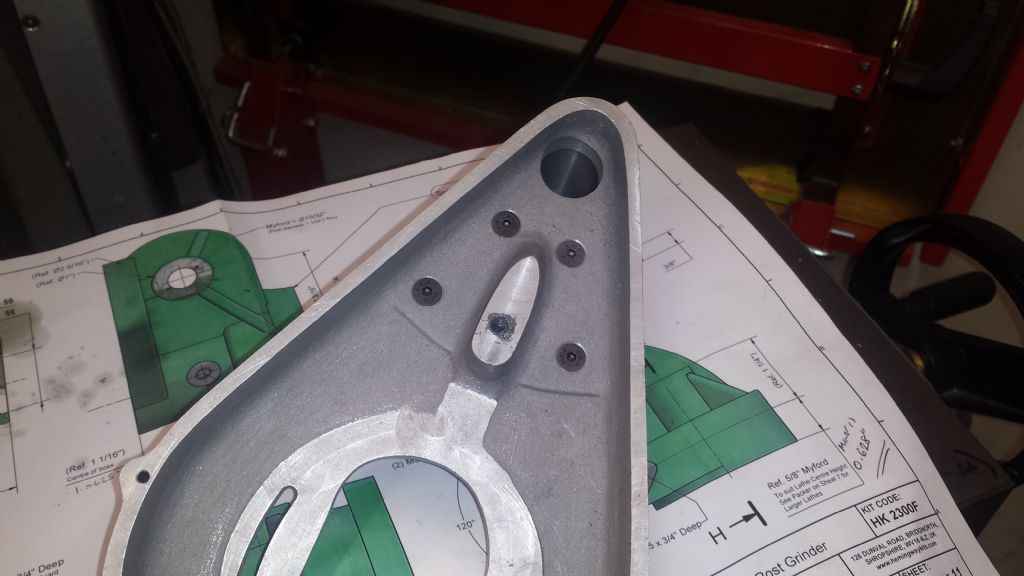
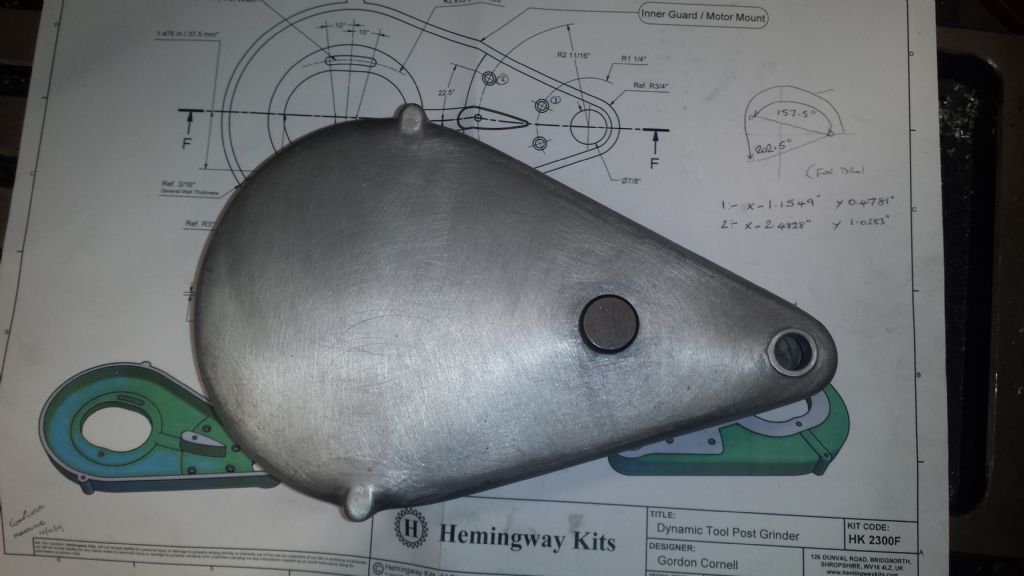
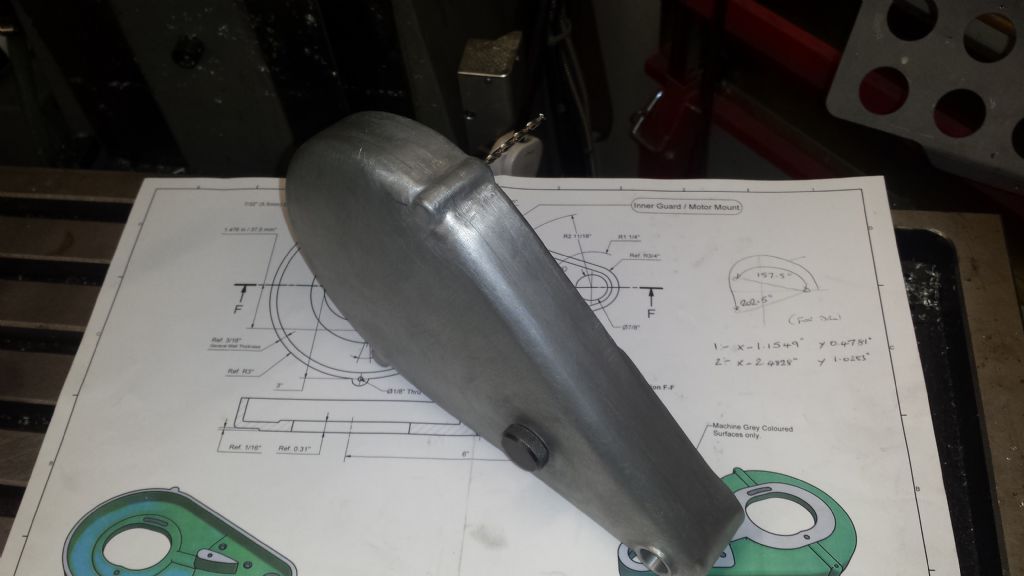
Last Saturday mornings initial hand work:- Fettled the Inner Cover cast appeture (this is slightly out of position, but not enough to cause a problem). The two 3.2mm drills, are just acting as temporary aliignment dowels between the two covers and will be replaced once the covers are painted, Then the Outer Cover (Removed the Logo, to make painting easier), Followed by dressing the assembled covers, There's a bit more work to do and some dinks to fill before painting. This will be done when all the remaining castings are machined.and finished to the same level. Edited By Nick Hughes on 15/01/2019 11:10:35 |
| 10/01/2019 19:49:10 |
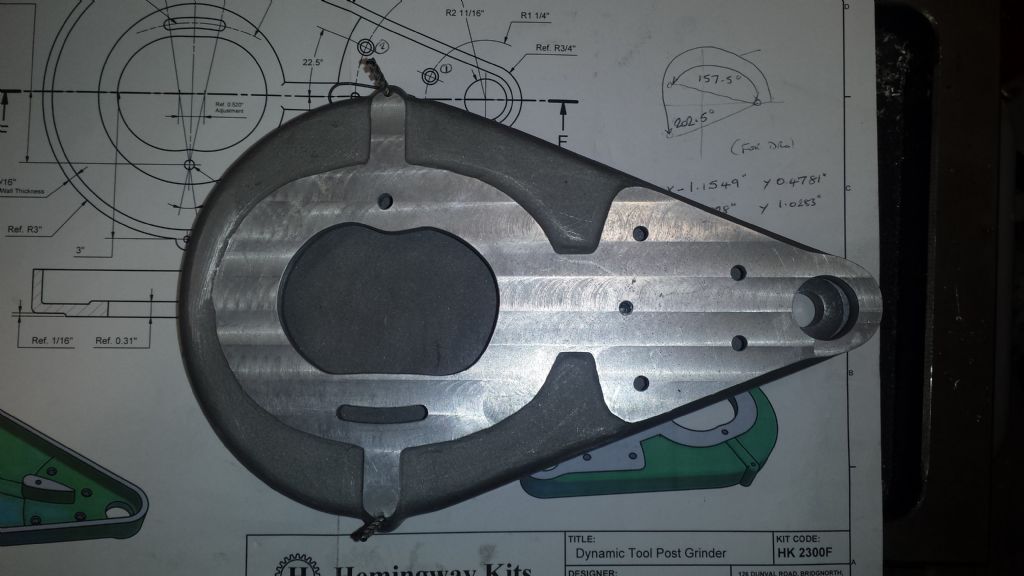
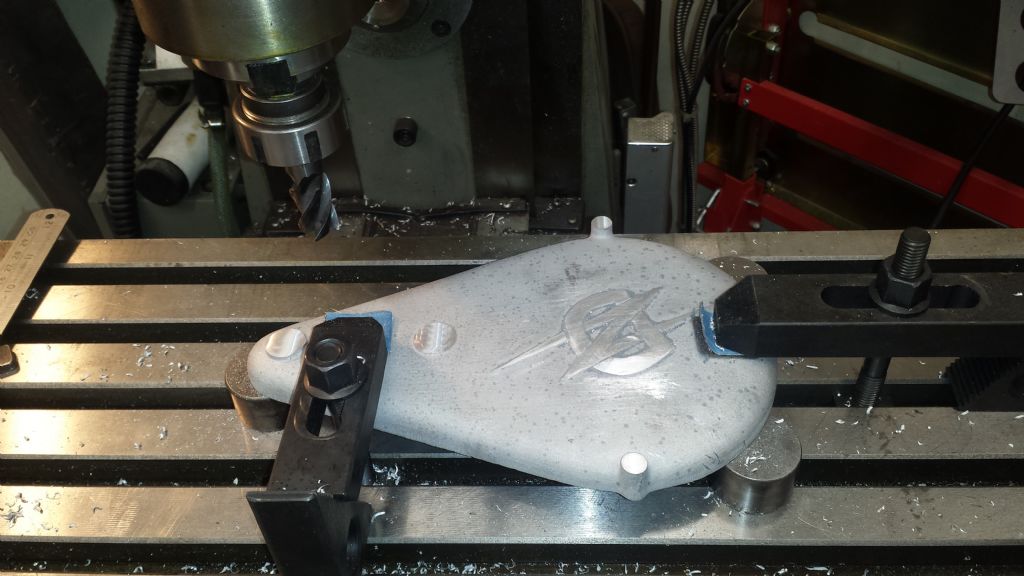
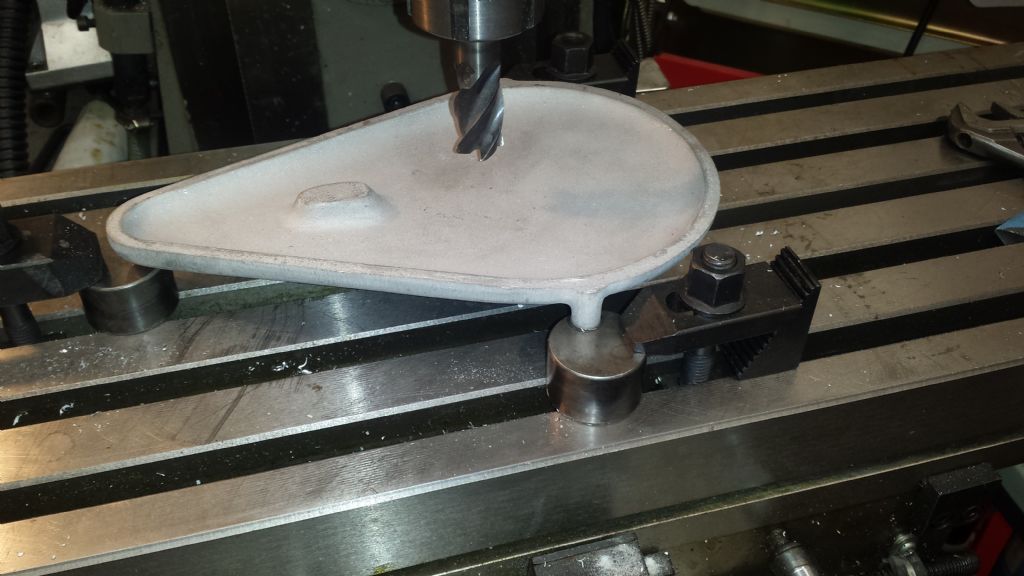
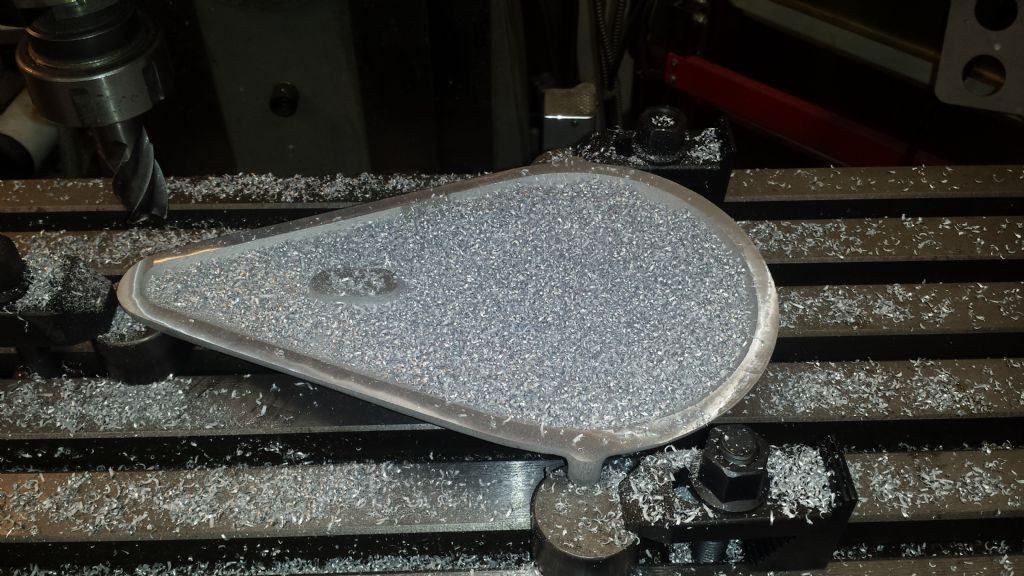
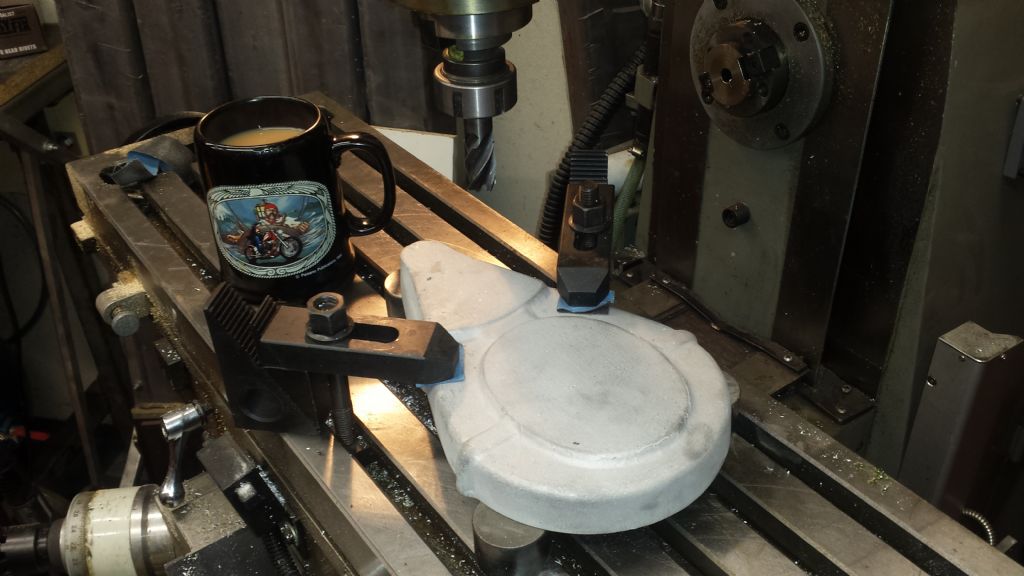
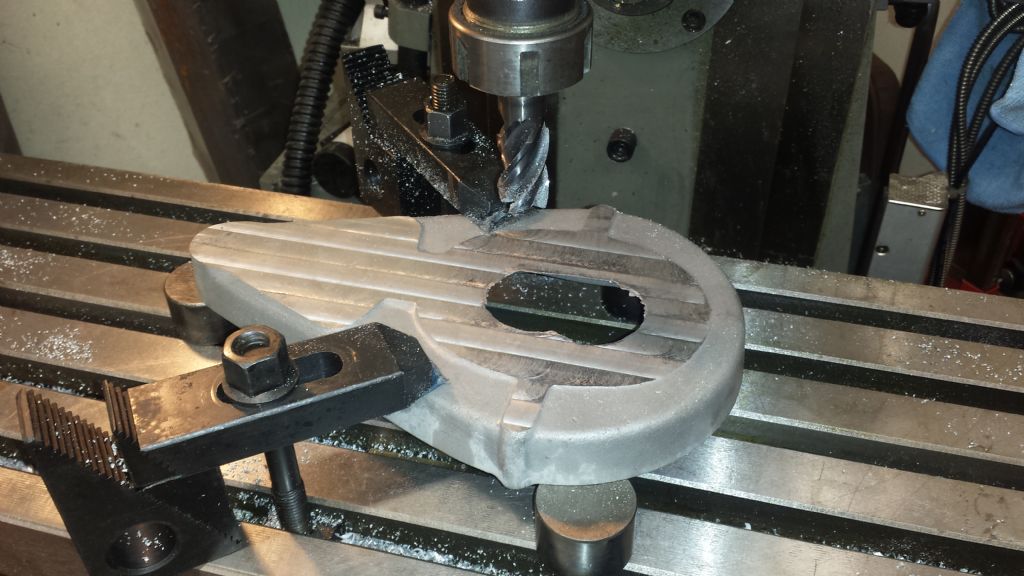
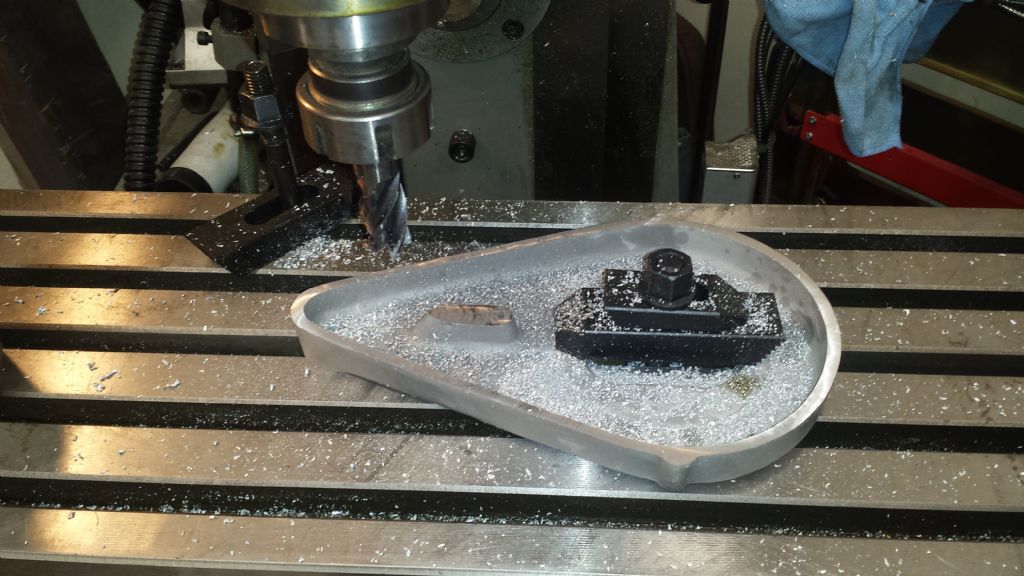
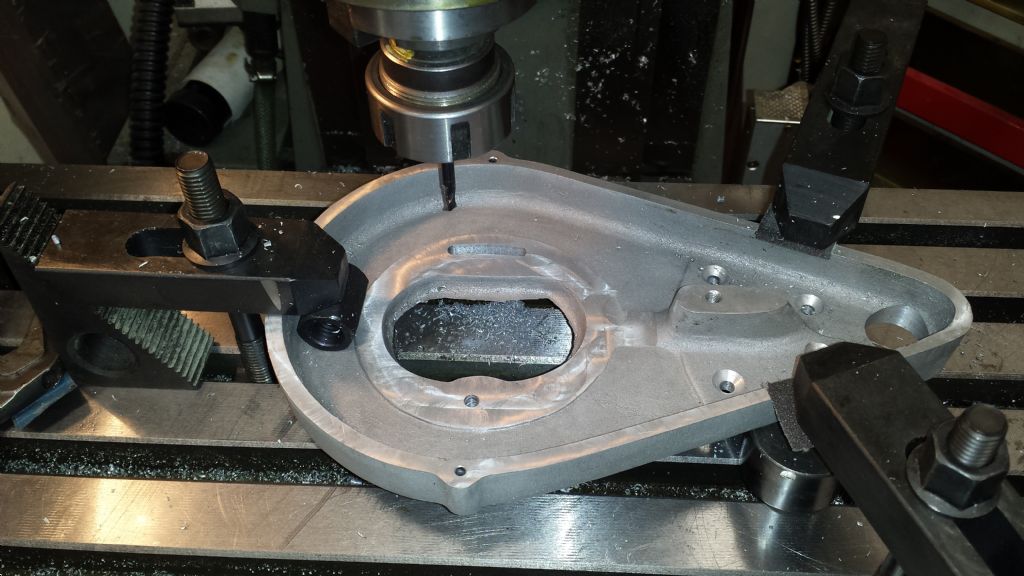
I've had this kit for about 9 months and finally made a start on Jan 1st 2019. First off the outer cover, clamped down lightly on 3 blocks, to machine the bosses. After machining the bosses, the 3 blocks are clamped to the machine table and then the inverted cover stuck on to them with superglue The joint face was then machined down to the drawing dimension, using 0.5mm/0.020" cuts and some breath holding The inner cover was machined in a similar way, but no need for any superglue this time on the second face As most of the holes in the inner cover are dimensioned using Polar Coordinates, I used the DRO functions for these and again to mill the radius slot. This meant that (even though I have both a CNC mill and a 10" Rotary table for this manual mill) only the one setup was required. More to come! Nick.
Edited By Nick Hughes on 10/01/2019 19:51:08 |
| Thread: What Did You Do Today 2019 |
| 01/01/2019 23:02:55 |
Started on my Dynamic Toolpost Grinder Kit from Heminway:- (More immages in my "Dynamic Toolpost Grinder" Album) I'll post progress on here and update the Album at the same time. Nick. Edited By Nick Hughes on 01/01/2019 23:15:42 |
Want the latest issue of Model Engineer or Model Engineers' Workshop? Use our magazine locator links to find your nearest stockist!
Sign up to our newsletter and get a free digital issue.
You can unsubscribe at anytime. View our privacy policy at www.mortons.co.uk/privacy
- *Oct 2023: FORUM MIGRATION TIMELINE*
05/10/2023 07:57:11 - Making ER11 collet chuck
05/10/2023 07:56:24 - What did you do today? 2023
05/10/2023 07:25:01 - Orrery
05/10/2023 06:00:41 - Wera hand-tools
05/10/2023 05:47:07 - New member
05/10/2023 04:40:11 - Problems with external pot on at1 vfd
05/10/2023 00:06:32 - Drain plug
04/10/2023 23:36:17 - digi phase converter for 10 machines.....
04/10/2023 23:13:48 - Winter Storage Of Locomotives
04/10/2023 21:02:11 - More Latest Posts...
- View All Topics
- Reeves** - Rebuilt Royal Scot by Martin Evans
by John Broughton
£300.00 - BRITANNIA 5" GAUGE James Perrier
by Jon Seabright 1
£2,500.00 - Drill Grinder - for restoration
by Nigel Graham 2
£0.00 - WARCO WM18 MILLING MACHINE
by Alex Chudley
£1,200.00 - MYFORD SUPER 7 LATHE
by Alex Chudley
£2,000.00 - More "For Sale" Ads...
- D1-3 backplate
by Michael Horley
Price Not Specified - fixed steady for a Colchester bantam mark1 800
by George Jervis
Price Not Specified - lbsc pansy
by JACK SIDEBOTHAM
Price Not Specified - Pratt Burnerd multifit chuck key.
by Tim Riome
Price Not Specified - BANDSAW BLADE WELDER
by HUGH
Price Not Specified - More "Wanted" Ads...
Do you want to contact the Model Engineer and Model Engineers' Workshop team?
You can contact us by phone, mail or email about the magazines including becoming a contributor, submitting reader's letters or making queries about articles. You can also get in touch about this website, advertising or other general issues.
Click THIS LINK for full contact details.
For subscription issues please see THIS LINK.
Model Engineer Magazine
- Percival Marshall
- M.E. History
- LittleLEC
- M.E. Clock
ME Workshop
- An Adcock
- & Shipley
- Horizontal
- Mill
Subscribe Now
- Great savings
- Delivered to your door
Pre-order your copy!
- Delivered to your doorstep!
- Free UK delivery!


 Register
 Log-in


