Member postings for Y C Lui
Here is a list of all the postings Y C Lui has made in our forums. Click on a thread name to jump to the thread.
| Thread: Help ! how to remove embedded diamond lapping particles on metal surfaces |
| 05/05/2022 02:22:04 |
Posted by Ramon Wilson on 04/05/2022 13:59:38:
SIC is easily removed using a solvent cleaning process - I use cellulose thinner in three stages - three jars - the first cleaning stage in first jar etc. May I know how it is done ? I believe the solvent does not dissolve the SiC particles. |
| 04/05/2022 10:46:49 |
Posted by norm norton on 04/05/2022 09:40:10:
I agree that the Timesaver pastes are very good. I was fortunate in buying a 'trial kit' of all the four green and four yellow powders in small tins a few years ago. I am not sure if this kit is still available. You will have to spend about £100 on the set of eight small glass jars.Heritage Steam I don't think that the use of diamond pastes on an engine or piece of machinery is wise - a few grains left will cause so much damage when it starts to run. Similarly perhaps with silicon carbide if you cannot do that good washing job. Timesaver degrades quickly during the lapping process, you can feel it breaking down after ten or twenty turns. It works nicely freeing up tight gear teeth or a small acme screw in a nut you have just made. I have also used it on very small taper stopcocks. Norm
£100 for eight small jars of lapping powder is wayyyyyy too expensive. After some further research on line, I found that Timesaver is actually garnet which can be bought at a ridiculously low price. I have also read that SiC also embeds into steel although I have never come across such problem when using SiC sandpaper. Now I have decided that garnet is the safest and cheapest way to go. Have just ordered a couple of grey cast iron disc for making the laps and some garnet powder ( 280# , W40 grits ) . Will start working on it next week.
|
| 02/05/2022 06:15:57 |
Mark Rand, I have tried out your method of using cutter blade as well as other methods including rubbing the surface with aluminium hoping that the embedded diamond particles will be transferred to the softer metal. Now after a mix of different operations, it seems that the surface is not abrasive anymore so I dont have to make another hole plate. Tug, thanks for the article, will read it. As diamond is so troublesome ( for me ), will it be better to use SiC powder instead? there is a kind of lapping powder branded “Timesaver.” The manufacturer claimed that the particles will breakdown during use and no embedding will occur. Just wondering if its SiC .
Edited By Y C Lui on 02/05/2022 06:16:16 |
| 30/04/2022 21:51:37 |
Thanks for all the replies. Very helpful. This is the first time I tried lapping and the purpose is not so much to get a perfectly flat surface ( unnecessary for my use ) but just to get some experience on lapping. Turns out to be a bad one unfortunately. Other than the suggested methods, is it possible to remove the diamond particles by using sand paper ? I am afriad scraping is outside my skill envelope. Edited By Y C Lui on 30/04/2022 21:55:19 |
| 30/04/2022 16:41:35 |
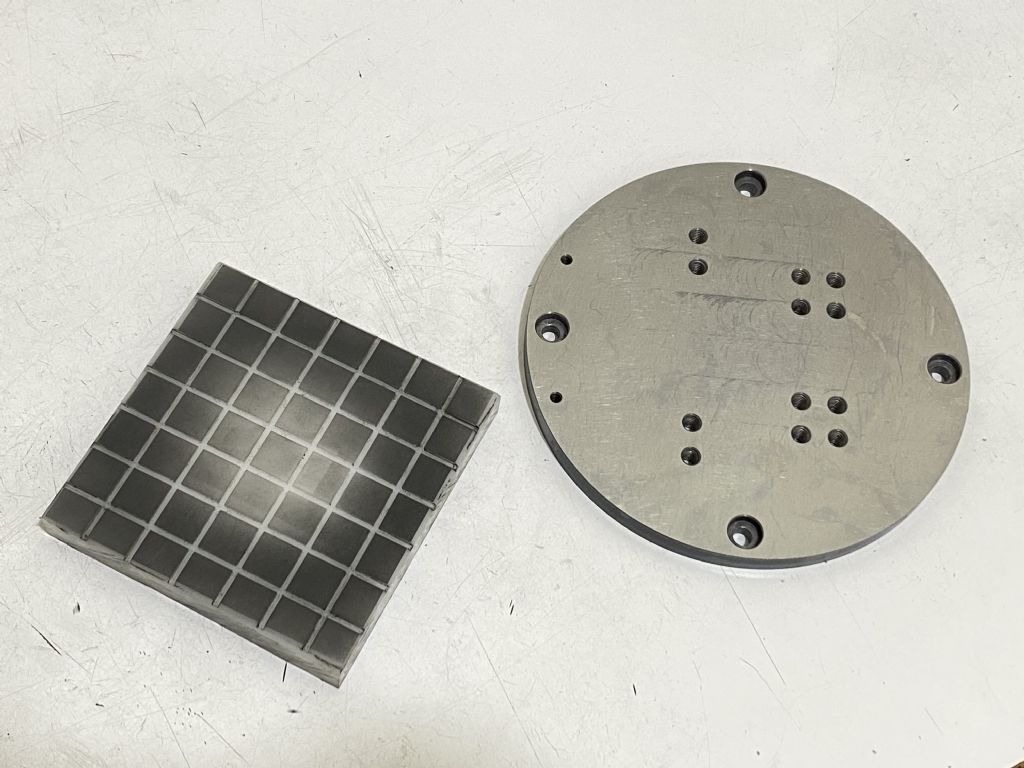
Today I tried diamond lapping for the first time on the hole plate I have made for my rotary table. The lap is a piece of HDPE plastic and the hole plate is hot-rolled steel. All went well and the lapped surface appears to be quite flat. No dishing or rounding off near the edge. However, it appears that the lapped surface is now embedded with diamond particles ( 40 micron according to the vendor ). If I rub a piece of steel against the surface, very fine scratch lines will be formed and I could feel that some abrasion is happening. Some of the diamond particles seems to have transferred to the milling table as well. How should I go about to clean it up completely ? Thanks in advance.
Edited By Y C Lui on 30/04/2022 16:59:55 |
| Thread: Fitting a 5 micron DRO to Myford ML7 |
| 12/04/2022 08:05:00 |
Sub one-thou accuracy is actually not that ambitious. one-thou is 0.025 mm. If the resolution of the DRO is limiting, you will get an error of 0.005 mm in radius or 0.01 mm in diameter which is well within one thou. I will be worrying about other sources of errors in the machine. It's not a lathe but my Emco FB2 mill will have the Y position off by 0.03 mm due to thermal expansion of the head after running for a while. For this reason the 5 micron DRO on the machine is an overkill. Edited By Y C Lui on 12/04/2022 08:14:05 |
| Thread: DRO----How accurate |
| 04/04/2022 03:52:24 |
Posted by Chris Mate on 30/03/2022 05:42:20:
YC Lui, remove your quil lock handle , then go to otherside and remove the round nut, it has an angled face as well as the opposing part of the quil, so it will try to lock in the Y- direction without the nut turning, see if you agree-? The construction of the quill lock on my mill is not like that. The locking screw squeezes down a slot cut in the wall of the bore to reduce it's diameter and grab the quill more tightly. The method you have described is used on the quill of my lathe's tail stock. If the concern is just getting an accurate Z reading on the DRO, it will be sufficient to find a point on the quill where the vertical position is unaffected by locking. I will show what I mean with a video when I have time. Edited By Y C Lui on 04/04/2022 04:18:37 |
| 30/03/2022 00:16:43 |
Another thing worth exploring is whether the tilting of the quill/spindle in the unlocked state is always in the same direction. All measurements have indicated that mine only tilts along the Y direction. I believe that's because the gear mechanism driving the quill up and down is at the "north" side of the quill. If this is the case in your machine, there should be a location along the edge of the quill where the Z reading change is always the same as that at the center of the spindle. If such location can be found, linking the DRO head to that point should solve the problem.
Edited By Y C Lui on 30/03/2022 00:18:32 |
| 29/03/2022 23:47:34 |
Chris, My machine is simpler than yours, I don't have any fine adjustment mechanism on the head. The quill can only be moved by operating the quill handle. To change the Z value, I just move the entire head and then lock it before cutting. However, the DRO reading still changes by 0.01 ~ 0.015 mm due to locking / unlocking of the head but the change is quite consistent so I just add that amount to the Z reading before locking. For example, if my target Z value is 30.000, I will move the head until the DRO reads 29.990, then lock the head, the reading will jump to 30.000 ~ 30.005. There can still be an error of 0.005 mm but I just accept it in most cases. If I really want to eliminate that tiny error, I will just try again and lock the head at 29.985. Not sure if this "software compensation" ( runs in the brain ) is applicable to your machine though. Edited By Y C Lui on 30/03/2022 00:06:28 |
| 29/03/2022 11:14:56 |
On my Emco FB2 mill, the quill/spindle would tilt and shift in Y position when the quill handle is pressed. I attribute this to the imperfect fit between the head and the quill. I think your obseration on the difference in the two dial indicator readings can be explained by the tilting change of the quill/spindle when the quill is locked / unlocked. On my mill I always lock the quill when milling, edge finding and adjusting the tram so this is the reference position of the quill. When drilling, the quill need be unlocked and the Y reading of the DRO need be corrected by 0.11 mm in order to get the spindle to the correct position. There is no ways to compensate for the tilting of the spindle but the error is acceptable to me as most of the holes are for accomodating bolts and high precision is not required. Edited By Y C Lui on 29/03/2022 11:34:29 |
| Thread: How to choose a high quality end mill cutter? |
| 29/03/2022 09:35:45 |
Posted by David Hogg on 29/03/2022 09:02:28:
It’s sounding like uncoated 4 flute HSS-Co8 or carbide tools would be just fine? I’ve seen some of these for as low as £10 which just feels too cheap! I bought all my tools from China and £10 is way too expensive. Just ordered a 10 mm Co8 HSS end mill and it cost just 20 Chinese Yuan or about £2.4. All my other tools are carbide. A 10 mm carbide 3 fluter cost about £5. Globalization is one of the reason why there has not been much inflation over the last decade ( pre COVID 19 ) although governments have been printing money like crazy. Edited By Y C Lui on 29/03/2022 09:36:17 |
| Thread: Acceptable runout on drill chuck |
| 22/03/2022 13:02:17 |
That's why I use collet chuck only on my mill .... |
| Thread: Adjustable Y tram for Emco FB2 mill |
| 21/03/2022 10:30:23 |
Posted by Joseph Noci 1 on 19/03/2022 19:14:38:
I understand - I did not have that problem on my FB2's - A test bar in the spindle morse taper run up and down with a dial gauge fitted to the column showed less than 0.008/0.01mm delta, so the head is nicely parallel to the column on my machines. Shimming the column perpendicular to XZ sorted my tramming issue. Joe I am not that lucky unfortunately. My FB2 has compound misalignment ( slanted column + head droop ) as depicted below
Edited By Y C Lui on 21/03/2022 10:49:04 |
| 21/03/2022 10:27:18 |
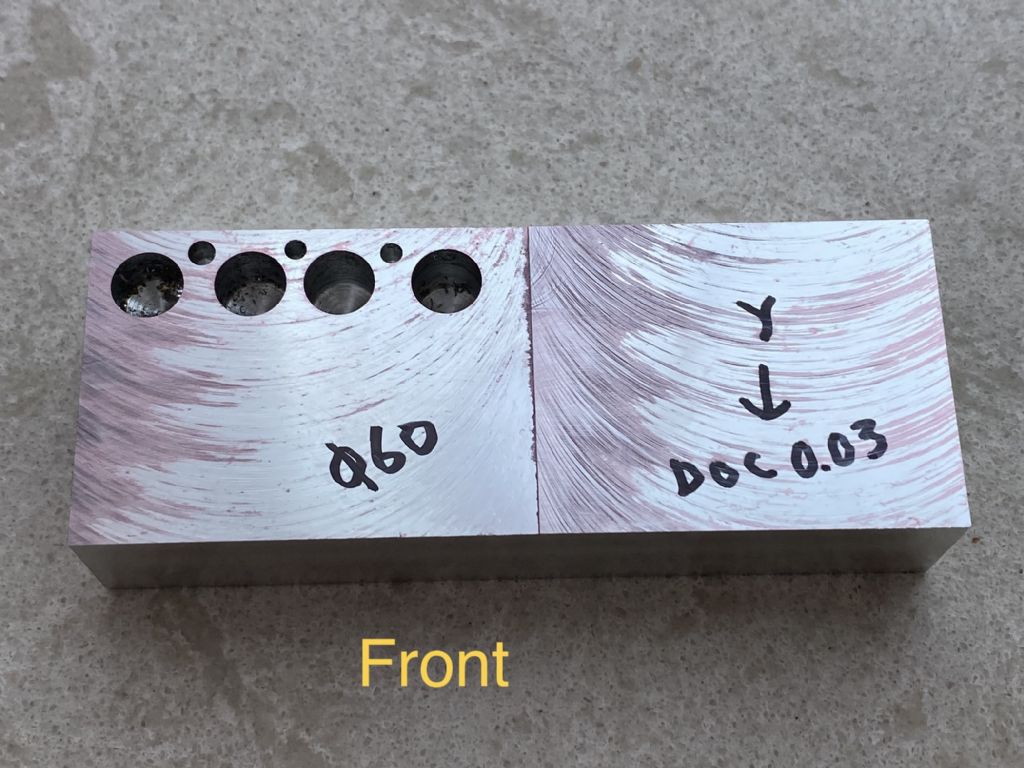
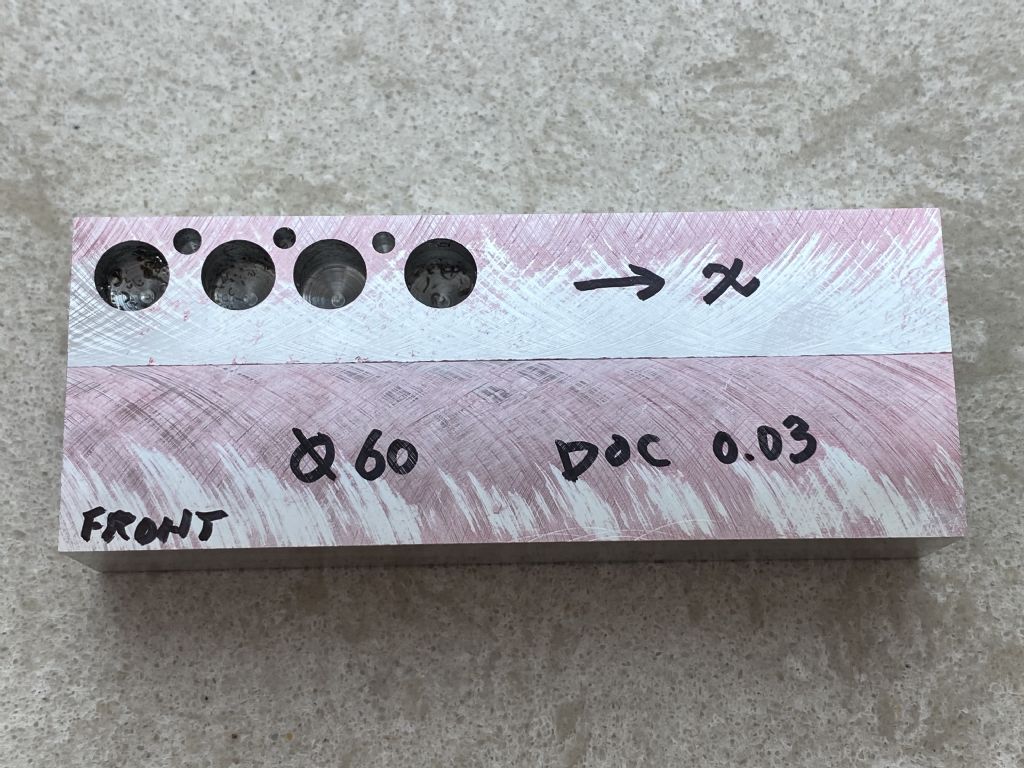
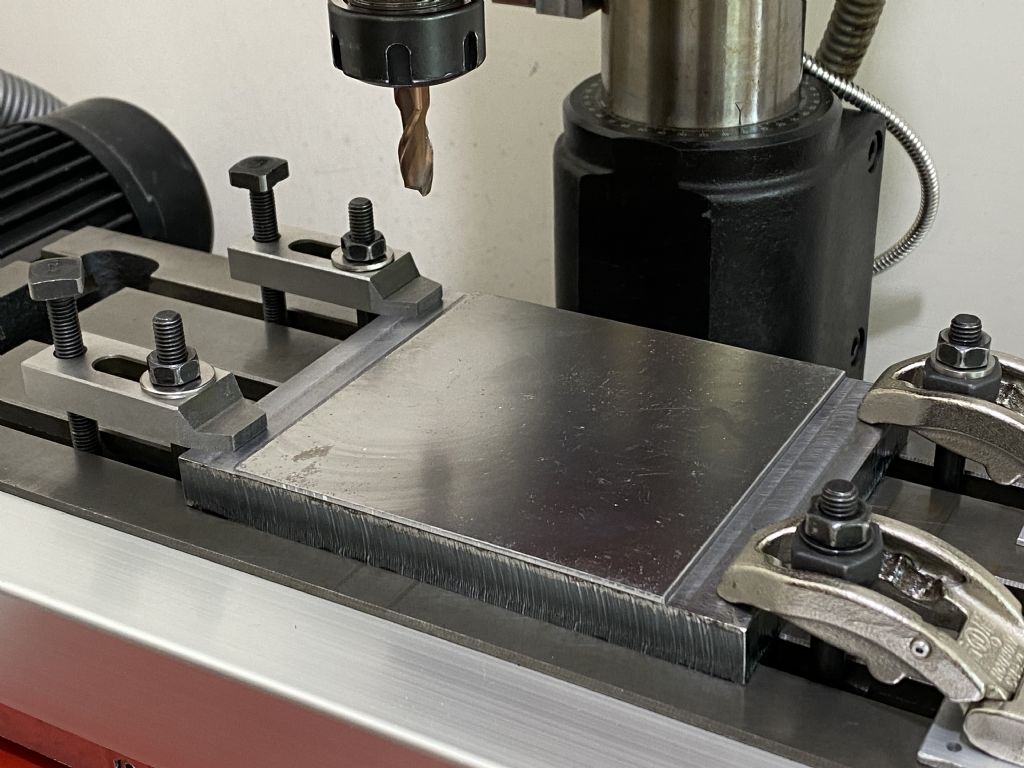
After some adjustment of the shim, perfect Y tram is achieved at this position : These are the test cut results. Material is 6061 aluminium. The surface is milled with a 63 mm diameter facing head. Two passes seperated by 60 mm are done, Then the flatness of the machined surface is checked by dyeing the surface of the mill table and rubbing the workpiece against it. There is no step. This is the very first time I saw such beautiful surface created by the machine. This was before the adjustment :
Other than the elimination of steps on machined surface, the improved perpendicularity of the spindle also brought substantial reduction in the XY position shift of the tool tip relative to the workpiece when the length of the tool is increased and the head need be moved up to accomodate the tool. Edited By Y C Lui on 21/03/2022 11:00:58 |
| 19/03/2022 17:17:11 |
Posted by Joseph Noci 1 on 19/03/2022 16:52:24:
Interesting concept. However, unless I am misunderstanding the issue completely.... I trammed Y on my FB2 by shimming the column base mounting at the 4 attachment bolts that fasten the base to the XY axis base. Simply add shim stock to under the top bolts to tilt rearwards, or under bottom bolts to tilt forwards. Much easier, and keeps the head square on to it's tilting ring. Joe They are two seperate requirements that need be satisfied simultaneously. 1) The column has to be perpendicular to the XY plane or the XY position of the spindle relative to the workpiece will shift when the height of the mill head is changed for such purposes as accomodating a longer tool or measurement device. The column of my FB2 is slanted backward by 0.02 mm over 90 mm which is not too bad. Shimming the column base will fix this problem. 2) The spindle has to be perpendicular to the XY plane ( defined by the X and Y rails, not the table surface ) or steps will be created on milled horizontal surfaces.The shim is designed to fix this problem. If I shim the column base only, the column will slant backward more. While this can eliminate the stepped surface problem, the Y position shift of the spindle due to change in Z will become more severe. Edited By Y C Lui on 19/03/2022 17:38:26 |
| 19/03/2022 13:15:50 |
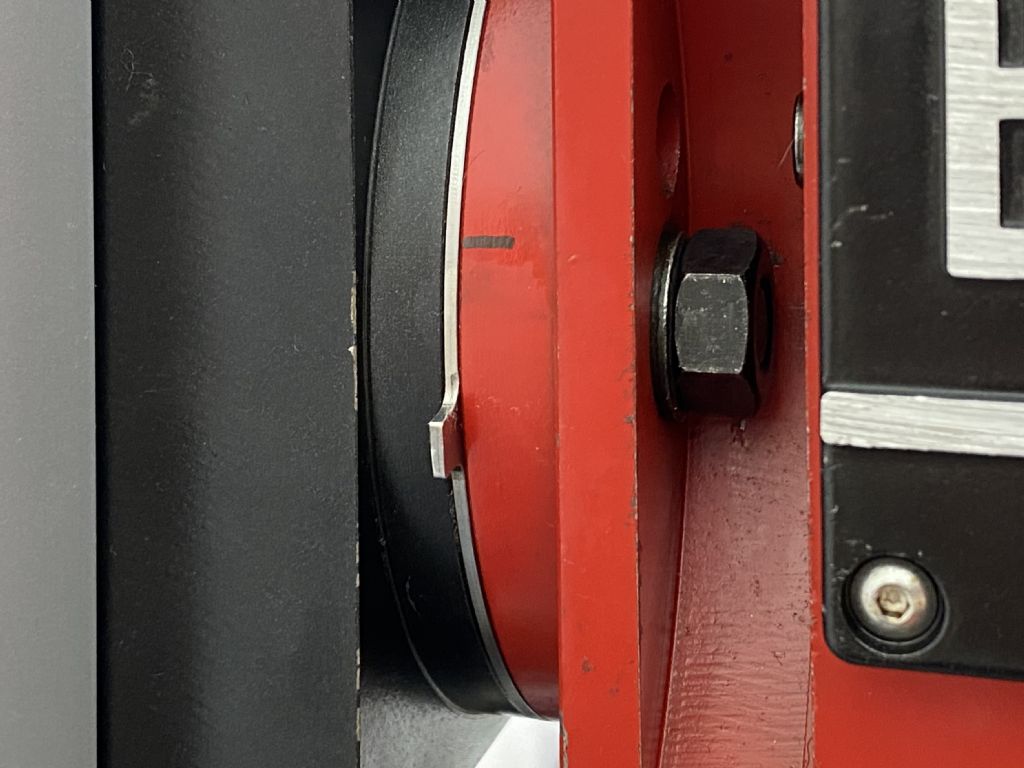
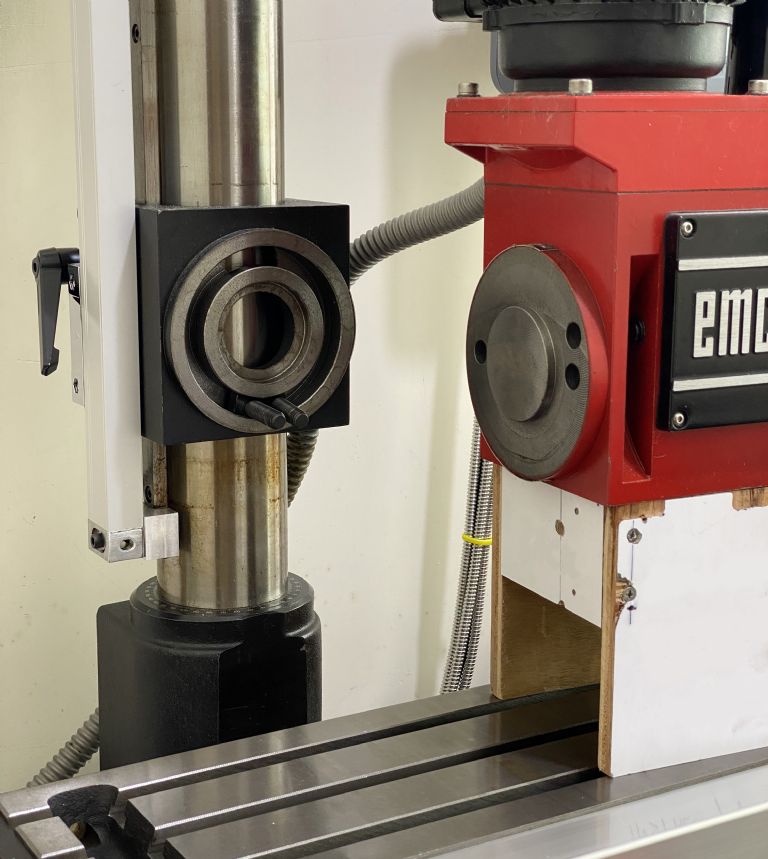
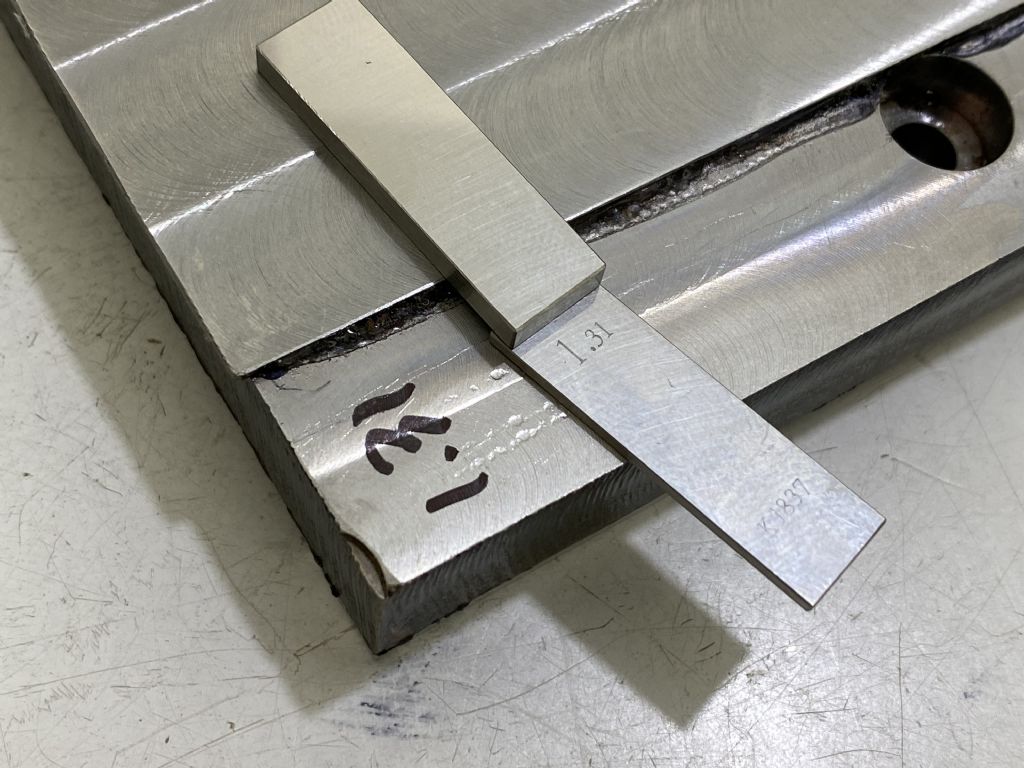
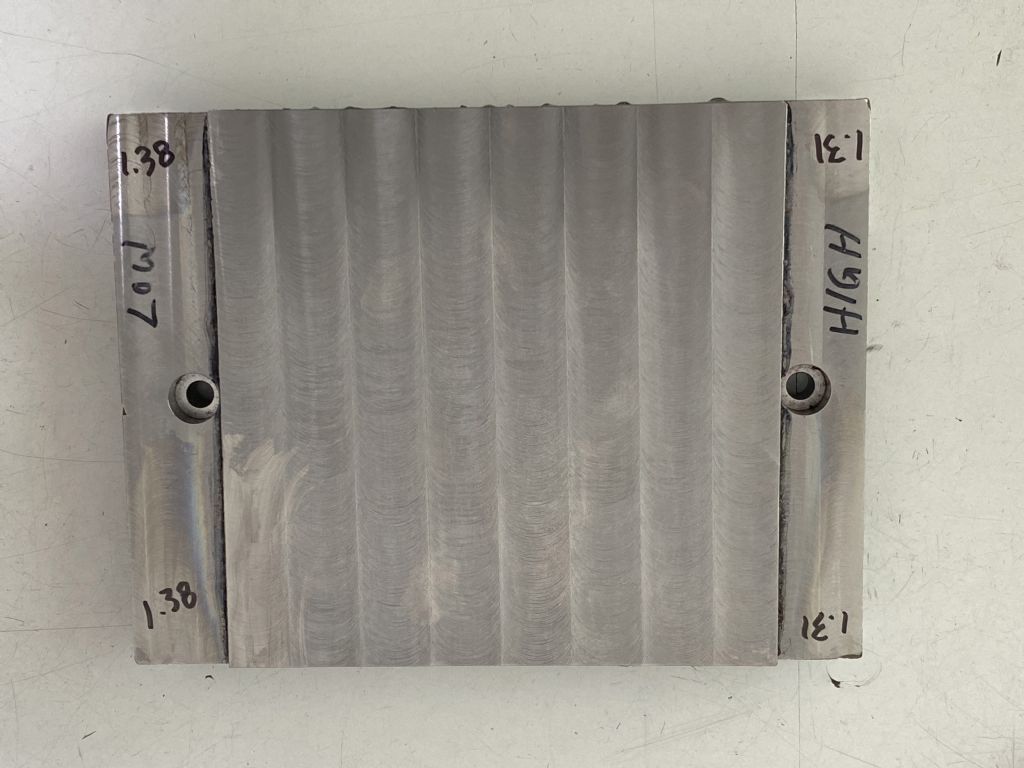
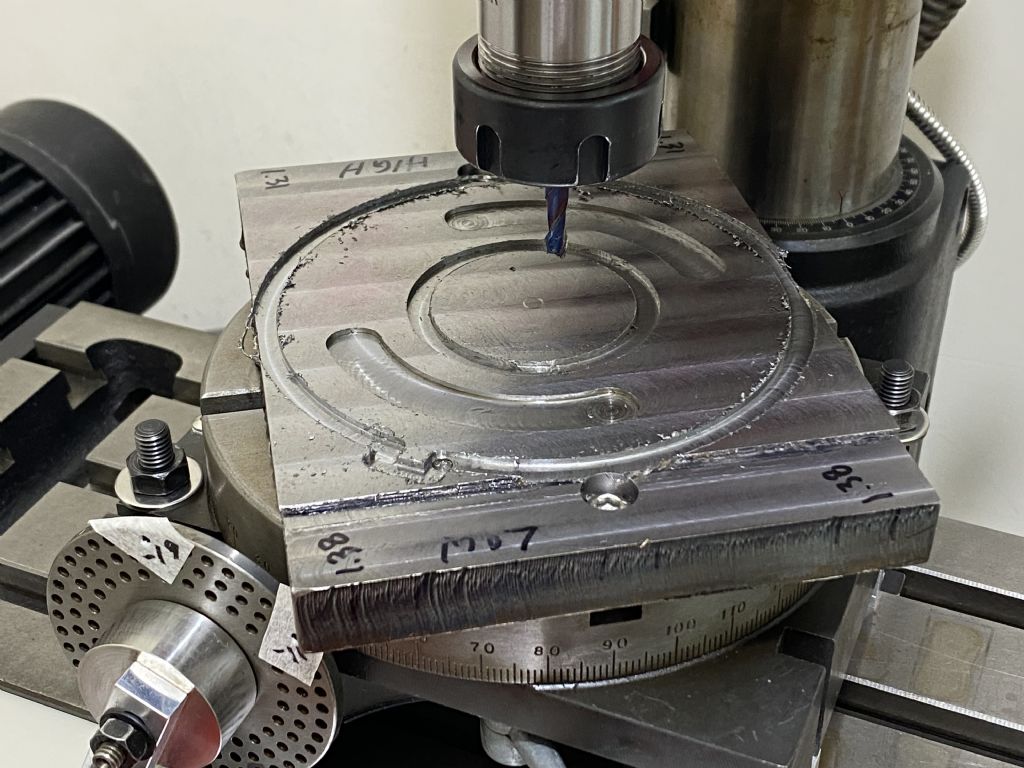
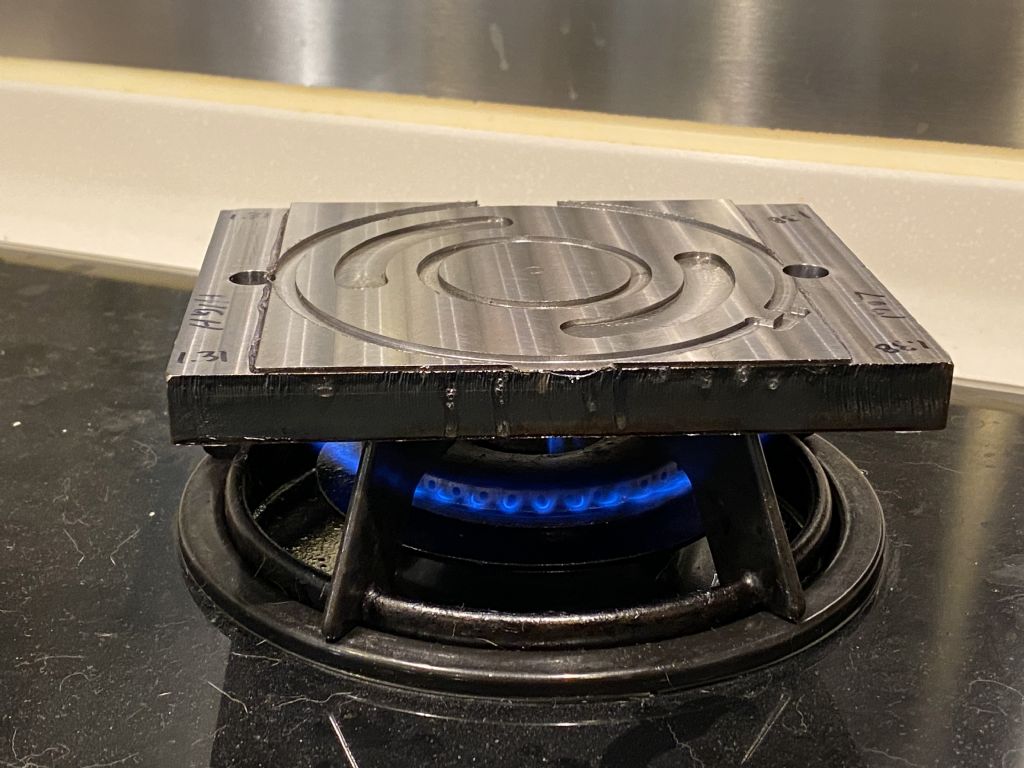
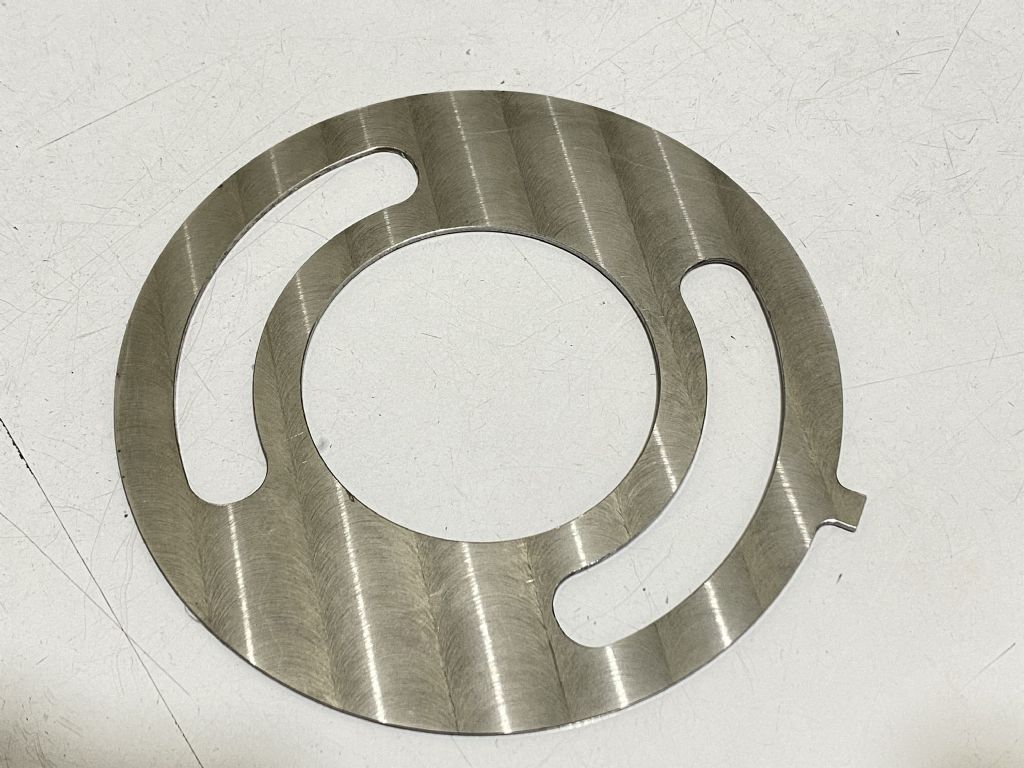
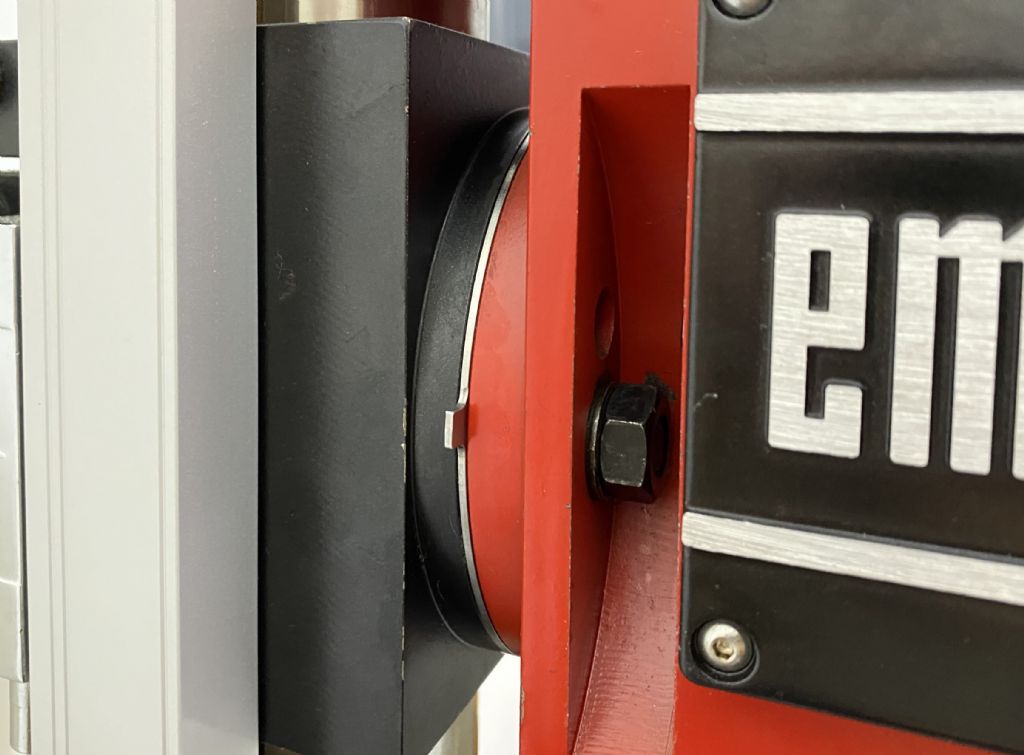
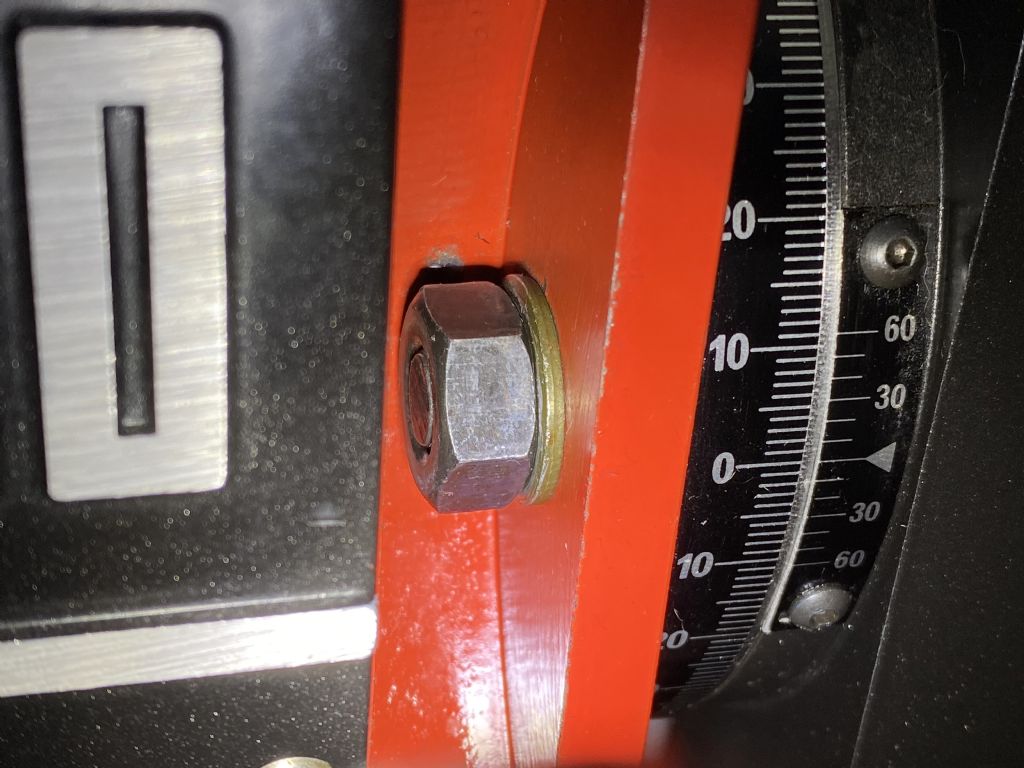
The Emco FB2 is a good mill overall although it has it’s fair share of misalignment here and there. Most of them are very acceptable except for the tram along the Y axis which is 0.05 mm over 150 mm. With this amount I got steps on surfaces milled with tool ends ( facing heads or end mills ) . As I have got more spare time recently due to the lock down, I decided to do something about it. Many has suggested scrapping but this is absolutely not an option for me because I lack the skill and the change is irreversible. It is highly likely that I will end up in destroying the machine instead of fixing it. Grinding is another option but I have to get another machine to do it. Not possible for me. Then I came up with the idea of using the machine to fix itself by making a wedge shim to be placed at the joint between the vertical slide block and the mill head. The only difficulty is that the shim has to be precisely made with one side exactly 0.037 mm thicker than the other side. After a bit more thinking, I realized that such precision is actually not necessary if the shim can be rotated hence the shimming angle can be adjusted in a stepless manner. The shim is made from 2mm thick cold roll steel plate. It is held on an inclined 15 mm thick steel backing plate by super glue to allow machining to be done. It can be seperated from the backing plate simply by heating . The tap sticking out at the side allows the shim to be rotated and Y tram adjusted. It works extremely well. For the very first time, the X and Y tram of the machine is close to perfect.
Edited By Y C Lui on 19/03/2022 13:51:31 |
| Thread: EMCO FB2 origin drift due to heat |
| 13/02/2022 13:31:11 |
Posted by Graham Meek on 13/02/2022 10:41:08:
.... Are you sure the DRO is not resolving to a higher number. Some of the budget DRO's only resolve to a thousandth of an inch.... The DRO on the machine is a cheap one but the resolution is decent ( 0.005 mm ) and so far I have not seen any evidence that it's not working properly. 0.03 mm drift of the origin is not an issue if that is the sole source of errors but that's not the case. The more I use the machine, the more sources of errors I found and they can add up to some unacceptable level if all ignored. That's why I try to compensate for them when possible. Here are some sources of the errors I have found so far : 1) The X and Y rails are not perpendicular to each other. It's off by about 0.02 mm over 90mm. 2) The vertical column is slanted backward by about 0.02 mm over 90 mm. 3) The tram along the Y axis is off by 0.04 mm over 150 mm if the quill is locked. Increased to 0.1 mm max ( but in different direction ) if the quill is lowered by operating the quill handle 4) 2 & 3 added together, the tool tip shifts by 0.01 mm in the Y direction for every 18 mm increase in the length of tool / measurement device. 5) The quill moves forward by 0.1 mm when pressure is applied to the the quill handle. 6) Play in X Y Z rails with that along the Z rail having the most prominent effect. 7) Strange drift in Z depending on the direction of rotation of the spindle. 8) Tool / head flexing : 0.01 mm to 0.018 mm depending on the material of the workpiece. Thermal drift is a new one just added yesterday. Hope that's the last one .... Edited By Y C Lui on 13/02/2022 13:42:15 |
| 12/02/2022 14:21:14 |
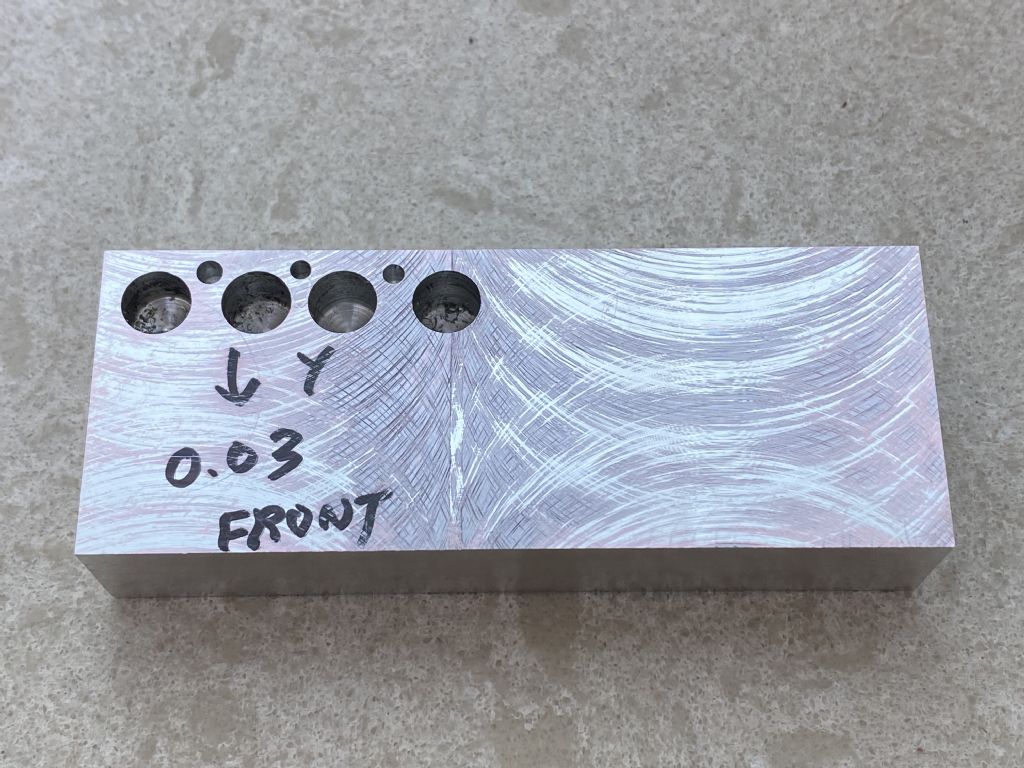
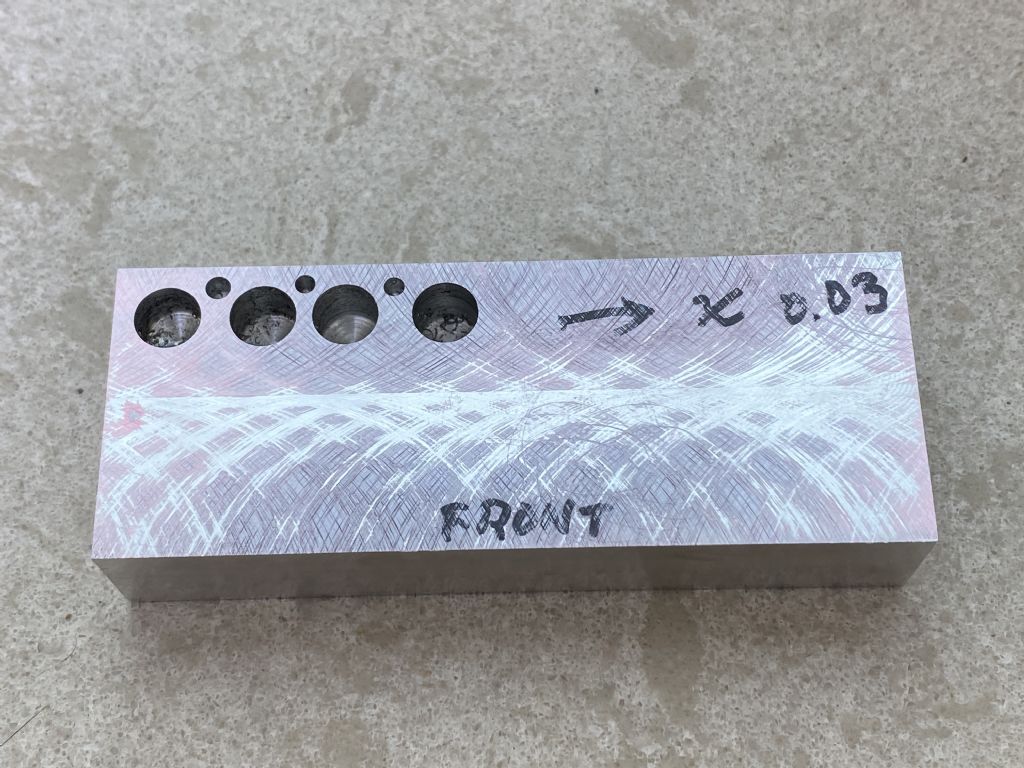
I noticed recently that the machine cannot hold zero. I zeroed the ABS X and Y of the DRO after locating the corner of the vise with edge finder and after using the machine for a while, I located the corner again and found that the drift in the position of the vise corner along the Y axis can be as much as 0.03 mm while that in the X axis is less on average. This is kind of puzzling for me because the round-vertical-column design of the machine should have more problem in holding the zero along the X axis ( head can swing left and right due to play in the tiny vertical rail ) but in reality the Y axis is having more problem. At the beginning the drift seems to be kind of random but I finally found the cause today - it is due to thermal expansion of the head. For some reasons, the head can get quite hot during operation and thermal expansion causes the head to extend outward hence the drift along the Y axis. After the machine is allowed to cool down, the original zero position is found to be restored. This is just a 300 lb bench mill so high precision is not expected. I am just wondering if the same happens to bigger machines and how people deal with it. Edited By Y C Lui on 12/02/2022 14:50:39 |
| Thread: what tools (HSS) |
| 11/02/2022 03:22:13 |
Carbide tools used to be expensive in the past but globalization has driven the price to such a low level that I just dont bother to use HSS and do grinding and re-shimming from time to time. A carbide insert costs less than 3 lbs and the quality is good ( for me at least ). The only disadvantage of carbide tool is that they are more brittle and break more easily if you don't handle with reasonable care. The fact that carbide tools allow the use of higher cutting speed does not mean that you need to use that speed in order to get good finish. Thats a myth that I have believed in for some time. The use of lower speed just reduces productivity which is an issue if you are doing machining for a living.
Edited By Y C Lui on 11/02/2022 04:00:38 |
| Thread: Emco FB2 mill - weird Z position shift |
| 08/02/2022 09:34:30 |
Posted by Kiwi Bloke on 08/02/2022 08:05:56:
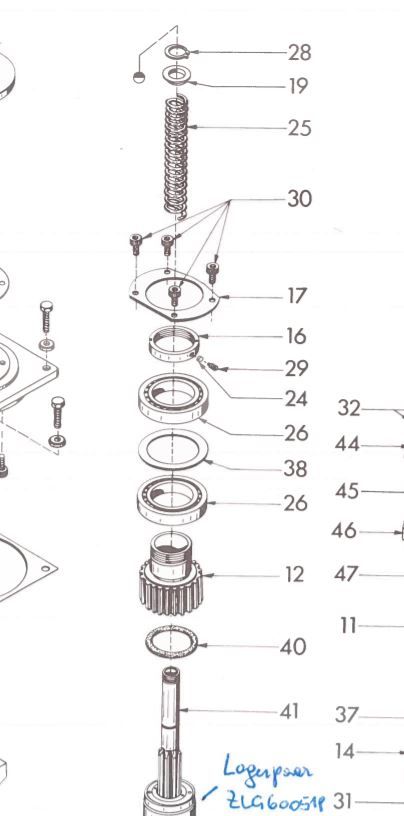
.... I'd still like to understand what the spring is for, though.... I think the spring is to keep the quill/spindle retracted into the head when the quill feed handle is let go. The lower end of the spring rests on parts #12 which is kept in place by the housing of the head. The upper end pushes parts #19 , which is attached to the upper end of the spindle upward. There is another coil spring in the quill feed mechanism so may be the question is why two springs are needed. |
Want the latest issue of Model Engineer or Model Engineers' Workshop? Use our magazine locator links to find your nearest stockist!
Sign up to our newsletter and get a free digital issue.
You can unsubscribe at anytime. View our privacy policy at www.mortons.co.uk/privacy
- *Oct 2023: FORUM MIGRATION TIMELINE*
05/10/2023 07:57:11 - Making ER11 collet chuck
05/10/2023 07:56:24 - What did you do today? 2023
05/10/2023 07:25:01 - Orrery
05/10/2023 06:00:41 - Wera hand-tools
05/10/2023 05:47:07 - New member
05/10/2023 04:40:11 - Problems with external pot on at1 vfd
05/10/2023 00:06:32 - Drain plug
04/10/2023 23:36:17 - digi phase converter for 10 machines.....
04/10/2023 23:13:48 - Winter Storage Of Locomotives
04/10/2023 21:02:11 - More Latest Posts...
- View All Topics
- Reeves** - Rebuilt Royal Scot by Martin Evans
by John Broughton
£300.00 - BRITANNIA 5" GAUGE James Perrier
by Jon Seabright 1
£2,500.00 - Drill Grinder - for restoration
by Nigel Graham 2
£0.00 - WARCO WM18 MILLING MACHINE
by Alex Chudley
£1,200.00 - MYFORD SUPER 7 LATHE
by Alex Chudley
£2,000.00 - More "For Sale" Ads...
- D1-3 backplate
by Michael Horley
Price Not Specified - fixed steady for a Colchester bantam mark1 800
by George Jervis
Price Not Specified - lbsc pansy
by JACK SIDEBOTHAM
Price Not Specified - Pratt Burnerd multifit chuck key.
by Tim Riome
Price Not Specified - BANDSAW BLADE WELDER
by HUGH
Price Not Specified - More "Wanted" Ads...
Do you want to contact the Model Engineer and Model Engineers' Workshop team?
You can contact us by phone, mail or email about the magazines including becoming a contributor, submitting reader's letters or making queries about articles. You can also get in touch about this website, advertising or other general issues.
Click THIS LINK for full contact details.
For subscription issues please see THIS LINK.
Model Engineer Magazine
- Percival Marshall
- M.E. History
- LittleLEC
- M.E. Clock
ME Workshop
- An Adcock
- & Shipley
- Horizontal
- Mill
Subscribe Now
- Great savings
- Delivered to your door
Pre-order your copy!
- Delivered to your doorstep!
- Free UK delivery!




 Register
 Log-in


