Jason's Firefly .46 Build
| JasonB | 24/06/2012 19:51:29 |
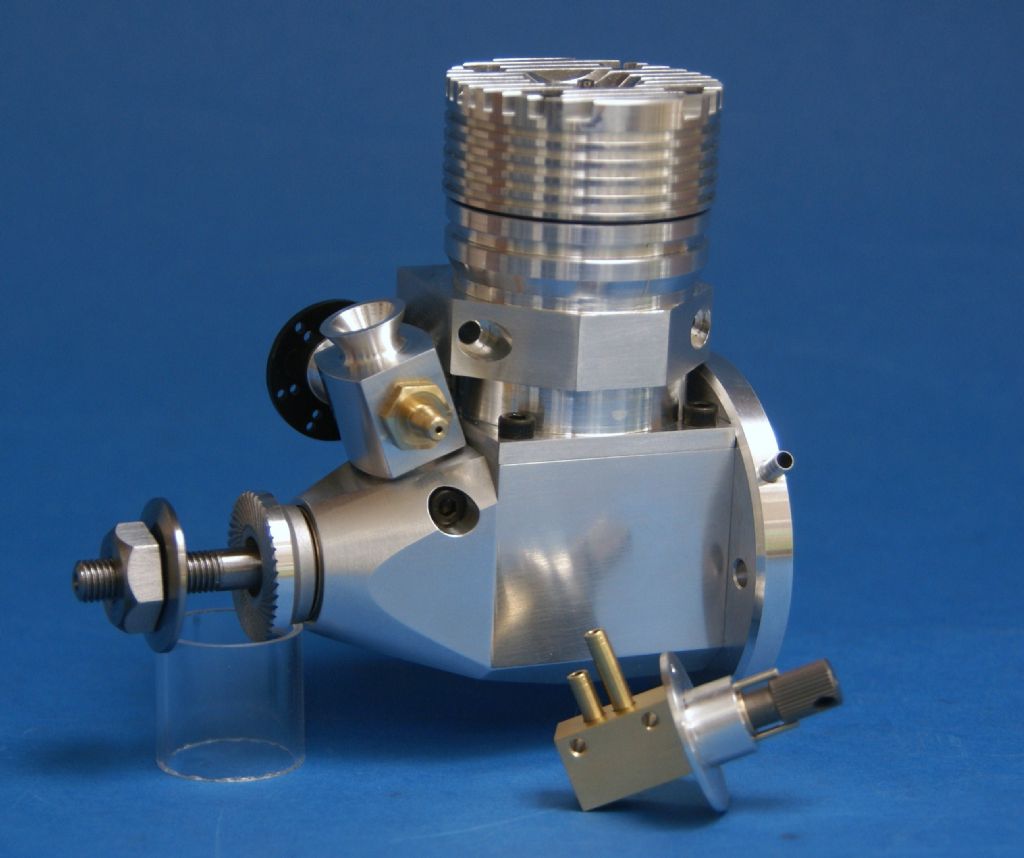
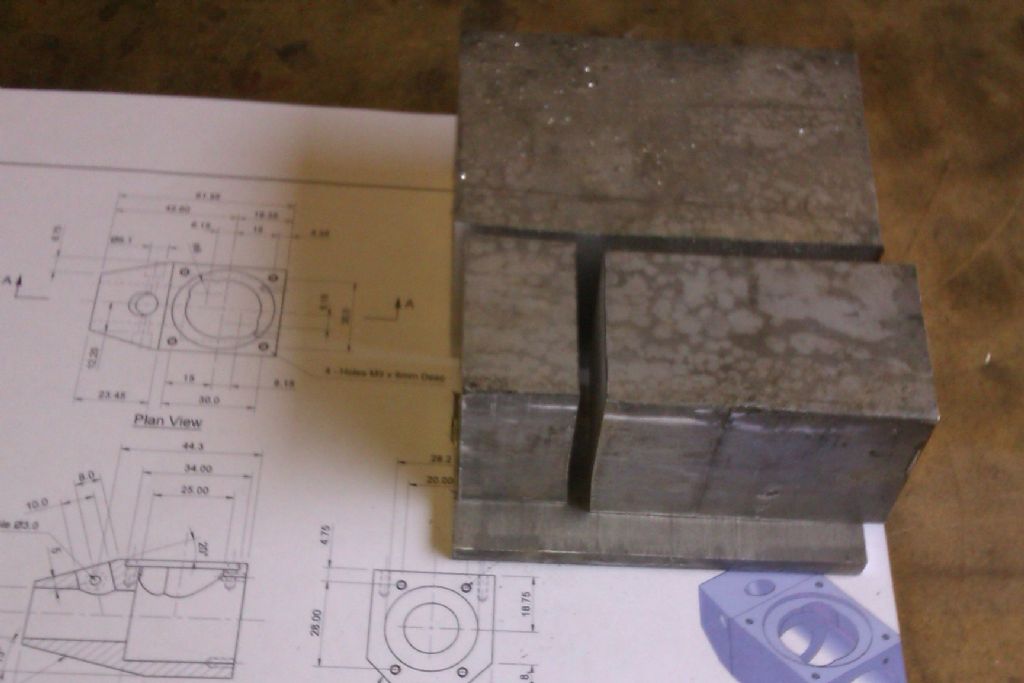
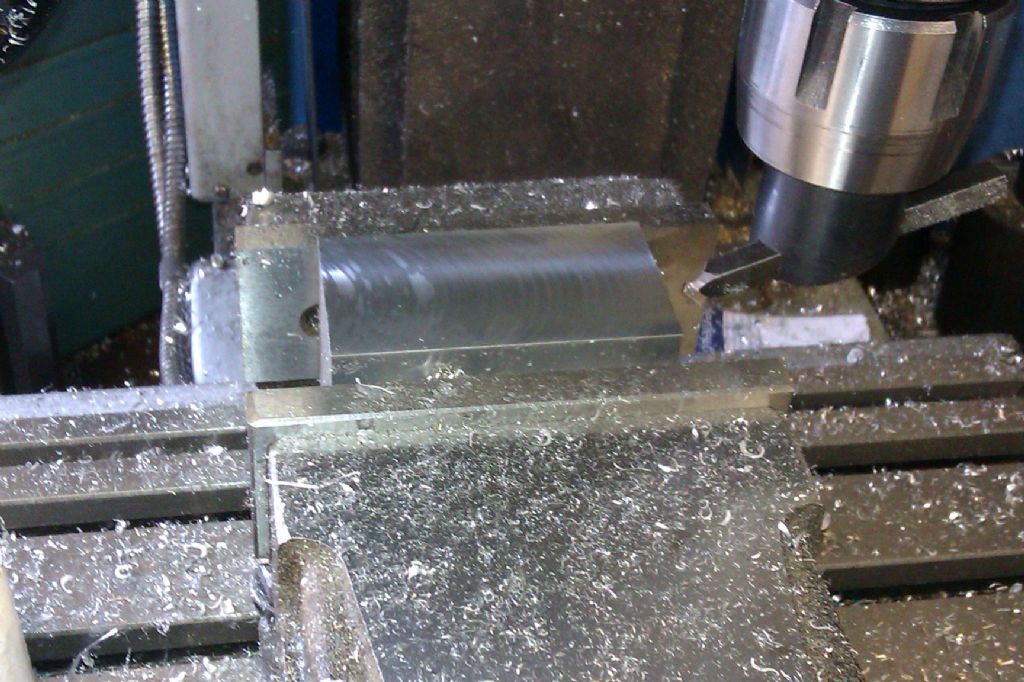
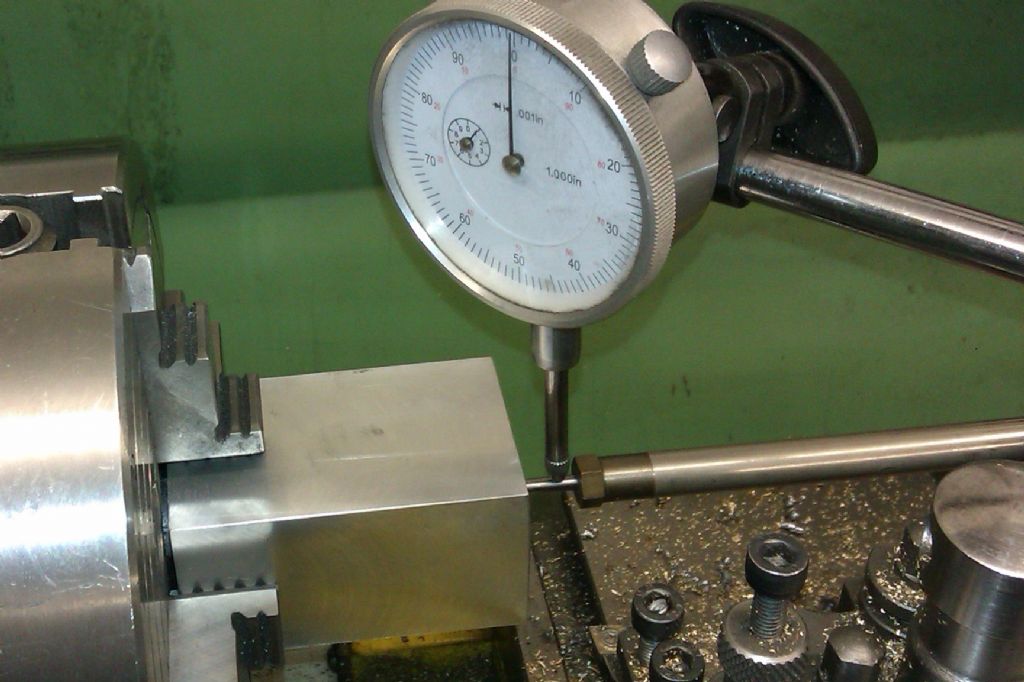
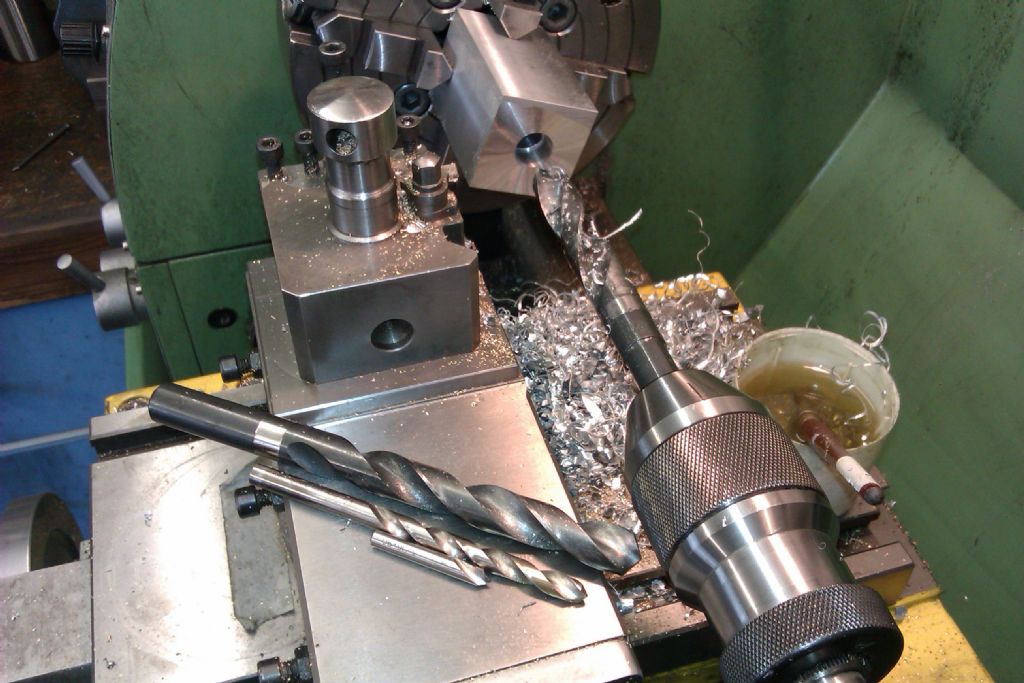
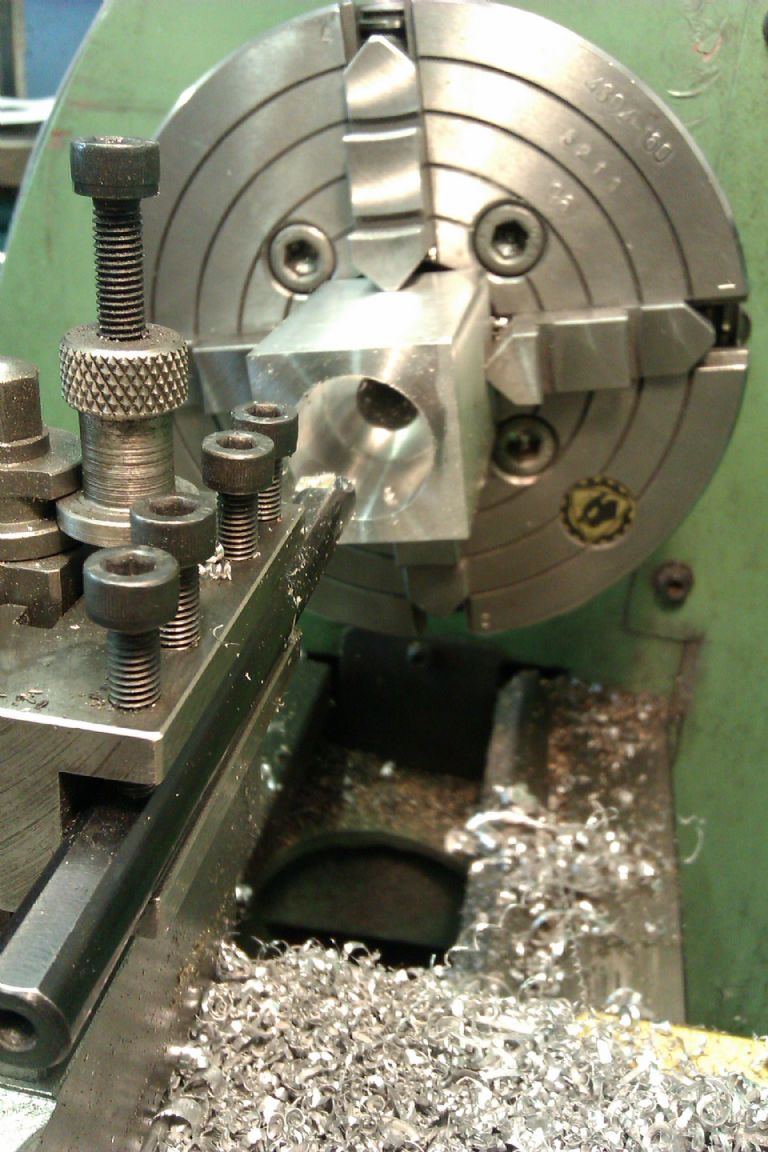
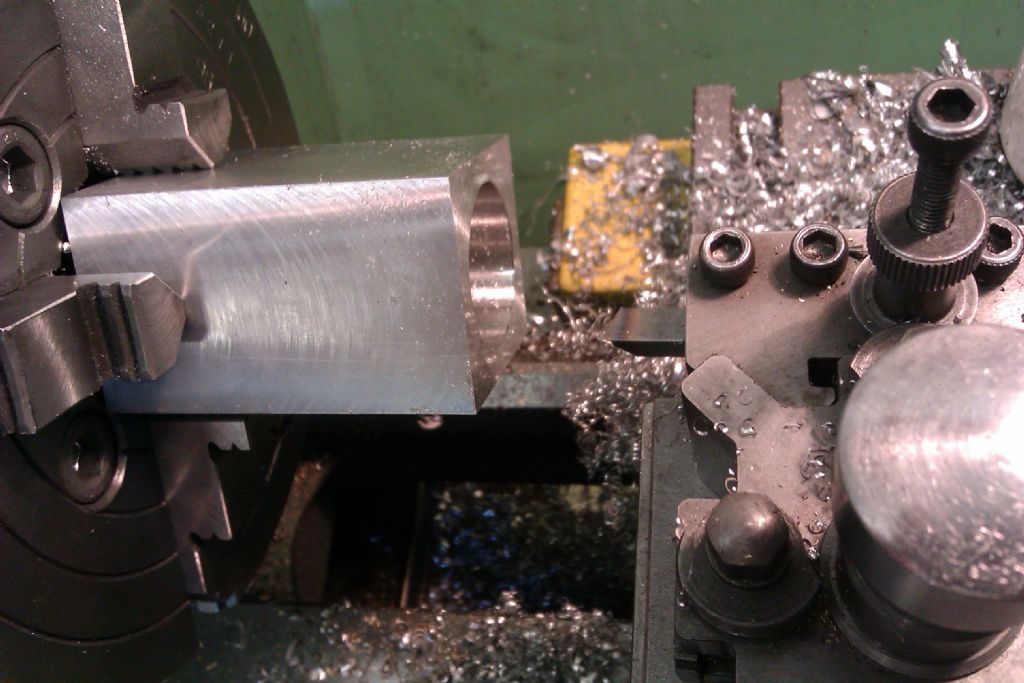
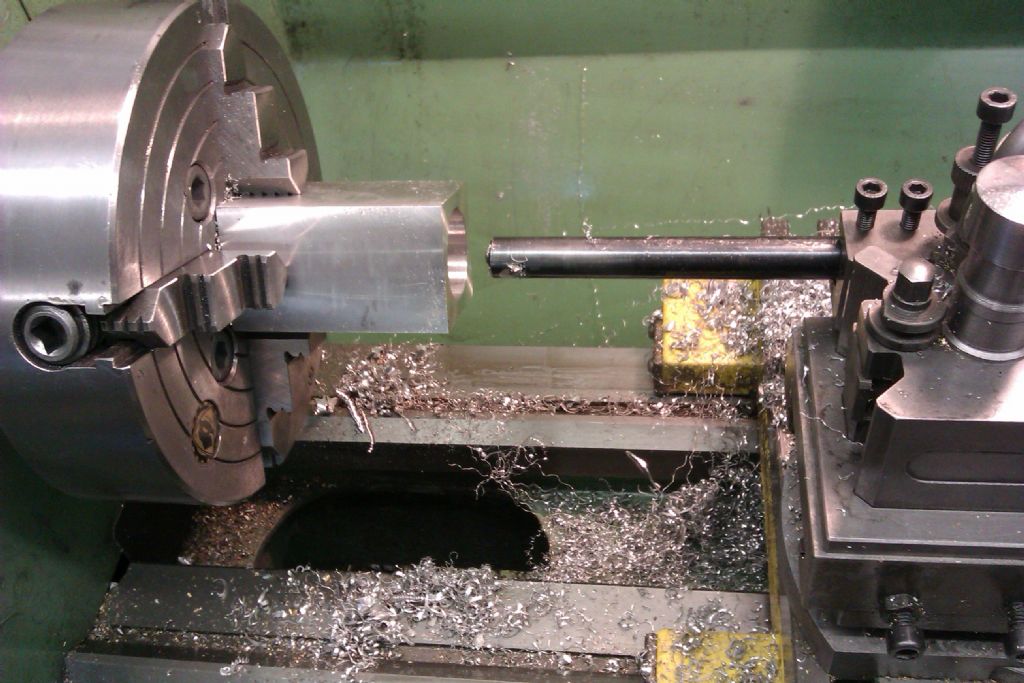
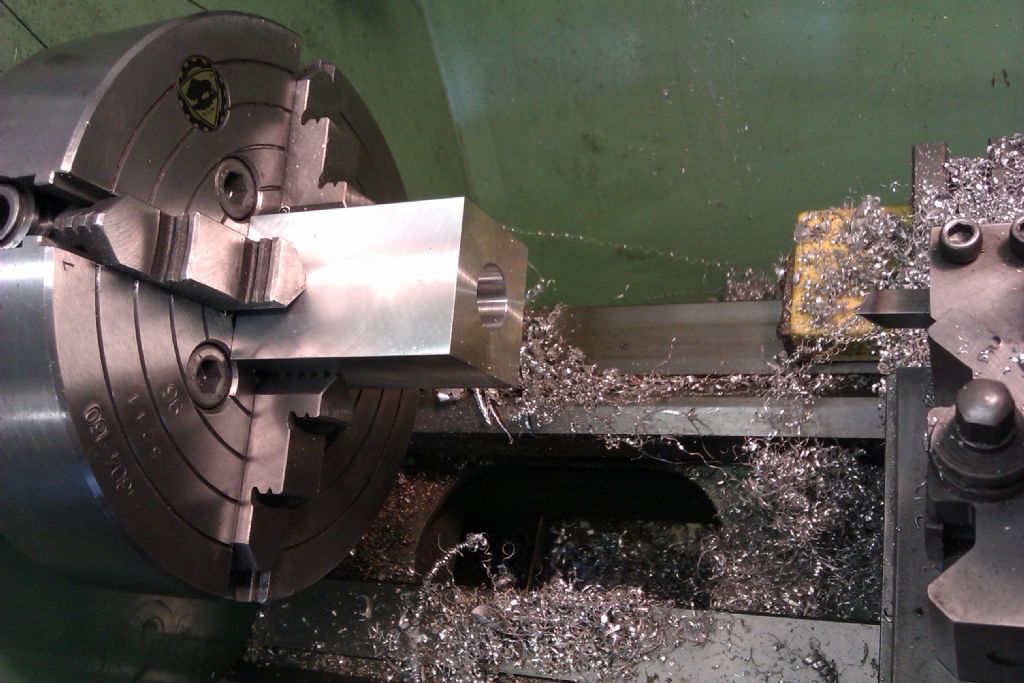
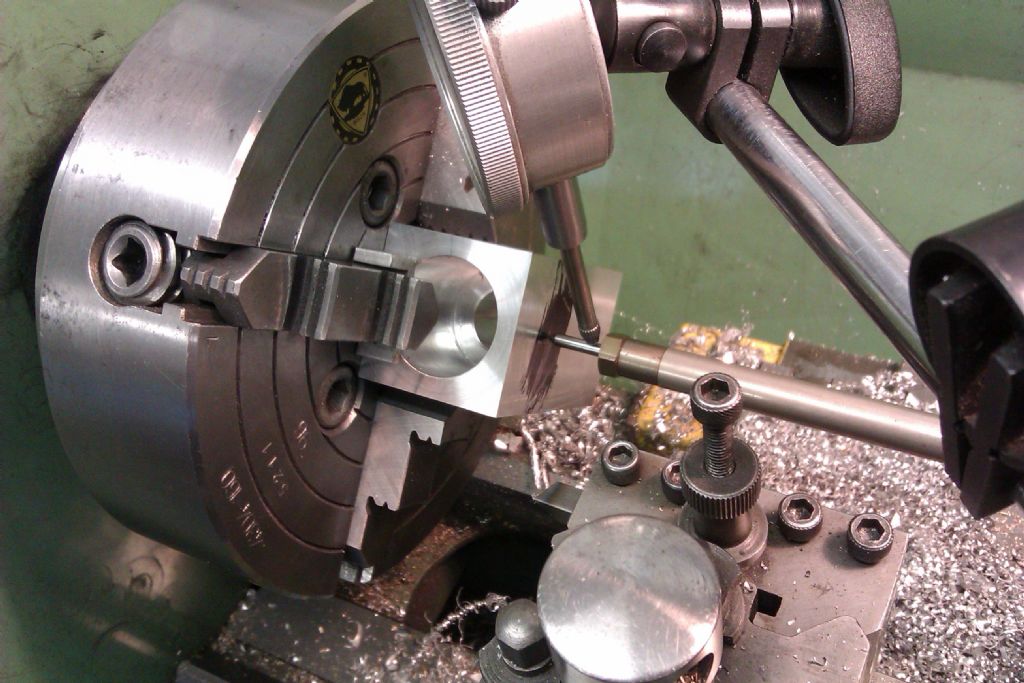
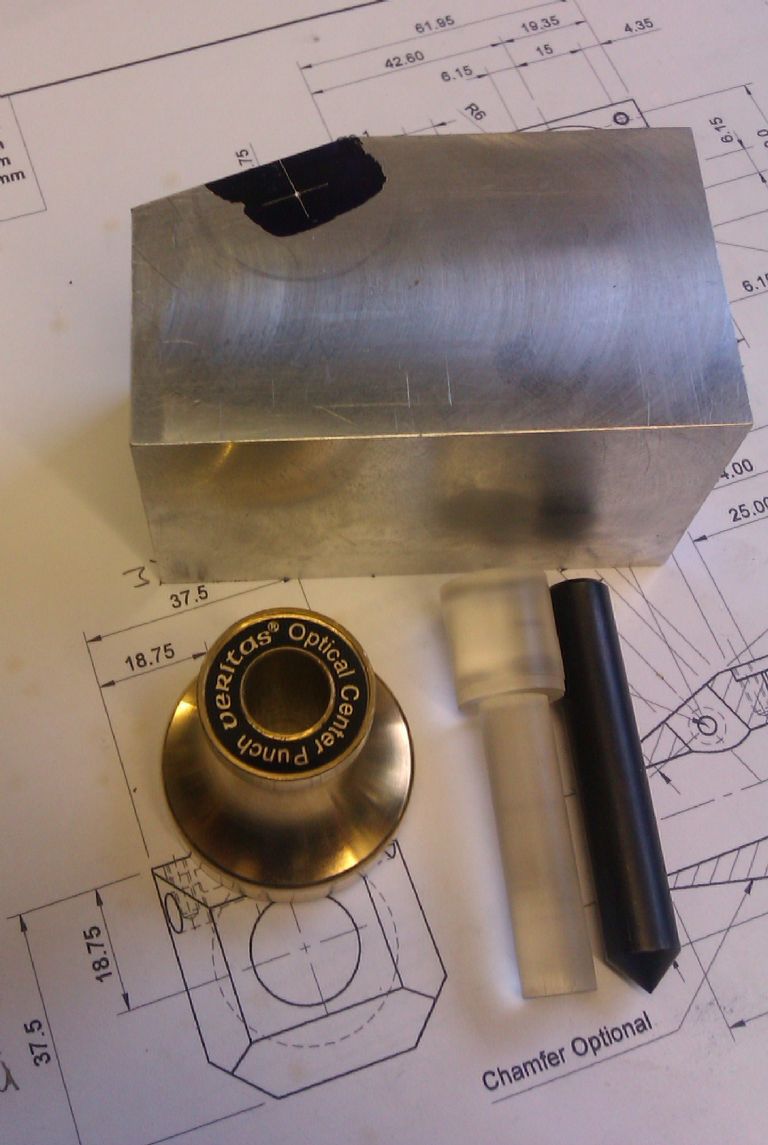
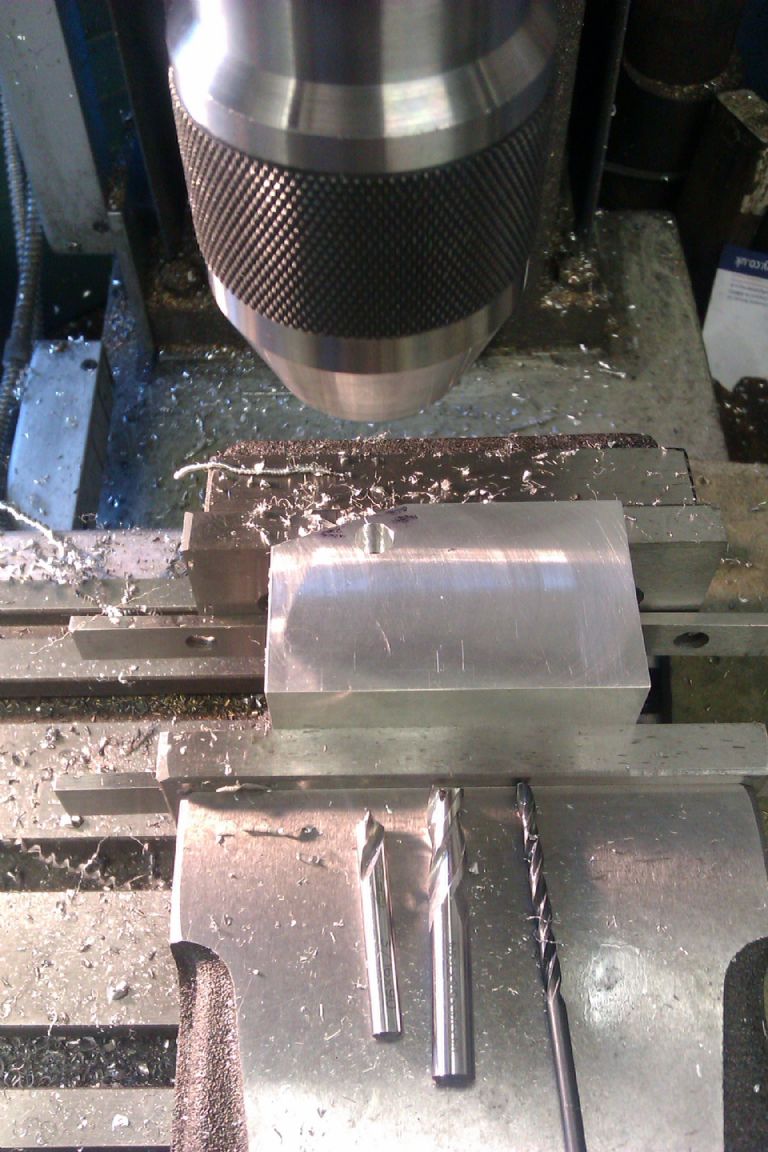
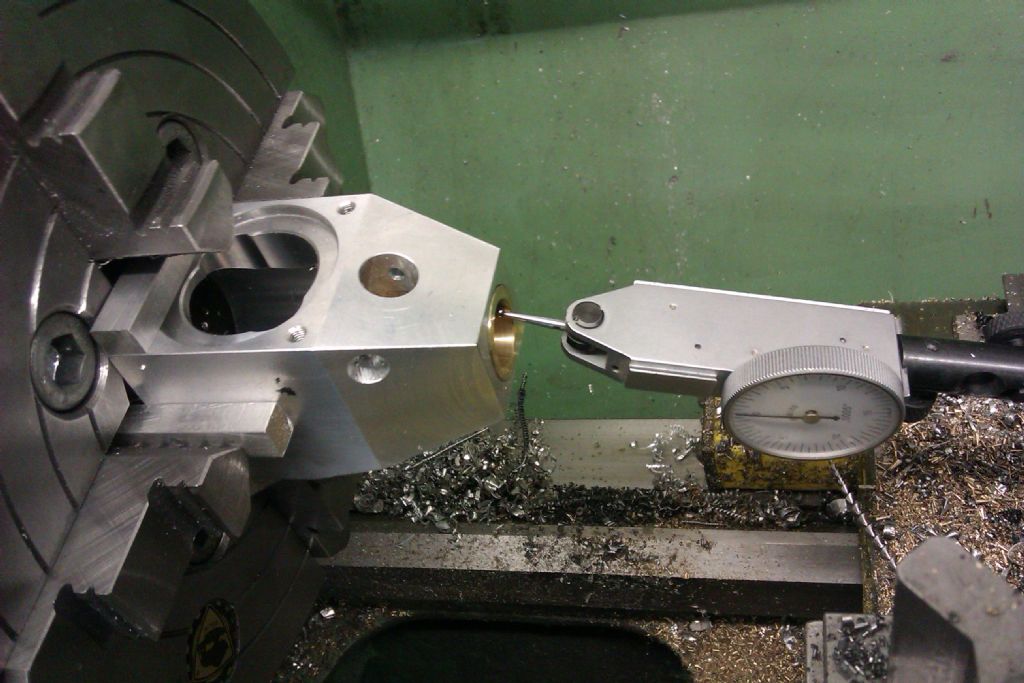
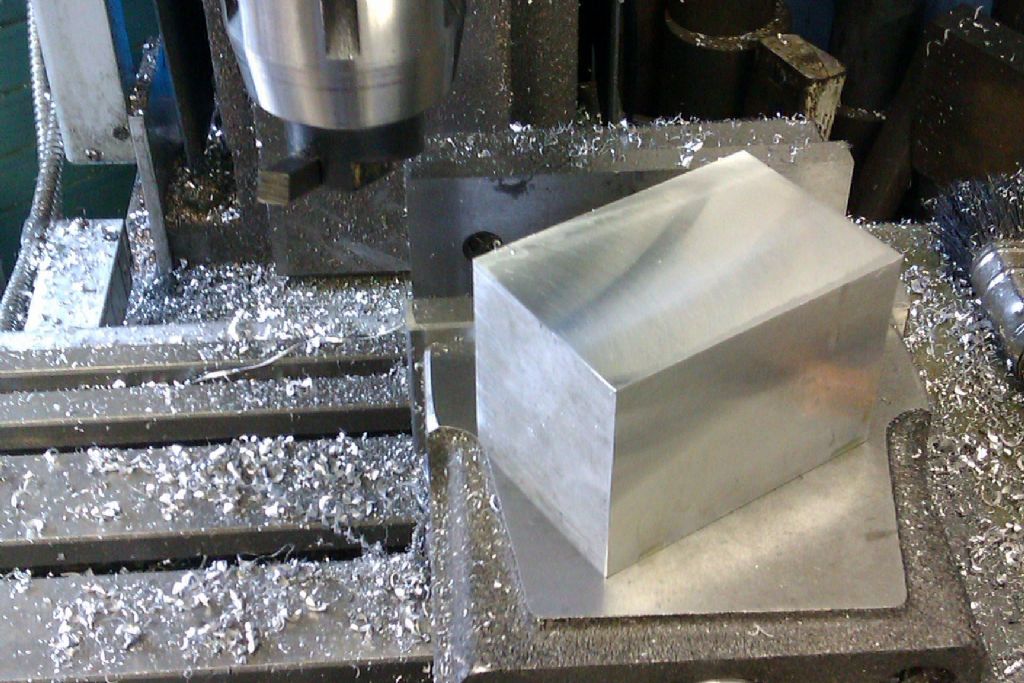
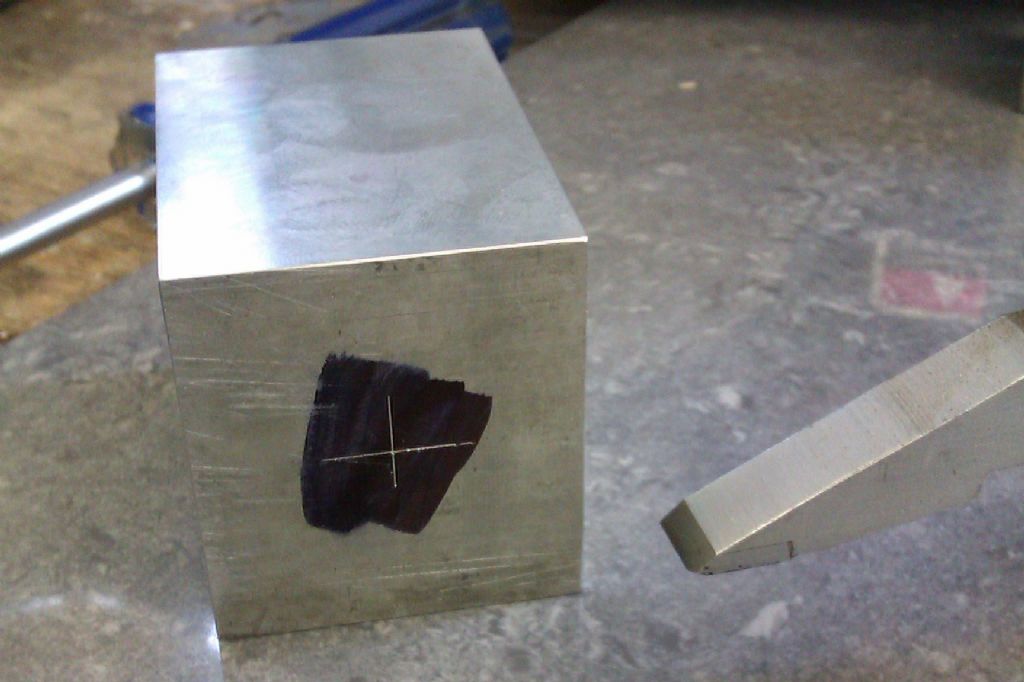
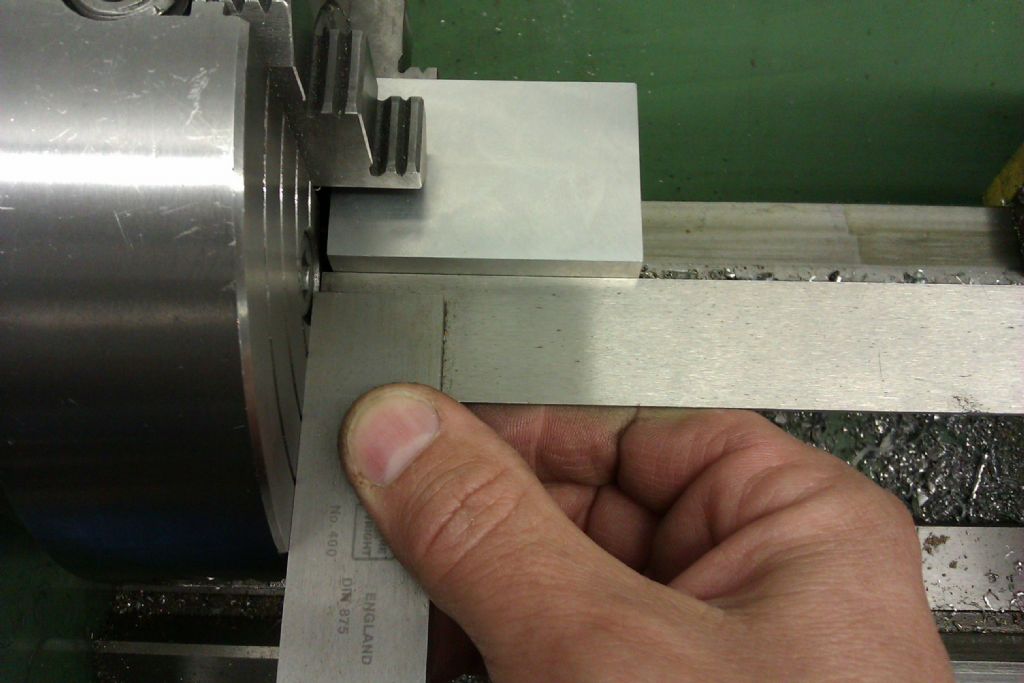
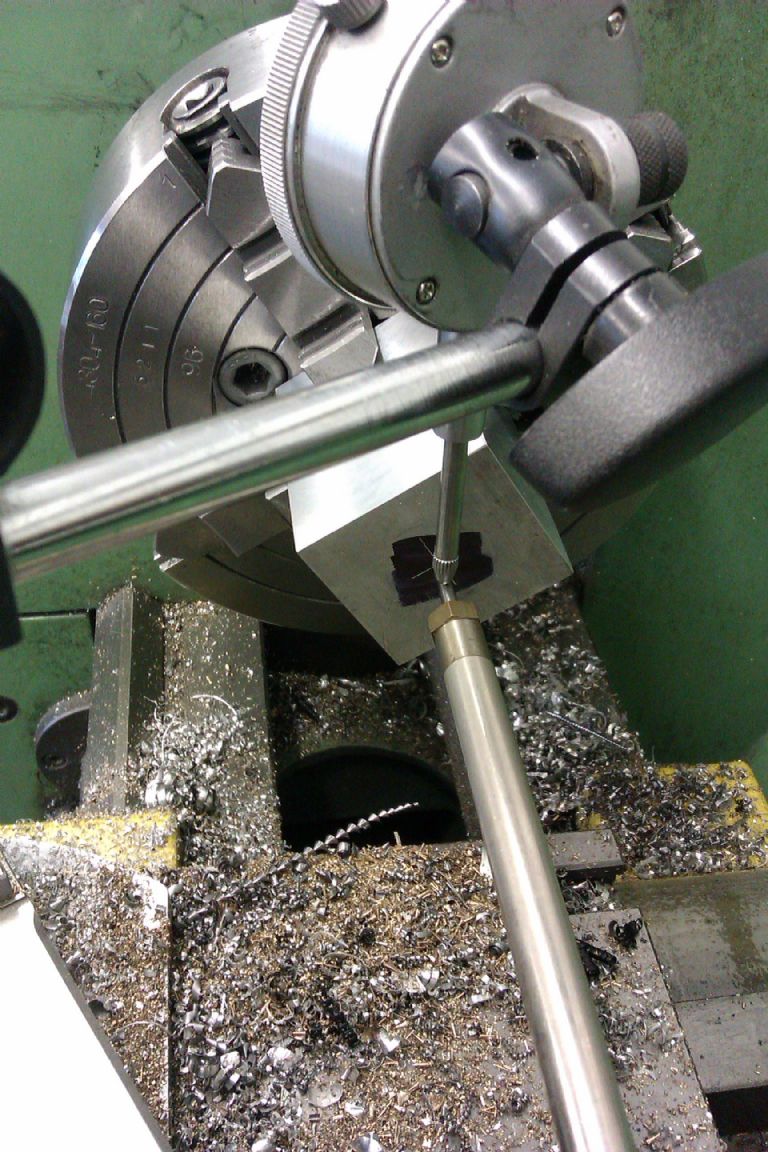
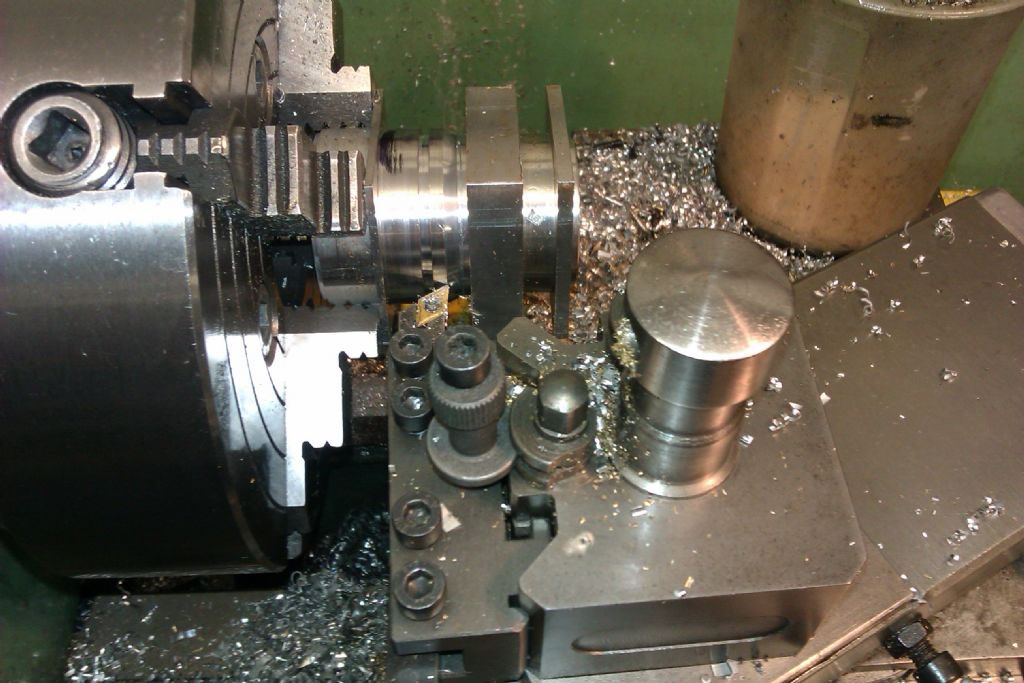
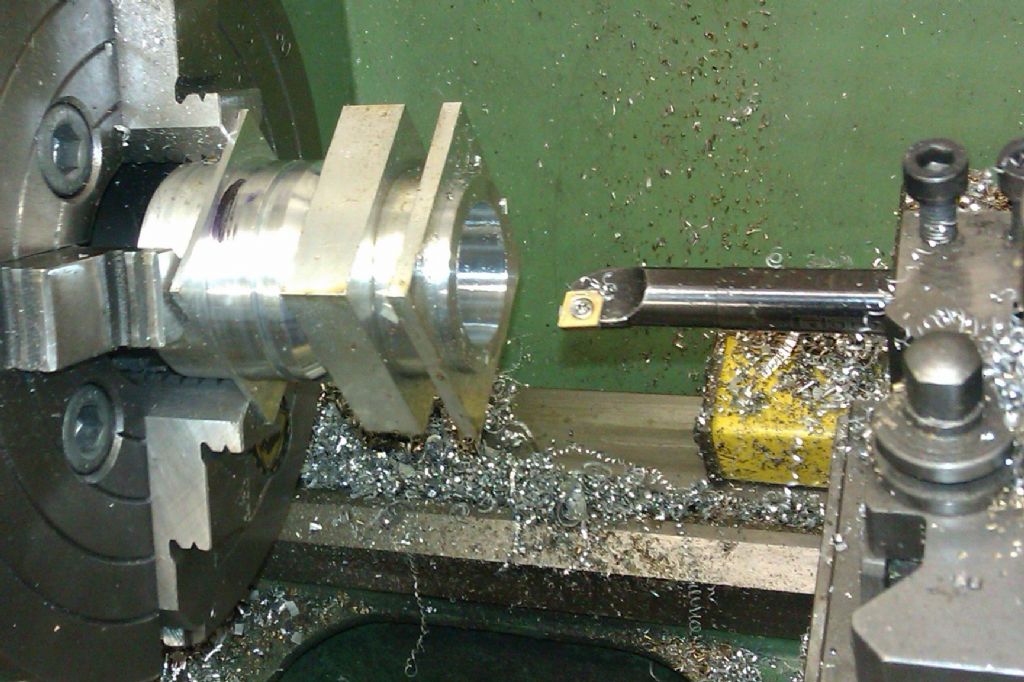
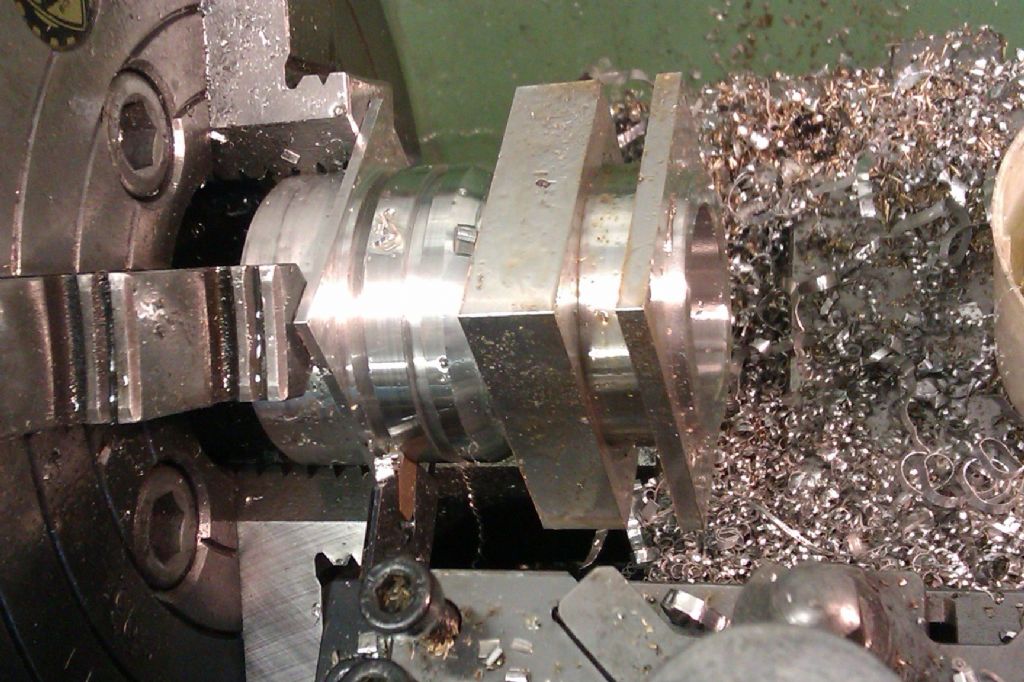
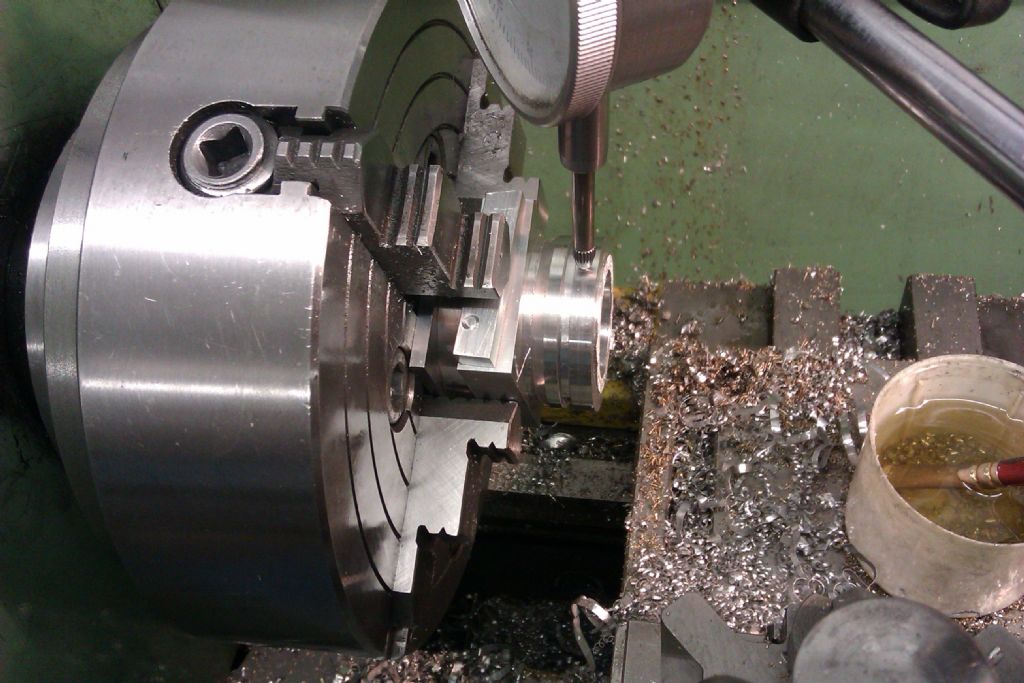
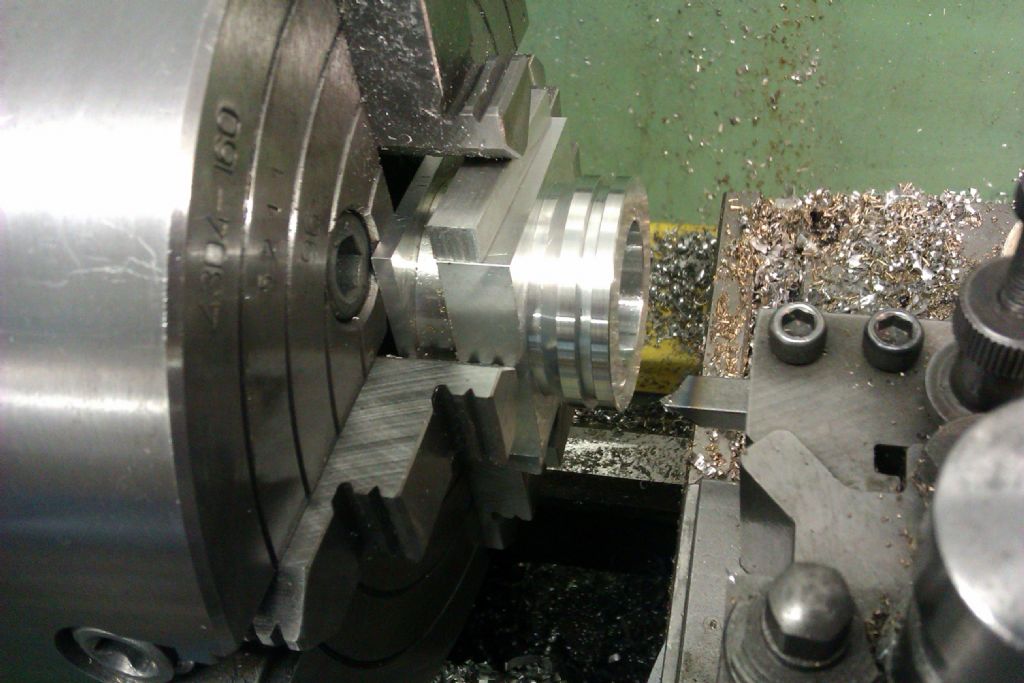
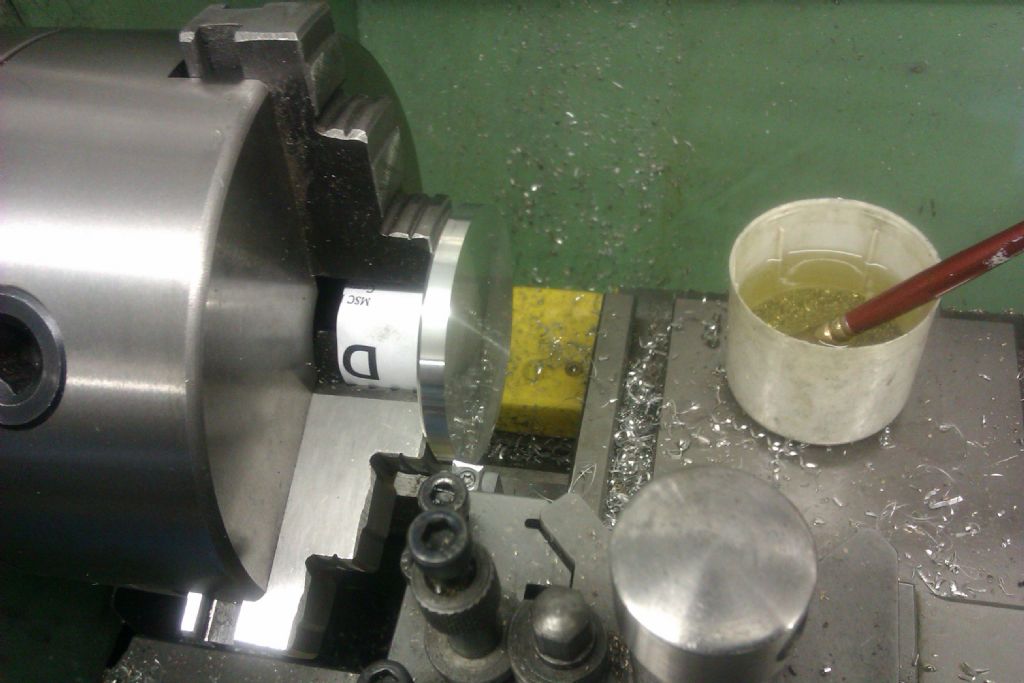
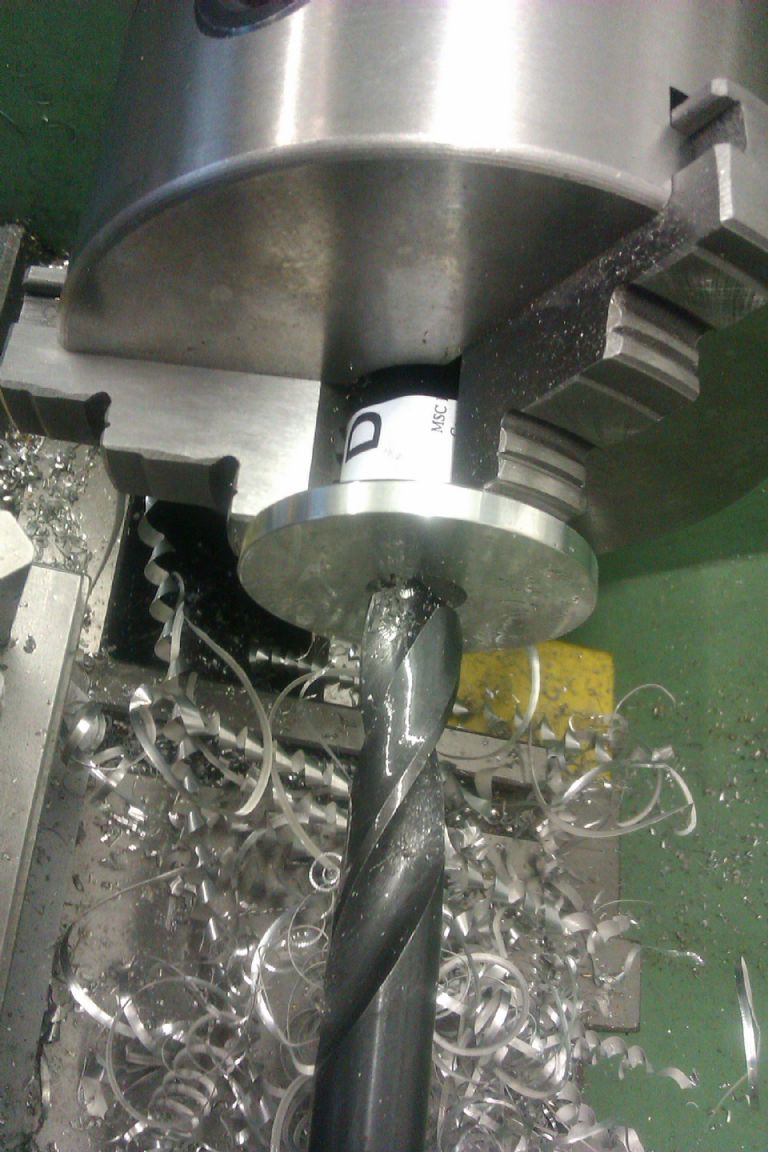
25215 forum posts 3105 photos 1 articles | Well seeing as David has given us this new topic heading I guess that we should make use of it and as a few people have asked for some more details of my build of the Firefly thats currently being covered in ME here goes. Before I get going these photos are the way that I have gone about things with what I have, there are many other options for those with more or less equipment, please feel free to ask about other methods if you don't have the tooling. Drawings can be downloaded from HERE Crankcase I had a lump of 2"x4" HE30 that was not used on another project so decided to use this, it was marked out somewhat oversize and one of my woodworking bandsaws made quick work of reducing to size. The rough sawn block was then held in the milling vice and a flycutter used to cut the four edges to 0.5mm oversize. The centre was then marked and punched on the end of the embrio crankcase and then clocked true in the 4-jaw using a sprung centre and dti The majority of the waste was drilled out right through starting with a spot drill then 1/4", 1/2" and 9/16". In hindsight I would suggest drilling 3/4 of the way through only - see later. A boring bar was then used to open the end out to 28.2mm dia and a little longer than needed. A depth gauge was then used to check the depth of the 28.2mm hole and the end faced back until finished size was reached. The edge of the hole was then given a slight chamfer to break the edge. I then set about boring the 16.6mm hole, as you can see this needs quite an overhang on the bar and even at 1/2" dia I was not getting the type of finish that I wanted so opted to flip the work end for end and use a shorter bar from the other end. If doing it again I would clock the work in and drill 9/16 from the front end before boring to 16.6mm as the 28.2 and 16.6 holes do not have to be perfectly concentric this is not an issue. Here the end has been faced back to get the correct overall length and again the edge of the hole tidied with a small chamfer Cont'd
Edited By JasonB on 22/01/2021 16:15:02 |
| JasonB | 24/06/2012 20:15:12 |
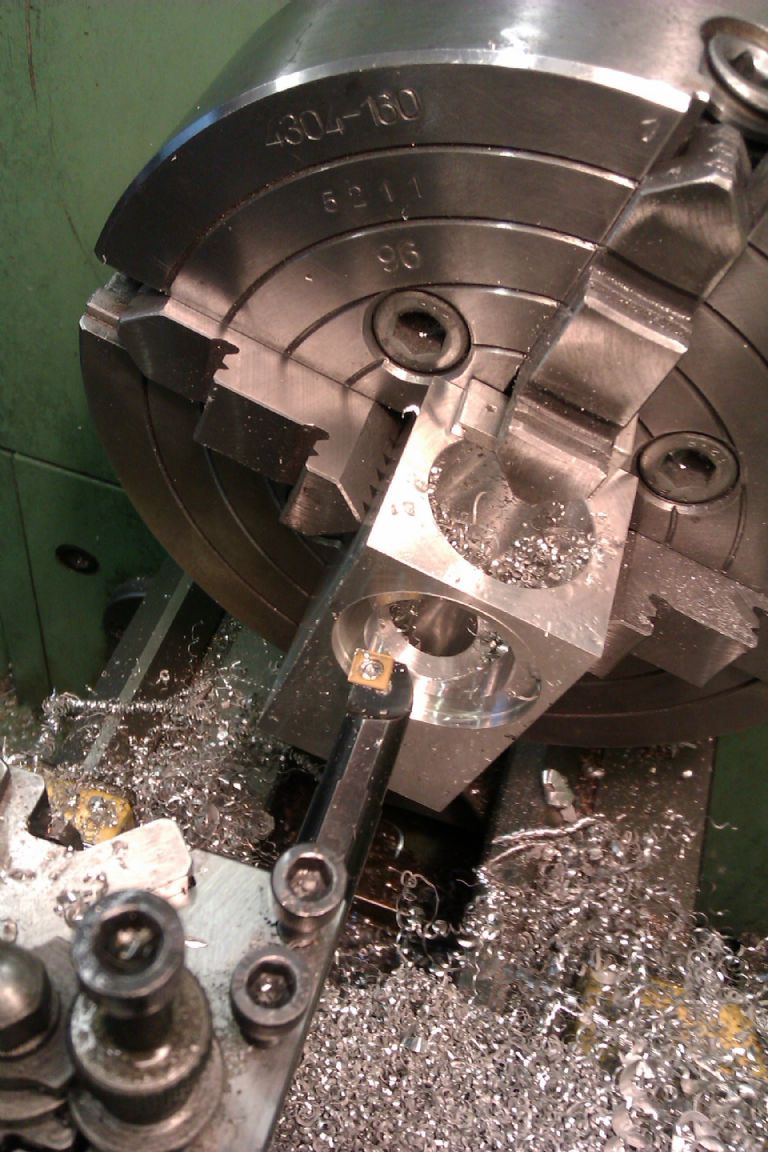
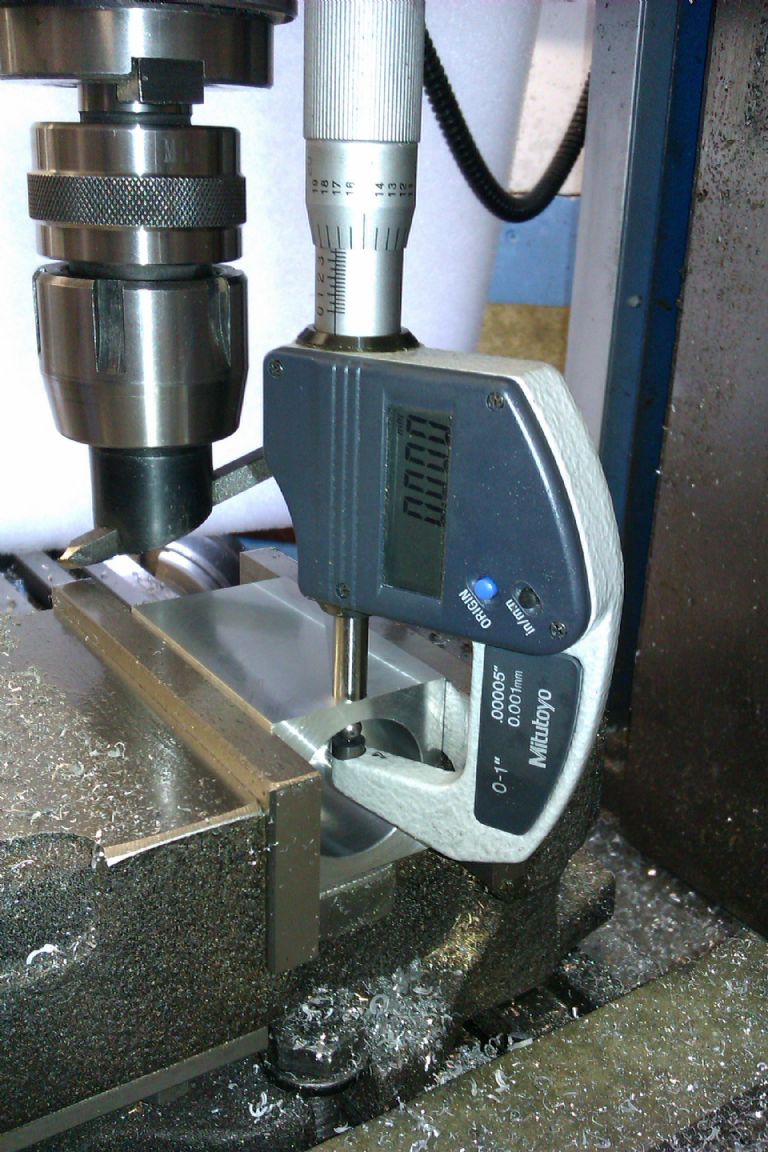
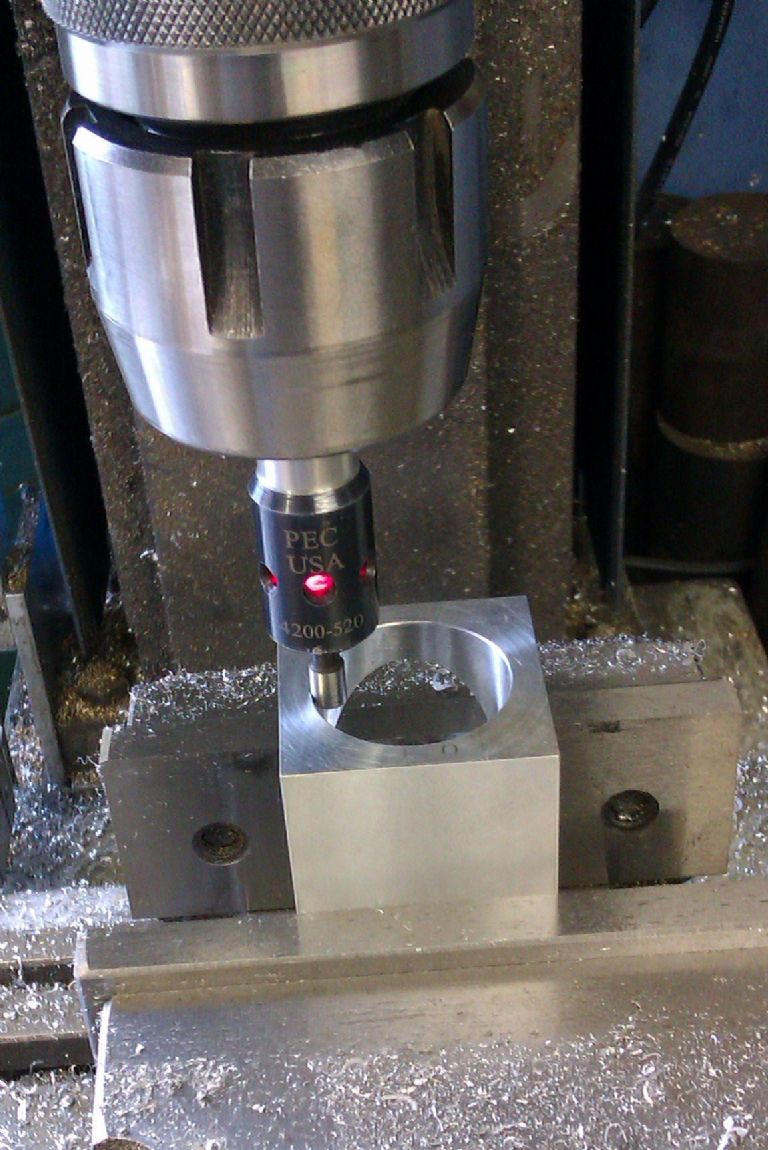
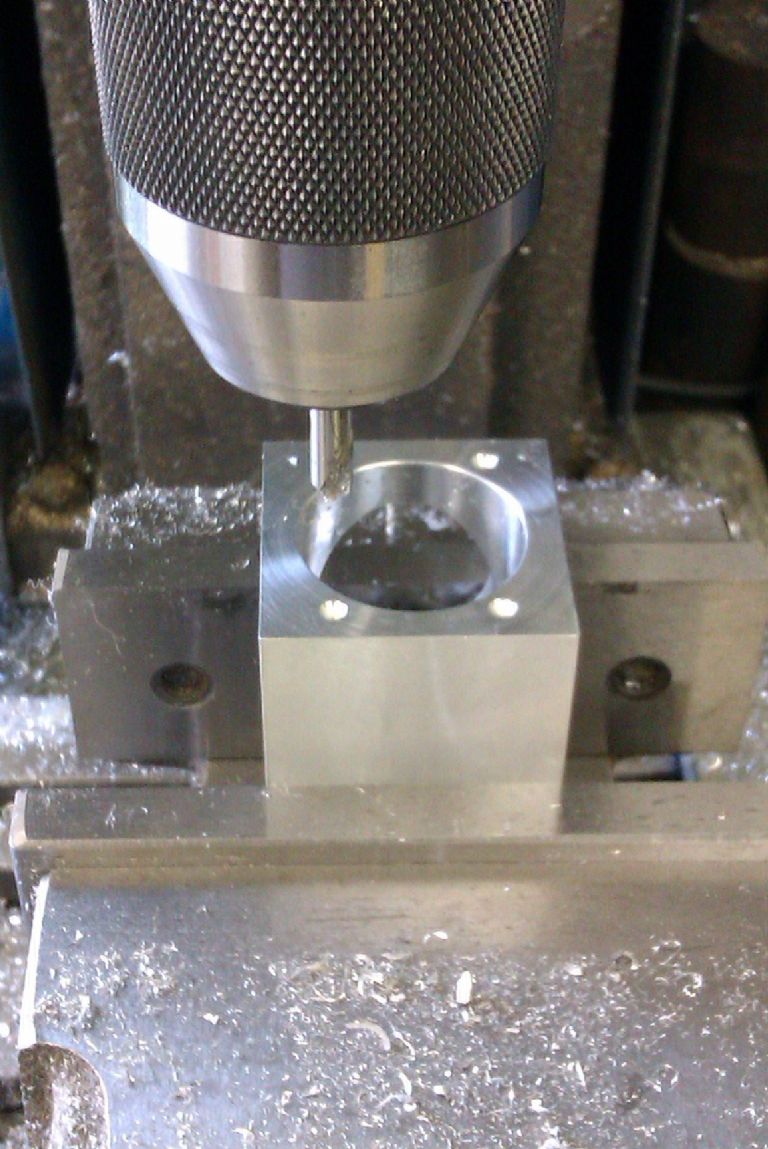
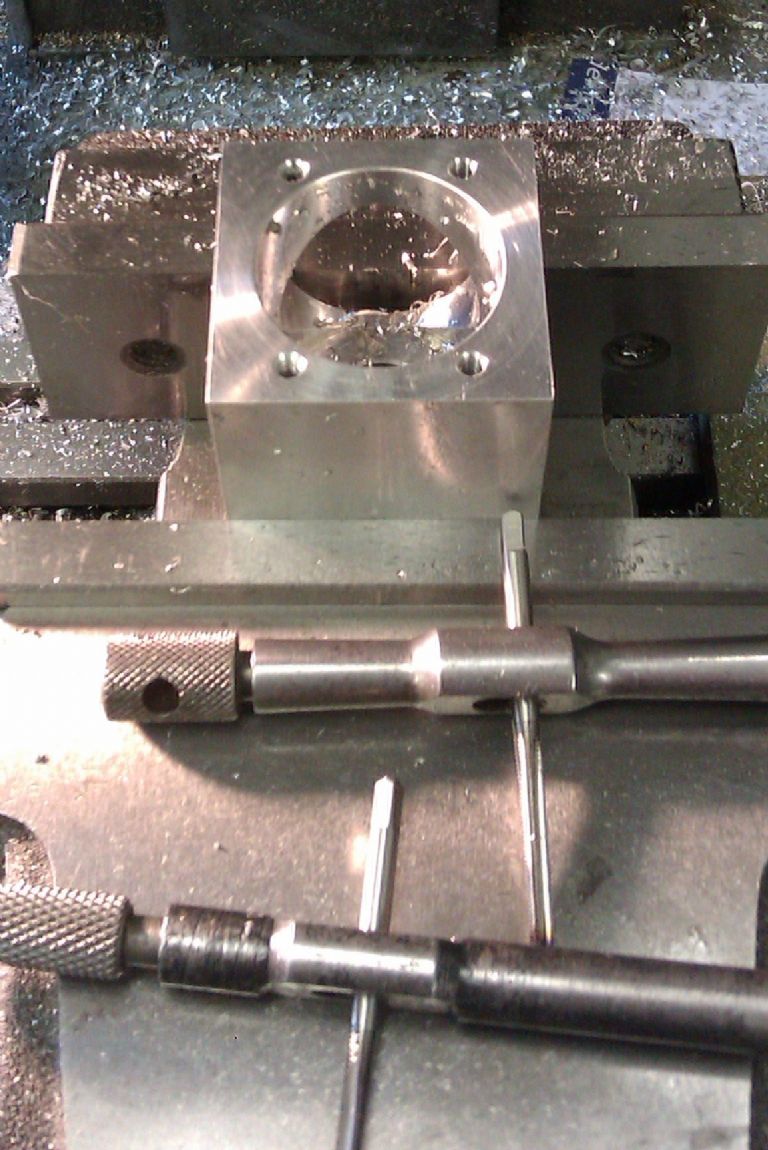
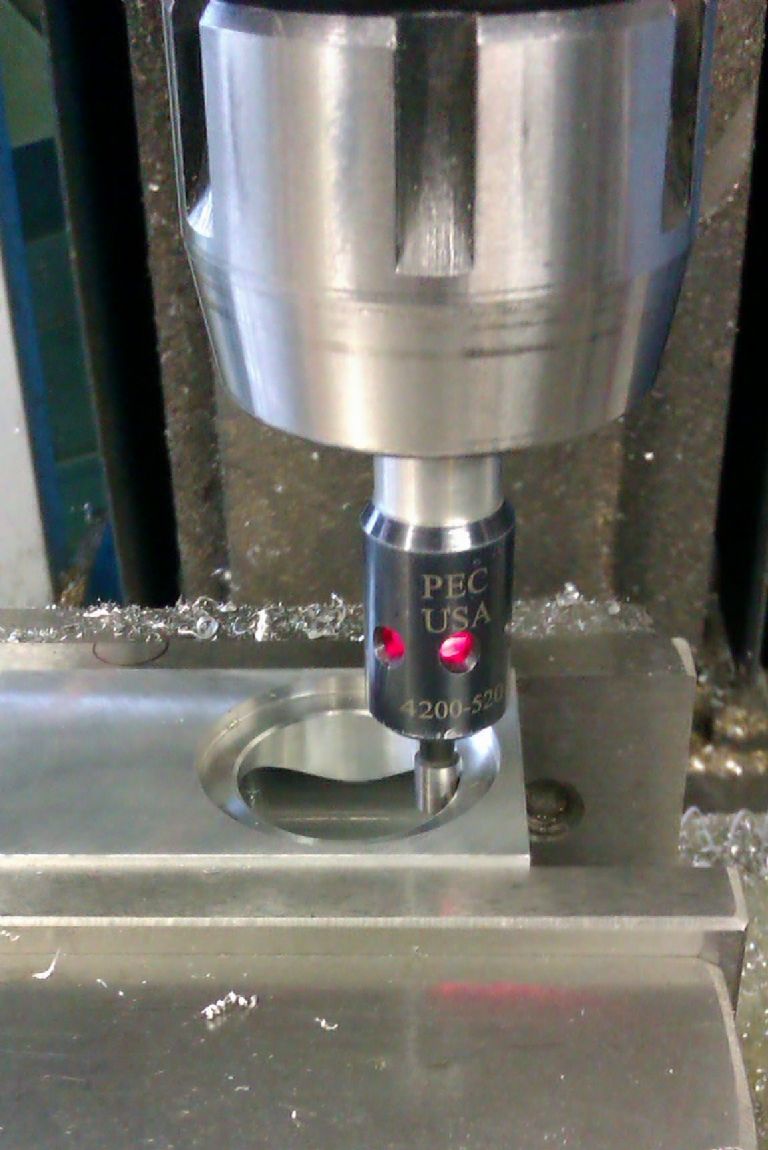
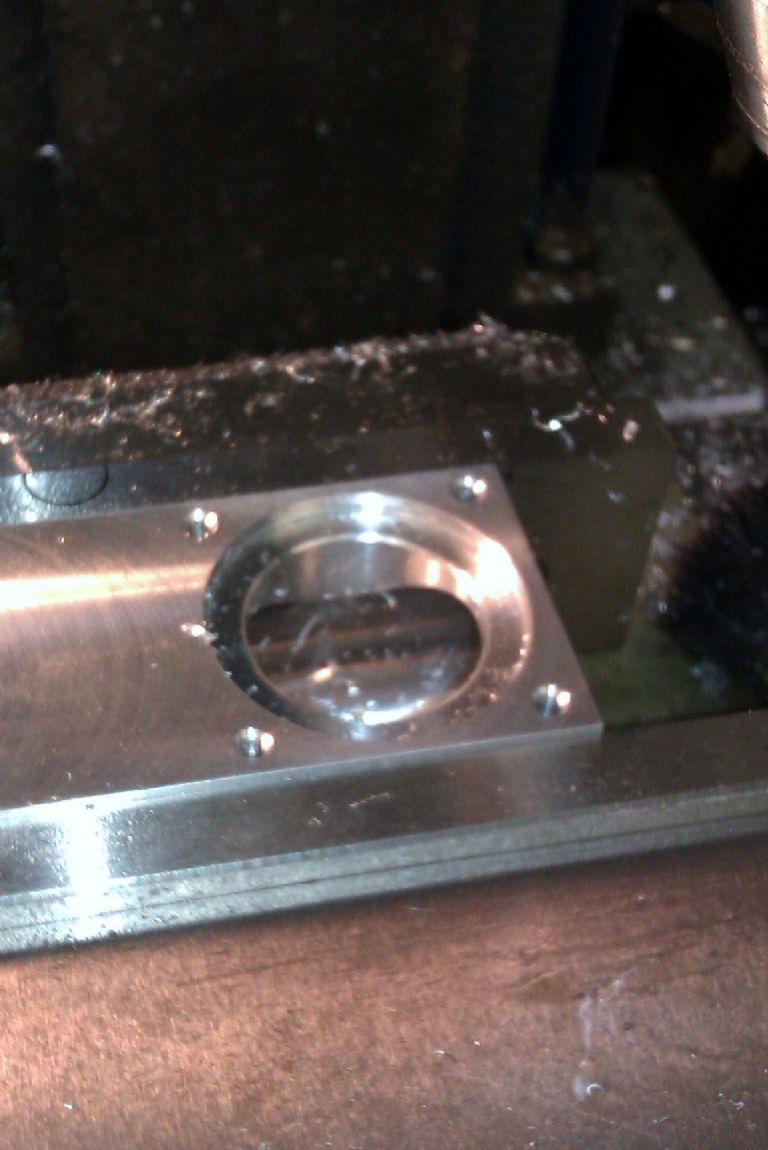
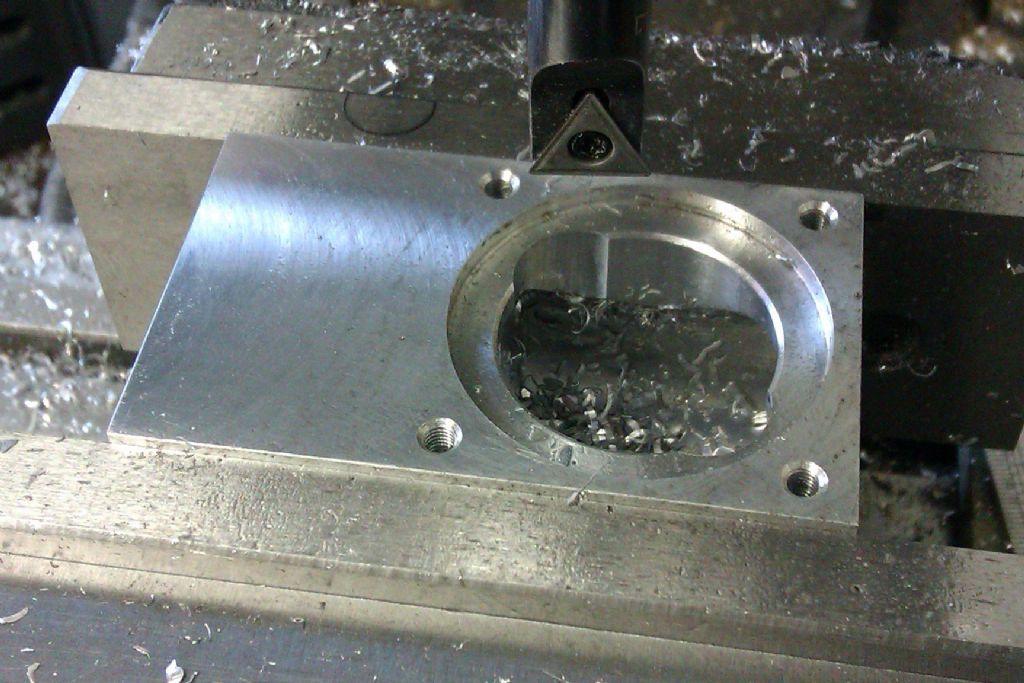
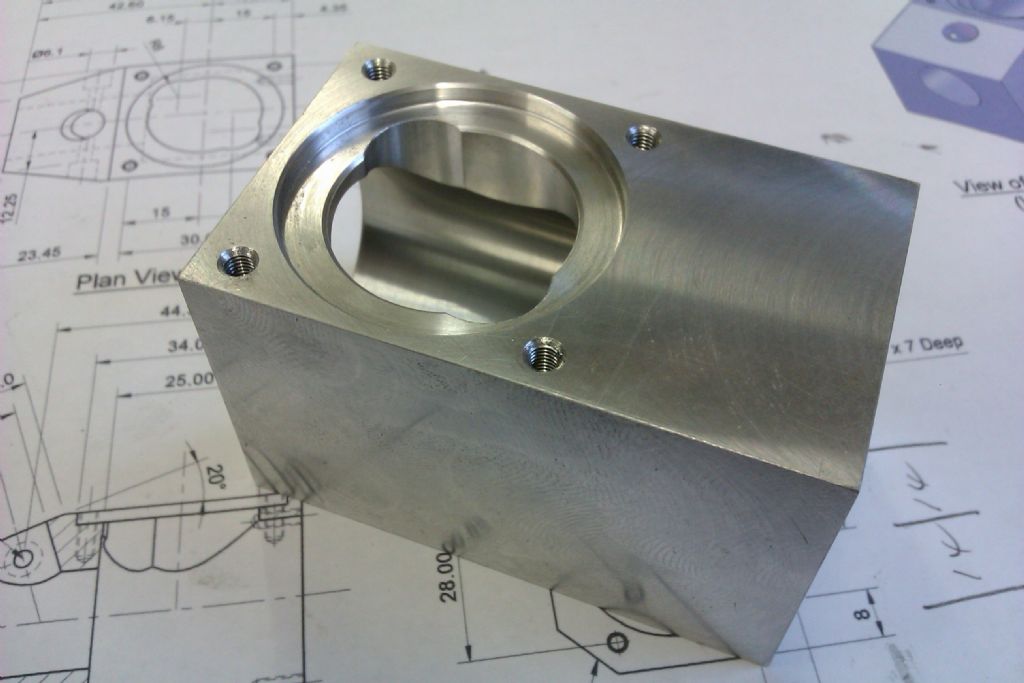
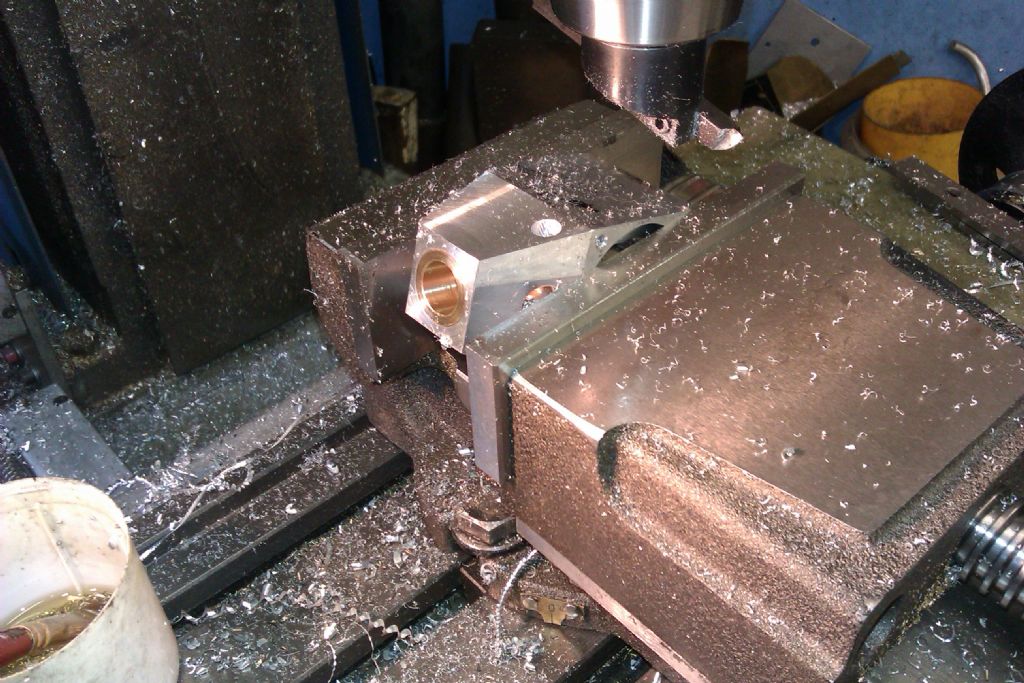
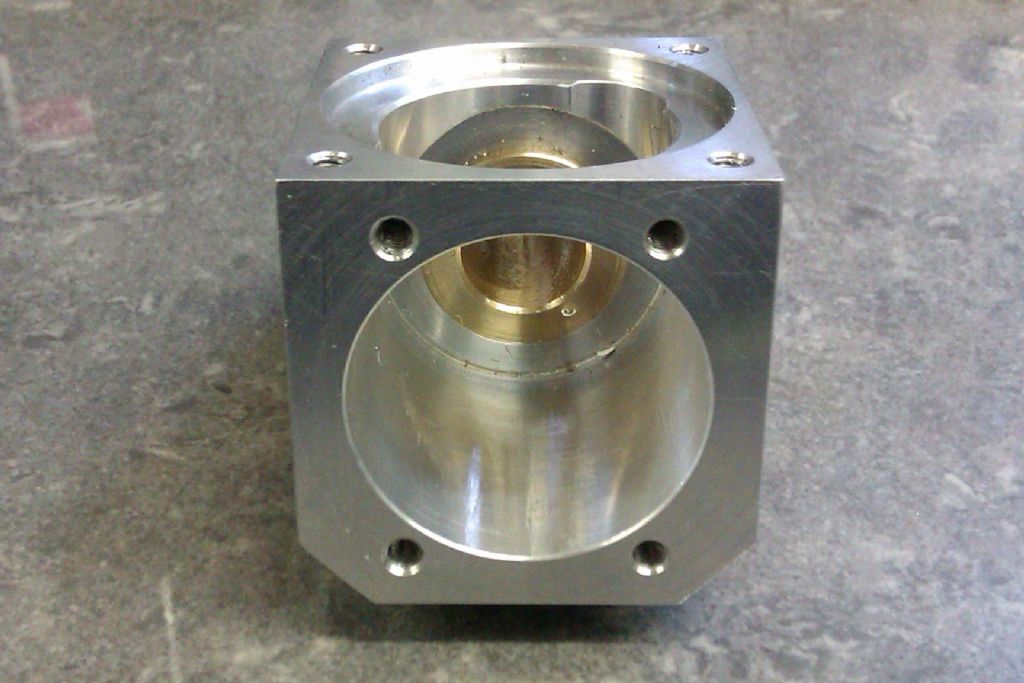
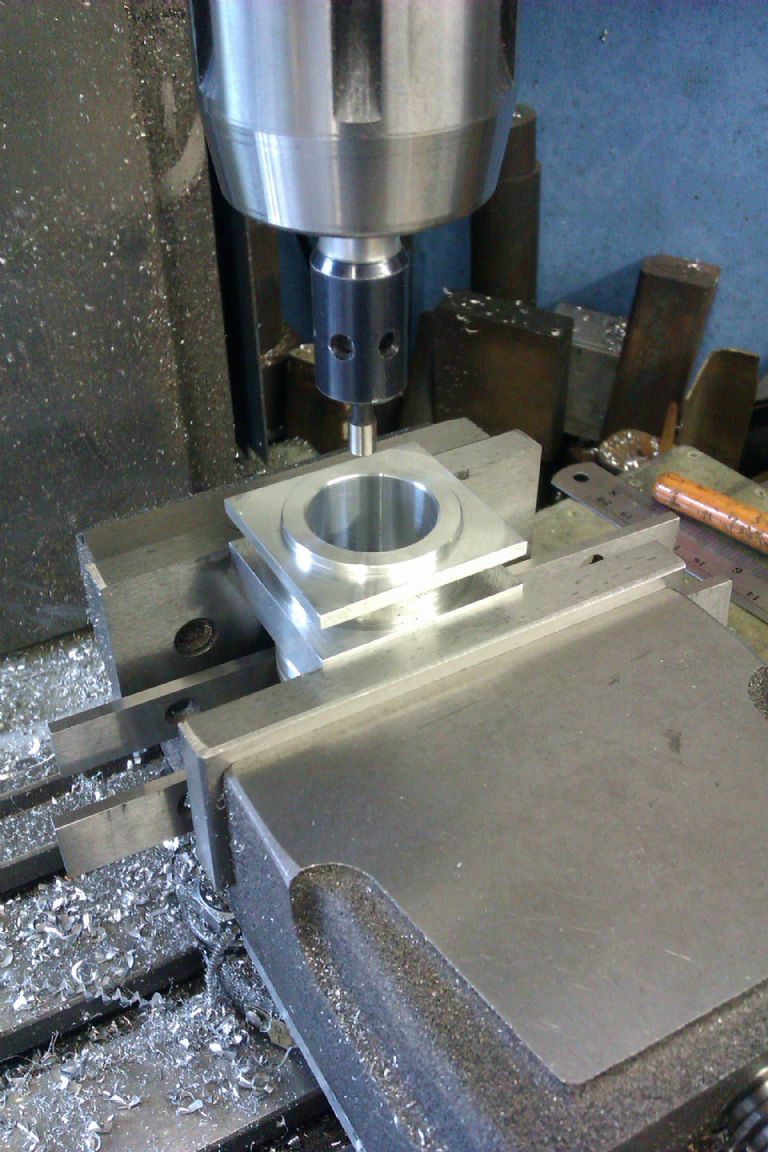
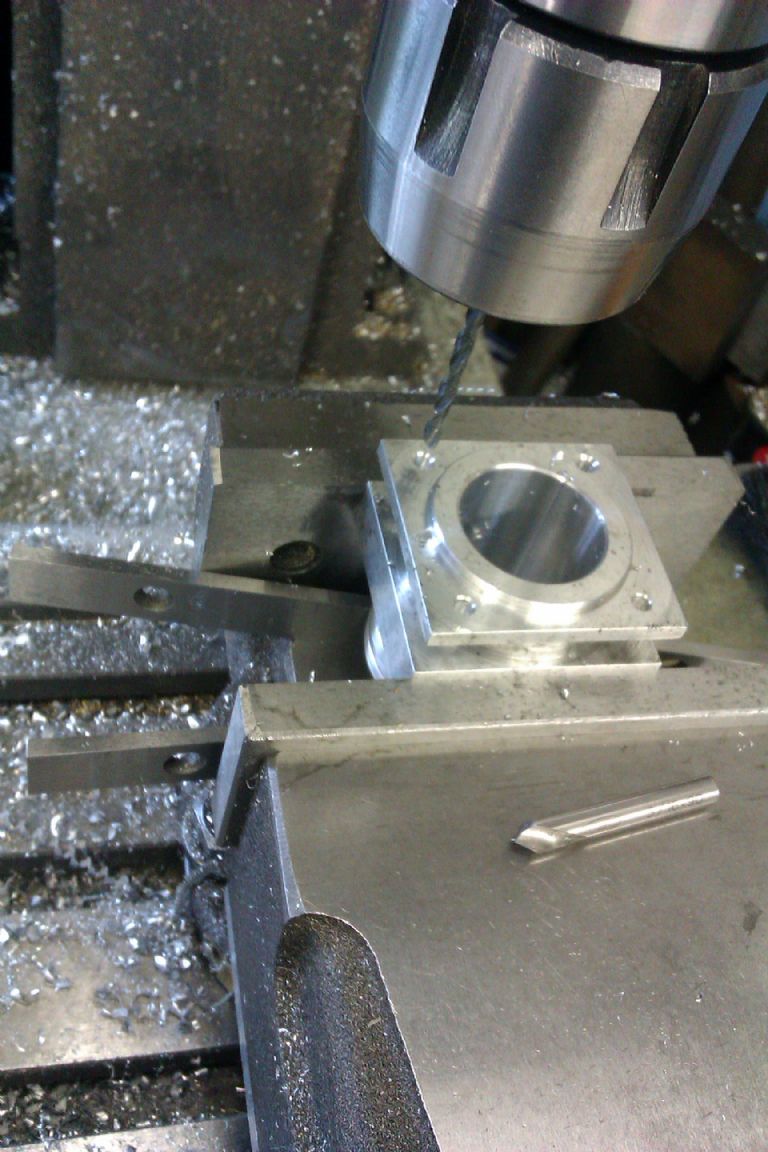
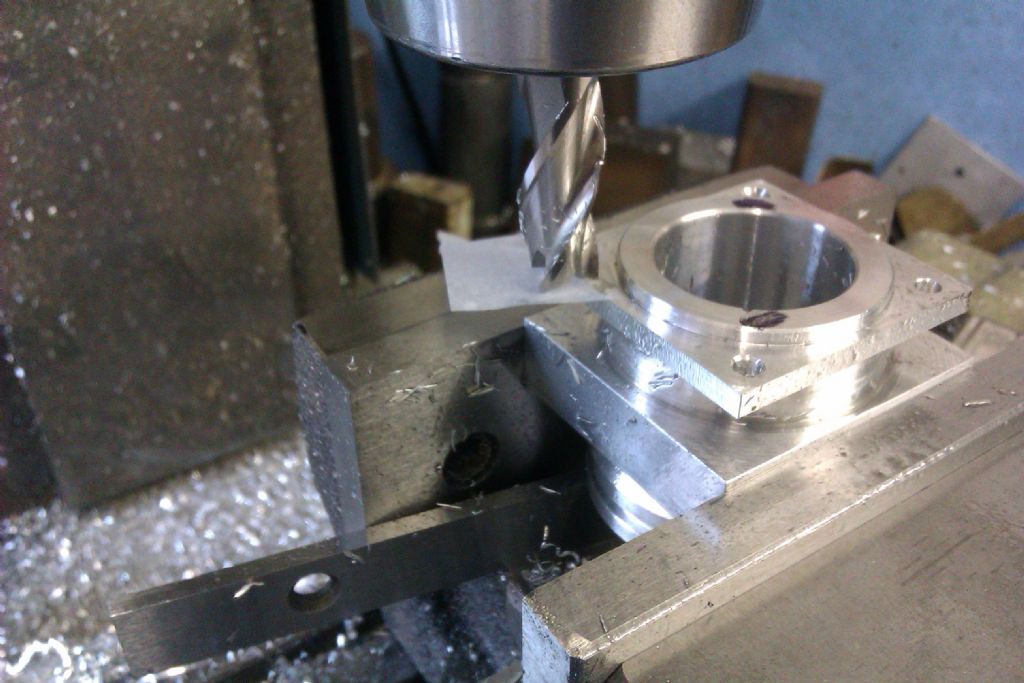
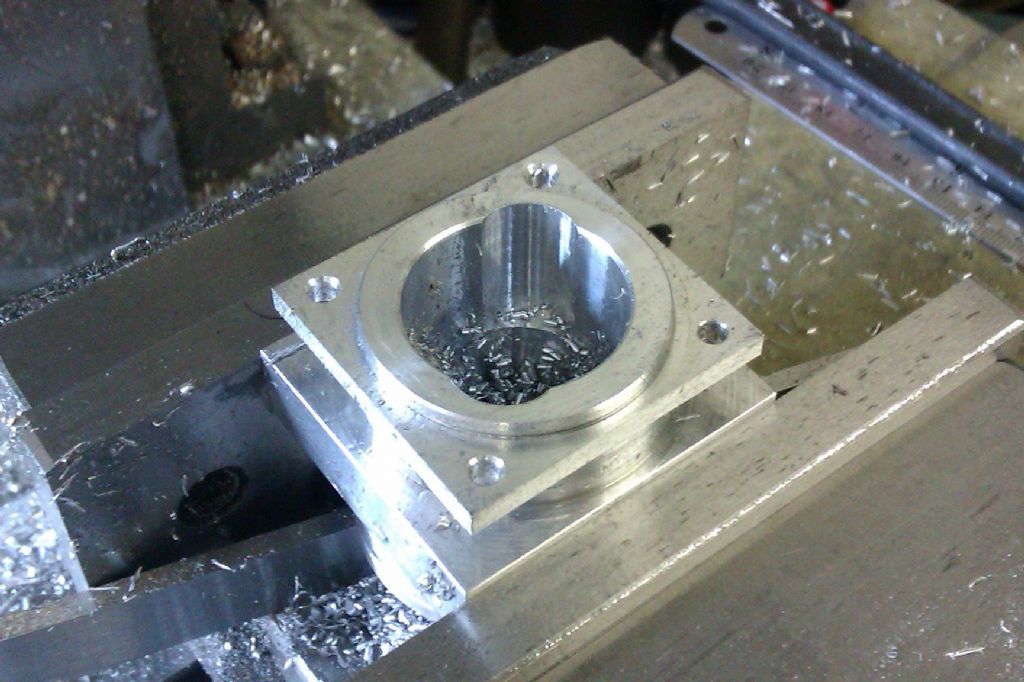
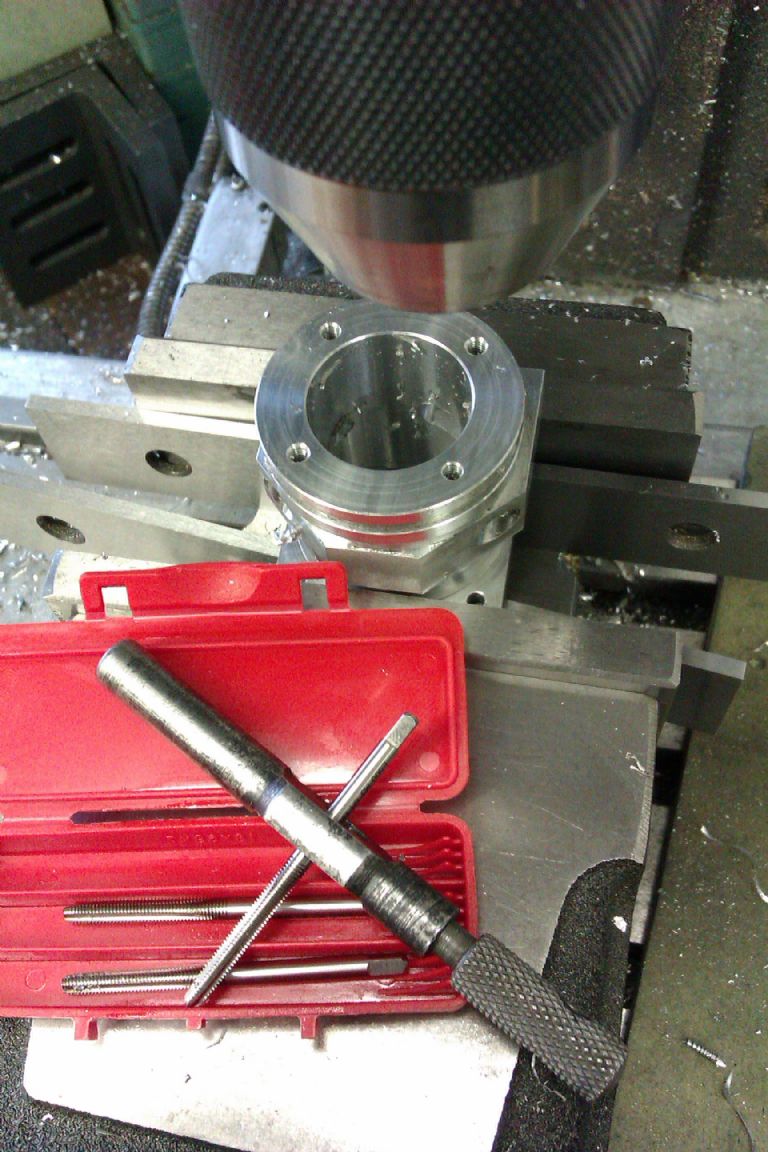
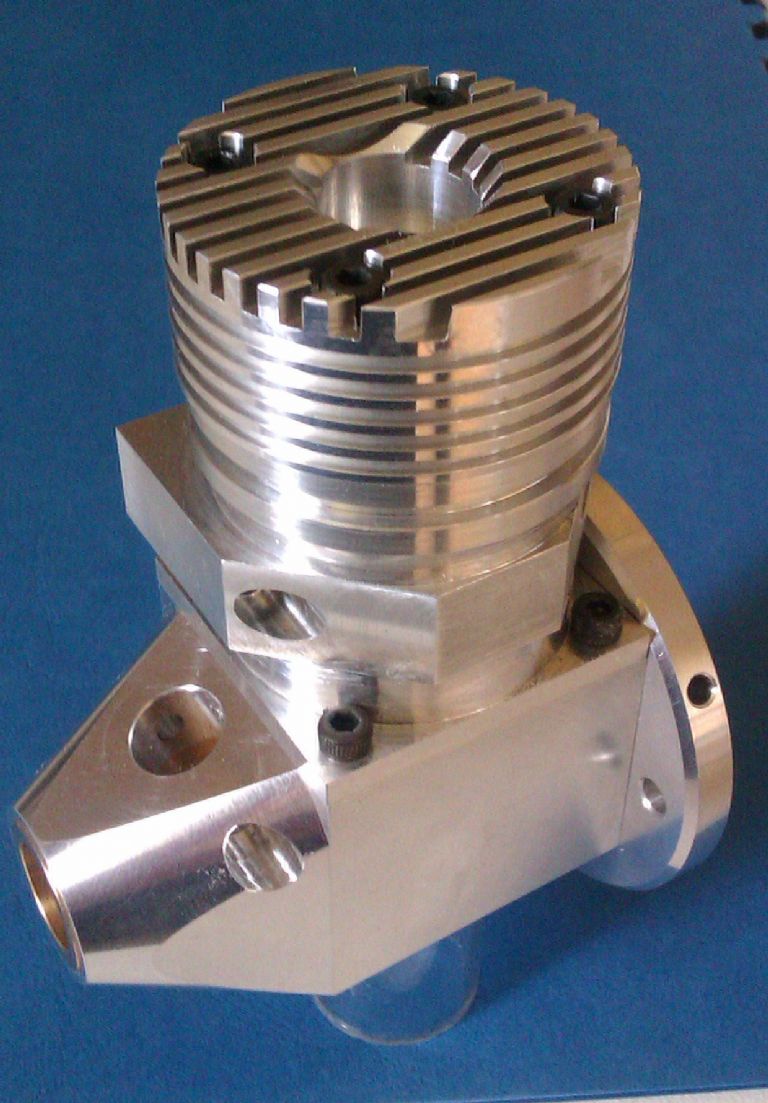
25215 forum posts 3105 photos 1 articles | The position for the cylinder was marked on the top of the crankcase, punched and then again clocked true in the 4-jaw, not packing under the two jaws bearing on the finished ends. The hole was opened out to 5/8" by drilling and then I swapped to a boring bar to cut the 25mm hole and 34mm counterbore, as usual edges broken with a chamfer. With the turning done it wa sback to the mill to macine the faces down to finished size. The micrometer was zeroed on a steel ball, then opened up until it read 4.65mm and zeroed again, this made it easy to measure how much needed to come off with the flycutter. A blob of grease stops teh ball going AWOL The crankcase was then held back end up and the centre of the 28.2mm bore located with the aid of an electronic edge finder. The four bolt holes were then heavily started with a spot drill, this has the advantage of giving a clean CSk edge and a start for the drill all at the same time and the CSK is easier to start that trying to do it into a threaded hole after tapping. Holes were then drilled 2.5mm and tapped M3 using a light grip in the chuck to keep the tap vertical. Job done The same procedure was then used to complete the four barrel mounting holes As I mostly work in imperial I did not have a sharp enough 12mm milling cutter so used a boring head to cut the two transfer ports. And there we have the crankcase ready to recieve the bearing. Cont'd
|
| JasonB | 24/06/2012 20:27:24 |
25215 forum posts 3105 photos 1 articles | Bearing
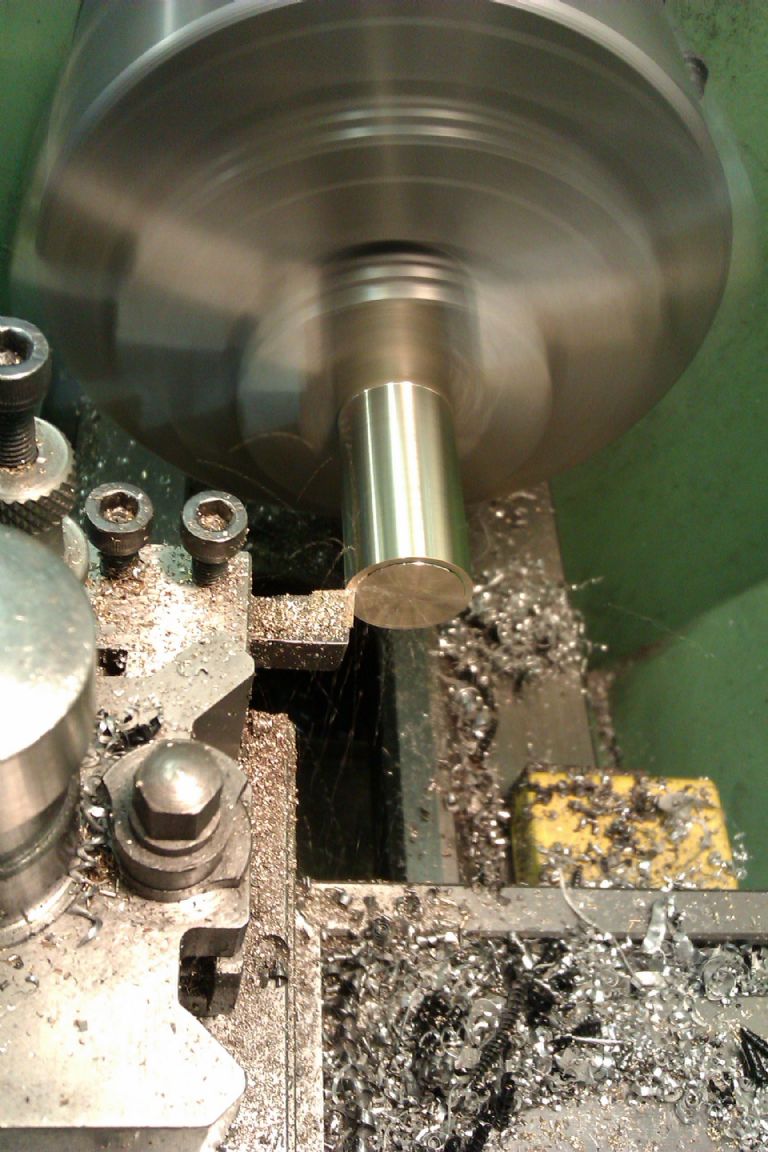
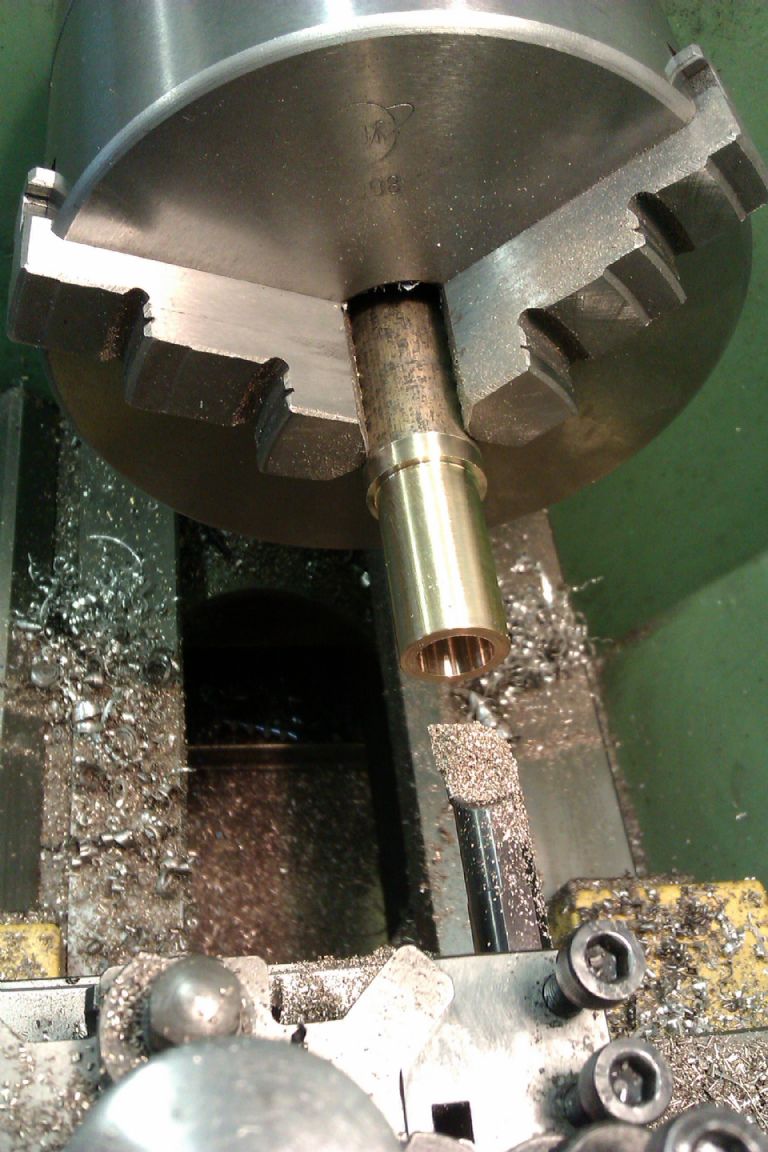
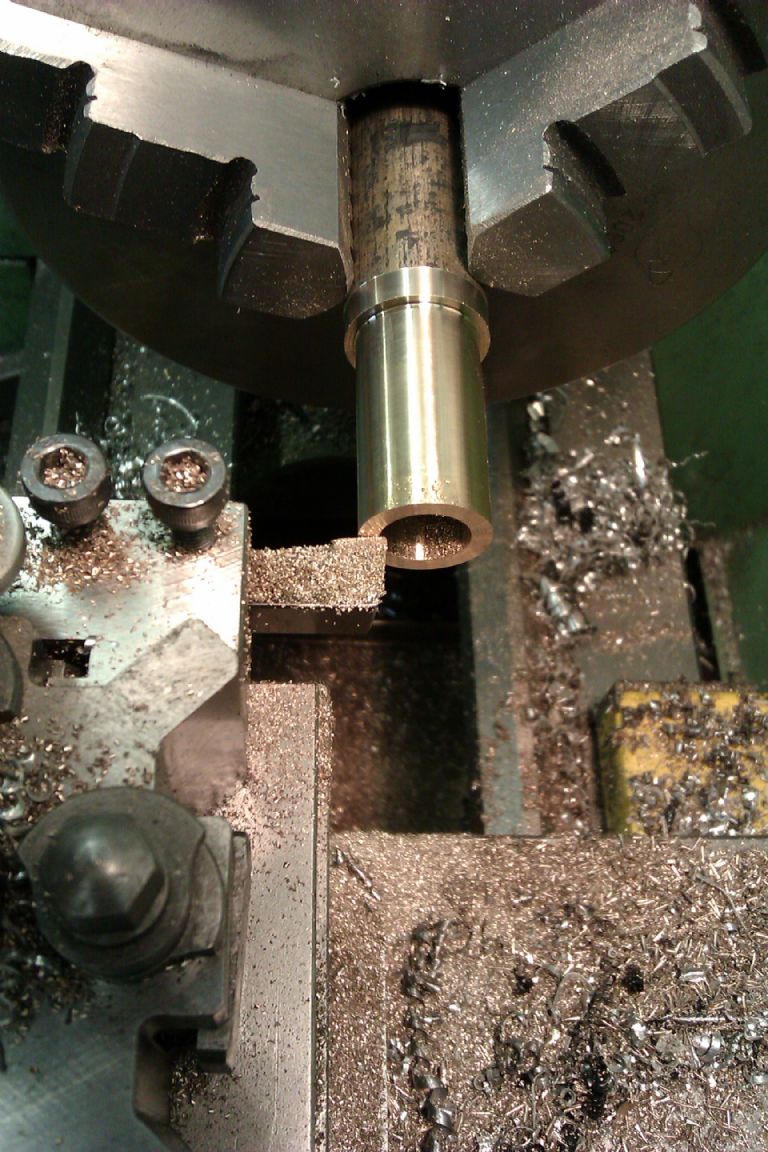
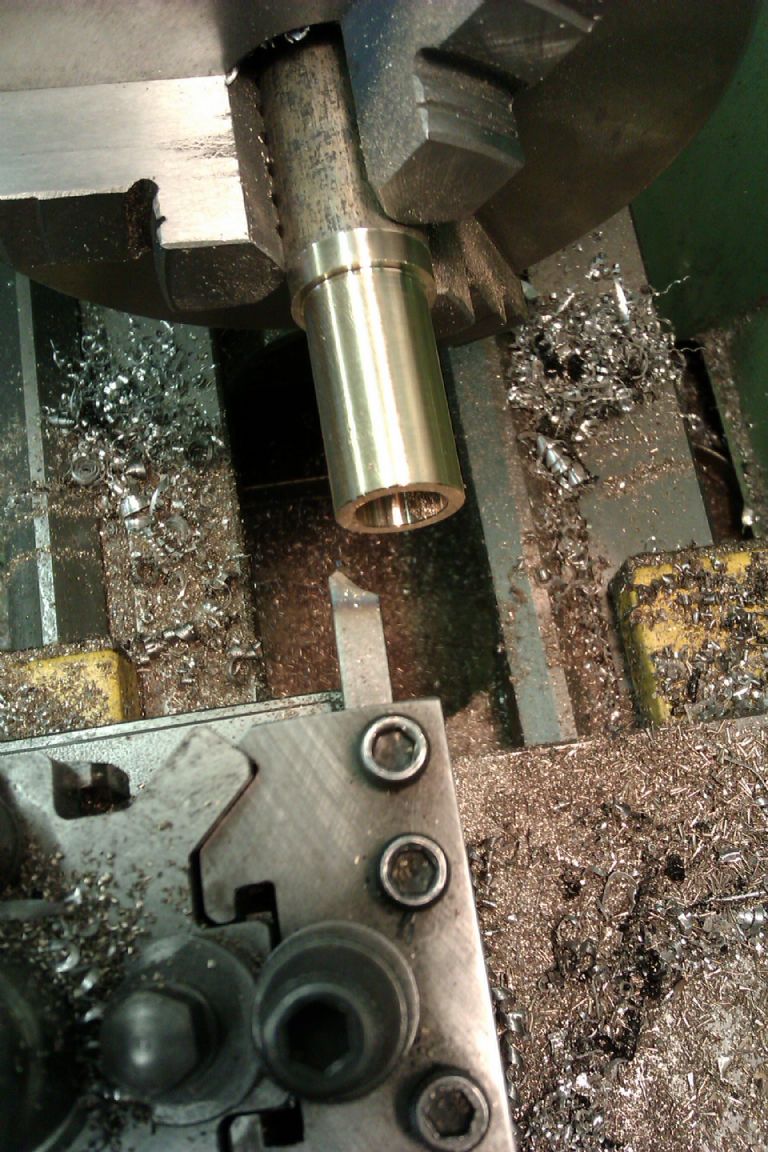
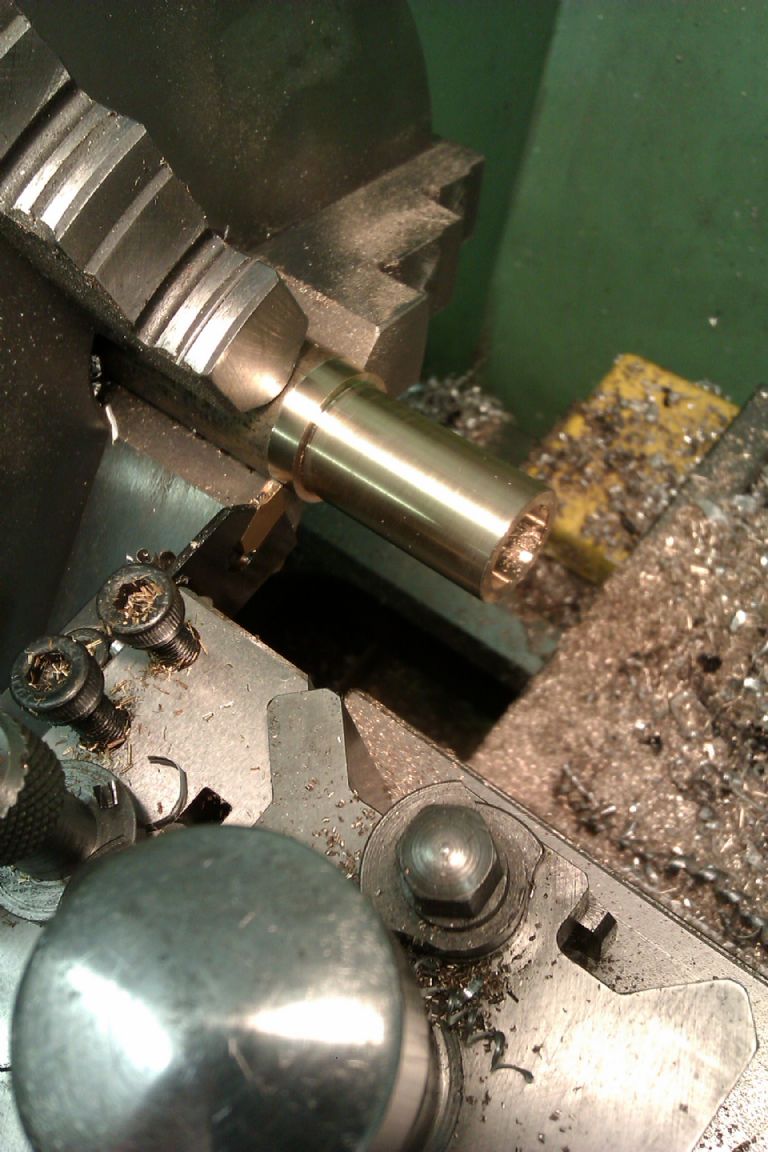
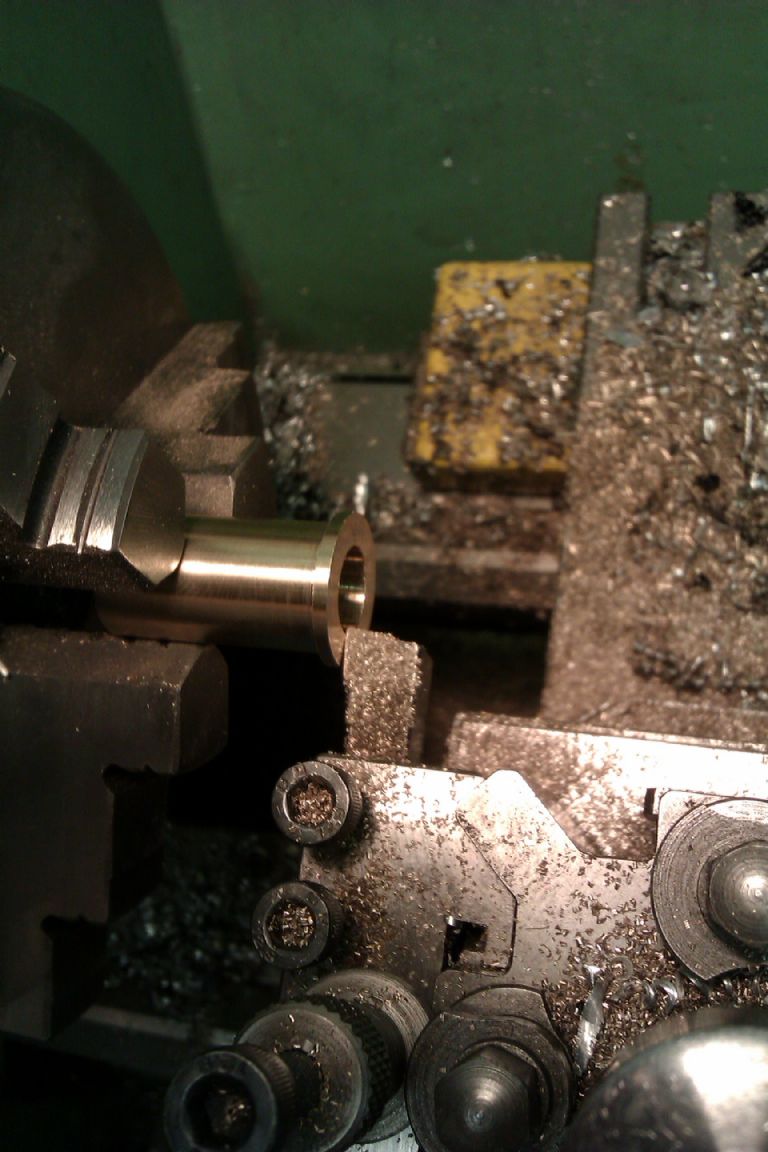
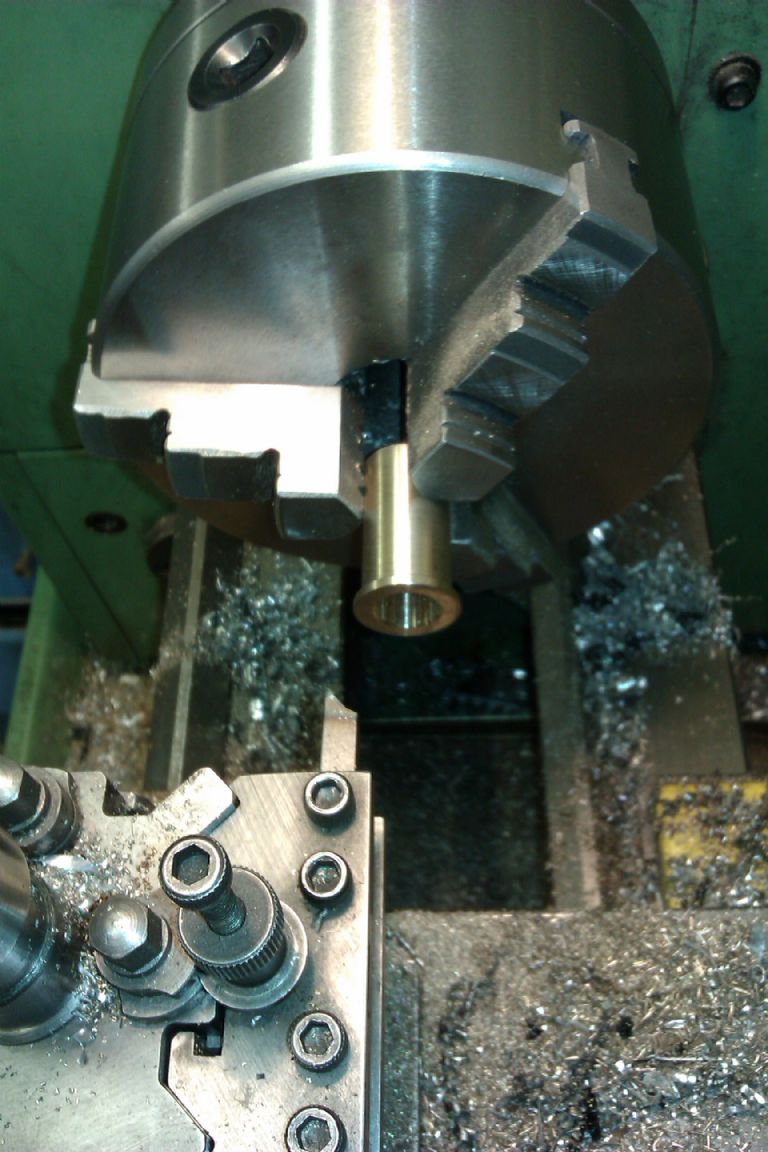
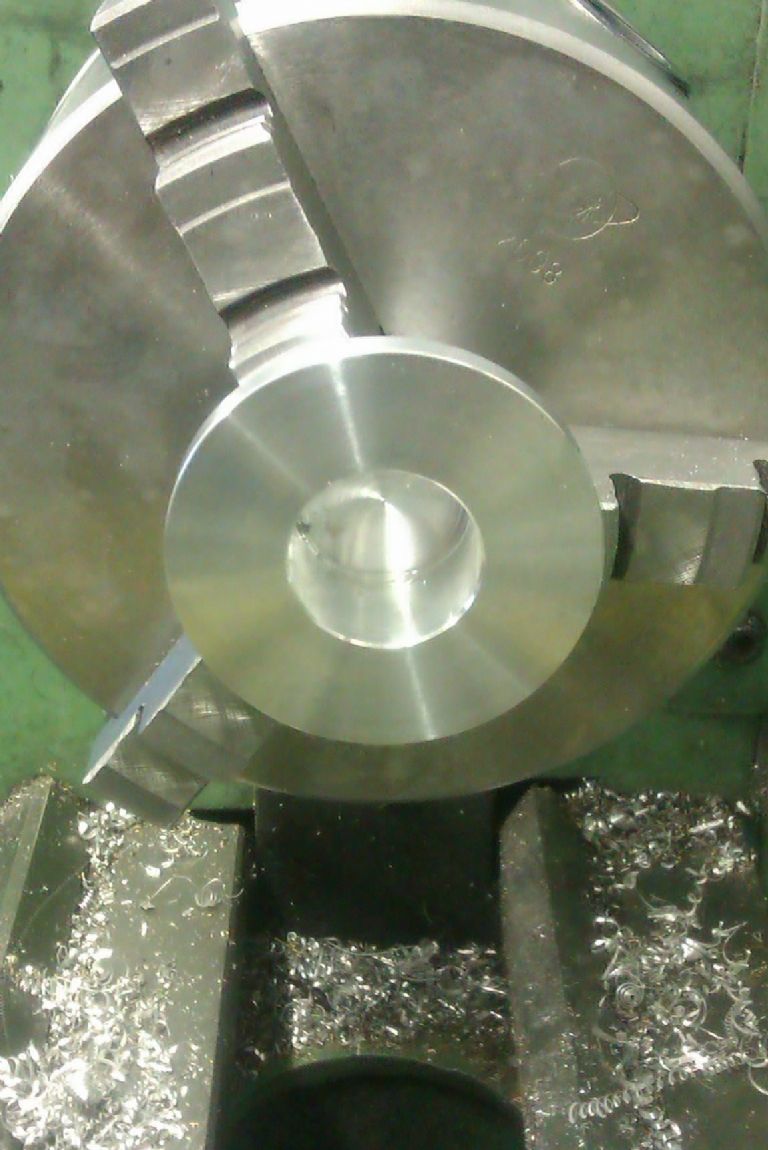
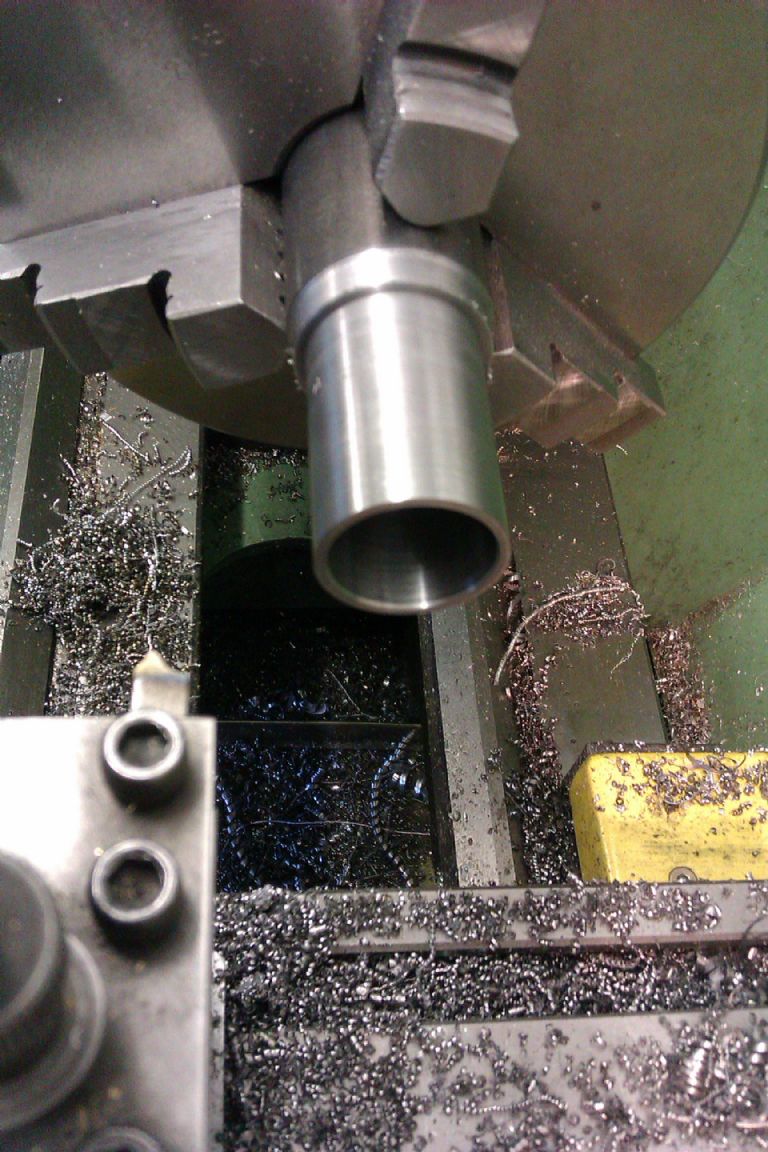
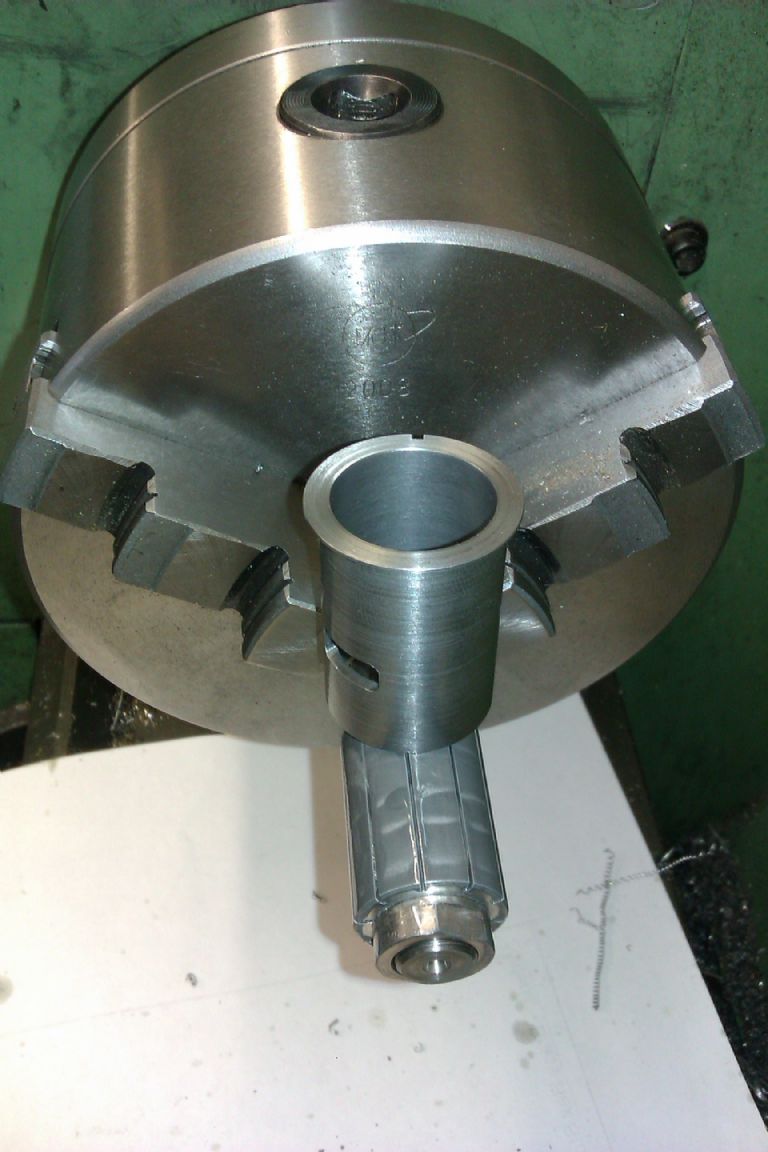
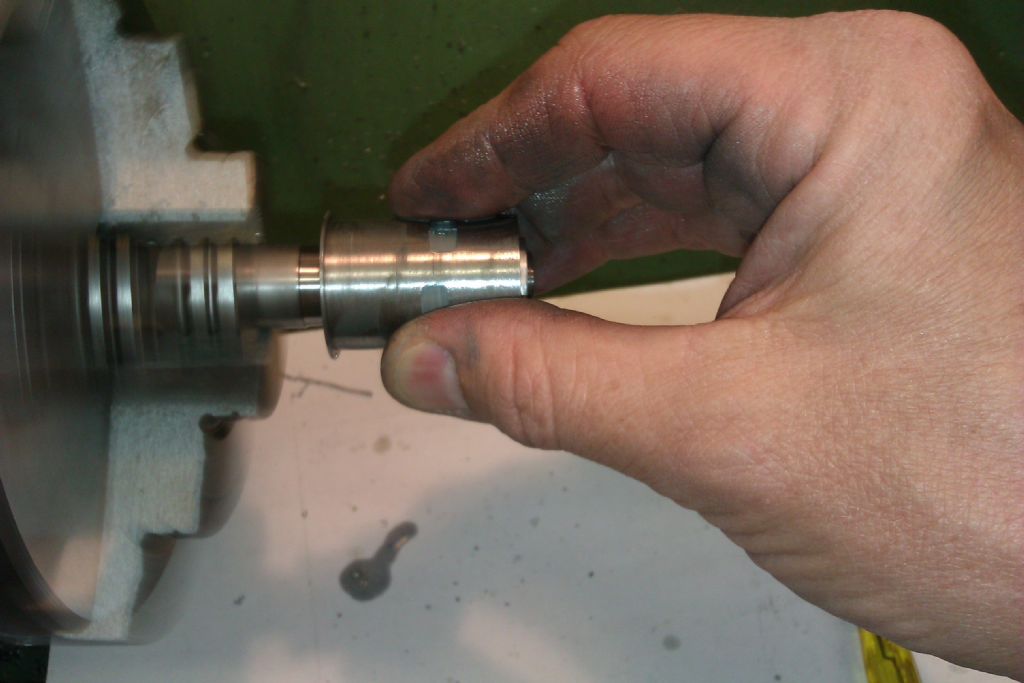
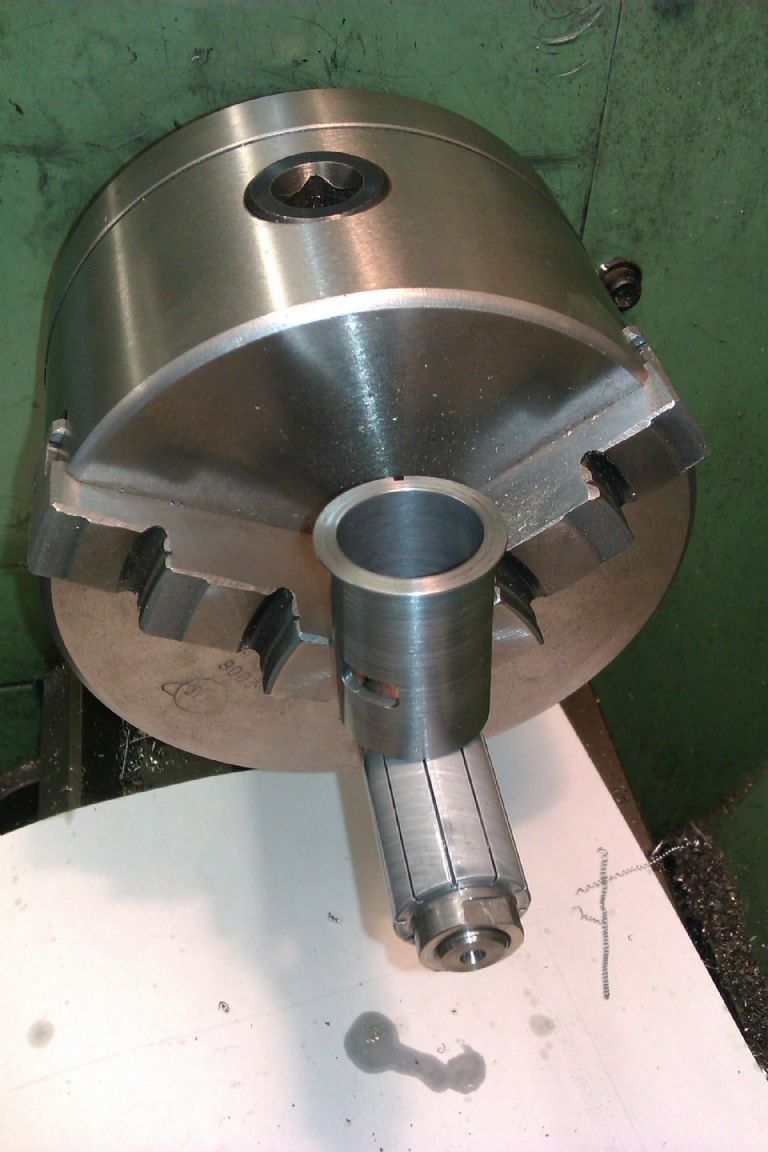
Talking of Bearings I started out with a stick of 3/4" nominal bar and took a light skim along it which gave a dia of 19.6mm, this will be close enough to the required 20mm. The end sawn end was then faced. The outside was then reduced to to give a good press fit into the crankcase, measure from job. Inside was drilled then bored out to 12mm, check the outside dia again after boring as the bearing may have grown. The length was then faced back to finished size And as usual edges broken with the chamfering tool. Part off a little overlength Reverse in the chuck and lightly grip while the flange if faced to size and finish with more chamfers. Cont'd
|
| Jeff Dayman | 24/06/2012 20:54:33 |
| 2356 forum posts 47 photos | Looks great so far Jason, JD |
| JasonB | 25/06/2012 19:28:14 |
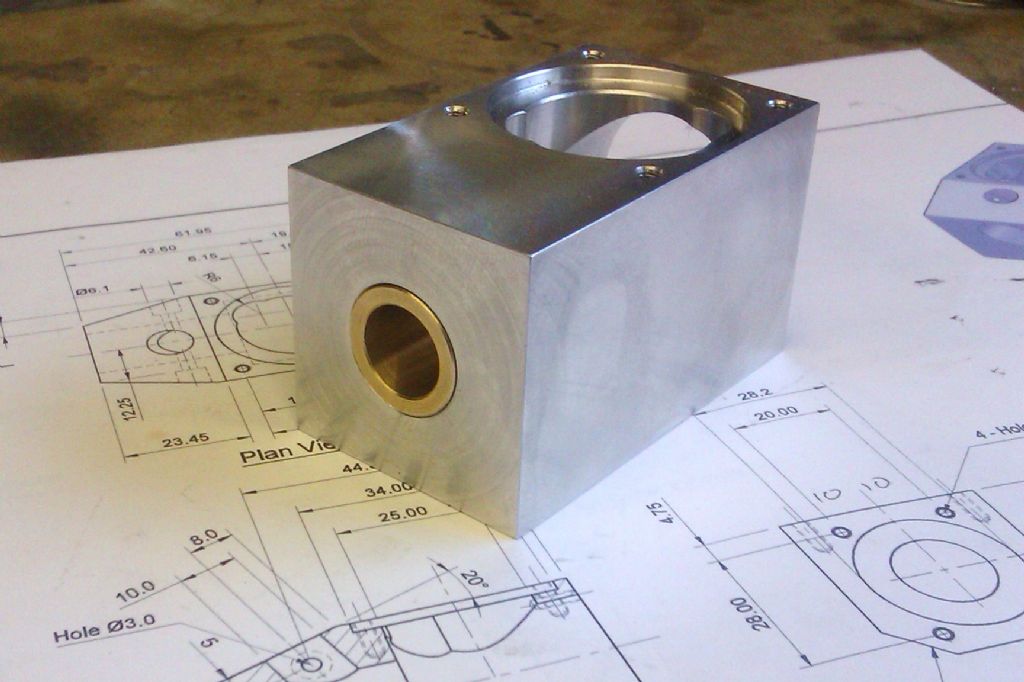
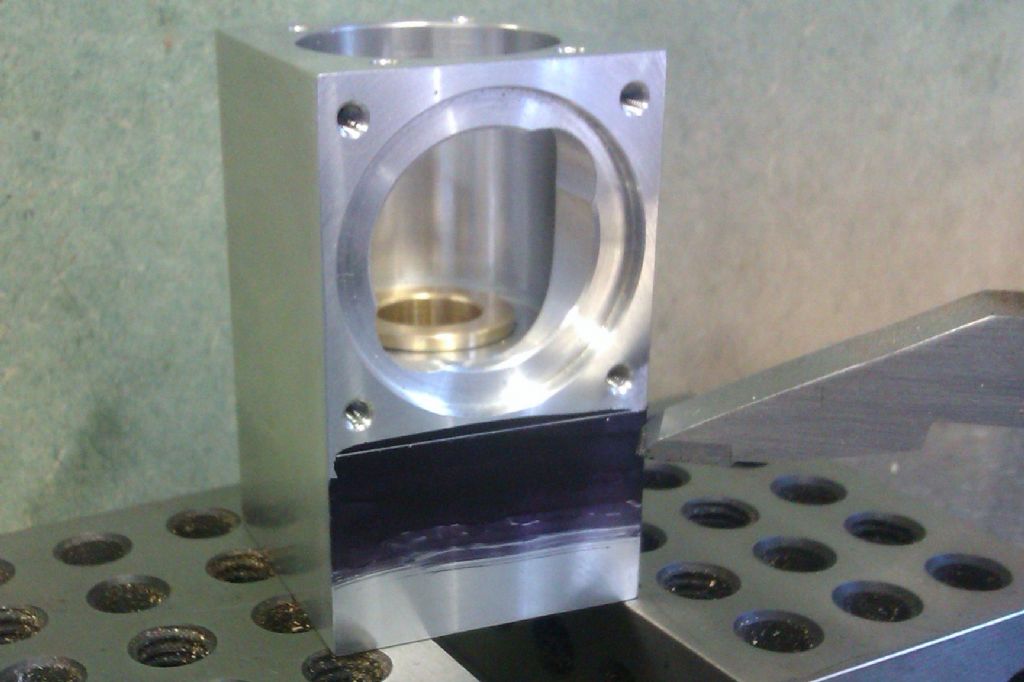
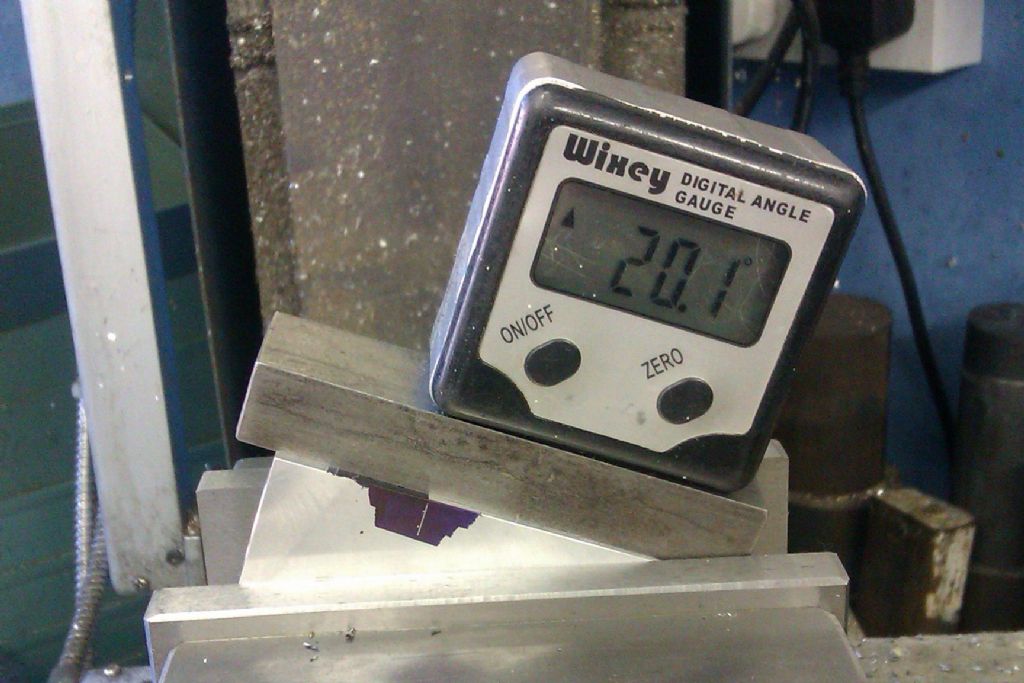
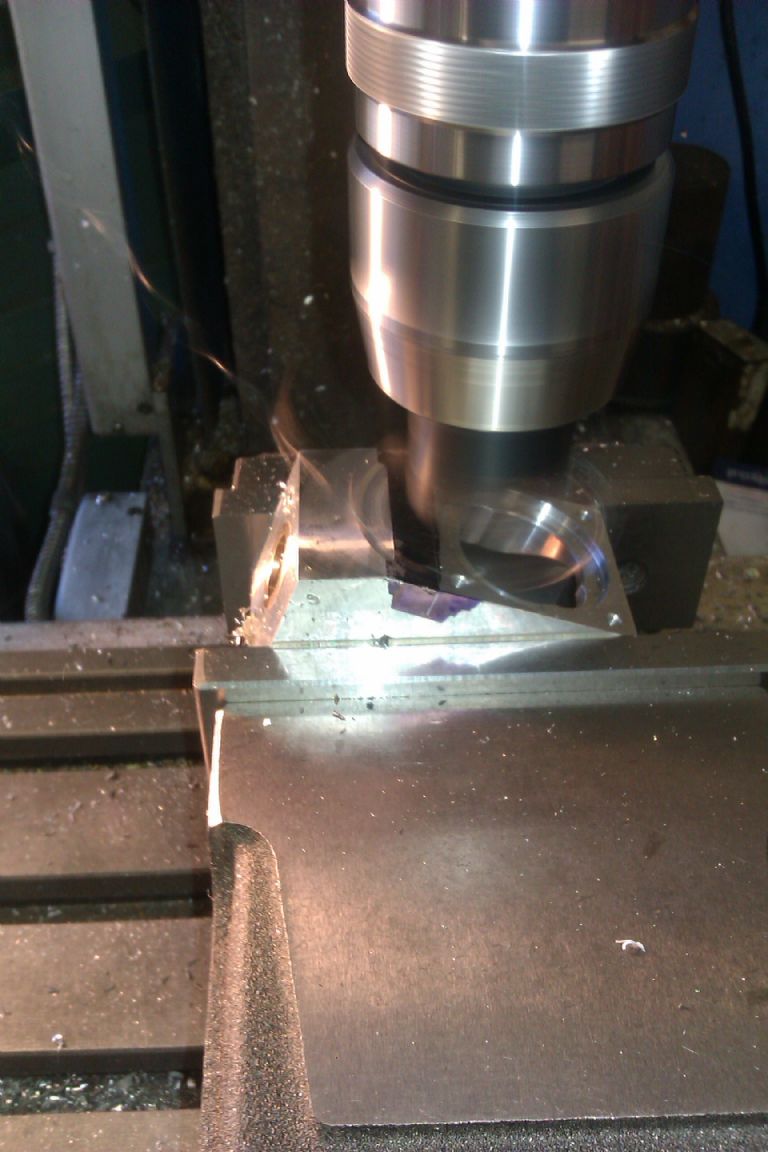
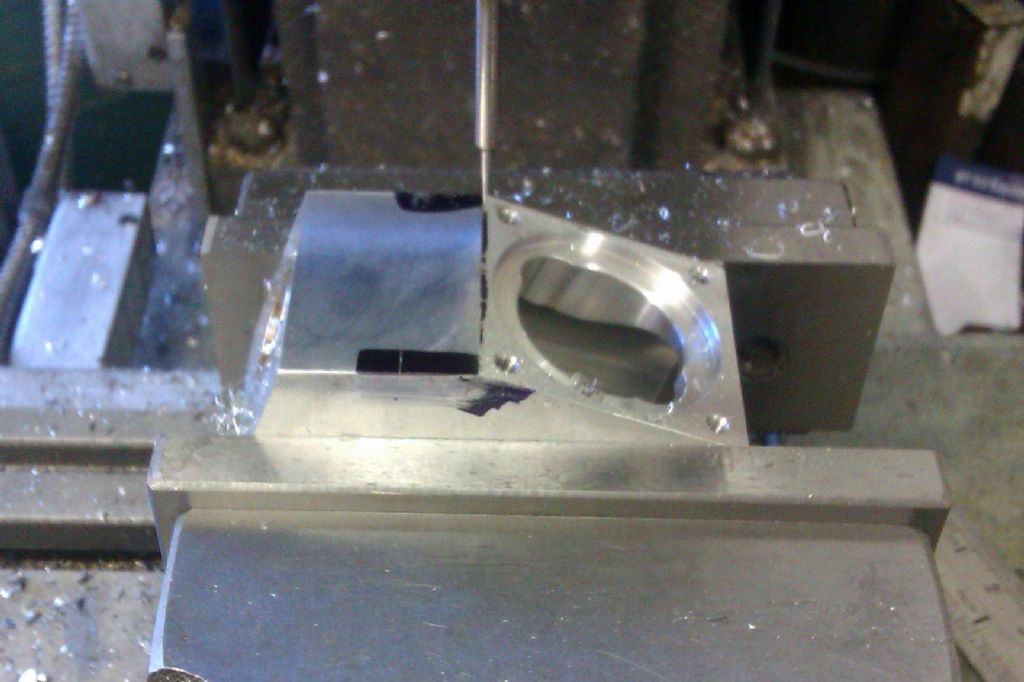
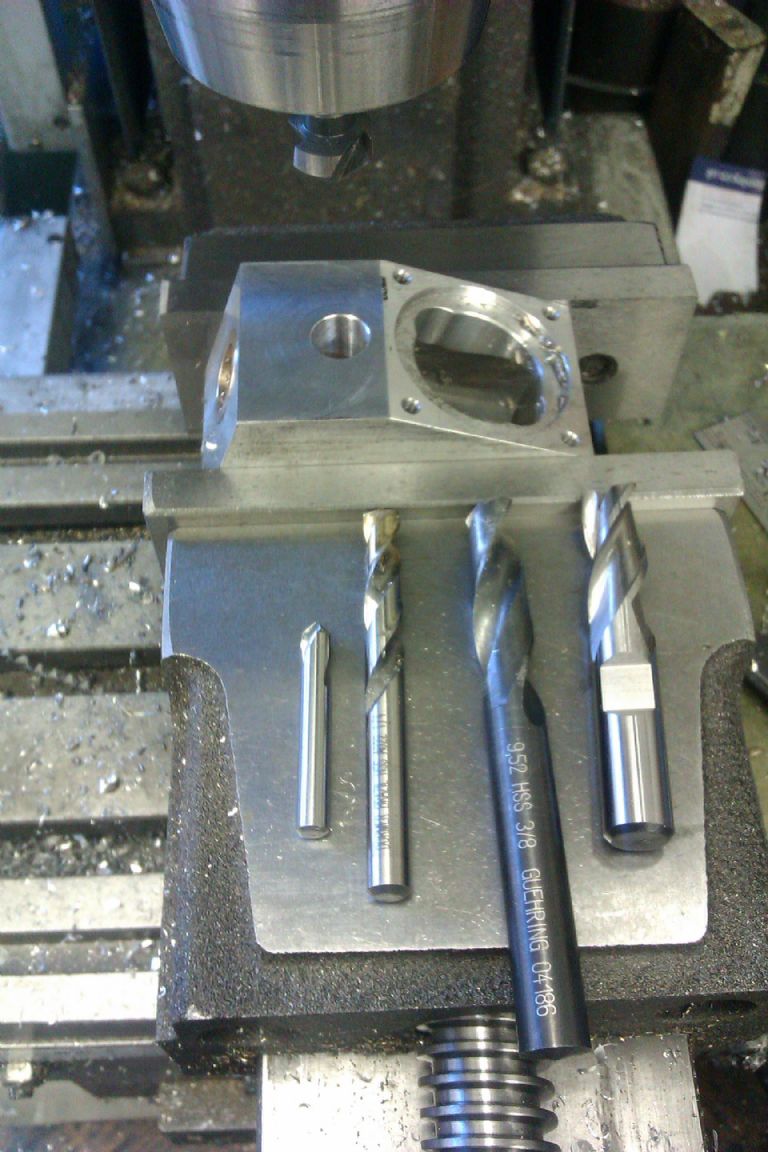
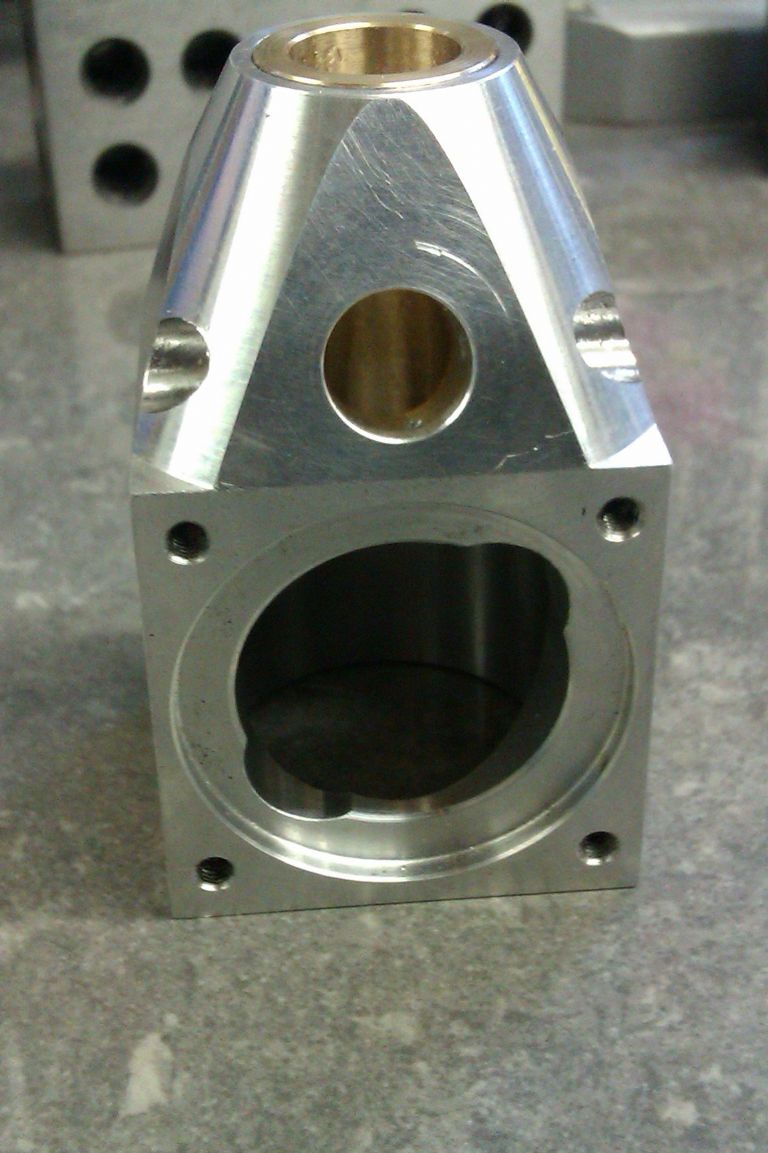
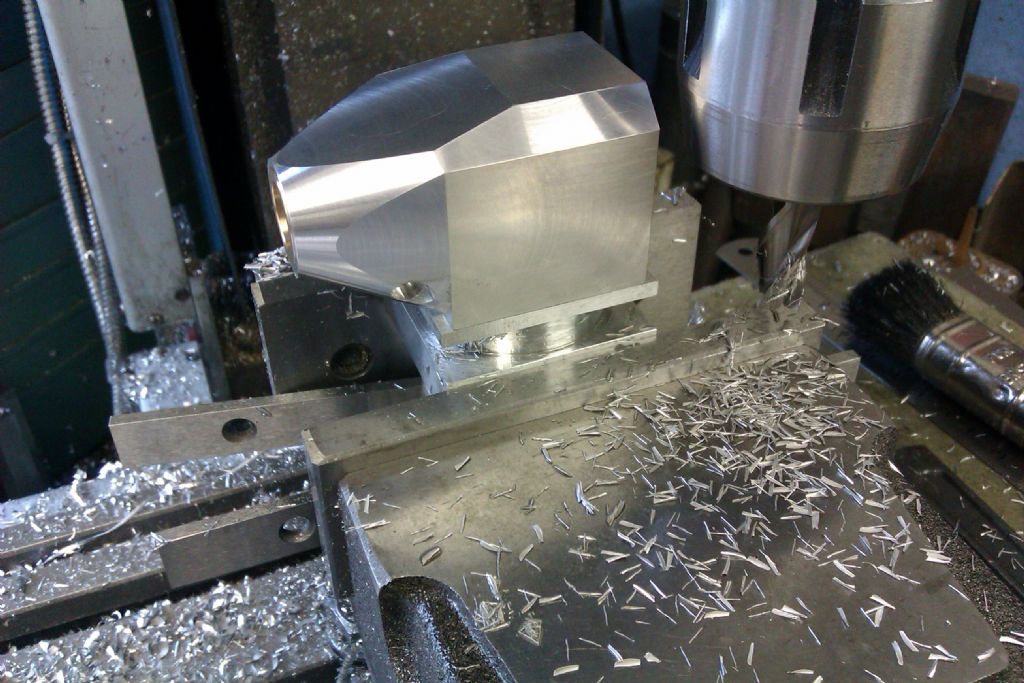
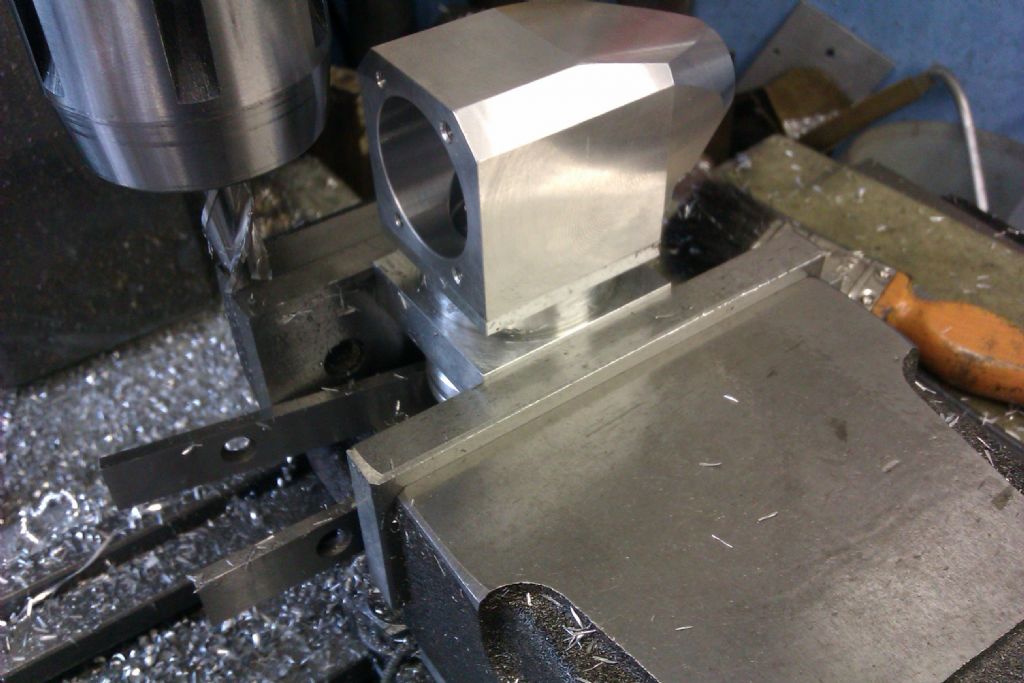
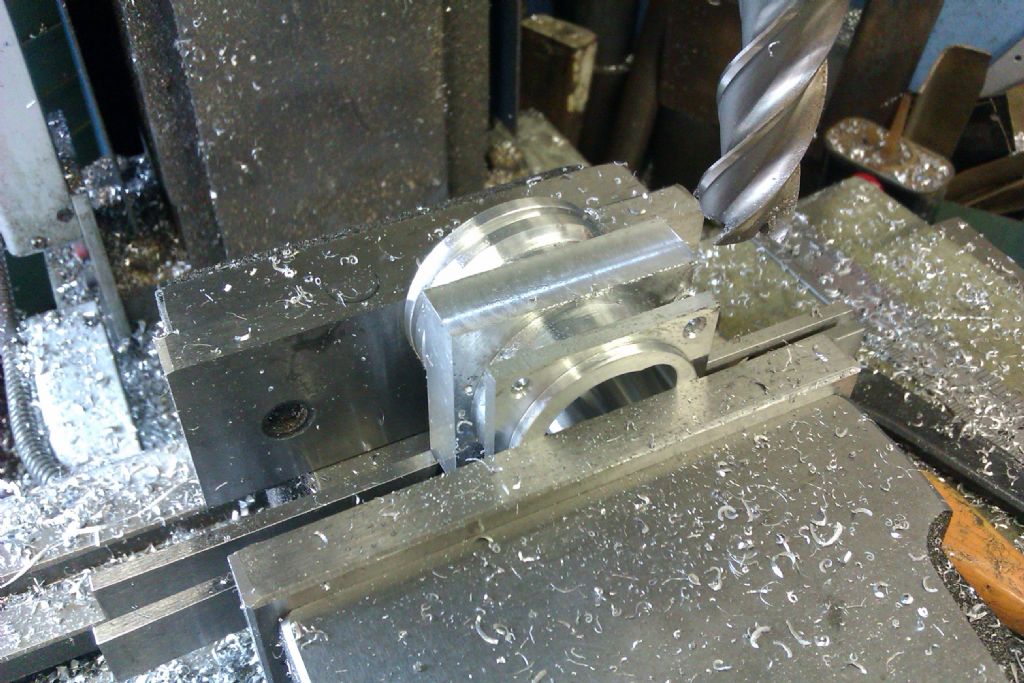
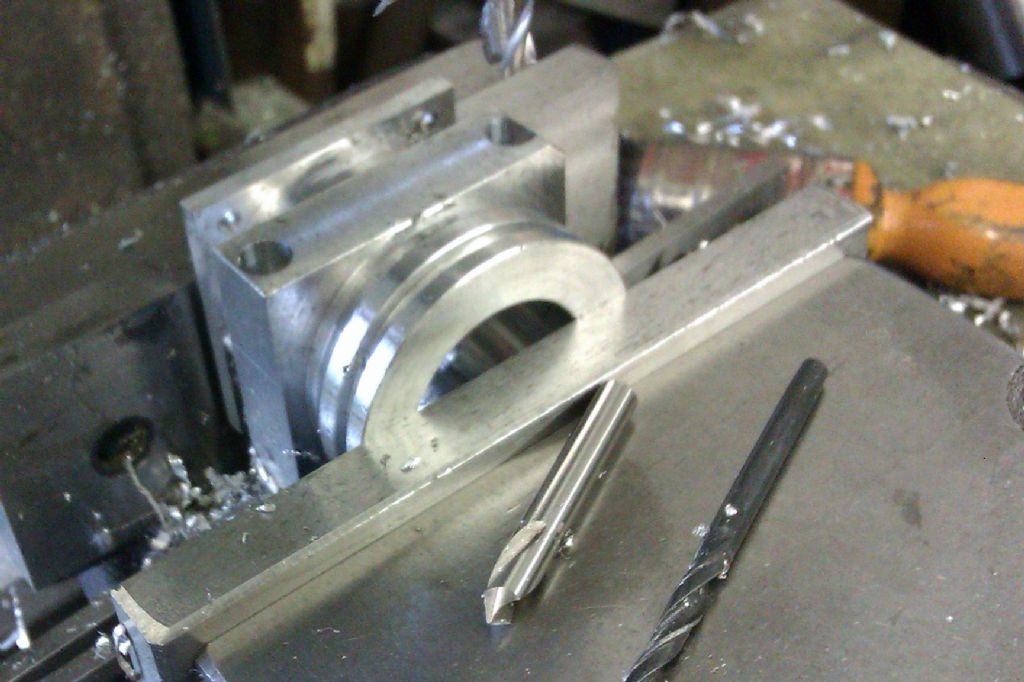
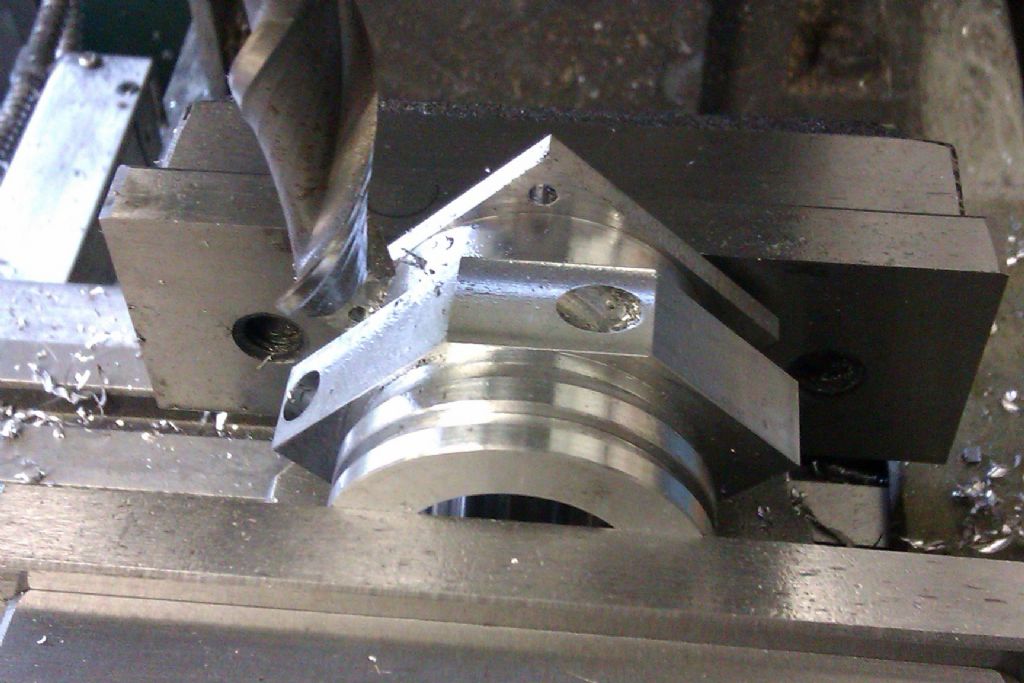
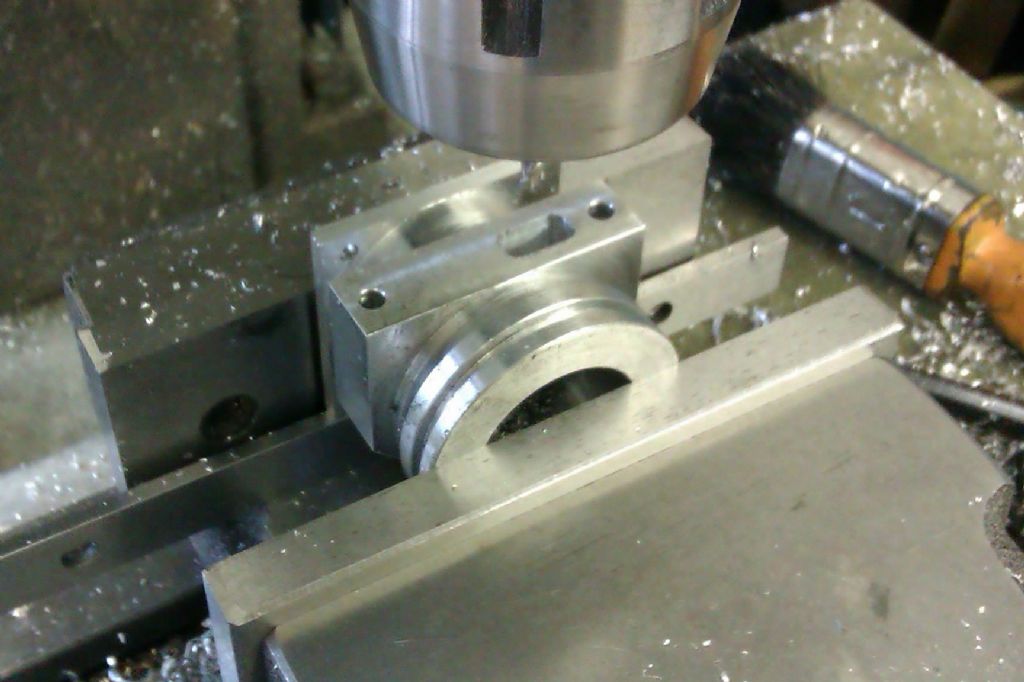
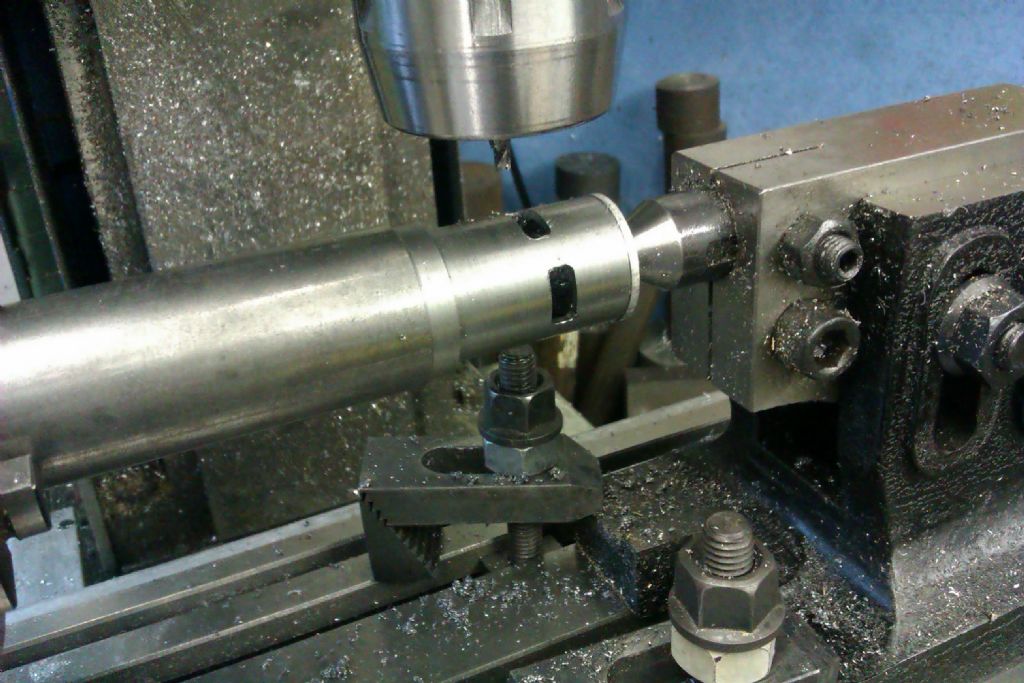
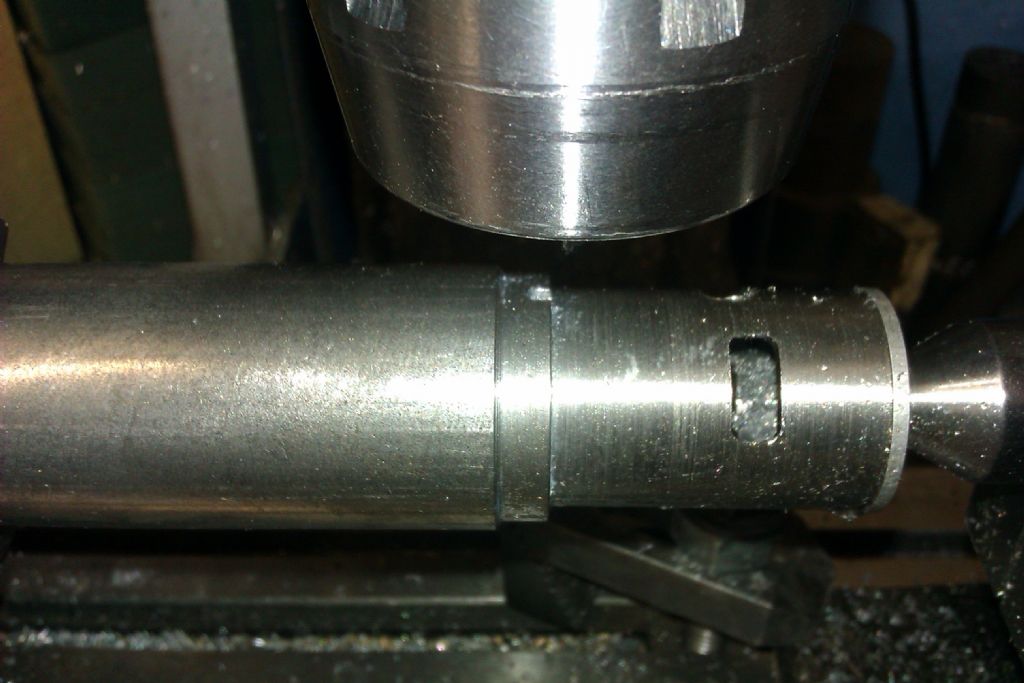
25215 forum posts 3105 photos 1 articles | Thanks Jeff. The completed bearing was then pressed into the crankcase using a vice, put a washer or similar on the end as the bearing needs to protrude slightly beyong the end of the case, I used part of a ballrace. The next job was machining the chamfer on the top of the crankcase, start by marking a line 23.45mm from the front face. Then mount the work in the milling vice at 20deg not the 20.1 that the photo shows, the right one wa sout of focus. The bit of steel flat gives the magnet of teh angle box something to stick to. Flycut away the waste until the new face meets the previously marked line. Pick up the junction of the two faces with a centre finder and then crank back 8mm to locate the carb hole. Form carb hole, I went spotdrill, 1/4" & 3/8" drills followed by 10mm FC-3 cutter. Lock the quill and feed down the head or up with the knee so the tools won't snatch as they break through the bronze at an angle. Then use a CSk to just tidy the edge. Mark out the two carb retaining screw holes and lightly punch Back in the mill locate the dot punch mark with a center finder, spot drill, drill 3mm and counterbore with FC-3 cutter, I used 1/4" . Repeate for other side Con't
|
| JasonB | 25/06/2012 19:37:20 |
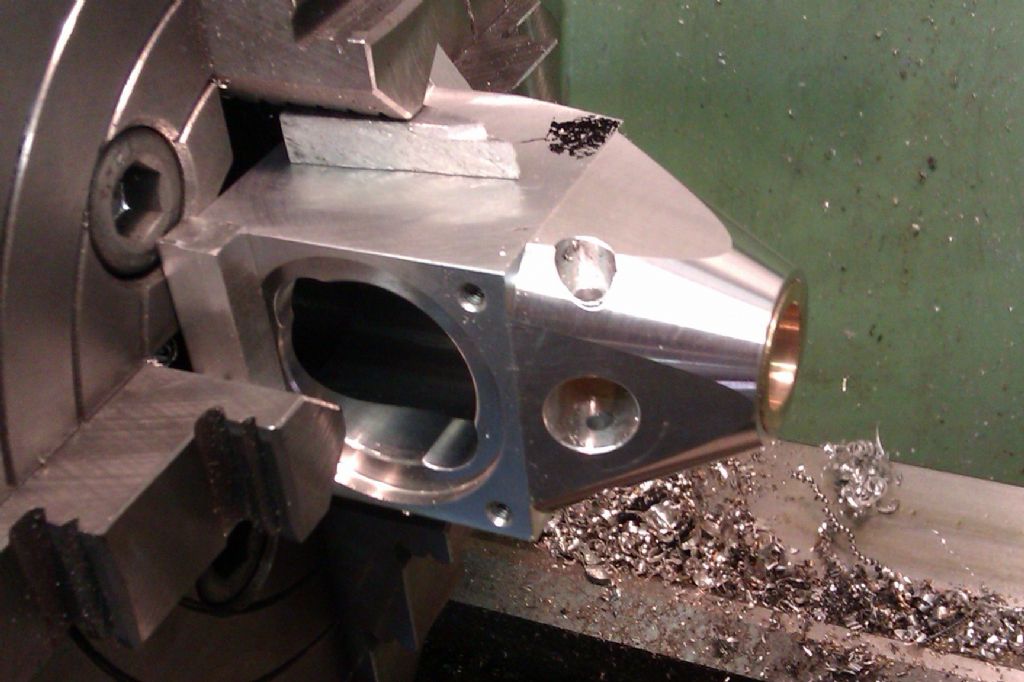
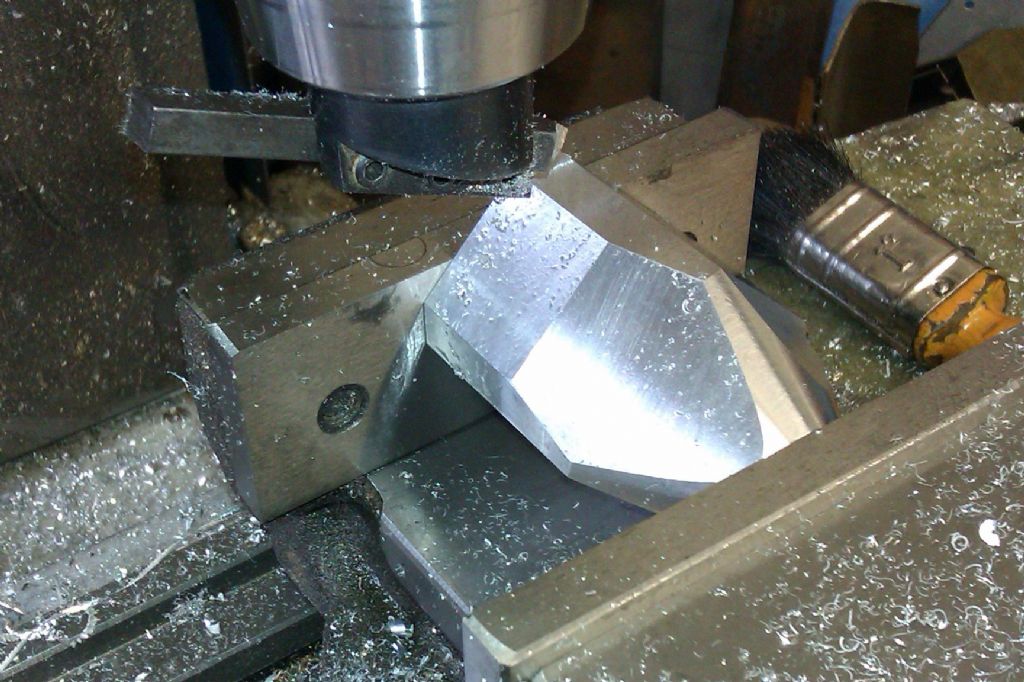
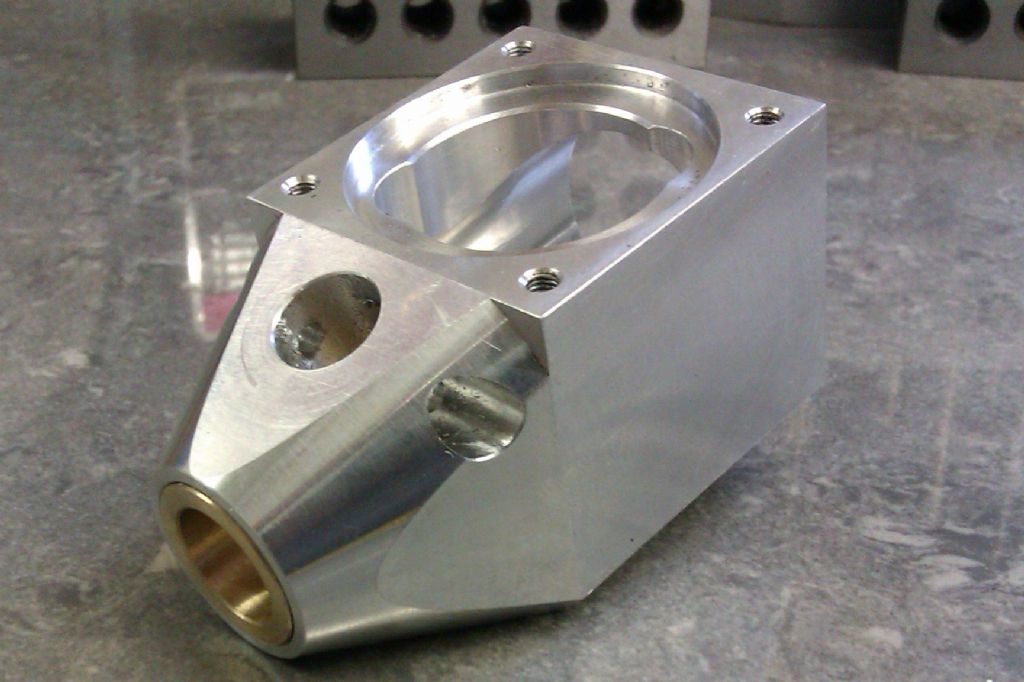
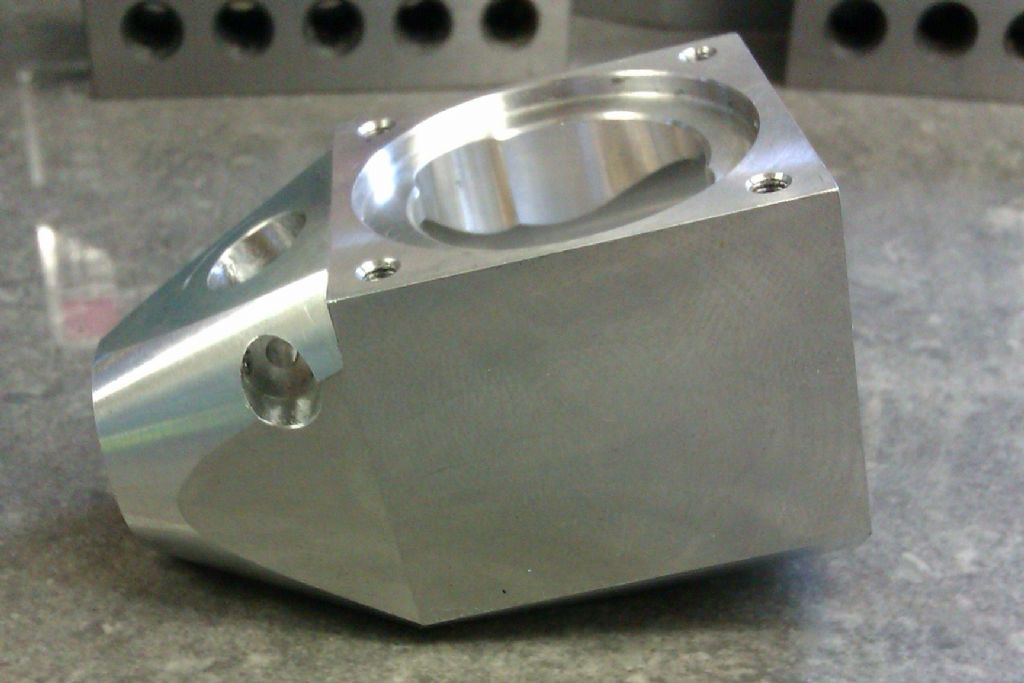
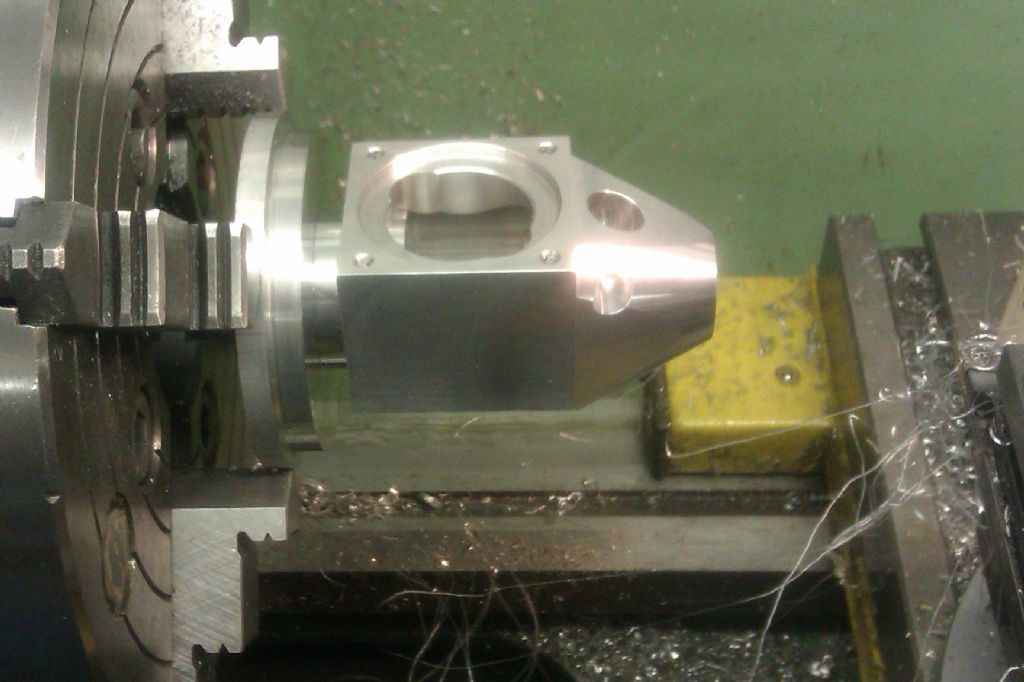
25215 forum posts 3105 photos 1 articles | Flycut the remaining three chamfers, I went for a slightly different length on teh sides to that shown on the drawing. The angle is not shown on the drawing but should be 17deg and the length of the slope stops 22mm back from the front of the crankcase. I decided on a turned nose so mounted the part back in the 4-jaw, use some packing to save marking the finished faces and clock the bore to run true. Set the topslide and turn a taper thats pleasing to the eye, mine was about 27deg by the time I had adjusted it a couple of times to get the turned section to run out where I wanted. Finally back to the mill for the two 45deg chamfers along the bottom edges, mine are a bit smaller than the drawing as I wanted the edge to meet one of the facets on the front cone. And thats the crankcase complete. I may do a bit of blending of the faces later and once all is complete a final clean up of all surfaces will be done. Cont'd
|
| AndyB | 25/06/2012 20:17:17 |
167 forum posts 7 photos |
Crikey Jason! What did you do after breakfast? I fancied having a go at this one as a first foray into I/C and now, as usual, I have a fantastic build log to follow...eventually! Really good work and well presented, thank you very much. Andy |
| JasonB | 25/06/2012 20:30:06 |
25215 forum posts 3105 photos 1 articles | Oh I've done more than that, have a look at my photos they are upto date. Its not a bad little engine certainly worth having a go, I did say elsewhere that its actually my first glow engine though I have done several other I/Cs but they were sparkplug/ignitor based. J Edited By JasonB on 25/06/2012 20:30:57 |
| JasonB | 28/06/2012 20:07:33 |
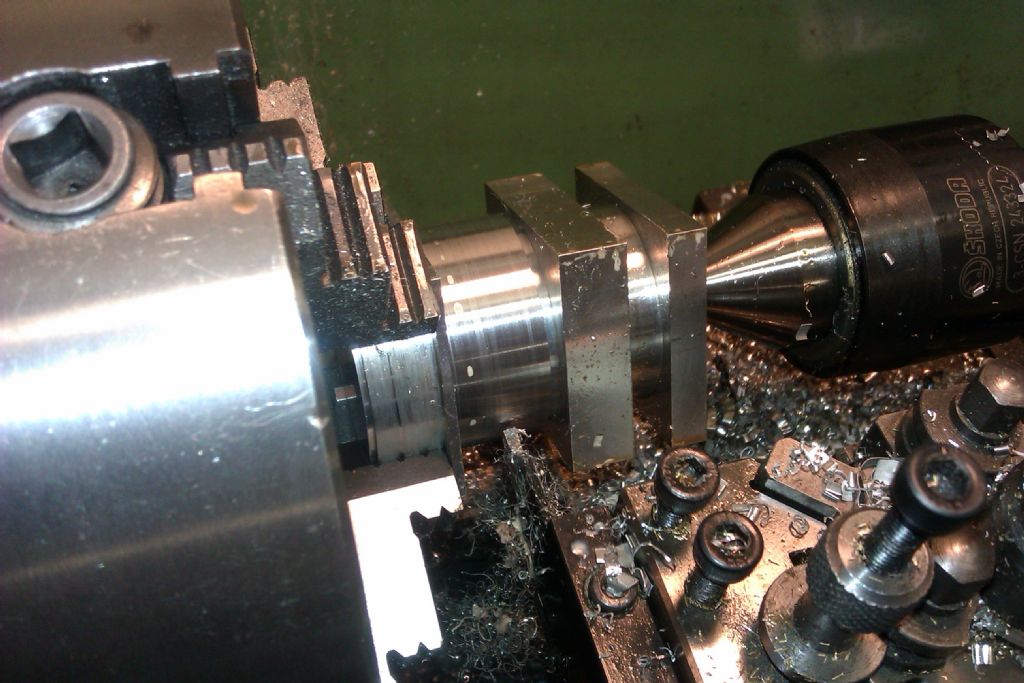
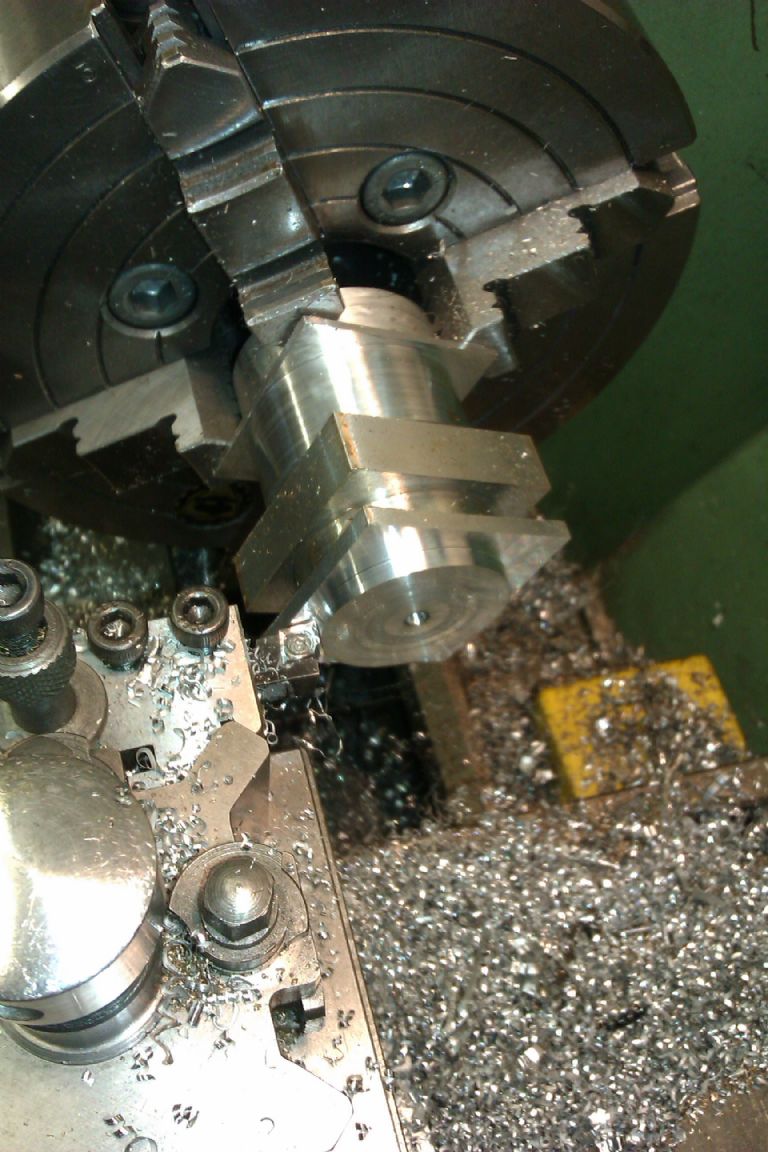
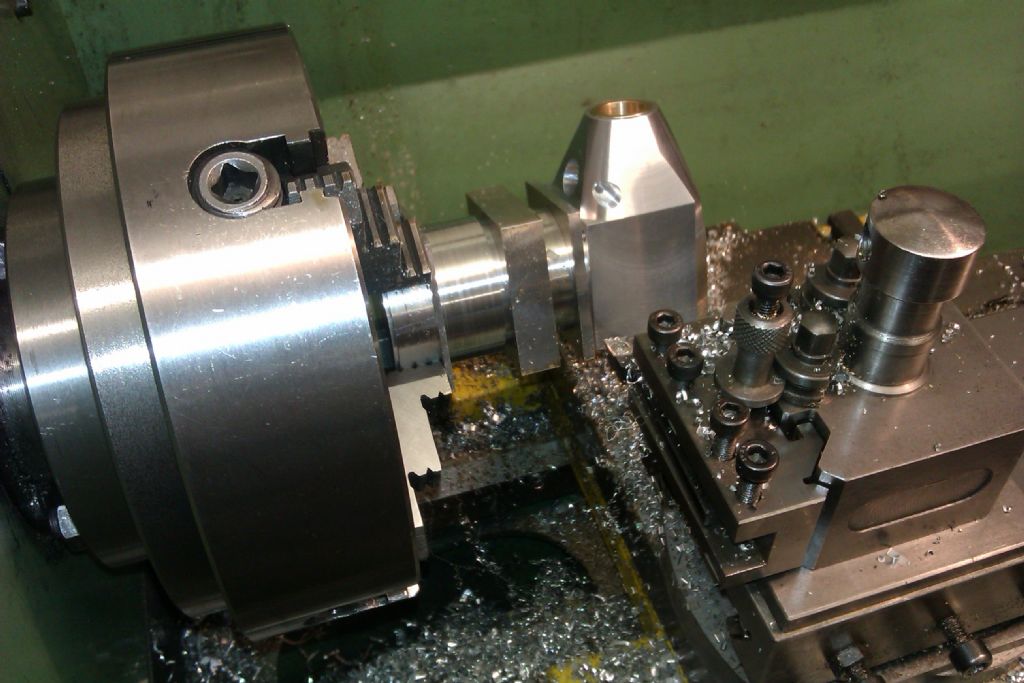
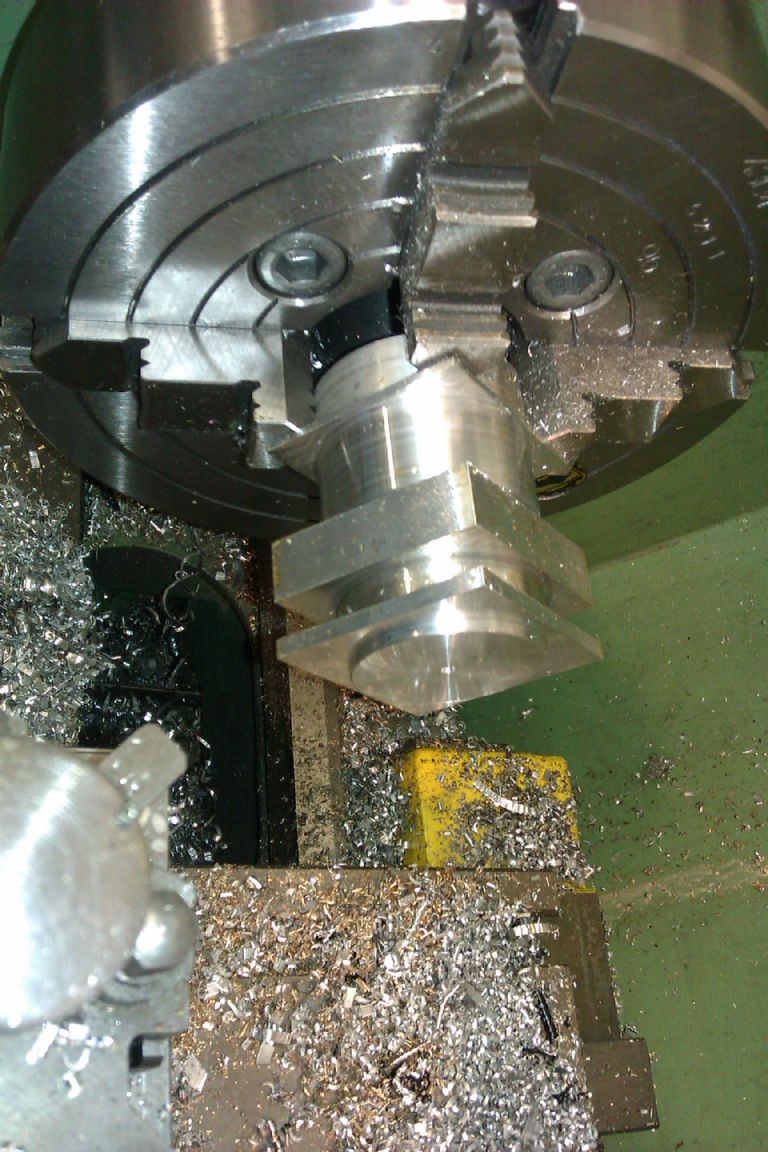
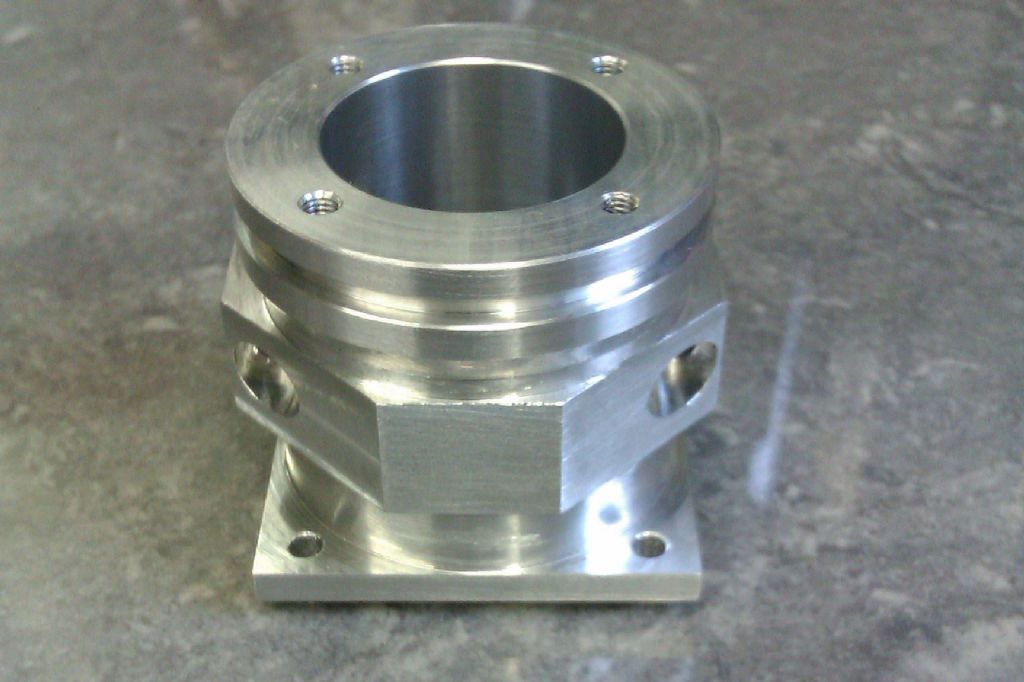
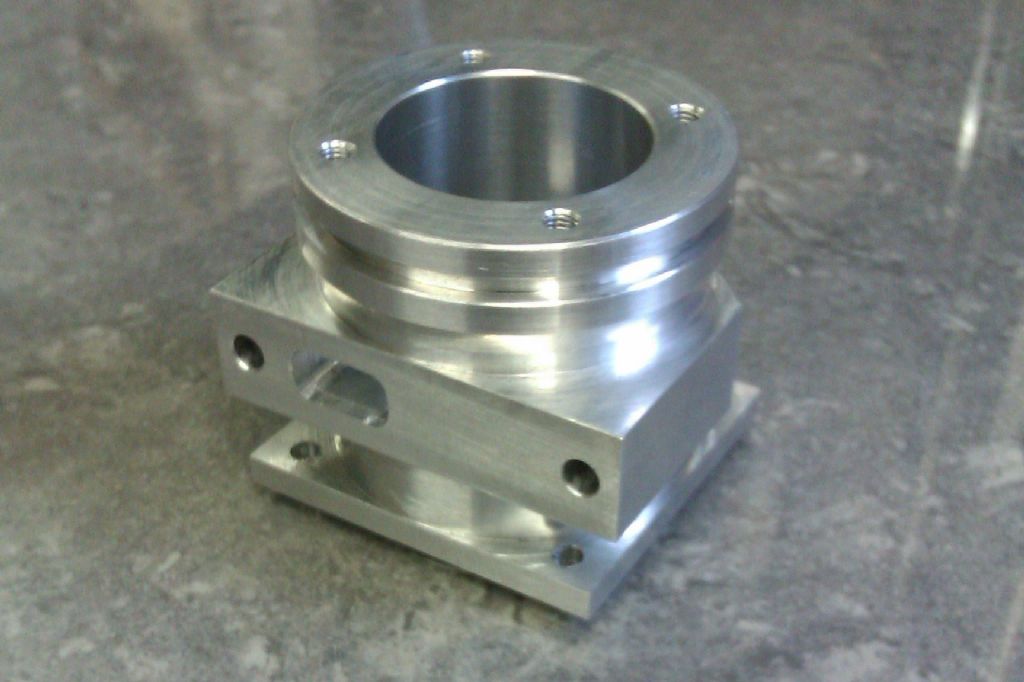
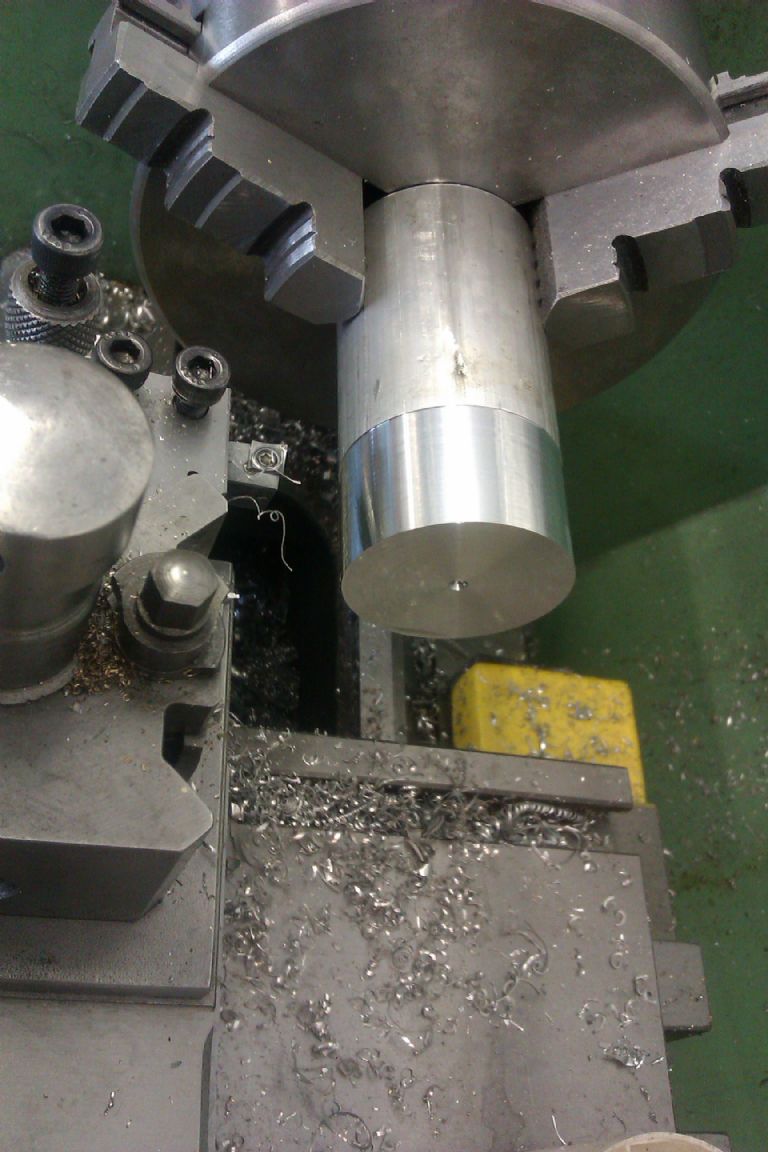
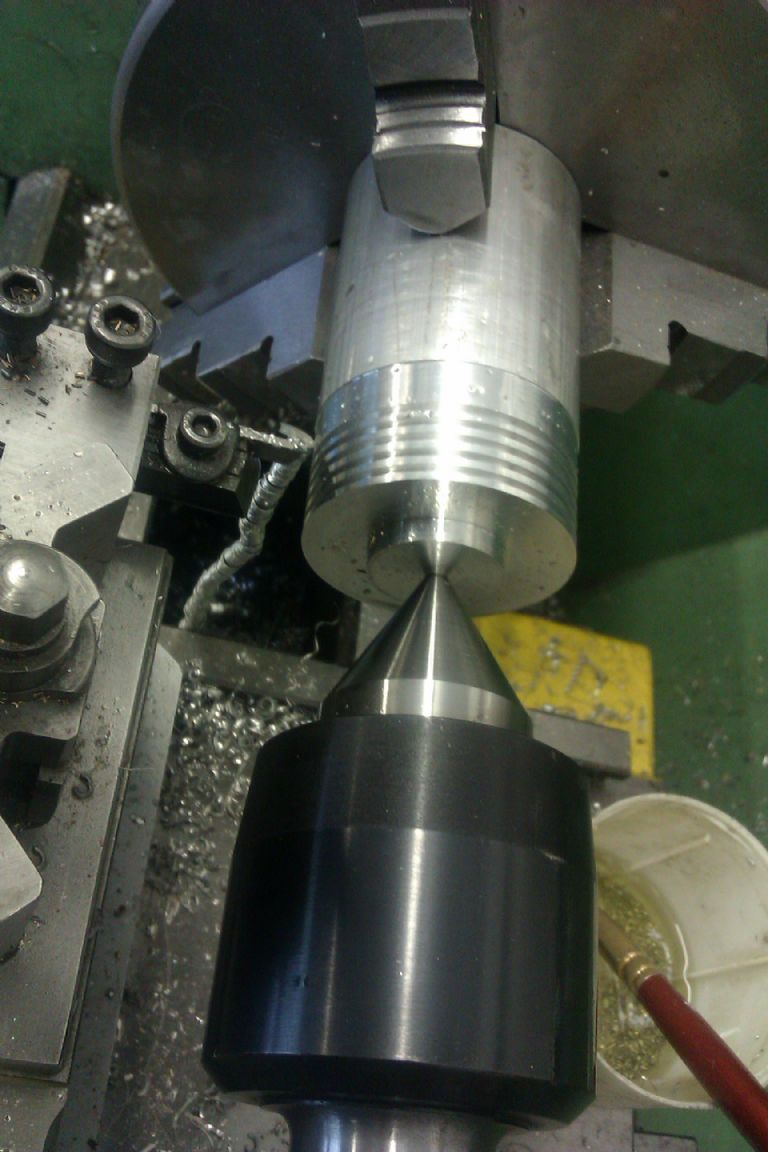
25215 forum posts 3105 photos 1 articles | Barrel I cut another piece of the lump that I used for teh crankcase and machined it up on 4 sides to 44x41 to give 0.5mm each face to play with and plenty of length to go in the chuck. The centre was marked on one end and then dot punched The piece was then set up in the 4 jaw using a dti to get the centre to run true while also making sure it was square to teh lathe axis
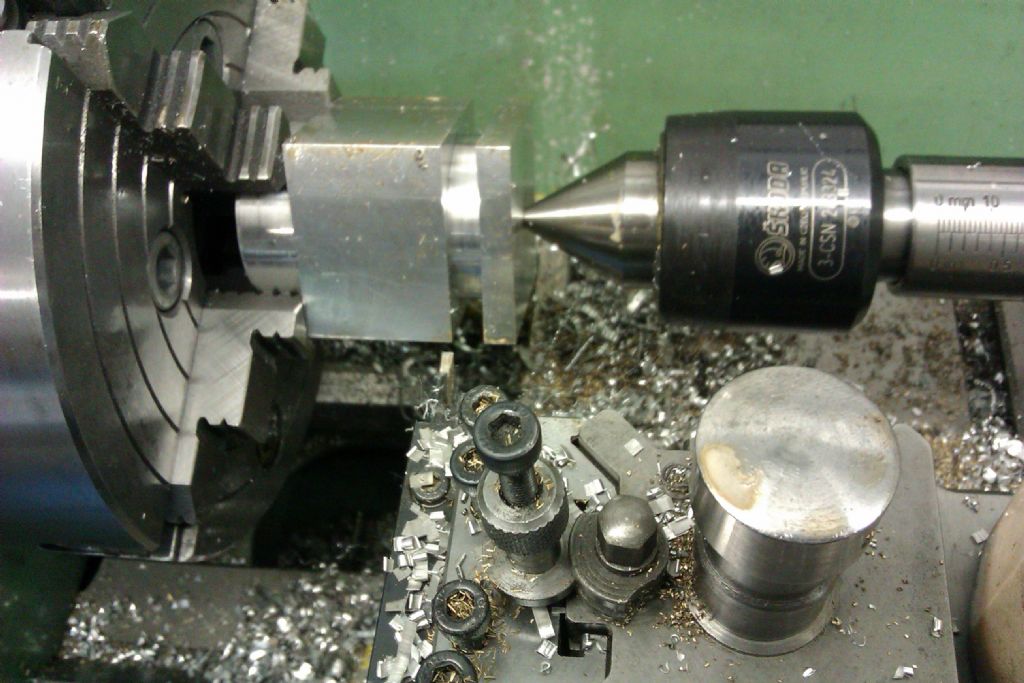
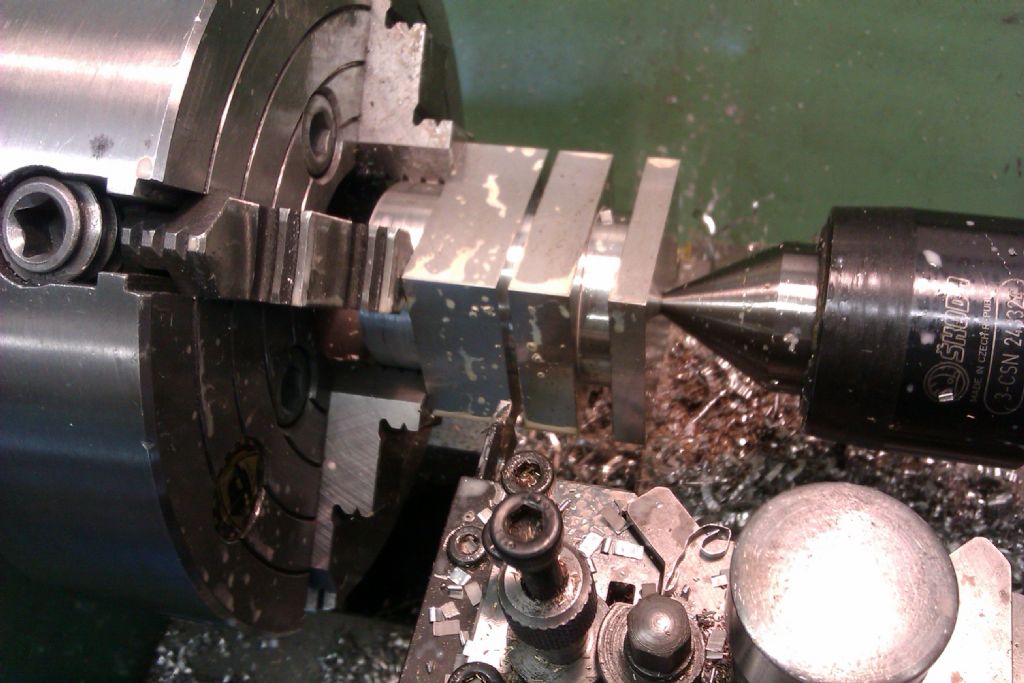
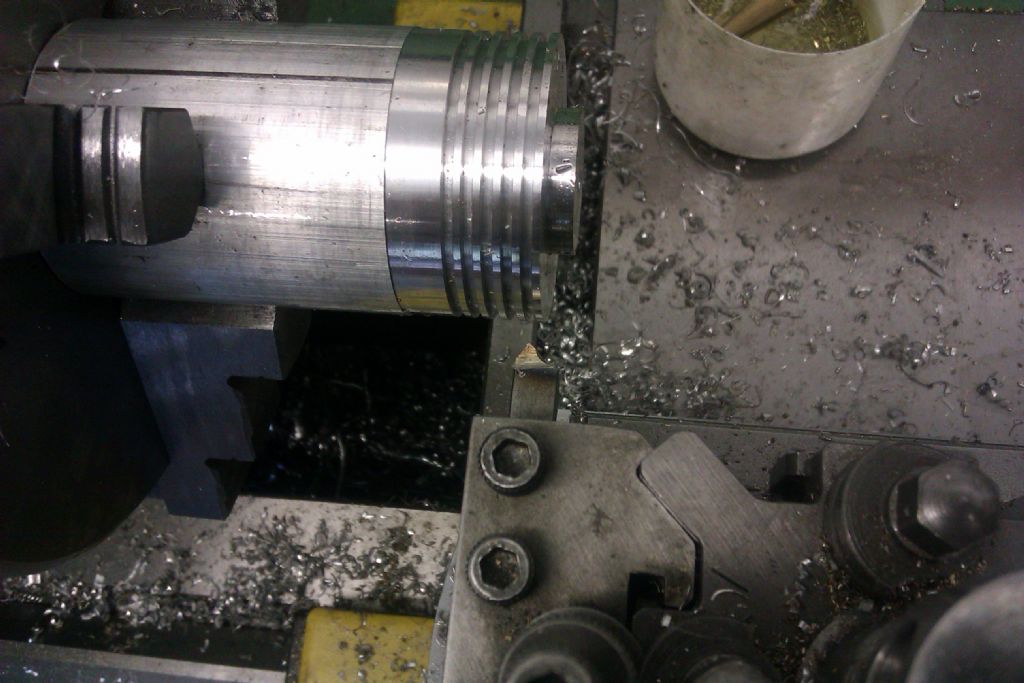
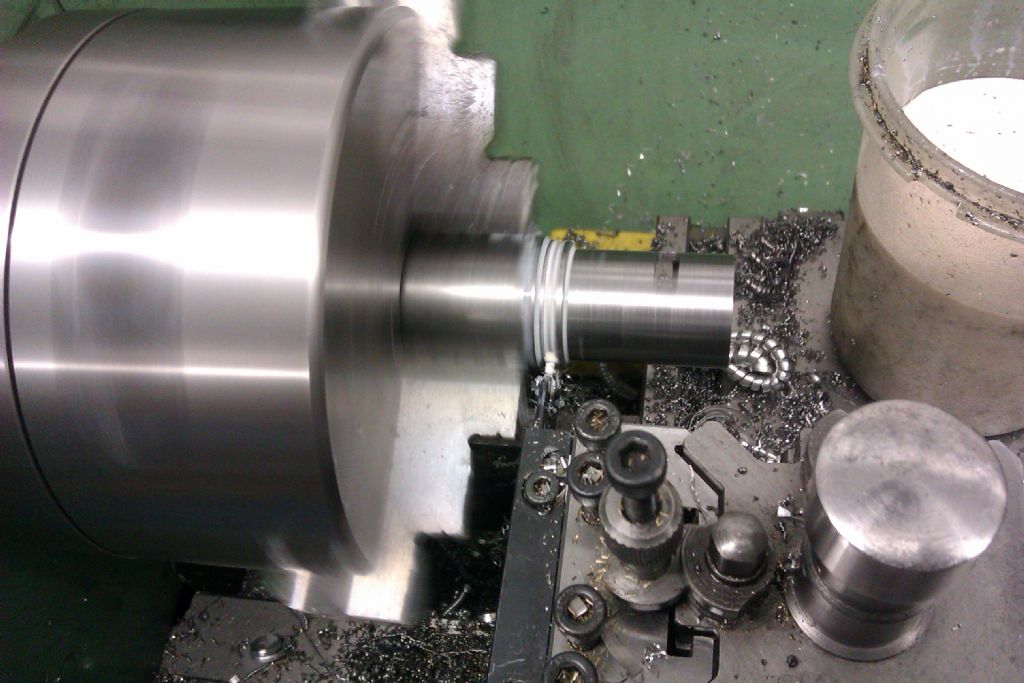
The end was then faced and deeply centre drilled and the tailstock centre brought up for support. A parting tool was then used to establish the top of the mounting flange and underside of the exhause block. Then the same tool used to cut the top face of the exhaust block And then most of the material between this cut and the chuck removes, I used a series of plunge cuts and then traversed with the parting tool to remove the last 0.2mm The tailstock centre was then withdrawn and the flange machined to thickness and , the spigot was machined to fit the cranckcase testing to get the right fit. And with the dia correct the spigot was trimmed back to 2mm long With the tailstock back in place the grove and chamfer around the top of teh barrel were machined Cont'd |
| JasonB | 28/06/2012 20:20:21 |
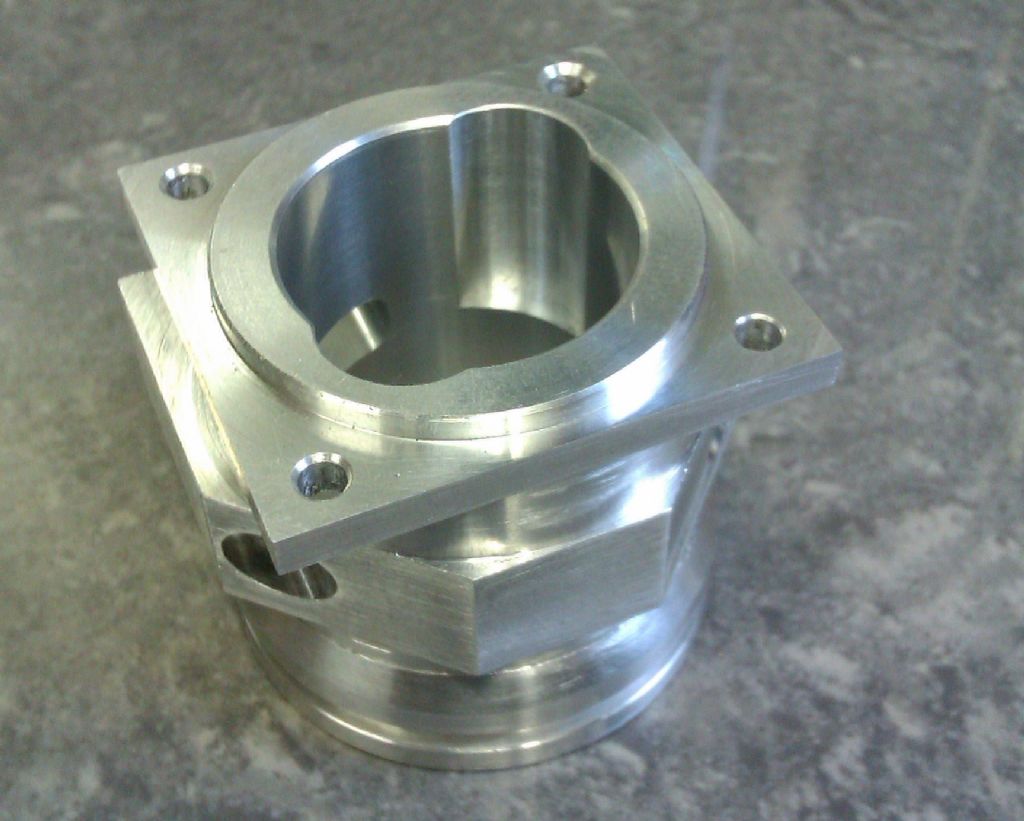
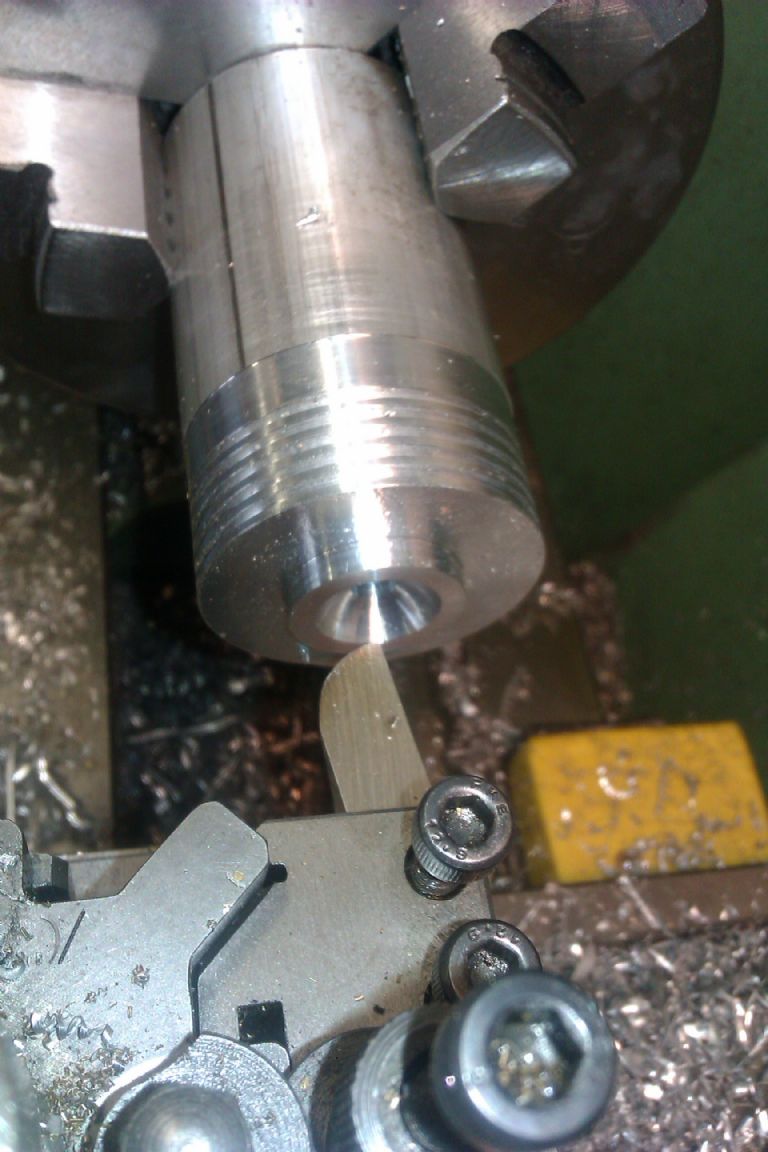
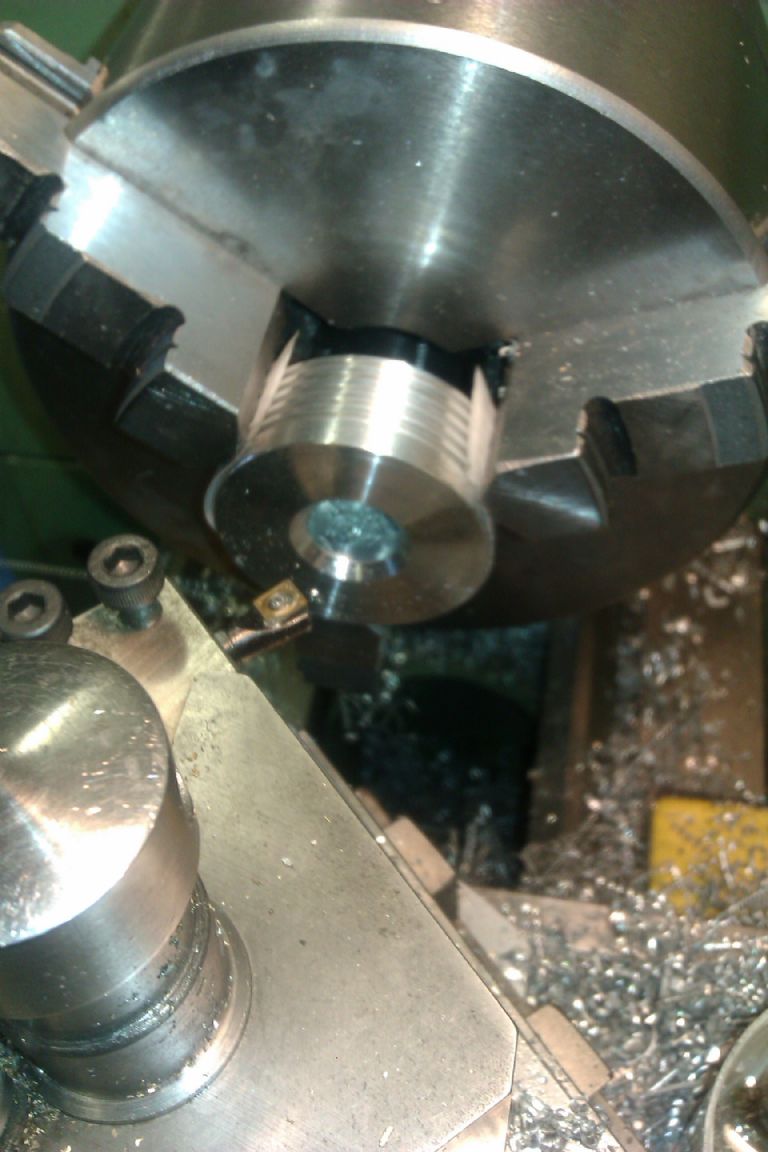
25215 forum posts 3105 photos 1 articles | With all the external turning done the inside was drilled out in steps to 5/8" and then bored to 25mm. The edge of teh hole & spigot were chamfered and then the whole thing parted off a bit overlength, I parted most of the way through then completed with a saw rather than have the finished part drop. With the top facing out the barrel was clocked true in the chuck Then faced back to finished length and the edges chamfered Its was then over to the mill and the centre of the bottom of the bore clocked in The 4 mounting holes were then spotted and drilled Next the two sides of teh mounting flange were machined back to size checking against the crankcase Followed by the front & back A 12mm cutter was zeroed in on the flange using "fag paper" to gauge th eposition The two transfer ports were then formed by plunge cutting with the 12mm cutter, note the two blobs of marker to make sure the transfer ports go where they are meant to. The two side faces of teh exhaust block were then machined to finish size, note the slight burrs from the blunt cutter.
Cont'd
|
| JasonB | 28/06/2012 20:50:04 |
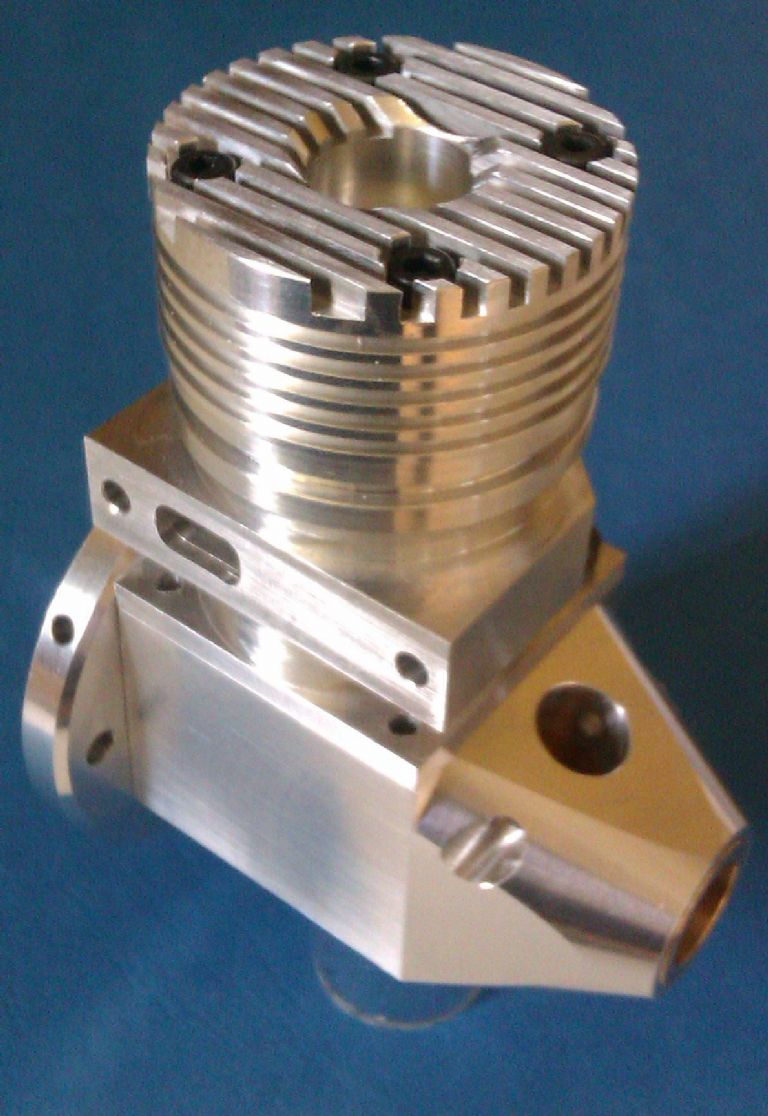
25215 forum posts 3105 photos 1 articles | With the burrs removed the centre of the surface was located and then the two silencer mounting holes spotted, drilled and counterbored with a 1/4" FC-3 cutter. As they are quite deep holes I drilled half way from this side and then the rest from the silencer mounting face. The barrel was then set to 45deg using the angle box and with a sharp cutter this time the chamfer machined to a premarked line just like the carb face was done, repeat for the other chamfer Flip teh part over, machine back to finished width, complete drilling and then mill out the exhaust port. I went as far as I could with a standard length cutter and then changed to a long series one to complete the passage. The final job was to drill and tap the four head fixing holes, just like the crankcase was done.
And to finish off tonight here are a few quick snapps of teh finished part, save for a bit of final cleaning up. J Edited By JasonB on 28/06/2012 20:50:37 |
| JasonB | 01/07/2012 20:14:14 |
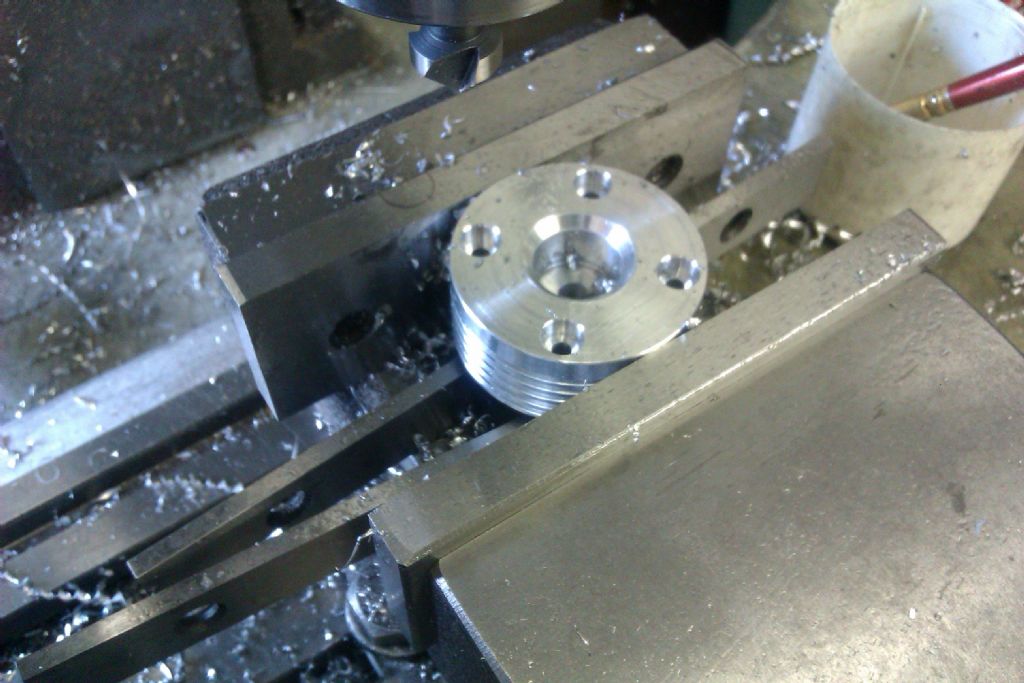
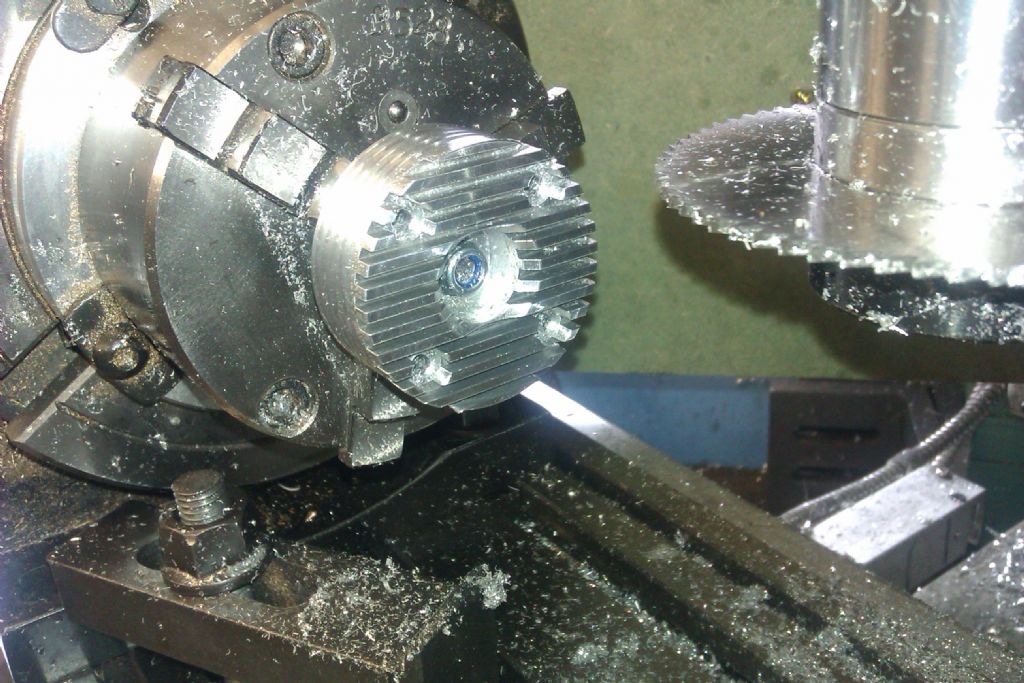
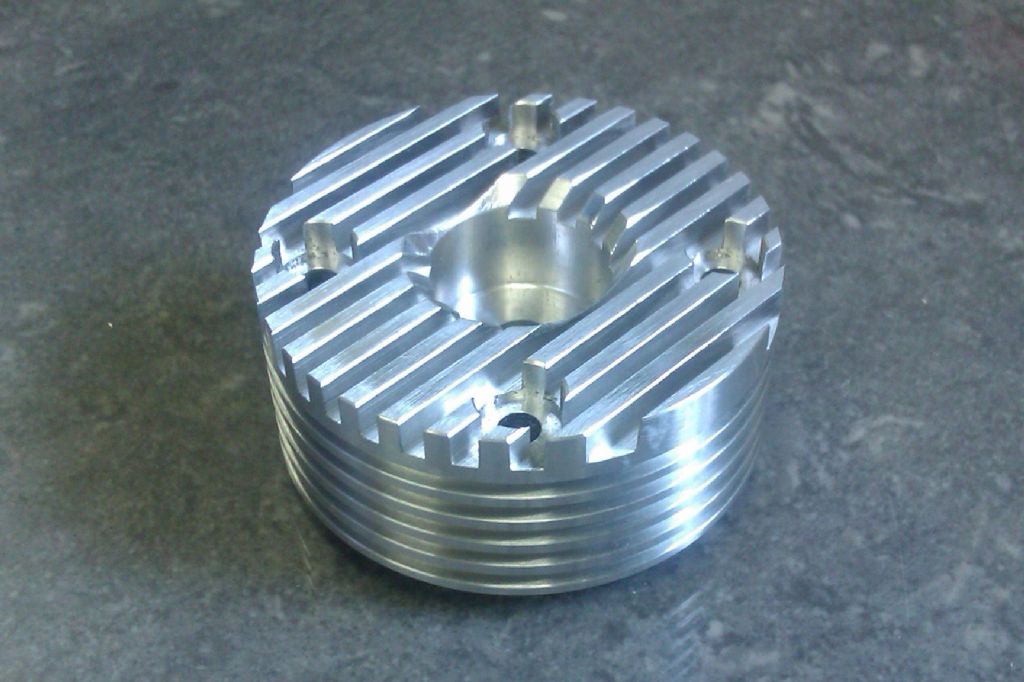
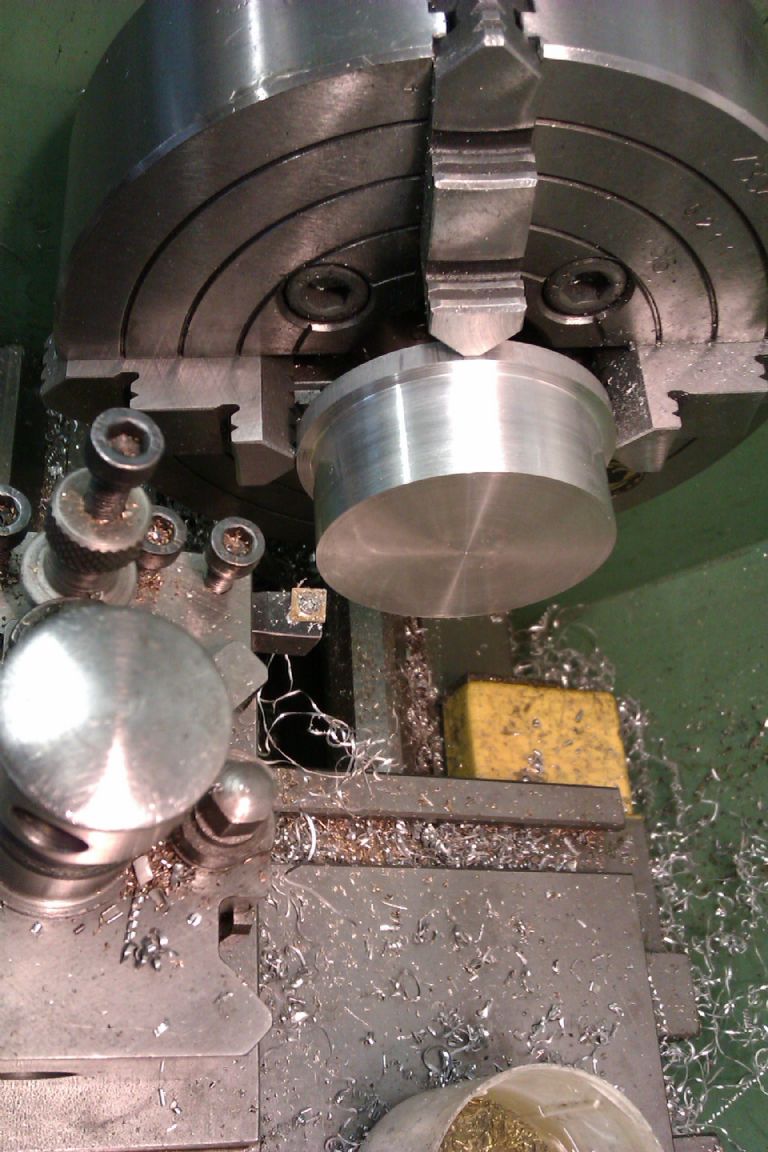
25215 forum posts 3105 photos 1 articles | Cylinder Head Before starting I should point out that I have deviated from the drawings slightly, nothing major only cosmetic changes. A length of 1 5/8" bar was chucked, faced, center drilled and then the outside skimmed to just remove enough metal to get a clean surface, this became my finished OD - 41.1mm slightly up on the drawings 40mm. The spigot was machined to size and then the tailstock centre brought up to give support while the cooling fins/grooves were cut. I went for a different pattern of 0.050" fin, 0.050" groove, etc as this suited my 50thou parting tool and gave me room to get an extra groove. Due to the larger diameter I also increased groove depth from 1.8mm to 2.5mm The edges of the fins were tidied up with a small cut from the usual chamfer tool. A form tool for the "hemi" head was ground up from a 3/8" HSS blank with plenty of clearance to stop it rubbing on the bottom of the cut, did not bother with any top rake and it gave a good chatter free cut over its whole width at about 250rpm. The head was then parted off over length, reversed in the chuck, faced, bored and the chamfer around the plug hole added with a small boring bar. I made the head 1mm taller than drawing. I picked up the centre of the plug recess in the mill and then set the four holes from there, drilled 3.1 (3.5mm on the drawings seemed a bit excessive clearance for M3) and counterbored with a FC-3 cutter followed by a quick touch with the CSK. The reason for making the head that extra 1mm long was so I could have a bit of fun with a slitting saw. The head was set square in the rotary table chuck by using a tri-square against two drill bits pushed into the bolt holes and then the saw set to centre of the head. I worked out a suitable spacing and then took a series of 1/8" deep cuts across the head. Note the M5 nut in the plug hole, this is screwed to a rod that passes through the rotary table with a nut and washer on the other end to hold the head into the chuck, I was worried the saw may pull it out of the chuck as the spigot is quite short to grip. After a bit of de-burring with a needle file this is what the finished head looks like Cont'd
Edited By JasonB on 01/07/2012 20:14:41 |
| JasonB | 01/07/2012 20:37:54 |
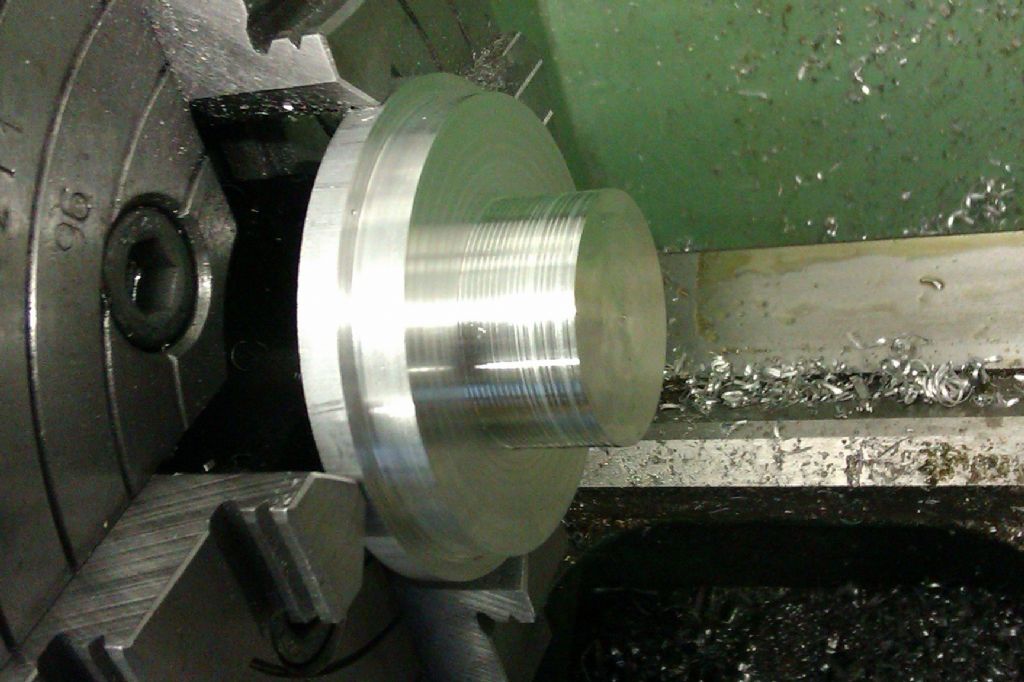
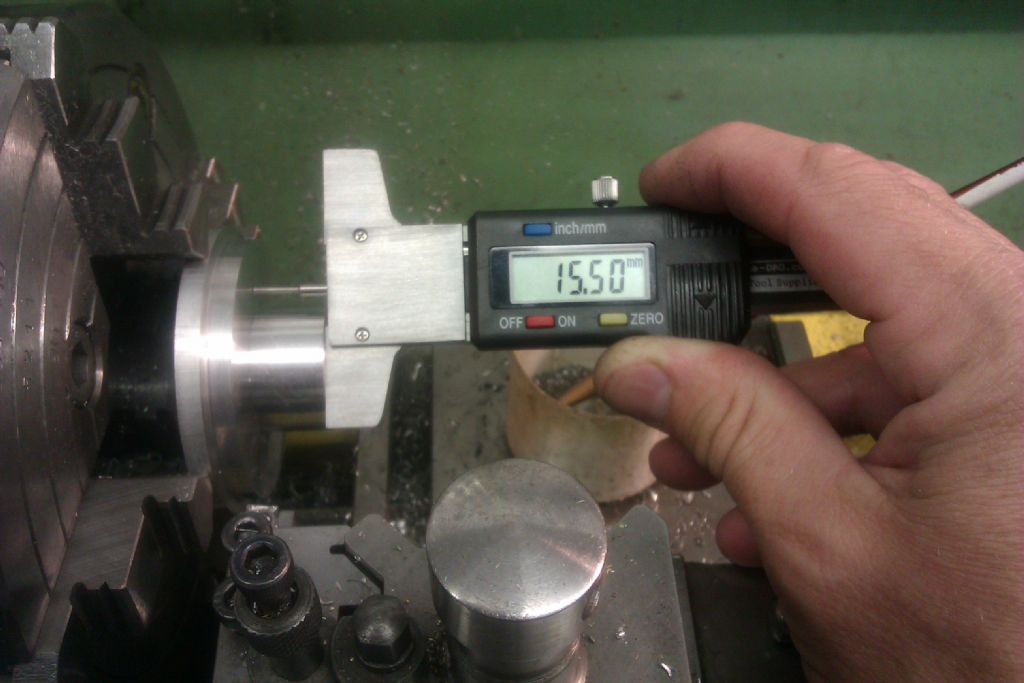
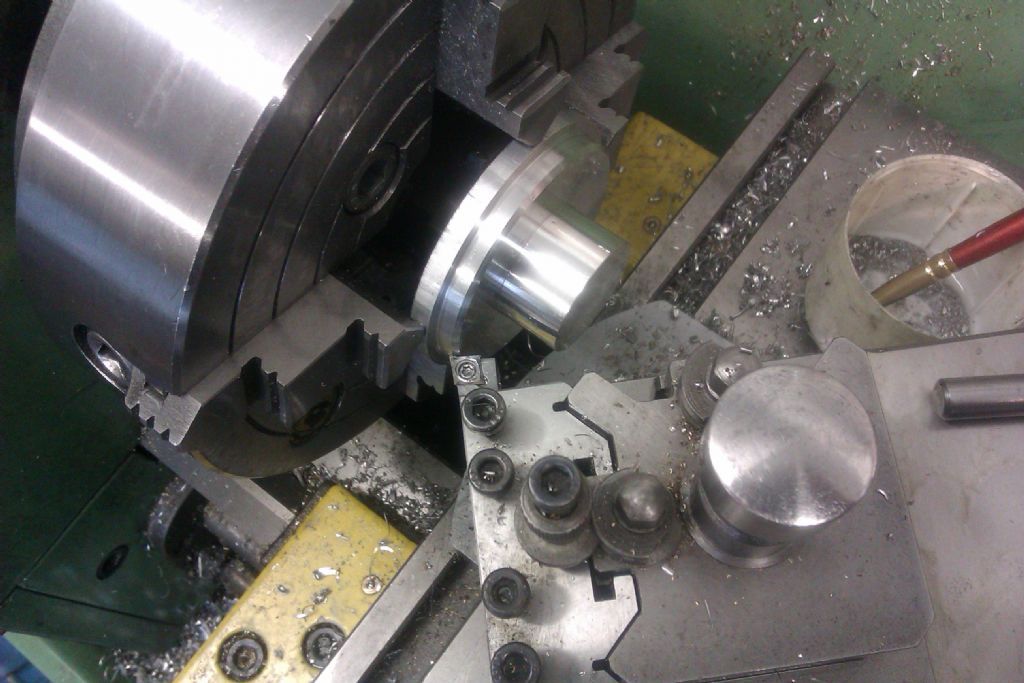
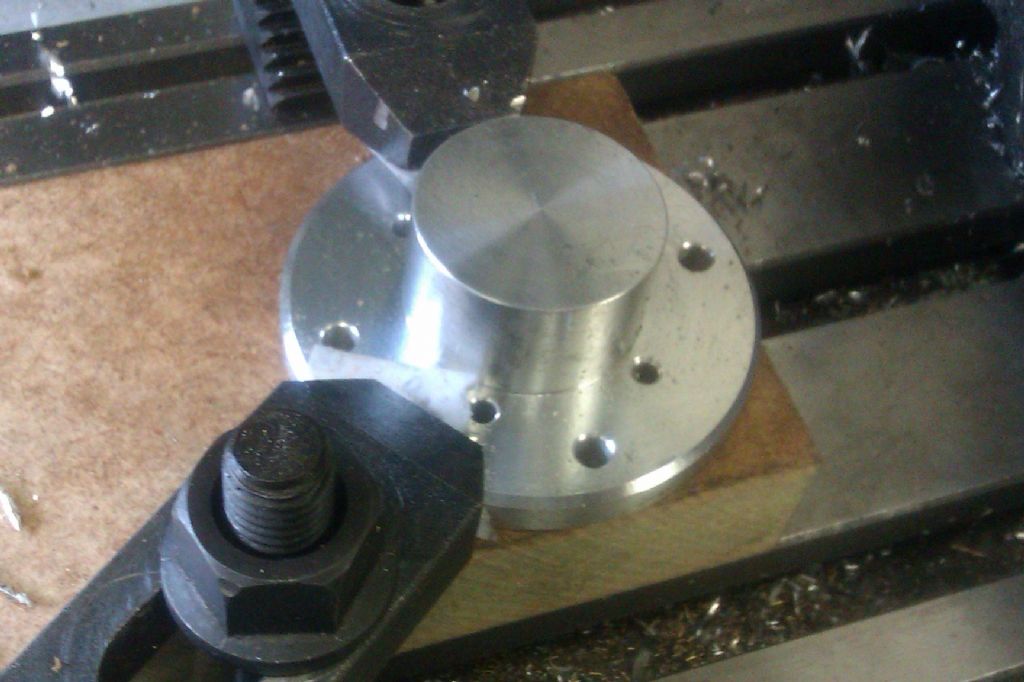
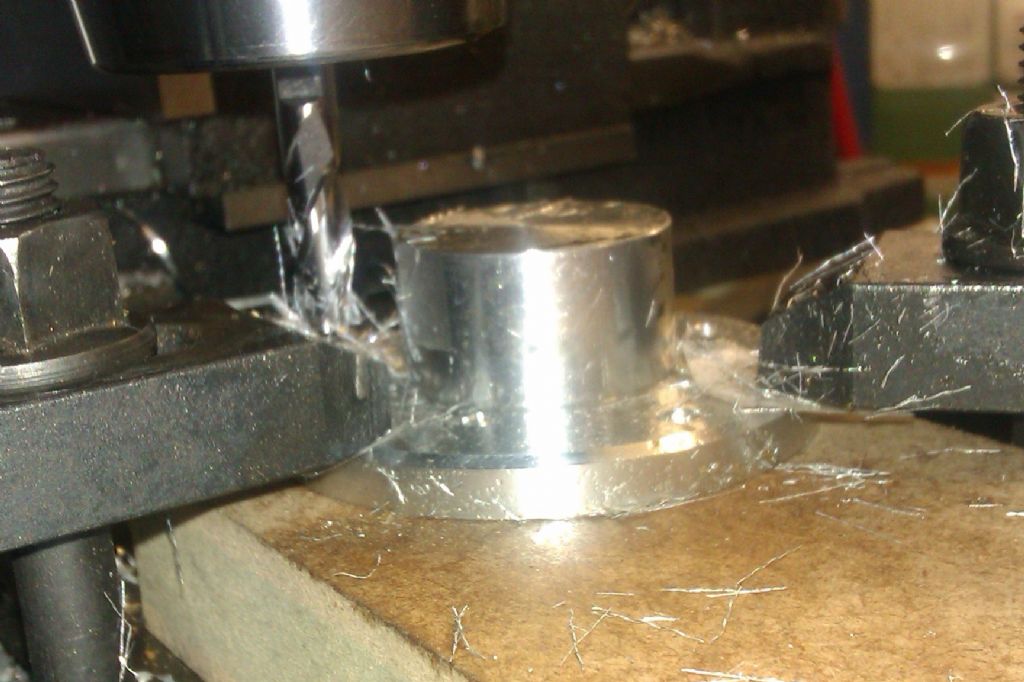
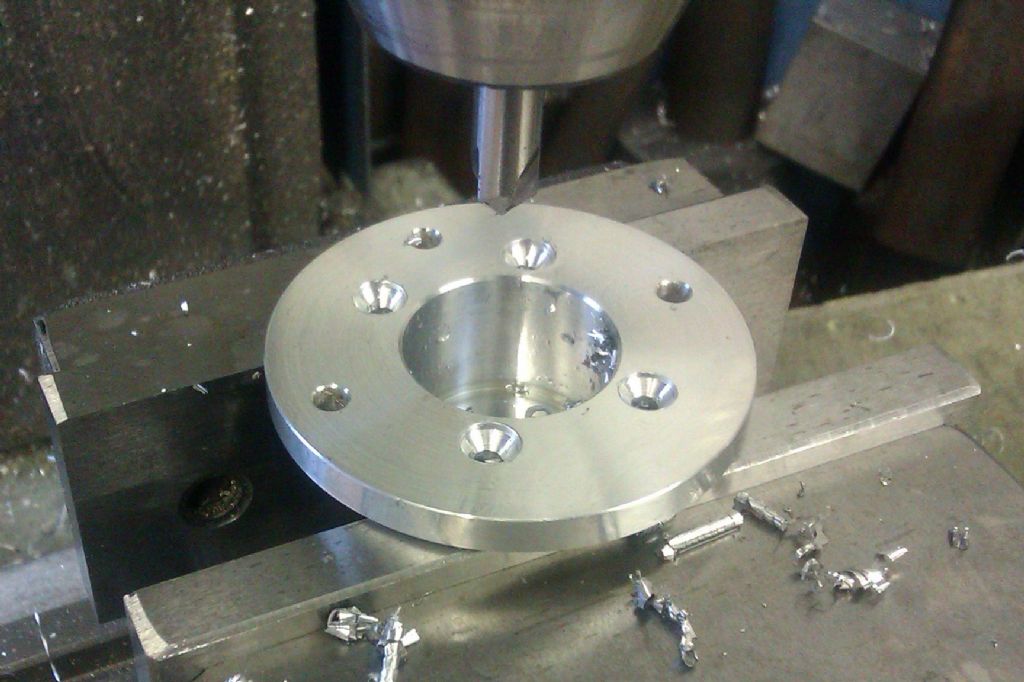
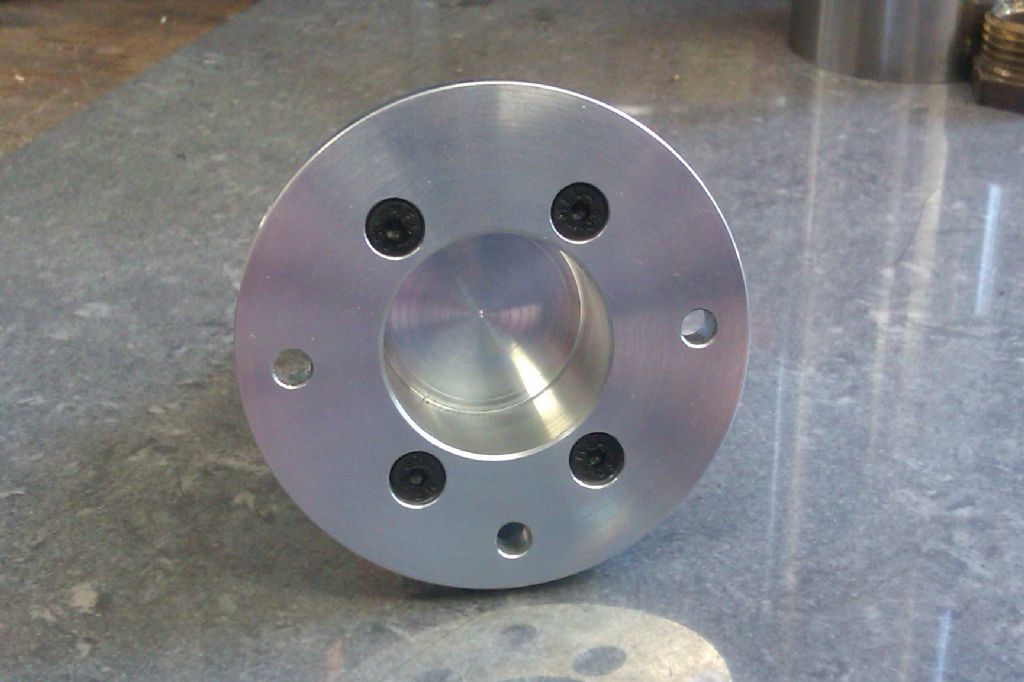
25215 forum posts 3105 photos 1 articles | Just before starting the next bit I should have said that the UNEF tap required for the glow plug can be obtained from Model Fixings who will also have the socket head screws needed for the engine if you don't have any to hand. Usual disclaimer. Backplate A 1" slice of 2 1/2" HE30 was mounted in the 4 jaw as that was on the lathe at the time and faced & turned to the 57mm dia. The majority of the waste was roughed off and then the part left to cool. Once cool there was no risk of the spigot contracting so it wa smachined to a push fit in the 28.2mm crankshaft, test the fit in the hole rather than measuring. Notice the fine whispy swarf, how said you can't take half a thou off with carbide tooling. The spigot can then be faced back to the finished 15.5mm and the edge lightly chamfered. The larger camfer on the backplate can now be done by swinging teh topslide over to 45deg With the finished surface protected by paper the flange can be faced back to 5.7mm finished thickness. Work up through the drill sizes as before to take out some of teh waste from the recess and to allow a decent thickness boring bar to enter. Bore out to dia and depth and finish with a chamfer to all edges Hold the work, locate centre and then spot the seven hole positions Open out to M3 clearance and 4mm as required on the drawings and clean the edges with a CSk if you did not deep spotdrill. While the holes are all aligned with the mill axis cut the shallow flat on the top of the spigot Turn the backplate over and CSk tehe four holes, clean the other 3. Cont'd
|
| JasonB | 01/07/2012 20:44:34 |
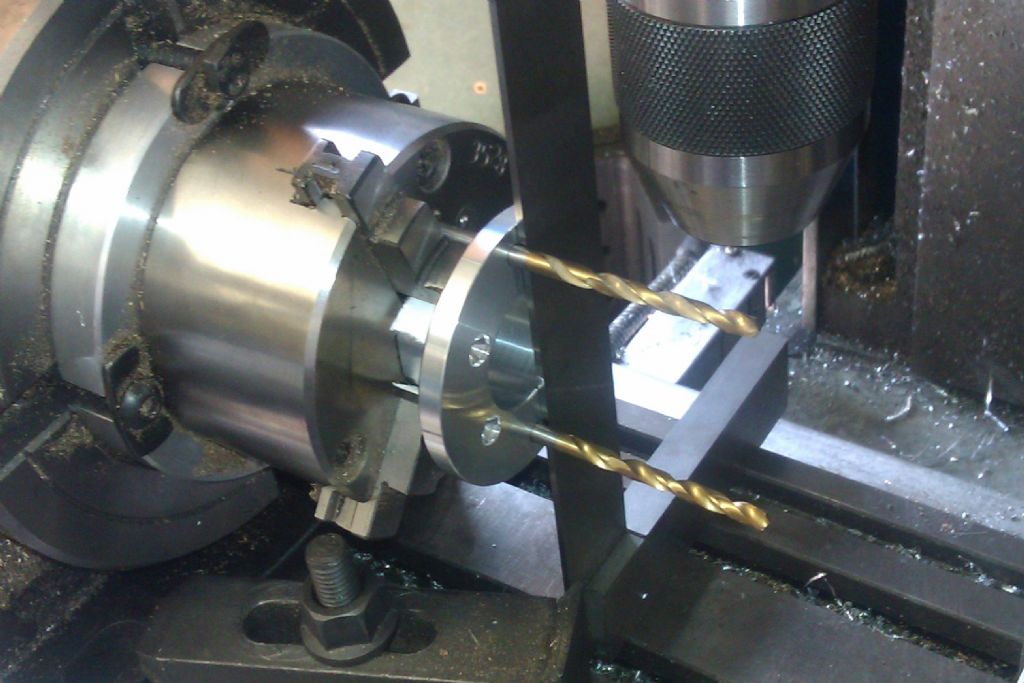
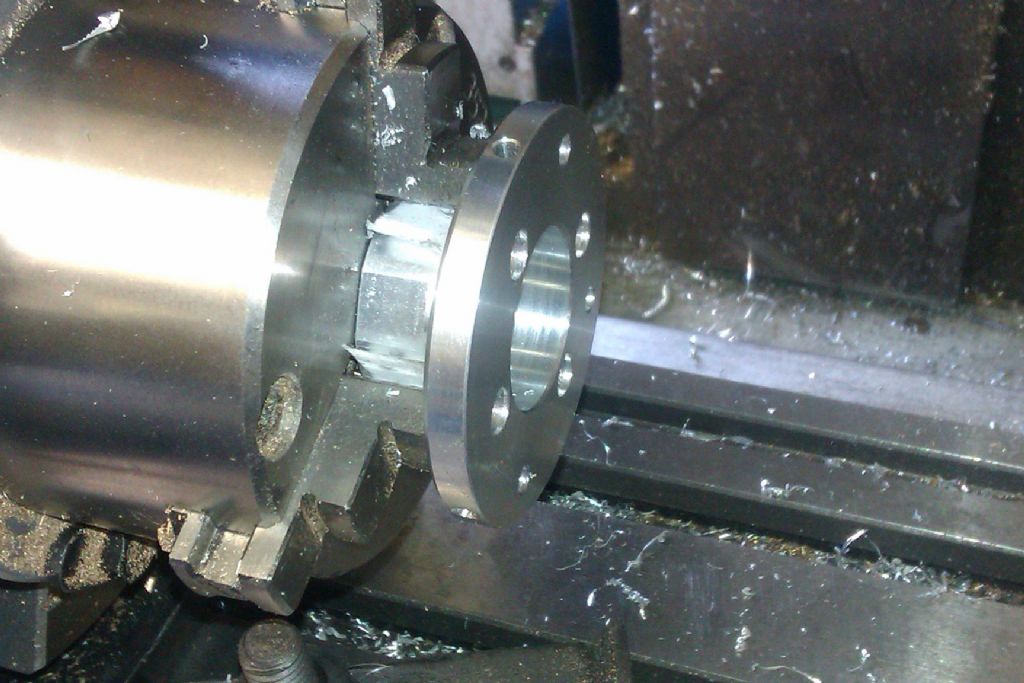
25215 forum posts 3105 photos 1 articles | Set the backplate square in the rotary table chuck using the two drills and tri-square method. Then wind it 35deg each way, spot and drill though 1/8" to suit your pipes. There is no front to back dimension given for these two holes but I set mine 2.5mm in from the back of the plate. And this is the finished backplate Add a couple of screws and this is where we are upto at the moment. I'm going to do a bit on my Domestic Hit & miss engine so may not add anymore for a week or so. |
| Jeff Dayman | 01/07/2012 20:46:04 |
| 2356 forum posts 47 photos | Hi Jason, The head and rear spigot look great, except for that one fin on the head that is .00018" too wide.... (I'm joking of course, the whole engine to date is a fine job!) JD |
| Glenn Royds | 04/07/2012 23:51:21 |
6 forum posts | Hi Jason I was just surfing on Google and spotted your build photographs so had to join the forum, I would like to thank for your excellent conrtibution to the Firefly 46 build. To introduce myself I'm Glenn Royds the CAD monkey who produced the 3D Firefly drawings for Alex Whittaker. We have had several engines created from the drawing set so hopefully you should have little difficulty creating a working engine. If you are unsure about any dimensions please shout out however the 3D PDF is to scale and can be relied upon to verify a dimension although my intention in created it was to make it easy to visualise the component parts. I have not created the engine myself I basically reverse engineered as a virtual 3D model from Alex's prototype and added a few tweaks to loose some lard and make it look pretty Please Note I cannot help out with engineering method/problems this is the proving groups domain. I do like the addition fin work/cylinder head mod. Keep up the good work Cheers Glenn
|
| JasonB | 05/07/2012 17:31:00 |
25215 forum posts 3105 photos 1 articles | Thanks Glenn, they are indeed a nice set of drawings. The 3D pictures should be a great help to any beginners as its often hard to visualise a part in 2D and this is certainly the way forward. I must get myself a decent programme and sit down to learn it, I'm still a pencil & paper man myself.
J |
| JasonB | 08/07/2012 18:00:22 |
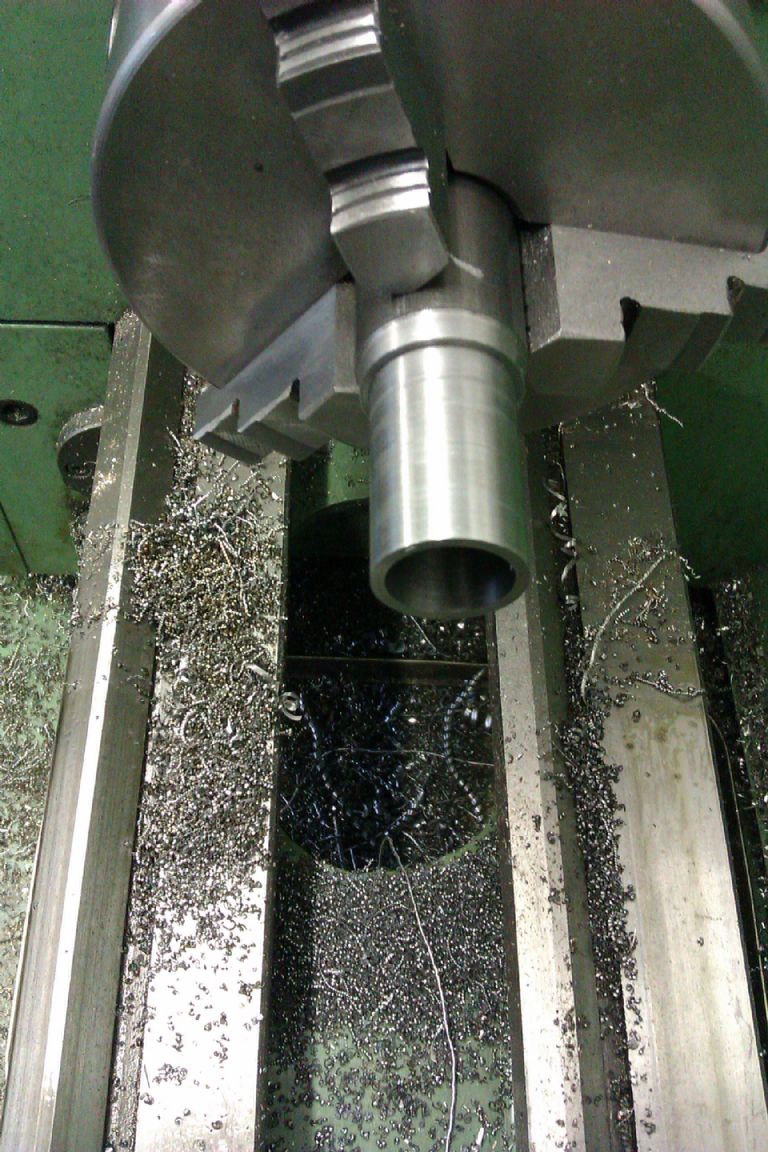
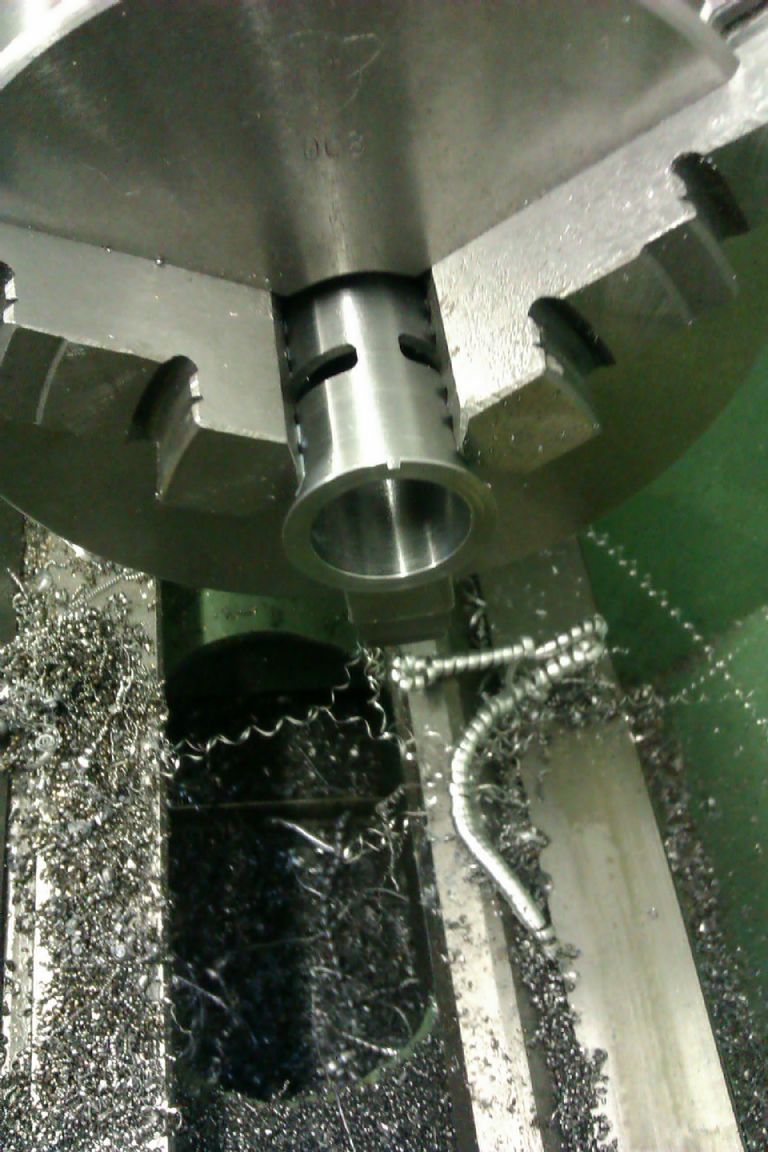
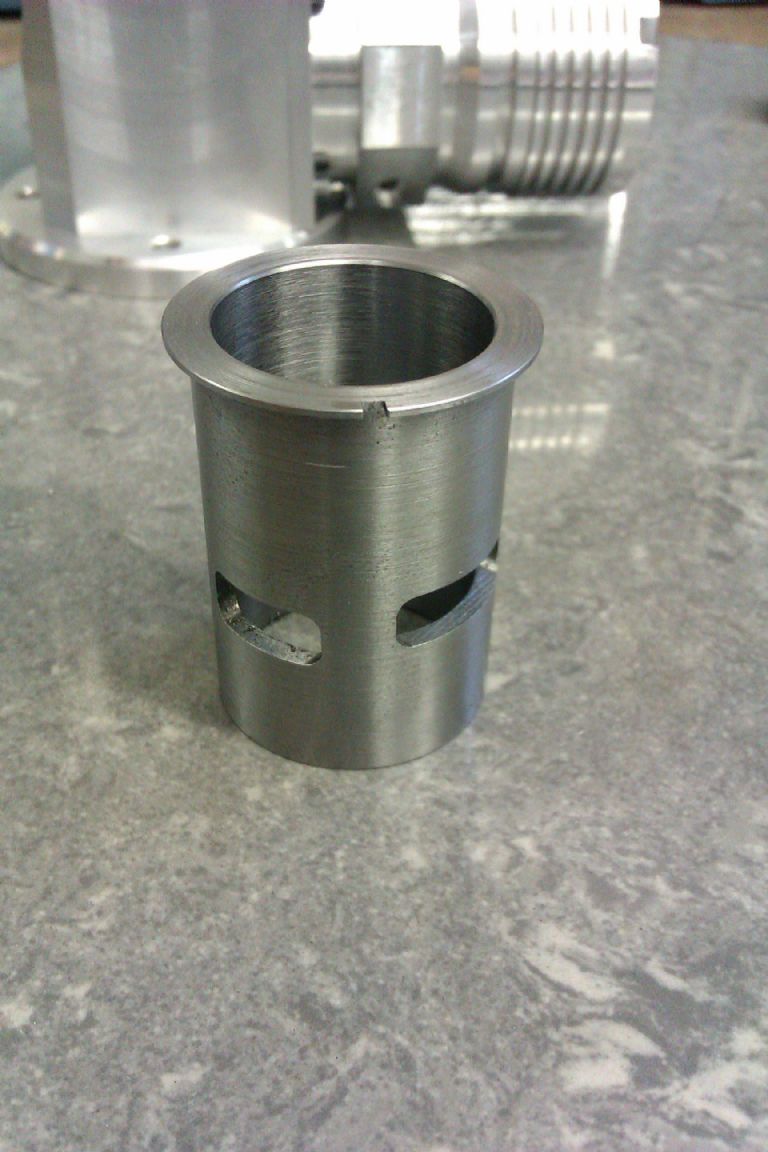
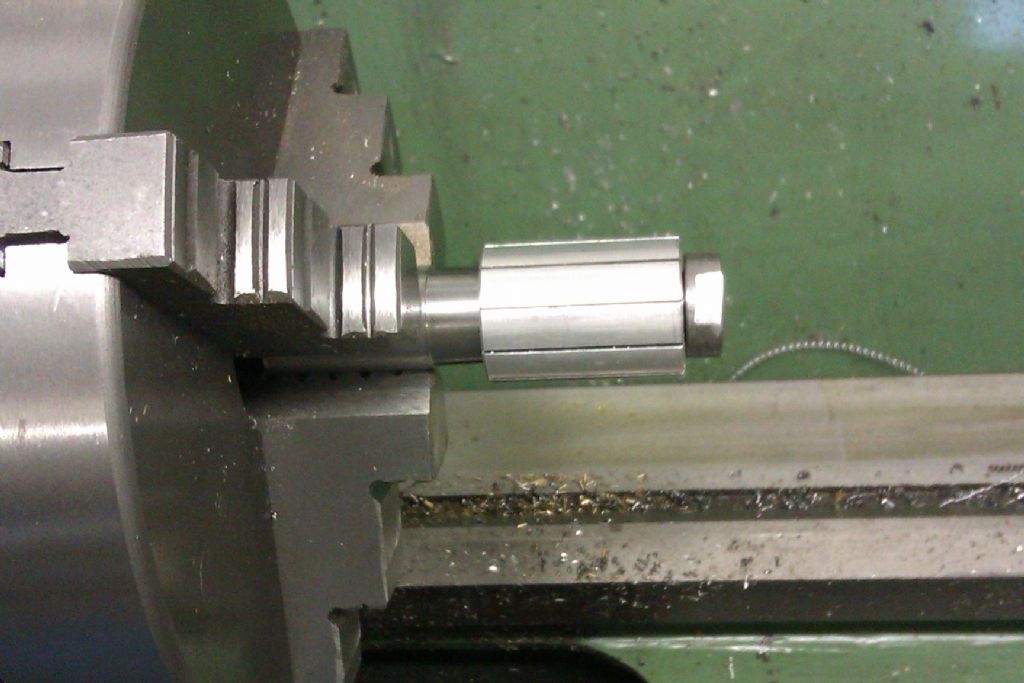
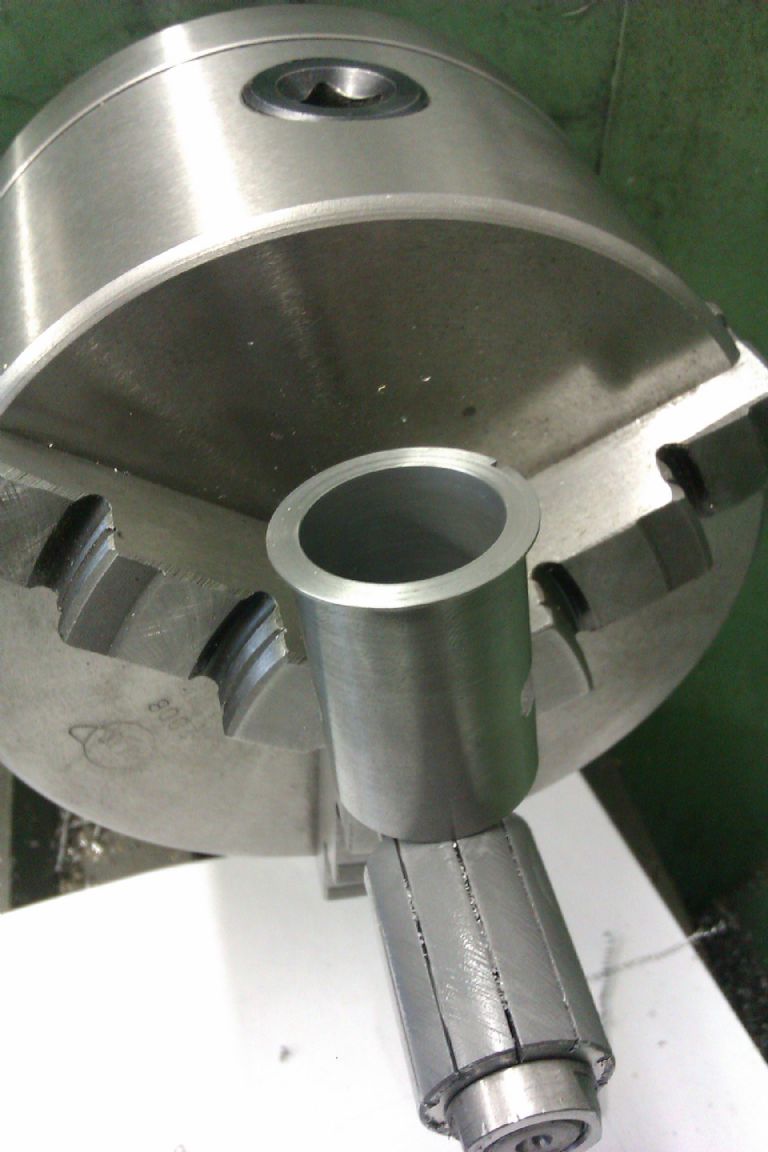
25215 forum posts 3105 photos 1 articles | Well I could not stay away from the engine for long! I have deviated from the drawing number sequence as I wanted to make the piston to fit the liner rather than the other way round. Cylinder Liner A length of 30mm EN8 - cheaper than 1 1/8" - was roughed out with about 0.020" to come off all faces. The outside was then turned to a firm push fit into the barrel and the inside bored to 21mm I made up a plug to go into the end of the liner so the rotary table tailstock could be used, this let me support the work away from the R/T chuck without the collet holder hitting the jaws and proceded to mill out the ports with a 3mm FC-3 cutter. While in the R/t chuck I also used a 1/16" endmill to put a locating slot into the flange rather than a vee. Back to the lathe and the liner was parted off a little over length, reversed, lightly held and the flange faced back to 0.75mm and all edges chamfered. And this is the finished liner ready to have the inside lapped.
Edited By JasonB on 08/07/2012 18:02:13 |
| Glenn Royds | 08/07/2012 21:42:14 |
6 forum posts | Wow excellent work Jason you are a glutten for punishment. For everybody's info there is a lot of meat in the liner this was deliberate move to avoid distorsion when milling the ports. If you compare this with mass produced japanese engines the liner thickness on the Firefly is way over the top, commercial liners are wafer thin in comparison and appear to be pressed then honed to size unfortunately we don't have this luxury. Maybe we could have gone bigger in the bore get more capacity but at the risk of some folk scrapping their liners depending upon the quality of their machinery and tooling. Keep up the good work. Glenn
|
| JasonB | 15/07/2012 13:37:45 |
25215 forum posts 3105 photos 1 articles | With the machining complete on teh cylinder liner it was now time to lap the bore for a good finish. I can't take any credit for the lap design, its based on one Ramon used for his ETA & Supertiger builds, basically a tapered rod with a nut on the end to drive the taper bored lup up the taper to expand it. The lap was charged with a mix of 320g powder and oil and then the cylinder worked up and down while the lathe ran quite slowly. You can see the matt fionish produced. After a thorough clean the process was repeated with 600gmix Cleaned again and finally done with 1000g mix with a lot of oil. With the lapping done the liner could be used to gauge the finished size of the piston. Cont'd |
Please login to post a reply.
Want the latest issue of Model Engineer or Model Engineers' Workshop? Use our magazine locator links to find your nearest stockist!
Sign up to our newsletter and get a free digital issue.
You can unsubscribe at anytime. View our privacy policy at www.mortons.co.uk/privacy
- *Oct 2023: FORUM MIGRATION TIMELINE*
05/10/2023 07:57:11 - Making ER11 collet chuck
05/10/2023 07:56:24 - What did you do today? 2023
05/10/2023 07:25:01 - Orrery
05/10/2023 06:00:41 - Wera hand-tools
05/10/2023 05:47:07 - New member
05/10/2023 04:40:11 - Problems with external pot on at1 vfd
05/10/2023 00:06:32 - Drain plug
04/10/2023 23:36:17 - digi phase converter for 10 machines.....
04/10/2023 23:13:48 - Winter Storage Of Locomotives
04/10/2023 21:02:11 - More Latest Posts...
- View All Topics
- Reeves** - Rebuilt Royal Scot by Martin Evans
by John Broughton
£300.00 - BRITANNIA 5" GAUGE James Perrier
by Jon Seabright 1
£2,500.00 - Drill Grinder - for restoration
by Nigel Graham 2
£0.00 - WARCO WM18 MILLING MACHINE
by Alex Chudley
£1,200.00 - MYFORD SUPER 7 LATHE
by Alex Chudley
£2,000.00 - More "For Sale" Ads...
- D1-3 backplate
by Michael Horley
Price Not Specified - fixed steady for a Colchester bantam mark1 800
by George Jervis
Price Not Specified - lbsc pansy
by JACK SIDEBOTHAM
Price Not Specified - Pratt Burnerd multifit chuck key.
by Tim Riome
Price Not Specified - BANDSAW BLADE WELDER
by HUGH
Price Not Specified - More "Wanted" Ads...
Do you want to contact the Model Engineer and Model Engineers' Workshop team?
You can contact us by phone, mail or email about the magazines including becoming a contributor, submitting reader's letters or making queries about articles. You can also get in touch about this website, advertising or other general issues.
Click THIS LINK for full contact details.
For subscription issues please see THIS LINK.
Model Engineer Magazine
- Percival Marshall
- M.E. History
- LittleLEC
- M.E. Clock
ME Workshop
- An Adcock
- & Shipley
- Horizontal
- Mill
Subscribe Now
- Great savings
- Delivered to your door
Pre-order your copy!
- Delivered to your doorstep!
- Free UK delivery!



 Register
 Log-in


