Forum sponsored by:

Part built Allchin 1.5 inch
| derek blake | 30/01/2019 21:17:15 |
| 586 forum posts 151 photos |
|
| derek blake | 30/01/2019 21:17:42 |
| 586 forum posts 151 photos |
|
| derek blake | 30/01/2019 21:20:06 |
| 586 forum posts 151 photos |
|
| derek blake | 30/01/2019 21:20:36 |
| 586 forum posts 151 photos |
|
| JasonB | 31/01/2019 08:26:35 |
 25215 forum posts 3105 photos 1 articles | Right here we go. First sketch is what you currently have on the top and the book sizes at the bottom with valve at the mid point.
And now at full valve travel. With the large amount of lap and the overall width of the ports not being that different you will get fairly similar running. I would be inclined to leave as is for now.
If you do find it won't run well then it is not too hard to change the valve at a later stage, this has the top valve reduced in overall length an the cavity reduced, at mid point
Part way along the inlet now opens at the same time as the drawing version
And at full eccentric throw
If you do decide to alter it then the overall needs to be 19.78mm and the cavity 10.34mm, you could solder in some metal to reduce the cavity of just make up a new valve from scratch.
|
| derek blake | 31/01/2019 08:42:59 |
| 586 forum posts 151 photos | Thank you so much Jason. I'm really surprised that it would still work with the valve not fully covering the exhaust when in mid point, but that's why I'm not an expert but I do need to learn how it all works. I will leave alone for now then and see how we go, are you saying that the cylinder block will be fine and the only thing we would need to change is the valve itself? which of course would be a lucky escape for me. many thanks again for taking time to look into this for me. |
| derek blake | 31/01/2019 08:45:34 |
| 586 forum posts 151 photos | what I have found is the valve casting cavity is actually oversized compared to the drawing anyway, and that was without me even touching it. I guess the casting just wasn't very good. |
| JasonB | 31/01/2019 08:49:31 |
25215 forum posts 3105 photos 1 articles | Yes the cylinder can be left as it is. You may loose a bit of economy and power but the little Allchin is not the type of engine that is going to be rallied every weekend and expected to do road runs. |
| derek blake | 31/01/2019 09:16:34 |
| 586 forum posts 151 photos | Thanks very much Jason, and everyone else who commented. |
| derek blake | 31/01/2019 09:19:05 |
| 586 forum posts 151 photos | Just one last question, if you wanted to use the valve casting I have but reduce the steam cavity how would YOU go about it? Thank you in advance
|
| JasonB | 31/01/2019 09:31:25 |
25215 forum posts 3105 photos 1 articles | You could silver solder a piece of similar metal into the cavity. Probably even be OK to use something like JB Weld to build up the edge and then that is easy to trim back to size, should take the temperature OK. Another option would be to file off the lower half and then make a new piece with a suitable hole in it and then silver solder that back onto the top half. I've made a few valves that way.
|
| derek blake | 31/01/2019 09:33:55 |
| 586 forum posts 151 photos | Right ok I'm with you, the steam cavity itself has an angled curve within is that critical and must match drawing? sorry for all the questions but trying to learn. |
| JasonB | 31/01/2019 09:43:43 |
25215 forum posts 3105 photos 1 articles | Does not have to be shaped |
| Andrew Johnston | 31/01/2019 09:44:16 |
 7061 forum posts 719 photos | Posted by derek blake on 31/01/2019 09:33:57:
......the steam cavity itself has an angled curve within is that critical and must match drawing?
I wouldn't think so. The cavity only controls the exhaust, steam inlet is controlled by the outside edges of the valve. In theory you might want a small radius on the internal corners of the cavity to reduce turbulence. But in models where efficiency is unimportant it's not necessary. Andrew |
| derek blake | 31/01/2019 09:48:27 |
| 586 forum posts 151 photos | interesting, thanks very much guys its great to be able to learnt about these things. I find that a joy to understand what I'm doing. |
| derek blake | 02/02/2019 10:28:42 |
| 586 forum posts 151 photos |
Good morning all, hope everyone safe in this snow. Many thanks again for the help with the slide valve issue, exhaust hole now drilled from centre port to base of cylinder. Side hole I’ve not drilled yet as I’d like to have boiler and chimney together first to make sure all lines up, so the next two or three main stages are the regulator port in the top and the boring of the cylinder. Unfortunately even with all the will in the world I cannot do these operations on my lathe as there is just no way to clamp cylinder to it. It’s just too small and to be honest if I go off line I’ve ruined hours of work, with thanks to all on here I’m half way through the build more than I ever thought I would be and I’m proud I’ve got this far. However I am going to have to ship out for these two three operations, bore cylinder, mill regulator port area and drill connecting steam ways from bore to valve face. I’m not expecting anyone to be able to talk about machine shops on the forum but if anyone has used someone and can recommend there work please could you PM me, my original quote was £740+VAT im hoping that I’ve reduced that slightly now but doing the work I’ve done. I’d love to get this cylinder finished, and if that means I hand over for some precision finishing that’s fine by me as I never thought I’d get this far, it’s the confidence and help of this forum that I’ve got this far. Many thanks Derek
|
| Former Member | 02/02/2019 10:55:47 |
| 1329 forum posts | [This posting has been removed] |
| derek blake | 02/02/2019 11:07:00 |
| 586 forum posts 151 photos | Thank you Bill, that’s very kind |
| derek blake | 02/02/2019 13:40:10 |
| 586 forum posts 151 photos | Couldn’t resist seeing how it may all look, just stuck trunk guide on with some double sided tape, fingers crossed everything will line up.
|
| derek blake | 05/02/2019 21:41:58 |
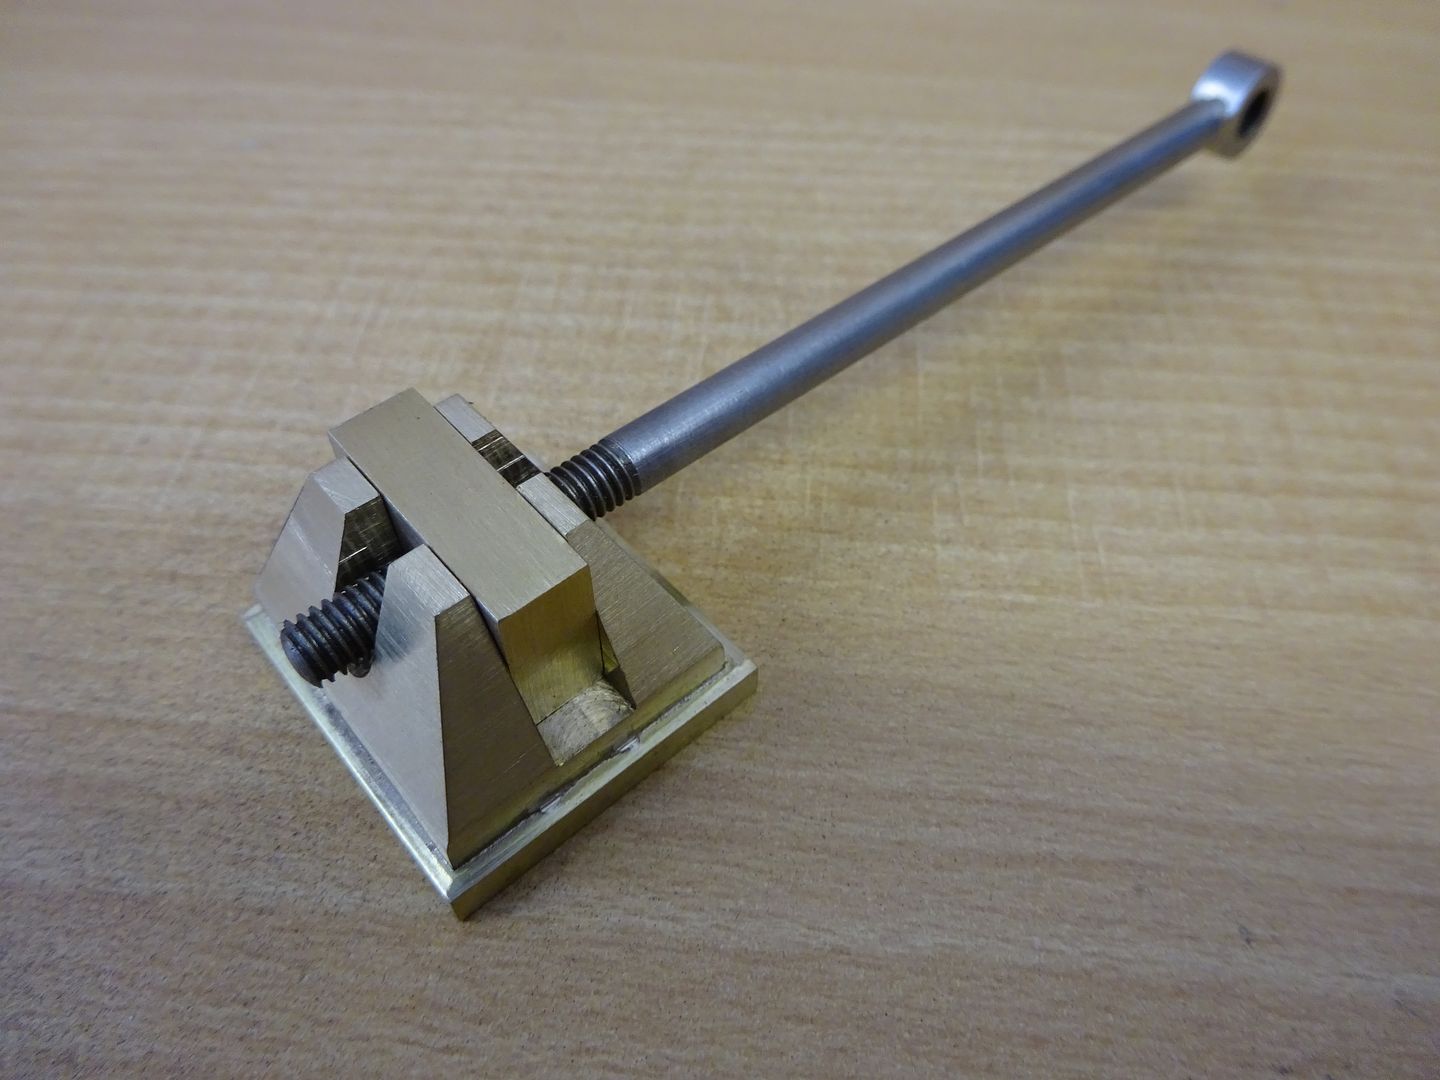
| 586 forum posts 151 photos | Evening all Little bit of work done tonight, thought I’d have a go at the Pickering governor gives me practice at least on the lathe.
|


Please login to post a reply.
Magazine Locator
Want the latest issue of Model Engineer or Model Engineers' Workshop? Use our magazine locator links to find your nearest stockist!
Sign up to our Newsletter
Sign up to our newsletter and get a free digital issue.
You can unsubscribe at anytime. View our privacy policy at www.mortons.co.uk/privacy
Latest Forum Posts
- hemingway ball turner
04/07/2025 14:40:26 - *Oct 2023: FORUM MIGRATION TIMELINE*
05/10/2023 07:57:11 - Making ER11 collet chuck
05/10/2023 07:56:24 - What did you do today? 2023
05/10/2023 07:25:01 - Orrery
05/10/2023 06:00:41 - Wera hand-tools
05/10/2023 05:47:07 - New member
05/10/2023 04:40:11 - Problems with external pot on at1 vfd
05/10/2023 00:06:32 - Drain plug
04/10/2023 23:36:17 - digi phase converter for 10 machines.....
04/10/2023 23:13:48 - More Latest Posts...
- View All Topics
Support Our Partners


Shopping Partners
Subscription Offer

Latest "For Sale" Ads
- Reeves** - Rebuilt Royal Scot by Martin Evans
by John Broughton
£300.00 - BRITANNIA 5" GAUGE James Perrier
by Jon Seabright 1
£2,500.00 - Drill Grinder - for restoration
by Nigel Graham 2
£0.00 - WARCO WM18 MILLING MACHINE
by Alex Chudley
£1,200.00 - MYFORD SUPER 7 LATHE
by Alex Chudley
£2,000.00 - More "For Sale" Ads...
Latest "Wanted" Ads
- D1-3 backplate
by Michael Horley
Price Not Specified - fixed steady for a Colchester bantam mark1 800
by George Jervis
Price Not Specified - lbsc pansy
by JACK SIDEBOTHAM
Price Not Specified - Pratt Burnerd multifit chuck key.
by Tim Riome
Price Not Specified - BANDSAW BLADE WELDER
by HUGH
Price Not Specified - More "Wanted" Ads...
Get In Touch!
Do you want to contact the Model Engineer and Model Engineers' Workshop team?
You can contact us by phone, mail or email about the magazines including becoming a contributor, submitting reader's letters or making queries about articles. You can also get in touch about this website, advertising or other general issues.
Click THIS LINK for full contact details.
For subscription issues please see THIS LINK.
Digital Back Issues


Donate

 Register
 Log-in
Model Engineer Magazine
- Percival Marshall
- M.E. History
- LittleLEC
- M.E. Clock

ME Workshop
- An Adcock
- & Shipley
- Horizontal
- Mill

Subscribe Now
- Great savings
- Delivered to your door

Pre-order your copy!
- Delivered to your doorstep!
- Free UK delivery!
All Forum Topics > Traction engines > Part built Allchin 1.5 inch