Forum sponsored by:

Muncaster No1 with Reverser BUILD & DRAWINGS
| JasonB | 06/04/2020 19:11:40 |
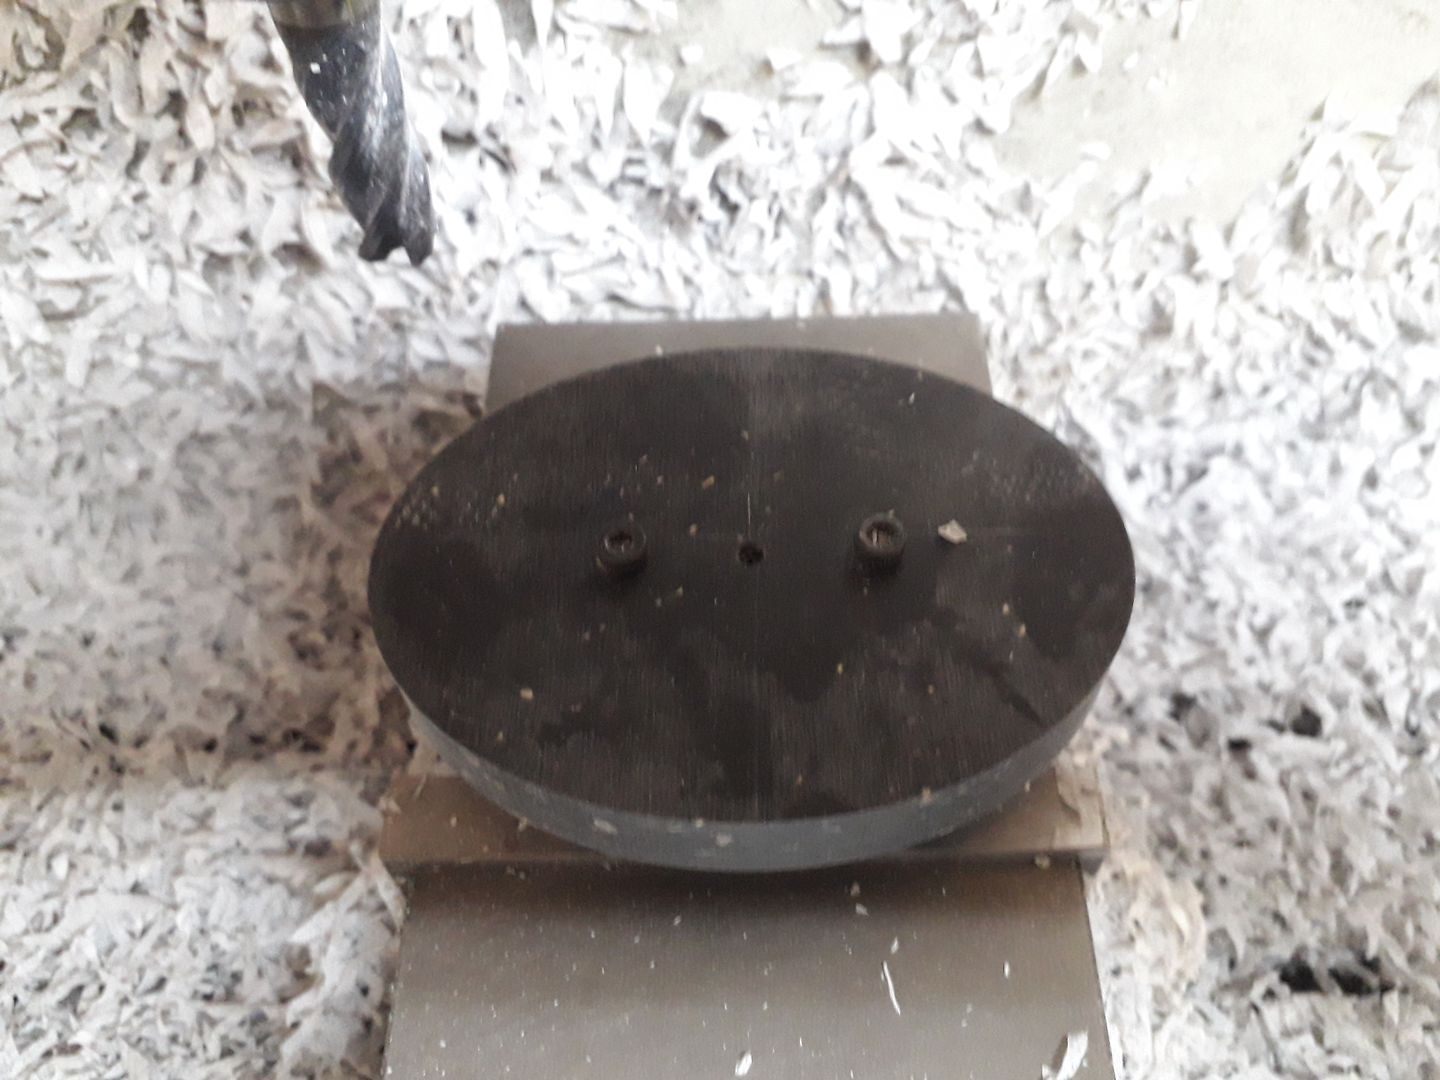
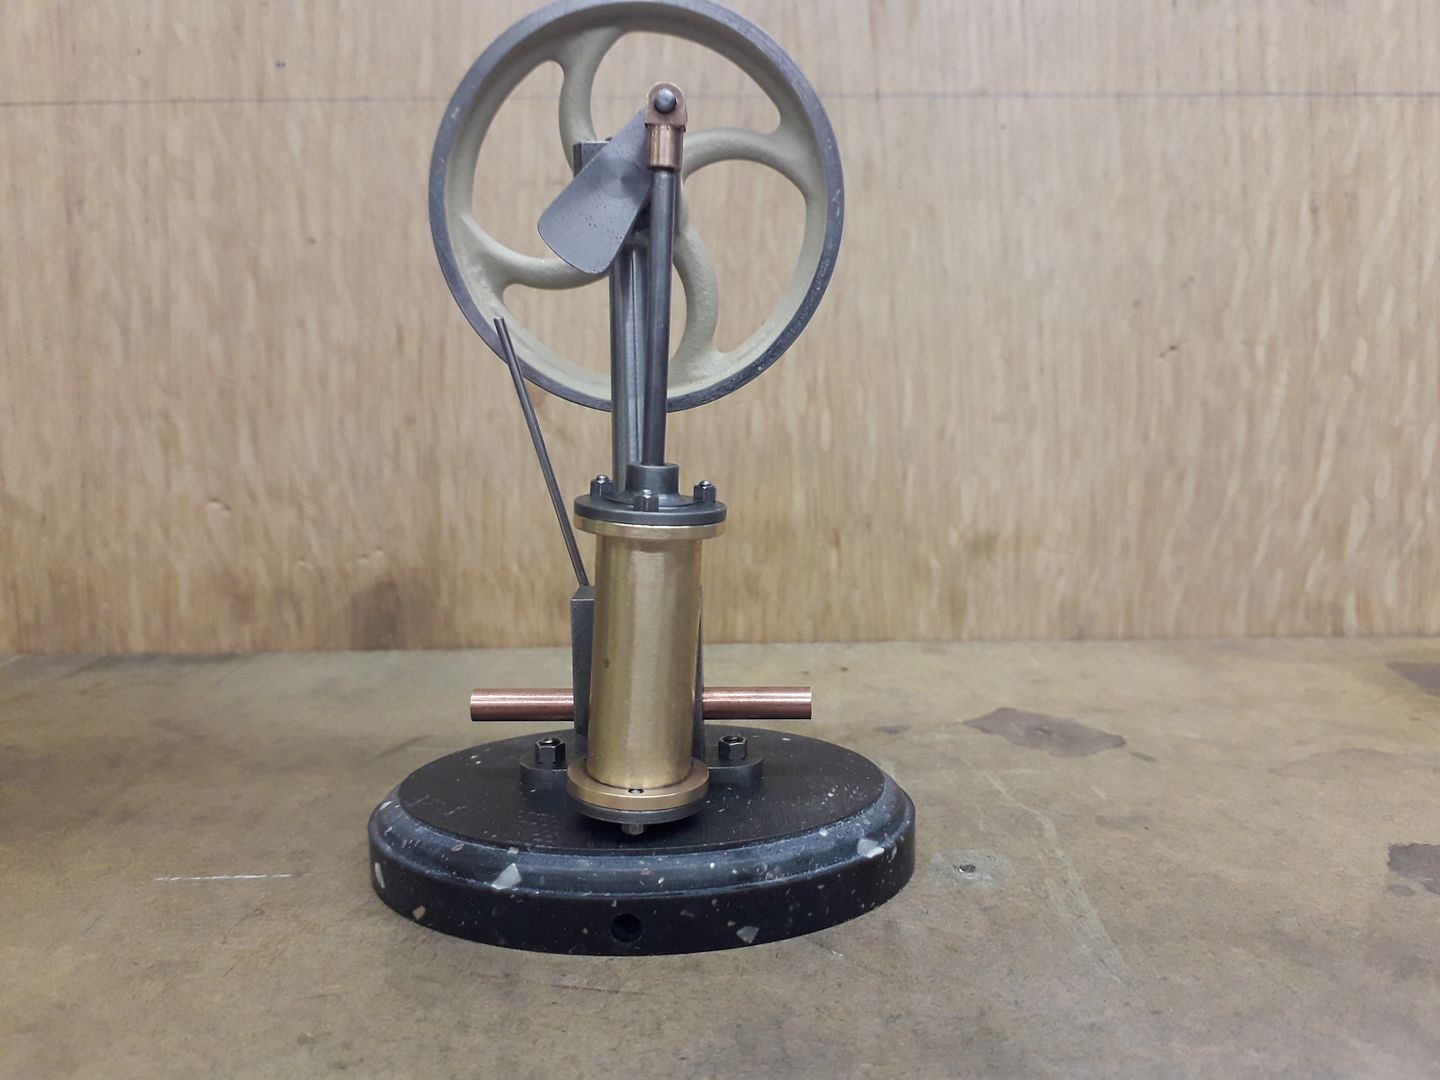
 25215 forum posts 3105 photos 1 articles | Exhaust Pipes These can be any material but I turned down some copper and drilled it to form suitably sized tubes before threading the ends M5 x 0,5 Base I have shown two options for a base on the drawings, the oval that I used and a square which will be easier for many to machine. If you do want to make the elliptical one and don't have CNC then the drawing can be cut out and used as a template if you want to shape your own manually. I started buy drilling the two 3mm through holes and the blind 2.5mm one that lines up with the inlet hole in the bottom of the column base. Then drilled in from the edge to this hole with a 4mm drill as this gives a nice push fit hole to poke a piece of 4mm PVC air tube into. The through holes were used to mount the Corian on a block so it could be held clear of the mill vice and a contour cut used to form the oval shape followed by a couple of passes to cut the decorative moulding on the top edge using a router cutter but a round over milling cutter would do the same job.
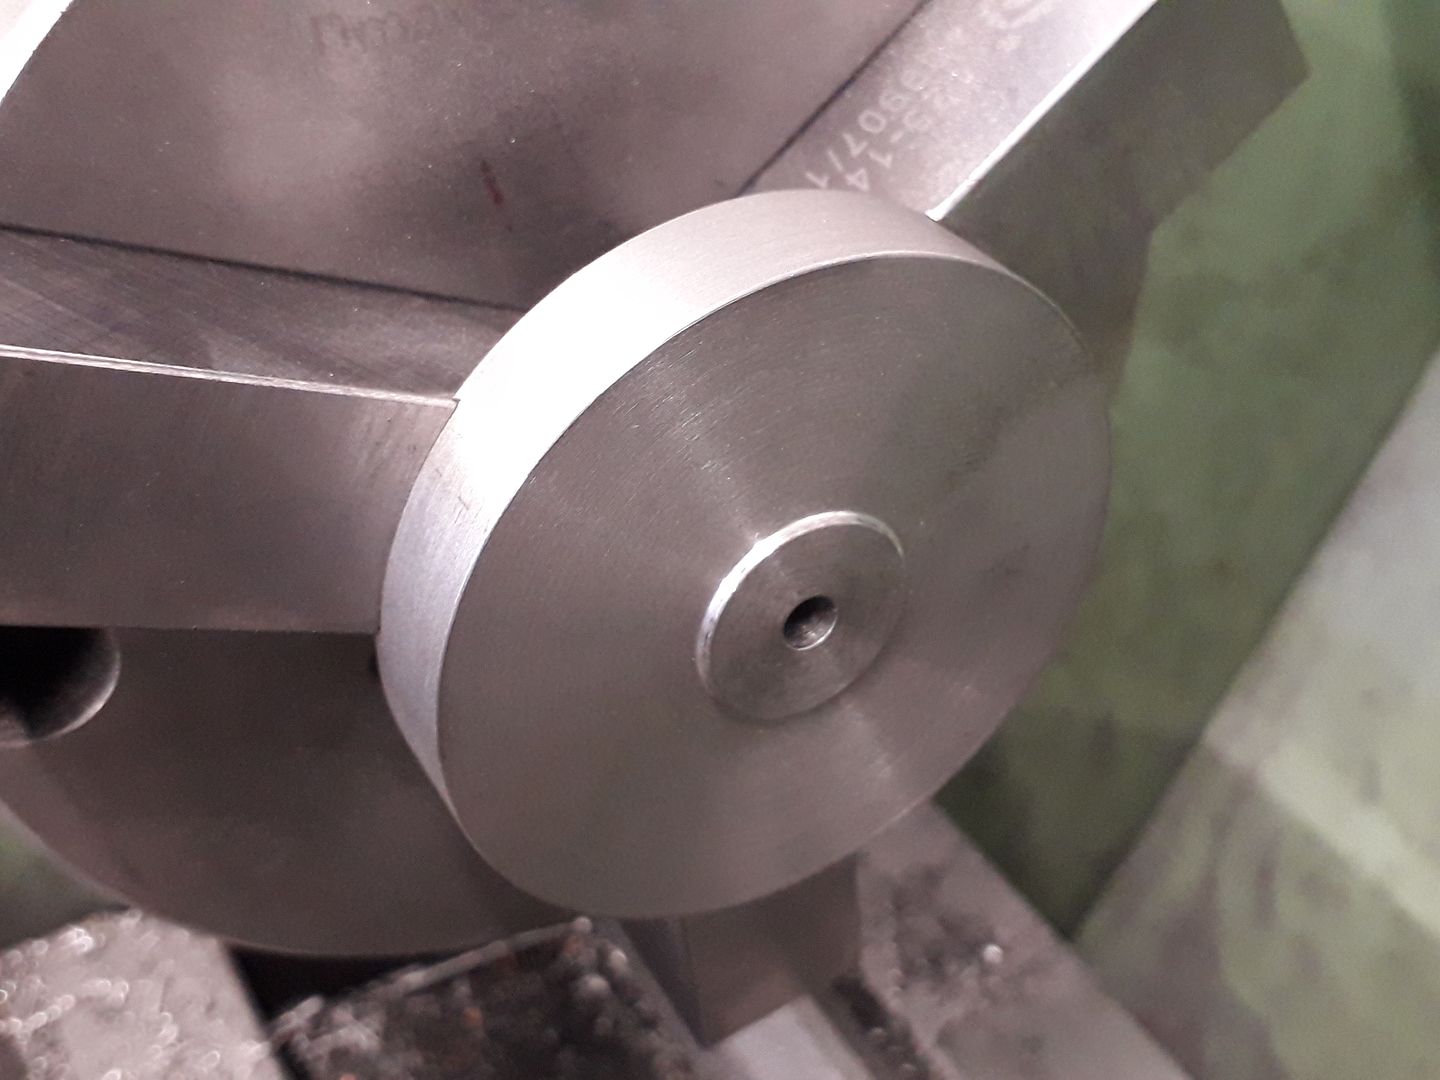
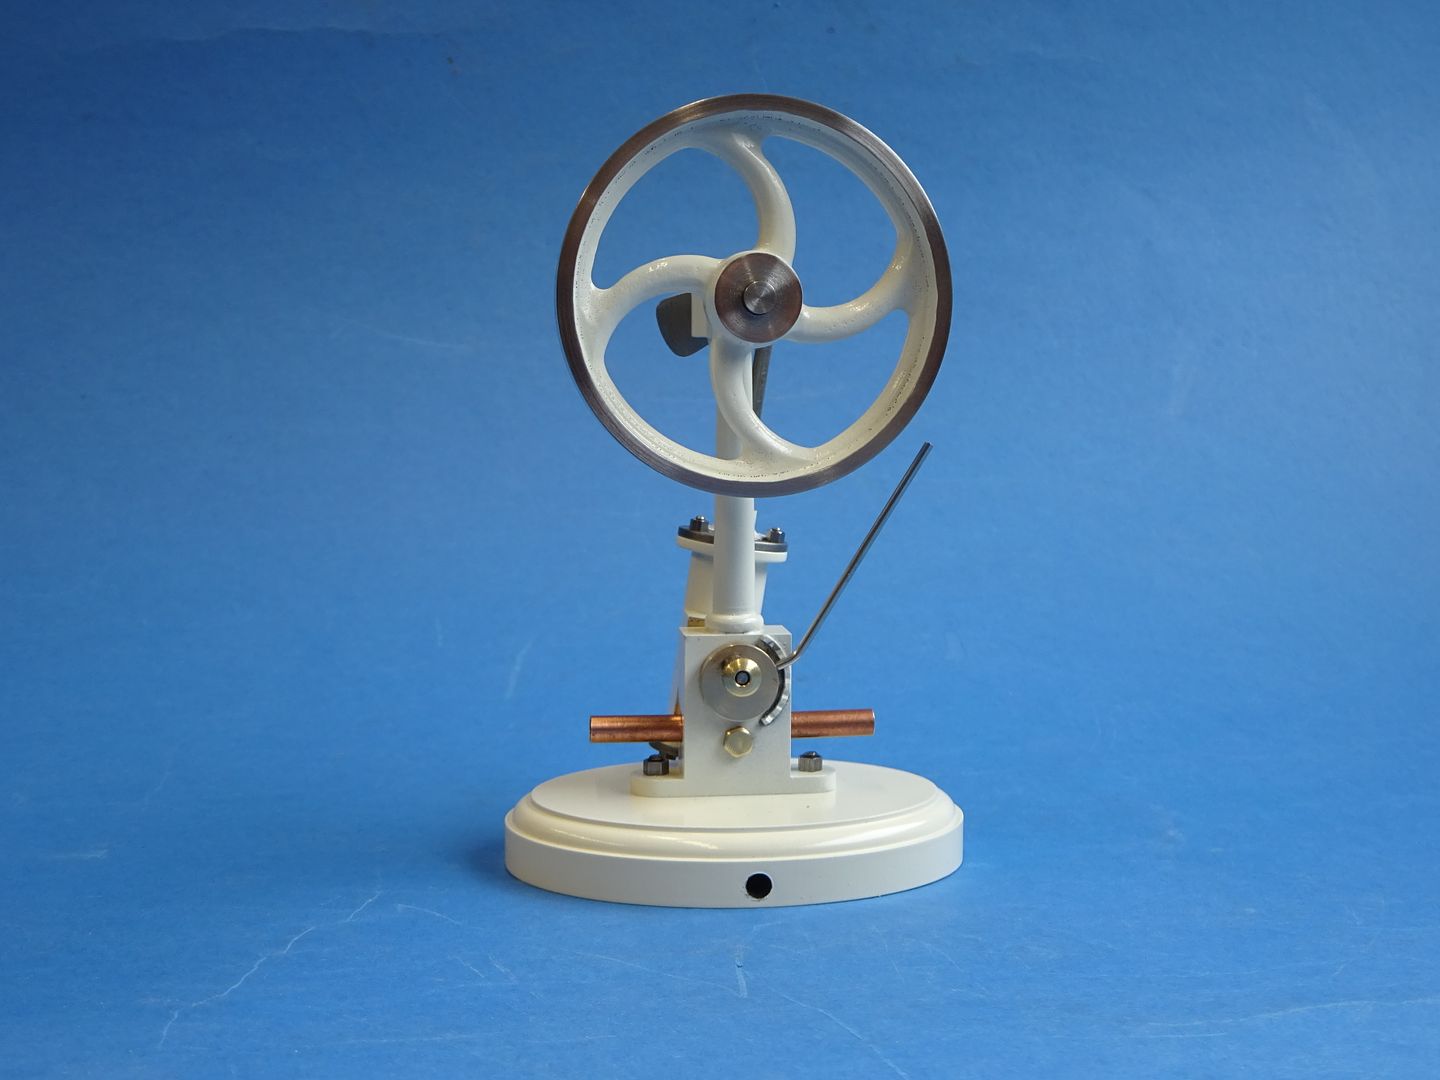
Flywheel The final part needed is the flywheel, I decided to have a go at making mine on the CNC so turned a "blank from cast iron bar.
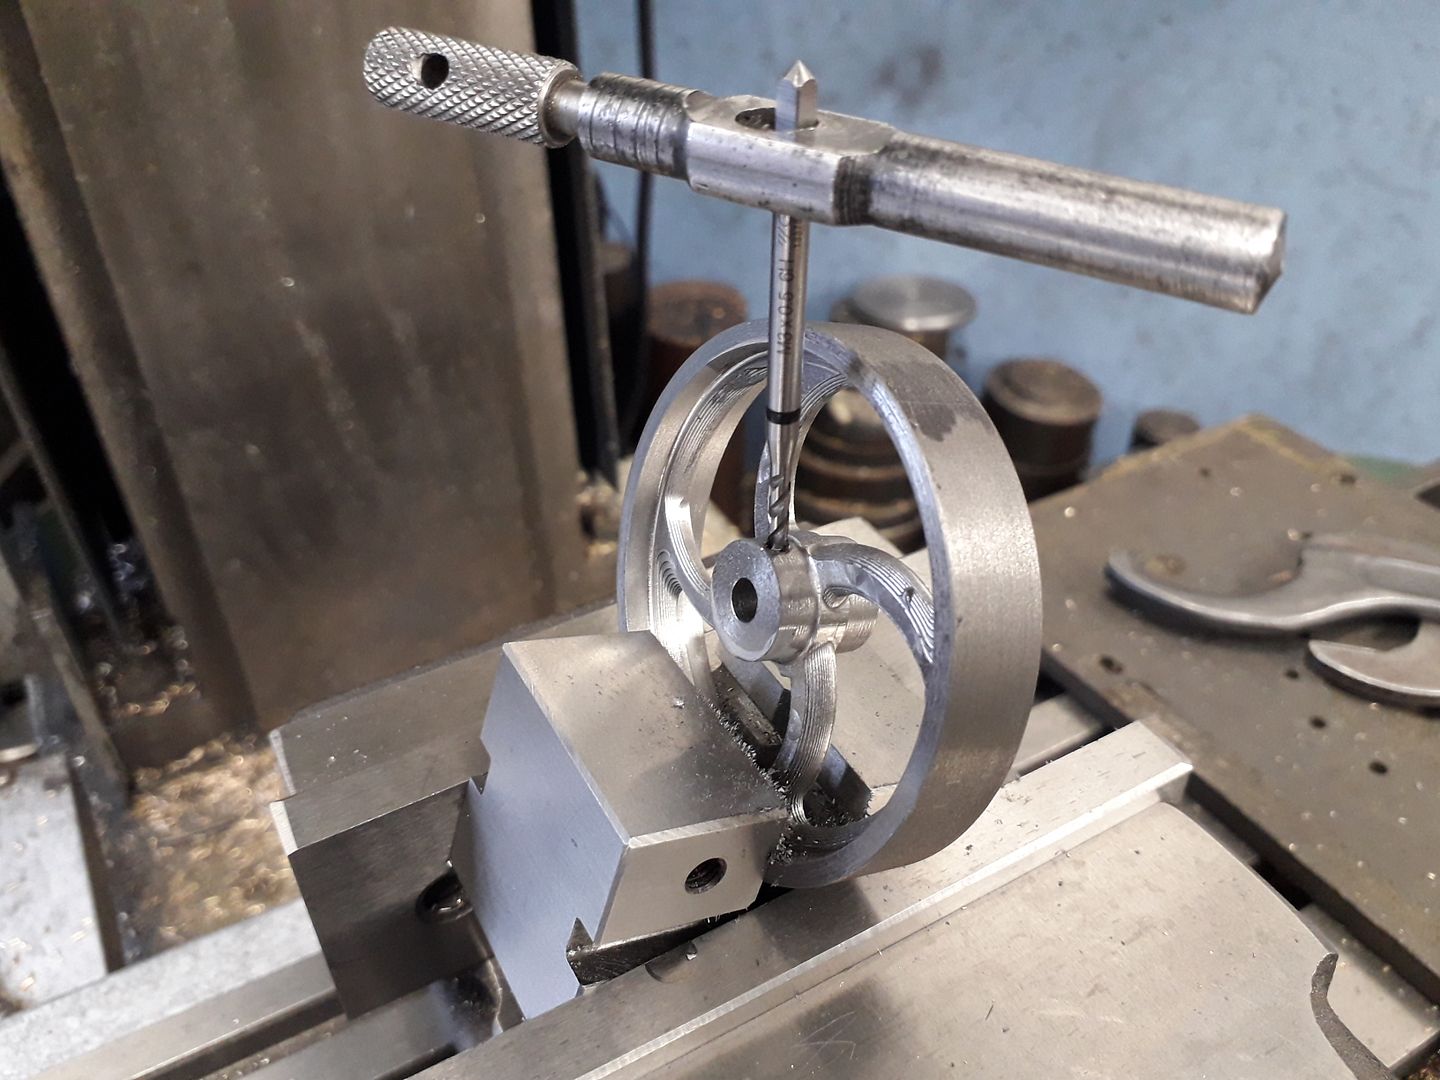
The contour lines left bar the cutter are more pronounced than they should have been, I thought I had ordered a 4mm dia cutter with 1mm radius corner but I had actually clicked on one with a 0.2mm radius which is almost just a flat ended cutter and did not look at it before using :-[ Just needed a bit more work with the Dremel to get it ready for paint. https://www.youtube.com/watch?v=-yAOLGpnjCg Once the milling was done the flywheel can be held at an angle to drill and tapped for an M3 grub screw.
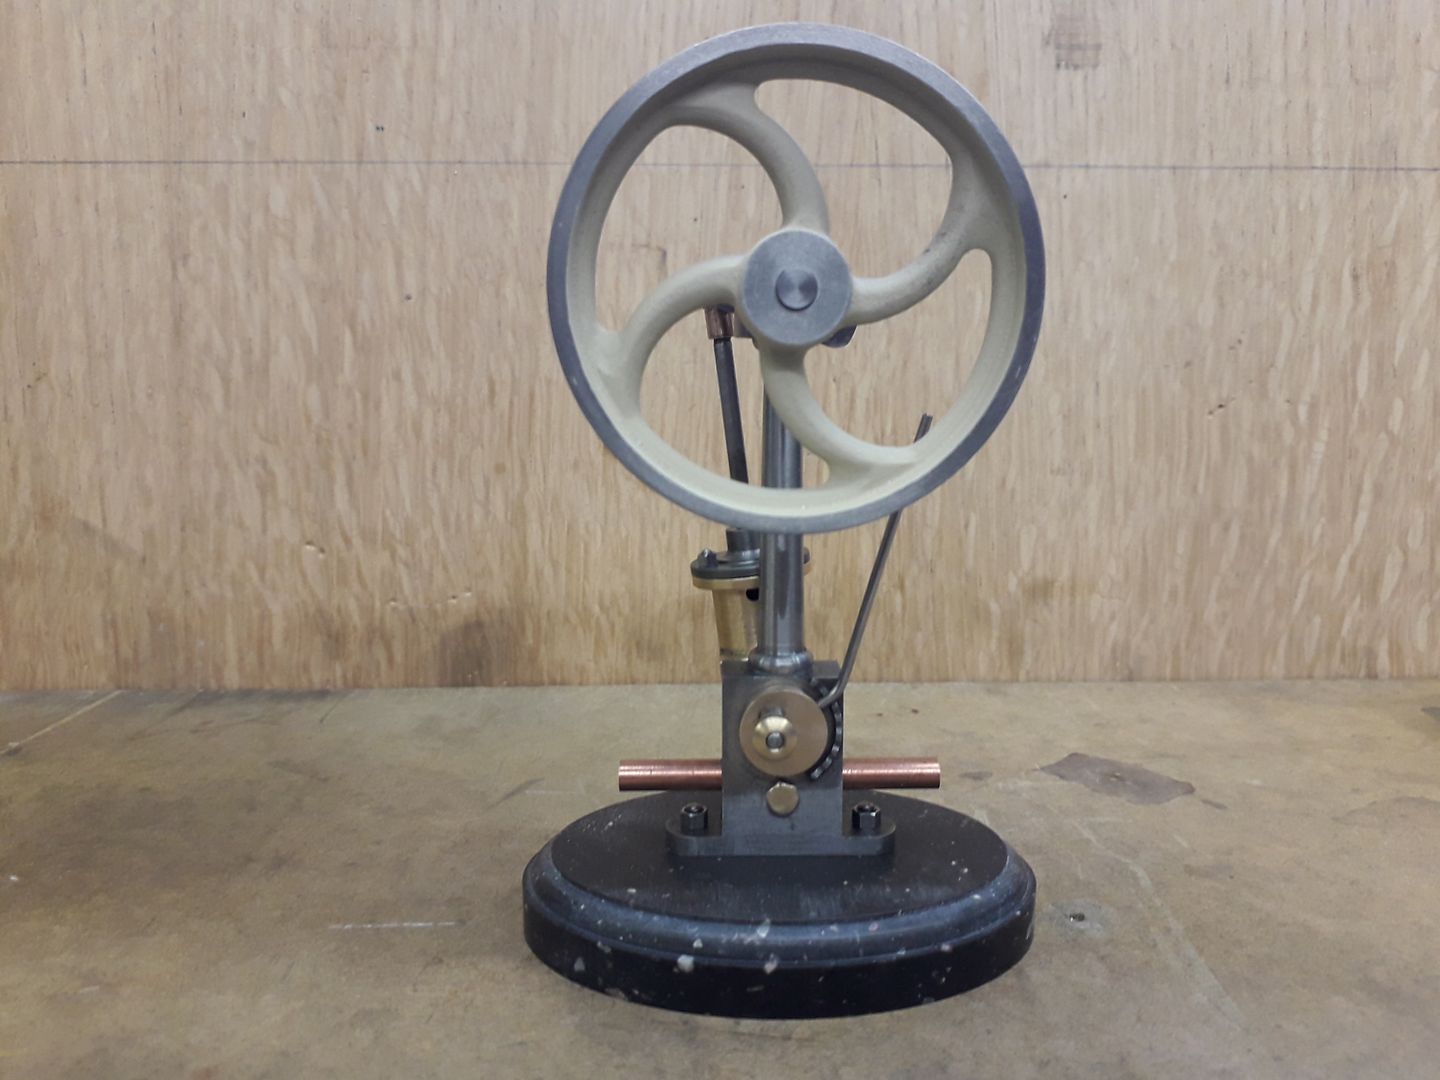
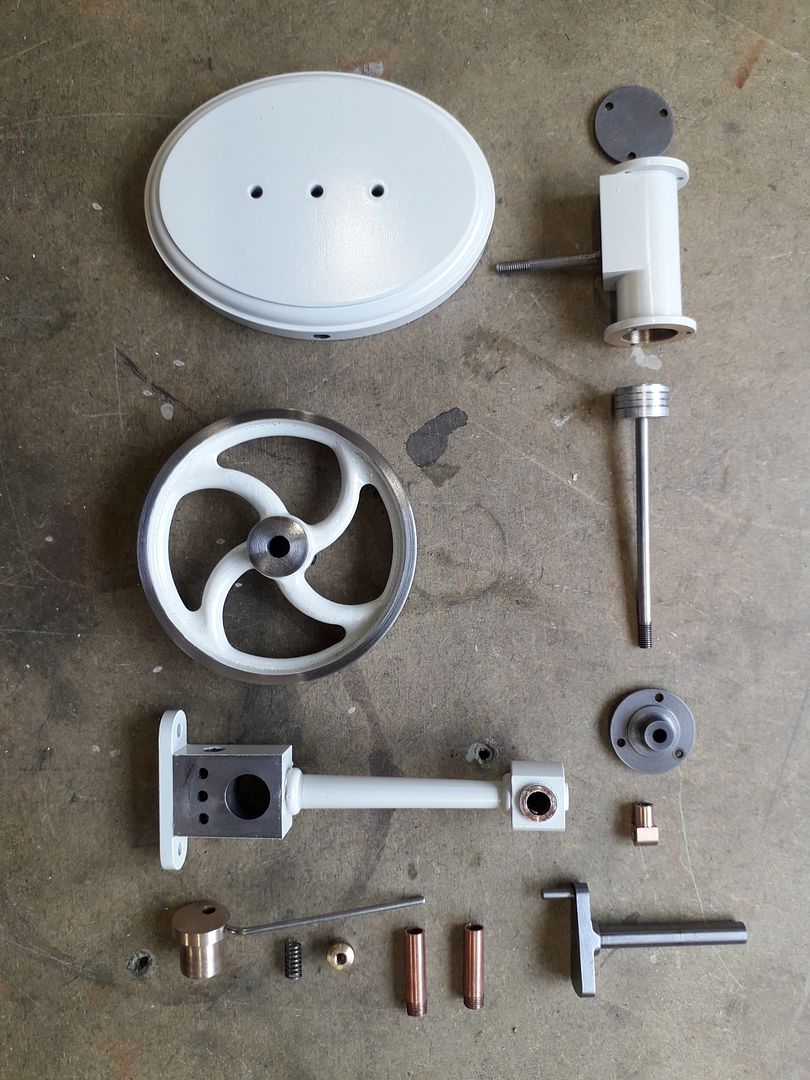
I expect most won't be able to CNC a matching flywheel so have listed the Stuart Progress and Reeves Nicholas flywheels as suitable alternatives for those wanting a cast flywheel, or one could simply be turned from a slice of 62.5mm bar with a recess cut into each face and say 6 equally spaced holes drilled in the resulting web. All the parts can now be put together checking for any tight spots as each piece is added which make sit easier to identify the culprit than if you assemble it in one go and then find a problem.
If all is well I suggest a test run before painting as if anything needs attention you don't risk damaging the paintwork. If all is well then strip the engine down, degrease and mask up where you don't want paint before priming and top coating, I chose to use the same off white that I did the Muncaster Entablature engine in as there was still some paint left in the can.
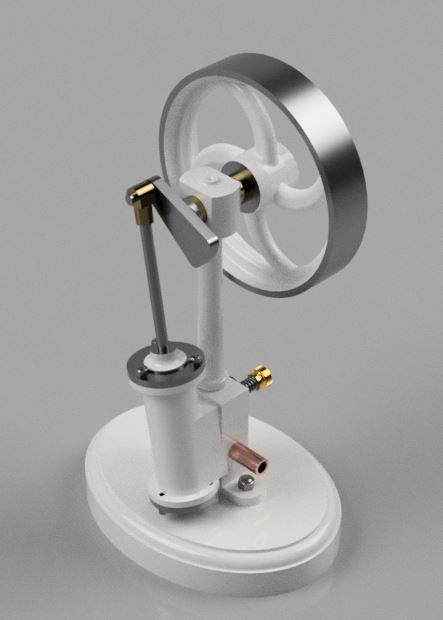
Well that's another one to go onto the shelf, I look forward to seeing a few of these over the coming weeks from those that are locked down in their workshops. J |


Please login to post a reply.
Magazine Locator
Want the latest issue of Model Engineer or Model Engineers' Workshop? Use our magazine locator links to find your nearest stockist!
Sign up to our Newsletter
Sign up to our newsletter and get a free digital issue.
You can unsubscribe at anytime. View our privacy policy at www.mortons.co.uk/privacy
Latest Forum Posts
- *Oct 2023: FORUM MIGRATION TIMELINE*
05/10/2023 07:57:11 - Making ER11 collet chuck
05/10/2023 07:56:24 - What did you do today? 2023
05/10/2023 07:25:01 - Orrery
05/10/2023 06:00:41 - Wera hand-tools
05/10/2023 05:47:07 - New member
05/10/2023 04:40:11 - Problems with external pot on at1 vfd
05/10/2023 00:06:32 - Drain plug
04/10/2023 23:36:17 - digi phase converter for 10 machines.....
04/10/2023 23:13:48 - Winter Storage Of Locomotives
04/10/2023 21:02:11 - More Latest Posts...
- View All Topics
Support Our Partners


Shopping Partners
Subscription Offer

Latest "For Sale" Ads
- Reeves** - Rebuilt Royal Scot by Martin Evans
by John Broughton
£300.00 - BRITANNIA 5" GAUGE James Perrier
by Jon Seabright 1
£2,500.00 - Drill Grinder - for restoration
by Nigel Graham 2
£0.00 - WARCO WM18 MILLING MACHINE
by Alex Chudley
£1,200.00 - MYFORD SUPER 7 LATHE
by Alex Chudley
£2,000.00 - More "For Sale" Ads...
Latest "Wanted" Ads
- D1-3 backplate
by Michael Horley
Price Not Specified - fixed steady for a Colchester bantam mark1 800
by George Jervis
Price Not Specified - lbsc pansy
by JACK SIDEBOTHAM
Price Not Specified - Pratt Burnerd multifit chuck key.
by Tim Riome
Price Not Specified - BANDSAW BLADE WELDER
by HUGH
Price Not Specified - More "Wanted" Ads...
Get In Touch!
Do you want to contact the Model Engineer and Model Engineers' Workshop team?
You can contact us by phone, mail or email about the magazines including becoming a contributor, submitting reader's letters or making queries about articles. You can also get in touch about this website, advertising or other general issues.
Click THIS LINK for full contact details.
For subscription issues please see THIS LINK.
Digital Back Issues


Donate

 Register
 Log-in
Model Engineer Magazine
- Percival Marshall
- M.E. History
- LittleLEC
- M.E. Clock

ME Workshop
- An Adcock
- & Shipley
- Horizontal
- Mill

Subscribe Now
- Great savings
- Delivered to your door

Pre-order your copy!
- Delivered to your doorstep!
- Free UK delivery!
All Forum Topics > Stationary engines > Muncaster No1 with Reverser BUILD & DRAWINGS