Member postings for Steve355
Here is a list of all the postings Steve355 has made in our forums. Click on a thread name to jump to the thread.
| Thread: Unwanted Taper |
| 03/10/2021 17:43:31 |
Posted by Howard Lewis on 03/10/2021 16:59:00:
Have you tried gripping an alignment bar (A solid piece of Silver Steel, say 1" diameter, would suffice for a first attempt ) and running a clock, set at centre height, along the bed check Headstock alignment ? This assumes that the chuck is accurately seated onto the Mandrel and its backplate. Are the chuck jaws worn /bell mouthed so that the work is held at an angle, not firmly?. Howard
I do think the you and an earlier poster may be on to something with the headstock alignment though. Everything else on the lathe was out of alignment , no reason why the headstock should be accurately aligned. It’s actually the only part I haven’t messed with so far. The spindle has a 1MT fitting. Is it worth me investing in a 1MT alignment bar? They don’t look to be too expensive, but are usually quite short. I’ve used of all my other stock messing around recently doing test cuts. Steve |
| 03/10/2021 17:43:29 |
Posted by Howard Lewis on 03/10/2021 16:59:00:
Have you tried gripping an alignment bar (A solid piece of Silver Steel, say 1" diameter, would suffice for a first attempt ) and running a clock, set at centre height, along the bed check Headstock alignment ? This assumes that the chuck is accurately seated onto the Mandrel and its backplate. Are the chuck jaws worn /bell mouthed so that the work is held at an angle, not firmly?. Howard
I do think the you and an earlier poster may be on to something with the headstock alignment though. Everything else on the lathe was out of alignment , no reason why the headstock should be accurately aligned. It’s actually the only part I haven’t messed with so far. The spindle has a 1MT fitting. Is it worth me investing in a 1MT alignment bar? They don’t look to be too expensive, but are usually quite short. I’ve used of all my other stock messing around recently doing test cuts. Steve |
| 03/10/2021 17:36:27 |
Posted by Dave Halford on 03/10/2021 15:46:11:
It's possible bed wear is dropping the tool height towards the tail stock so you effectively take less of a cut. Are those marks on the bed enough to catch your finger nail?
|
| 03/10/2021 14:38:44 |
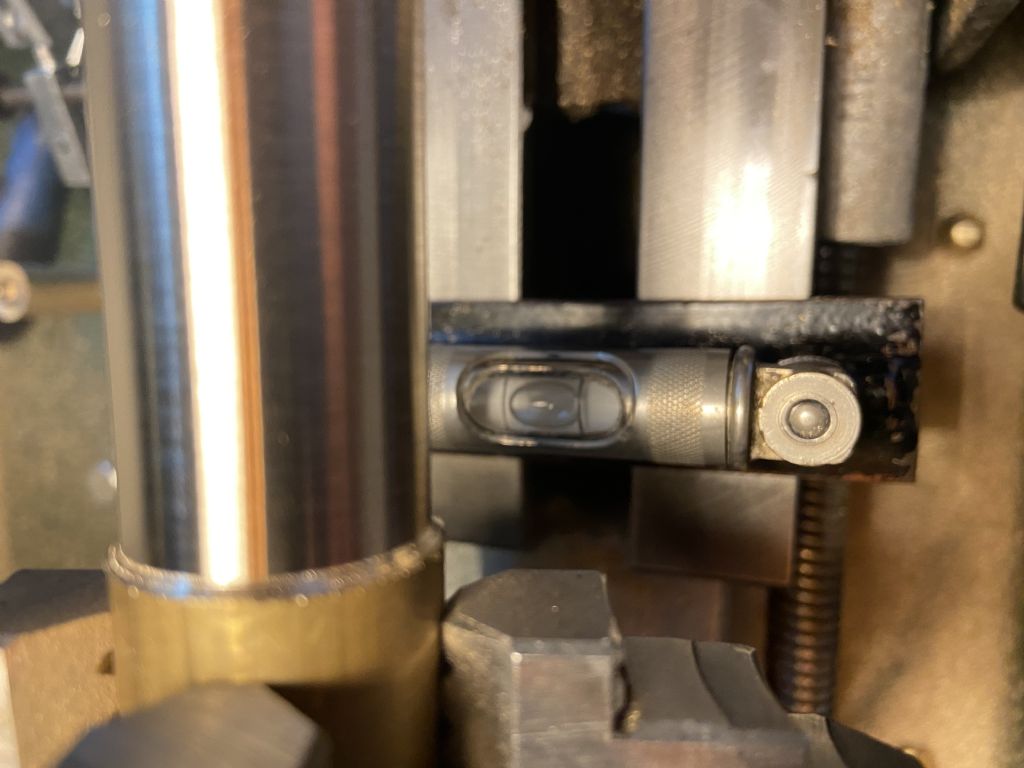
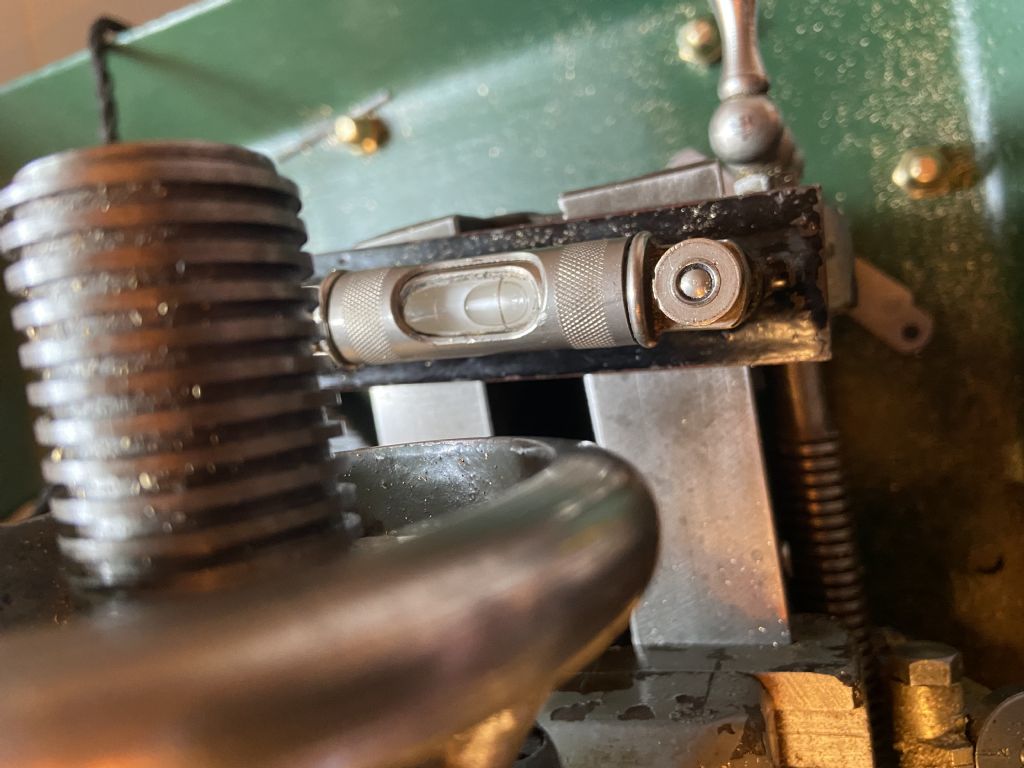
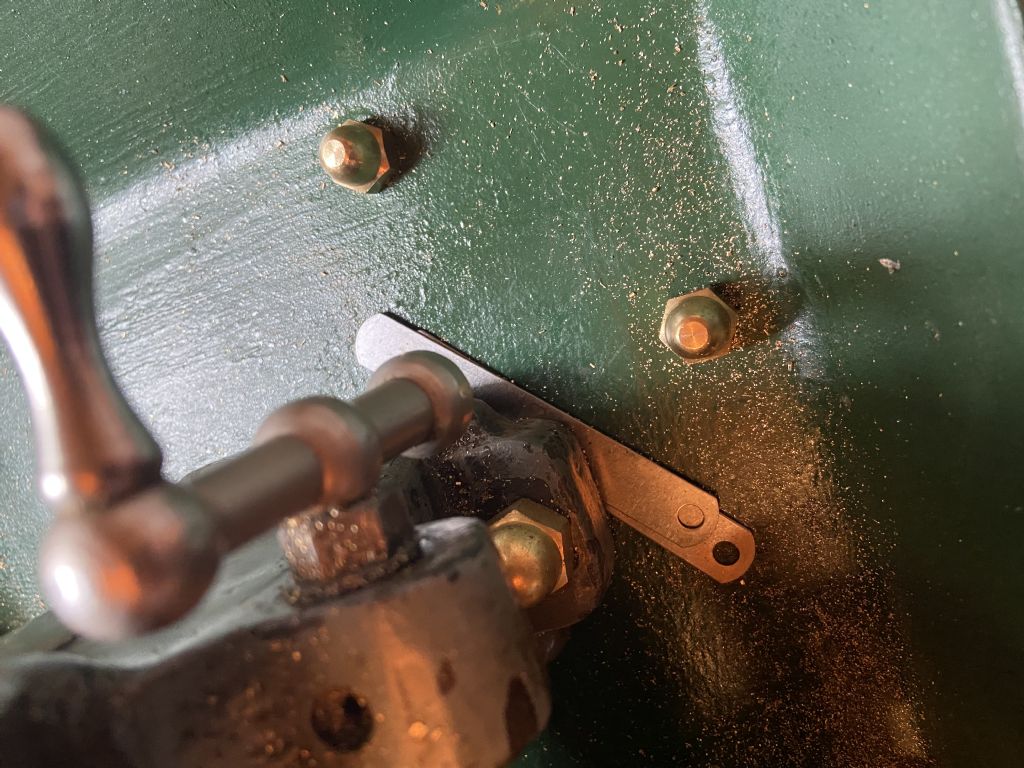
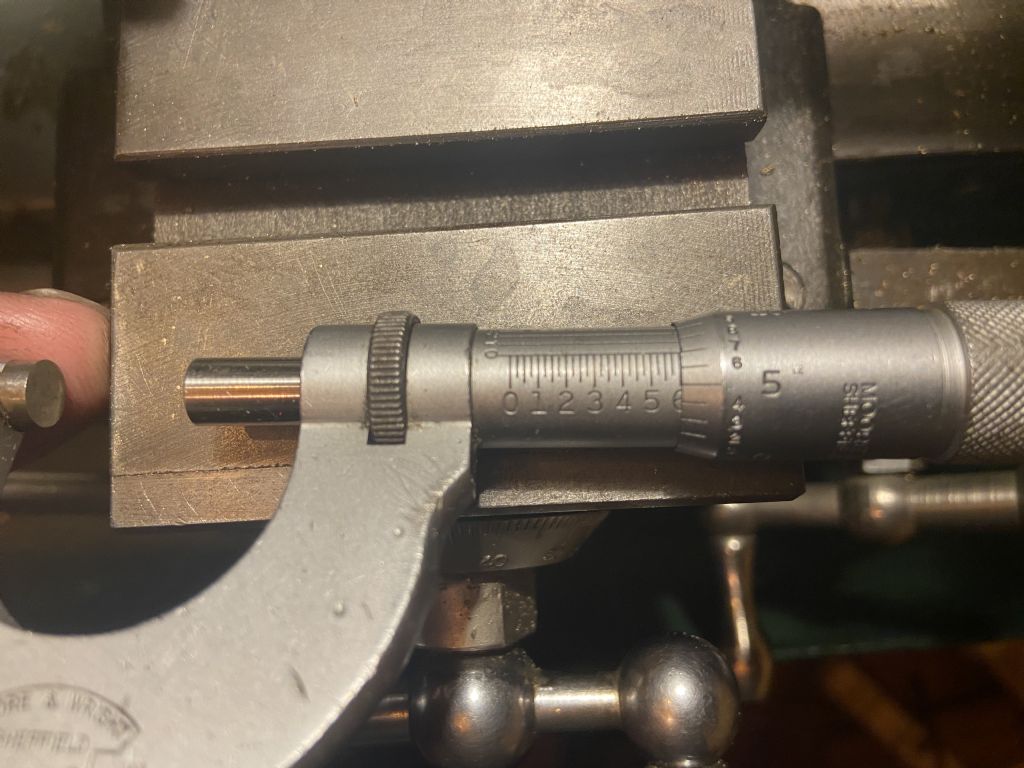
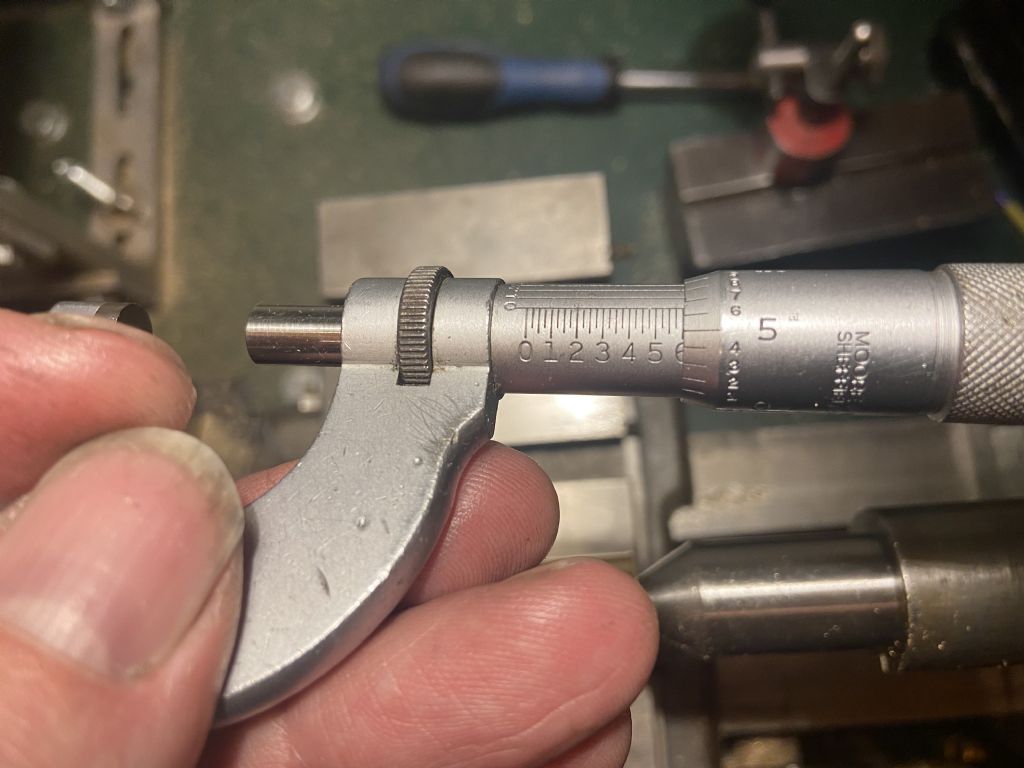
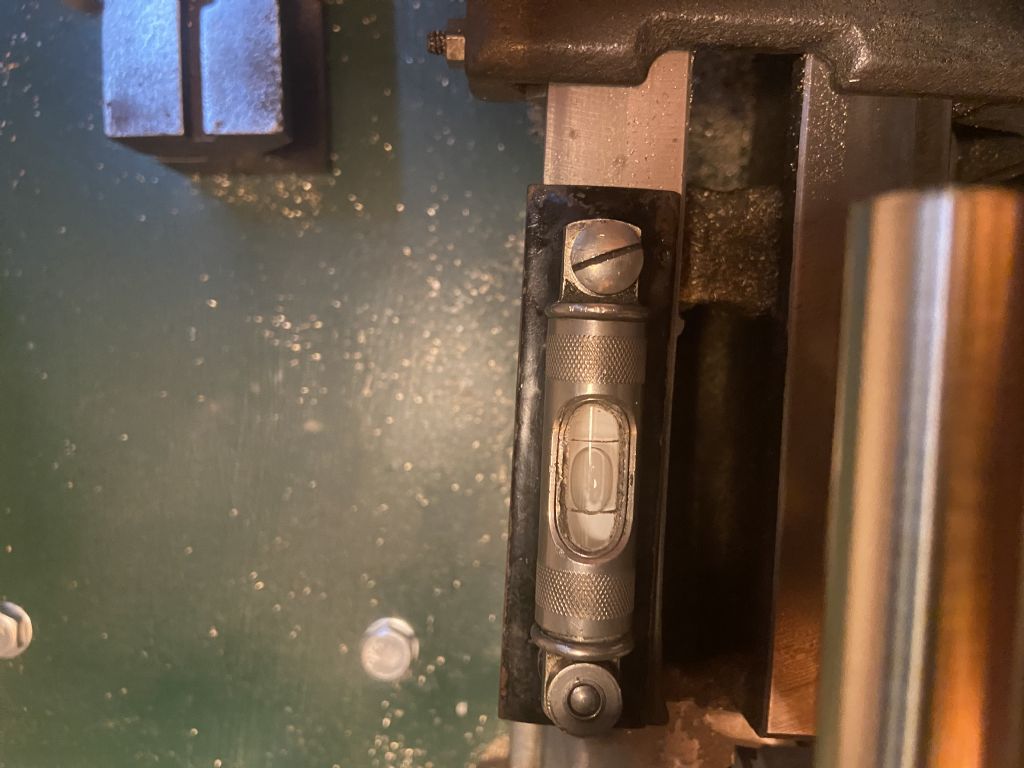
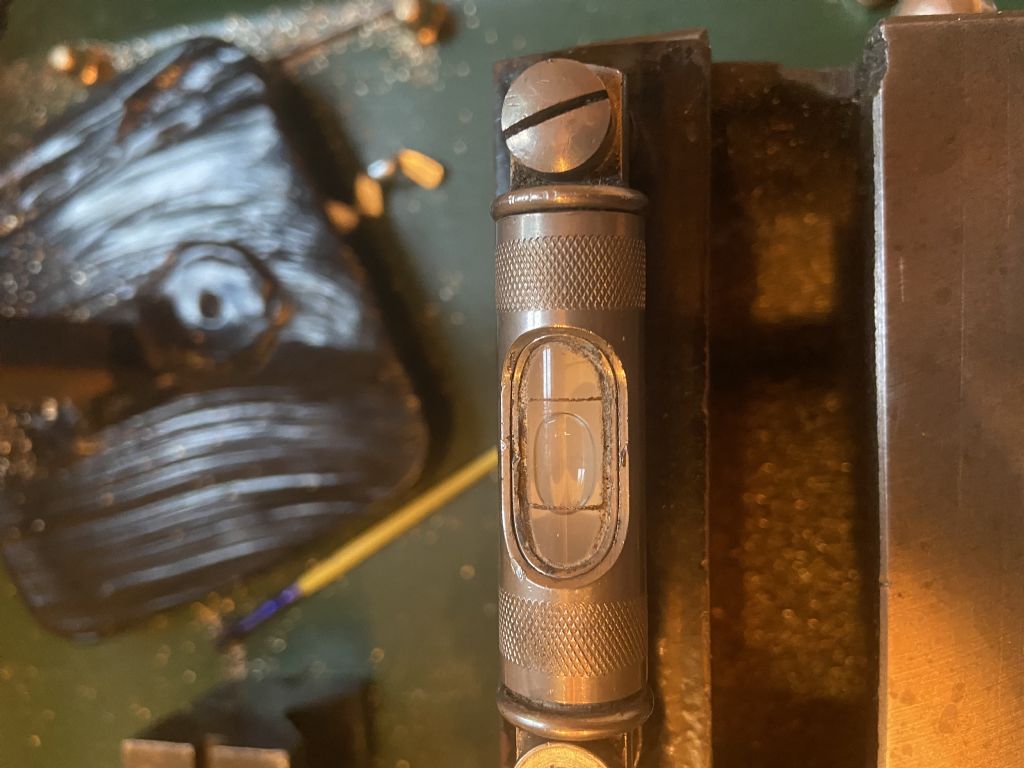
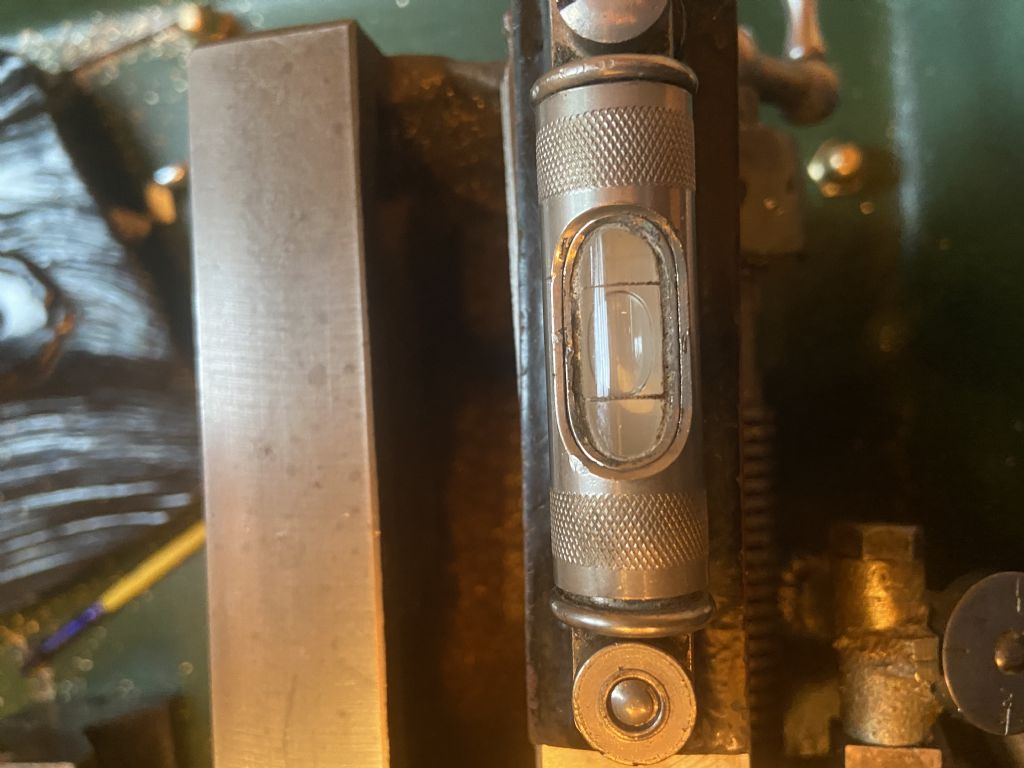
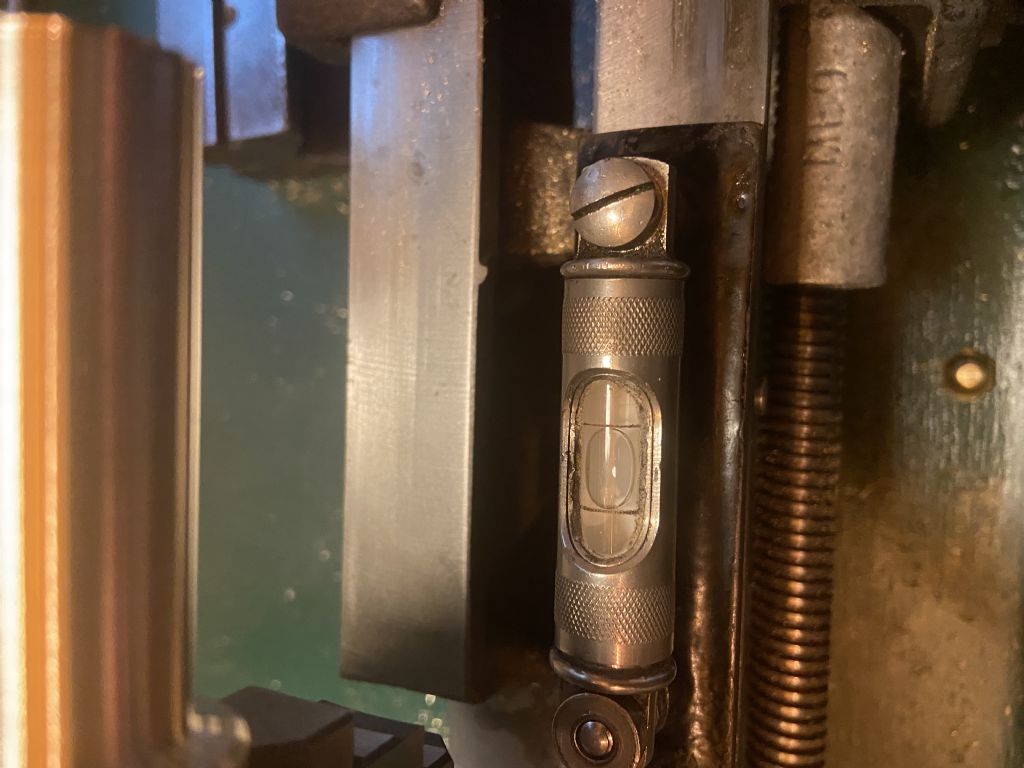
Thanks for all the comments when I remeasured my work this morning the taper was back 😢 no idea how but it clearly is So I thought I would try what several have suggested and turn a new piece of brass rod without tail support and try shimming the tail end to get it parallel. So I did that… my first measurement was 935 at the headstock and 961 at the far end. I added shims tightened it back up and took several more cuts and measurements. now I have quite a lot of shim (about 030) and my level (love it or hate it) indicates a significant amount of twist that wasn’t there before. Headstock: tailstock: shims : my latest measurement is 908 at the headstock end and 920 at the tail end, so quite a lot better but nothing like close enough. I am starting to think this is nonsense, because I seem to be adding twist to try to reduce taper. In addition the finish is bad at the far end of the bar, which is what one would expect I believe, and probably enough to account for the taper. basically it doesn’t seem to be working. I’m worried too I could damage the lathe. arghhhh! Steve |
| 02/10/2021 22:28:32 |
Posted by Clive Brown 1 on 02/10/2021 21:45:30:
The real test is to take a very light cut along, say, 2-3" of bar held in the chuck and shim the lathe feet to give parallel turning. A tedious job but light lathes have surprisingly flexible beds. Thr bench should be sturdy of course. I will give that a go once I’ve finished the current thing, thanks. |
| 02/10/2021 22:17:10 |
Posted by Steve355 on 02/10/2021 21:18:56:
Posted by Pete Rimmer on 02/10/2021 21:10:42:
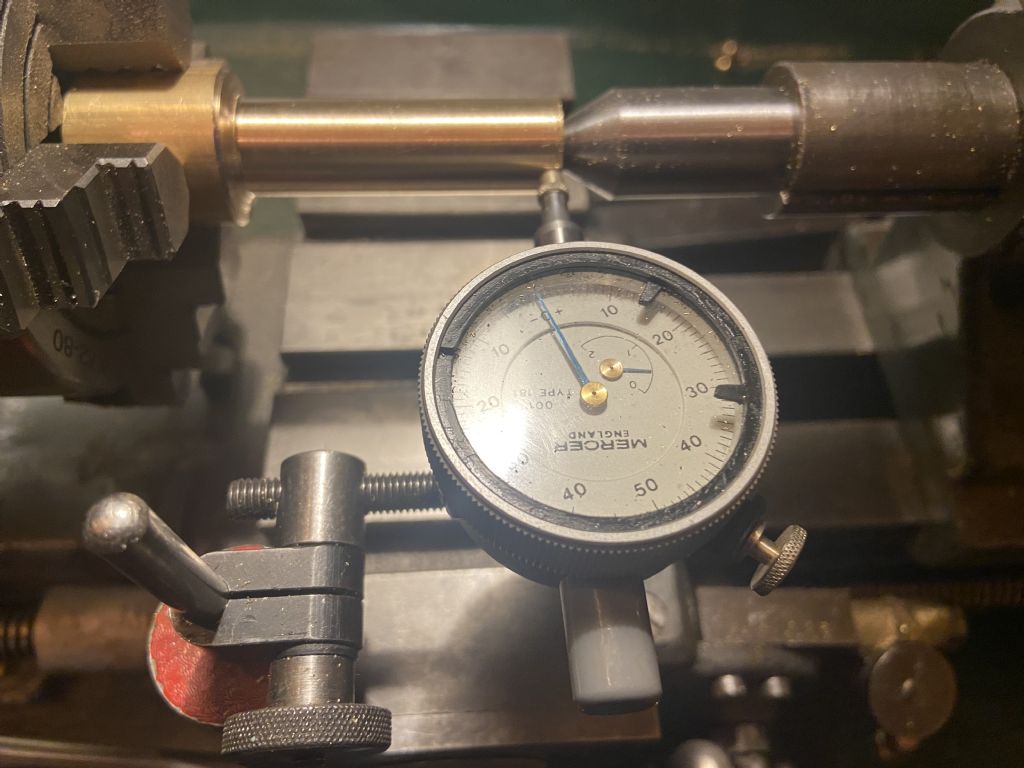
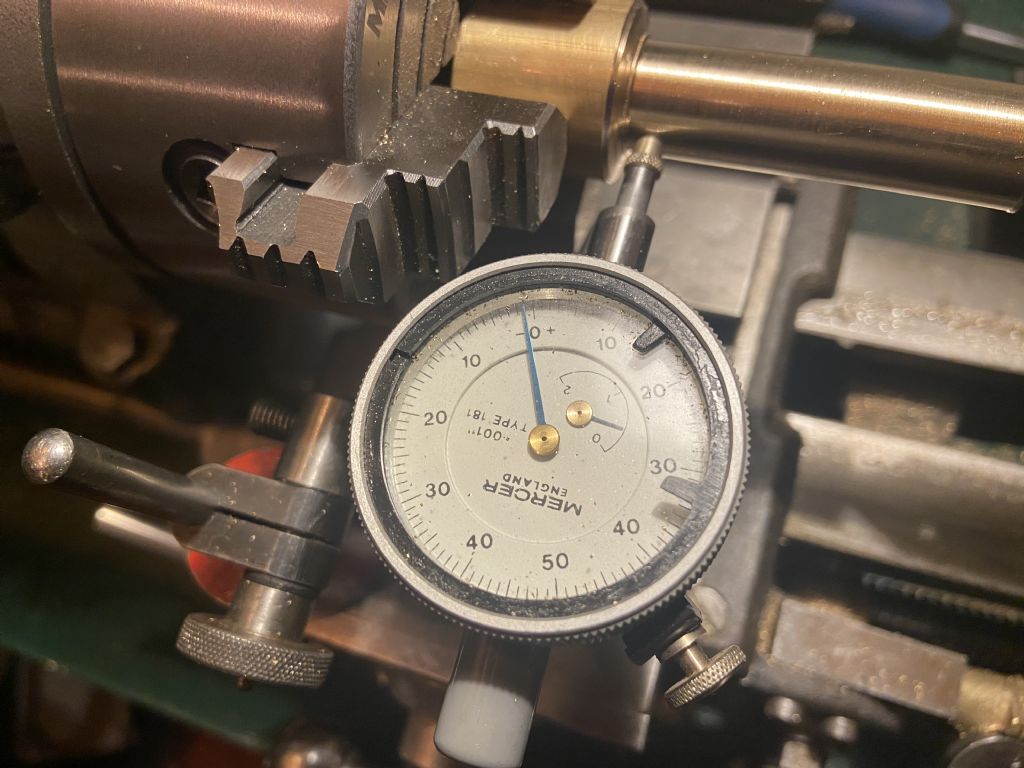
Put the mag base for the dial gauge on the front of the saddle and do your measurement again. That way the dial gauge will be following the path of the tool and should read zero all the way. That gauge setup is a poor way to check for taper if that's what you're doing Steve. You should be using a micrometer to take measurements at each end of your cylinder. The dial gauge reading can be affected by twist or wear in the bedway.
Ok, you are right, it’s all me. I did that and it’s very close to parallel - about 1 thou out. I checked again with the micrometer and got the about .5 thou. Luckily this is the “beginners” forum so I am allowed to be an idiot. Why did it give me an incorrect reading on the other side then? |
| 02/10/2021 22:06:57 |
Posted by Michael Gilligan on 02/10/2021 21:04:10:
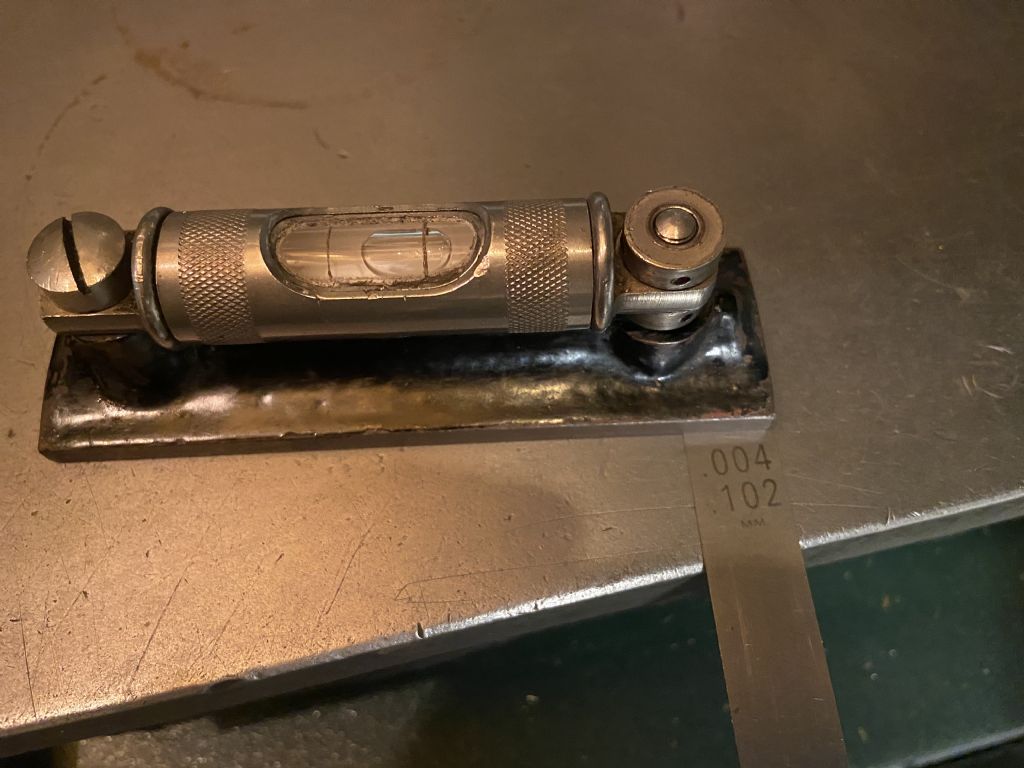
That’s a neat looking little level, Steve … but have you checked its sensitivity ? At that length: If you want to ‘level’ the lathe with it, a piece of cigarette paper needs cause a visible movement of the bubble. MichaelG. . Edit: Andrew [predictably enough] beat me to it. Edited By Michael Gilligan on 02/10/2021 21:05:31
here is a 0.004 feeler gauge under one end. I would imagine that makes it sensitive enough to be useful?
|
| 02/10/2021 21:18:56 |
Posted by Pete Rimmer on 02/10/2021 21:10:42:
Put the mag base for the dial gauge on the front of the saddle and do your measurement again. That way the dial gauge will be following the path of the tool and should read zero all the way. That gauge setup is a poor way to check for taper if that's what you're doing Steve. You should be using a micrometer to take measurements at each end of your cylinder. The dial gauge reading can be affected by twist or wear in the bedway.
|
| 02/10/2021 21:16:59 |
Posted by Clive Brown 1 on 02/10/2021 21:12:42:
Surely that's not the way to usea level, even if it's a good one? It should be across the ways I'd advise Steve to set his lathe up to turn parallel by adjusting the mounting feet. Then adjust thr tailstock after that. According to Harold’s website I should measure along and across the ways. Across the ways gave an imperceptible difference, there is a tiny difference along the ways so those are the pics I took. I’m used to winding sticks on wood so across is where I went naturally, I was surprised about the longitudinal measurement too. |
| 02/10/2021 21:09:07 |
Posted by Michael Gilligan on 02/10/2021 21:04:10:
That’s a neat looking little level, Steve … but have you checked its sensitivity ? At that length: If you want to ‘level’ the lathe with it, a piece of cigarette paper needs cause a visible movement of the bubble. MichaelG. . Edit: Andrew [predictably enough] beat me to it. Edited By Michael Gilligan on 02/10/2021 21:05:31 Obviously it’s an eBay special, but I had to try to find a small one as the lathe is only tiny, I don’t have much info on it other than it’s a Starrett. I will check it with the smallest feeler gauge I can find and see what it does. |
| 02/10/2021 20:47:23 |
Posted by Andrew Johnston on 02/10/2021 20:40:55:
What sort of level? If you're going to use a level it needs to be an engineers precision level; DIY levels aren't even close. There are methods of correcting tapers that don't need levels, but I'll leave those to others to explain as I've never needed to use them. To start with don't try and machine/measure with the tailstock in place. It simply creates two variables (bed and tailstock) to adjust but only one measurement. So it's doomed to failure. Andrew |
| 02/10/2021 20:08:54 |
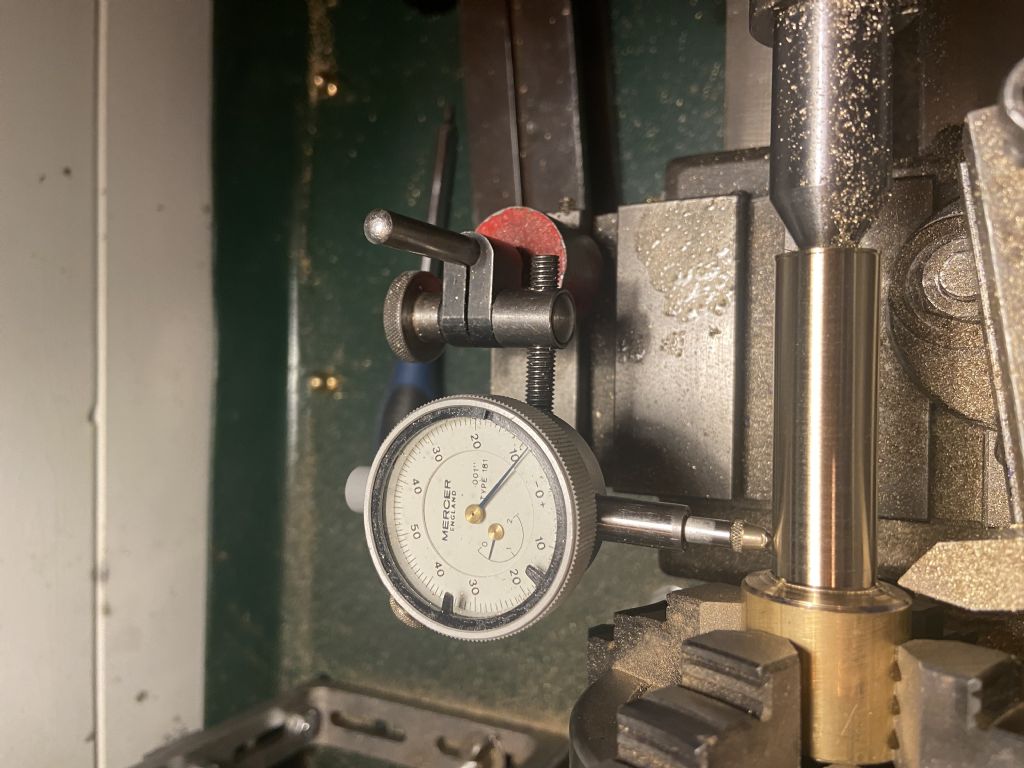
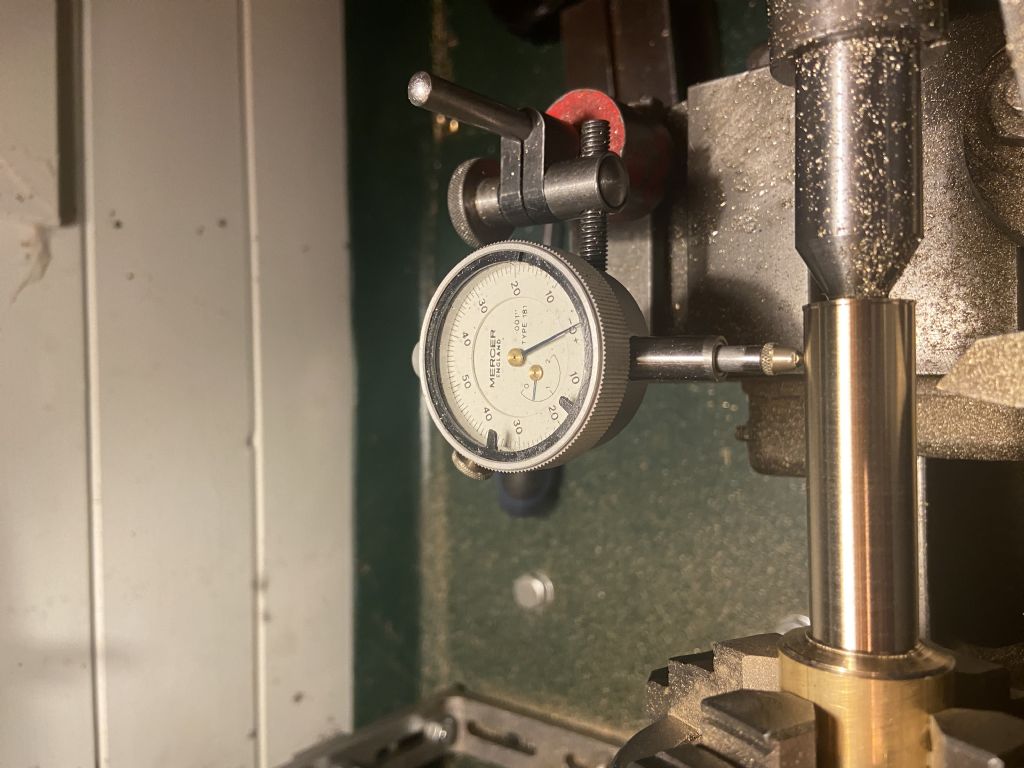
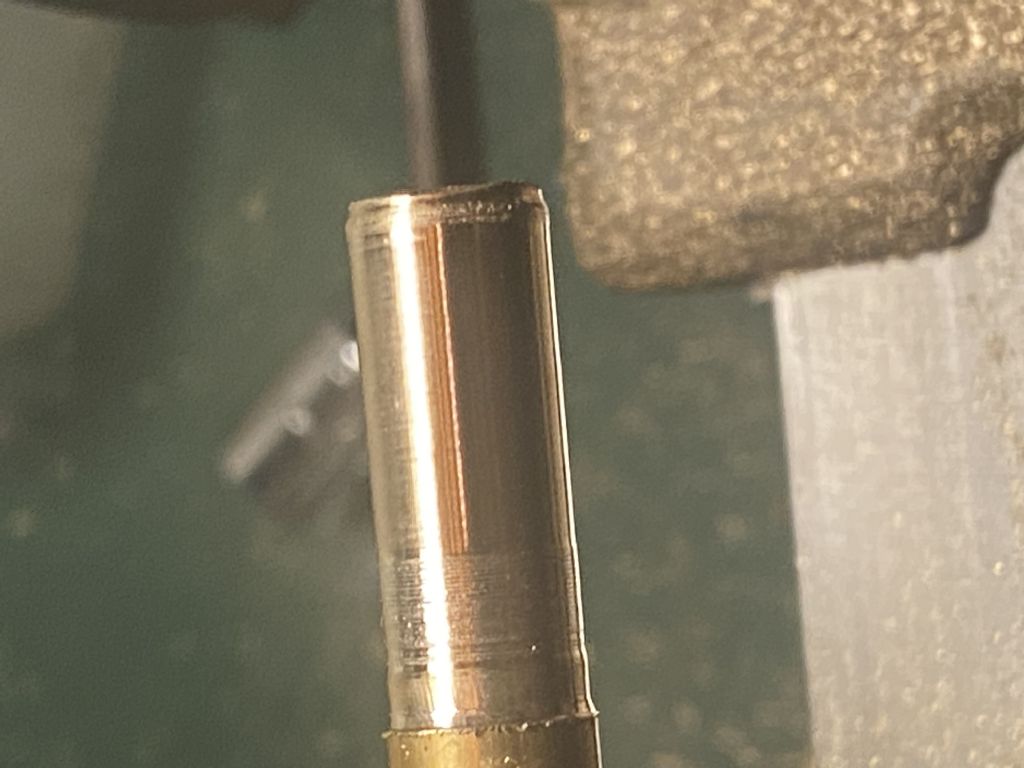
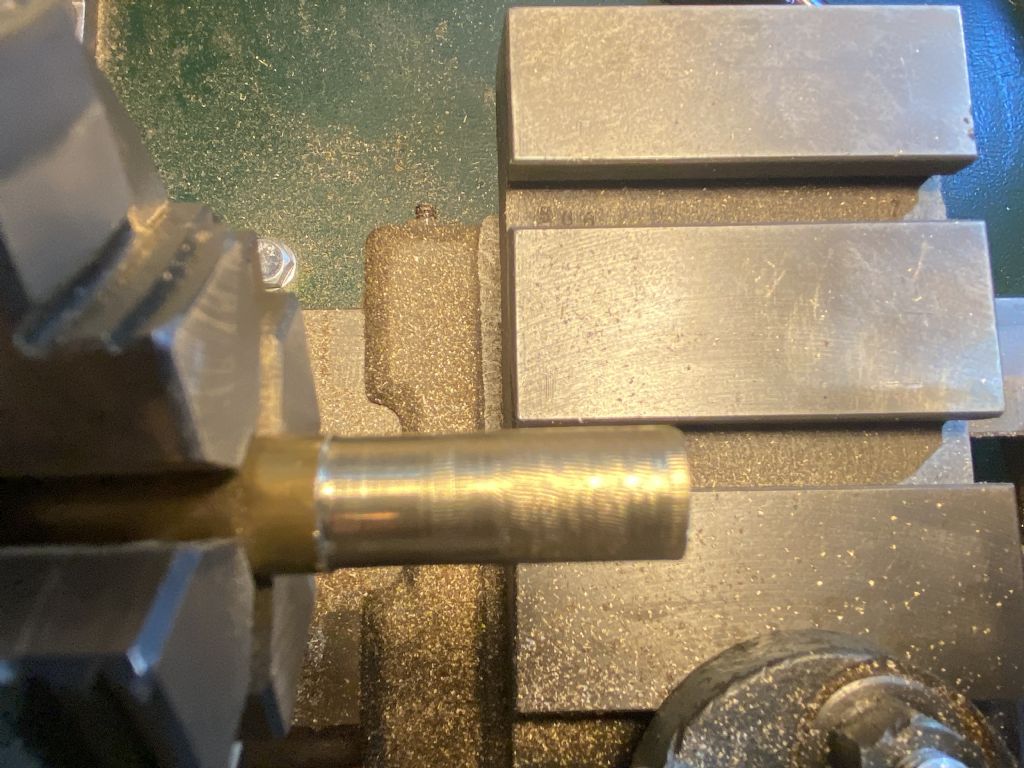
Another newbie thread - sorry! I am trying to turn a 2” long brass cylinder to 0.5” diameter, at the same time I’ve been trying to follow Harold’s lathe adjustment instructions on his website. I am finding I am getting an unwanted taper of about 0.008 across 2”. 1) I have used a level to check the ways for twist and it seems minimal. 2) The gibs all seem tight 3) I added tail support (I was getting 0.015 before I did that). I realigned the tailstock when I did that. can anyone please suggest the most likely thing to check or recheck? A few pics below. thanks Steve
Edited By Steve355 on 02/10/2021 20:09:35 |
| Thread: Grinding tool bits |
| 01/10/2021 15:37:52 |
Posted by Clive Brown 1 on 01/10/2021 14:00:46:
10mm sq. HSS is OTT for most jobs on a Zyto and grinding that sized stuff on a typical hobby grinder is a tedious job. 6mm. is perfectly adequate for most work, considerably cheaper and much quicker to grind to shape. They can be mounted in a 4-way toolpost or in a home-made holder with built-in top rake.
That’s interesting. I have a 4 way tool post, which accepts 1/2 inch bits, but I don’t think it is original. I had been shimming up 8mm bits before I started grinding my own. Perhaps I will invest in some smaller blanks. As you say, it is tedious to grind the 10mm HSS. |
| 01/10/2021 11:55:02 |
Posted by Andrew Johnston on 01/10/2021 10:46:32:
To break HSS toolbits I grind a groove around the blank, put the blank in the vice covered with a cloth, and wallop it with a hammer. For more delicate stock removal HSS can be milled with carbide endmills. Tool grinding is not complicated. Almost all my HSS tools are ground freehand with an aluminium oxide wheel. You don't need fences and fancy rests unless you need specific angles or shapes. The basic clearance and rake angles are non-critical and can be ground by hand. I don't worry about curvature on the clearance faces, although I also grind on the side of the wheel. That's lit the blue touch paper, now to retire to a safe distance! Andrew
|
| 01/10/2021 11:43:40 |
Posted by Grindstone Cowboy on 01/10/2021 10:40:51:
You could do worse than follow the Blondihacks series of beginner videos by Quinn Dunki found here. Not saying everything is gospel and never to be deviated from, but it's a good start. With 20cm blanks I'd cut them in half and grind a tool on each end (which is probably what you were doing anyway). Links to https://www.youtube.com/c/Blondihacks/playlists Rob I’ve watched her videos so much I am beginning to feel guilty! She’s great, but didn’t quite answer my question on this one. |
| 01/10/2021 11:42:16 |
Posted by Bizibilder on 01/10/2021 10:34:26:
You can buy blanks that are much shorter than 20cm! Then you will not need to cut them. Try this video about tool grinding - It is excellent and takes you through the process slowly with a full explanation of "how and why". Here Excellent video, thanks. I get it now. The honing doesn’t need to flatten the entire surface like one tends to (but again doesn’t need to) with woodworking tools. I loved the honing machine at the end. |
| 01/10/2021 10:32:53 |
Posted by roy entwistle on 01/10/2021 10:27:58:
Why do you need to cut HSS ? Roy Cos the two blanks I bought are 20cm long and I was expecting to make 4 tool bits out of them! Not something I will do again. Steve |
| 01/10/2021 10:19:58 |
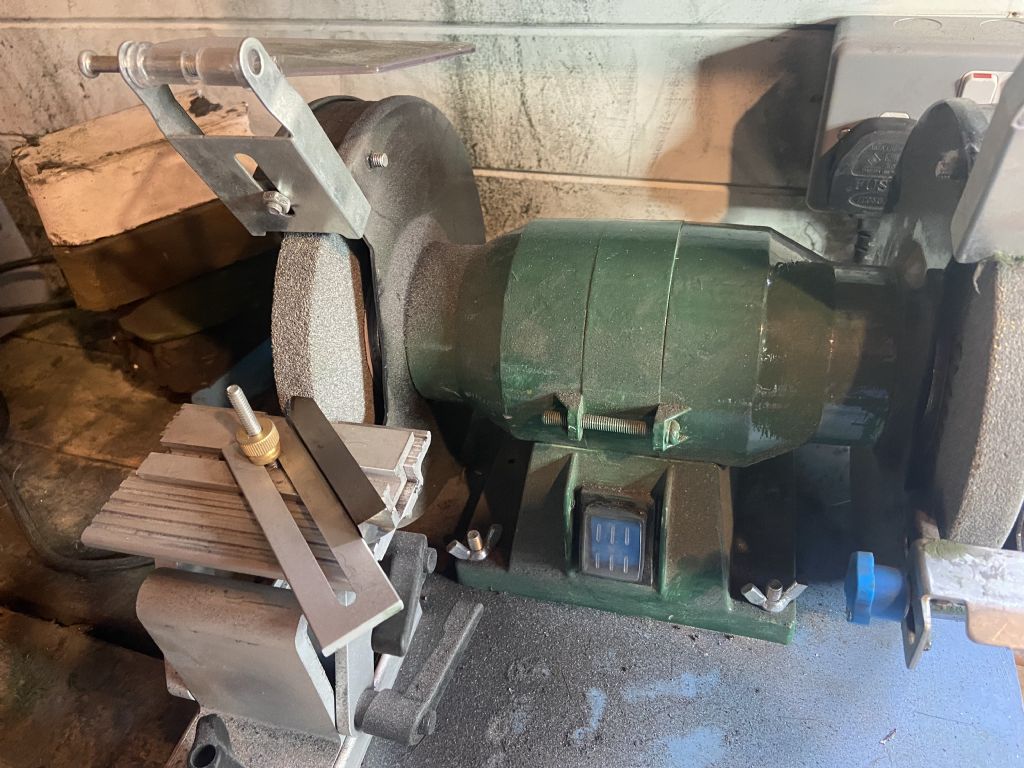
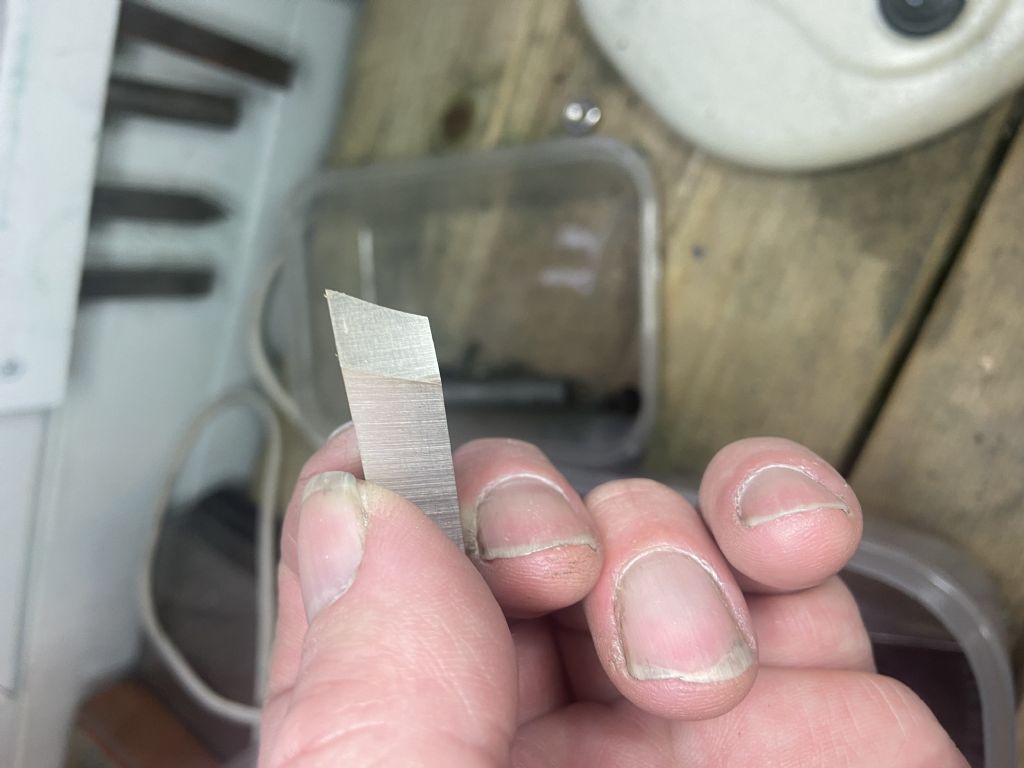
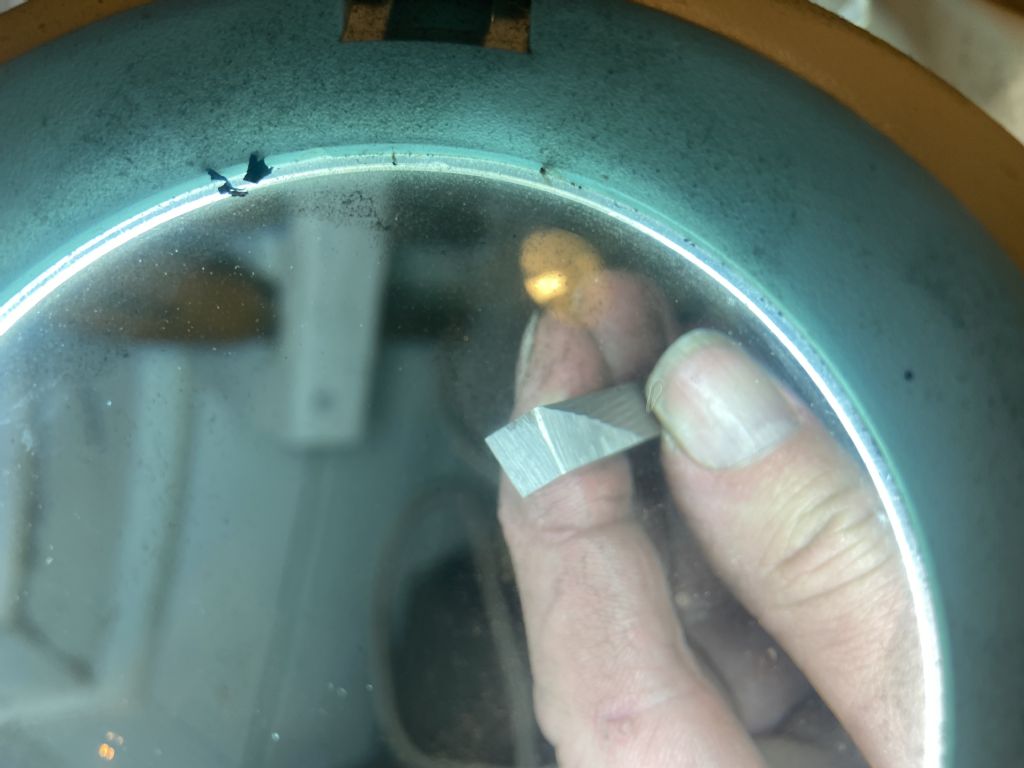
Hi all Another beginner thread I’m afraid. There will be more. After my last thread on finish I realised that I’m going to need to grind lathe tool bits. I got hold of some 20cm 10mm HSS blanks. The first thing I realised is that HSS is really hard. My hacksaw basically bounced off. So I cut it with a diamond blade on my angle grinder, but it still took ages and overheated the steel. Any tips for cutting HSS?! At the grinder, I am lucky in that I already have an adjustable tool rest with an angle fence (used for plane and chisel blades usually). The problems I’m experiencing are: 1) It takes ages. HSS seems to be much harder than plane blades. 2) when grinding a plane blade, of course the grinding wheel leaves a small amount of curvature. But I just hone this off on the sharpening stone, through several levels of grit and then strop it for a “scary sharp” finish. But on the lathe bit, the area I’d need to hone is much bigger, and I don’t have a nice sharpening jig to keep it perfectly flat against the stone. The result is a curved point (see pic). It isn’t possible to grind a consistent and small radius on this. The radius either ends up as “triangles” at either end of the cutting point, or a larger “saddle” shaped radius across the whole point. I’ve watched a few YouTube vids but none I’ve seen properly address this. I could get a bigger grinder, which would reduce (but not eliminate) the problem. I could get a belt grinder with a circular sanding disc on the side, but I’m not sure they will be man enough for HSS. Most likely thing is I am doing this wrong! Any tips ? thanks Steve
|
| Thread: Chatter/finish problem |
| 29/09/2021 21:21:38 |
Right, I am getting there at last….. I lashed up a belt tensioning system so could tighten the bearings to stop the chatter without the belt slipping…. I ground a radius on the tool bit…. and the result was a much, much better finish, and no chatter marks further out along the piece. now to watch some more videos on grinding tool bits properly. Thanks very much to everyone who has provided such great advice, all of it has made me think. I’m beginning to think I will be able to use these tools in the end. Edited By Steve355 on 29/09/2021 21:22:37 |
| 29/09/2021 11:27:25 |
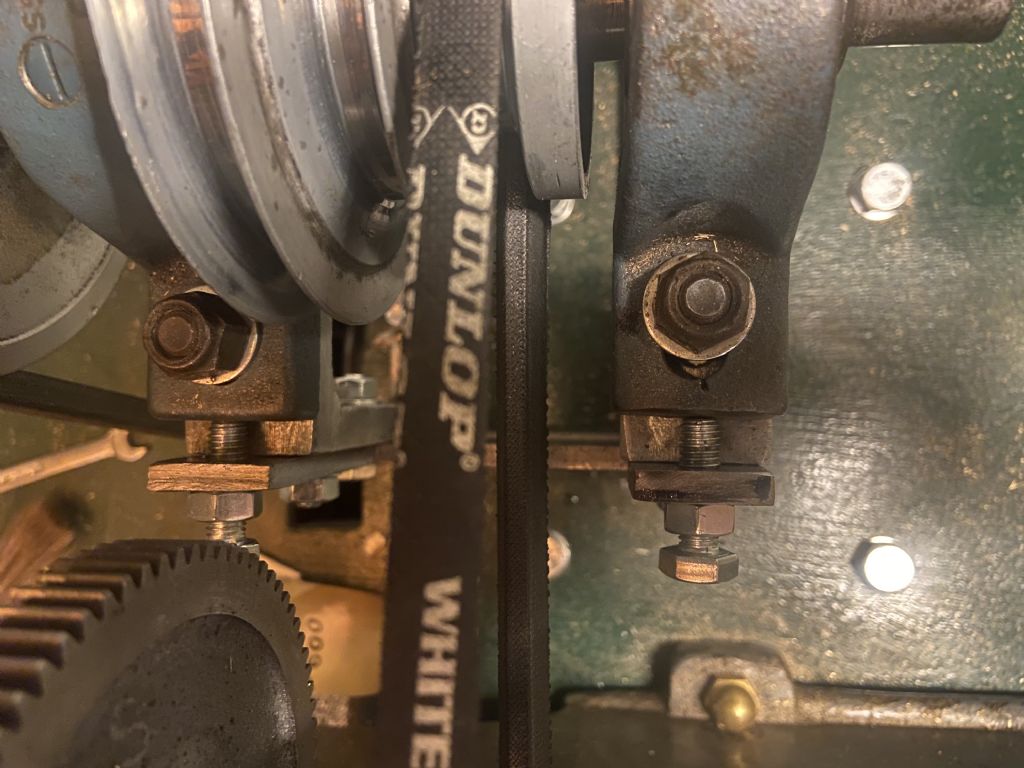
Right, thanks for all the help from this excellent forum, I think I’m starting to understand some of this. I think there are actually three problems: 1) a problem With the collar at the tail end of the spindle, looseness was causing longitudinal movement of the spindle. I think I have fixed that. 2) A problem with tooling, resulting in the finish being a “long thread” when tail support is applied. The tail support would also stop any longitudinal movement of the spindle. I will re-grind the tool tonight and give this another go. 3) I have also noticed that in order for the spindle to turn, the bolts that secure the spindle in the headstock need to be only slightly more than finger tight. Whilst it seems that there is no lateral movement on the spindle, if I pull the spindle with a little force, I can feel the headstock slots flexing. So therefore there must be very little rigidity, and it may explain The test cut I did last night, where on an unsupported pace the finish is horrible further out, improving markedly closer to the Chuck. But if I tighten the headstock bolts, the spindle will not turn. A couple of questions: Does this make sense? Might this be a problem? What tension should the V-belt be? Is there any way I can measure it? It’s a basic cheapo eBay V-belt. Is this the wrong kind of belt? I have seen a myriad of different belt types on lathes.co.uk. I will get to the bottom of this! cheers Steve
|
Want the latest issue of Model Engineer or Model Engineers' Workshop? Use our magazine locator links to find your nearest stockist!
Sign up to our newsletter and get a free digital issue.
You can unsubscribe at anytime. View our privacy policy at www.mortons.co.uk/privacy
- *Oct 2023: FORUM MIGRATION TIMELINE*
05/10/2023 07:57:11 - Making ER11 collet chuck
05/10/2023 07:56:24 - What did you do today? 2023
05/10/2023 07:25:01 - Orrery
05/10/2023 06:00:41 - Wera hand-tools
05/10/2023 05:47:07 - New member
05/10/2023 04:40:11 - Problems with external pot on at1 vfd
05/10/2023 00:06:32 - Drain plug
04/10/2023 23:36:17 - digi phase converter for 10 machines.....
04/10/2023 23:13:48 - Winter Storage Of Locomotives
04/10/2023 21:02:11 - More Latest Posts...
- View All Topics
- Reeves** - Rebuilt Royal Scot by Martin Evans
by John Broughton
£300.00 - BRITANNIA 5" GAUGE James Perrier
by Jon Seabright 1
£2,500.00 - Drill Grinder - for restoration
by Nigel Graham 2
£0.00 - WARCO WM18 MILLING MACHINE
by Alex Chudley
£1,200.00 - MYFORD SUPER 7 LATHE
by Alex Chudley
£2,000.00 - More "For Sale" Ads...
- D1-3 backplate
by Michael Horley
Price Not Specified - fixed steady for a Colchester bantam mark1 800
by George Jervis
Price Not Specified - lbsc pansy
by JACK SIDEBOTHAM
Price Not Specified - Pratt Burnerd multifit chuck key.
by Tim Riome
Price Not Specified - BANDSAW BLADE WELDER
by HUGH
Price Not Specified - More "Wanted" Ads...
Do you want to contact the Model Engineer and Model Engineers' Workshop team?
You can contact us by phone, mail or email about the magazines including becoming a contributor, submitting reader's letters or making queries about articles. You can also get in touch about this website, advertising or other general issues.
Click THIS LINK for full contact details.
For subscription issues please see THIS LINK.
Model Engineer Magazine
- Percival Marshall
- M.E. History
- LittleLEC
- M.E. Clock
ME Workshop
- An Adcock
- & Shipley
- Horizontal
- Mill
Subscribe Now
- Great savings
- Delivered to your door
Pre-order your copy!
- Delivered to your doorstep!
- Free UK delivery!


 Register
 Log-in


