Member postings for Terry Turner 2
Here is a list of all the postings Terry Turner 2 has made in our forums. Click on a thread name to jump to the thread.
| Thread: WARCO MAJOR QUILL REMOVAL |
| 21/08/2021 20:13:58 |
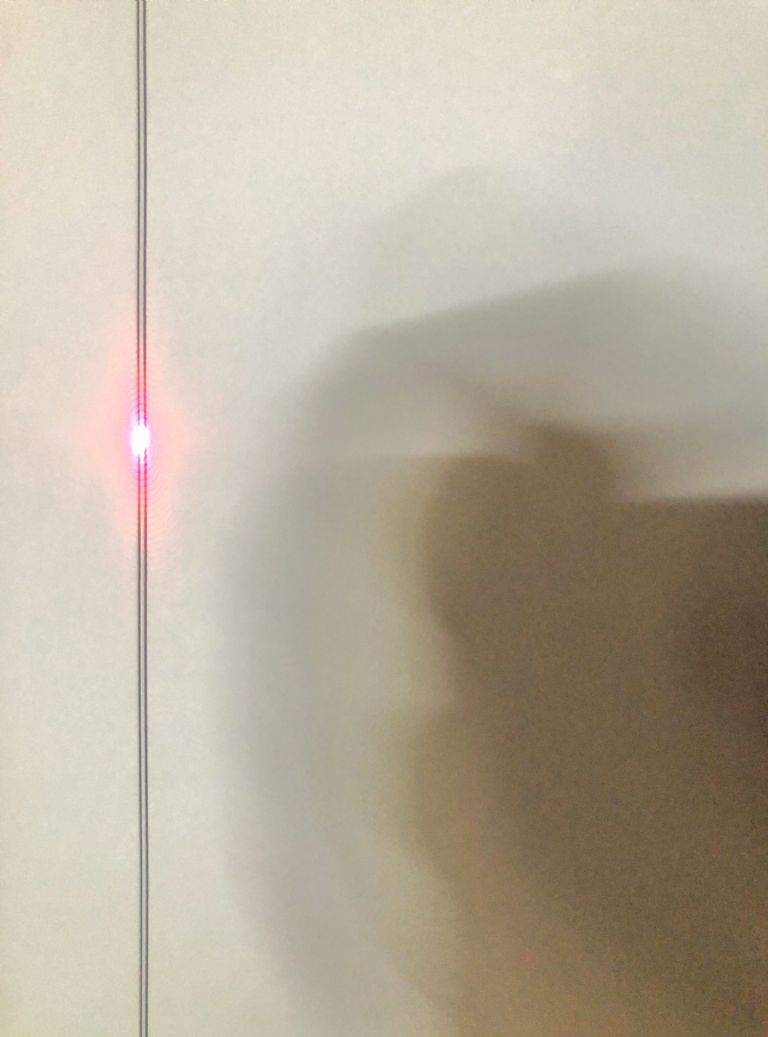
More elements of the work that could have produced a poor outcome.... 4/. There are dangers associated with 'firing' lasers , even low powered ones, across a workshop but using one with a vertical linear 'target' proved to be very worthwhile. (If the laser is shone into an eye it can cause immediate, irreversible damage and when I was walking across my workshop I forced myself to look at the ground.) I used the laser/ target to determine the rack positions and when I had screwed the rack to the column I used the worm drive/ handle to raise the head.
I found that even when held top and bottom by two 8mm counter sunk screws the rack was simply not rigid/ strong enough and it was visibly flexing ! Fixing the rack with another 8mm counter sunk screw in the middle of the toothed section would leave too little metal so I decided to use a 6mm screw with the normal socket head which I turned down to a tight fit on a 8mm hole, which I drilled free hand. That stopped the rack flexing and corrected the error. In the future I may consider using one of the other column mill head alignment projects that can be found on the internet but for the time being I shall stick with what I have. Best Wishes Terry T
|
| 21/08/2021 09:23:48 |
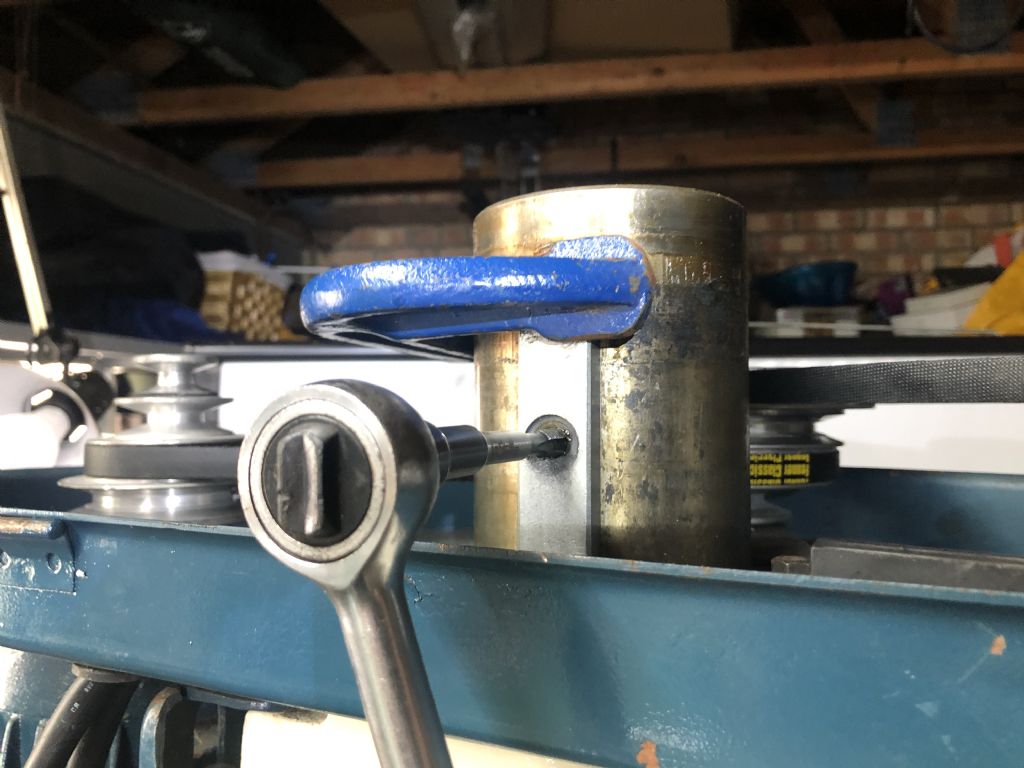
The Edwin White 'improvement' appears to be a straightforward process capable of producing good results and greatly improve the head alignment problem with round column mills ..but... I found several elements of the work where I could have ended up with a poor outcome... 1/. The prospect of hand drilling four holes through the rack ( 11mm) and the column ( 17mm) and ensuring that the resultant hole was an accurate tapping size, then countersinking those holes in the rack, troubled me. I removed the rack and used the mill to pre-drill two 6.6mm holes ( smaller than recommended for 8mm threads ) top and bottom ( 40mm apart ) and countersink them. How did I do that when there was no rack on the mill I hear you ask..? Support the spindle/head on blocks of wood on the table before removing the rack, lock the head clamps and then use the quill control to raise or lower it, ( it is heavy..! ) I then had a pre-drilled rack which also acted as a guide for the holes I needed to hand drill in the column. I ended up with very tight threads and good countersinks.
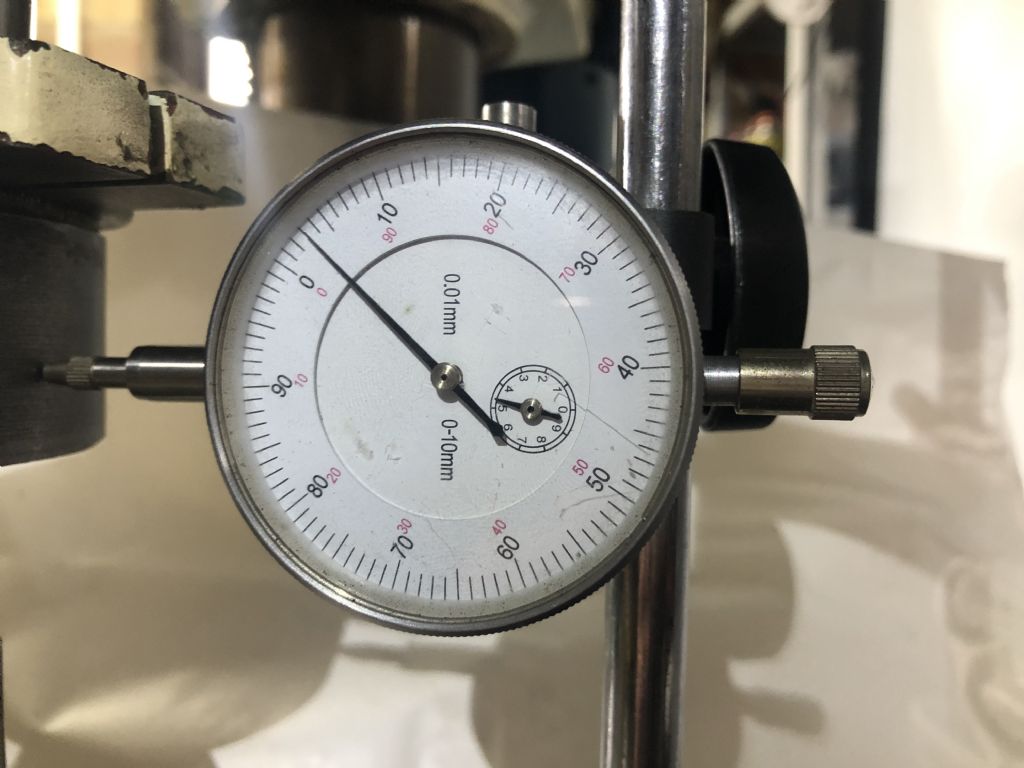
2/. My mill stand was actually 0.6 degrees off the horizontal so I had to incline my laser 'target ' by the same amount and I used an electronic gauge to do that accurately. ( Thanks to old mart for the ' heads up' on that. ) 3/. The next, crucial , stage is positioning the head before drilling/tapping holes in the column and I very nearly made a serious mistake here... ! I drilled and tapped the lower of the four holes in the column and screwed the rack into position. I put the head into its lowest position and aligned the laser on target. I then raised the head to its highest position, moved it to align the laser/ target and prepared to drill / tap the crucial top hole. BUT... somehow ....I noticed that when I moved the head up the rack, the rack did not appear to move at all... ? I would have expected the upward movement of the head to 'shove' the rack across as it went higher and it did not...??? There was a a 1.63mm gap between the head casting and the rack, which I was able to measure using feeler gauge blades and I then used those blades to make a shim to correct the problem. I recommend that everyone does this first. Edwin white uses a shim but appears to do it last...? More to follow later
|
| 20/08/2021 22:33:40 |
I would have liked a slightly better outcome but the law of ' diminishing returns ' means that I could now put more and more effort into this head alignment issue but achieve proportionally less outcome. My machine is after all a round column mill with all its defects and for most of my engineering the level of repeatable alignment I now have is sufficient. I may well come back to the alignment question in the future and consider some of the more sophisticated solutions out there but for the time being I want to work on fitting a 3 phase motor, inverter and speed controller. So, with grateful thanks to all those who have helped me, not least Edwin White, I will leave the head alignment question for further thought in the future. I'll write up the 'traps' I found tomorrow, in the hope that they help anyone who wants to try the Edwin White 'improvement'. Best Wishes
Terry T Edited By Terry Turner 2 on 20/08/2021 22:34:02 Edited By Terry Turner 2 on 20/08/2021 22:34:39 Edited By Terry Turner 2 on 20/08/2021 22:36:33 |
| 20/08/2021 19:57:25 |
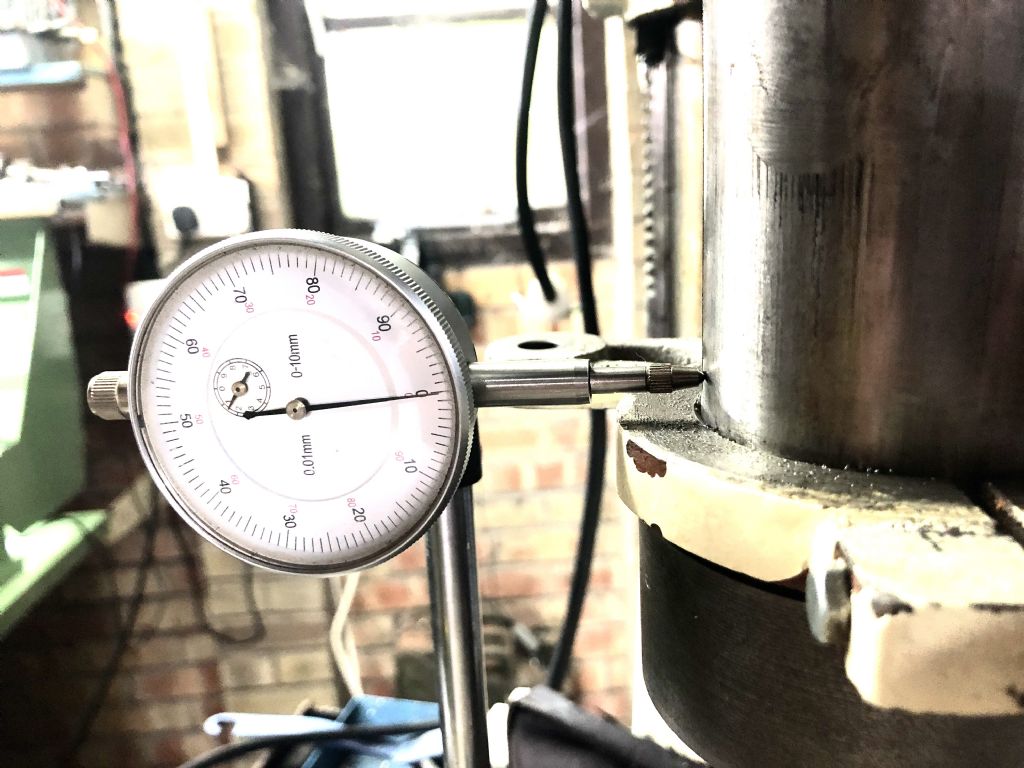
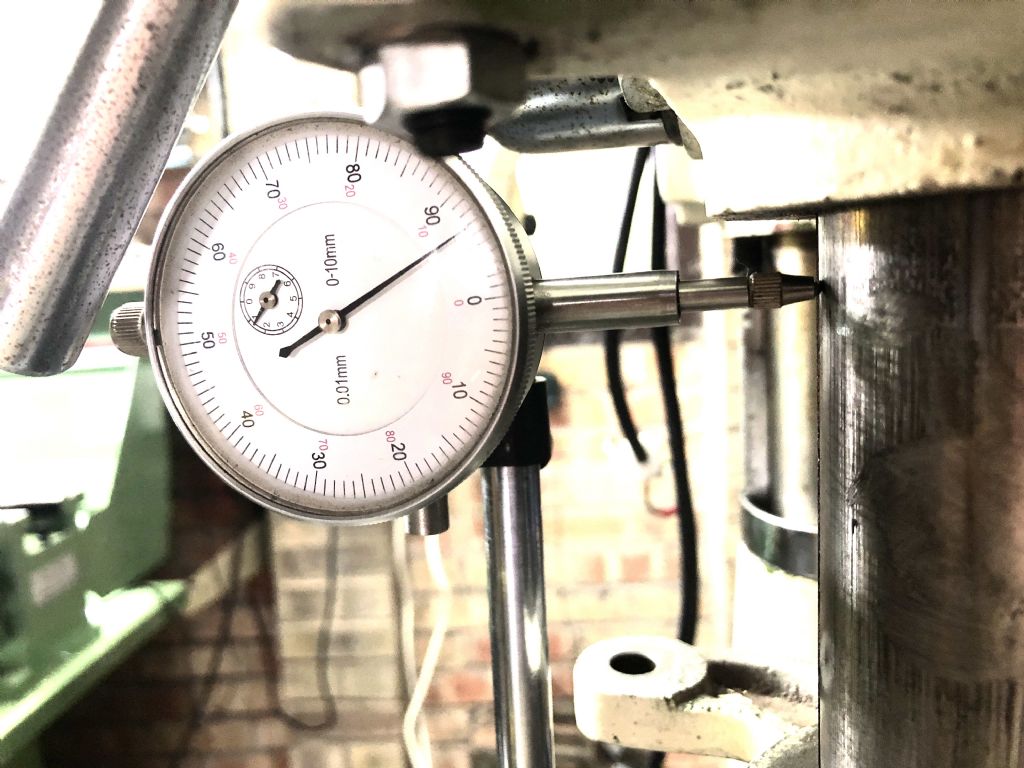
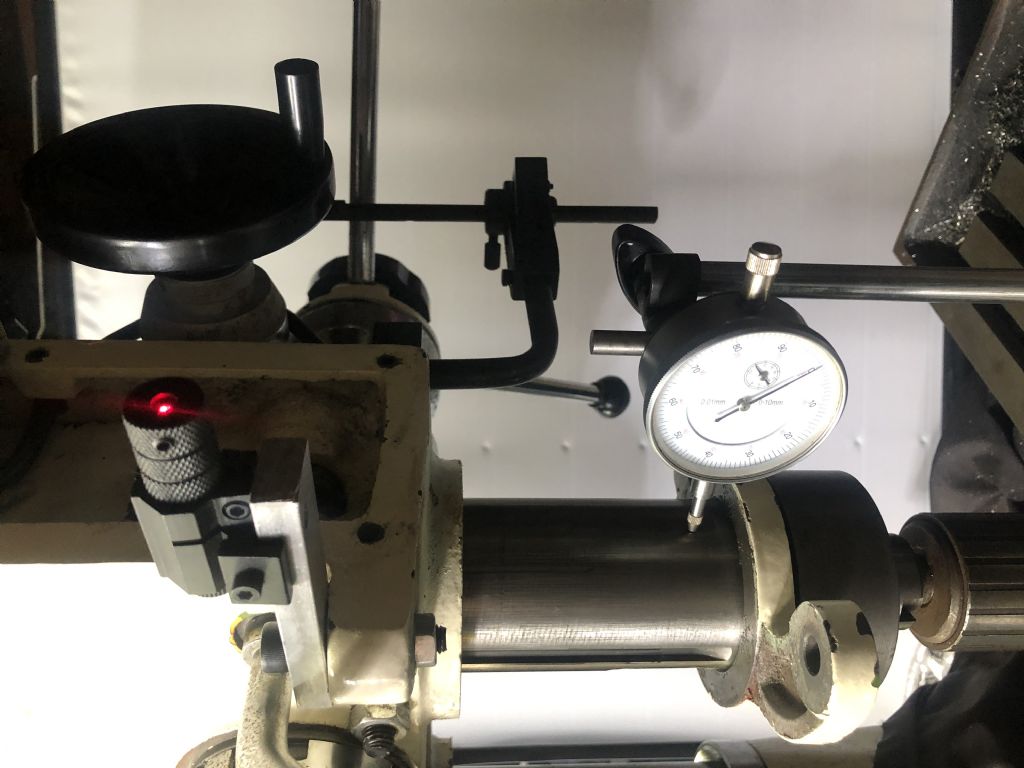
I have completed the Edwin White 'improvement' on my Chester Eagle round column mill. These pictures show results I have repeated several times. Lower the quill to its full extent. Place the dial gauge in contact with the lowest part of the quill. Zero the gauge. Lower the head using the worm gear. ( Approx 120mm movement ) Read the gauge - 0.07mm deflection. I can't recall what the outcome was for Edwin White but for me that is pleasing. ( rounding things for errors in my measurement...about 3 ' thou ' in old money ) What do you think ...? Worth the effort...? The process itself is fairly straightforward but there were some real traps on the way... ! More about that later Terry T
Edited By Terry Turner 2 on 20/08/2021 20:02:13 Edited By Terry Turner 2 on 20/08/2021 20:03:49 |
| 15/08/2021 20:10:33 |
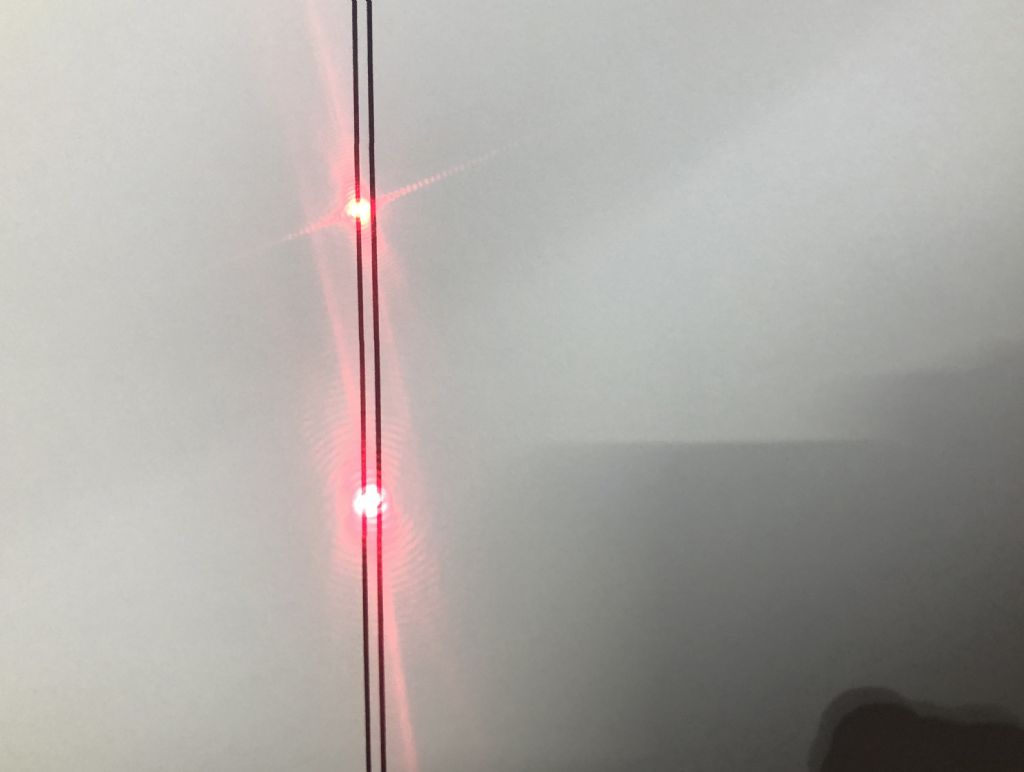
I spent my time today ensuring that my measuring systems were as good as I can get them before attempting to carry out any of the Edwin White process. The ( expensive ) surveyors laser measuring device only gave a marginally better 'dot'.( The top one in this picture ) When used in comparison with the dial gauge on the quill I found that I could get results which allowed me to carry on. I positioned the head .03mm off centre on the gauge and could see the core of both lasers displaced to the left line and return to centre when I 'zeroed' the head /guage position. The object of the exercise is to measure the lowest position of the head and fix / screw the bottom of the rack there. Then raise the head to its highest position, use the laser and gauge measurements to restore it to a correct alignment and fix the top of the rack there. I have chosen to use two 8mm countersunk socket headed screws 40mm apart at each location to give the strength necessary. Then I should be able to raise and lower the head and watch the laser dots track up the twin lines and watch any displacement on the dial gauge. My mill is not horizontal on its stand so I will first measure the true extent of that error accurately ( thanks 'old mart'. ) and then angle the lines to the same degree so that the tracking is a true measurement of the head position. The guage reading should confirm the accuracy..? Best Wishes Terry T
Edited By Terry Turner 2 on 15/08/2021 20:12:08 |
| 13/08/2021 22:37:21 |
Thanks old mart, There are indeed a number of methods., some quite complex but I want to try the Edwin White method at the moment. I am sure that the Edwin White method will give sufficient accuracy for my needs , but I must get the measuring systems right before I carry out the process. Since my last posting I have found my surveyors distance measuring laser which emits a much more powerful laser beam .............and a friend of mine, who was trained to work with precision lasers , is searching for one of his many laser emitters that can be focussed to give a fine dot on the 'target'. More about that later. In the light of your last response though I will try to mount the laser on the centre line of the column so that angular calculations can be more precise... It's great fun and stirring up some long forgotten trigonometry must be good for me... Best WIshes Terry T
|
| 13/08/2021 20:27:22 |
Thanks old mart, I agree about the size of the laser dot on the ' target ' and will be contacting a friend of mine to see if I can borrow his laser rifle sight, in the hope it is better..? Also, thanks for your advice about the dial gauge position. Before I do anything, I will be clamping / shimming the rack , moving the head and testing / comparing the measurements to see how accurate / compatible they are. Only when I have the measuring 'devices' working will I use them to determine the position at which I drill/tap the rack/column. Best Wishes Terry Y
|
| 13/08/2021 16:41:19 |
The laser is bolted to the head and has a 4mm wide 'target' 6 metres away. The dial gauge is obviously reading the quill position
The mill table is 1 degree off horizontal so that will have an effect on the laser measurement at the ' target ' but with both measuring methods working simultaneously , I thought it was worth a test to see what accuracy / repeatability I can achieve. Please tell me what you think...? As ever I greatly appreciate any advice and comment.
Terry T |
| 12/08/2021 08:22:38 |
Thanks Diogenes II, Now on to the Edwin White improvement... I have fitted a laser to my mill so I can accurately measure the angular error over a six metre distance before I start drilling /tapping holes in the column. I will back that up with some dial gauge readings on the quill and then get out my drill. I hope to start later today. I will let you know how it goes.
|
| 11/08/2021 21:29:06 |
Thanks old mart, I have to say the project has been one of the most enjoyable bits of work I have done for a long while. TerryT |
| 11/08/2021 19:03:55 |
I found the electrical problem easily this morning and the mill now runs.......the metal catch on the inside of the pulley cover wasn't quite pressing the micro switch hard enough... The mill is very smooth and quiet ...well worth all the effort. Thanks to everyone who helped / advised. Terry T |
| 10/08/2021 21:43:20 |
I have rebuilt the mill. After some bad experiences with lawn mowers I wasn't looking forward to rewinding the quill return spring but it was ok..a much better design. The new/, better fitting, anti rotation screw works well and although I had originally thought that a better fit would prevent the rotational forces being almost entirely taken up by the quill teeth, that is irrelevant if the quill clamp is used properly. So.....new belts on...plug in...switch on...press the green button and ........NOTHING !!! Checked the microswitches on the pulley cover and chuck guard.......pressed the green button. again but still nothing..??? So tomorrow , armed with trusty analogue multi meter , I shall check the circuits and see what is happening. I am not too worried as I am expecting delivery of a 3 phase motor and inverter/ speed controller , as the final part of my improvements so the existing electrics will be stripped out anyway. Whilst I am waiting for the new motor I will do the Edwin White ' improvement' to the head alignment . I'll let you know how it goes... Best WIshes Terry T
Edited By Terry Turner 2 on 10/08/2021 21:43:50 |
| 09/08/2021 21:57:09 |
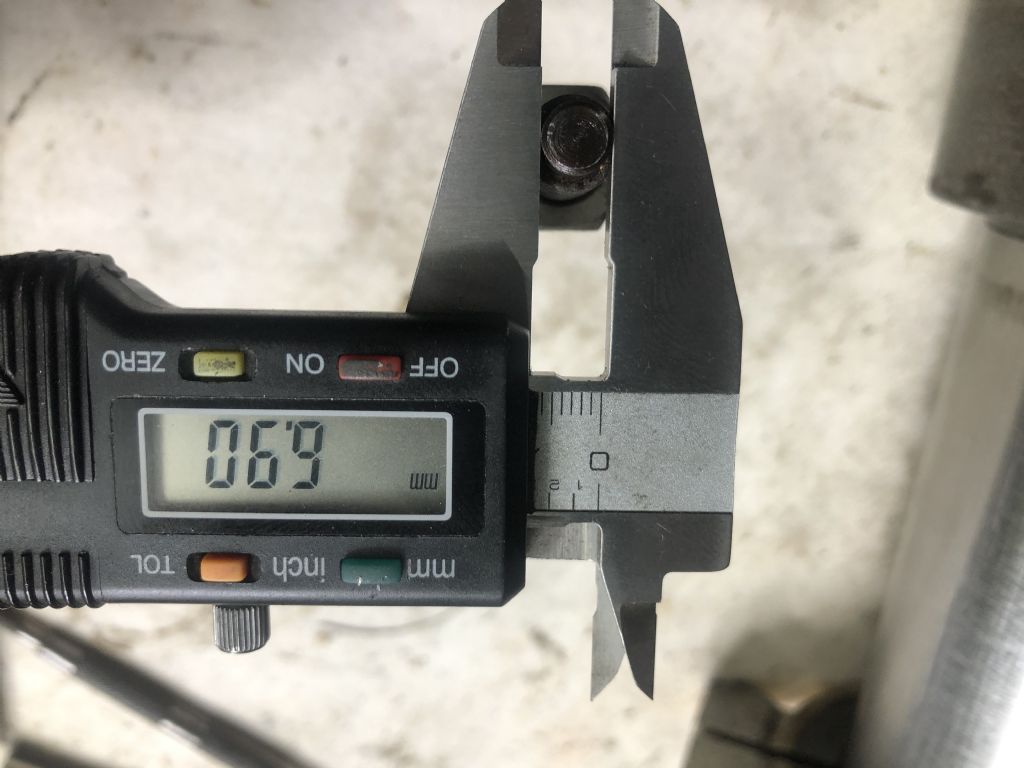
I have all four new bearings for the quill /spindle and the pulley shaft. Whilst I was waiting for them ( 1 hour from a very local distributor ) I turned up a new anti-rotation ( 10mm ) grub screw as the original was very ill fitting.
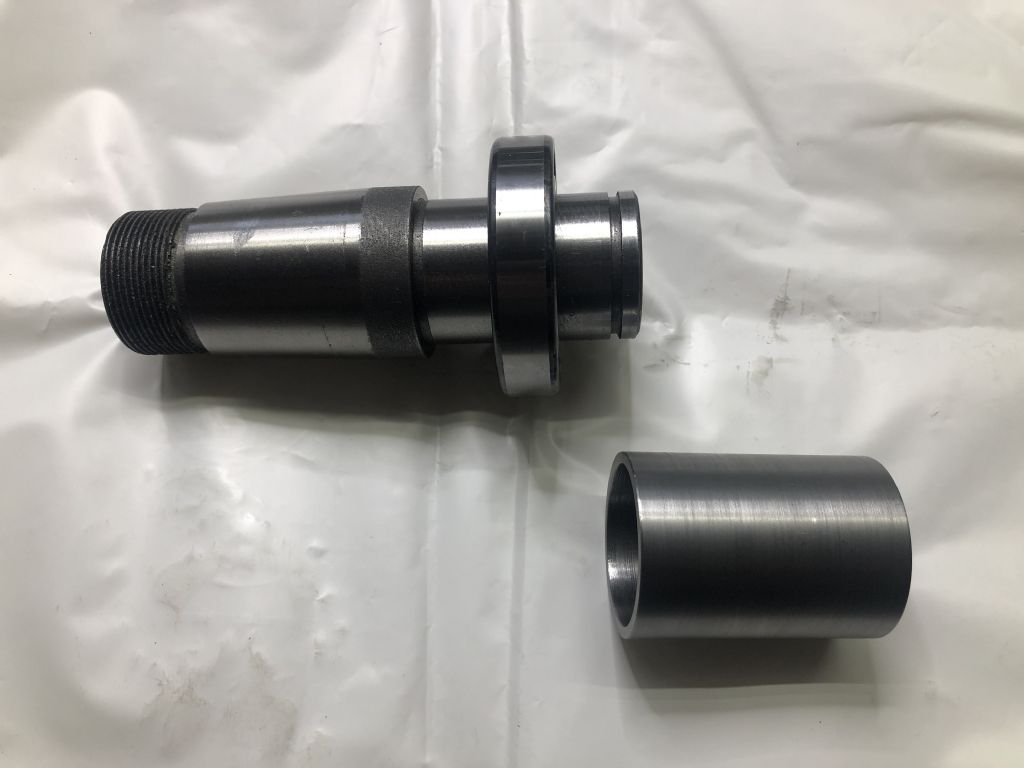
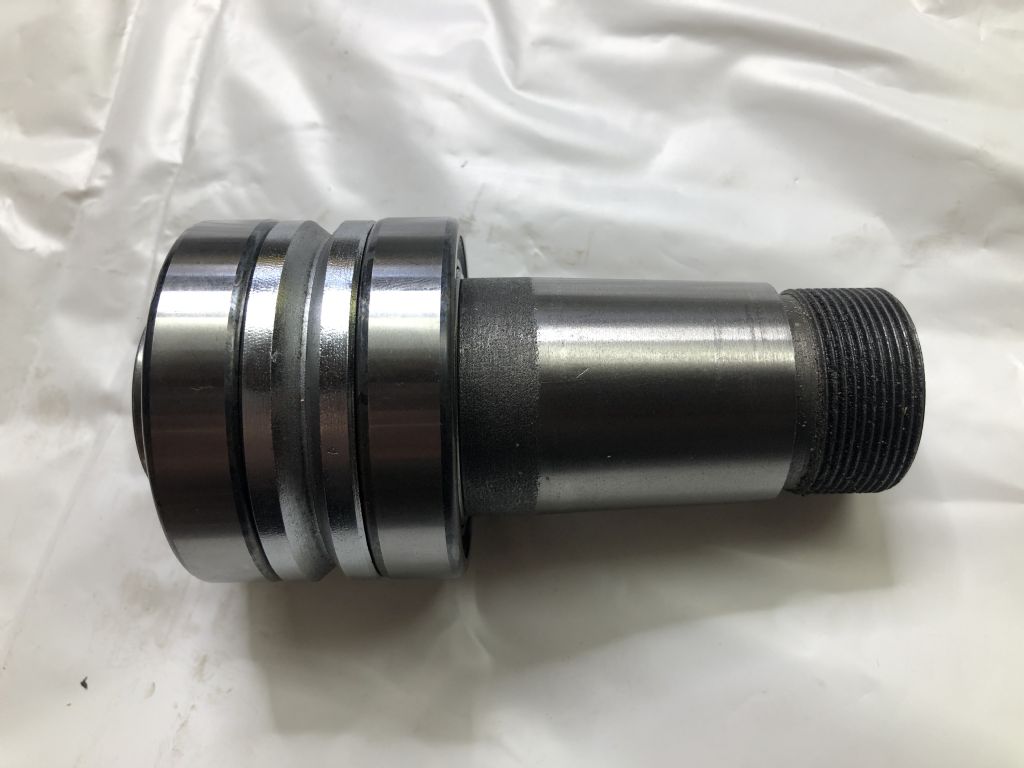
I then turned a sleeve to fit the pulley shaft bearing inner race so I could press them on to the pulley shaft without any fear of distortion or damage.
|
| 09/08/2021 13:39:20 |
My ball races are the wrong way round.. ( in the description.. ) Thanks ‘old mart’ The rebuild going well , delayed a little because I had to turn a sleeve to press the pulley shaft bearings in place.. I didn’t want to ‘hammer’ them in , Terry T |
| 08/08/2021 20:17:52 |
Thanks old mart, I had in mind positioning the rack with one tapped screw at the bottom then using the laser to make sure the head is accurately positioned high up, before I drill tap the second screw at the top , thus making sure it is accurate all along its travel. I will then add other screws to make sure the rack is rigid al along its position..? How does that sound...?
|
| 08/08/2021 19:14:00 |
We are on the same wavelength here Chris.. I saw the laser light check on a U tube video as well and I have one to use for that very purpose.. ALSO.. the 3 phase motor and speed / controller is a real possibility for me too and I would greatly appreciate any information you can share about the kit you purchased.. I recently changed my lathe for one with speed control and the improvement in finish when you actually cut / turn at the correct rpm is noticeable… All the best Terry T |
| 08/08/2021 18:55:28 |
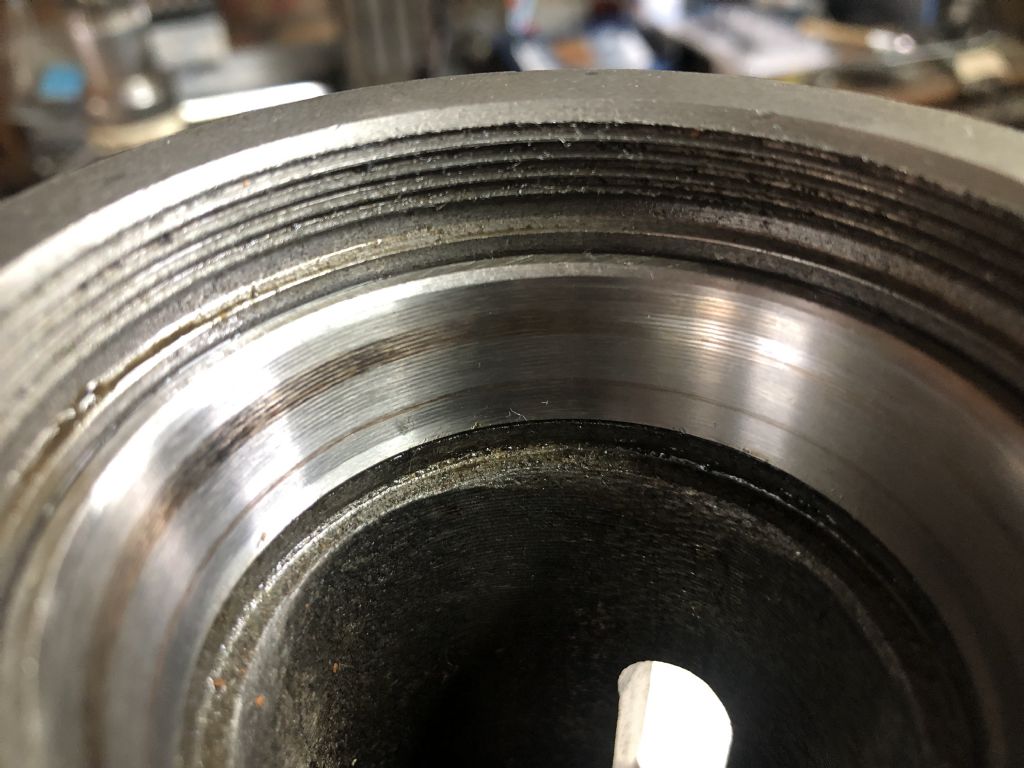
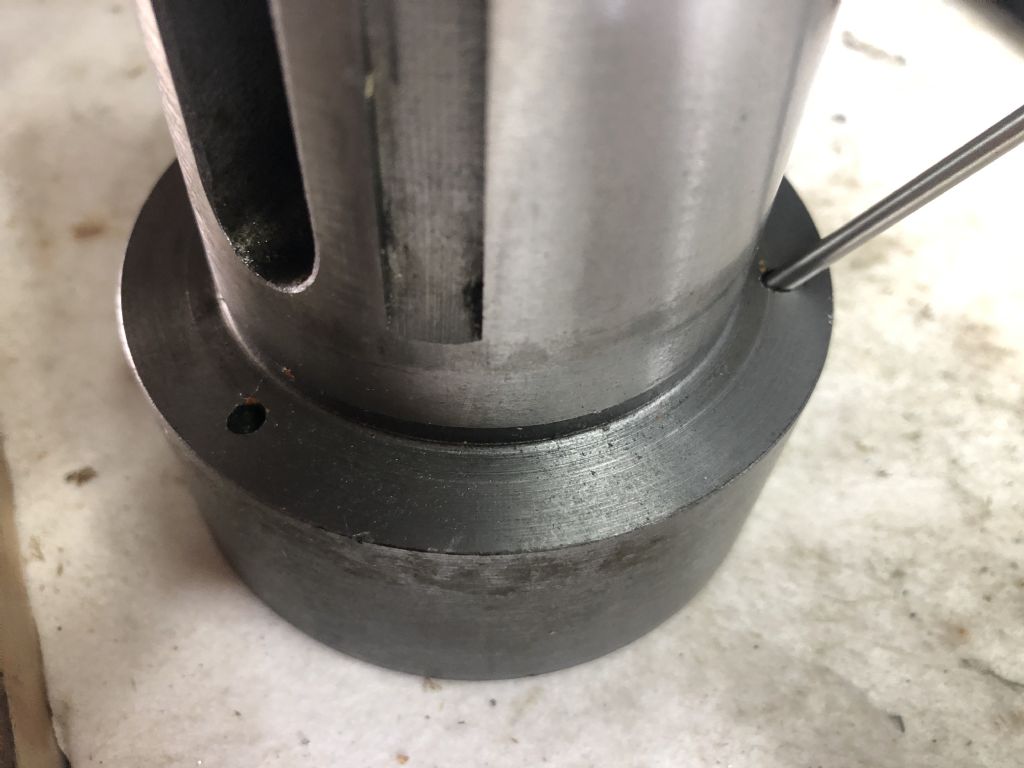
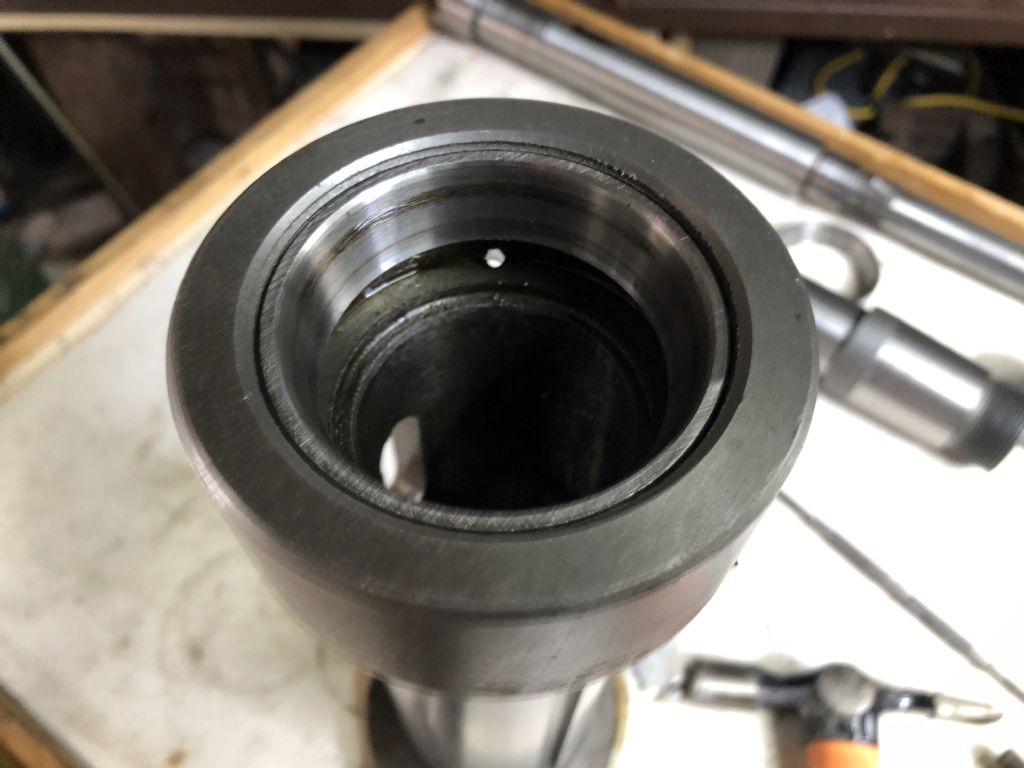
Chester quill bearings. I missed something again....! The lower taper bearing race has a pronounced lip protruding into the ID of the quill so it was easy to remove.. I turned a cylinder the ID of the quill , ( it is a rough casting so a loose fit was all I could achieve) I then dropped the cylinder into the quill so that it sat evenly on the bearing race lip and a sharp tap with a drift removed the seat without any distortion / damage to the casting. The upper quill taper bearing race is a different 'kettle of fish'. There is no protruding lip and the bearing is completely enclosed within the housing.( see pic )
I could not imagine what kind of engineer could create such a design...? I thought long and hard about the options and eventually decided that some more thinking time was needed and stood the quill up on my table ( I normally lay it down) .......THEN I NOTICED.....three small holes in the exterior/ reverse side of the bearing housing. The holes are 3.5 mm did so I put a piece of rod into one and found it was a 45 degree hole which obviously led to the back ( inaccessible) part of the bearing . Tapping each in turn loosened the bearing and moved it enough for me to get a drift in and finish tapping it out.
I now understand that it is quite a common practice to provide such access holes but I have never come across them before and the fact I didn't notice them has reinforced my reputation for having poor powers of observation. ( You will remember that I missed the bruise/ burr on the top of the quill spines that caused me so much trouble ) The bearings are purchased so the re-build will start any day. Best WIshes Terry T
|
| 08/08/2021 18:30:43 |
Thanks Terry olds,
I have a slightly different plan for the Edwin White modification, which I will post in a couple of weeks. |
| 08/08/2021 16:48:18 |
Hi Terry olds, Thanks, that's reassuring....how did you align things to ensure that the head ( when raised ) was aligned correct y before you drilled/ tapped the next hole..? |
| 08/08/2021 15:19:00 |
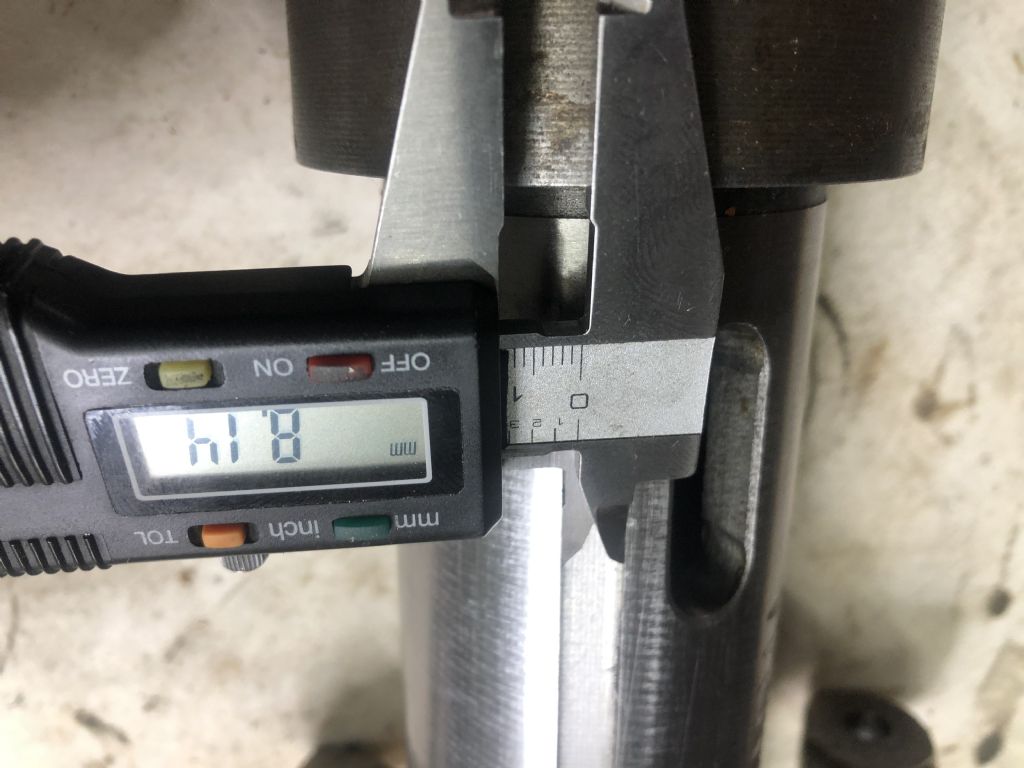
Hi ChrisH, If you look on U Tube ,as you probably do, there are a number of films about ways of preventing loss of alignment on a round column mill when you raise or lower the head. Some are complex but a bloke called Edwin White has used a method that I will try...See link below . He has has bolted the rack used to raise and lower the head to the column with ( 10mm) countersunk screws . Precise positioning of the rack and bolt holes is obviously essential/ critical but he adds a small shim afterward to make the fit even tighter... in this film he doesn't go into his method in any great detail but he seems very happy with the result.. I took the top cover off my column and it is 17mm thick and the rack is 11.7mm so I have bought some 10mmx 30mm Socket headed Countersunk machine screws.. Give me a couple a weeks and Ill let you know how it goes..
|
Want the latest issue of Model Engineer or Model Engineers' Workshop? Use our magazine locator links to find your nearest stockist!
Sign up to our newsletter and get a free digital issue.
You can unsubscribe at anytime. View our privacy policy at www.mortons.co.uk/privacy
- hemingway ball turner
04/07/2025 14:40:26 - *Oct 2023: FORUM MIGRATION TIMELINE*
05/10/2023 07:57:11 - Making ER11 collet chuck
05/10/2023 07:56:24 - What did you do today? 2023
05/10/2023 07:25:01 - Orrery
05/10/2023 06:00:41 - Wera hand-tools
05/10/2023 05:47:07 - New member
05/10/2023 04:40:11 - Problems with external pot on at1 vfd
05/10/2023 00:06:32 - Drain plug
04/10/2023 23:36:17 - digi phase converter for 10 machines.....
04/10/2023 23:13:48 - More Latest Posts...
- View All Topics
- Reeves** - Rebuilt Royal Scot by Martin Evans
by John Broughton
£300.00 - BRITANNIA 5" GAUGE James Perrier
by Jon Seabright 1
£2,500.00 - Drill Grinder - for restoration
by Nigel Graham 2
£0.00 - WARCO WM18 MILLING MACHINE
by Alex Chudley
£1,200.00 - MYFORD SUPER 7 LATHE
by Alex Chudley
£2,000.00 - More "For Sale" Ads...
- D1-3 backplate
by Michael Horley
Price Not Specified - fixed steady for a Colchester bantam mark1 800
by George Jervis
Price Not Specified - lbsc pansy
by JACK SIDEBOTHAM
Price Not Specified - Pratt Burnerd multifit chuck key.
by Tim Riome
Price Not Specified - BANDSAW BLADE WELDER
by HUGH
Price Not Specified - More "Wanted" Ads...
Do you want to contact the Model Engineer and Model Engineers' Workshop team?
You can contact us by phone, mail or email about the magazines including becoming a contributor, submitting reader's letters or making queries about articles. You can also get in touch about this website, advertising or other general issues.
Click THIS LINK for full contact details.
For subscription issues please see THIS LINK.
Model Engineer Magazine
- Percival Marshall
- M.E. History
- LittleLEC
- M.E. Clock
ME Workshop
- An Adcock
- & Shipley
- Horizontal
- Mill
Subscribe Now
- Great savings
- Delivered to your door
Pre-order your copy!
- Delivered to your doorstep!
- Free UK delivery!




 Register
 Log-in


