Member postings for Piotr
Here is a list of all the postings Piotr has made in our forums. Click on a thread name to jump to the thread.
| Thread: PocketMags - Unable to Read MEW 263 |
| 22/02/2019 07:43:28 |
Have the same problem with the latest MEW 278, should I ping Pocketmags? Usually I wait for the printed version to arrive as I prefer to read a paper copy, but this time I want to read the shaper article. I can still access it in the archive I guess. |
| Thread: Quality issues with a SIEG SX2.7 mini mill |
| 20/02/2019 07:07:25 |
Posted by Alan Charleston on 20/02/2019 05:43:53:
If there is a drill in the chuck but the mill is not turned on, and the quill is lowered using the handle on the right until the drill hits the work, it is possible to continue turning the handle a bit (say 2 degrees) until it comes to a hard stop. It's like the rack and pinion is really loose and a spring is used to keep the pinion at one end of the rack on the quill. This results in a tendency for the drill to suddenly drop a bit when the pressure comes off and grab when it breaks through the bottom of a hole. Is this normal. I did try to pull it apart to see if I could see what is wrong (if anything) but with the electrics in the handle to enable power tapping (a truly useless complication) I chickened out half way through and put it back together while I still could. ... The other problem with the mill is the lack of oiling points. Unlike the SC4 lathe I was silly enough to buy which seems to have had a shotgun involved in the decision where to put the oilers, the SX2.7 only has one oiler - on the bushing end of the x axis screw for the table. It's really awkward trying to get the ways a screws lubricated. I haven't noticed any problem with the quill. I can try that when I am in my garage again. I did however noticed similar behaviour with the head. It can suddenly drop when wound down, especially after the head lock was used. The lack of oiling ports also surprised me too, but since the ways are exposed anyway it's not such a big problem to me. |
| 20/02/2019 06:56:15 |
Posted by Hopper on 19/02/2019 23:58:22:
But I believe the test methodology is flawed and exaggerating the error by a factor of maybe 10 times or even more. Hard to tell from the closely cropped video but it appears the DTI is mounted to a sliding block on the right, similar to the one on the left. The DTI is then mounted on a long arm. Further distance is added by the body of the DTI itself. So what is being measured is most likely a very very very small twist in the right hand dovetail way, or even just a very slight burr on the rear right hand edge of the way surface. It would only take a variation here of less than .01mm to then be amplified by the leverage of the distance from the base to the tip of the DTI pointer. Easily a 10 times or more increase, judging roughly by eye. So the .1mm reading obtained in the video is essentially meaningless. The ways are quite possibly just fine. A more accurate way of measuring would be to sit the base on a surface table, set y up level as measured from table to way surface with a DTI on a sliding base, then compare it with the other way in the same manner. (cut) If it were me I would put the machine back together, shim the vertical column square in both planes, tram the head and see how it went. This is true, it could be twist. It doesn't, however explain why when tramming the column for left/right tilt I would get different readings depending on where on the table I put the reference square or if I move the table towards the column or the other way round. I will put it on the surface place again when I go out again. Upside down on the ground middle surface and measure the difference of the sliding surface from underneath. The problem here is that it doesn't need to be flat as it's not a working surface, but there's no better reference to use. Alternative approach is to use jacks to level the four extreme points and see how it looks when swiping indicator across the ways then.
|
| 19/02/2019 19:40:25 |
Hej Neil! I cut that slot in what was perhaps 100 passes. I started with a small slot cutter 6mm, and cut it 6mm deep taking 1mm per pass. No cooling as this is regular cast iron and machined very well, just a vacuum cleaner not to breath in the dust and clean the slot while machining. Then I widened the slot using that very same end mill to 10mm, taking 1mm on each side during one pass. Later I repeated the same procedure and deepened the slot to 12mm total, and again widened to 10mm. Changed the enill to a 8mm carbide one and took 0.5mm on each side.. I could continue describing it but I think it’s enough to prove I did not in any way overstress the machine. Everything was done with a DRO and gage blocks for verifying progress. Besides, after I discovered the offset I did check the column squareness with a grade DIN875-0 square and it was off. I already accepted the limitations of the machine. I will fix what I can, and the rest I will just have to work around if I ever want better accuracy. Edited By Piotr Gertz on 19/02/2019 19:43:45 |
| 19/02/2019 14:09:52 |
Yes it was your videos Jason, but there was more than just that. I agree I could continue using it on smaller items and never notice any difference in my results. Unfortunately, I decided to build a 130mm 2 jaw/off-center chuck for my lathe and wanted to get it as good as possible to reduce the total error when it’s gonna be used. The slot ended up being more than 0.1mm offset even though I centered it carefully. Does the 0.15mm make a difference that would prevent an engine from running, probably not. I still want to have it central |
| 19/02/2019 13:29:24 |
Thanks for all your responses! I do not think, nor have I ever said, that ARC is responsible here. I bought it there because they offered the best price, even including shipping to Sweden. I might have bought it elsewhere and ended up exactly where I am. I intentionally left the reseller out of it as I didn't think it was relevant. I do not, however, agree that any weather should change machine in such a significant way as to affect its squareness by 0.2mm over ~14cm and I do not think it is the problem. These were not scraping marks either, but again, that's technicalities. It all seems to be a sum to my slightly high expectations, bad luck with the particular unit and general construction/build quality of the machine. The base casting seems to be too flexible/weak. It was originally mounted on a 4cm thick oak board,, I now moved it on a 3cm steel plate and just that changed the measurements by ca 0.03mm to the worse. Before doing anything else i will make sure i have a flat and stable base that will prevent the casting from flexing. Have I enjoyed having this machine, definitely yes! Would I buy it again.. probably not. Mostly because now I know what I expect want and can get on the second hand market. I will proceed on fixing it as much as I can with my skills and equipment. It's also a part of the hobby after all. Edited By Piotr Gertz on 19/02/2019 13:31:16 |
| 19/02/2019 09:53:16 |
The machine was out of warranty as I started checking it. When I first bought it I didn’t have the skill, tools or need to measure it properly. I was just learning to take cuts basically. Then my son who’s born and my time got limited. Lesson learnt! It first became apparent when I recently worked on a larger project and the slot didn’t end up in the middle. The problem I see is that there’s no accuracy specified in the “manual” or stated on the resellers website for such machines.. so all expectations are pretty much best wishes. |
| 19/02/2019 08:06:18 |
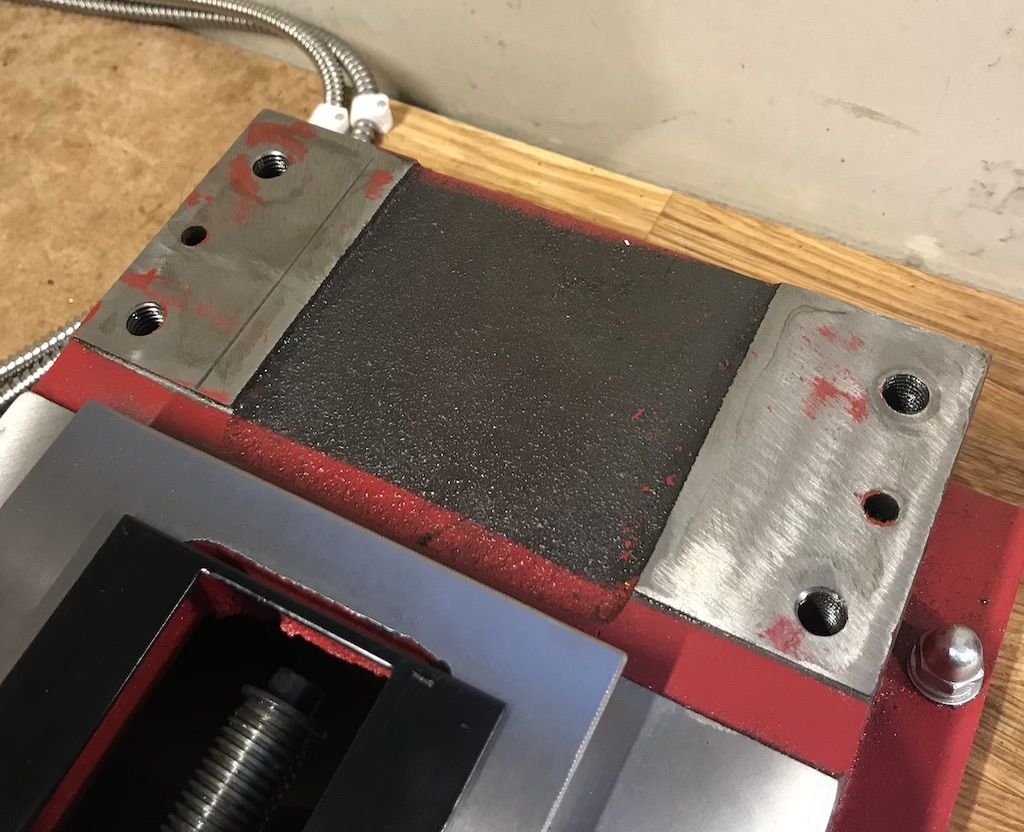
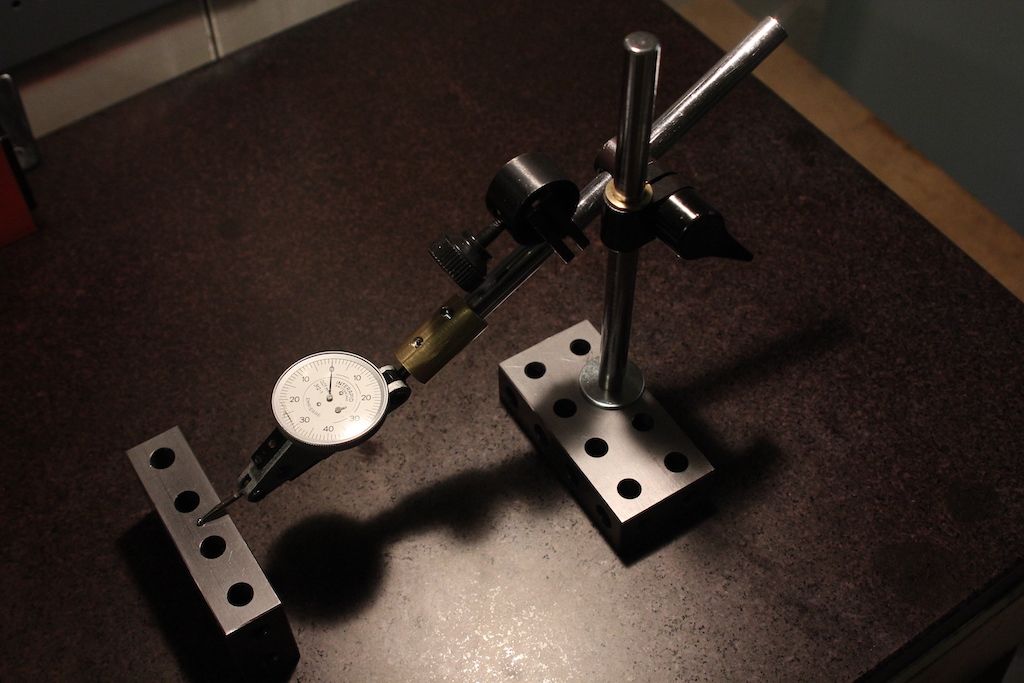
In a different thread I described a problem I had with one of the gibs on my Sieg SX2.7 mini mill. I ended up making a new one and solved that particular issue. Next I started working on squaring the column, but shimming didn’t seem to work how I expected so I disassembled the mill completely only to realise that I opened pandora’s box filled with all sorts of issues: The two pads, to which column was mounted, were uneven. In some places up to -0.35mm. They were also convex which led to mounting bolts not holding the column firm and stressing the casting. It all looked as if it was ground to “fit” with what could only be an angle grinder. (red markings were done with a straight edge across, not touching the middle part) I reground the pads flat on a surface grinder (I used the ways as reference, assuming they were good, and shimmed the base underneath). Then I shaped the bottom of the column flat and square to the Z ways I assembled it back together and squared the column with the table. I got really good result on the nod, pretty much 0.00mm over 75mm, but I couldn’t get sideways tilt to be better than 0.015mm over the same distance without disturbing the nod. It would also change slightly depending on where on the table I put the reference precision square. I accepted that, after all it’s a hobby machine, and proceeded to verify the head/spindle tram/squareness to the table. It was square front/back, 0.01mm over the table width which is fine, but the left side of the table was 0.20mm high over the same distance. I was disappointed and kinda surprised. I did verify the spindle was square to the head itself. I removed the table and the saddle and measured them on a surface place. The saddle was "fine" I guess. Both top and bottom sliding surfaces were slightly concave so the table was supported only by four small high corners points but at least they were pretty much same height and got quickly fixed on a surface grinder. The table wouldn’t fully fit on my surface plate, I only have a 40x40cm one, but it is definitely not flat. Using marking blue revelas very few points it rests on and a hammer sound test confirms that there are hollow areas on its sides. Measuring its ways shows 0.07mm variation over its ~60cm length which is acceptable. The last and the worst part are the cross travel slide ways on the base. They are neither parallel nor flat. The left one is between 0.05 and 0.12mm higher than the right one. I made a short clip showing the measurements. I did verify the jig on my surface plate both before and after checking the base.
This, together with the lack of precision of the table itself results in left/right tram being 0.20mm off over 14cm. I can now either scrape the ways flat and parallel, which with my limited experience is definitely a challenging task, or take it to a friend with a larger milling machine and try fixing it that way. Am I simply expecting too much from a ~ £1200 machine or purely out of luck with my unit? I’ve seen other owners of that very same mill showing their measured precision and it seemed to be much better. |
| Thread: "Readers' Workshops" 2009 special not present in the MEW archive? |
| 14/02/2019 21:47:49 |
Thanks! At least I know why it isn't there. |
| 14/02/2019 19:07:50 |
I was checking out Harold Hall's website where he mentions that his workshop, together with a dozen others, were featured in a 2009 special called "Readers' Workshops". I can't seem to find it in the MEW online archive. Is it a part of the ME archive perhaps? |
| Thread: Tapered gibs on a mini mill (SX2.7) |
| 10/02/2019 21:45:17 |
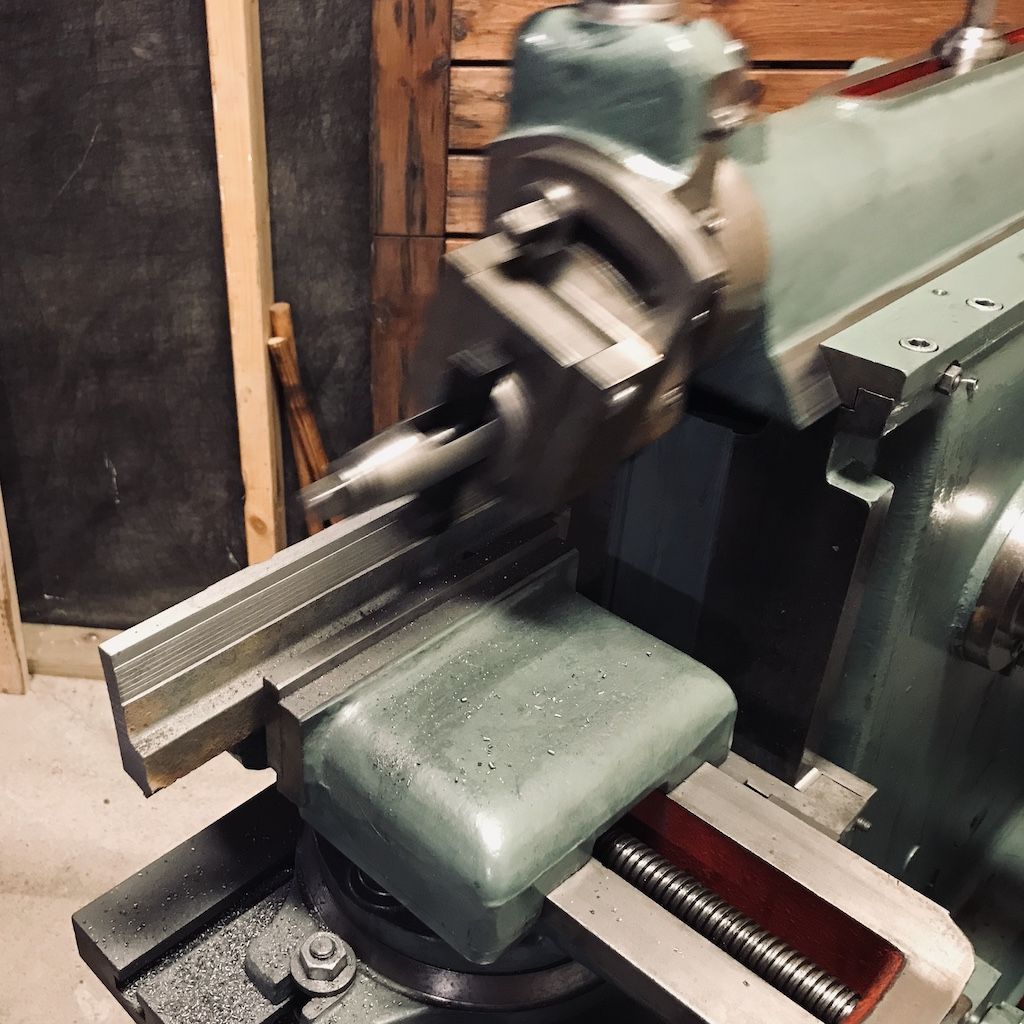
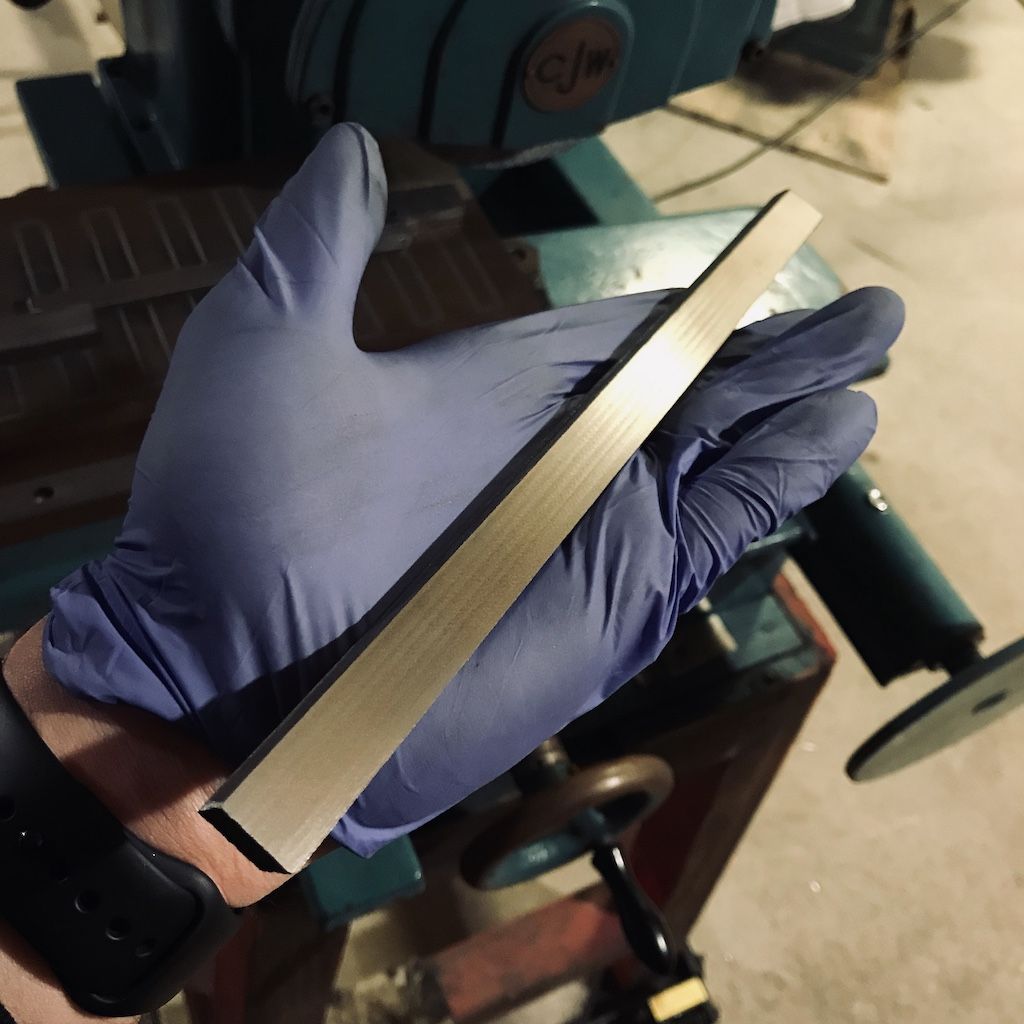
After a few hours of work on my shaper and surface grinder the head stiffness problem is now solved. I didn't have enough shim stock to glue to the back of the existing gib as some of you suggested, but after measuring it on a surface plate I decided it was better to make a new one anyway. It was not only bent but also twisted. I could insert a 0.15mm feeler gauge under a few spots without even touching it. The scrape marks were almost 0.2mm deep in some places. I made the new out of a piece of cast iron storm drain cover. I left some extra allowance for final fitting by scraping and recovering from possible mistakes. Even without tuning the head moves smoothly and there's barely any tilt when locking it, maybe 0.002mm measured at 140mm. Tomorrow I will try to do the final fitting and when done file recesses for the adjustment screws. Then I can start working on squaring the column itself. Edited By Piotr Gertz on 10/02/2019 21:46:44 |
| 09/02/2019 12:58:30 |
The column is not square, I mentioned it in my first post. I will take care of that once the head issue is solved. Both problems need to be addressed before I can get decent results.
I’ve had the mill for ca a year, but it didn’t get much use. And it wasn’t until recently that I needed to do something with a tighter tolerance. I guess I should have checked things when I first bought it. |
| 09/02/2019 10:57:46 |
Your measurements definitely look better. I can actually push the gib even further down than in my drawing without locking the head so it’s definitely too thin. I am glad that there is hope anyway. |
| 08/02/2019 23:05:06 |
Thank you both! I will try that tomorrow evening and see if it makes things better. |
| 08/02/2019 22:34:35 |
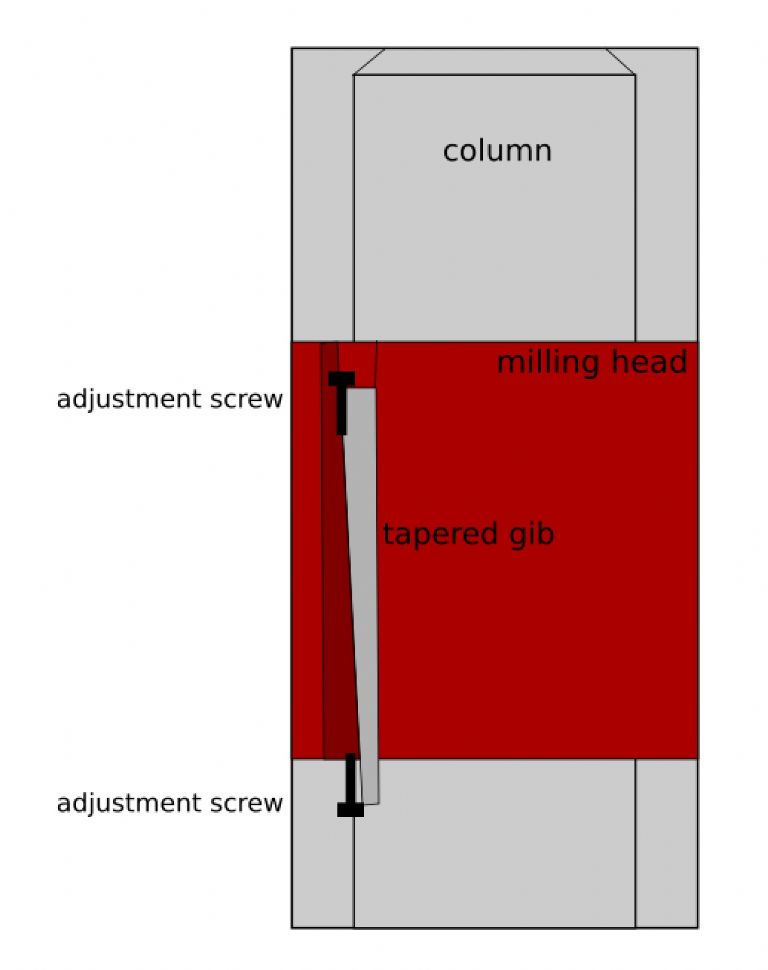
I've got a SIEG mini mill (SX2.7) and have recently been struggling with machined features ending up ~ 0.1mm off center (shifted towards the column) even though they were carefully picked up with a dial test indicator or a wobbler + DRO. I then checked the column squareness and let's just say it wasn't square so the center picked up at 200mm would not be the same after lowering the head to make the cut. This issue is still not fixed but it's not what I want to ask about. While troubleshooting I started checking the head movements with an indicator and discovered that when using the head lock, the entire thing would tilt up by as much as 0.12mm measured at 50mm distance. That's obviously unacceptable as squaring the column will be pointless with the head and therefore spindle being off anyway as soon as I use the lock. I then tried adjusting the gib but it was already sitting quite hard. I put a piece of wood under the head, lowered it and removed the gib and both the adjustment screws. I cleaned it and put it back in without the screws. I then found out that the gib can be pushed almost all the way through, way beyond the adjustment screw travel, see drawing: Am I not getting how a tapered gib should work or is already that worn after a few dozen uses, maybe it was bad from the beginning? In my understanding the bottom screw is there only to prevent jamming, and not stop it from falling out, the taper should do that. I'm considering making a new gib, but before I go for that I want to make sure there is no simpler way. I tried searching for information about tapered gibs, but it's very sparse. I checked the MEW index and I don't think it was ever covered? |
| Thread: WHERE ARE THE SHAPER USERS ? |
| 05/02/2019 21:25:47 |
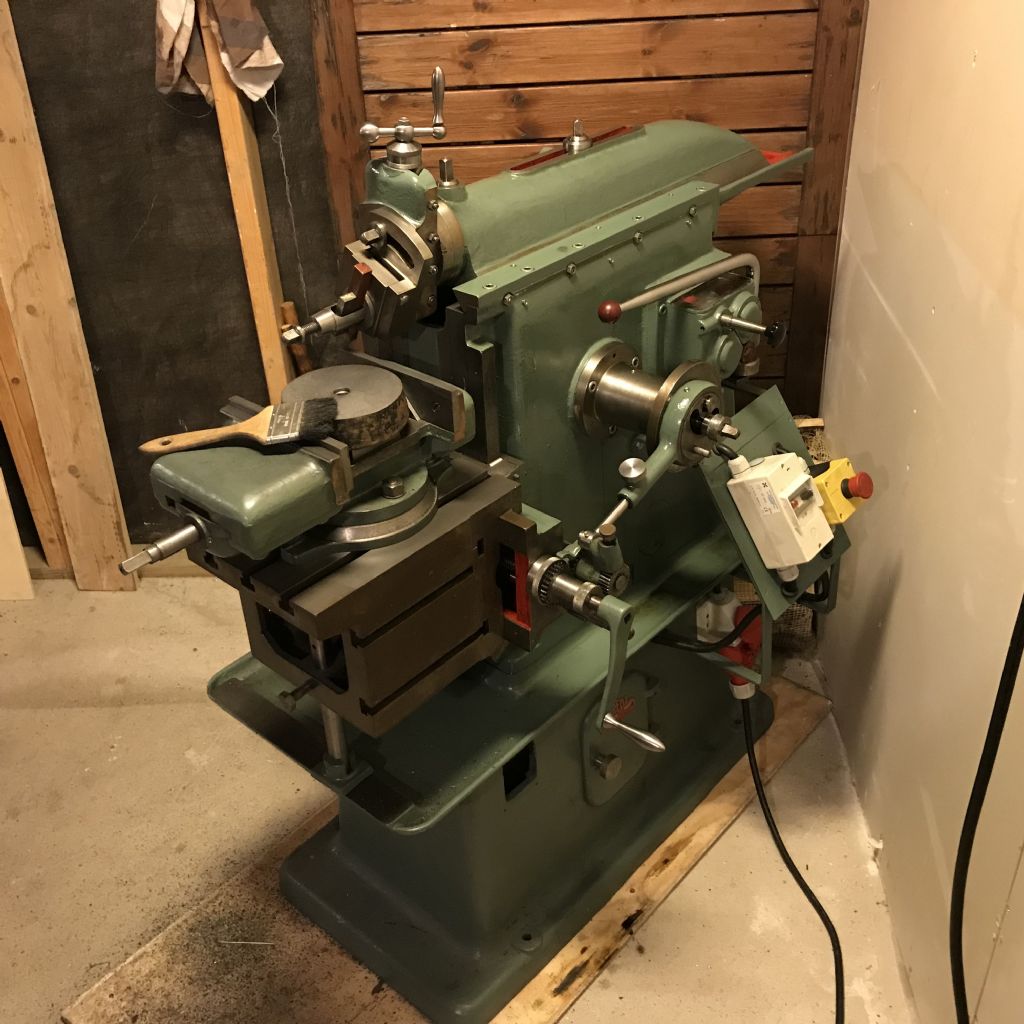
One more shaper user checking in! I got a Swedish made Värnamo Prema 02 Shaper. It does a really good job cleaning scrap metal which would either take forever on my bench mill and/or ruin my end mills. |
| Thread: Hej from Uppsala, Sweden |
| 05/02/2019 21:17:43 |
Hello all! I had dreamed about having a metal shop for many years, but it wasn't until 2016 when my wife and I finally bought a house and I could start one. My workshop is pretty small and is a mix of fairly new far east machines as well as vintage machinery from Sweden and Germany. I got a small bench lathe and a mill from SIEG, a Deckel pantograph engraver/mill, a small surface grinder and finally, what's probably my favourite, a large Swedish made shaping machine. I've been a forum member for quite a while, but only reading really and it's not going to change any time soon. I really like model engines and while steam is what I eventually want to play with, for now I am happy with stirling and vacuum engines. To make them I often need to build the tools first. I either can't or don't want to buy them and then I spend more time making tools than the actual project |
Want the latest issue of Model Engineer or Model Engineers' Workshop? Use our magazine locator links to find your nearest stockist!
Sign up to our newsletter and get a free digital issue.
You can unsubscribe at anytime. View our privacy policy at www.mortons.co.uk/privacy
- *Oct 2023: FORUM MIGRATION TIMELINE*
05/10/2023 07:57:11 - Making ER11 collet chuck
05/10/2023 07:56:24 - What did you do today? 2023
05/10/2023 07:25:01 - Orrery
05/10/2023 06:00:41 - Wera hand-tools
05/10/2023 05:47:07 - New member
05/10/2023 04:40:11 - Problems with external pot on at1 vfd
05/10/2023 00:06:32 - Drain plug
04/10/2023 23:36:17 - digi phase converter for 10 machines.....
04/10/2023 23:13:48 - Winter Storage Of Locomotives
04/10/2023 21:02:11 - More Latest Posts...
- View All Topics
- Reeves** - Rebuilt Royal Scot by Martin Evans
by John Broughton
£300.00 - BRITANNIA 5" GAUGE James Perrier
by Jon Seabright 1
£2,500.00 - Drill Grinder - for restoration
by Nigel Graham 2
£0.00 - WARCO WM18 MILLING MACHINE
by Alex Chudley
£1,200.00 - MYFORD SUPER 7 LATHE
by Alex Chudley
£2,000.00 - More "For Sale" Ads...
- D1-3 backplate
by Michael Horley
Price Not Specified - fixed steady for a Colchester bantam mark1 800
by George Jervis
Price Not Specified - lbsc pansy
by JACK SIDEBOTHAM
Price Not Specified - Pratt Burnerd multifit chuck key.
by Tim Riome
Price Not Specified - BANDSAW BLADE WELDER
by HUGH
Price Not Specified - More "Wanted" Ads...
Do you want to contact the Model Engineer and Model Engineers' Workshop team?
You can contact us by phone, mail or email about the magazines including becoming a contributor, submitting reader's letters or making queries about articles. You can also get in touch about this website, advertising or other general issues.
Click THIS LINK for full contact details.
For subscription issues please see THIS LINK.
Model Engineer Magazine
- Percival Marshall
- M.E. History
- LittleLEC
- M.E. Clock
ME Workshop
- An Adcock
- & Shipley
- Horizontal
- Mill
Subscribe Now
- Great savings
- Delivered to your door
Pre-order your copy!
- Delivered to your doorstep!
- Free UK delivery!



 Register
 Log-in


