Determining/measuring sub-micron displacement
How to measure the displacement of the ball of an edge finder at edge detection
| Joseph Noci 1 | 03/04/2022 21:52:29 |
| 1323 forum posts 1431 photos | Posted by John Haine on 03/04/2022 21:14:38:
Sounds like you have cracked the measurement problem Joe. A very interesting design, how do you cope with over travel? The original Renishaw tri-bar design is pretty robust, but am I right that the probe is solidly attached to the piezo disc? Hi John, Yes, the probe is soldered to the disc - with a flat 'foot' so the disc must give.. Over travel is a problem on this setup. more than 1mm in horizontal will pop the disc from its tri-point holder. - open up, refit the disc, and reset runout! Over travel of 1mm in Z will probably break the piezo disc. Can be avoided in a CNC machine if probing is auto and sensible probing speeds are used, but crashes are inevitable. I am looking to spring mount the disc tri-point support ring to the runout setting mechanism so that it can 'spring' away- supported on three pointed pins in three mating holes with the cones on the hole periphery - hard to describe, but will self centre and have a 'hard' location, with the three pins on a ring that moves laterally to set runout. Photo's when I have done it... |
| John Haine | 04/04/2022 10:02:28 |
| 5563 forum posts 322 photos | Could be worth looking at the various Renishaw patents to see how they solved this problem. (I assume that you don't intend to make and sell these probes!) I'm inspired by your work to evaluate my own electrical contact-sensing probes. |
| Howard Lewis | 04/04/2022 10:28:31 |
| 7227 forum posts 21 photos | The advantage of using a mirror to show the deflection is that a light beam has no easily measurable weight or inertia. And can be made as long as is practicable, to maximise resolution.. Hence use in mirror galvanometers Howard |
| Kiwi Bloke | 04/04/2022 11:34:51 |
| 912 forum posts 3 photos | I hesitate to add more ramblings to this thread, and lower its signal-to-noise ratio. I tend to post late in the evening, after good food and drink - not the best recipe for clear thought. I'm afraid I've muddied the waters by my last post - it's largely based on a false assumption about how this probe works. Joe, I'll PM you. |
| Joseph Noci 1 | 05/04/2022 18:52:56 |
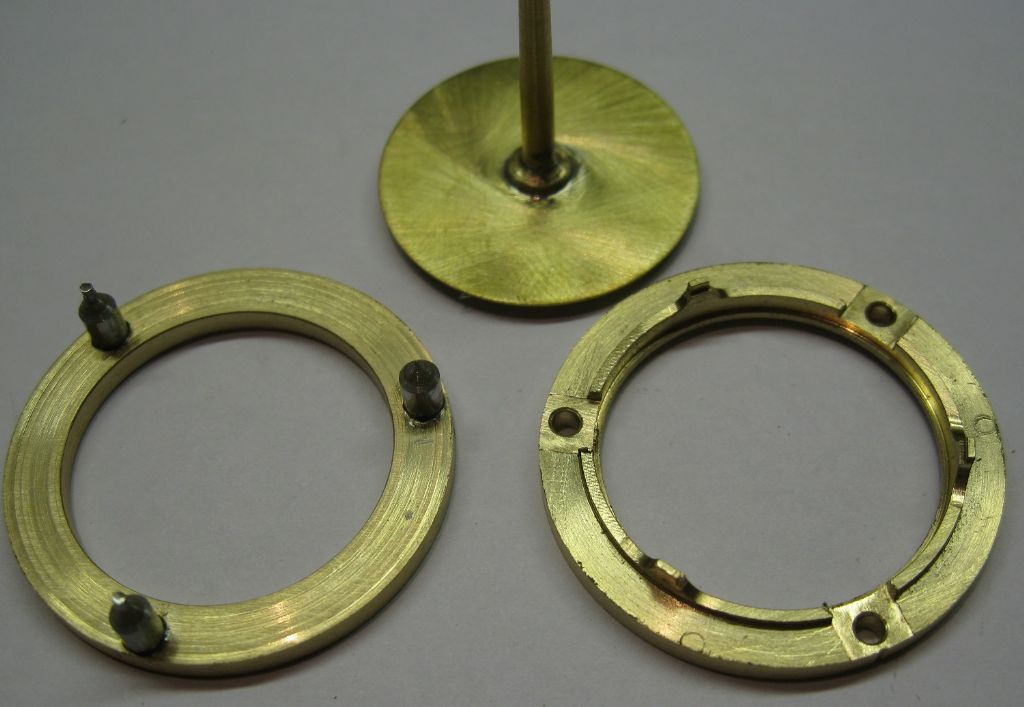
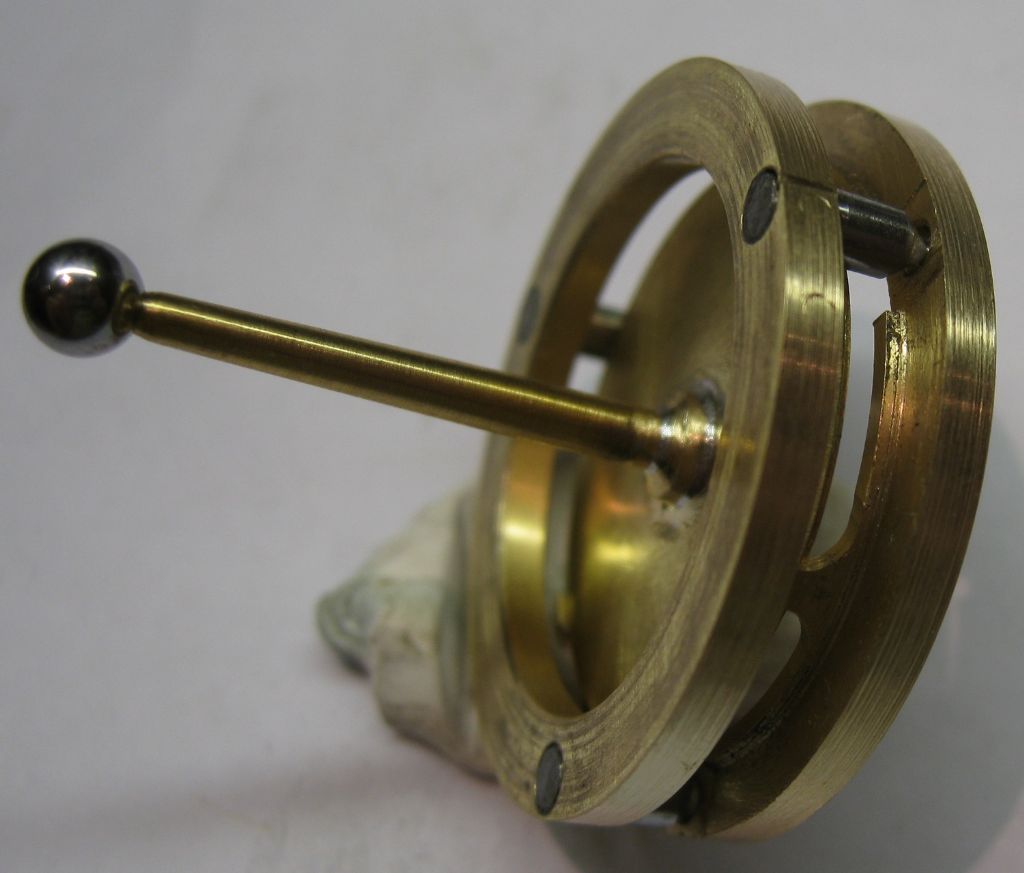
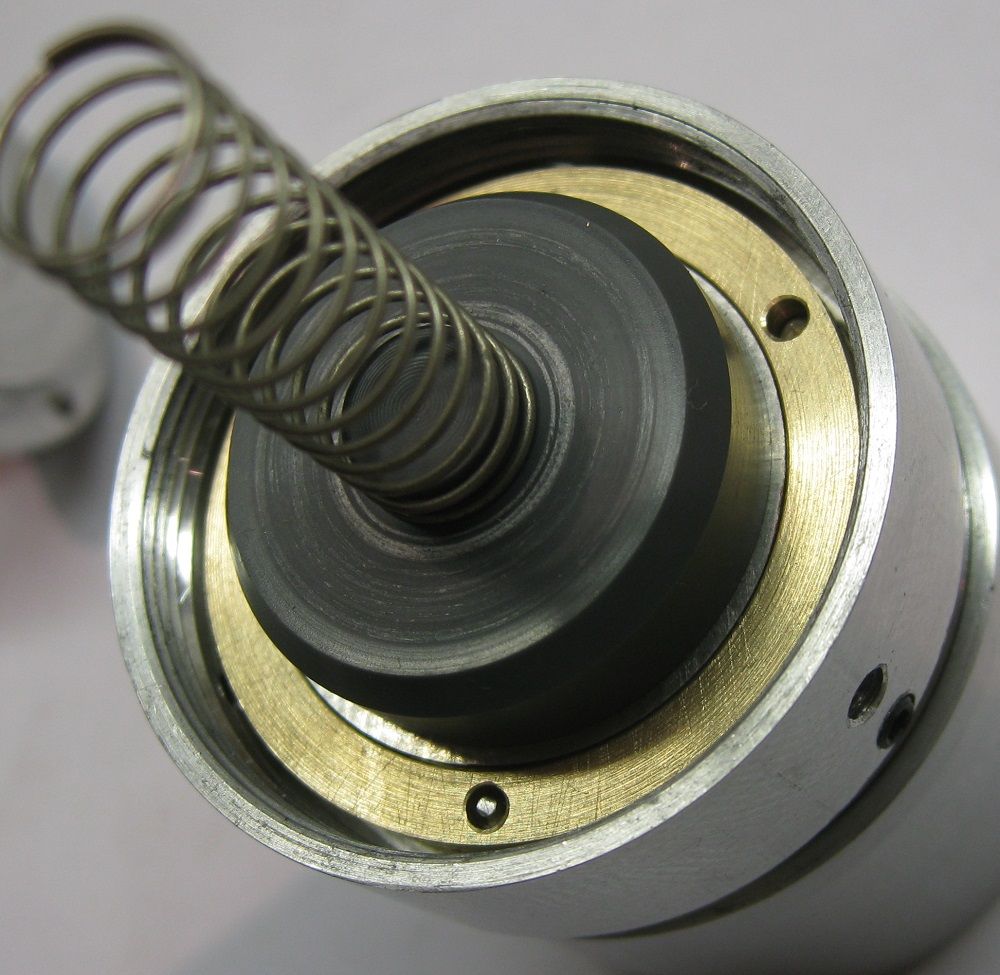
| 1323 forum posts 1431 photos | I have 'improved' the probe tip allowed displacement before damage. A ring that is used to centre the probe tip is now fitted with three hard pins, ground conically, the cone resting in three bevelled holes in the tri-support disc holding the piezo element. Two of the pins have extensions into the mating hole so that large ball displasements do not knock the ring of the pins.
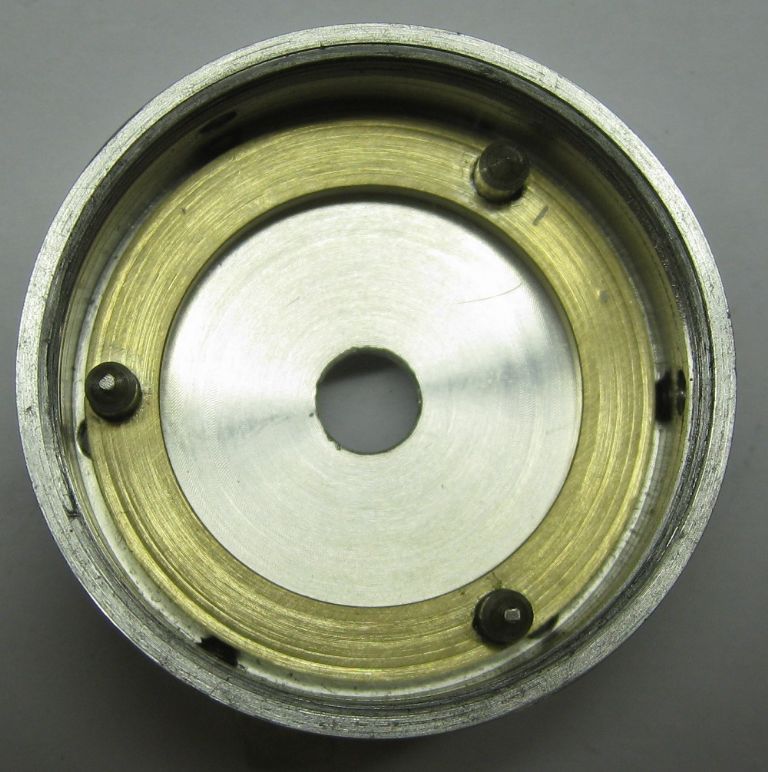
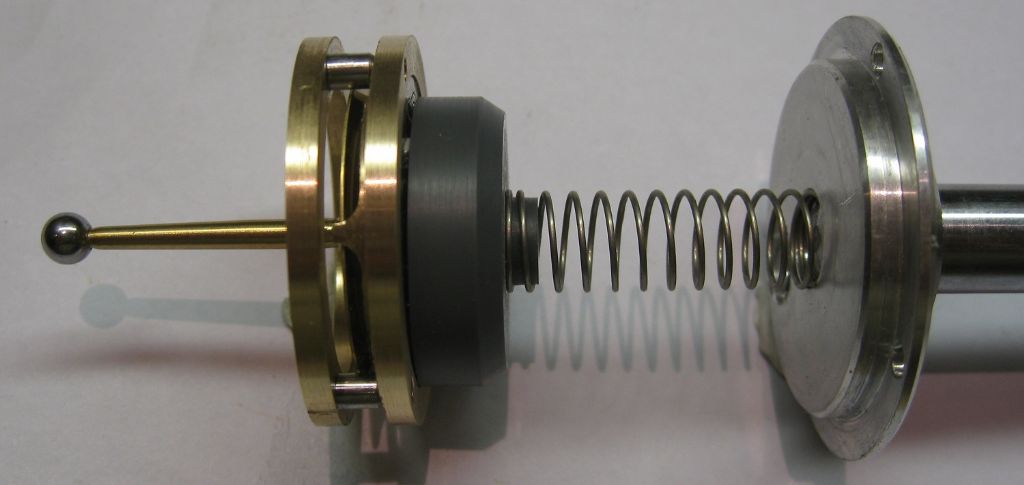
The pin ring fitted into the head, held by the three runout grubscrews. The spring assembly that makes it all work..
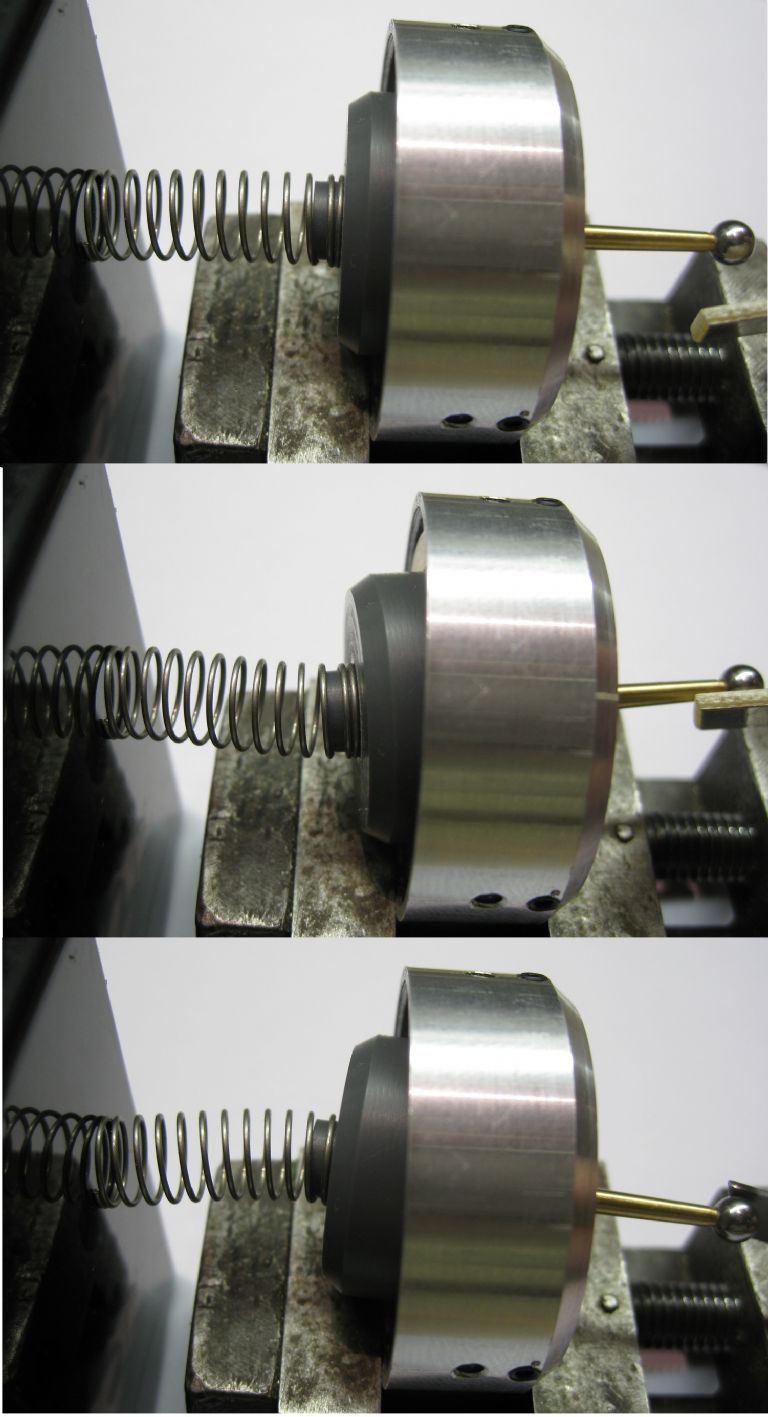
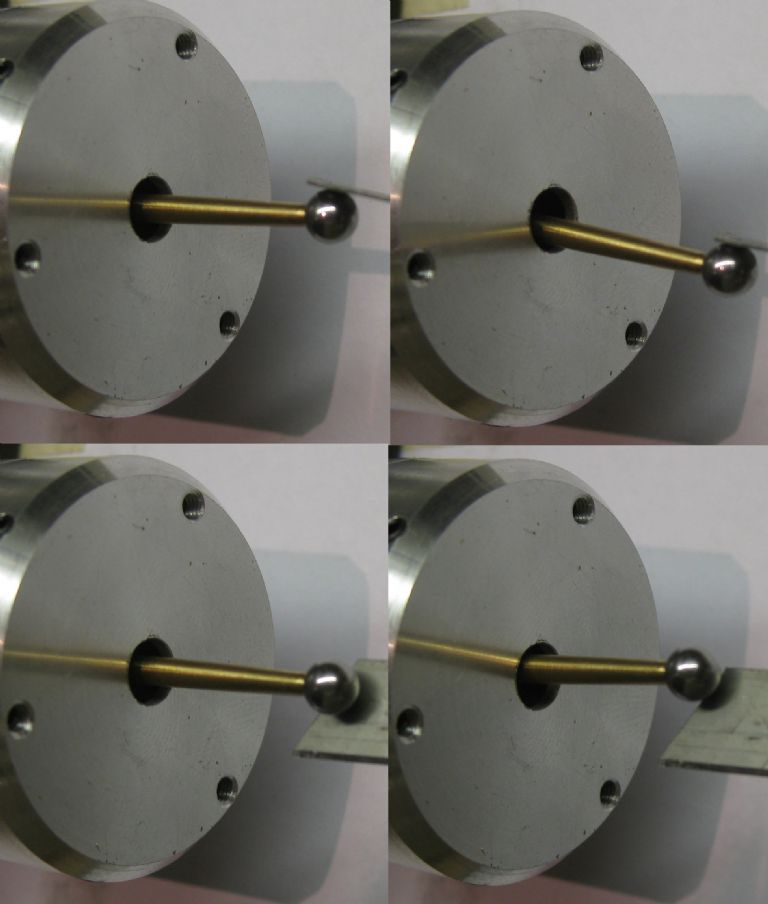
View of the motion when the ball is displaced
The setup seems to work well - with it set up in the mill with the magnifier arm I still get the same results as before for contact detection displacement ( very, very small..) and when I jiggle the ball around , apply excessive displacement ( 4mm approx) the ball seems to return to the same place, within the small dimensions measured by my magnifier arm - 'resetability' seems to be very good. Now what to do with the thing...
|
Please login to post a reply.
Want the latest issue of Model Engineer or Model Engineers' Workshop? Use our magazine locator links to find your nearest stockist!
Sign up to our newsletter and get a free digital issue.
You can unsubscribe at anytime. View our privacy policy at www.mortons.co.uk/privacy
- *Oct 2023: FORUM MIGRATION TIMELINE*
05/10/2023 07:57:11 - Making ER11 collet chuck
05/10/2023 07:56:24 - What did you do today? 2023
05/10/2023 07:25:01 - Orrery
05/10/2023 06:00:41 - Wera hand-tools
05/10/2023 05:47:07 - New member
05/10/2023 04:40:11 - Problems with external pot on at1 vfd
05/10/2023 00:06:32 - Drain plug
04/10/2023 23:36:17 - digi phase converter for 10 machines.....
04/10/2023 23:13:48 - Winter Storage Of Locomotives
04/10/2023 21:02:11 - More Latest Posts...
- View All Topics
- Reeves** - Rebuilt Royal Scot by Martin Evans
by John Broughton
£300.00 - BRITANNIA 5" GAUGE James Perrier
by Jon Seabright 1
£2,500.00 - Drill Grinder - for restoration
by Nigel Graham 2
£0.00 - WARCO WM18 MILLING MACHINE
by Alex Chudley
£1,200.00 - MYFORD SUPER 7 LATHE
by Alex Chudley
£2,000.00 - More "For Sale" Ads...
- D1-3 backplate
by Michael Horley
Price Not Specified - fixed steady for a Colchester bantam mark1 800
by George Jervis
Price Not Specified - lbsc pansy
by JACK SIDEBOTHAM
Price Not Specified - Pratt Burnerd multifit chuck key.
by Tim Riome
Price Not Specified - BANDSAW BLADE WELDER
by HUGH
Price Not Specified - More "Wanted" Ads...
Do you want to contact the Model Engineer and Model Engineers' Workshop team?
You can contact us by phone, mail or email about the magazines including becoming a contributor, submitting reader's letters or making queries about articles. You can also get in touch about this website, advertising or other general issues.
Click THIS LINK for full contact details.
For subscription issues please see THIS LINK.
Model Engineer Magazine
- Percival Marshall
- M.E. History
- LittleLEC
- M.E. Clock
ME Workshop
- An Adcock
- & Shipley
- Horizontal
- Mill
Subscribe Now
- Great savings
- Delivered to your door
Pre-order your copy!
- Delivered to your doorstep!
- Free UK delivery!



 Register
 Log-in


