Member postings for GarryC
Here is a list of all the postings GarryC has made in our forums. Click on a thread name to jump to the thread.
| Thread: My little engine. | |
| 29/05/2014 17:47:30 | |
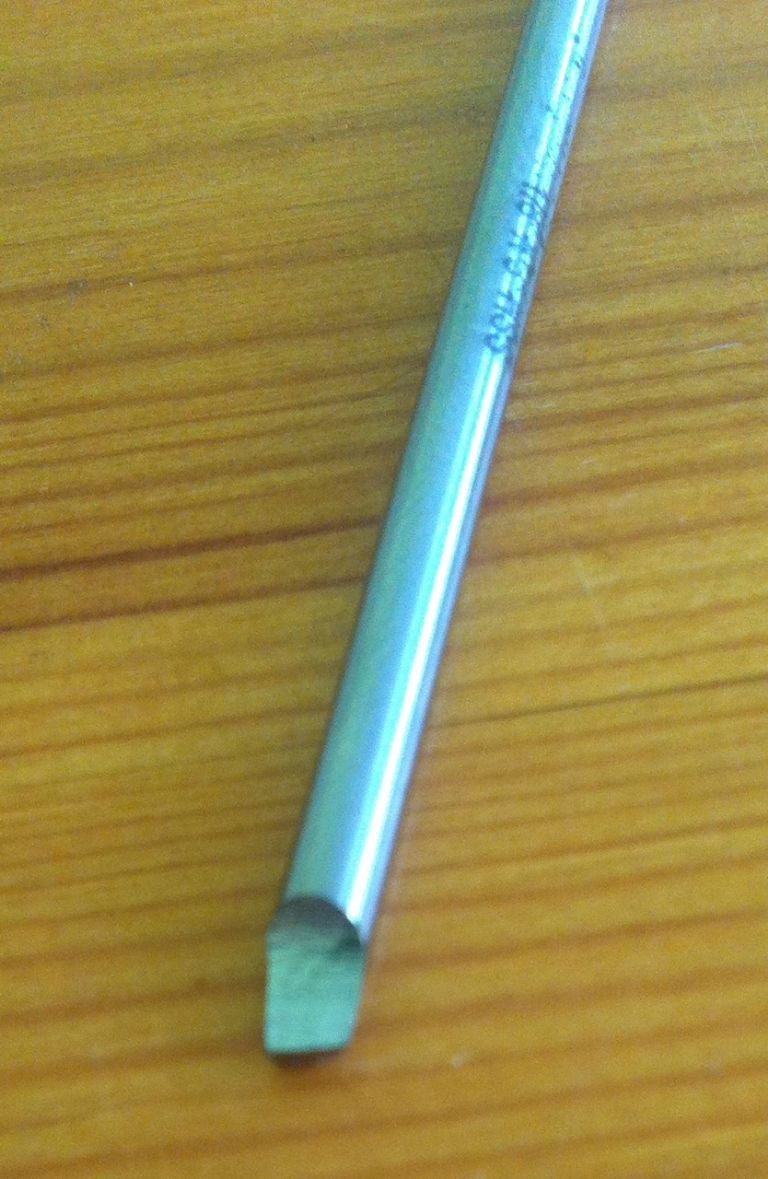
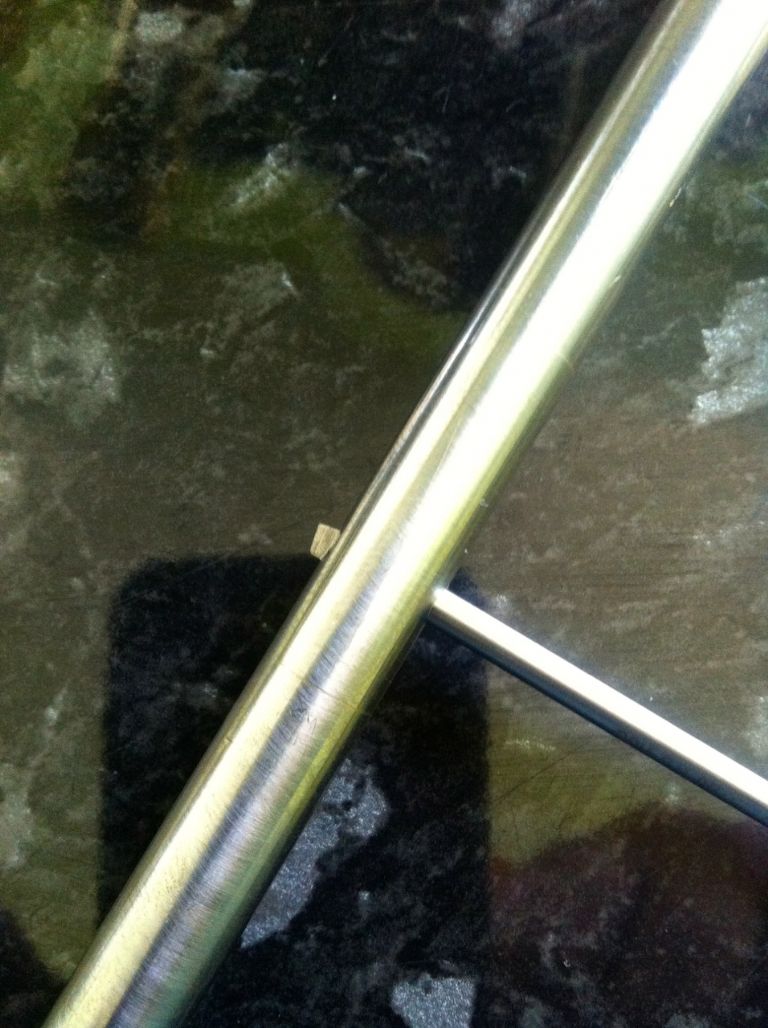
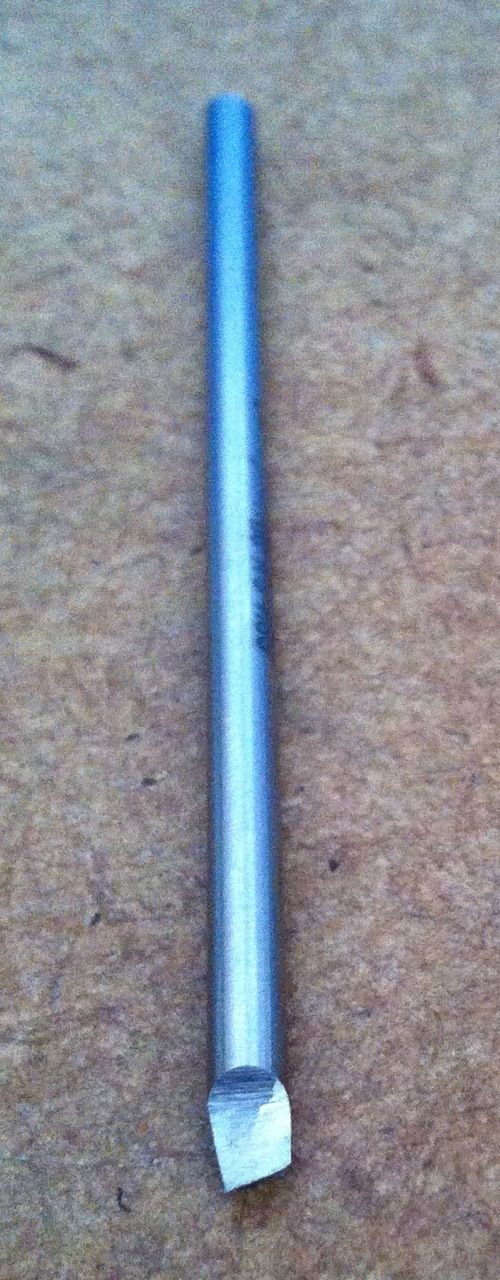
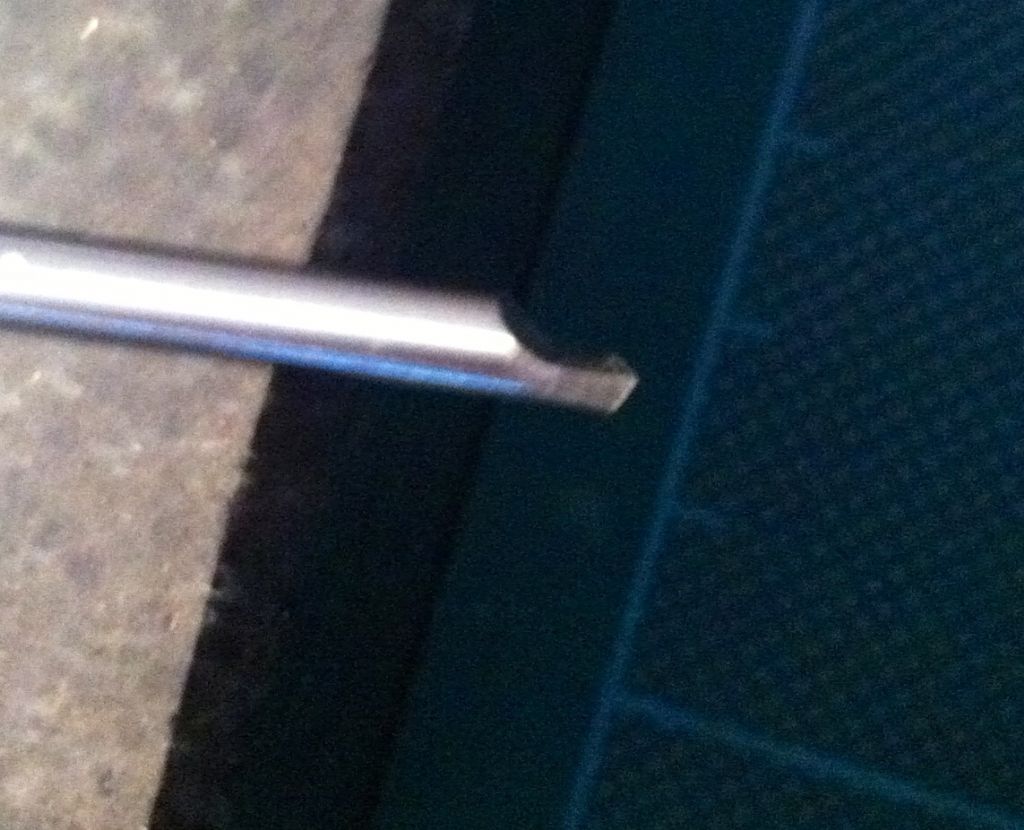
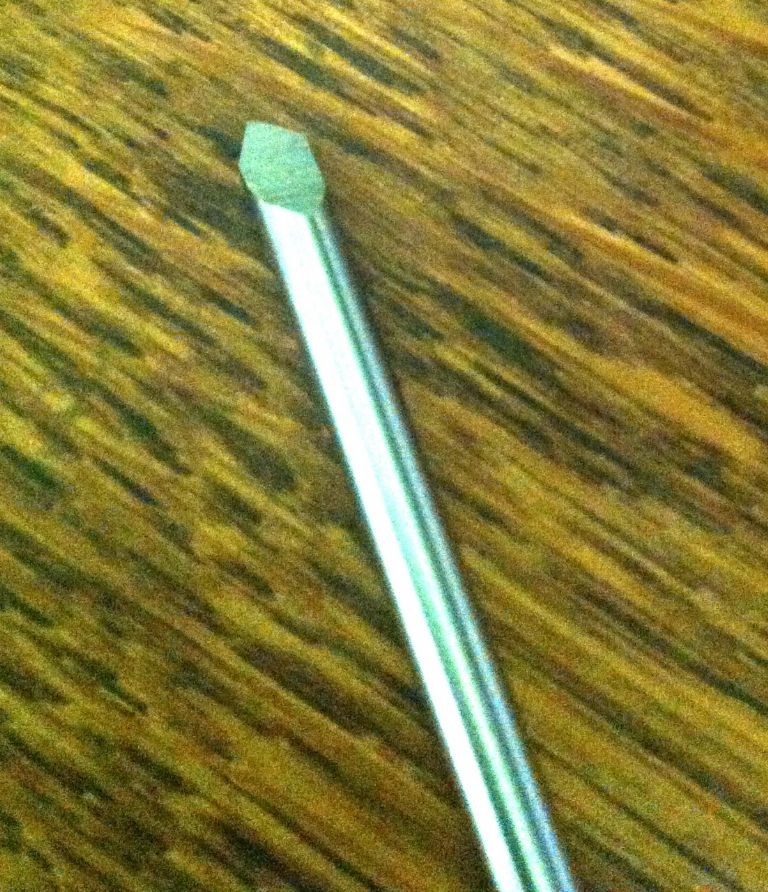
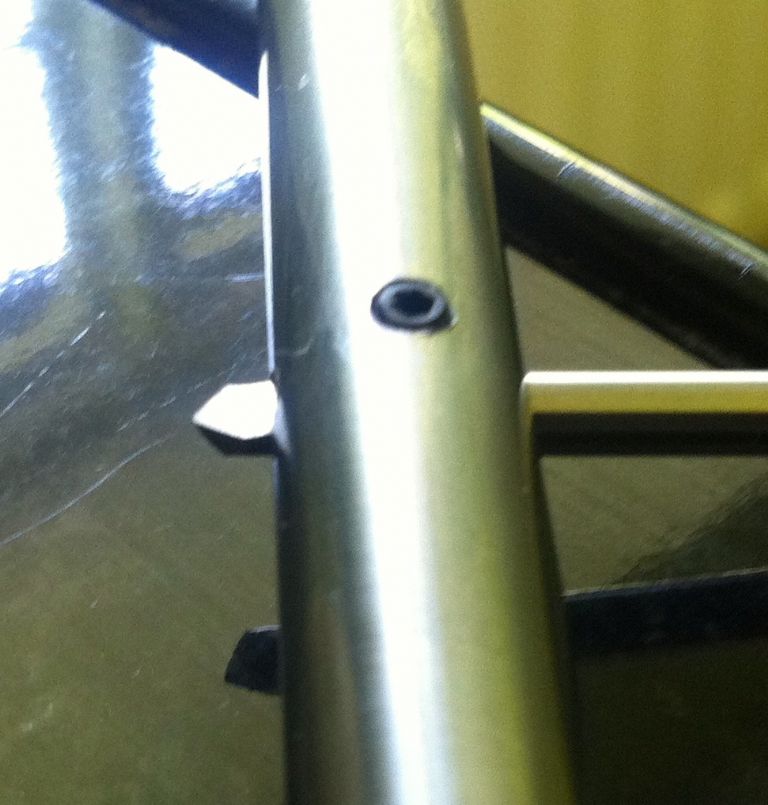
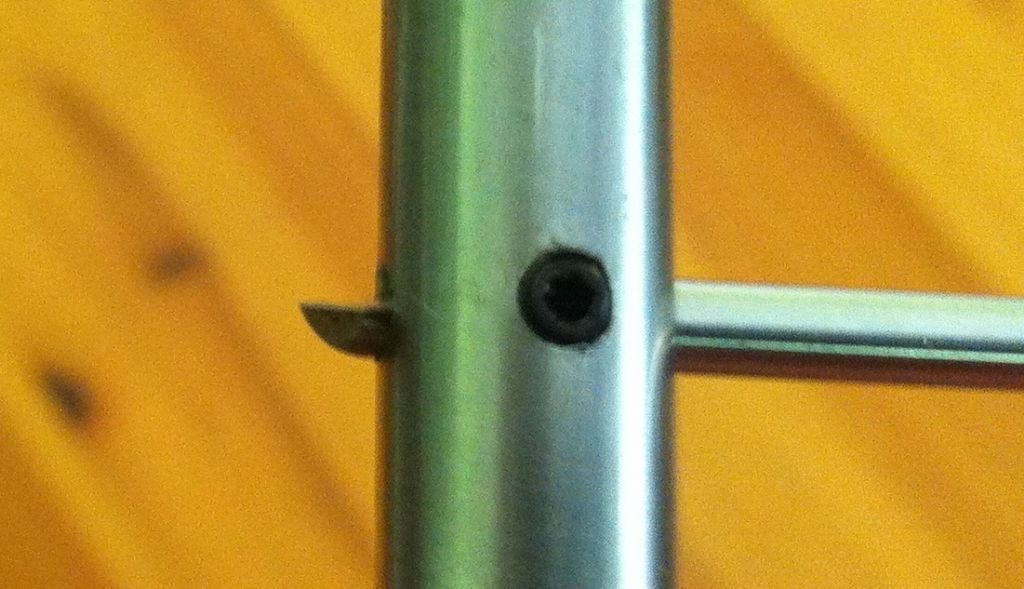
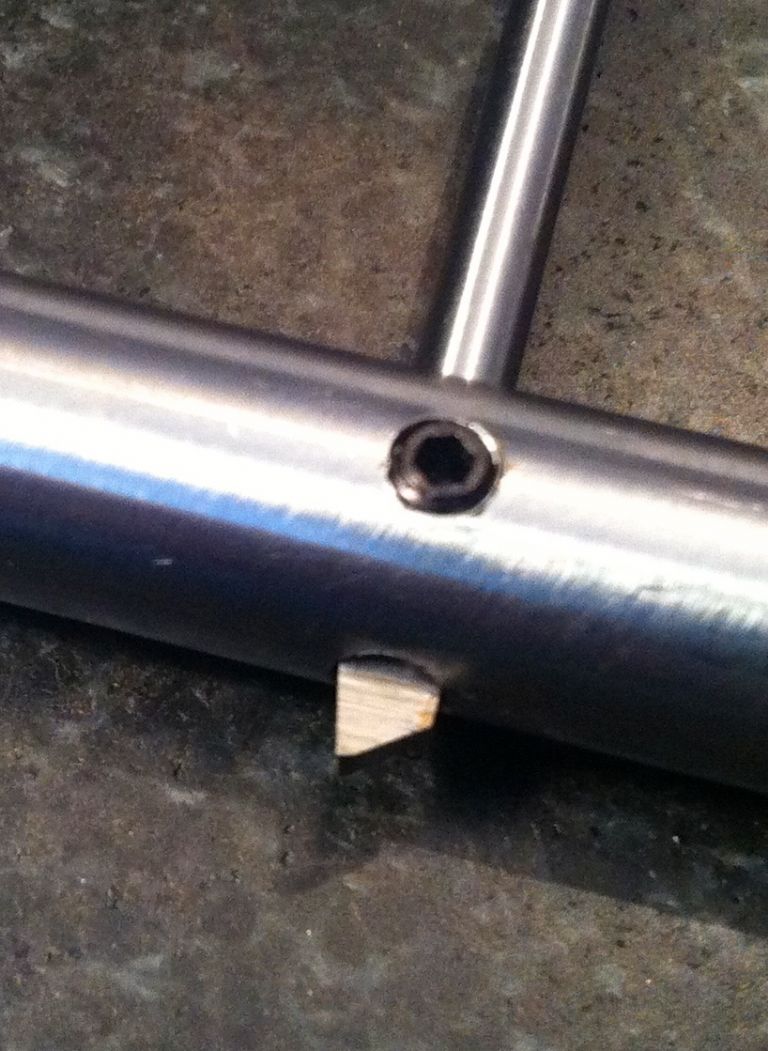
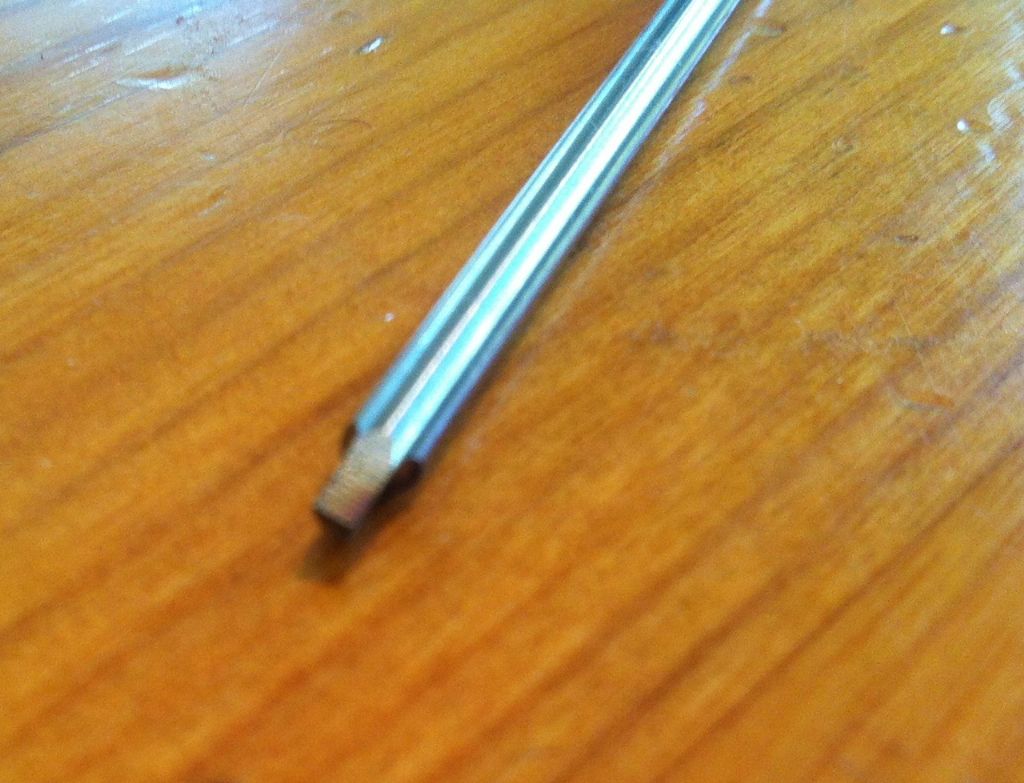
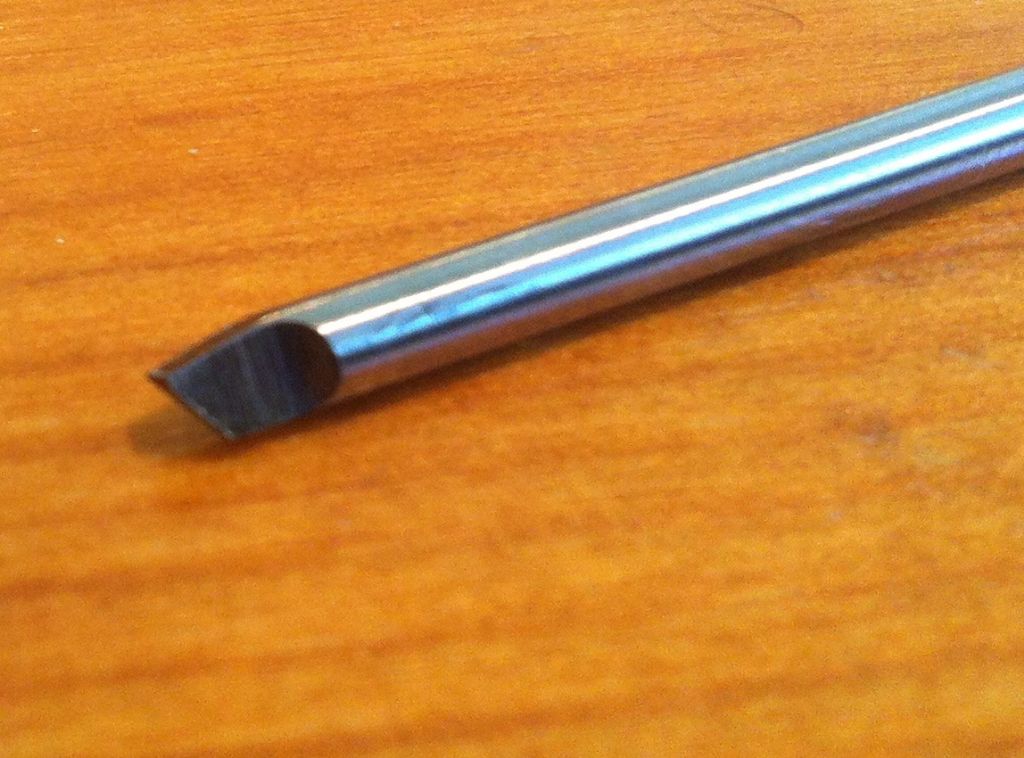
Hi Bob and John - I don't have an oilstone yet but am going to get one. Missed your 'radius' solution before going back to the workshop - but it was good to have another play on the grinder.. Jason, if you would take another look sometime I would be grateful. No probs if its not right and I need to try again.. Its photographing this one that is the real problem for me.. 3rd time lucky maybe? 3rd attempt at grinding the tool for the between cts boring bar 1 3rd attempt at grinding the tool for the between cts boring bar 2. 3rd attempt at grinding the tool for the between cts boring bar 3. 3rd attempt at grinding the tool for the between cts boring bar 4. Trying to show there is a slight top rake.. Regards Allan. | |
| 29/05/2014 17:44:53 | |
Thanks John I did break one a few weeks backs now and threw it out! Hadn't thought about doing any future grinding then but will keep them in future. Yes I can see its going to be a bit fiddly adjusting the cuts but I imagine something that gets easier the more you times you do it - hope so anyway! Just had another go at grinding again trying to get close to Jason's drawings. Its been much harder trying to get a couple of decent photo's than it was to do the grinding - and i've failed miserably, the iPhone just not focussing down that close.. Anyways here is a couple of the photos that I'm hoping will show if its useable or not. I did two but they are pretty much exactly the same. Here is one of them.. 2nd attempt at grinding the tool for the between ctrs boring bar 1. 2nd attempt at grinding the tool for the between ctrs boring bar 2. 2nd attempt at grinding the tool for the between ctrs boring bar 3. Regards Allan. | |
| 29/05/2014 17:41:36 | |
I was hoping someone may take a quick look at these (rather poor again I'm afraid) photo's please - apologies my iPhone having trouble focussing in on the small size.. Am I very far off from this being suitable for the between ctrs boring of my gunmetal bearings? I would guess this taken less than 60 secs to do so not expecting it to be correct. If anyone can give me any pointers I would be very grateful. Tool steel diameter is 1/8". Many thanks. First attempt at tool grinding for the between Centres Boring Bar 1. First attempt at tool grinding for the between Centres Boring Bar 2. First attempt at tool grinding for the between Centres Boring Bar 3. Regards. Allan.
| |
| 29/05/2014 17:38:57 | |
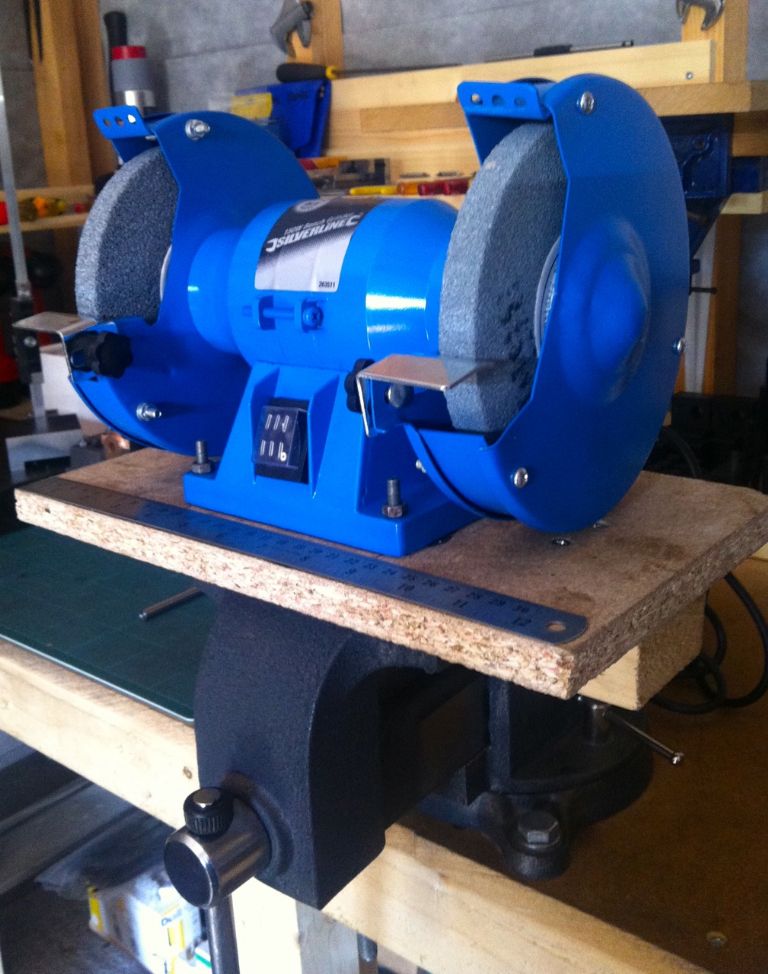
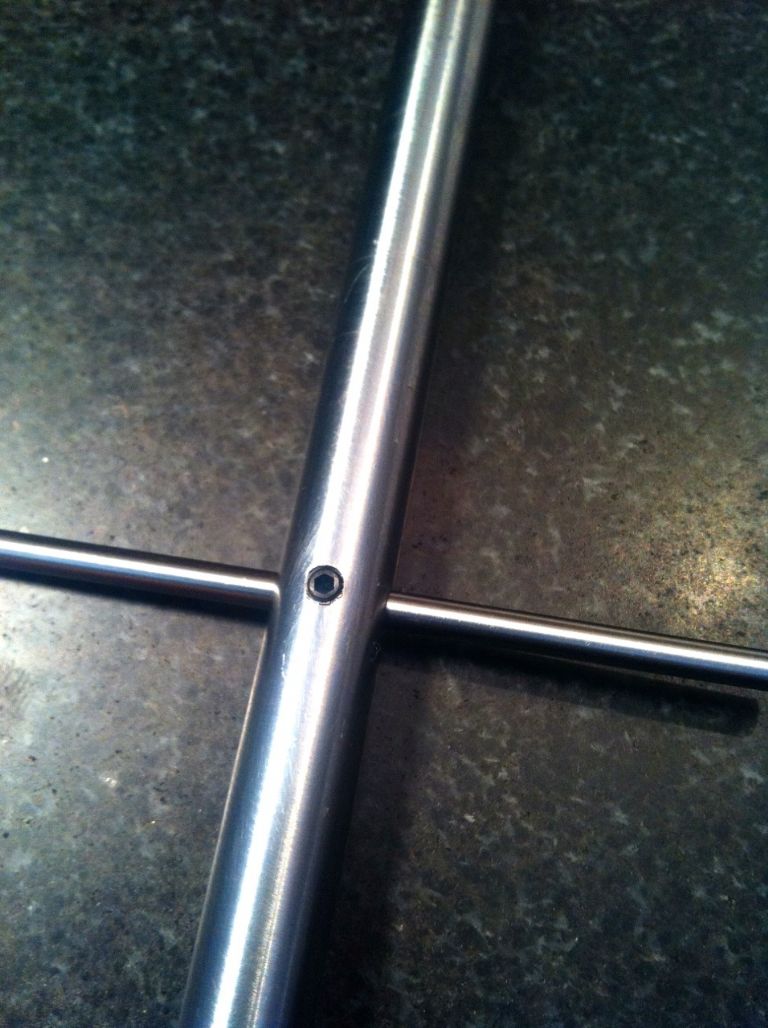
Thought I would quickly put up a photo of my new Grinder - its tiny! I was going to use it in my workmate but think I'll likely use it in the vice, seems to run nice and smooth - the little bolts I used for fixing clamp down the rubber cups that were fitted under the base (included) so no vibration at all . Don't know how much I will use it yet and it would only be for small things I'm sure. Great for £20 incl del. - and the tool steel's arrived and fits my boring bar perfectly.. Wont be fitting the 'eye' guards as I would never use without full face safety wear... 1/8" Tool Steel fits perfectly in the boring bar 3.2mm hole..
| |
| 28/05/2014 19:59:56 | |
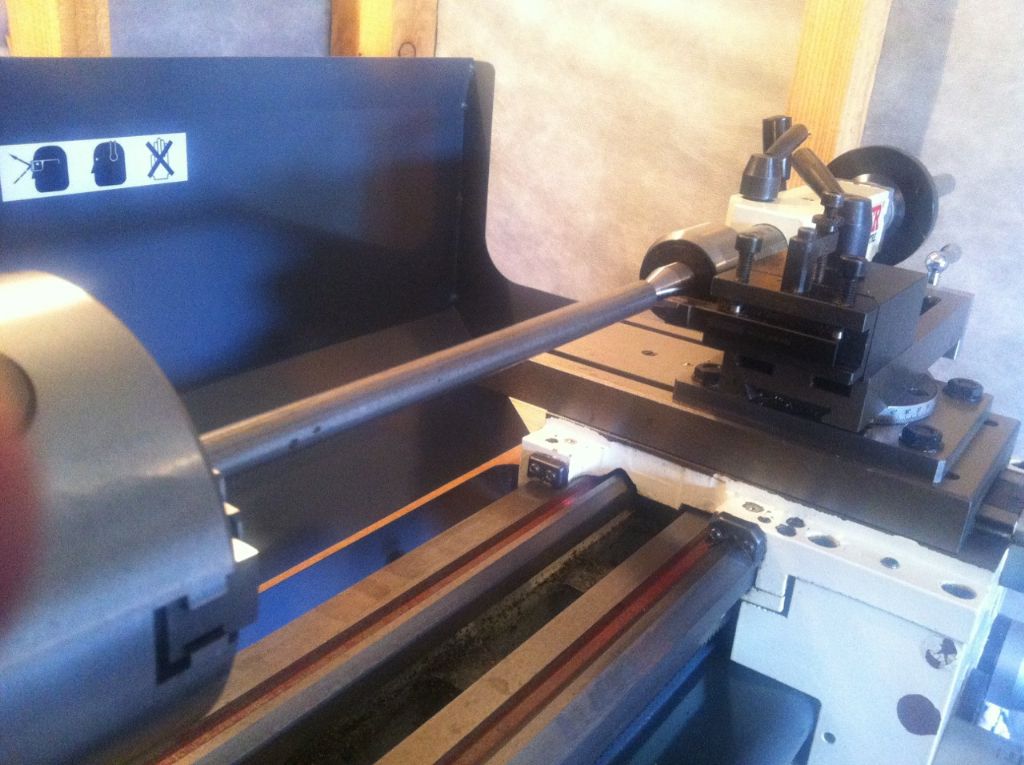
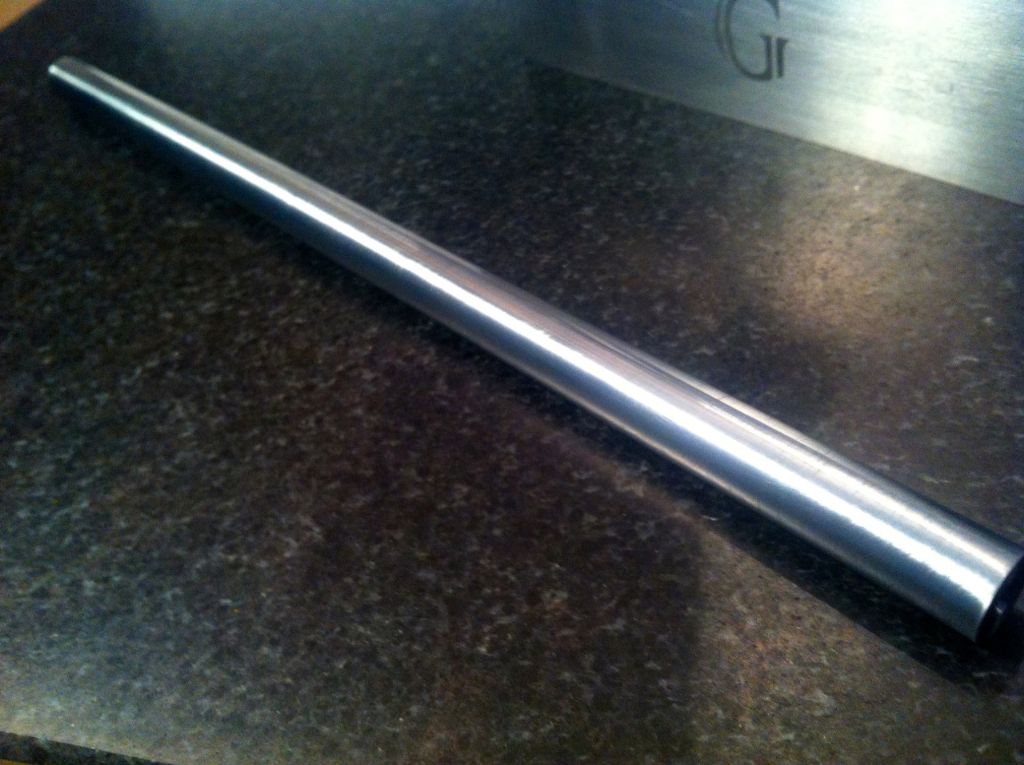
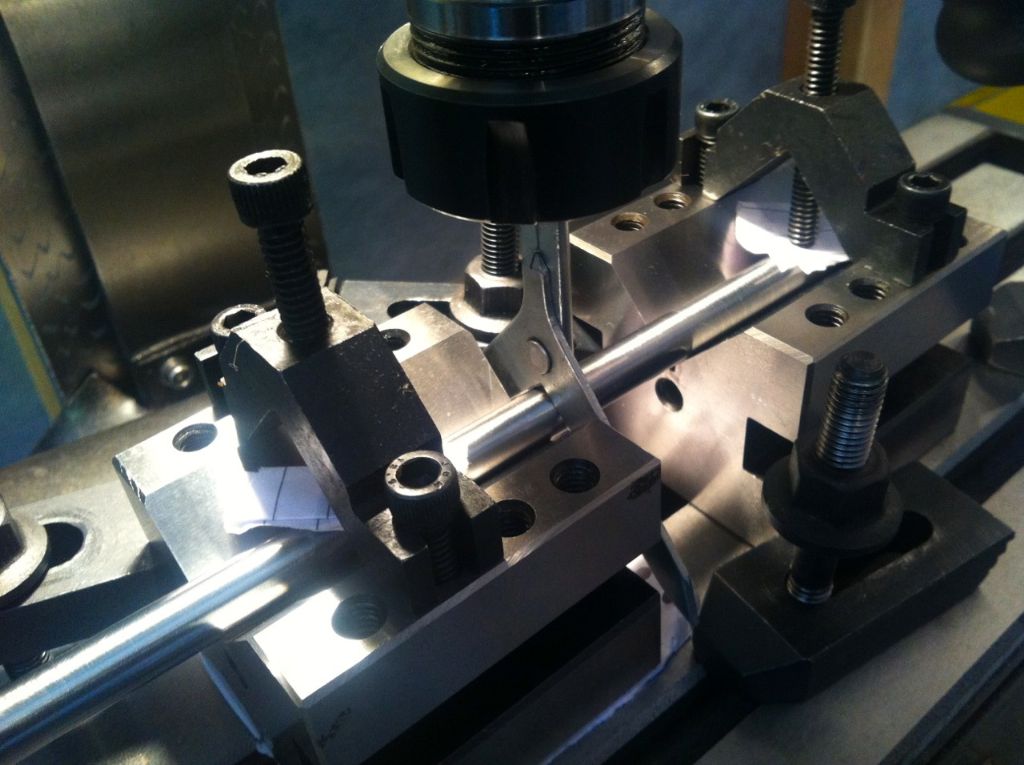
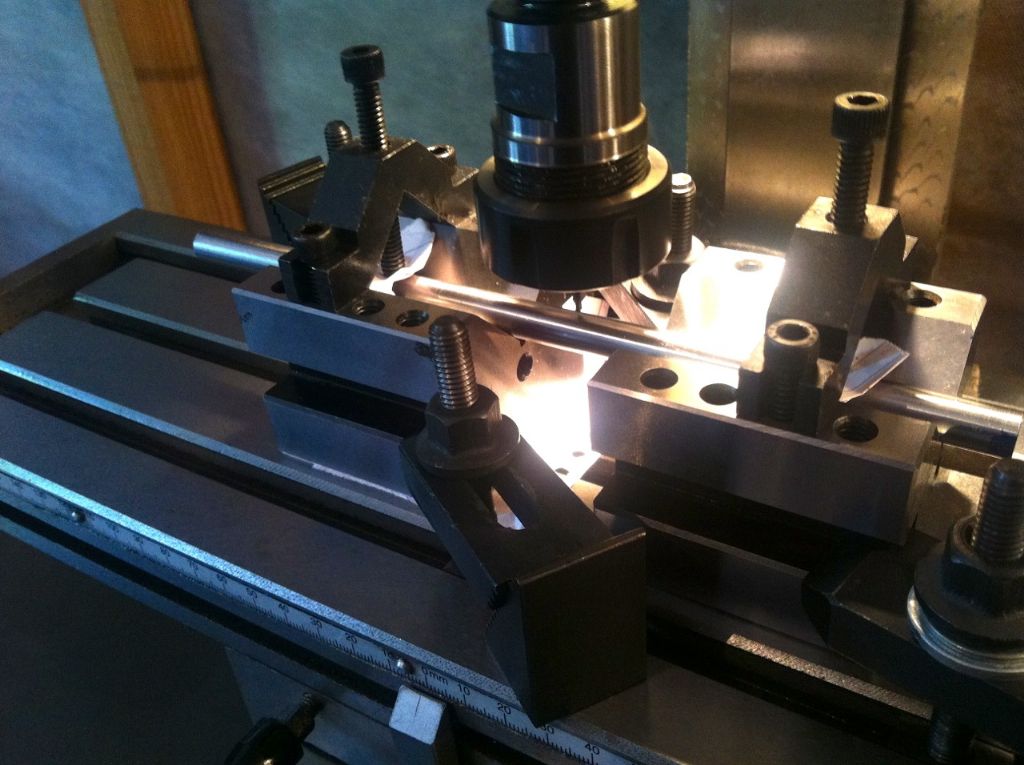
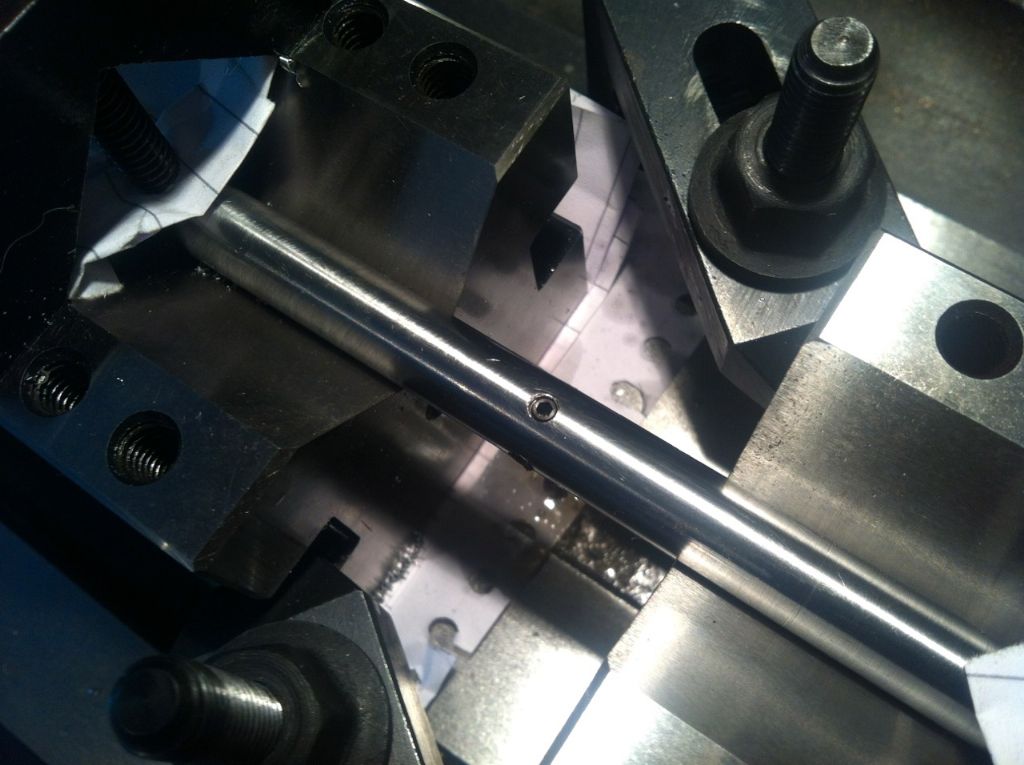
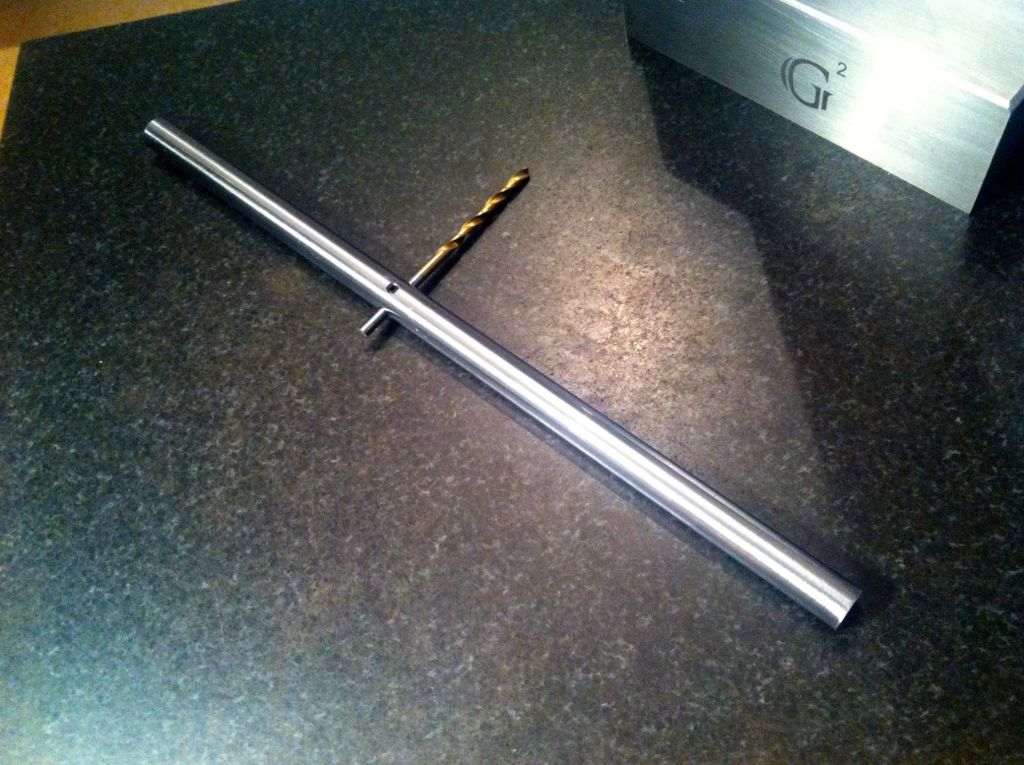
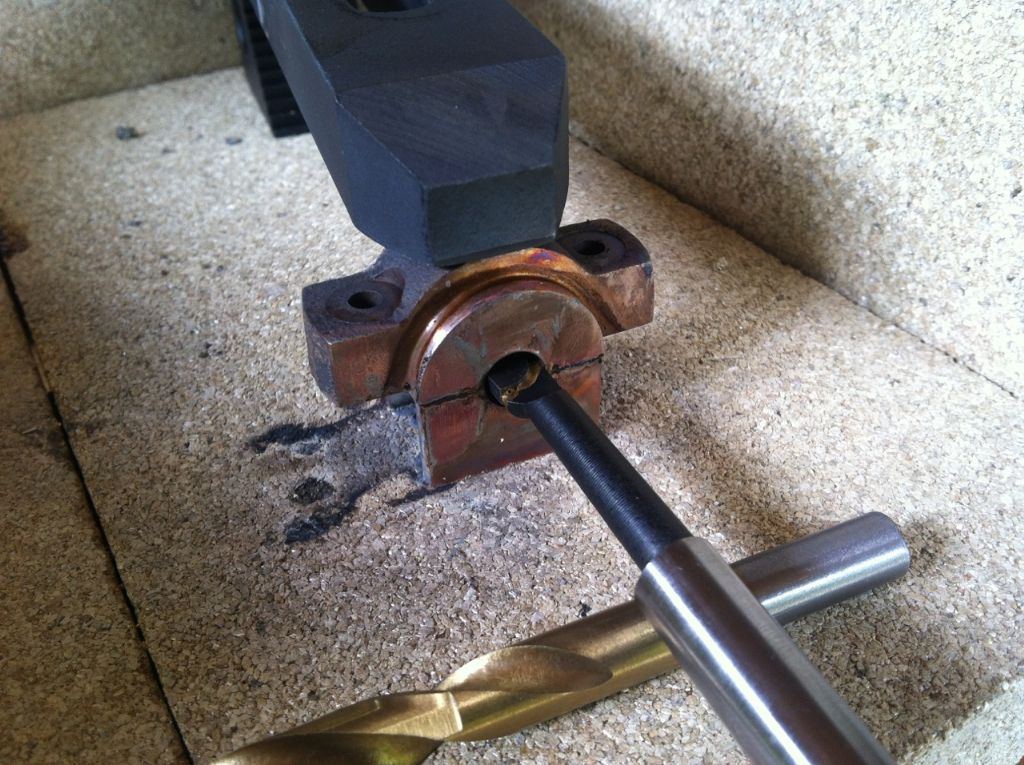
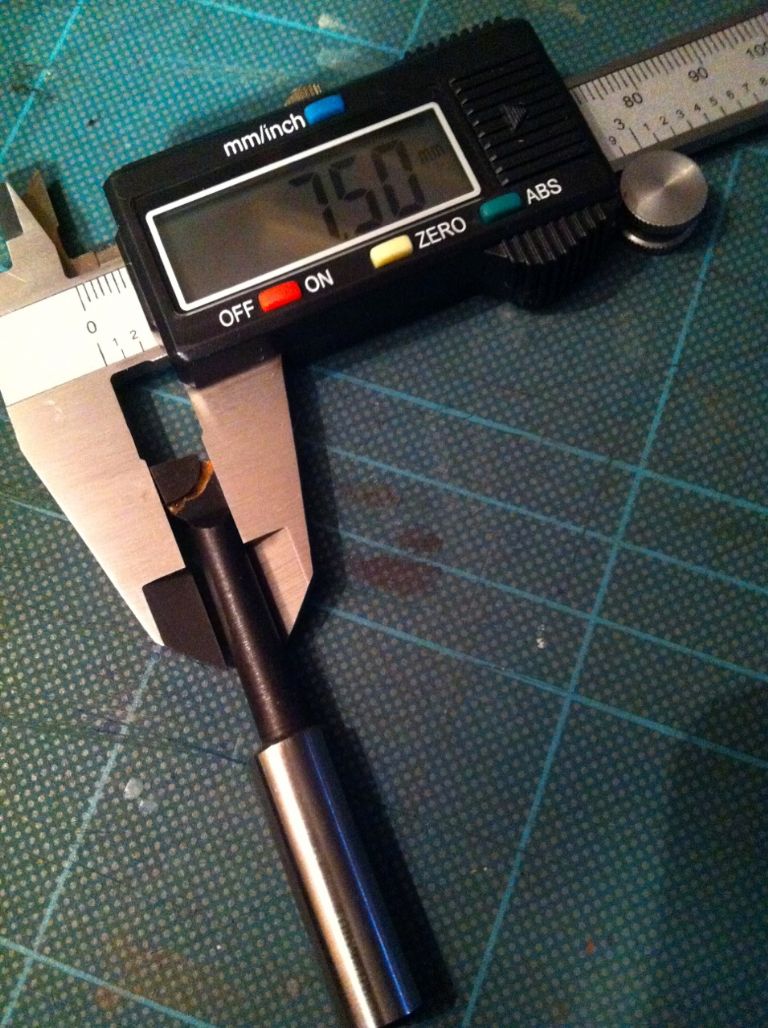
I wasn't sure to post this up, but it is really all part of the engine build so here goes - apologies to the some that will likely not be interested... Making the Between Centers' Boring Bar...I didn't have a 3/8 inch bar (that would have been a perfect size for the bearings) - so I had to turn a larger bar down a bit... The Final Bar length will be 8.5 inches..
Regards Allan. Edited By Allan. on 28/05/2014 20:00:20 | |
| 28/05/2014 19:48:46 | |
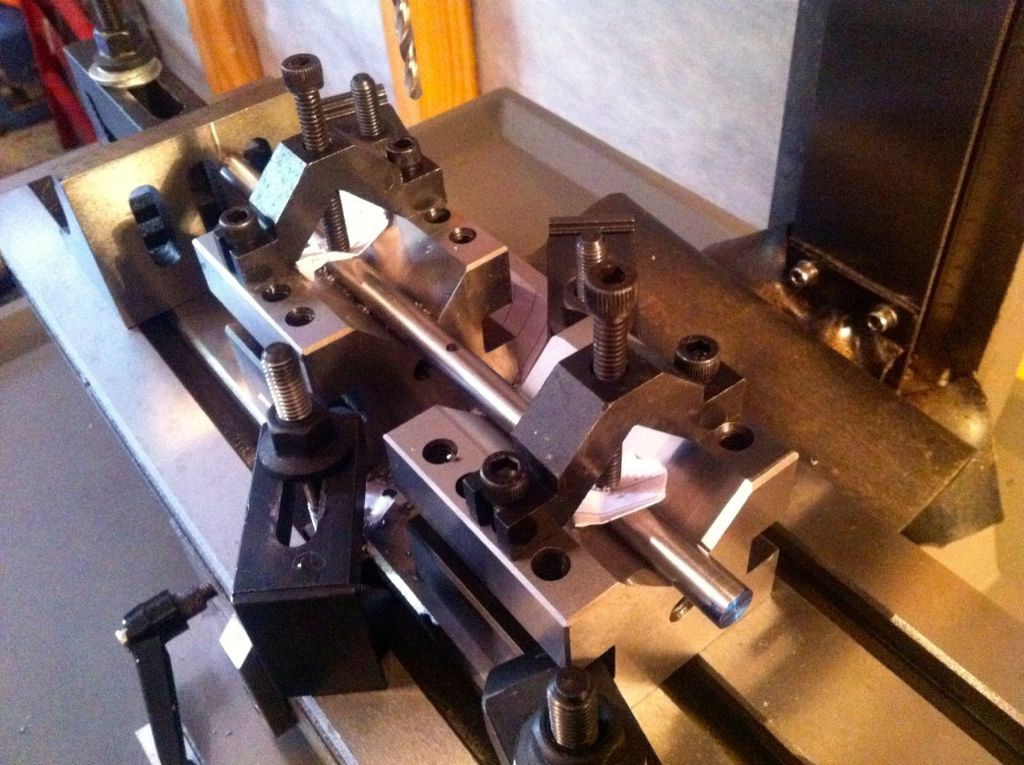
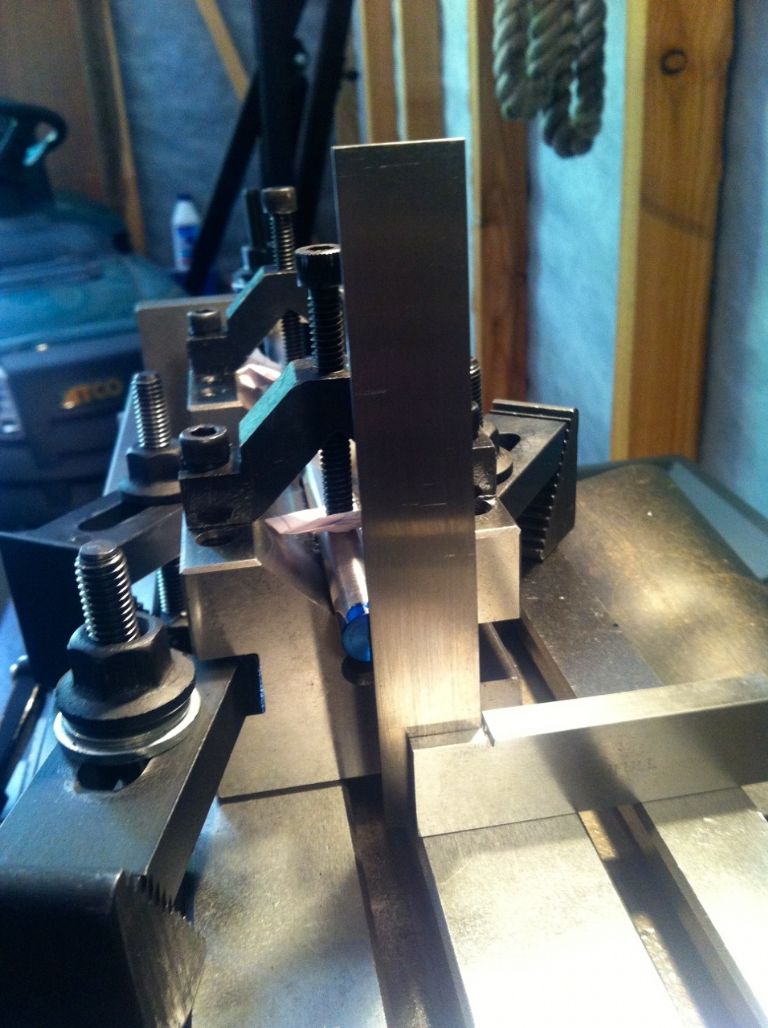
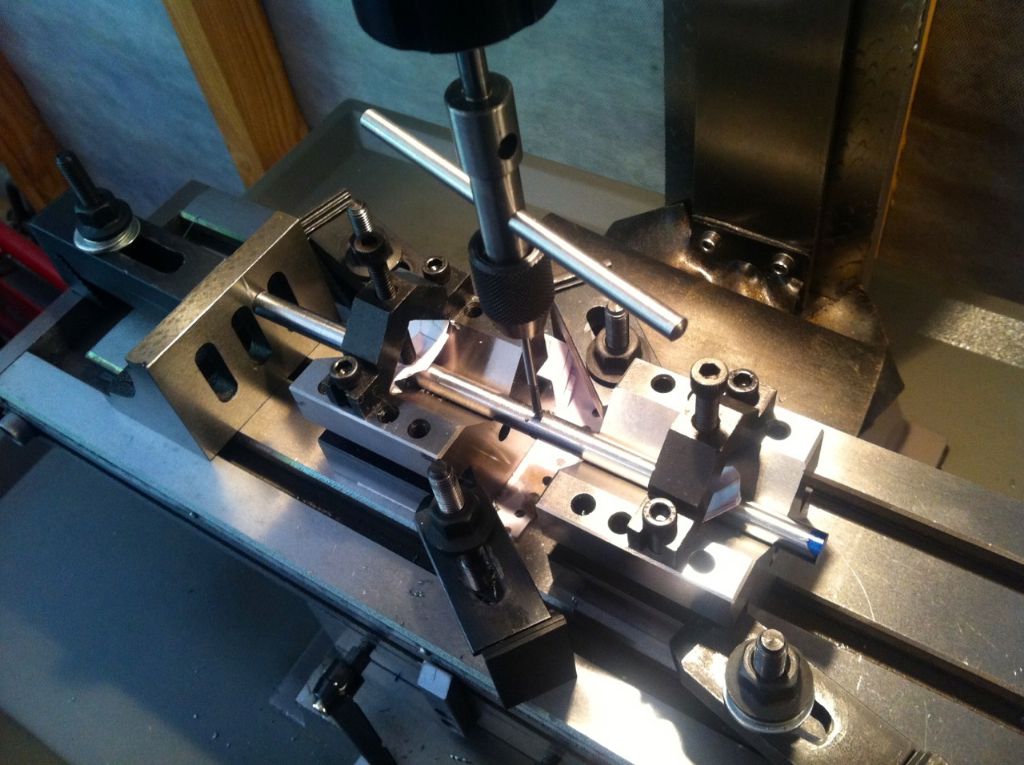
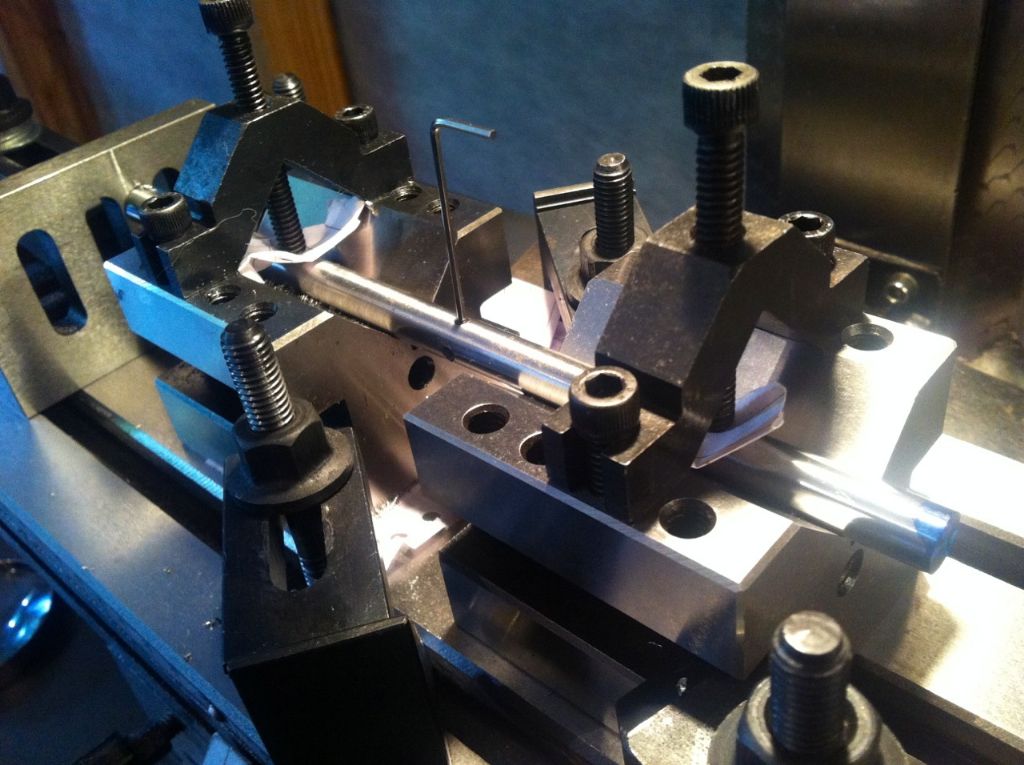
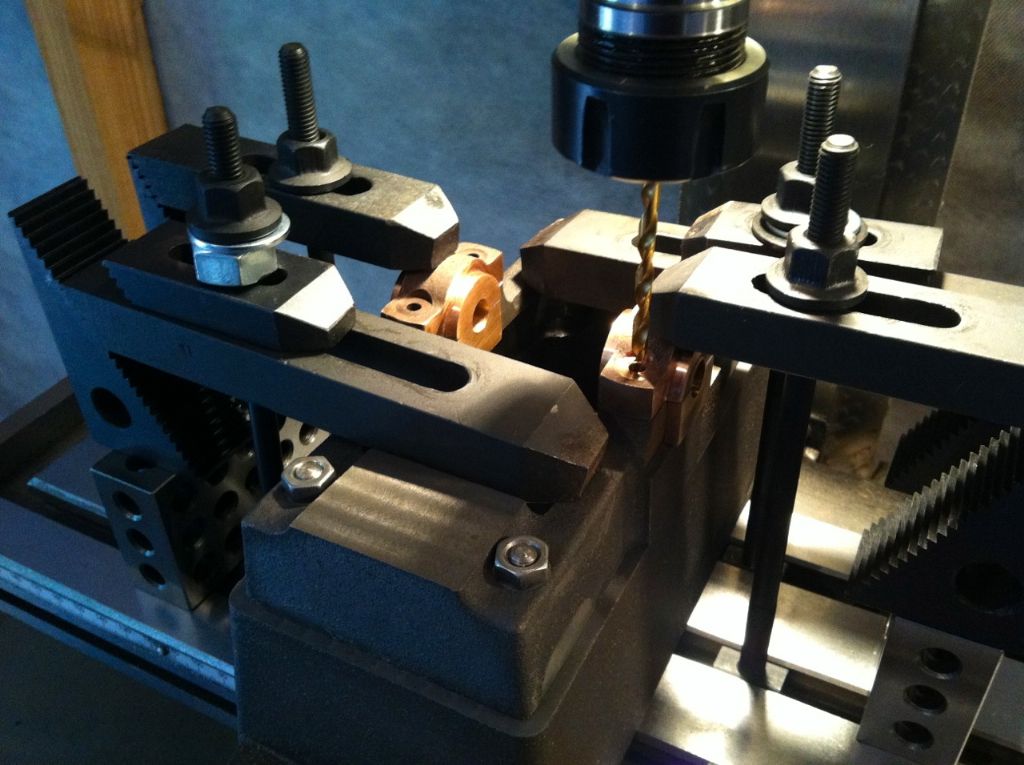
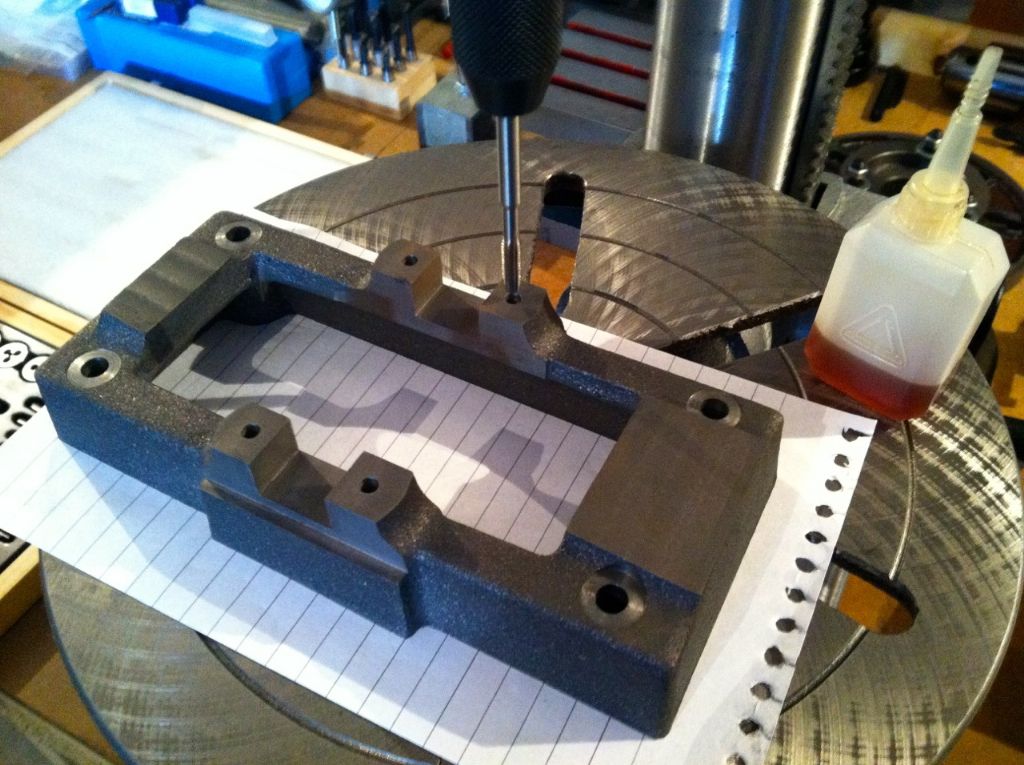
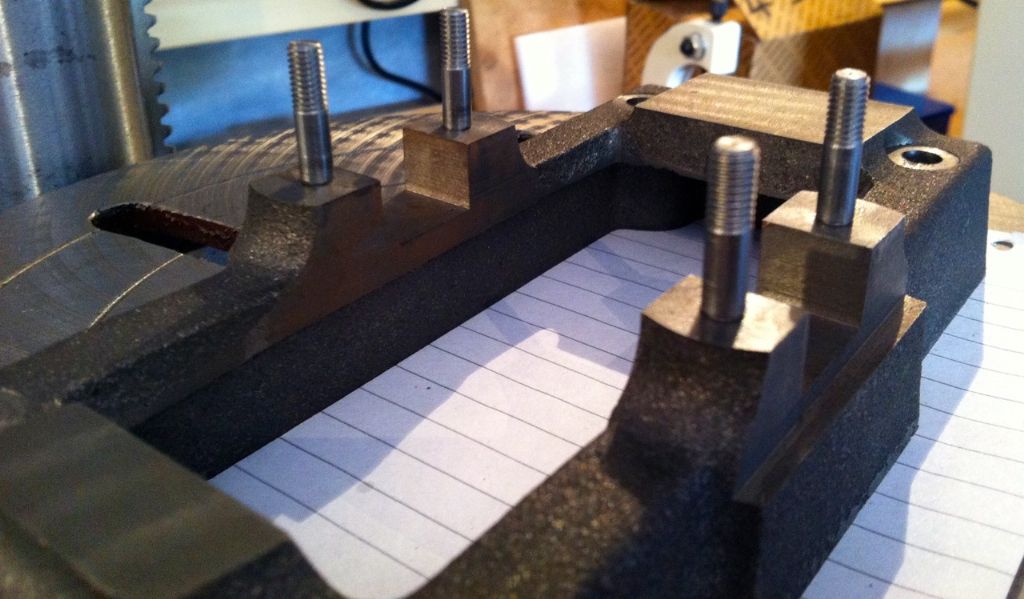
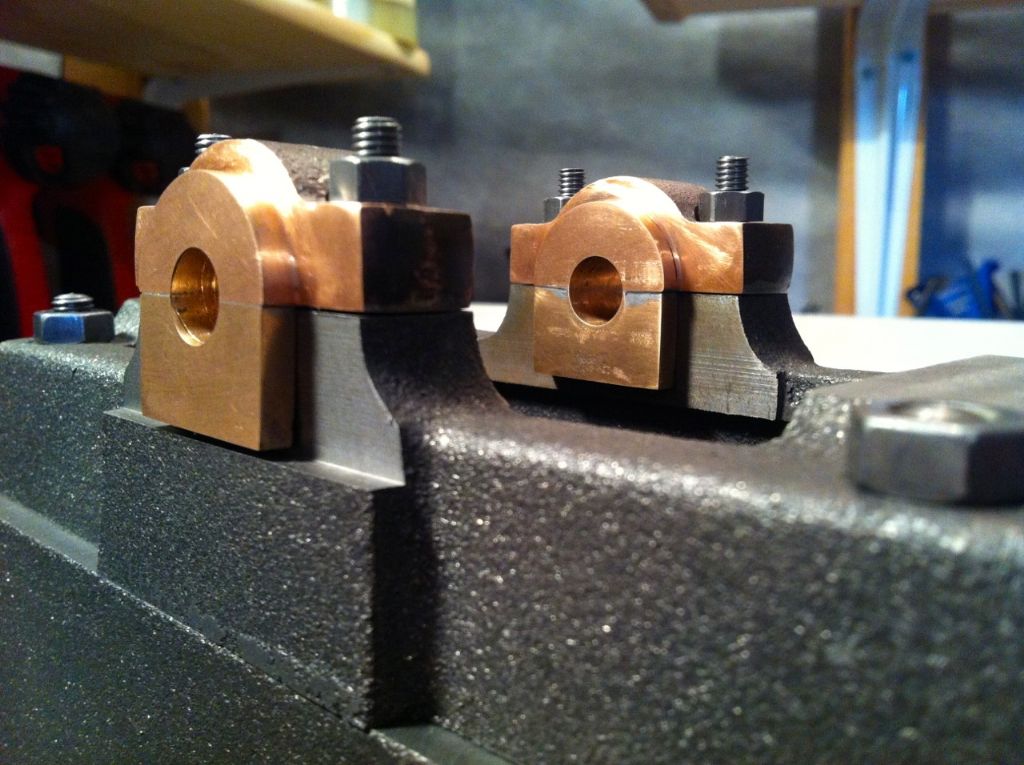
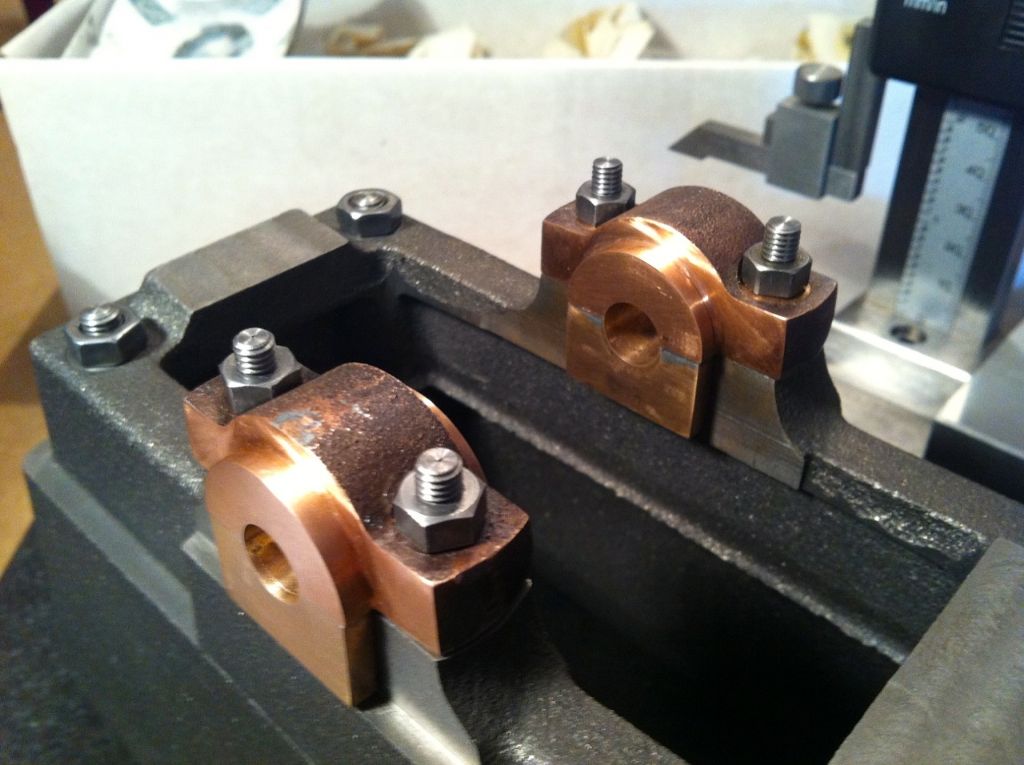
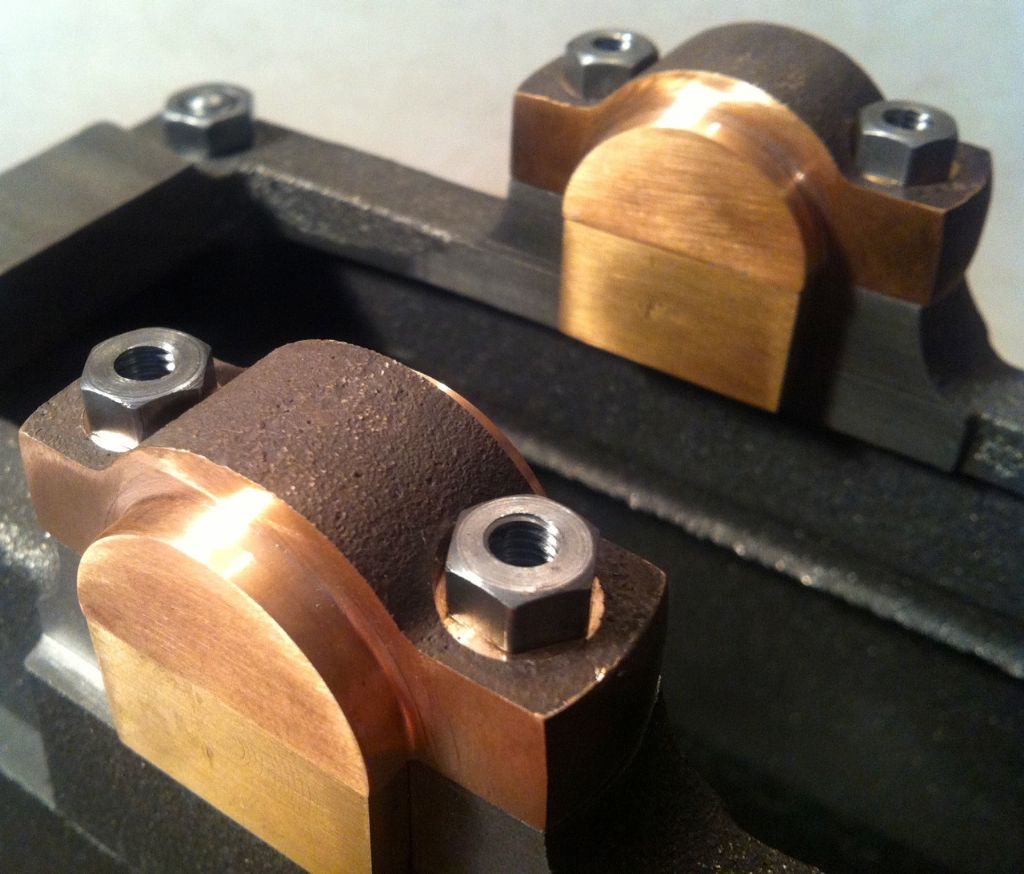
Another little update - fixing the bearings to the housing.. Spotting through the Bearing fixing holes to the Sole Plate. 2BA Tapping Size. Tapping the 2BA Bearing fixing holes in the Sole Plate. The Bearing studs in place on the Sole Plate. After opening out the Bearing fixing holes to 2BA clearance size - test fitting the bearings in the housings 1. (Bearings not cleaned up yet) After opening out the Bearing fixing holes to 2BA clearance size - test fitting the bearings in the housings 2. (Bearings not cleaned up yet) Next step is to de-solder and then onto the Lathe...
Regards Allan. | |
| 28/05/2014 19:45:48 | |
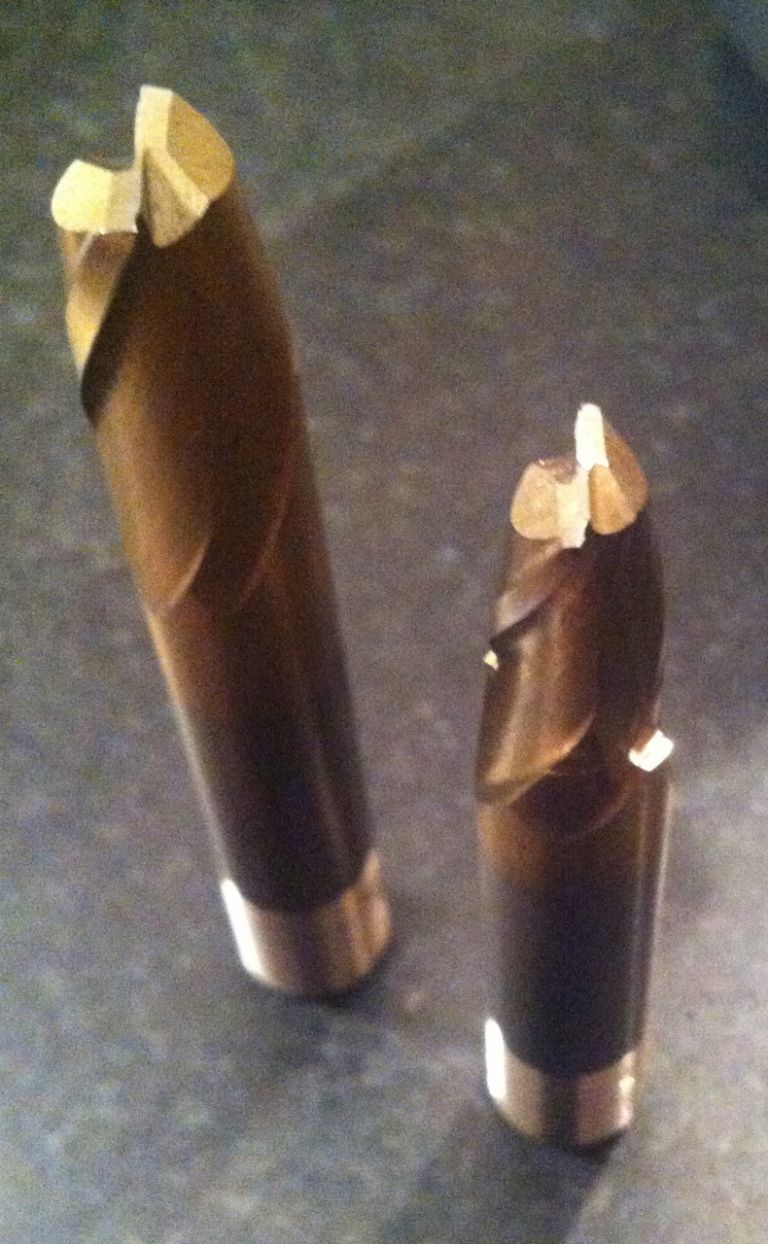
My bearings turning into a bit of a saga I think. Hope not everyone has given up on me yet though and some still finding it as interesting as I do... This morning I made a start on the bore for the second bearing, intending to go to 10mm (not 8mm as previously said) ready to go on the lathe... After putting a 10mm Slot mill through the 'bad' bearing to sort out the wonky hole they should then be pretty close for further work.. The first slot mill about to be put through - 8mm
Photo of the 8mm Slot Mill with the shoulder - and another, as per all my others, with no shoulder. I'll be checking for this sort of thing in future!
Regards Allan | |
| 28/05/2014 19:41:35 | |
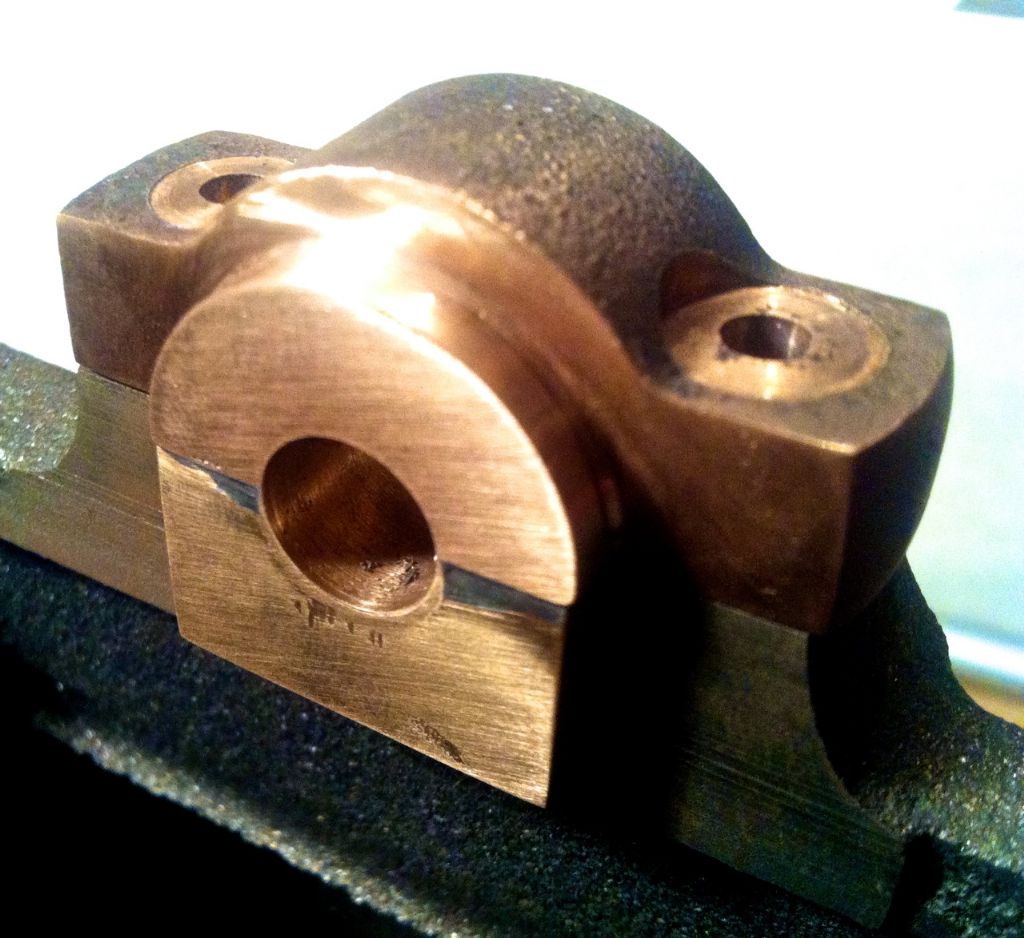
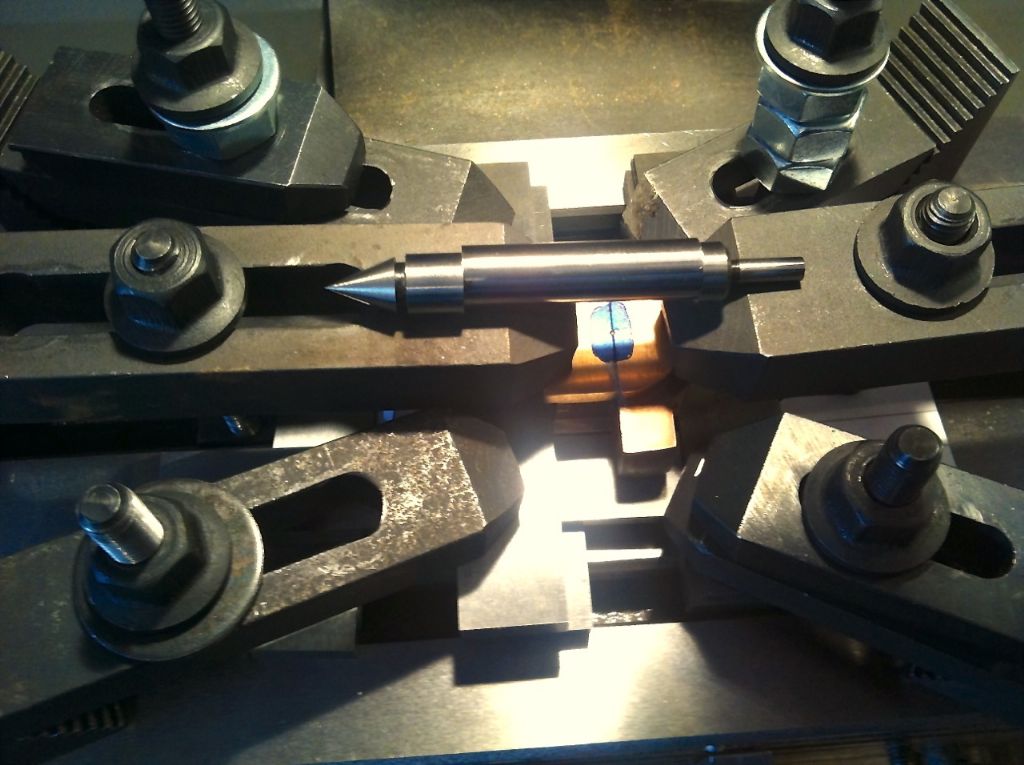
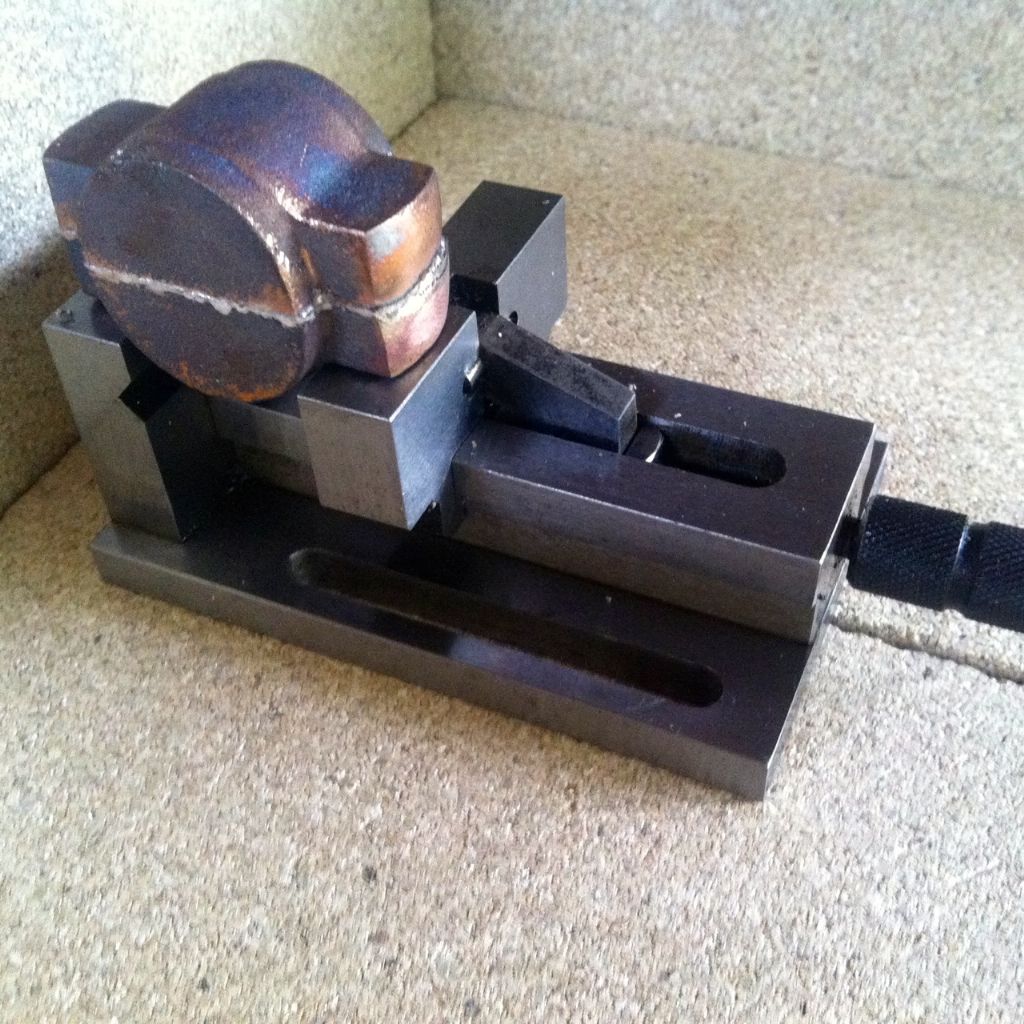
Todays little bit of progress is to get the 2nd bearing halfs' soldered together, cleaned up enough to get back in the housing to check the fit and get setup on the mill for drilling and milling the hole to 8mm - ready to go onto the lathe.. Photo - The setup ready to drill and mill the bearing to 8mm. Not tightened down yet so the table is not left under torque until I can do it... The photo's not very clear but the bearing is in a kind of cradle of parallel's which I hope will help support the solder joint when drilling, and stop things moving around - all really because my current vice not good enough to use for this.. and my centre finder to line the mill up.. Regards Allan | |
| 28/05/2014 19:40:29 | |
I'm wondering if the misalignment will bore out in situ on the lathe cross slide. The finished bore needs to be 12.7mm. Since the bearing joint failed and I re-soldered I've had a boring bar through and the hole I guess would be about 8mm at the moment. The photos show the re-soldering has misaligned the bearing halfs'. I wondered what others would do - from the perspective of this being only an all time project no. 2 that is. I can't expect anything like 'brilliant' yet of course and should maybe see if I can get away with it and put it down to experience? Or should I redo? This after the joint had failed and re-soldered - and me thinking I could get in with a small boring bar.
I've certainly learned from it, which is always a good thing... Strangely I have developed quite a fond memory of some of Victoria's mistakes that still sit on the engine.. I have to improve on that though this time around.. Regards Allan. | |
| 28/05/2014 19:32:35 | |
No nuts (washers..) is quite prototypical on a motor or other machinery of this type. That's interesting and good to know, thanks Ian. Anyone following is probably sick of seeing photo's of my bearings by now - if so click away now - because here's a couple more! Time has been against me the last few days but hope to start drilling them tomorrow... Temporary soldering of the first bearing pair. The first bearing pair after soldering. Looking a bit sorry for itself.. After a quick cleanup again - checking the alignment is still ok after soldering - and before drilling. I've been getting a bit paranoid after reading of problems drilling brass and gunmetal. Especially after experiencing the drill bit grabbing when enlarging the pilot hole in simply drilling the fixing holes for the caps - on every hole as well... Julian has kindly given me some pointers about the need to 'back off' the drill bit rake angle for Gunmetal. I've found this little video helpful in understanding a bit more - the example is in plastic but I believe would apply to Brass and Gunmetal as well.. **LINK** I think I will try to do myself before starting.. Regards. Allan. | |
| 28/05/2014 19:30:17 | |
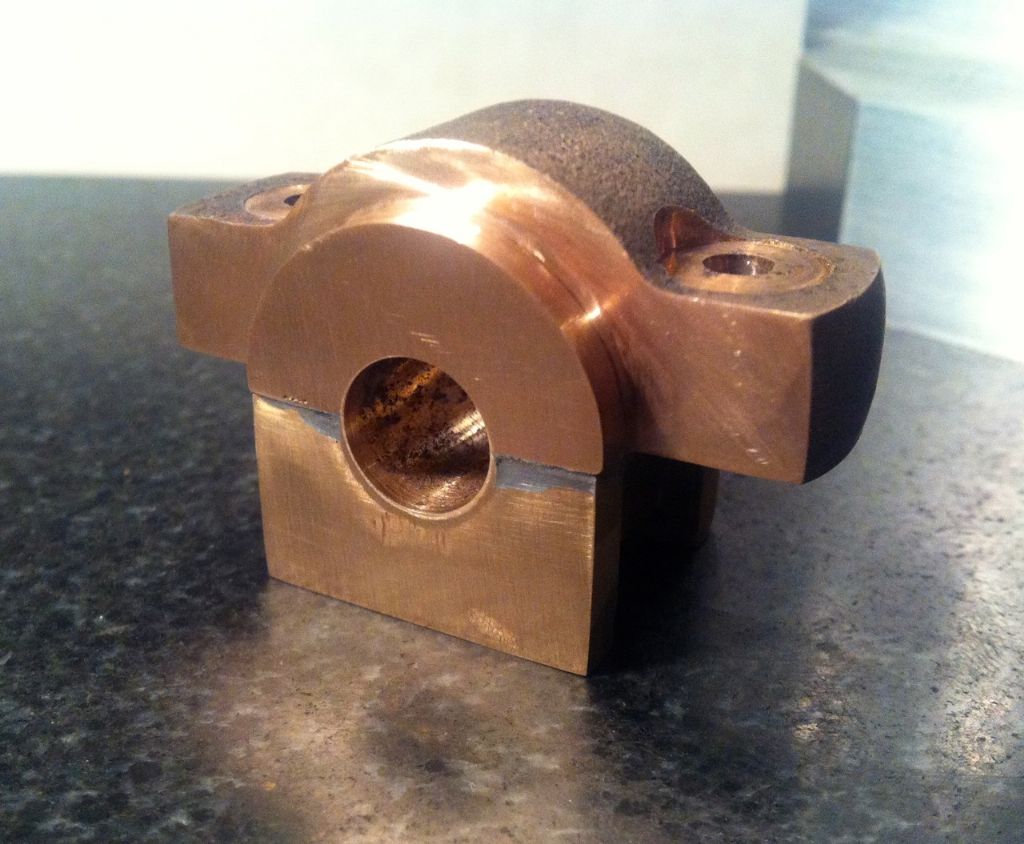
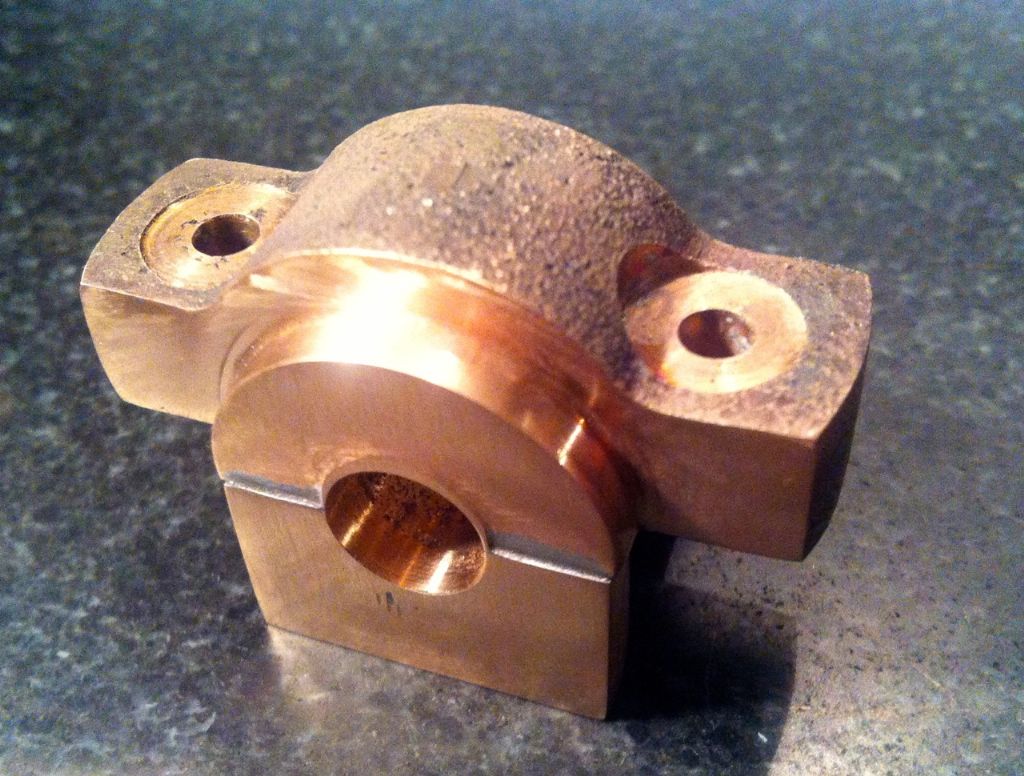
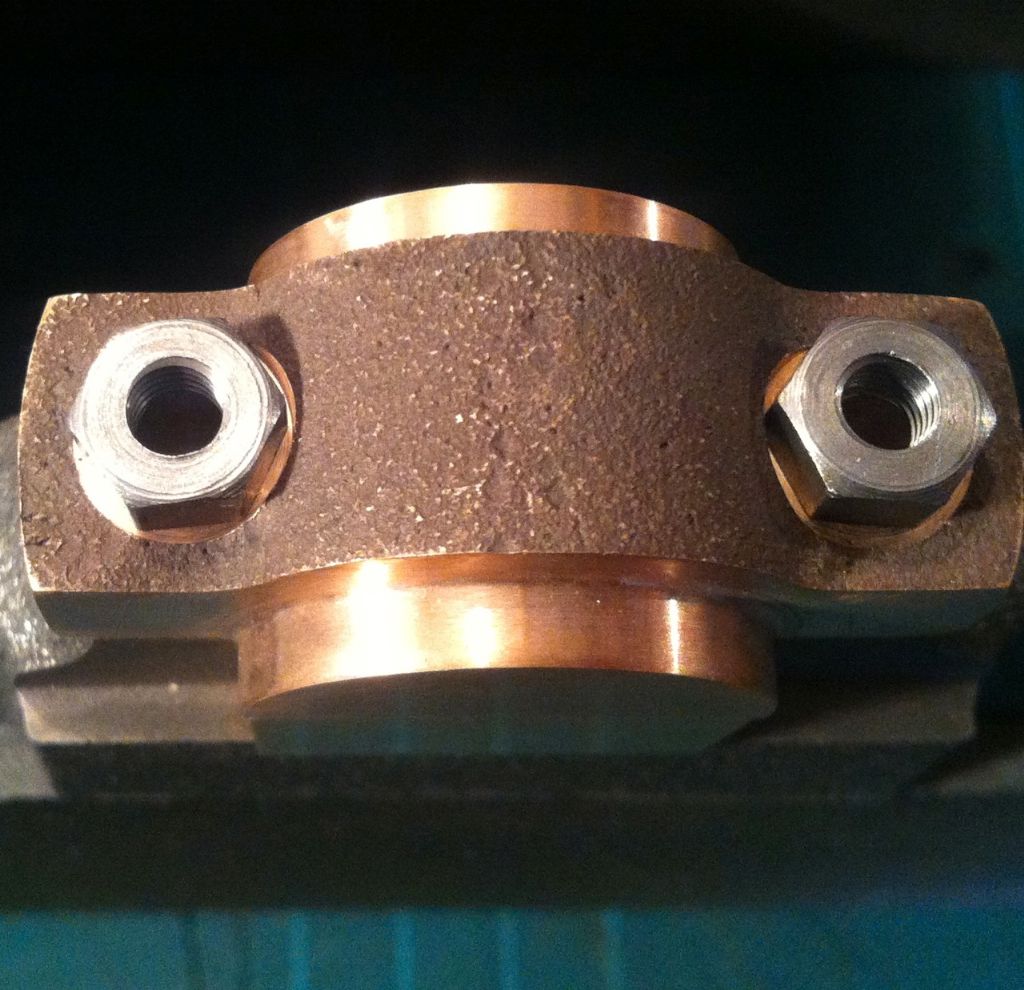
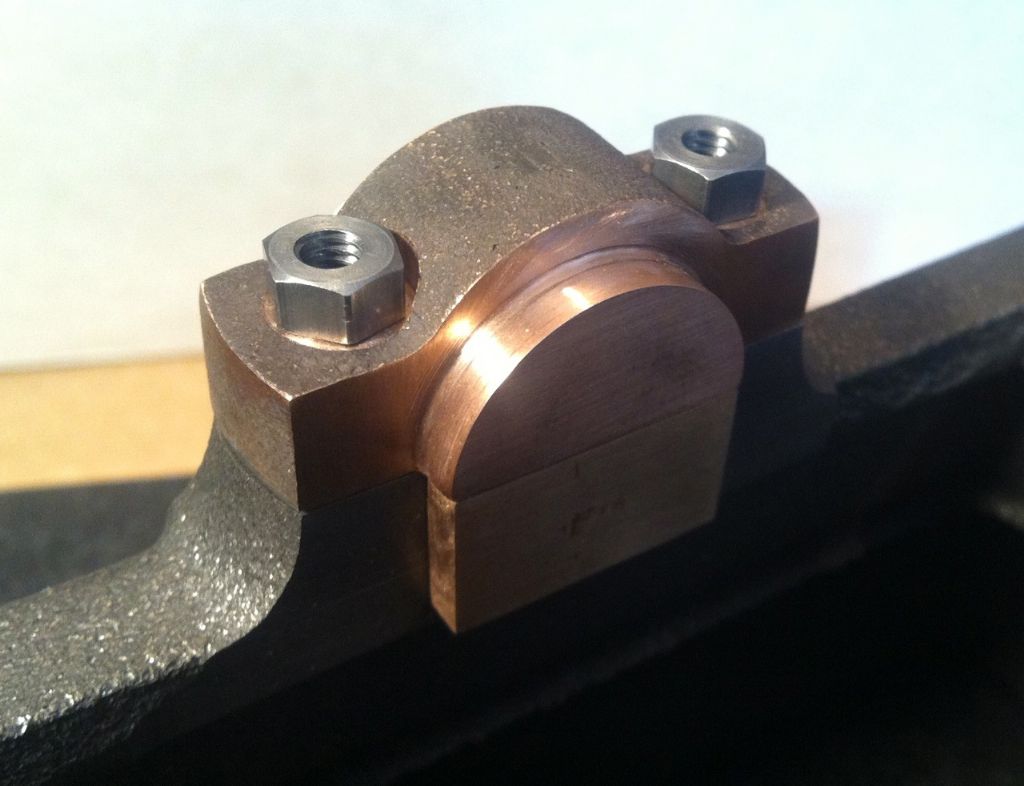
Hi Ian Yes, as Jason says - talking about studs just for clamping. I have a feeling whoever designed my clamping studs has never had to use them, I nearly always have to use more than one 'clamp' per stud to be able to tighten.. A continuous thread would seem to make much more sense for that job.. Hi Jason Thanks, I've used Tracy a lot so its good to have that link, I think they will be useful.. Ready for some more soldering now after doing the fixing holes on the other bearing cap. Been wondering a bit how the initial drilling of the bearing 'permanent pairs' through on the join is going to go... and hoping that at least having the cobalt bits now will maybe increase the odds of success... The gunmetal was 'grabbing' at the bit when simply drilling the bearing caps - imagine it may be worse on the join. Yet another first at that.. No washers on the bearing cap drawings by the way - but something to remember to check before spot facing in the future! A few more photo's finishing the fixing holes.. The second bearing cap with fixing holes and spot faced.. Test fitting both bearing caps - just lined up by hand, not fixed yet 1. Test fitting both bearing caps - just lined up by hand, not fixed yet 2. Test fitting both bearing caps - just lined up by hand, not fixed yet 3. The photo shows it doesn't line up perfectly on the housing, bit too long on the one end - but it's not too bad.. Regards Allan. | |
| 28/05/2014 19:27:09 | |
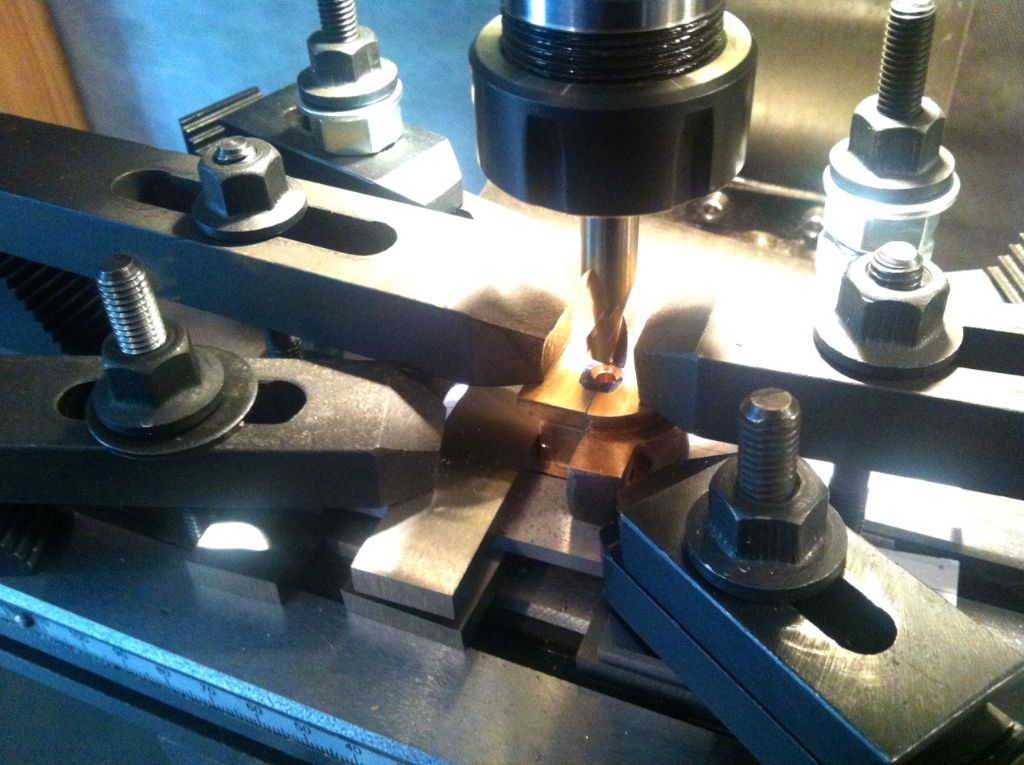
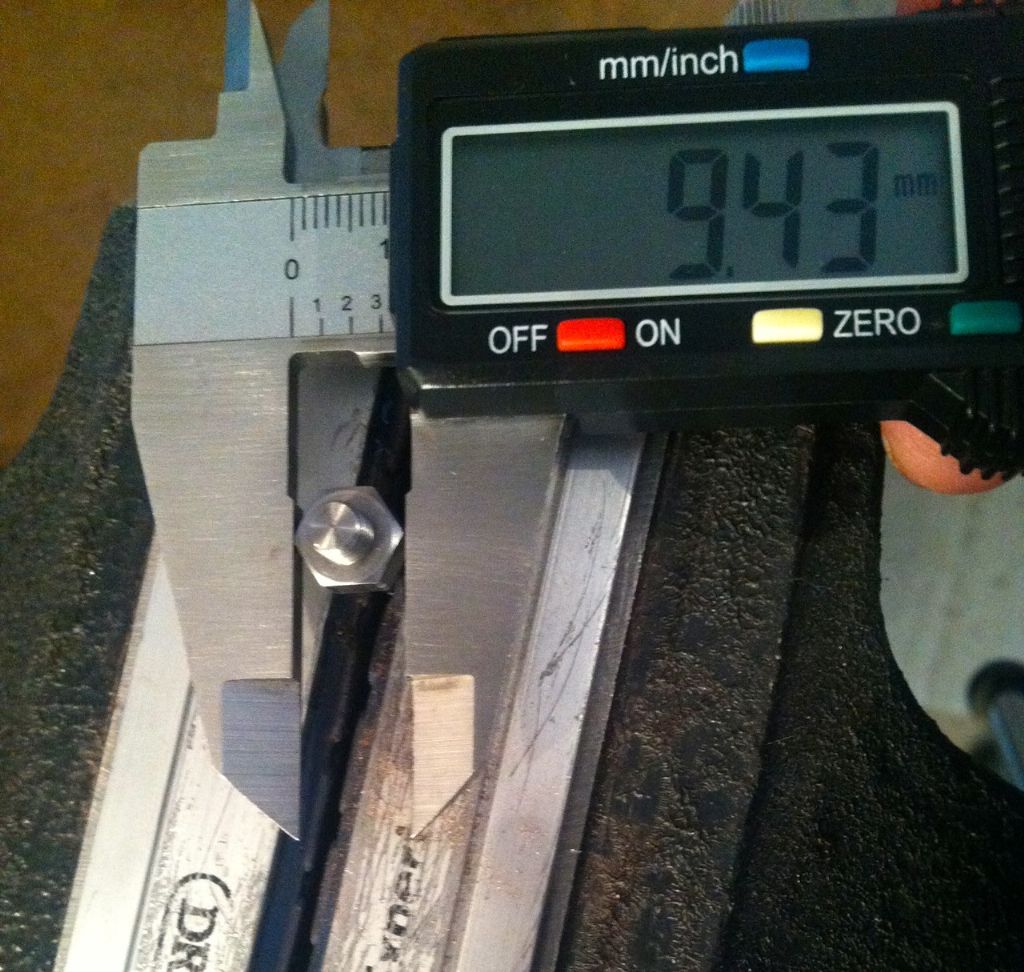
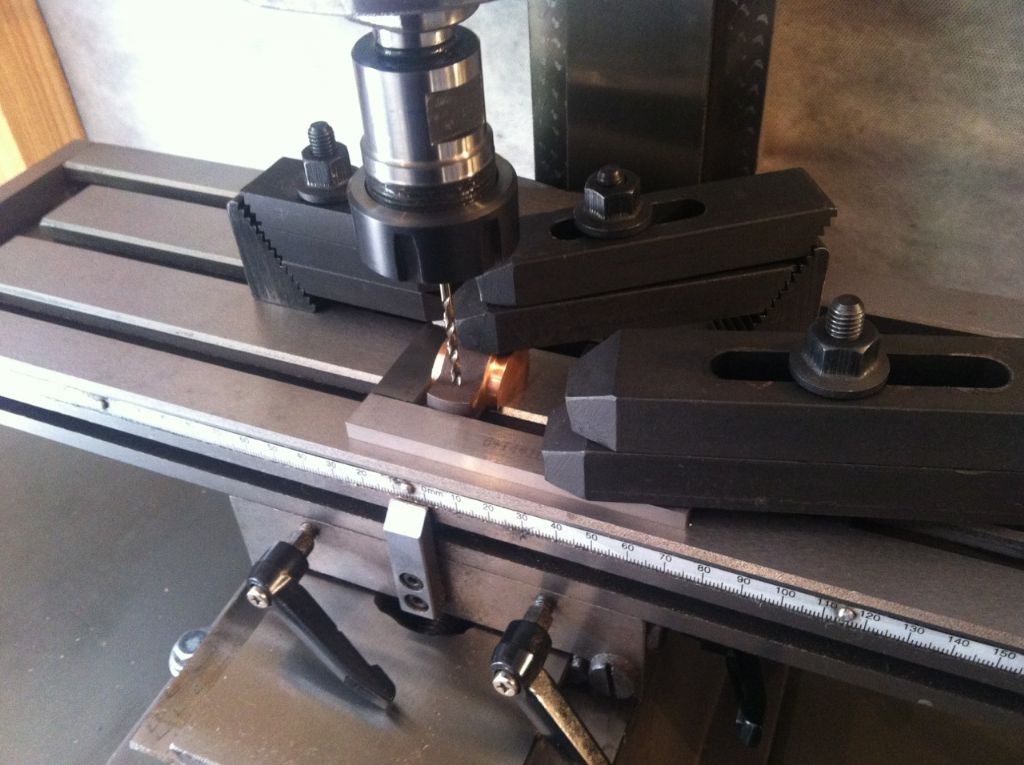
Just managed to do the fixing holes and spot face one of the top bearing 'caps' today.. Not long to do.. Checking the size of the fixing nuts a/c for spot facing - used a 10mm End Mill.. Setup used on the Mill to drill the 4mm 2BA Clearance Holes for the bearing 'caps' - and to spot face.. I must get around to lengthening the threads on my clamping studs to avoid having to use so many clamp pieces.. Couldn't use my vice, when I looked carefully the jaws do seem to sometimes be 'rising' or at least pushing the work up when tightened - as Jason suggested they might earlier.. I know the studs won't fit properly unless the holes are bang on vertical.. Have to get a new decent one soon.. The work turned around to do the other side.. Test fitting on the bottom bearing half (just lined up by hand, not fixed) - far from perfect, but not too bad I hope - ready for soldering together, drilling and boring (1). Test fitting on the bottom bearing half (just lined up by hand, not fixed) - far from perfect, but not too bad I hope - ready for soldering together, drilling and boring (2) The other one to do now. Regards. Allan. | |
| 28/05/2014 19:24:10 | |
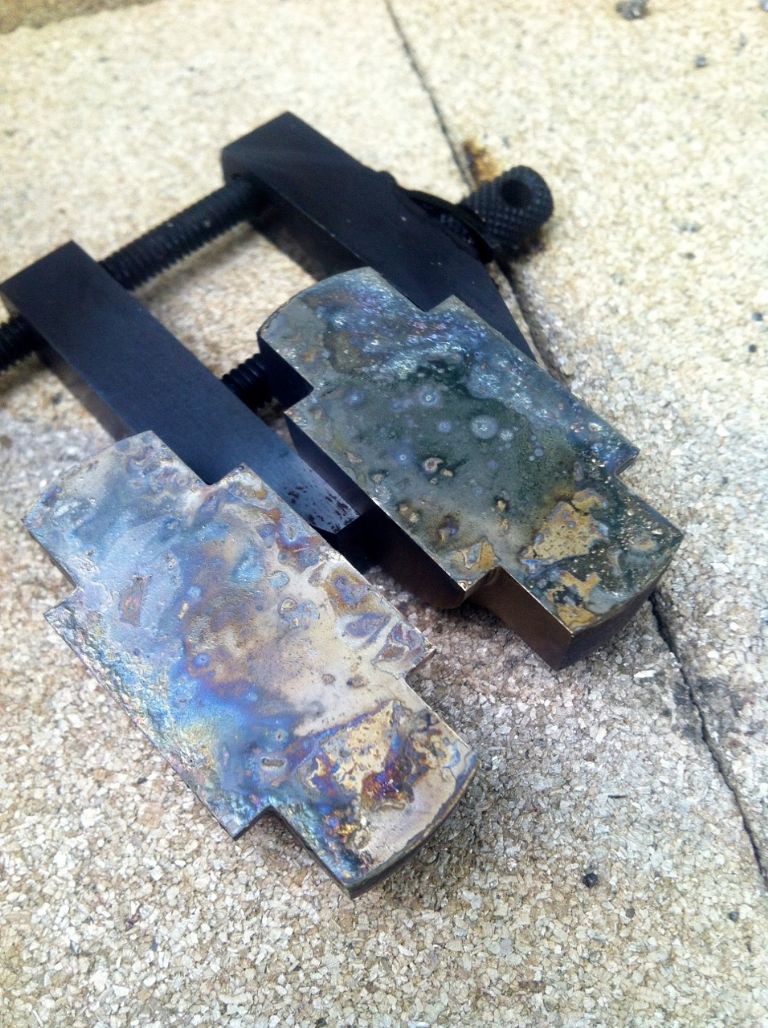
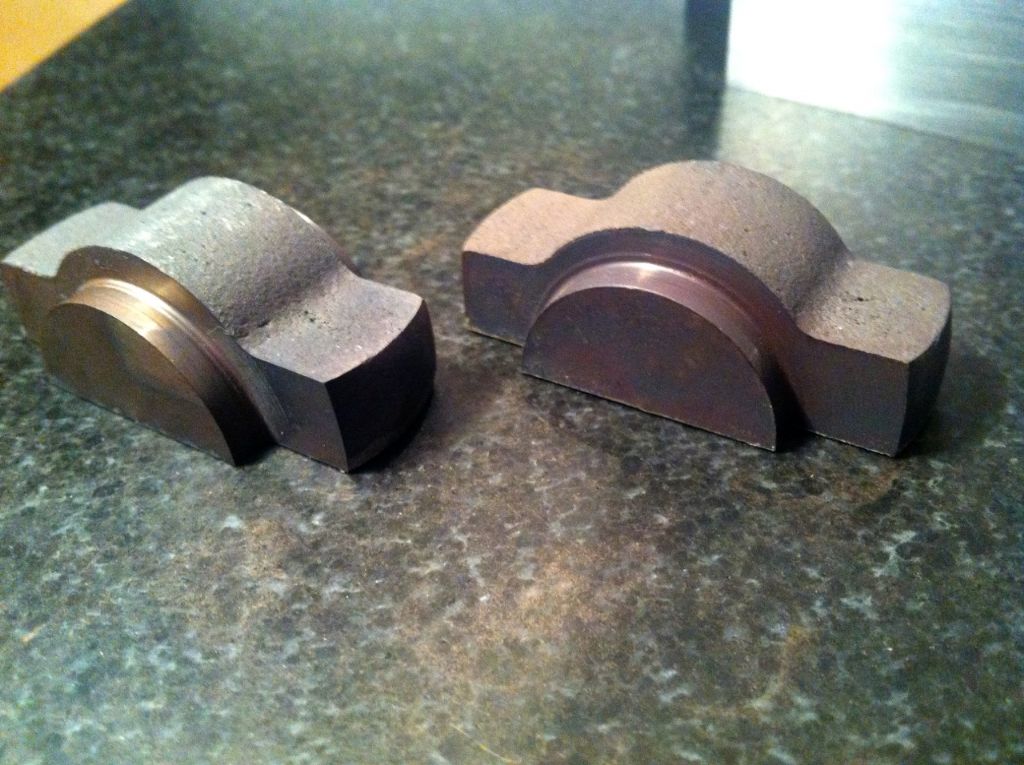
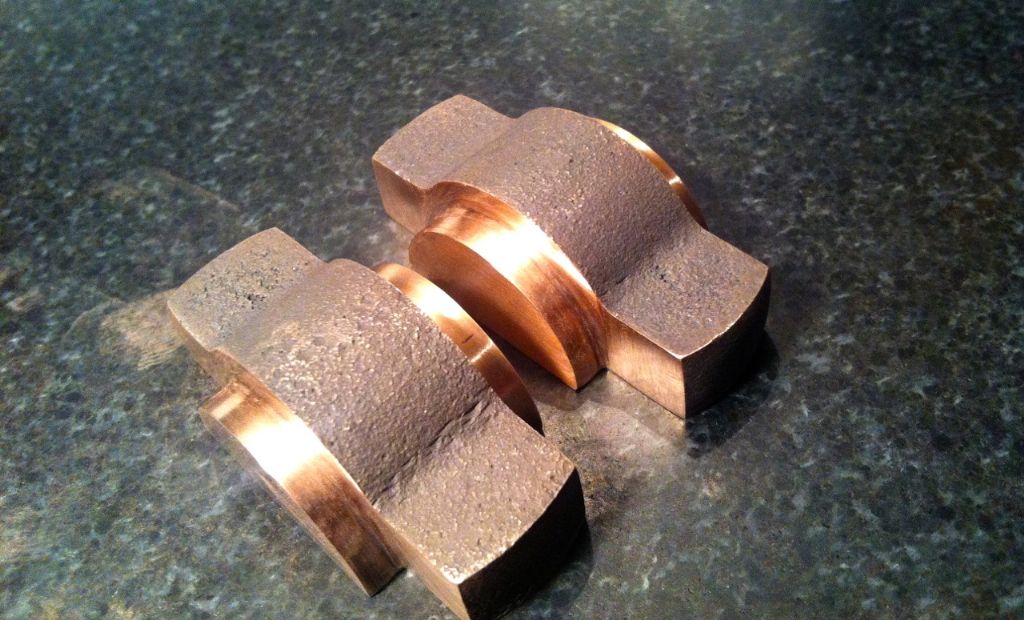
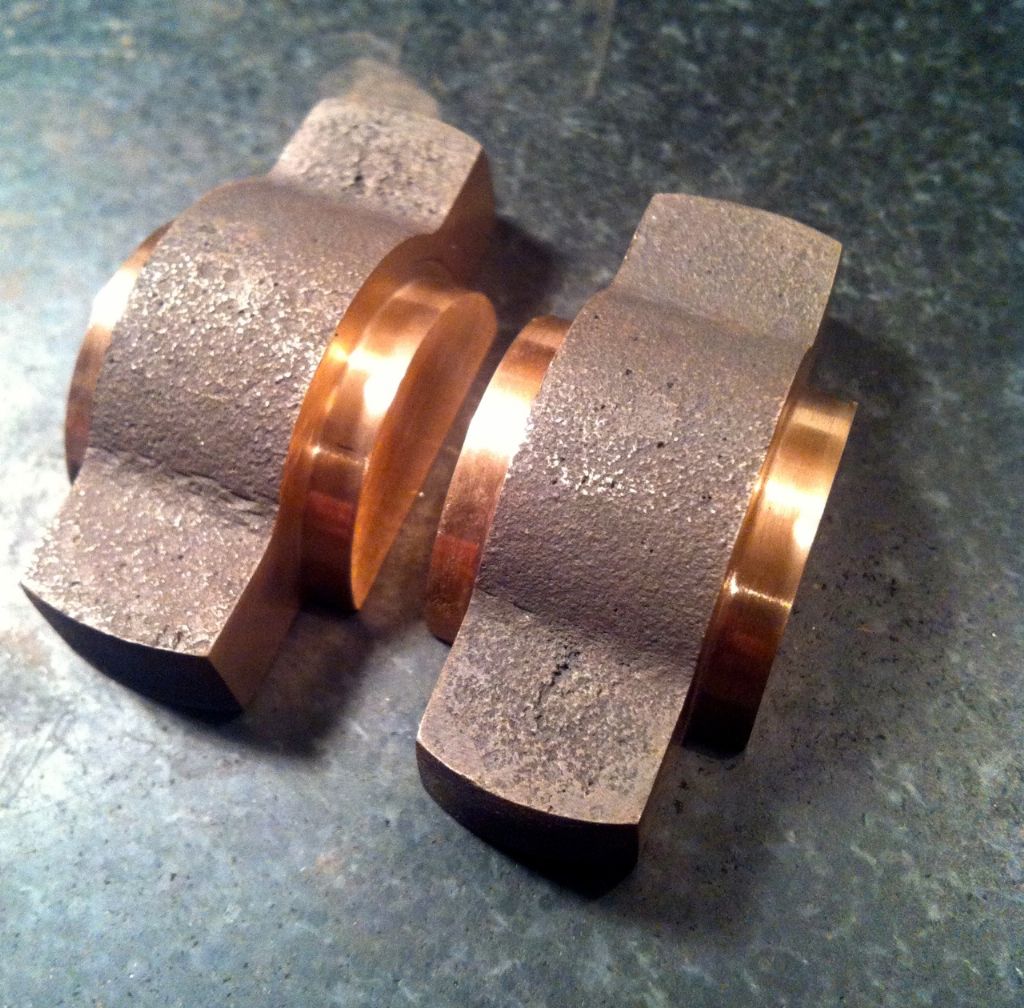
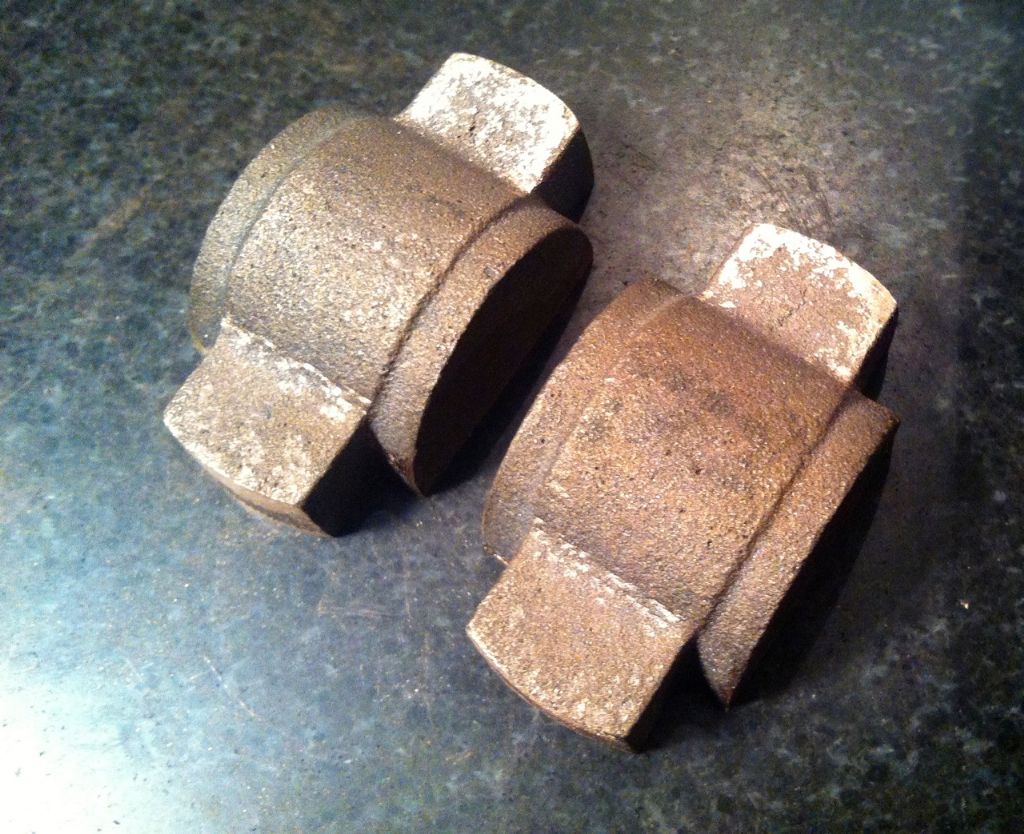
I like the idea of trying to make a little progress most days, no matter how small even when time is difficult - it keeps things moving forward, not always possible but it worked well with Victoria.. So this morning I just separated the bearing half's ready for the next step.. Heating to separate the top bearing half's. It seemed to take a lot more heat to separate them than it di The top bearing half's after separating 1. The top bearing half's after separating 2. At this point I wondered if I had over done the heat and ruined them - but after a little rubbing on some wet and dry paper they came up very easily. Think I had to put in a bit more effort than 'normal' for this though in order to get rid of my bad tool marks which were preventing cleaning up properly - hopefully as I'll need to clean them up again shortly after soldering for drilling and boring, it will be easier to do next time around... The top bearing half's after some cleaning 1. The top bearing half's after some cleaning 2. Decided to drill the fixing holes after separating so I could spot face on the Mill in the same way as earlier - next job to do.. Regards Allan. | |
| 28/05/2014 19:21:24 | |
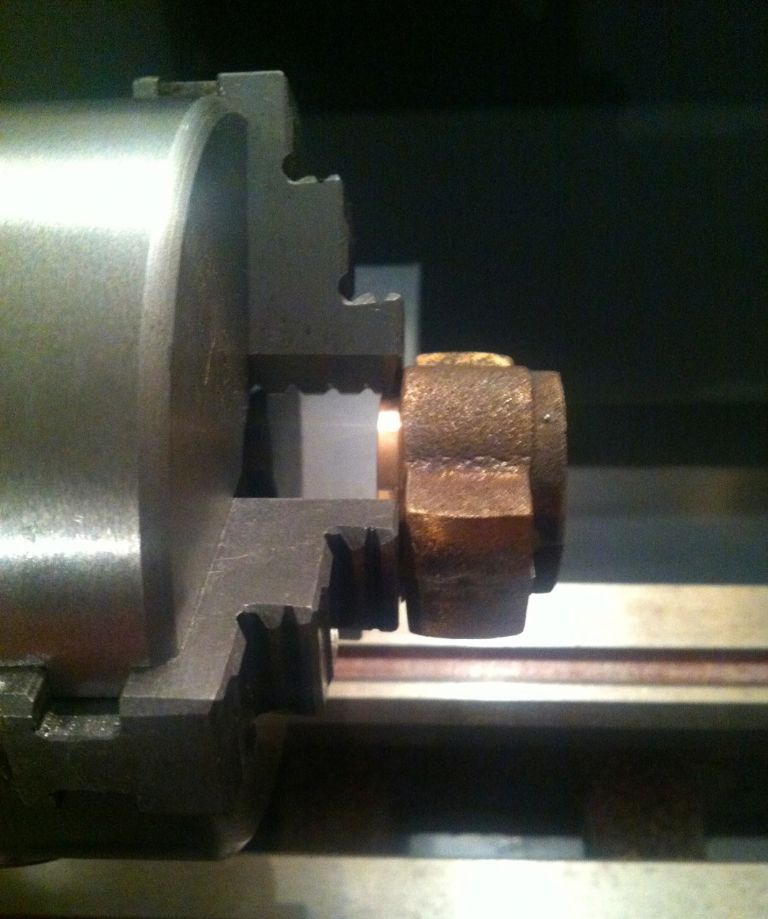
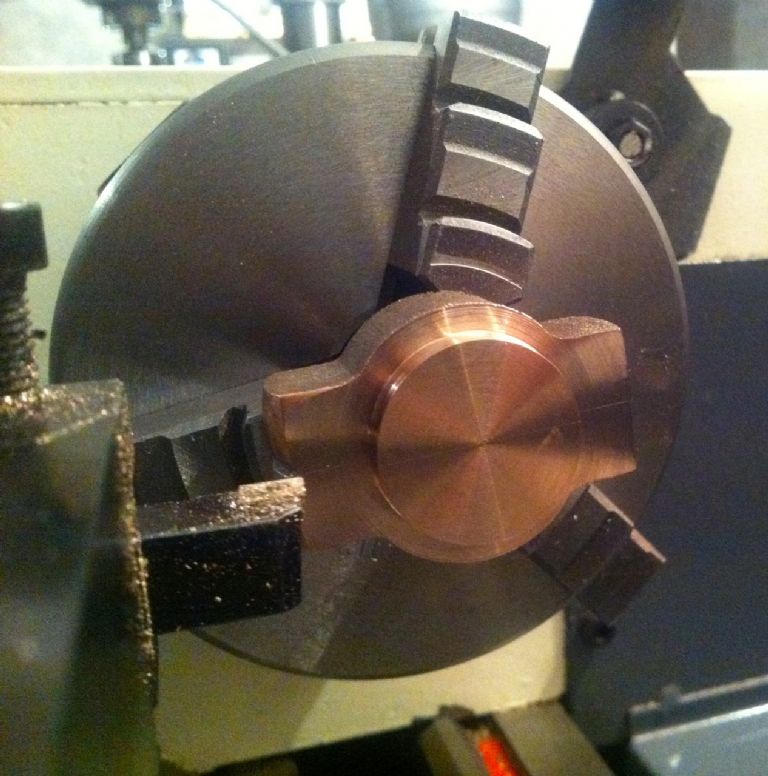
Finished the turning on the top bearing half's earlier.. I put them into the 3 Jaw to do the other side holding on the recently turned OD. Not much to hold onto but I was taking very light cuts and it did all seem very solid and spinning true - and went ok.. I realised I should have been turning down the 'sides' as well to get the central dimension right as well, not to mention the finish.. So after doing this side I turned around in the chuck and did the other side again.. (hope that makes sense...) The top bearing half's after turning was finished. If compared with the photo's yesterday, a big improvement.. All done to size now. The top bearing half's after turning 2. It will be interesting to try a different tool insert for gunmetal as my lathe seems to not be doing the finish I usually get with other materials used so far.. Sorry photo's not great again - not helped by the light in my workshop when the outside doors are closed. I have a 90w, halogen I think it is, just about 4 - 5ft above the Lathe but it's nowhere near good enough. I'm wondering if I can get another type of bulb to fit the 'standard bayonet' holder which is more powerful.. Also wondering how people usually go about polishing or just getting a finish to something like the top (un machined) tops of the bearings - I used to have a Dremel, I'm guessing maybe some use something similar ...? Can do it by hand and some wet and dry of course or emery etc but it seems there's probably an easier or better way.. Have a good bank holiday everyone.. Regards. Allan | |
| 28/05/2014 19:18:05 | |
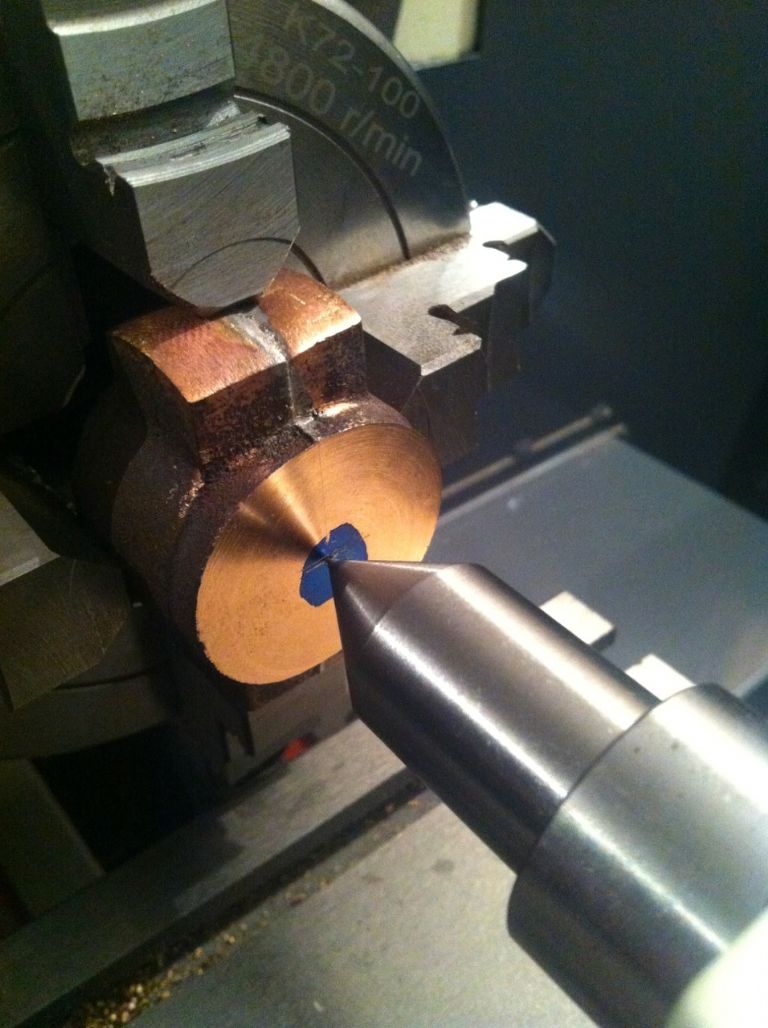
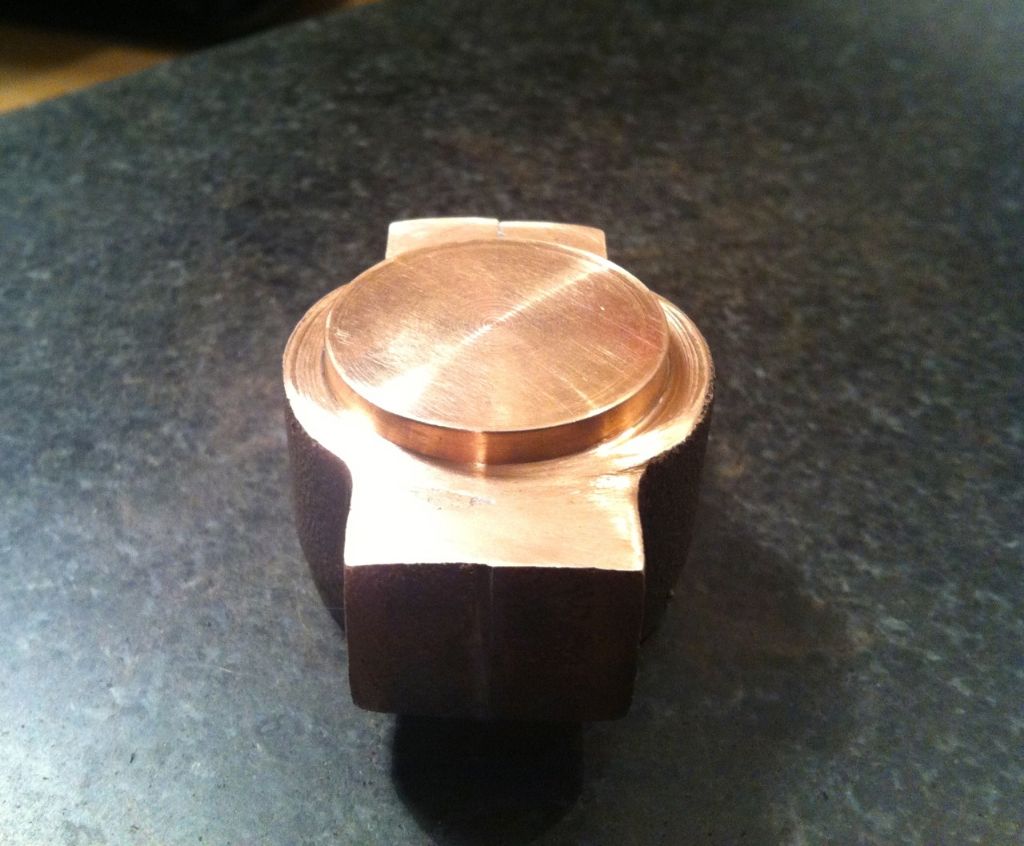
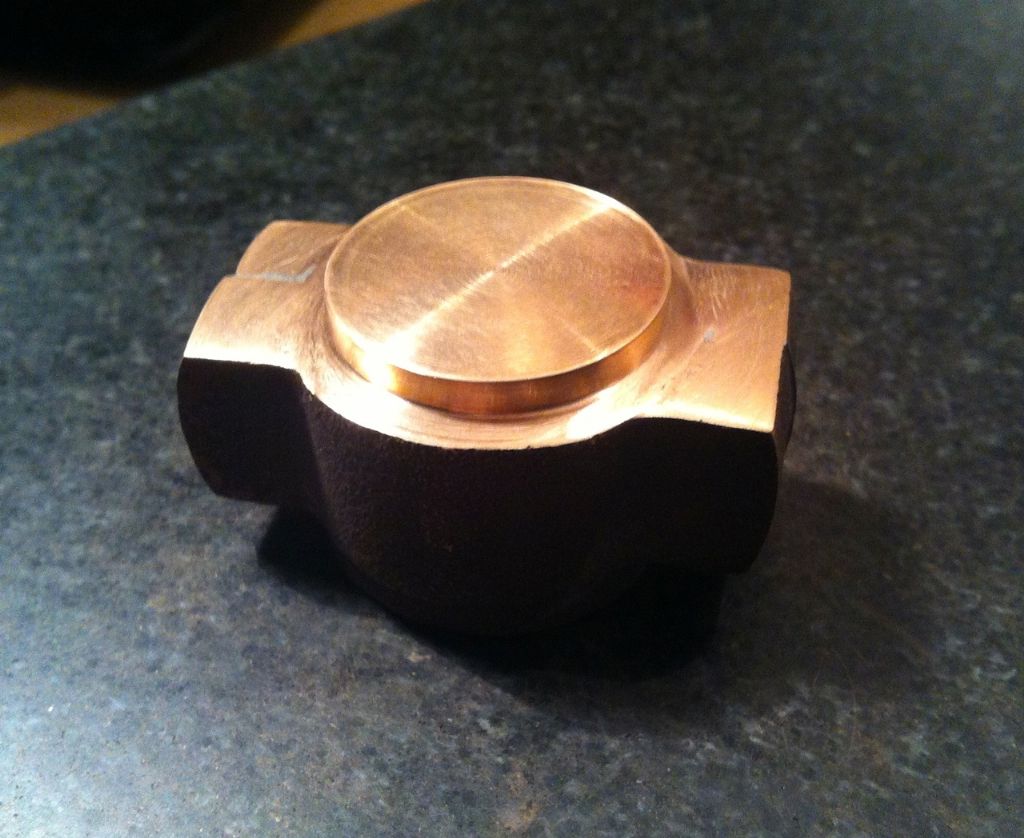
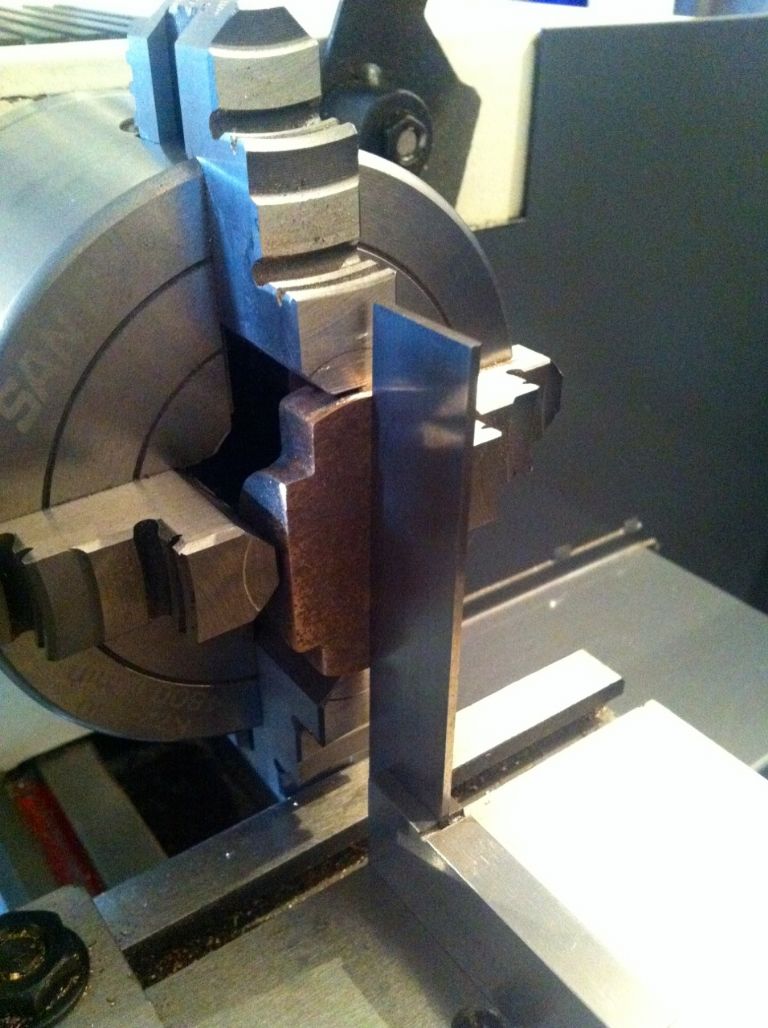
Hi Jason Yes, that makes sense and will do - I was quite surprised it wasn't more 'messy' than it was when doing it, I'd imagined it running lots more.. A little more progress in the Lathe - it will be worth in the future trying some of the CCGT carbide inserts for Gunmetal I think.. The bearing 'tops' in the lathe ready for the initial facing. Facing in order to be able to mark the centre.. After marking the centre, setting the bearing 'tops' to run true.. The bearing 'tops' so far 1. The bearings tops so far 2. Regards Allan. | |
| 28/05/2014 19:14:42 | |
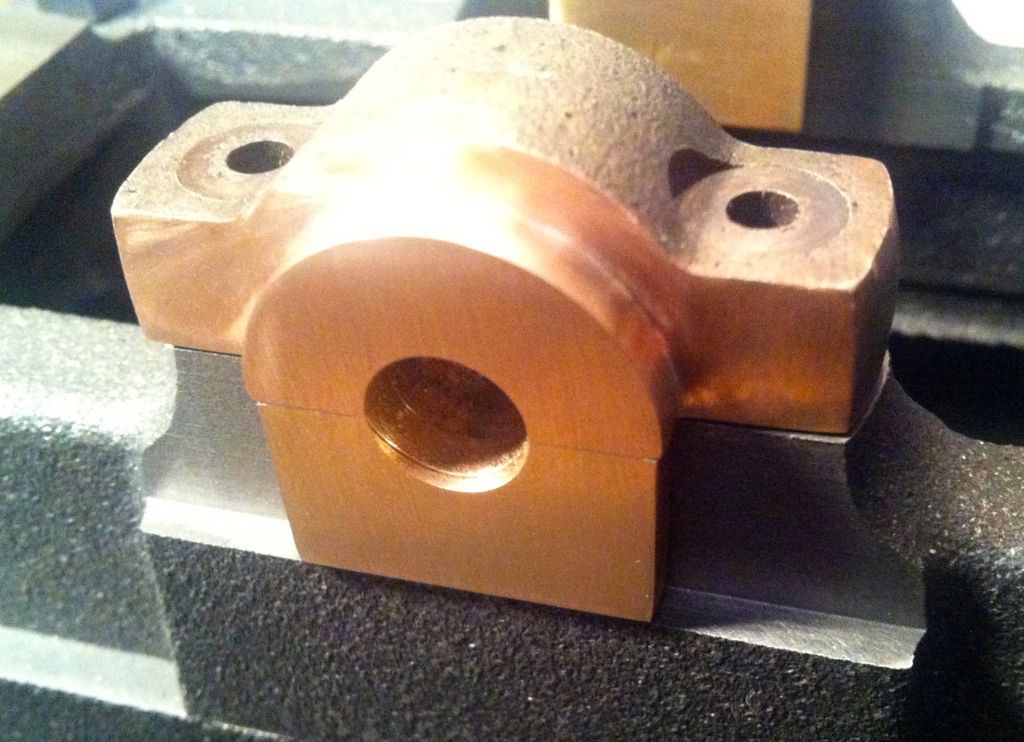
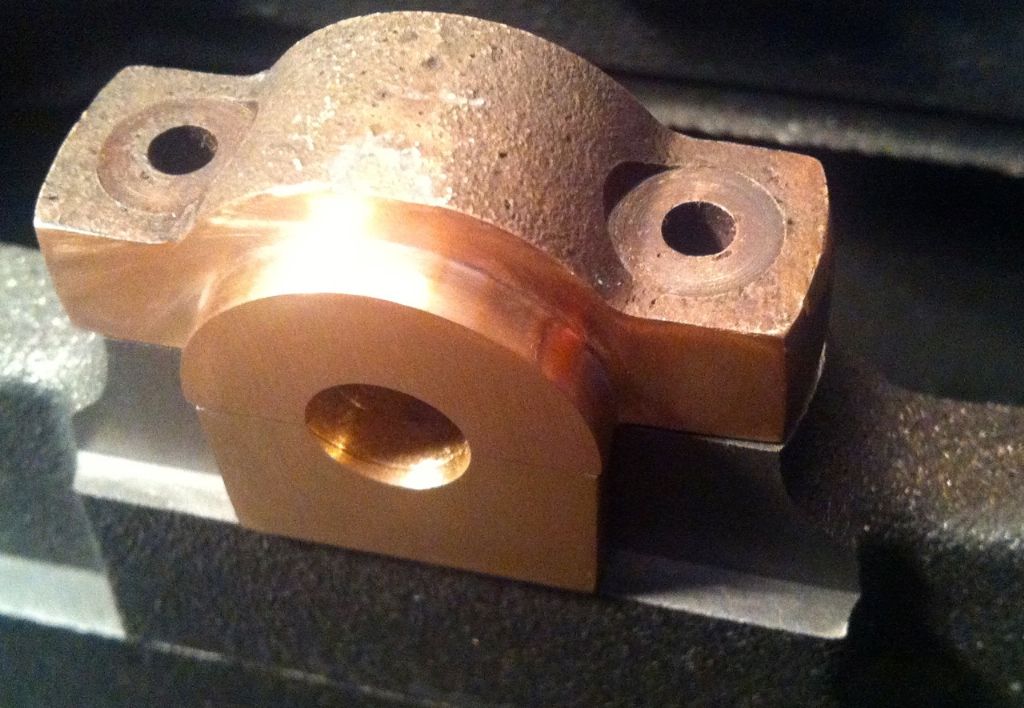
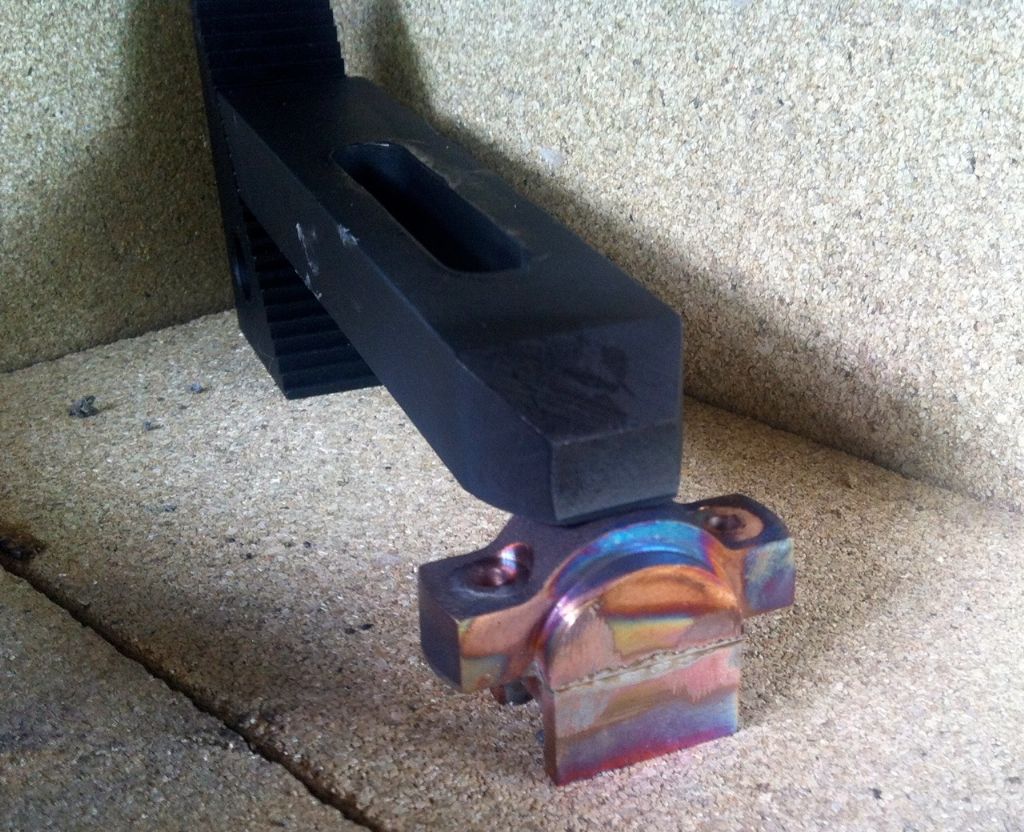
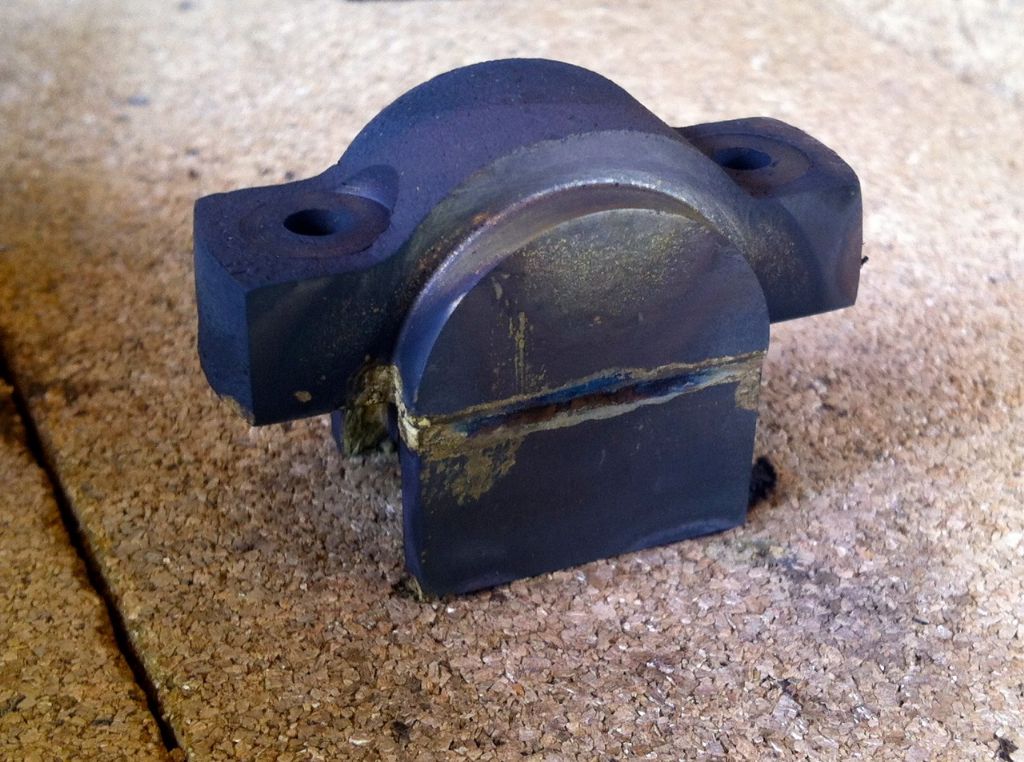
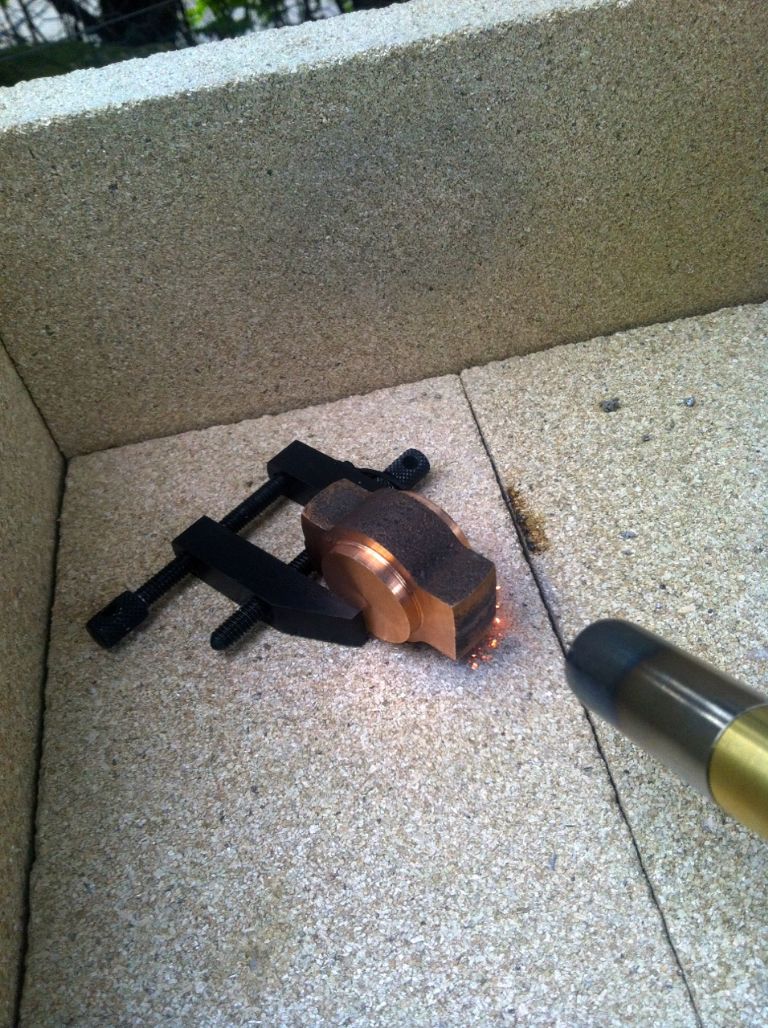
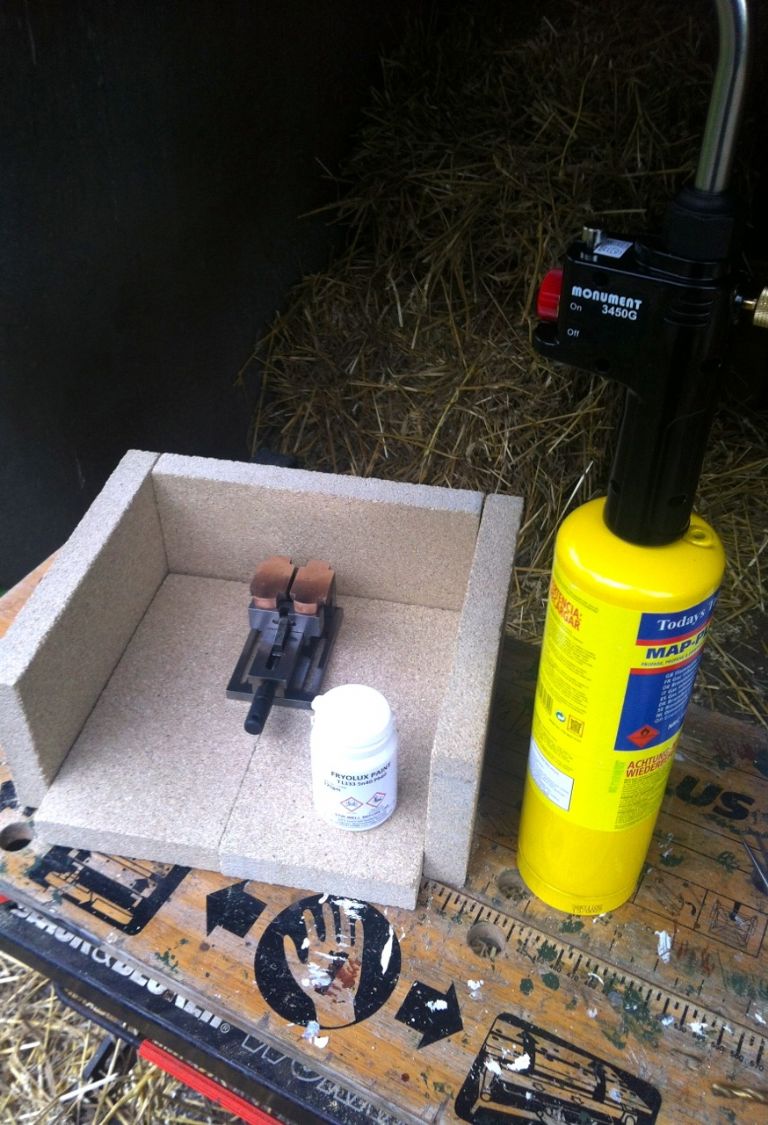
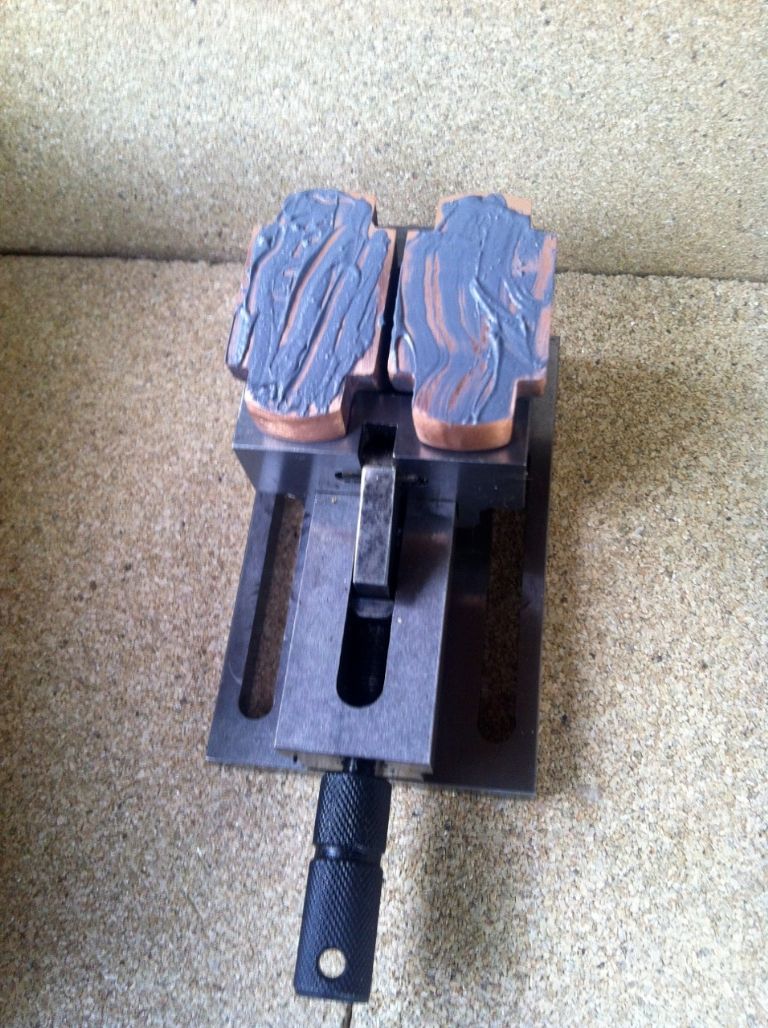
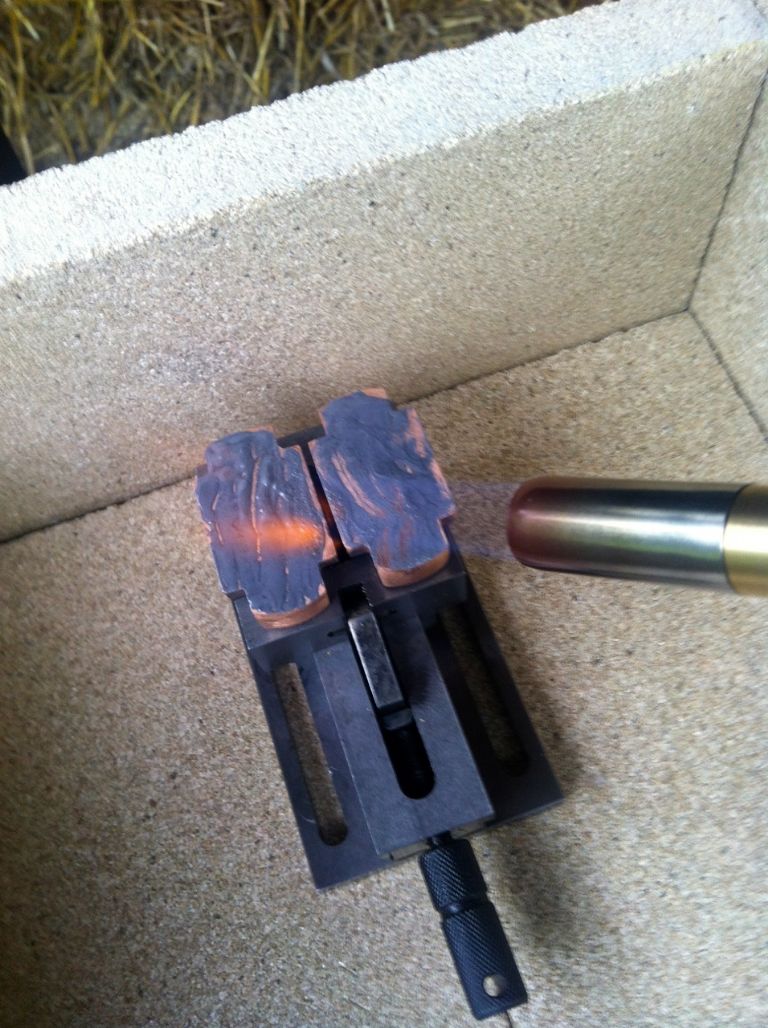
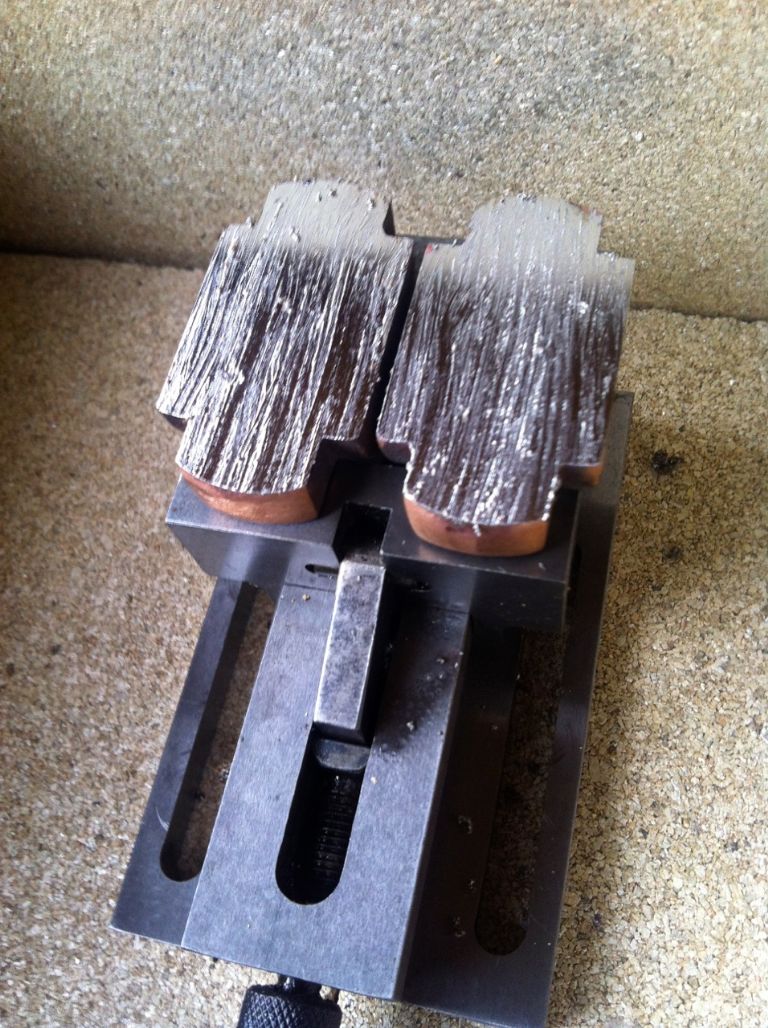
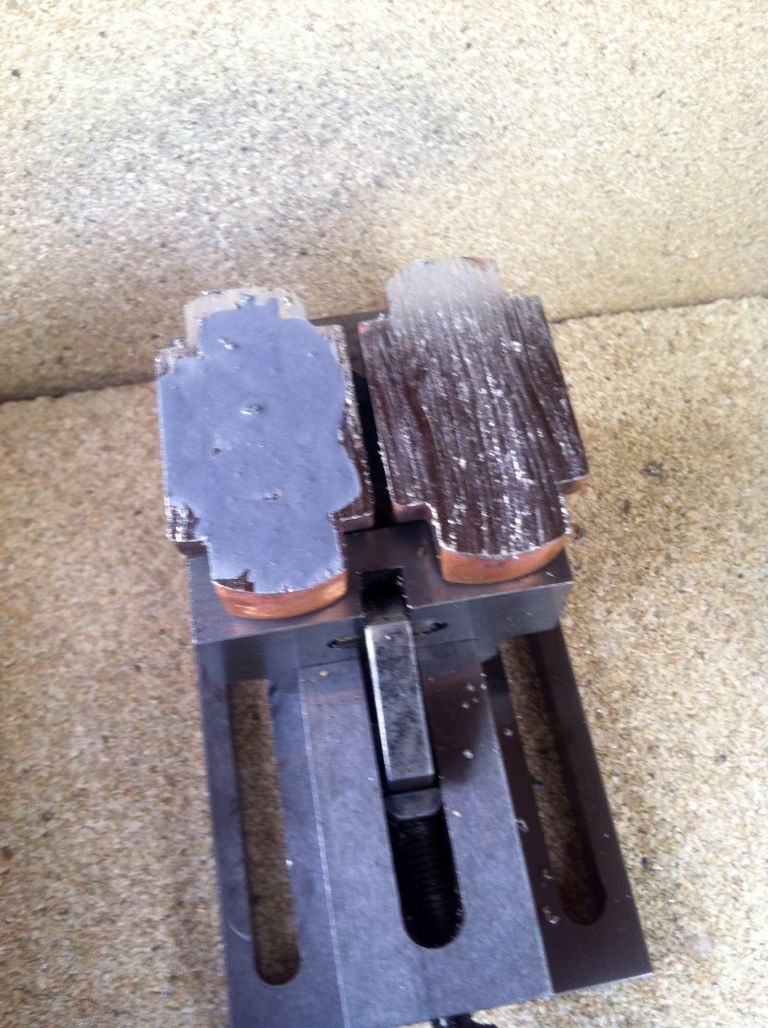
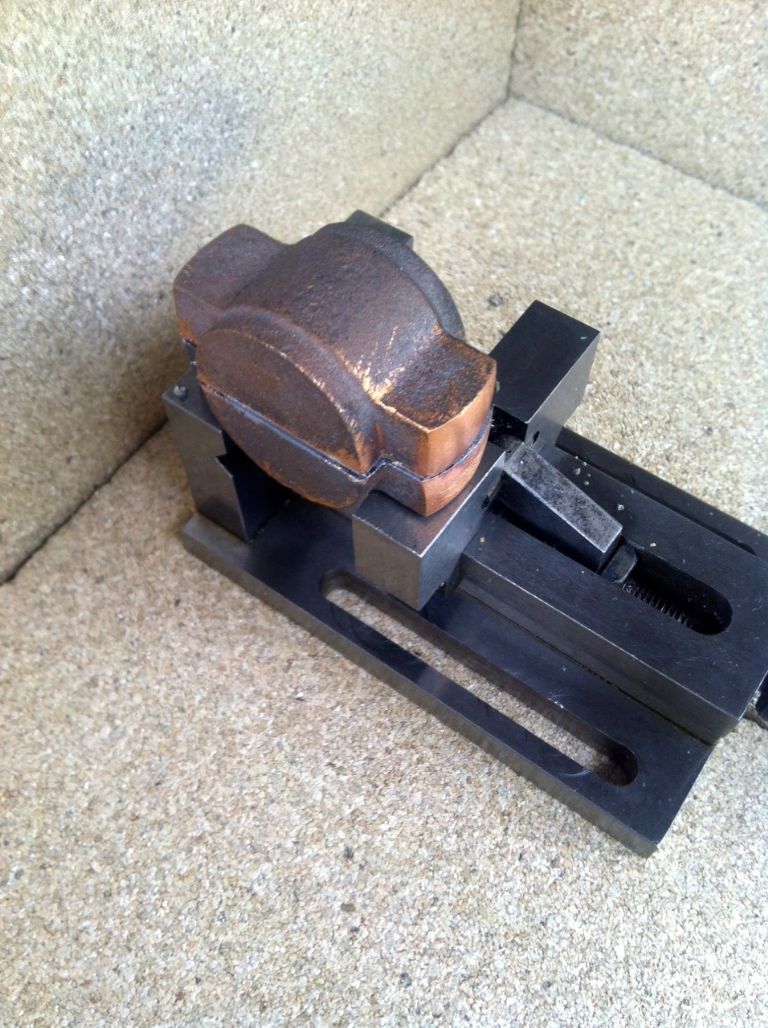
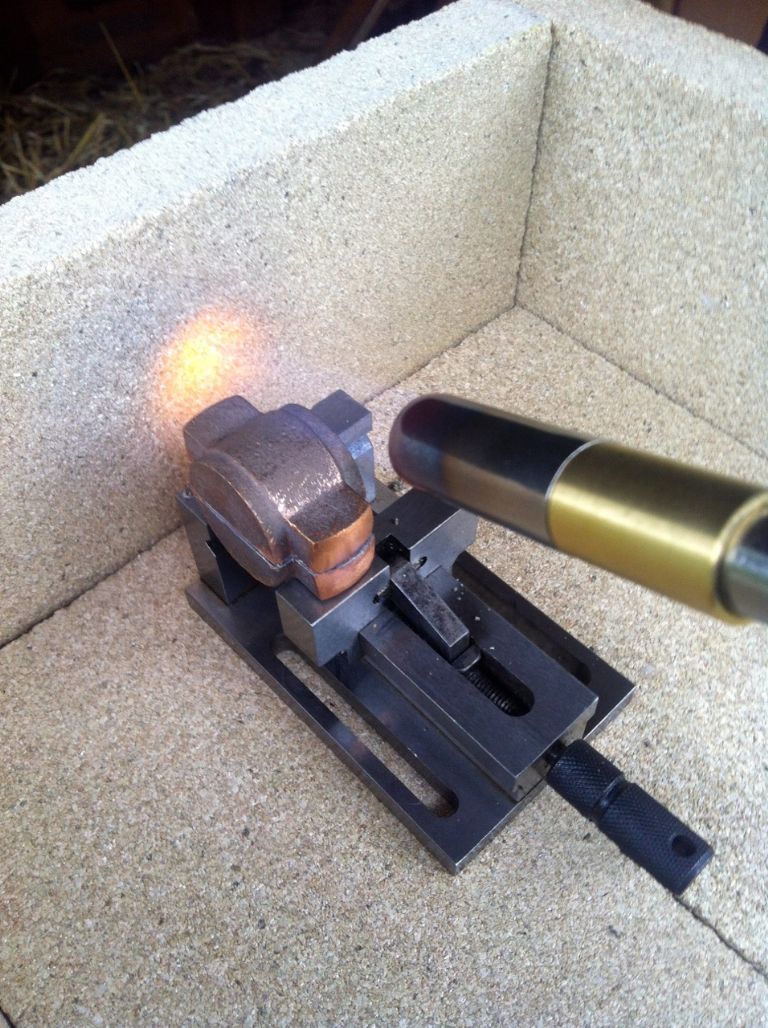
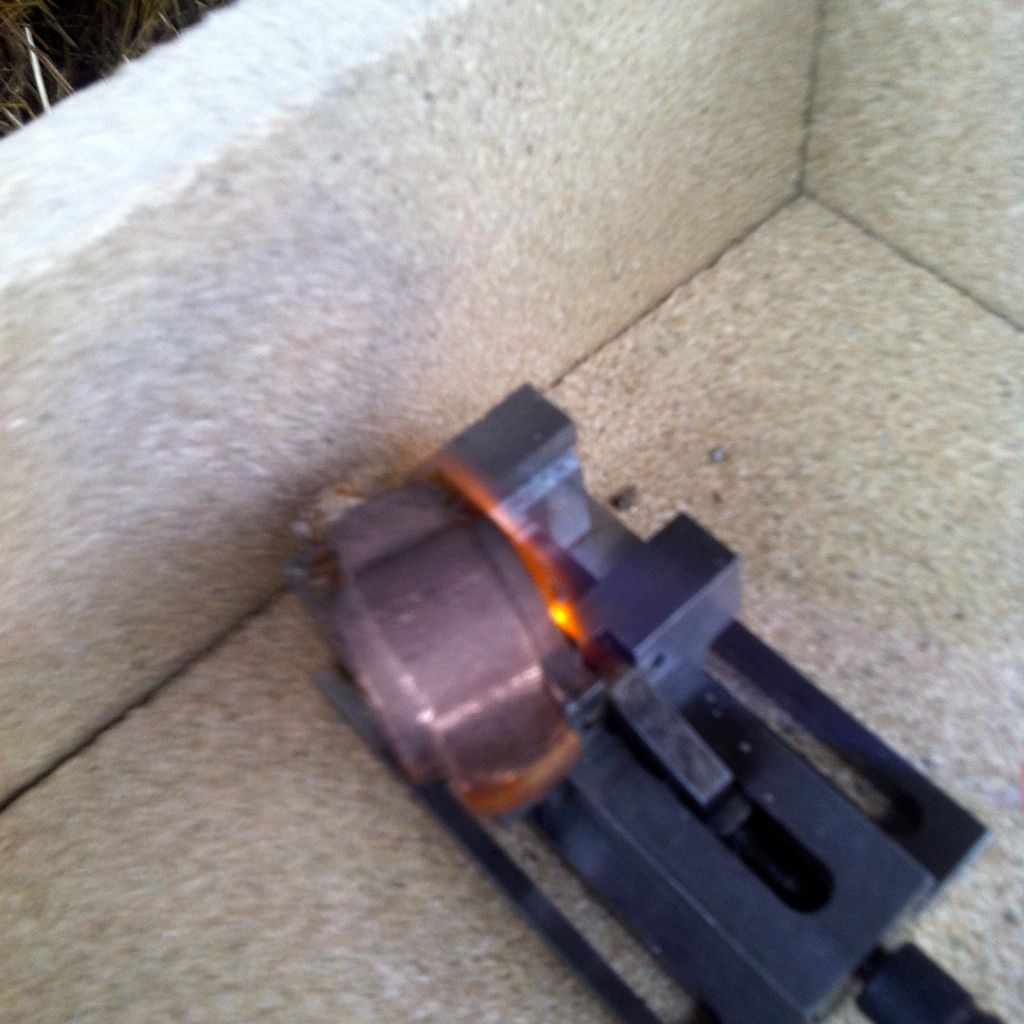
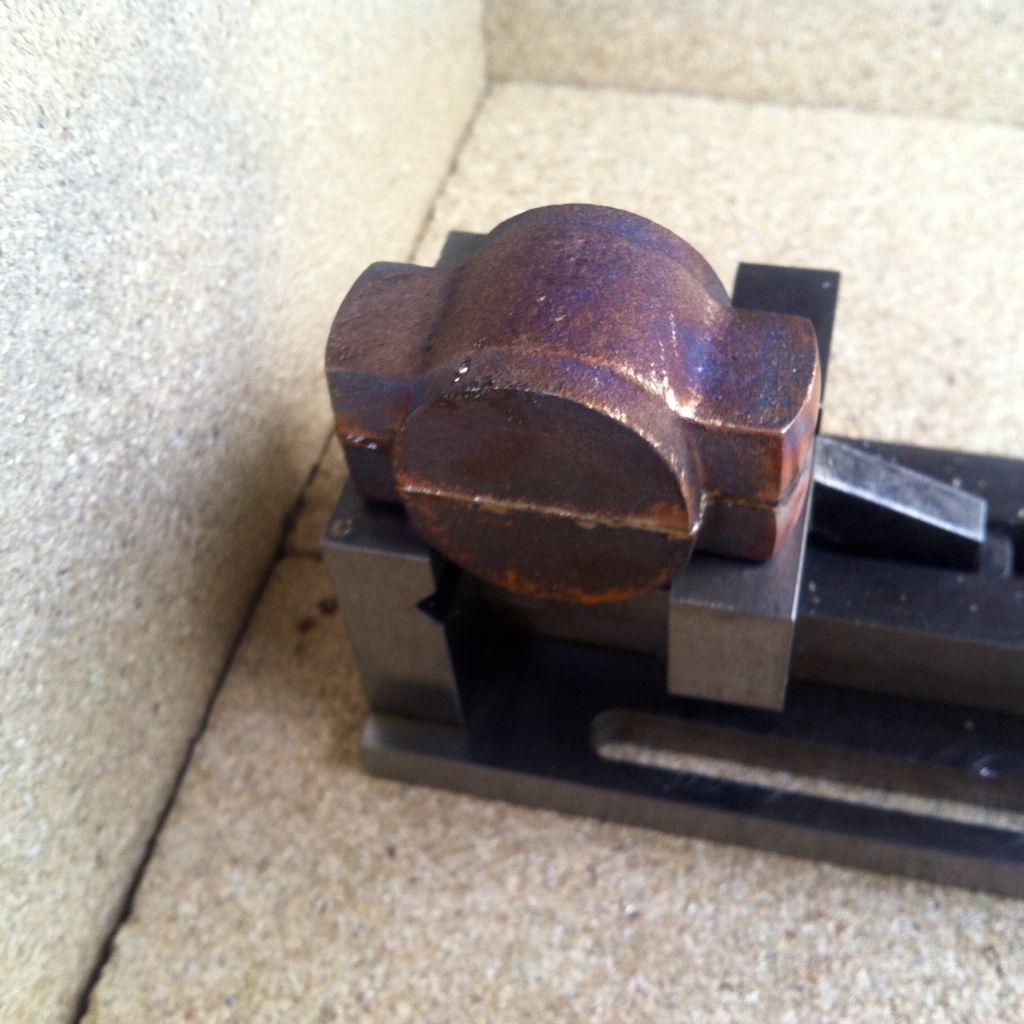
Great fun before breakfast this morning - soldering the top bearing half's together. Thought I would quickly put up the sequence of soldering steps in case anyone like me who's not tried it before may be interested.. Hopefully if I've messed up someone will explain.. My little soldering hearth...
Hope some found it interesting. Regards. Allan. | |
| 28/05/2014 19:08:18 | |
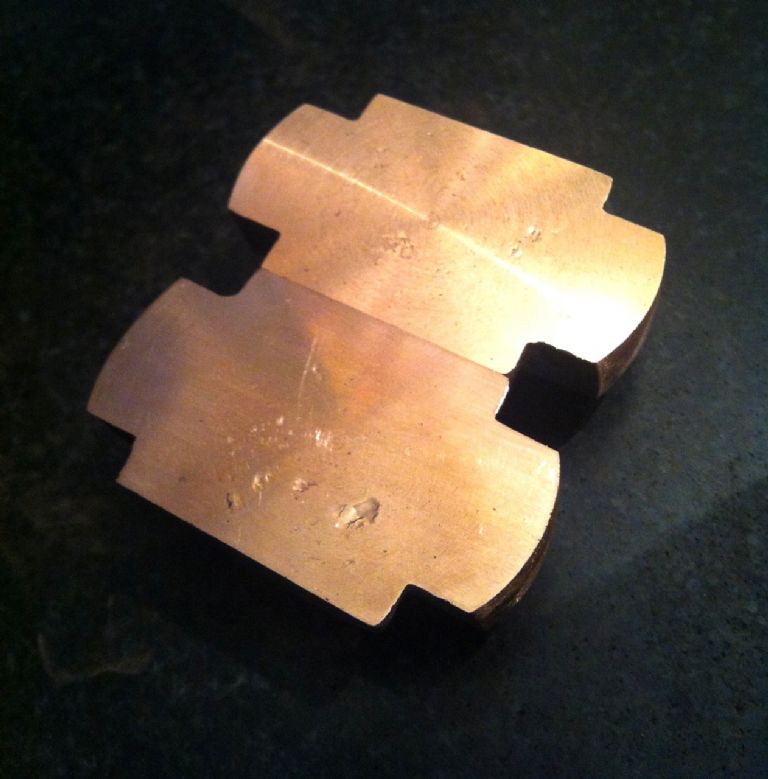
If you mean the small indentations, they look like inclusions in the casting to me, possibly caused by gassing. They will mostly disappear when the bearings are bored, but if there is enough allowance on the casting I would have been inclined to take a bit more than 3 thou off. Regards, Andrew | |
| 28/05/2014 19:07:44 | |
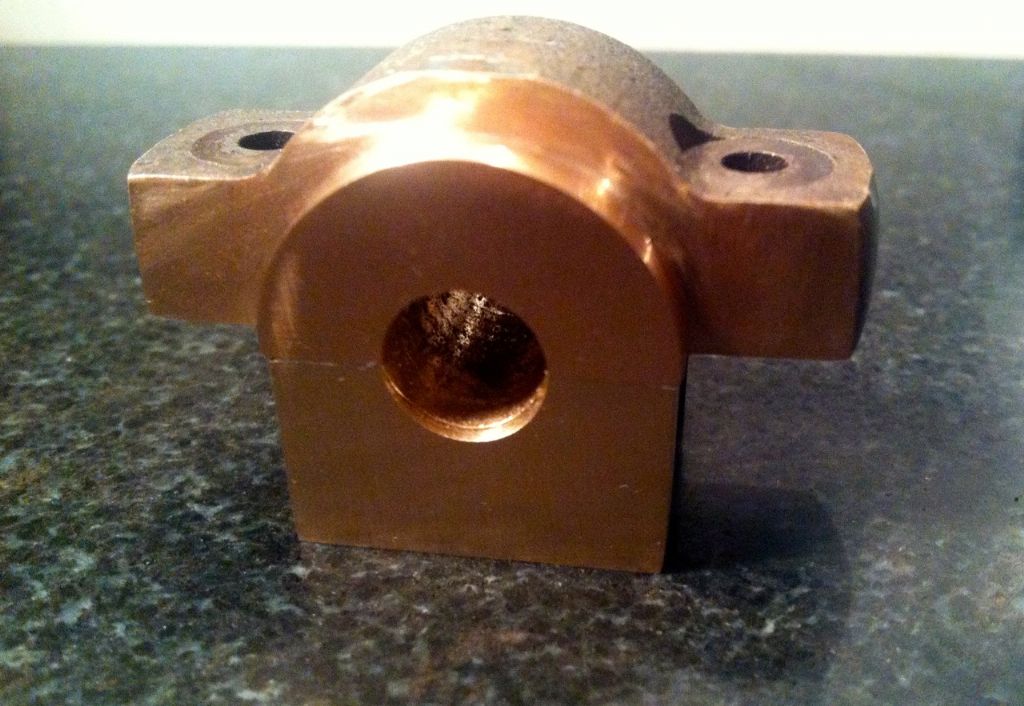
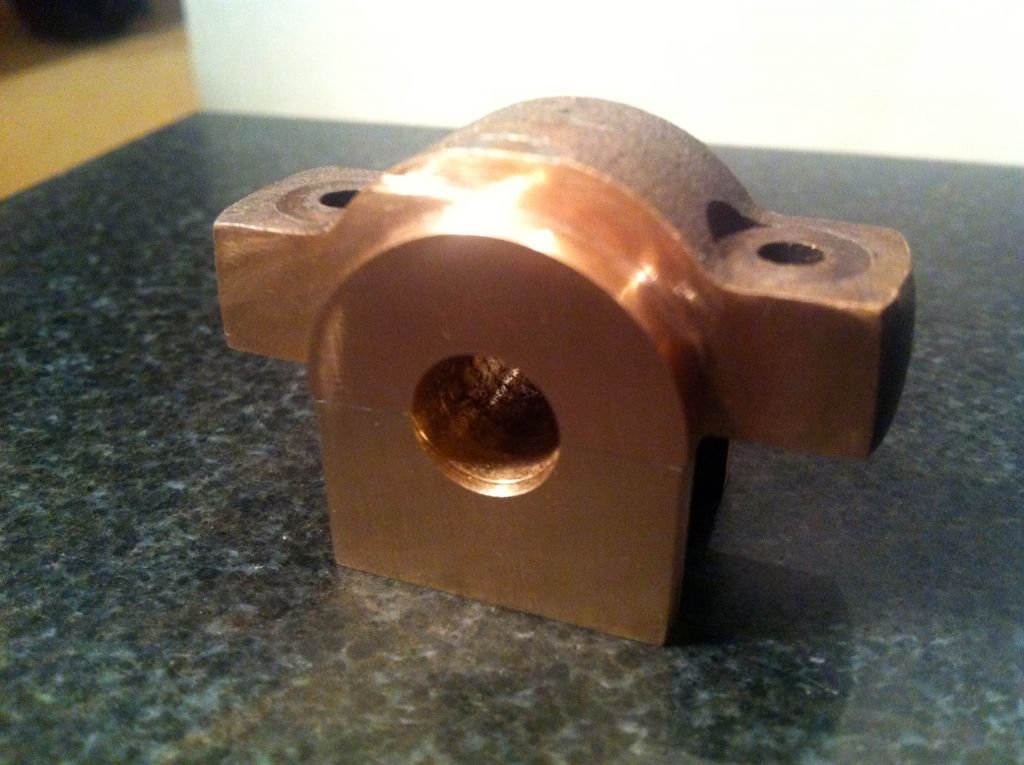
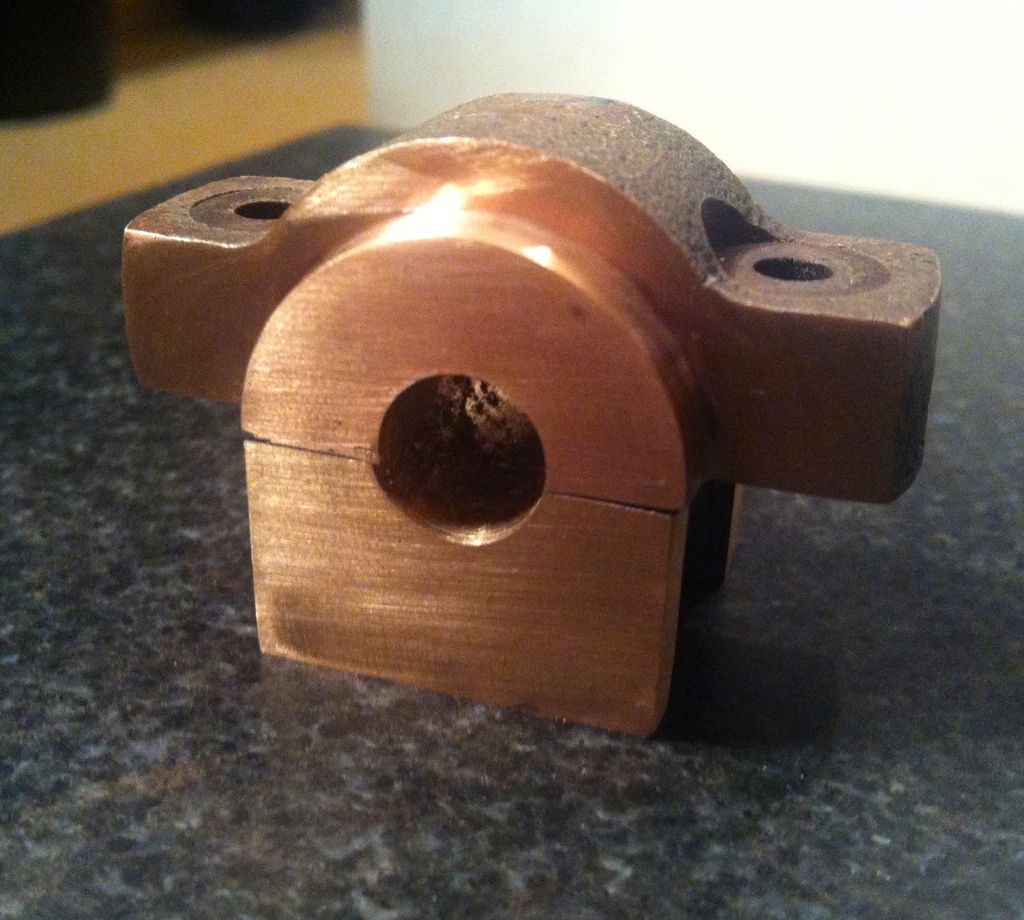
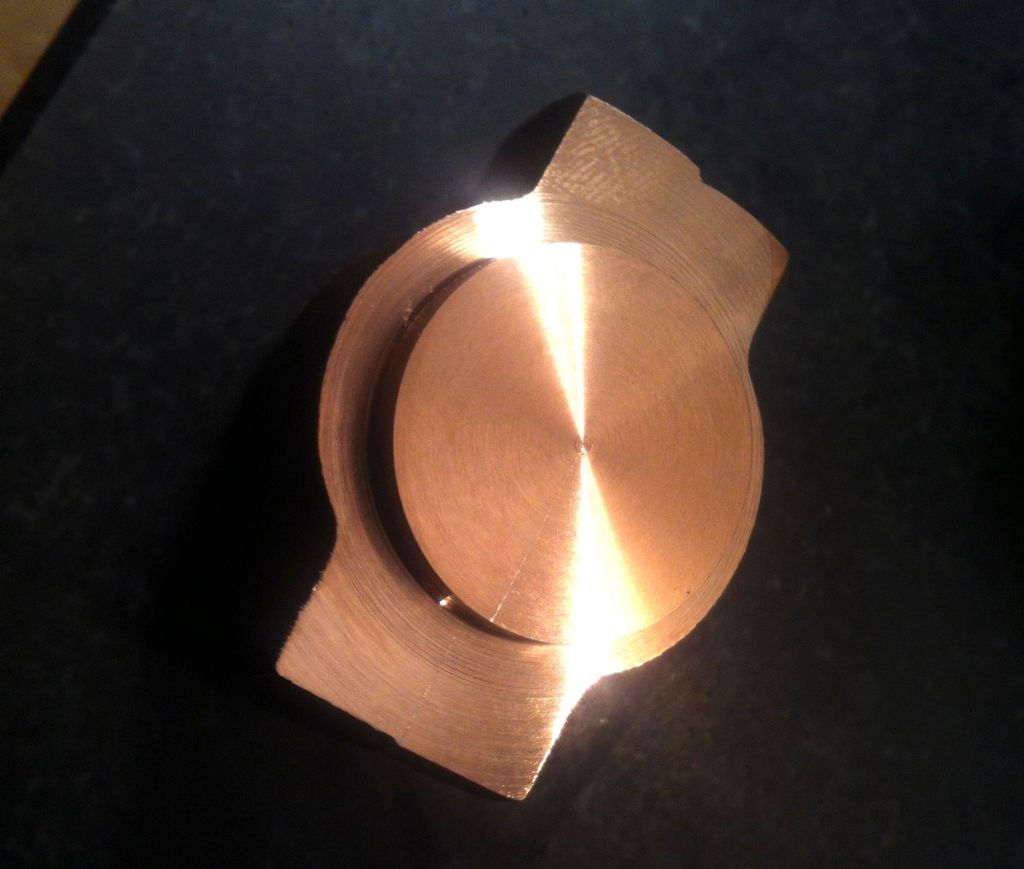
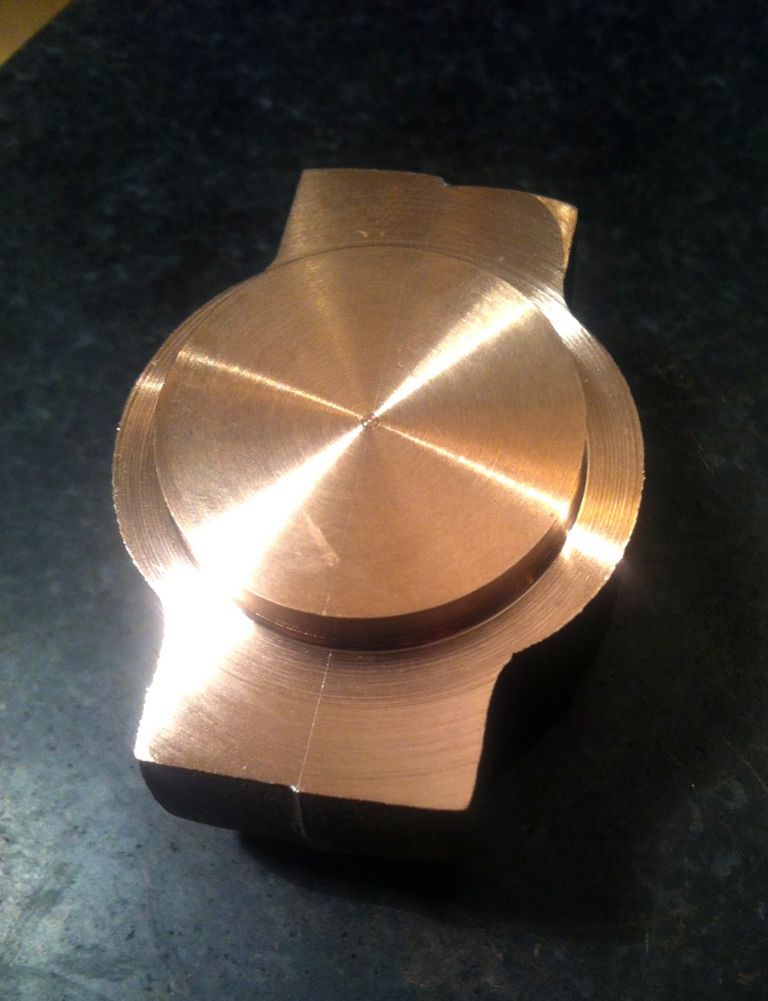
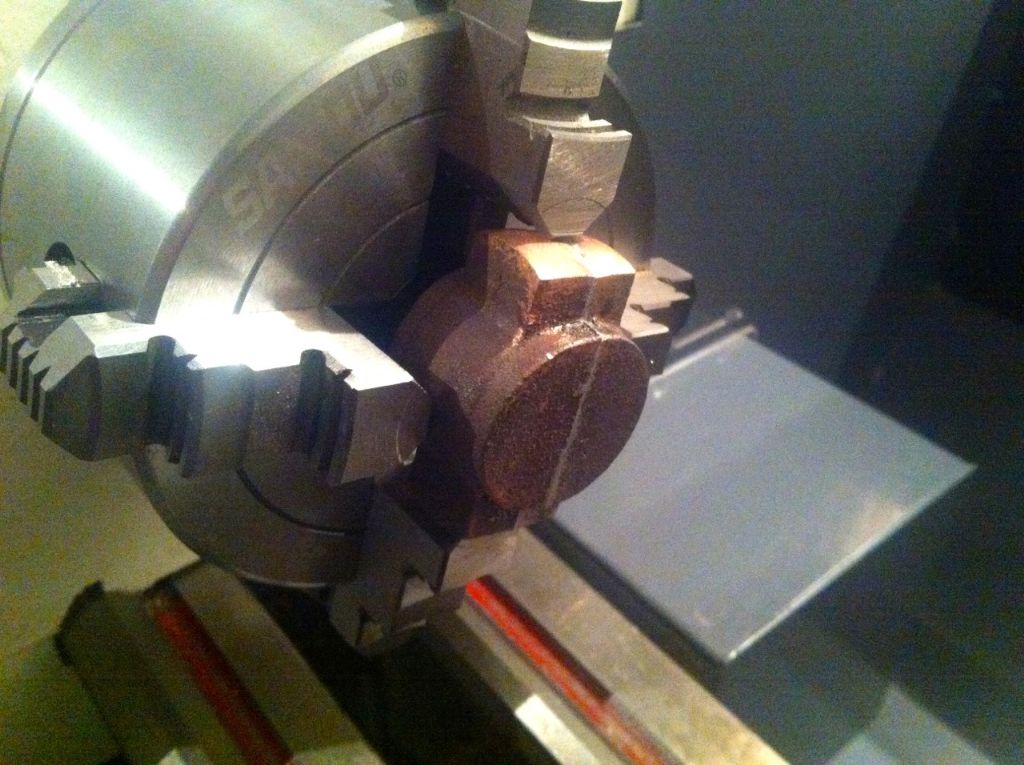
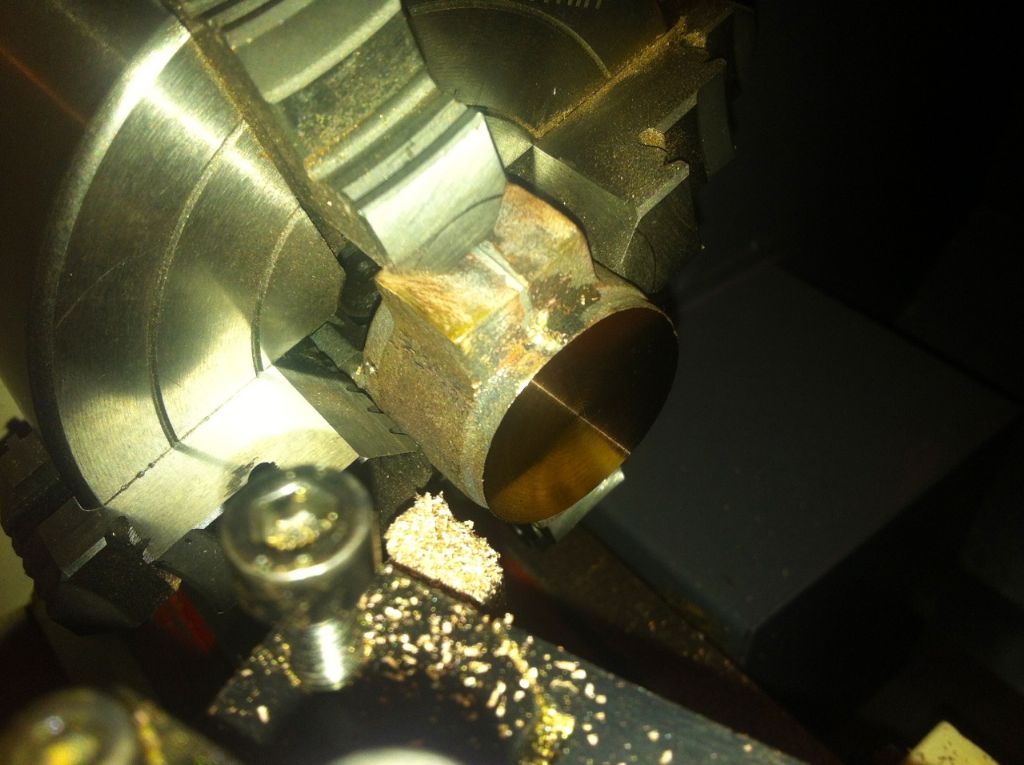
Didn't get to make as much progress as I thought I would this morning but am now at the point of being ready to solder. Just managed to clean up the 'top bearing half' castings and faced the surfaces ready for soldering. Had some strange marks though left on the surfaces afterwards that I haven't seen before... The top bearing half castings after cleaning up with the file. They took quite a bit of filing. Setting up to face the bottom surfaces. I only took a light skim off ready for soldering, 3 thou at 380 rpm, maybe I should have taken off more, or I'm using the wrong speed (they are Gunmetal). I don't know if these marks were already there under the surface or the tool was digging in. The carbide insert has I suppose done a lot of work, may need changing, but it looks ok under a 'glass', like new in fact - there was absolutely no sign from the lathe when facing that there was anything untoward happening - bit of a mystery to me. As the surfaces are completely flat and I will be boring through most of it shortly rather than take any more material away I thought it would still be ok for temporary soldering and plan to go ahead like this - unless anyone is kind enough (if thought necessary) to advise me otherwise that is.. Regards Alan. | |
| 28/05/2014 18:49:53 | |
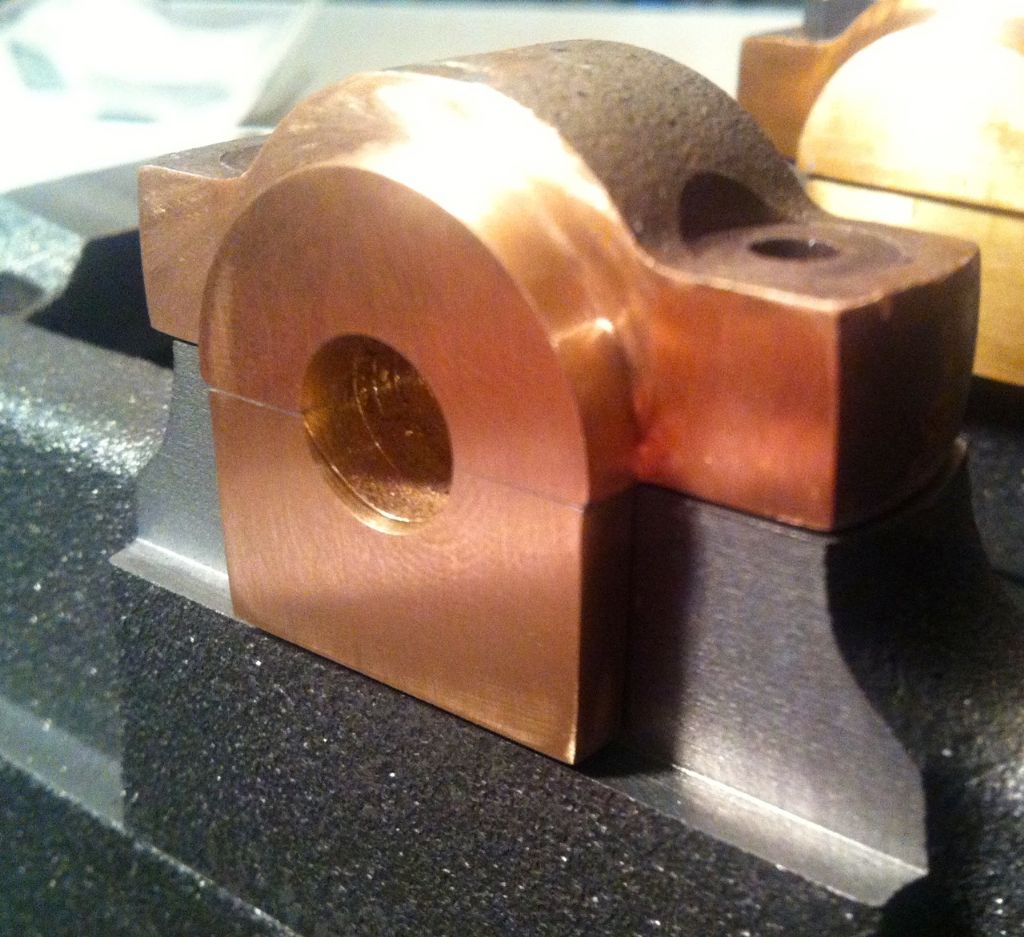
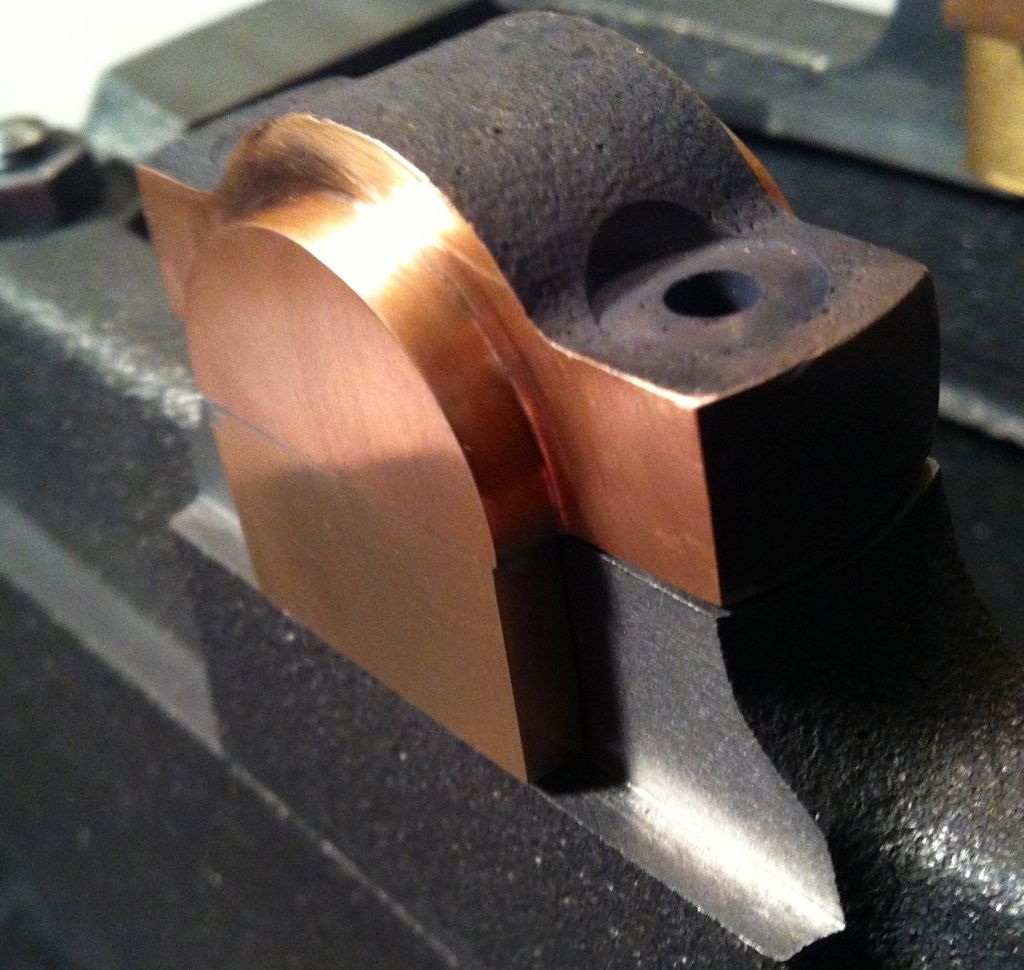
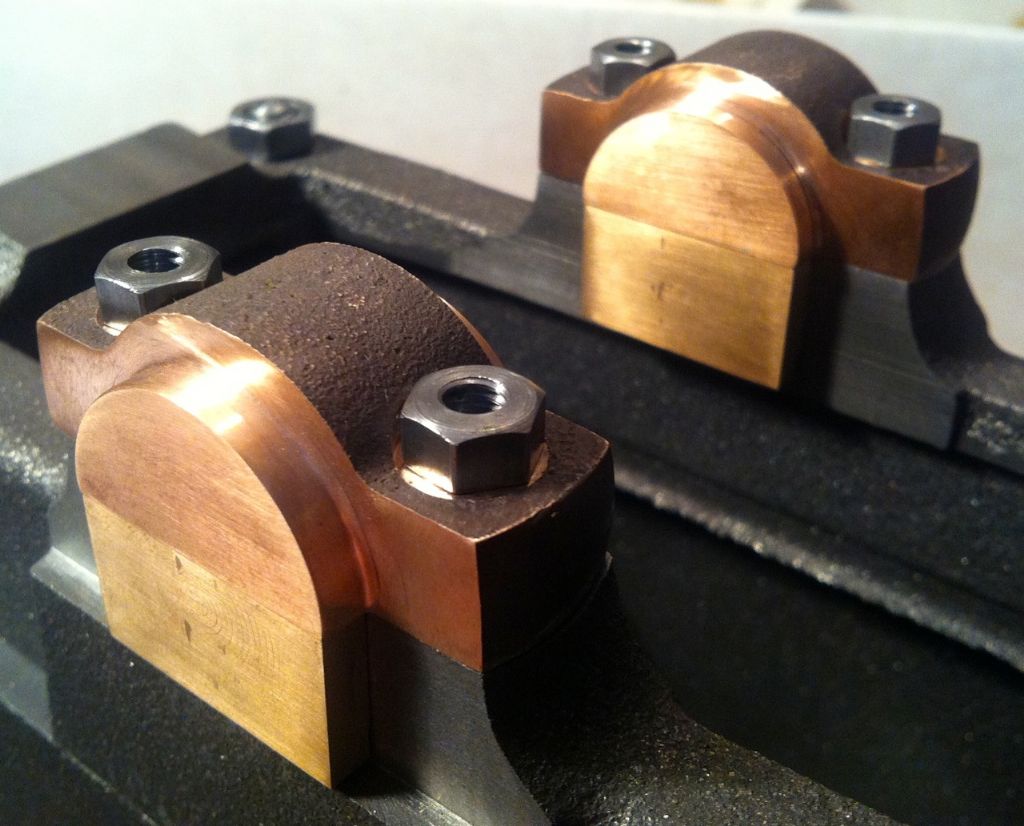
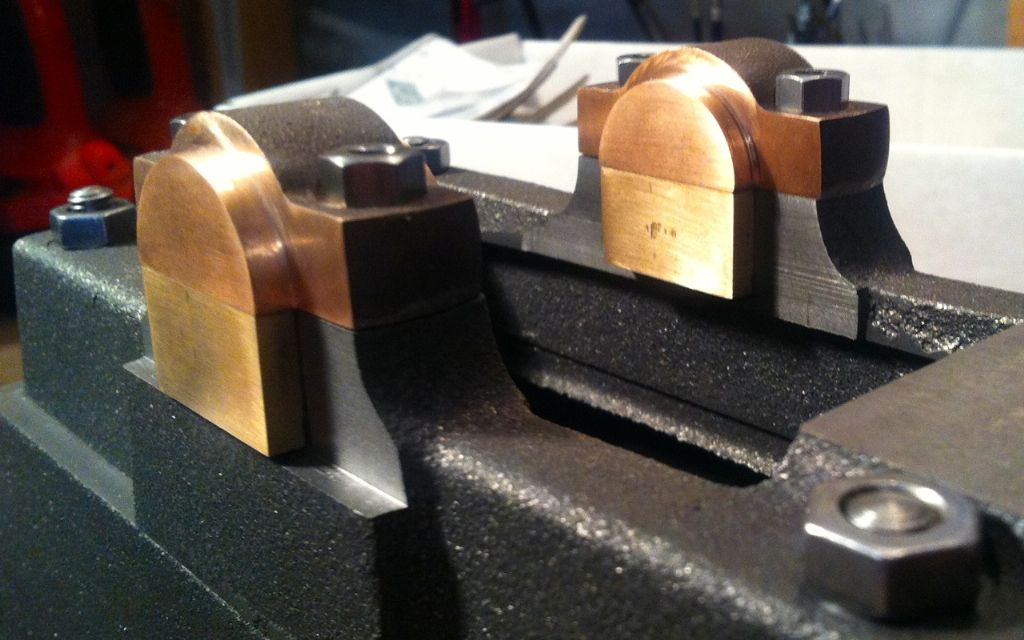
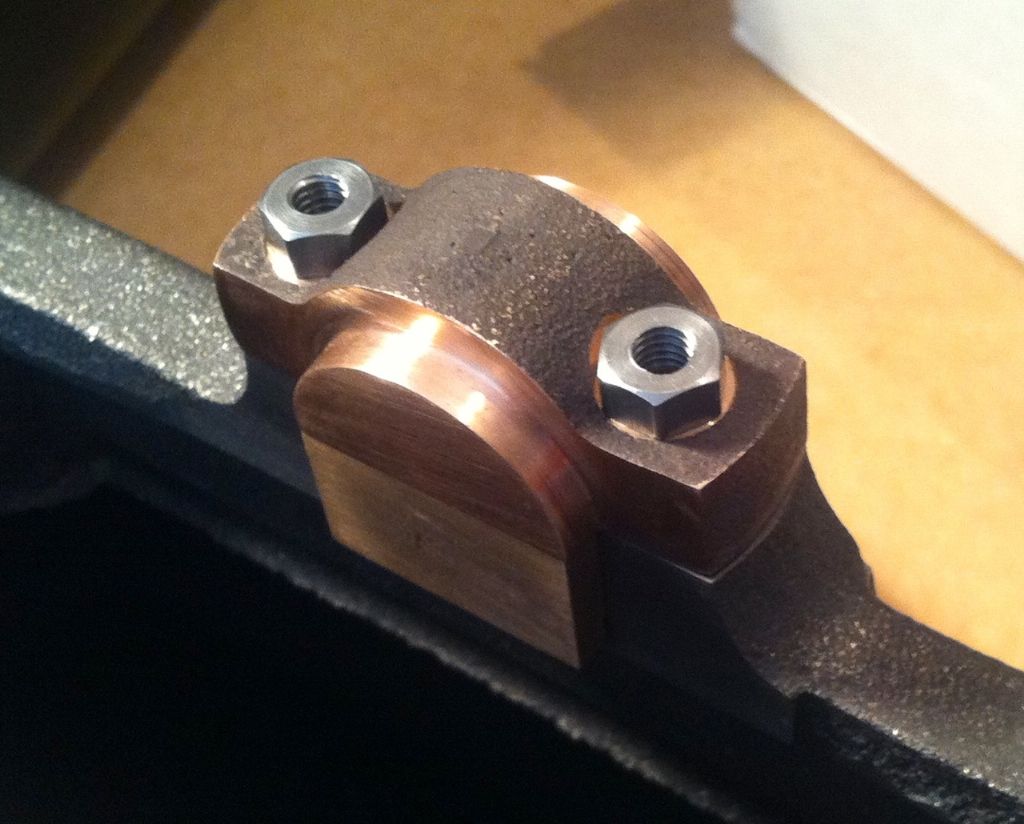
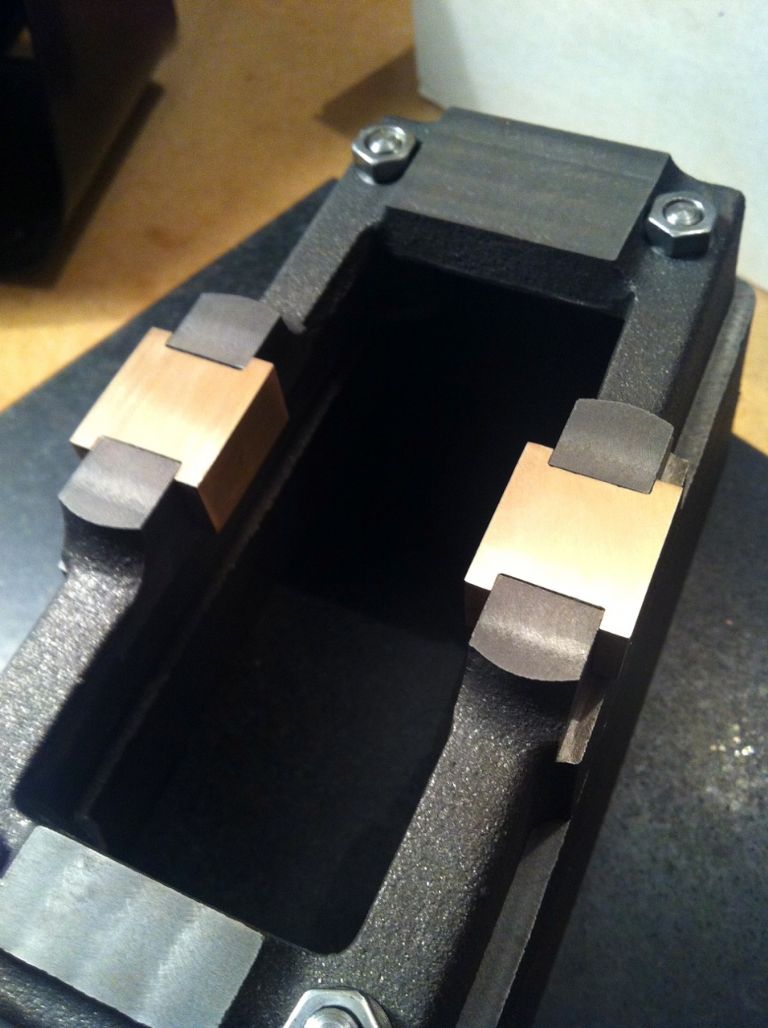
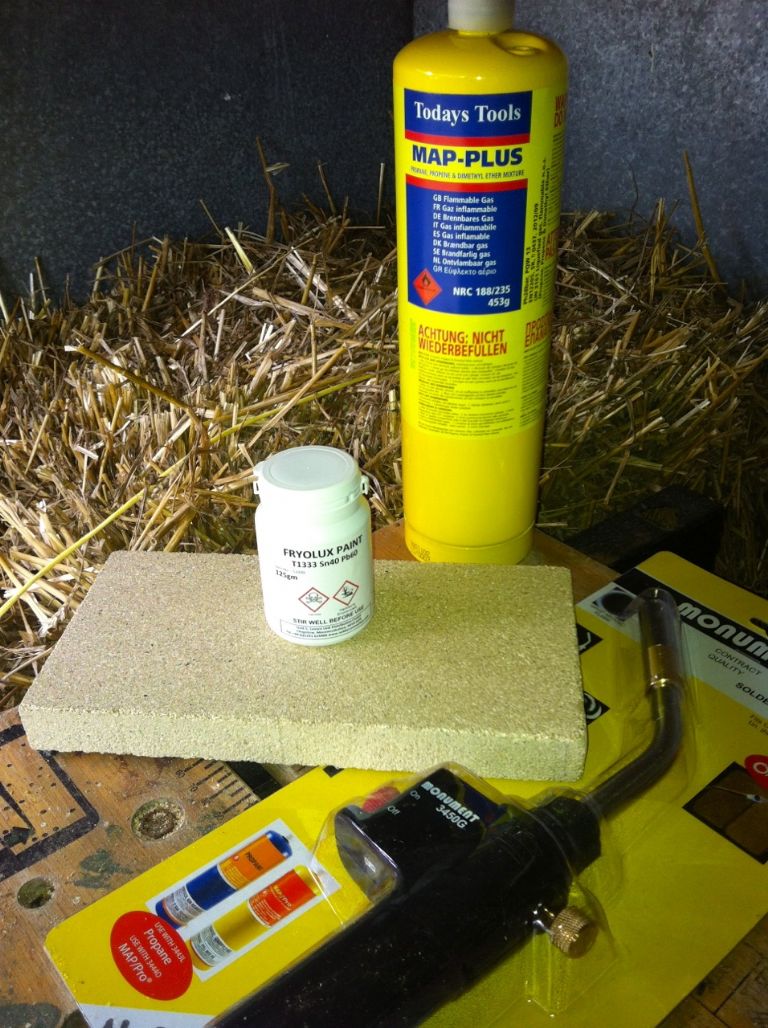
Both the bottom bearing half's in the housings now. Next the top half's which I need to temporally solder together to turn on the lathe. Test fitting the bottom bearing half's. Think I did a slightly better job on the second one - which is as it should be second time around, but both seem to fit ok and feel solid with no movement.. The second one done is on the right in the photo.. My new 'very basic' soldering kit. Not much idea how to use it yet.... I wanted to ask if it's just a matter of applying the solder paint on both surfaces of the 2 'top bearing half's', clamping together and heating? Do I need to heat from both sides or can I just lay them on the vermiculite fire brick without moving, (have more than one of these bricks of course..)? I assume I just heat up afterwards to separate and wipe the surfaces off while hot, do I need a solvent for this?. Do I need to wait long after cooling before I can put it in the Lathe or do they have to be left to stand... How hot do I heat? Sorry lots of questions there - but thanks to anyone for any pointers, even one or two would be a great help.. Regards Allan. ps. won't do it next to the straw of course.. | |
| 28/05/2014 18:48:22 | |
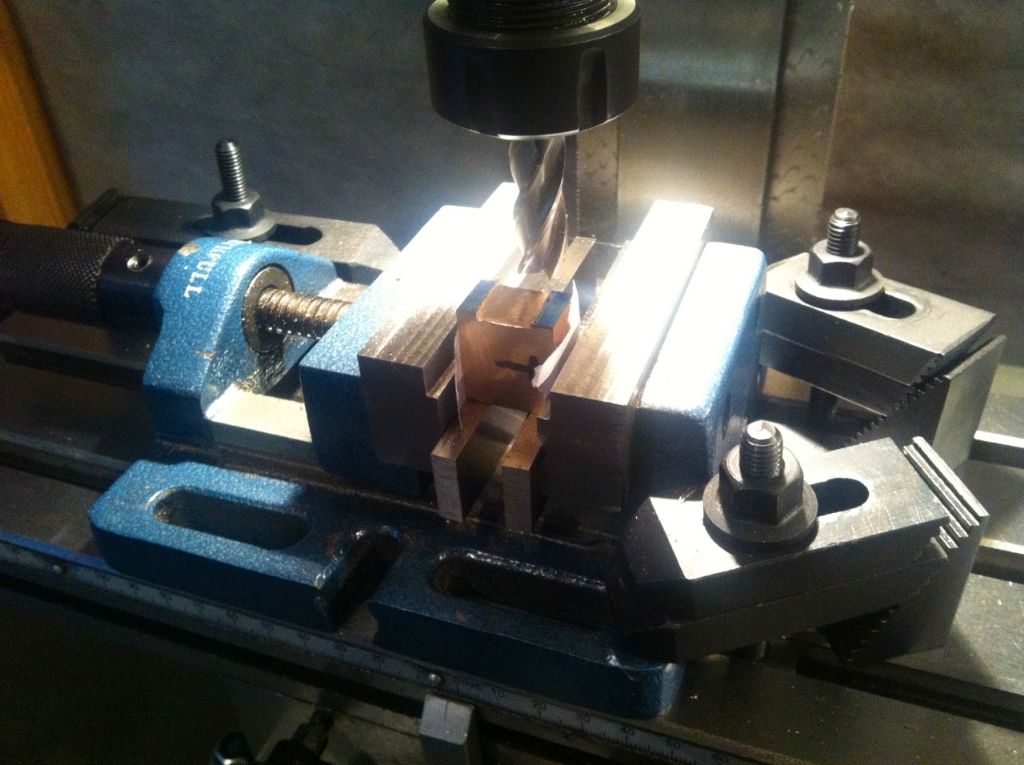
For the sake of completeness - forgot to include the setup used on the mill for the channel... Regards Allan. |
Want the latest issue of Model Engineer or Model Engineers' Workshop? Use our magazine locator links to find your nearest stockist!
Sign up to our newsletter and get a free digital issue.
You can unsubscribe at anytime. View our privacy policy at www.mortons.co.uk/privacy
- *Oct 2023: FORUM MIGRATION TIMELINE*
05/10/2023 07:57:11 - Making ER11 collet chuck
05/10/2023 07:56:24 - What did you do today? 2023
05/10/2023 07:25:01 - Orrery
05/10/2023 06:00:41 - Wera hand-tools
05/10/2023 05:47:07 - New member
05/10/2023 04:40:11 - Problems with external pot on at1 vfd
05/10/2023 00:06:32 - Drain plug
04/10/2023 23:36:17 - digi phase converter for 10 machines.....
04/10/2023 23:13:48 - Winter Storage Of Locomotives
04/10/2023 21:02:11 - More Latest Posts...
- View All Topics
- Reeves** - Rebuilt Royal Scot by Martin Evans
by John Broughton
£300.00 - BRITANNIA 5" GAUGE James Perrier
by Jon Seabright 1
£2,500.00 - Drill Grinder - for restoration
by Nigel Graham 2
£0.00 - WARCO WM18 MILLING MACHINE
by Alex Chudley
£1,200.00 - MYFORD SUPER 7 LATHE
by Alex Chudley
£2,000.00 - More "For Sale" Ads...
- D1-3 backplate
by Michael Horley
Price Not Specified - fixed steady for a Colchester bantam mark1 800
by George Jervis
Price Not Specified - lbsc pansy
by JACK SIDEBOTHAM
Price Not Specified - Pratt Burnerd multifit chuck key.
by Tim Riome
Price Not Specified - BANDSAW BLADE WELDER
by HUGH
Price Not Specified - More "Wanted" Ads...
Do you want to contact the Model Engineer and Model Engineers' Workshop team?
You can contact us by phone, mail or email about the magazines including becoming a contributor, submitting reader's letters or making queries about articles. You can also get in touch about this website, advertising or other general issues.
Click THIS LINK for full contact details.
For subscription issues please see THIS LINK.
Model Engineer Magazine
- Percival Marshall
- M.E. History
- LittleLEC
- M.E. Clock
ME Workshop
- An Adcock
- & Shipley
- Horizontal
- Mill
Subscribe Now
- Great savings
- Delivered to your door
Pre-order your copy!
- Delivered to your doorstep!
- Free UK delivery!


 Register
 Log-in


